Dried Banana Peel Fertilizer

Dried Banana Peel Fertilizer

Turn leftover Banana peels into a natural dried banana fertilizer to grow an abundance of fruit and vegetables.

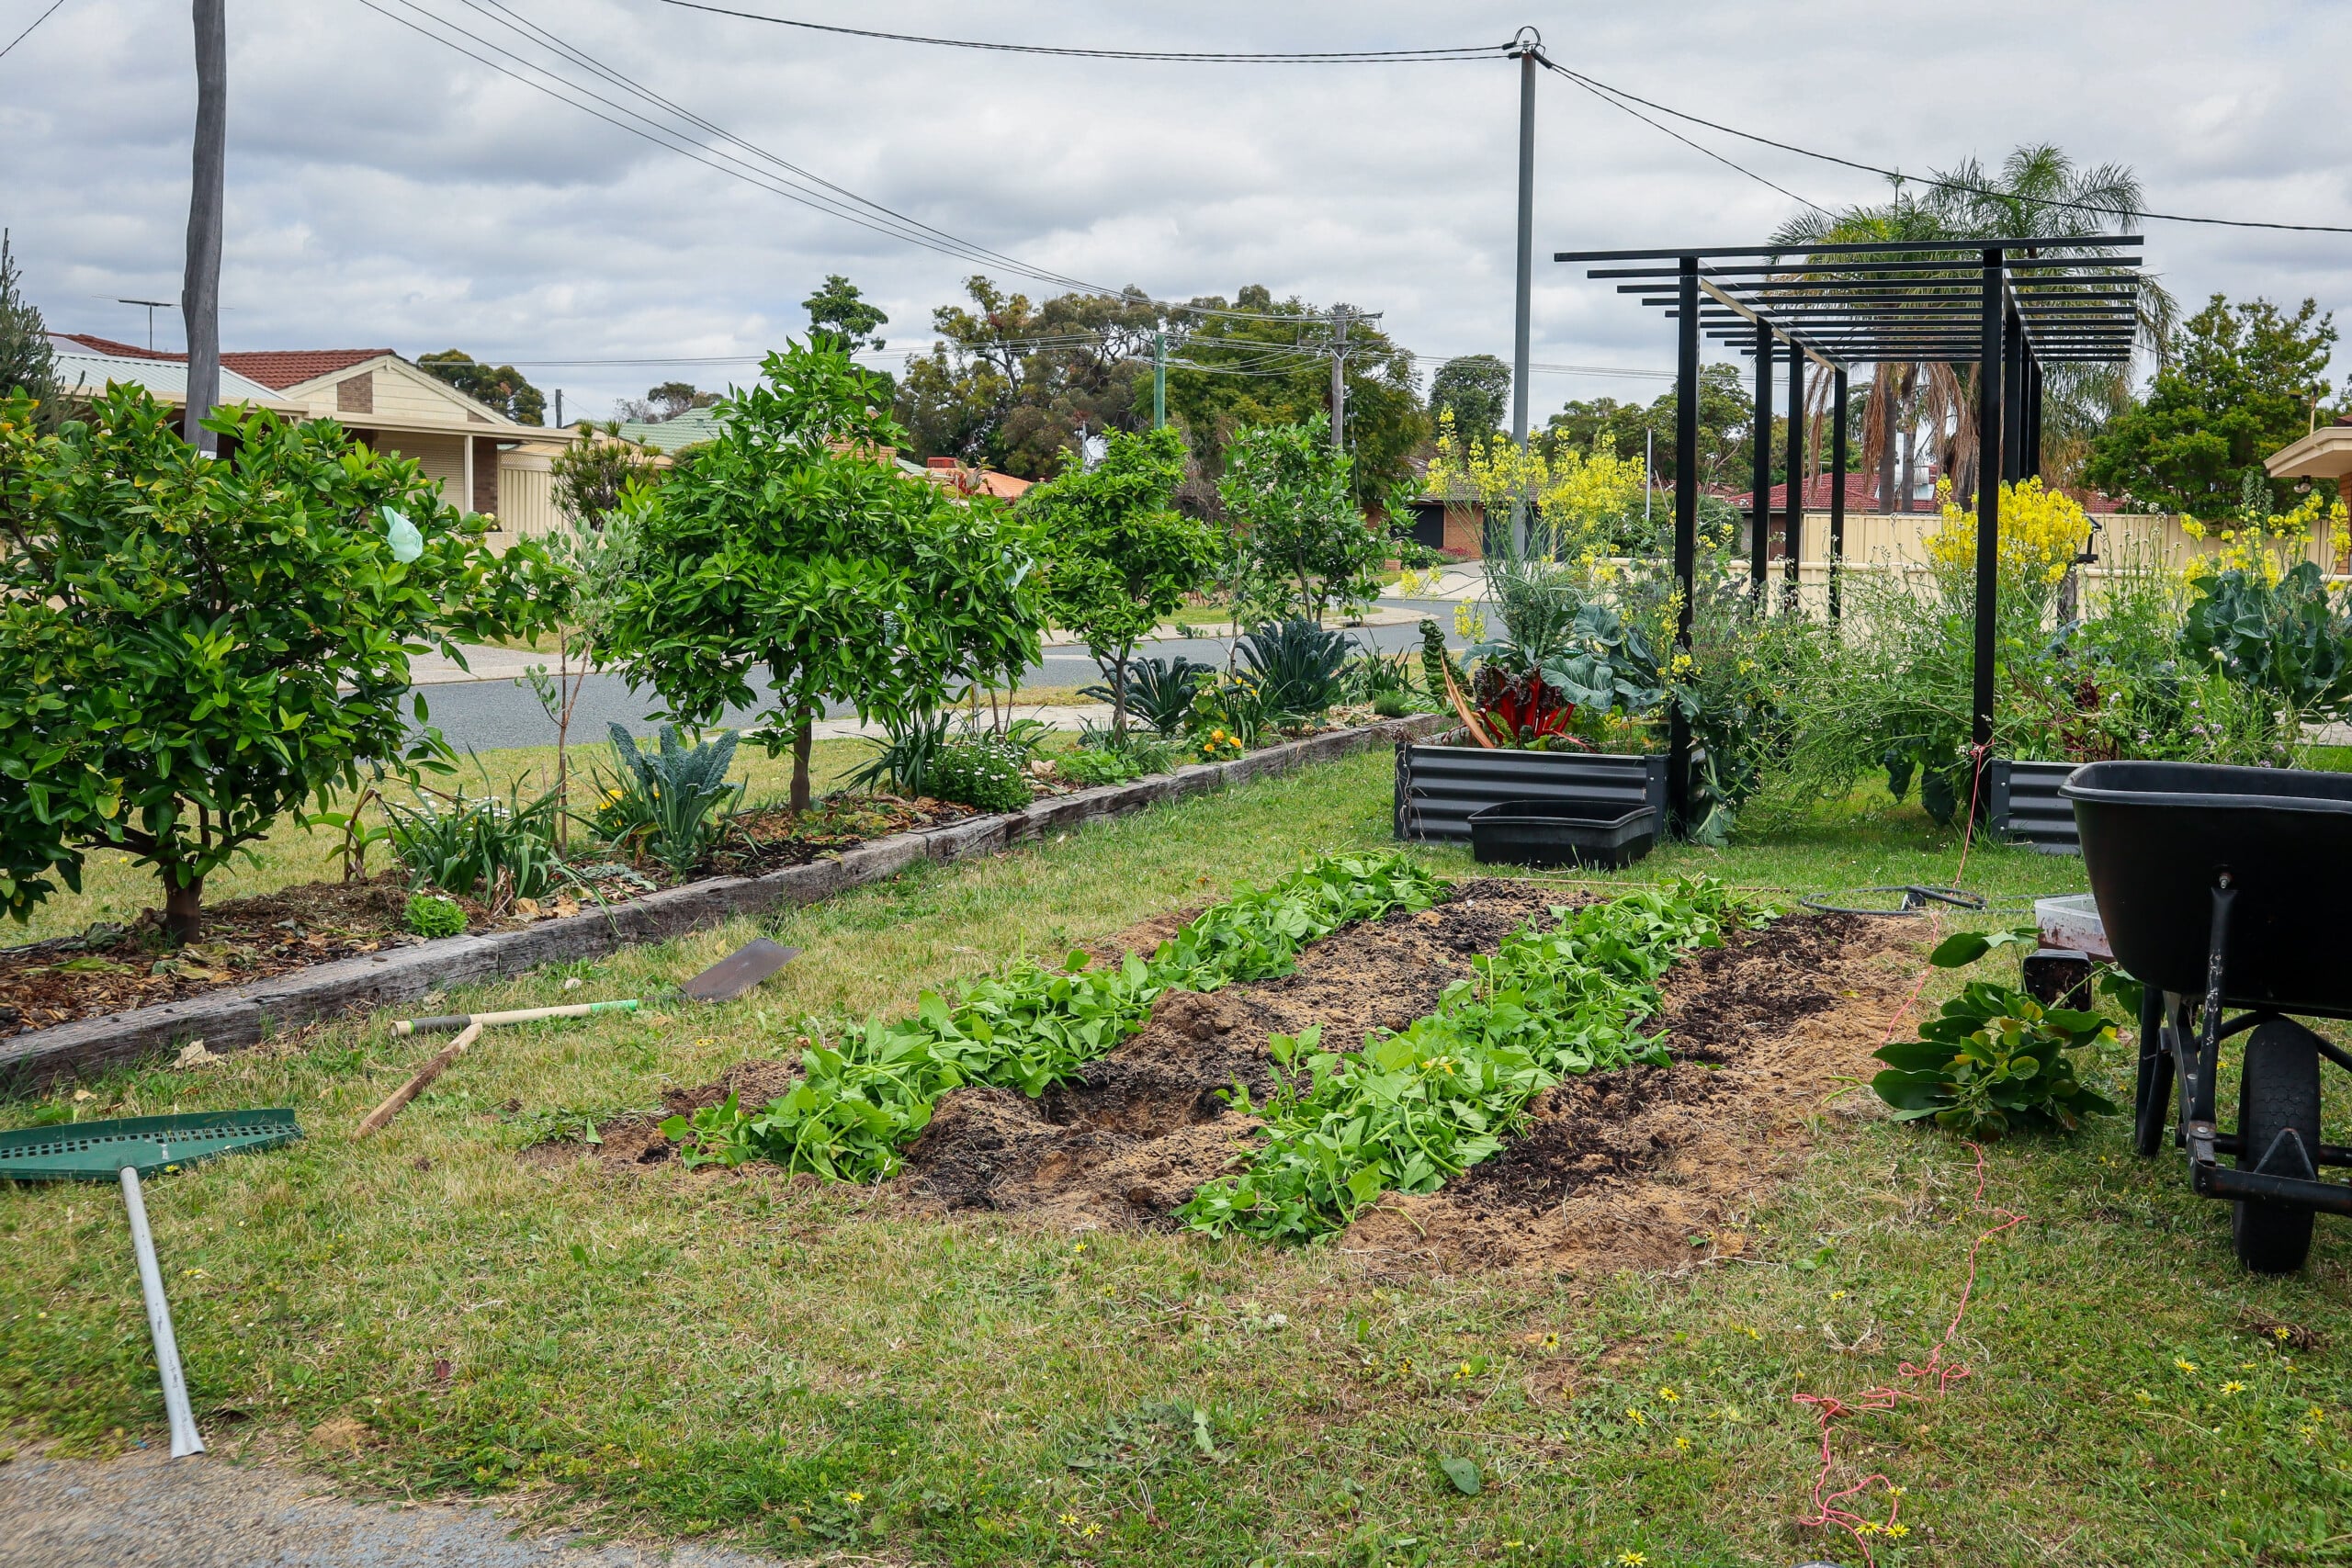
My name is Holly and I am on a mission to create a self-sufficient edible garden in my suburban property. I am converting grass into thriving urban permaculture gardens.

It’s important to reduce the amount of organic matter going to landfills because when it does go to the landfill, it is piled up and starved of oxygen. This process is not conducive to breaking down our scraps and they end up producing methane gas, which is not good for our environment. That’s where composting and turning our scraps into natural fertilizers not only boosts the health and production of our gardens but is also better for our planet.

Watch how to make Dried Banana Peel Fertilizer

Which plants will benefit the most from banana peel fertilizer?

Banana peels have potassium which is an essential nutrient for promoting more flowers and fruit on plants. Prioritize your dried banana peel fertilizer on your flowering plants such as Pumpkin, squash, capsicum, and fruit trees. Promoting flowers will offer more chances of fruit!

Having potassium on hand can help when you have deficiencies in the soil. Potassium deficiency can show as leaves turning yellow one falling off especially the older leaves.

If you are growing your own bananas and you get to harvest the fruit, then you can use your peels to feed the plants and create your own fully self-sufficient gardening system!

You can also make a banana peel fertilizer by soaking the peels in water. I talk more about that on my video about 15 natural fertilizers so definitely check that out for more ways to turn your homegrown produce into fertilizers to grow more of your own food.

How to make dried banana peel fertilizer?

To make dried banana fertilizer take your banana peels and lay them out on a tray to dry. You want to keep them somewhere warm and dry until they turn black and crispy. Natural Sunlight is great and will take 1-2 days to dry depending on the temperatures. You could also use a dehydrator to remove the moisture.

Chop the peels up a little to help speed up the drying process. Remove the ends and compost them as these will take a lot longer to dry.

Then once they are completely dry and crumbly. Crush them up into a powder using a mortar and pestle or a coffee grinder/spice grinder.

Sprinkle a couple of TBSP around your fruit and veggie plants. It’s that easy! You can also add 2 TBSP to a jar of water and mix to pour around your plants.

Simple Homemade Pickled Red Onions (Quick + Delicious)

Simple Homemade Pickled Red Onions (Quick + Delicious)

This simple homemade pickled red onion recipe is so easy and delicious! I can easily demolish a jar of pickled red onions in a week. They just get better and better as they continue to pickle and infuse. You can eat these pickled red onions on absolutely anything!! And I mean anything…avocado on toast, salads, stir-fries, tacos, noodles, cheese, and crackers, or in sandwiches. They also make beautiful, delicious garden-to-table gifts for your friends and family.

What You Will Need:

  • 3 medium red onions, thinly sliced
  • ¼ cup apple cider vinegar
  • ¼ cup white vinegar
  • 1 ½ tbsp raw sugar*
  • 1 ½ tsp salt
  • 1 cup water
  • ½ tsp chilli flakes (optional, for heat)

The Benefits of Homemade Pickled Red Onions

Making homemade pickled red onions means you control everything from the ingredients to the flavour. No preservatives, no artificial colours, just simple pantry staples and fresh onions. I like mine on the sweeter side, but if you like yours spicy, then add more chilli. Plus, the flavour is far better than store-bought. I find store-bought (I’ve tried a lot of brands!) are weak and dull, and not to mention expensive! Not these! They are packed full of flavour and go a vibrant all natural hot pink colour.

simple pickled red onions

Simple Pickled Red Onions

Prep Time: 10 minutes
Cook Time: 2 minutes
Total Time: 12 minutes

Quick and easy pickled red onions add flavour to any meal. Add your seasonal garden herbs such as Fennel, Dill or Chilli to boost the flavours.

Ingredients

  • 3 Red Onions
  • 1/4 cup Apple Cider Vinegar
  • 1/4 cup White Vinegar
  • 1 1/2 TBSP Raw Sugar*
  • 1 1/2 tsp Salt
  • 1 cup Water
  • 1/2 tsp Chilli flakes (optional)

Instructions

  1. Finely slice the red onions - using a mandoline is the easiest option.
  2. Cram as many red Onions into a clean sterilised jar.
  3. In a saucepan add the vinegar, sugar, and salt and stir until the sugar has dissolved and the mix starts to simmer.
  4. Add any extra flavours to the jar such as chilli, fennel flowers, fennel fronds, fennel seeds, mustard seeds, or peppercorns ( 1tsp per jar).
  5. Pour over the liquid and secure the lid.
  6. Allow cooling for one hour and place in the fridge.

    Notes

    To sterlise the jars place in a hot dishwasher run or wash and heat in the oven for 10-15 minutes at 110 degrees Celsius.

    You can swap and use just one type of vinegar if you prefer.

    *Swap to honey (1 1/2 TBSP)

    Add herbs or spices for extra flavour

    Use within 3 weeks.

    YouTube video

    Homemade is best!

    Homemade pickled red onions taste so much better, and they are so quick to make. I prepare a batch on Sundays, and it usually is gone within the week! Enjoy these Simple Pickled Red Onions on your morning breakfast toast with avocado (my favourite way) and egg, or in burgers, wraps, salads, and more! It’s such a versatile addition to your garden-to-plate meals!

    Customise Your Homemade Pickled Red Onions

    One of the best things about homemade pickled red onions is how easy they are to adapt. Add herbs like thyme, fennel flowers or dill for a fresh twist, or try slices of jalapeño or ginger for an extra kick. You can even swap in red wine vinegar for a bold colour. Once you start experimenting, you’ll find a version that suits your taste perfectly.

    Want more Garden Tips?

    🌱 Want a Thriving Garden? Get exclusive gardening tips, seasonal advice, and delicious homegrown recipes delivered straight to your inbox every Tuesday! Stay updated on new plants, garden projects, and more. Sign up now and grow with us! 🌿✨

    garden newsletter
    Banana Peel Chutney

    Banana Peel Chutney

    Banana peels are often discarded but they have so many uses both in the garden AND the kitchen! This Banana Peel Chutney is just one way to use up your leftover Banana Peels. This chutney has a warming, spicy kick to it and would go great served with fish or just on a platter with cheese. The banana peels are cooked down to be soft and have a similar texture to cooked onions. Give this Banana peel chutney recipe a try to produce more food and less waste.

    [wlm_private “Garden to Plate Membership”]

    banana peel chutney

    Banana Peel Chutney

    Yield: 3 cups
    Prep Time: 10 minutes
    Cook Time: 45 minutes
    Total Time: 55 minutes

    Warming Banana Peel and Onion chutney with turmeric and chilli.

    Ingredients

    • 3-4 Yellow Banana Peels
    • 1 Mashed Banana
    • 2 Brown Onions
    • 2 Garlic Cloves
    • 1 Medium Green Chilli
    • 1 tsp Dijon Mustard
    • 1 tsp Ground Turmeric
    • 1 TBSP Raw Sugar
    • 1 TBSP Coconut Sugar
    • 1/3 cup Apple Cider Vinegar
    • 1 TBSP Oil
    • 1 tsp Salt

    Instructions

    1. Wash your Banana Peels well. It is best to use yellow-greenish organic Bananas. Cut off the ends and place the peels in a saucepan of water. Simmer on low-medium heat for 20 minutes. This helps soften the skins.
    2. While your bananas are cooking, slice up your onion and cook in a frypan with oil. Stir regularly until onions have softened and started to brown (approx 20-25 mins)
    3. Remove the Banana Peels, strain, and slice into small strips or chunks approx 1cm.
    4. Add the garlic (crushed or finely chopped) to the onion pan. Stir for 1-2 minutes.
    5. Add in the Tumeric, green chilli, and stir to combine.
    6. Add in the mustard, vinegar, salt, and sugar. Mix to combine.
    7. Add in the Banana Peels and mashed Banana, stir to combine. Simmer for 5-10 minutes until all the flavour has been incorporated into the banana peels. Taste and add extra salt or sugar to your liking.
    8. Spoon into Sterilised Jars and allow to cool before placing in the fridge.

    Notes

    To sterilise your jars either run them through a hot wash on the dishwasher, cover them in boiling water, or clean and heat them in the oven at 110 degrees Celcius for 10 - 15 minutes.

    How to Grow Bananas – The Ultimate Garden-to-Plate Guide

    How to Grow Bananas – The Ultimate Garden-to-Plate Guide

    banana

    How to Grow Bananas

    Learn tips and tricks on how to grow bananas and get abundant harvests. Bananas (Musa) are fantastic permaculture plants because they have so many uses both in the garden and the kitchen. Bananas are in fact, a perennial herb, not a tree. The bananas grow from a stalk that emerges from the centre of the banana palm.

    Bananas come in both full-size and dwarf varieties, allowing you to grow them in both large and small space gardens. Plus, you just can’t beat the flavour of homegrown bananas!

    Quick Tips on How to Grow Bananas

    PLANT

    Spring and Summer.

    SOIL

    Rich fertile compost and well-drained soil. Mound soil up.

    LOCATION

    Full sun. Protection from harsh winds.

    CARE

    Water and feed regularly.

    FERTILISE

    Feed with compost and with liquid seaweed fertiliser.

    PESTS

    Rodents may attack the fruit. Root rot in wet soils.

    HARVEST

    9 months +

    REPRODUCE

    Small “pups” form at the base of the main trunk.

    Why Grow Bananas?

    Bananas are quick-growing and have many beneficial relationships within the garden. Once you know what conditions bananas thrive in, they are easy to grow.

    Here are some of the many reasons to grow Bananas:

    • Easy to grow
    • Provide shade
    • Reduce soil erosion
    • Leaves used for platters and plates
    • Fibres for weaving
    • Bananas are high in potassium
    • Vitamins A,B and C
    • Great for baking
    • Green matter for composting and mulching gardens
    • Feed and bedding for animals
    • Banana skin fertiliser

    Ladyfinger– Popular backyard banana. Small, sweeter fruit. Don’t turn brown once cut. Plant size 2-5m tall.

    Gold Finger‘ – Cross between ladyfinger and Cavendish. High wind resistance. Quickest to fruit. Plant size 2-5m tall.

    Cavendish – Williams’ – Medium-sized bananas. Popular variety. Thin peel and creamy texture. Plant size 2-5m tall.

    Blue Java – Cold-tolerant variety. Known as the ice cream bananas due to their creamy texture. Plant size 2-5m tall.

    ‘Red Dacca – Dwarf sized plant. Deep maroon-red peel when ripe. Plant size 2.5m tall.

    ‘Dwarf Cavendish’  – Smaller version of the Cavendish. Ideal for pots or urban gardens. Plant size 1m tall.

    ‘Dwarf Ducasse – Dwarf sized plant. Known as the sugar banana due to sweetness. Plant size 1-2m tall.

    ‘DPM 25 – Variety of Cavendish developed to resist Panama disease. Plant size 2-5m tall.

    How to Grow Bananas?

    Bananas like warm, sunny, sheltered areas. Choose a full sun location with at least 6 hours of sunlight a day. Bananas can be damaged by extreme heat, so in some places like Perth, semi-shade may also work well. Bananas are grown from small plants or “pups” so check out which varieties you want to grow and visit your local nurseries. Due to the spread of diseases, there are restrictions in Australia around swapping and trading bananas. Bananas are heavy feeders, so make sure you add lots of compost and composted animal manure into your soil. Make a mound around the base so that the water drains off and the banana has plenty of food.

    In permaculture design, bananas are often grown in a banana circle. This way you can add piles of compost, mulch and plant matter to break down and feed all the plants around the circle.

    Papaya and root crops such as turmeric and ginger are often planted alongside the bananas to utilise the space. They are also heavy feeders, so make sure there is plenty of compost and plant matter around them. Bananas grow quickly and can be great for preventing soil erosion on sloped blocks.

    When to Plant Bananas?

    Plant Bananas during the warmer months of spring and summer.

    Care/ Maintenance for Bananas

    Banana plants are made up of a high percentage of water so they do need adequate moisture to grow. They just don’t like having soggy roots. Well-draining, fertile soil with plenty of mulch or cover crops will help retain moisture. Bananas want all THE FOOD so regularly feeding of compost, natural fertilisers and mulch can help your bananas thrive. The leaves will get damaged by winds and turn brown. You can cut these off and lay them at the base of the plants to return nutrients back into the soil.

    Pollination/ Fruiting

    Bananas first send up a short leaf about half the size of normal, closely followed by the “flaf leaf”, this is a sure sign a flower is on the way! The flag leaf is short and grows straight upwards. Bananas send up a flower through the centre of the plant on a spike called the inflorescence. The flowers will have both male and female so you do not need multiple plants for pollination to occur. Once the bananas form, you may need to add support to the bunch to stop the weight from pulling the whole tree down. This will depend on the size and strength of the plan,t and also if you have strong winds or storms.

    The small bananas will start to form facing downwards. Once they turn upwards over a few days, it may be beneficial to cover the bunch with a bag. This protects the bananas from birds, bats and other insects.

    How to tell when bananas are ready to harvest?

    The bananas will ripen off the plant if you harvest them at the right time. You want to wait until the bananas start to be more round and less angular. Or wait until the first banana goes yellow, then they will be ready to harvest. You can harvest each “hand” of bananas as they start to ripen, or you can remove the whole bunch and hang it somewhere dark, dry, warm and protected to ripen off the tree. Under a patio or veranda is always a good option.

    Bananas only fruit once from each single plant. Once your bananas are ready, you can chop the entire plant down. Cut this up and add to your banana patch as mulch to break down and add nutrients back into the soil.

    Pests / Disease

    Bananas can be prone to diseases, and due to our high commercial crops here in Australia, there are regulations to help stop the spread of diseases. This includes only purchasing plants from trusted nurseries and not swapping and trading plants around the community.

    Bananas are popular among many pests such as birds, bats, rats and fruit flies. Covering the bunch with a banana bag or a recycled plastic bag can help reduce the risk of losing your delicious crop.

    How/ When to Harvest Bananas

    Bananas will be ready to harvest when they:

    • Are light green to yellow
    • Have no harsh angles but are rounded and smooth
    • The flower remnant at the ends of each banana comes off easily
    • Cut the stalk with at least 20cm at the top to hold and hang
    • Cut the whole tree down as it will die anyway, and use for mulch
    • Remove the ripe bananas and hang the main bunch up somewhere cool and dark to continue ripening.
    • The purple blossom end is also edible. Remove the hard outer leaves to reveal the soft pale centre.

    Note:

    • Remove the bag for hanging and ripening purposes, or they will ripen too quickly.
    • Ensure they are hung somewhere that pests cannot get to them.
    • Bananas can be picked when they are still green to use as a savoury “potato” substitute.

    Reproducing Bananas

    Bananas have been cultivated to have no seeds for optimum eating. The best way to reproduce bananas is to dig up the small suckers or “pups” that start growing from the base of the main stem. Look for suckers that are at least 30cm tall and have narrow, sword-like leaves. The broadleaf suckers will still grow, but have smaller root systems as they rely on the main plant for water. Use a sharp blade or spade to detach and dig up the side sucker.

    banana

    Cooking and Using Bananas

    Bananas are super versatile and can be used for both sweet and savoury dishes. The banana leaves can also be used as a substitute for baking paper to steam and infuse flavours into meals. This technique is often used for steaming fish or rice. Banana leaves also make great natural platters, plates and serving dishes. Simply compost them after!

    Banana pairs well with: Citrus, Strawberry, Coconut, Papaya, Coffee, Caramel, Peanuts, Lemon, Blueberry, Chocolate, Cinnamon, Bacon, Honey, Mango, Pineapple, Guava, Vanilla, Walnut

    Banana ideas:

    • Frozen for smoothies
    • Fresh in fruit salads
    • Banana bread
    • Muffins and cakes
    • Banana tart
    • Banana pancakes
    • Hot sauce base
    • Custard

    Preserving the Harvest

    Bananas produce in huge abundance and can ripen quicker than you can eat them. Freezing and dehydrating bananas is a quick and easy way to get the most out of your harvest. Below are a few ways to utilise your ripe bananas:

    • Chutney and Relish
    • Frozen pieces – great for smoothies, milkshakes and baking.
    • Dehydrated chips
    • Jam, butter and chutney
    • Dried and powdered for flavouring
    • Baked goods are then frozen
    • Banana Peel Fertilizer

    More Banana Posts

    Other Grow Guides

    Cucumber Salad with Ginger Tamari Dressing

    Cucumber Salad with Ginger Tamari Dressing

    Cucumber salad is a quick and easy way to use up your summer harvests. This salad is a light and refreshing side dish that would go great with any summer BBQ or rice dish. Simple, vibrant, fresh ingredients are what make a salad!

    cucumber salad

    Cucumber Salad with Ginger Tamari Dressing

    Prep Time: 5 minutes
    Total Time: 5 minutes

    Light and refreshing cucumber salad with ginger, tamari dressing.

    Ingredients

    • 1 - 2 Cucumbers
    • 1 TBSP Tamari or light soy sauce
    • 1 tsp Olive Oil or Seasme Oil
    • 1 tsp fresh grated Ginger Root
    • 1 fresh Red Chilli
    • 1/2 tsp Honey
    • 1 tsp Sesame Seeds
    • 1 tsp fresh Lemon juice
    • 1 small sprig of mint
    • edible flowers to serve

    Instructions

    In a small bowl mix Tamari, Oil, Honey, Lemon, Ginger, and 1/2 the Red Chilli sliced. Stir to combine.

    Cut thin ribbons of cucumber length way using a peeler or the thin setting on a mandoline.

    Dress the Cucumber and top with the rest of the fresh chilli, mint sprigs, and sprinkle over sesame and edible flowers to serve.

    Garnish with the curled tendrils of the cucumber plant for extra detail.

    Notes

    This dish is best prepared right before it is ready to serve so that the cucumber stays fresh.

    Optional add crushed peanuts.

    Quick Sweet & Sour Turmeric Pickles

    Quick Sweet & Sour Turmeric Pickles

    Make the most of your abundant Cucumber harvest with these delicious, quick, and easy refrigerator pickles. Turmeric has anti-inflammatory properties and the Apple Cider Vinegar has anti-microbial properties and anti-oxidants. These quick pickles are great for adding to sandwiches, salads, burgers, and of course a cheese platter!

    refrigerator pickles

    Quick Sweet & Sour Turmeric Pickles

    Yield: 2 jars
    Prep Time: 10 minutes
    Cook Time: 3 minutes
    Additional Time: 2 days
    Total Time: 2 days 13 minutes

    Sweet and sour Refridgerator pickles are so quick and easy to make!

    Ingredients

    • 2-3 Medium Cucumbers or two jars of whole small pickling Cucumbers
    • 1 cup Apple Cider Vinegar
    • 1 cup Water
    • 1 TBSP Mustard Seeds
    • 2 TBSP Sugar
    • 1 tsp Salt
    • 1 tsp ground Turmeric powder

    Instructions

    1. Sterilise your jars by heating them in the oven face down at 120degrees Celsius or in the dishwasher on high heat. Sterilise the lids in a bowl by pouring boiling water on them.
    2. In a saucepan add your vinegar, water, sugar, turmeric, salt, and mustard seeds (*optional chili flakes see notes) and bring to a simmer.
    3. Slice your Cucumbers into spears or round slices and place them in the clean jar.
    4. Pour over your pickling liquid and secure the lid. Carefully place the jar upside down to cool. This helps create a secure seal.
    5. Once the jars are close to room temperature, turn them up the right way and add them to the refrigerator.
    6. They will be ready to eat after 48 hours and use within a month or two.

    Notes

    Add sliced Red Onion, Dill, or Chilli flakes to your cucumber pickles for extra flavour.

    This recipe also works with Zucchini in replace of Cucumbers too.