Masterclass 1: Introduction to Climate, Pathways and Zones
This masterclass we are talking about how to understand your local climate to maximise your growing potential, and discover your Zones, to create ease and flow in your gardening and sustainability routines.
Objectives:
This masterclass will be divided into 3 core sections, each with an actionable task and worksheet that you will be able to complete for your own property.
- Get to know your local climate and how that affects your garden and layout.
- Identify your pathways. These are the areas of your property you frequent on a daily basis.
- Map out your Zones will help you determine where to place elements within your property.
CLICK FOR THE WORKSHEETS
Climate and Location
Understanding your local climate is very important for selecting garden locations, plants, care and maintenance. What works for one person, may not work for you depending on your climate and location. Within each climate there are micro-climates and that is specific to your exact location. You may live at the bottom of a mountain, near a stream or closer to the ocean, and these will all have specific and direct effects on your microclimate. It may also be that your neighbour has a large tree, or there are high rise buildings creating shade or directing wind. It is important to get to know your region’s climate and then take note of your location and microclimate. This will help you determine what to plant and where to plant it.
To do this we need to do a sector analysis. This will help us determine where our external energies (sun, wind, water, frost and fire) may come from. This can include neighbouring buildings, trees or structures.
Sun
The sun is a major factor when considering where to place your garden. Each plant has a certain amount of sunlight hours it needs to perform and be fruitful. So, understanding which areas of your property get the most sun and shade is so important!
When I first moved to my house, I was so excited to plant fruit trees that I planted a lime tree in the shadiest spot on my property. At the time, it was summer, and it received a lot of sun. But, throughout the rest of the year the neighbours tree shaded it, and I spent the rest of the time trying to keep it alive. After observing my property and analysing my sectors, I transplanted it to a full sun location. Since then, it has thrived and is covered in limes. So, getting this right, will make a massive difference and may save you a lot of time and money in sad trees!
Something that is interesting, and not widely known to beginner gardening, is that the sun tracks lower in the sky over winter (here in our temperate climate). Your “perfect sunny spot” may be short lived. With the sun tracking directly above your property over summer, you will have a lot less shade as the shadows will be short. During winter the sun is significantly lower in the sky, so many other objects will cast long shadows such as trees, fences and buildings. Once you have identified this, it can then be managed and used in your favour.
I cannot stress how important it is to be constantly observing your garden and taking notes. The seasonal Gardening Review Sheets make this easy to document.
Solar panels are another way to capture and store the sun’s energy.
Wind
Wind is another factor that can be difficult to analyse without a long term observation. Winds tend to come in patterns and seasons and some research online of local wind patterns can help you get started with this. Once you have identified this, you may be able to plant trees or shrubs to help break the wind or protect your garden.
Water
When it rains do you notice certain areas that pool water? or do you have creeks or dams on your property? When it rains it can be a great idea to stop and take a look at where the water is flowing or moving to. Noting this down will help you capture and store that energy and decide where to place elements in your design. Eg: if an area is prone to getting boggy, can you divert the water and spread it out to water more plants, or plant water loving trees there and avoid planting trees that hate having wet feet. Water naturally flows by gravity so you can use this to your advantage. Water flowing on your property will also pick up nutrients and top soil and deposit them in lower lying areas. This can help you locate fertile soil for edible gardens.
Frost
If you live in an area that has frosts, next time it happens, take a look around. Are there areas that seem more frosty than others? Dips and hollows can really change the temperature of the air, so you may find some areas of your property are more prone to frost than others.
Fire
Planning for a fire is something that many of us, especially here in Australia, should do when designing our gardens and properties. Identifying where weak points may be or the direction in which fire may travel can help you design to minimise loss. Your local council pages may have more information about creating fire plans.
Other External Forces:
You may have neighbouring noise pollution from a factory, farm or noise from a highway. Bad smells, dust or something visually unappealing. Identifying these will help you come up with design solutions. You may be able to plant dense hedges or place elements such as barns and forests to reduce these before they end up at your property.
Knowledge is Power
Having these energies mapped out, will provide you with the information to make decisions and maximise your results. Having them all down on paper can really help you see the bigger picture. Many problems can be turned into solutions, once they are recognised. You can capture and store these wild energies and turn them into free power using solar or wind turbines.
Resources
Helpful websites for climate info are


Pathways and Zones
Next we are going to go over pathways and zones. These two work together, so, to figure out our zones, we must first find our pathways. To start with it will be handy to get an aerial view of your property. This way you can see where north is and how your house and structures sit on your land. You can obtain one from google earth, local council or similar. This will help with your worksheets and drawing out your zones.
I do just want to touch on the term ‘Permaculture’ incase you are not familiar with the term. Permaculture comes from “ permanent agriculture”. Permaculture has a set of ethics and beliefs around creating an integrated system to work with nature. Everything is interconnected to create energy efficiency, ease and flow. It is what guides most of my gardening and lifestyle, so many of my lessons will have connections or links to permaculture practices.
Pathways
To workout your pathways, print out the pathways worksheet and choose 3 days to map your daily routine. Choose 3 days that are a fair representation of how you spend most of your time (eg: if you work 5 days a week, choose those days).
- Outline the boundary of your property.
- Outline your buildings and key elements (house, rooms, garage, car park, mailbox, compost bin, gardens, barn, chicken coop etc).
- Each day draw lines or pathways through your map of where you have visited. Do this for at least 3 days.
This will allow you to see patterns and areas that you visit regularly, verses areas you do not.
What are Zones in Permaculture?
Zones are a way to divide your property into sections of areas that are used frequently, versus those that receive less attention. Determining these zones will allow you to place your gardens, animals and elements in areas that will allow the most ease and flow. Creating ease and flow is so important because, it will make tasks more sustainable long term. The permaculture zones generally start from the house at zone zero and work upwards.
Learning your zones is important for the placement of elements. A kitchen garden is something that is used frequently for daily meals, so should be located closer to the home than for example, an orchard. An orchard can be harvested from when fruit is ripe, and in batches, so it can be placed in a zone further away from the house. Chickens will need to be fed and cared for daily, so they are another element that should be placed in a zone close by. The placement of systems that work together should also be considered. For example, if you throw a lot of your old vegetables or weeds in the compost or to the chickens, then these systems should be near each other or on the way to each other, for ease and flow.
The secret to getting started with identifying your zones, is found in your daily routine.
We are creatures of habit, so it can be useful to map your current routines and track which areas of your property you frequent often. I have created a worksheet to help you map your pathways. Once you have these mapped out you can start creating your zones. These may change over time as your garden and lifestyle changes and develops.
Once you have you pathways mapped out, you can start to number or circle zones.
We will all have different zones and pathways because, we all have different routines and priorities. Below are some examples but also take into consideration how often you use or frequent these areas or elements. You may visit your chickens 3 times a day to say hello or you may only use your compost for pruning and weeding rather than everyday scraps. This will also change depending on the size of your property. It’s about finding out what YOUR zones are.
It is useful to go through this every few years, especially, if your lifestyle has changed or you have moved properties.
Zone 0
- Typically your house or dwelling as you spend the most time here.
- Bokashi
- Indoor garden
Zone 1
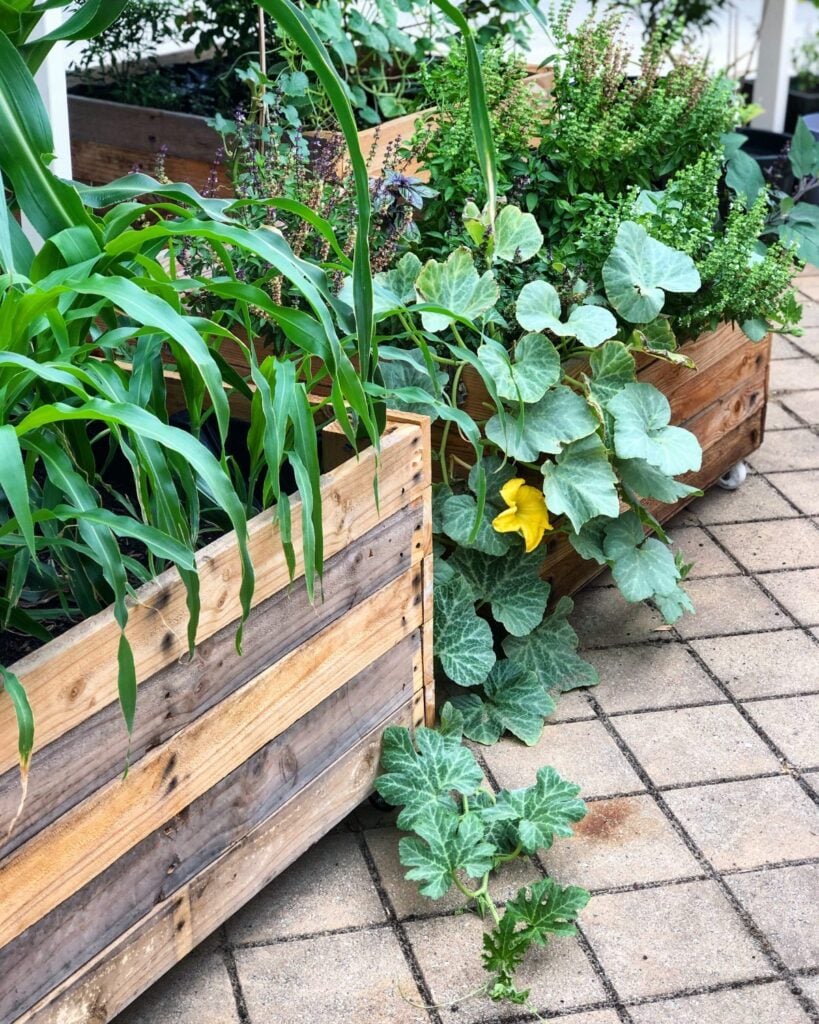
- Kitchen Gardens
- Patio or Balcony gardens
- Outdoor setting areas
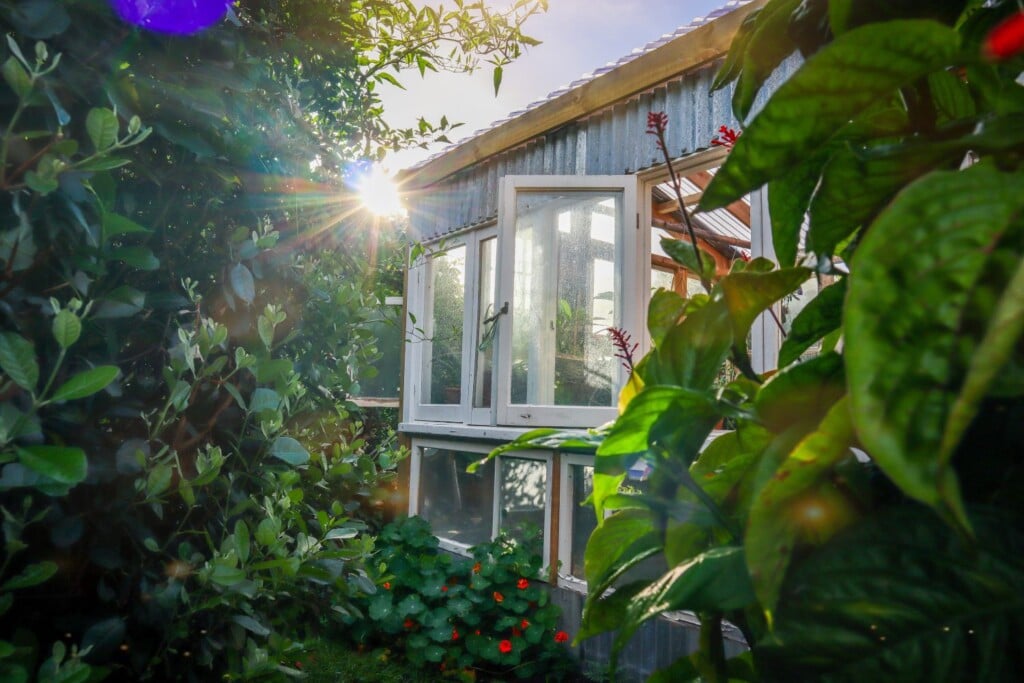
- Greenhouse
- Seedling Raising areas
- Compost
- Worm farms
- Pot plants or container gardens
- Utility sheds
Zone 2
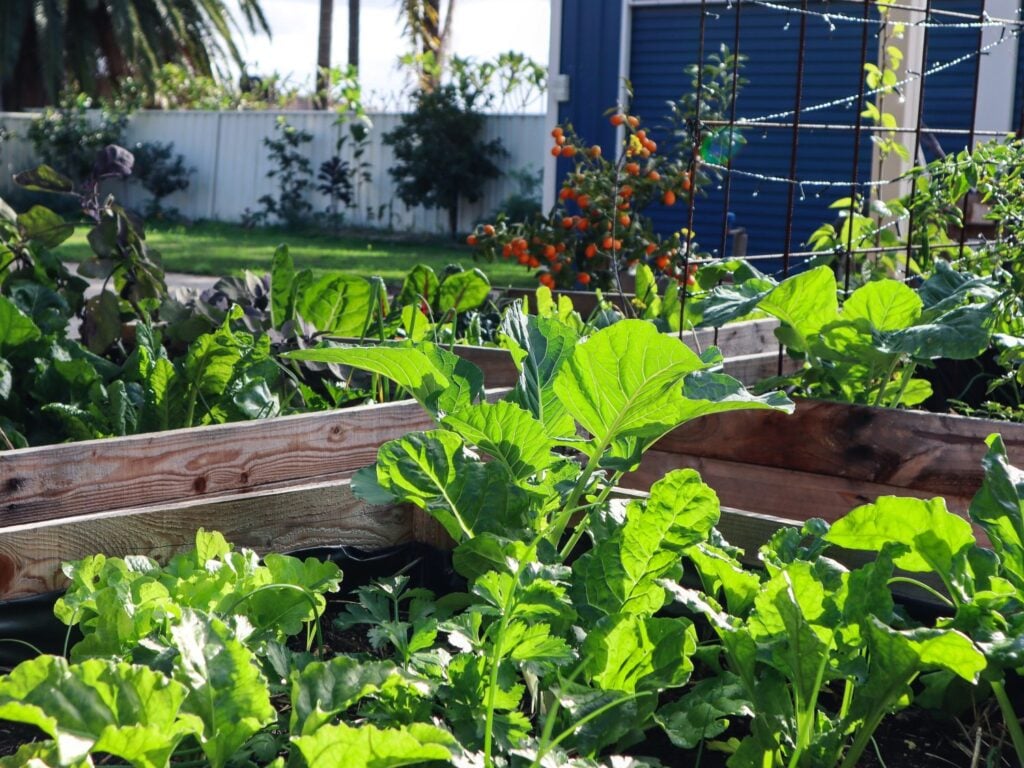
- Main vegetable patch
- Small animals such as chickens, ducks
- High maintenance fruit trees or regular produces (lemons)
- Larger composting systems
- Dense planting
- Vertical gardens
Zone 3
- Other animals such as goats, bees, sheeps etc
- Milking animals
- Hardier fruit trees or food forests
- Animal food systems
- Windbreaks
- Firebreaks
- Ponds
Zone 4
- Storage of extra supplies or firewood
- Low maintenance herd animals such as cattle
- Agroforestry
- Set and forget planting
- Old established non producing trees
Zone 5
- Wilderness / bushland
- Neighbouring properties
Place and mapping your zones out doesn’t need to be linear. They can be the same distance from the house as each other – it is more about how often you frequent them. For example: zone 3 may be closer to your house than zone 2 but it is out the side door of your house that you don’t often use.
The main goal of creating these zones and sectors is so that you can place your elements such as kitchen garden, shed, chickens, orchards in areas where they can benefit the most from the natural energy forces and create as many interconnected relationships as possible.
So you may place your vegetable patch where it is protected from winds, gets good winter sun and is next to or on the way to your chickens and compost bins. That way your extra garden greens can easily be fed to the chickens or placed in the compost. And then that compost can be easily spread on the gardens to grow more food.
Creating pathways where things can naturally happen along the way makes it so much easier and more achievable.
Remember to think of this as a journey. You may be just starting out with a kitchen garden and vegetable patch but in the future you may have chickens, a pond, a food forest and so on, so it’s important that you place things in areas that you naturally frequent and that are easily accessible. Otherwise, the further down the journey you get, it may get overwhelming and hard. If this happens, then your orchard may not get pruned, garden beds may be forgotten about and die and the wheels might start falling off.


This is such a valuable exercise to do and update regularly. Create systems that work together and have that ease and flow. That way it will actually be sustainable long term with a lot less effort.
If you have any questions please let me know via email, I will be more than happy to help.
Holly