Broccoli
Plant of The Month Info Card
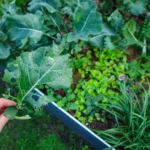
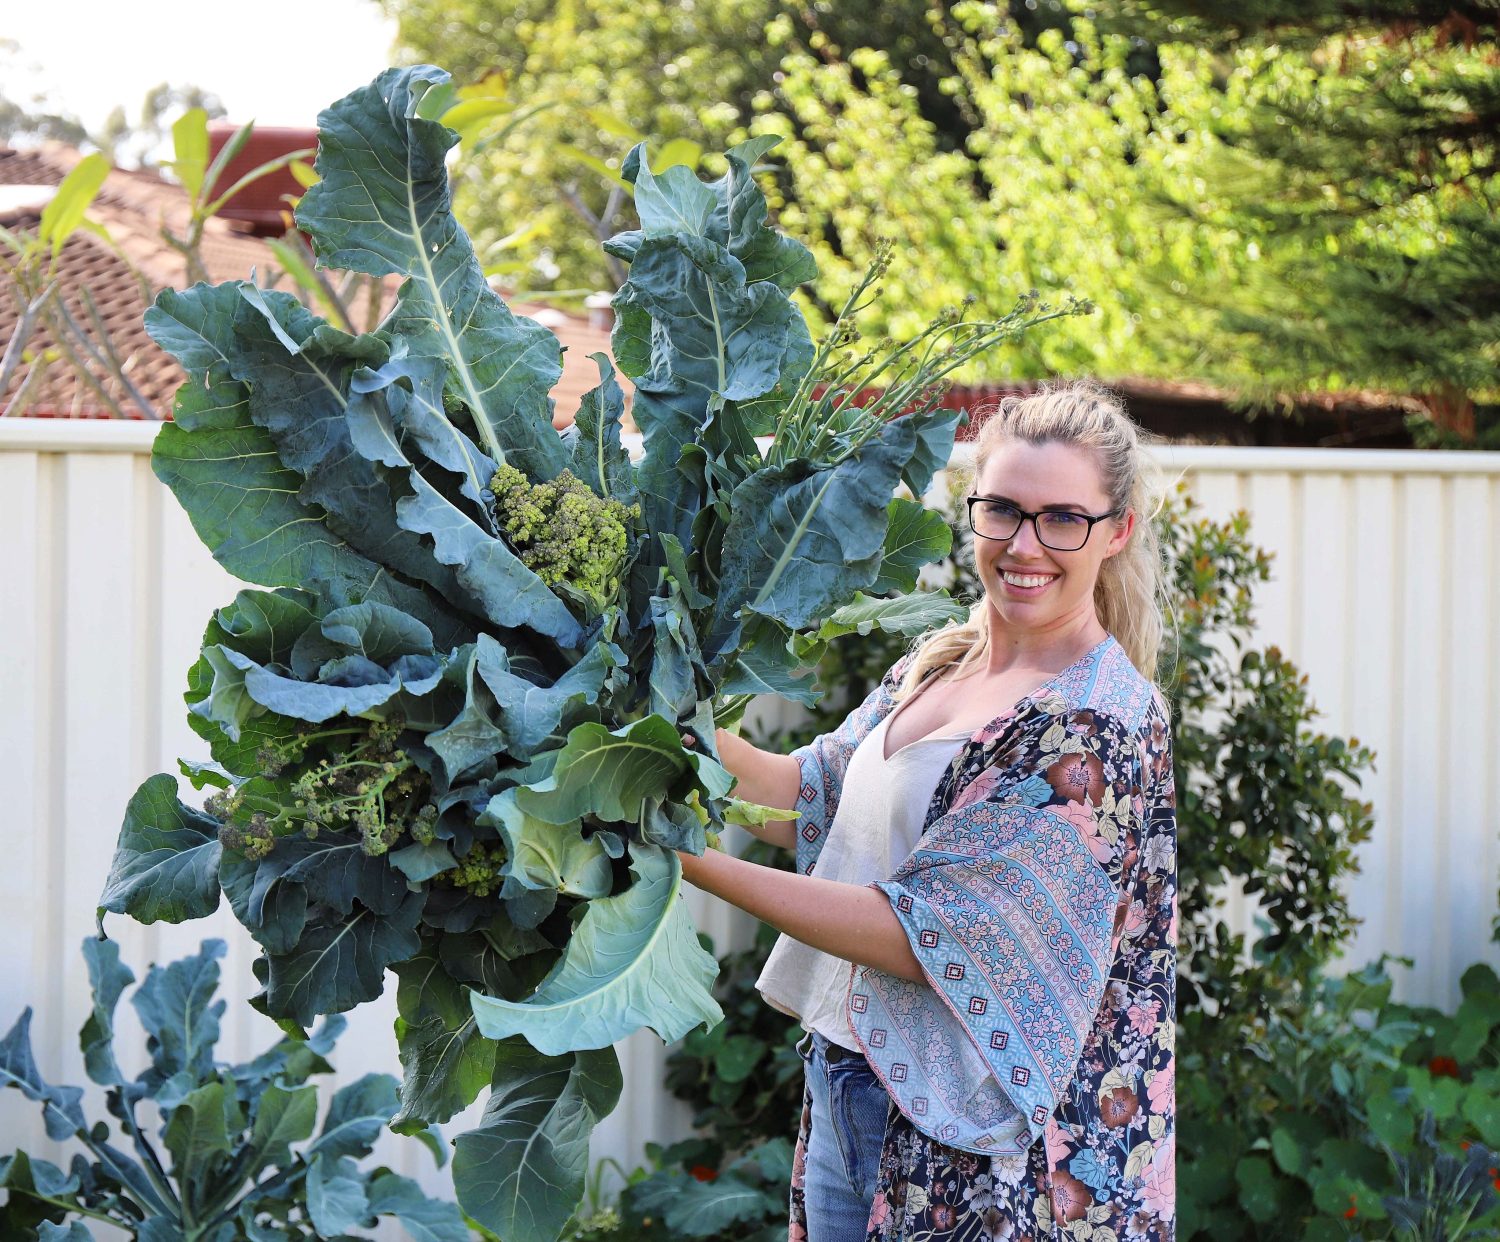
Broccoli (Brassica oleracea) is a hearty winter vegetable that provides large yields of nutritious food that can be used in so many ways! Growing your own Broccoli at home means you will have nutrient-rich veggies but you will also get access to all the extra parts of the plant such as the leaves and the stem that are both edible and delicious. Broccoli is easy to grow and can be grown in containers or garden beds. They are heavy feeders and can be susceptible to bugs such as caterpillars, slugs, and snails

SOW
Late summer/ Autumn/early winter.

SOIL
Deep rich compost & well draining.

LOCATION
Full sun. Plant 40cm apart.

CARE
Water at base. Keep weed free.

FERTILISE
Fertilise fortnightly with organic seaweed solutions.

PESTS
Watch out for slugs, snails, aphids and caterpillars.

HARVEST
8- 12 weeks. Harvest before the head starts separating.

REPRODUCE
Seed pods appear after the head goes to flower.
Broccoli Varieties
De Cicco – Traditional Italian Broccoli. Harvest the central head first to promote vigorous side shoots for up to 6 months.
Waltham – A popular Farmers’ Market variety forms large heads. High yields. Very cold tolerant. Great all purpose variety. Pick side shoots for up to 3 months.
Green Sprouting Broccoli – An Italian variety, the blue-green head is followed by `broccolini type’ side shoots that can be harvested for up to 3 months. Harvest main head 9 weeks.
Purple Sprouting Broccoli – Green stalks with small to medium-sized purple heads that are ideal for stir-frying or steaming. Purple colour is reduced when cooked. The plant continues producing small heads after each pick. Very nutritious.
Romanesco – Large pale green heads with an attractive spiralling pattern that grow to 20cm. Very tender and excellent flavour. Does best in cooler weather. This variety is often eaten raw and is very attractive in salads but can also be cooked with only a small loss of flavour.
Kailaan – Long succulent stems topped with compact broccoli heads that open to white flowers. All parts, even the leaves, are good eating. The taste is sweet to start, then the mustard flavor comes through. Excellent steamed, in stir-fries and laksas. Can be planted close together as its upright narrow habit grows well en masse. Harvest the whole plant. Heat tolerant. Fast-growing.

How to Grow Broccoli
Broccoli likes cool temperatures and a full sun location. Broccoli is a heavy feeder so much sure your soil is topped up with compost and try to plant your Broccoli in a different area of the garden each year to help the soil replenish the nutrients. Broccoli grows best in rich, moist soil with a soil pH between 6.0 and 7. Broccoli can grow quite large with big leaves so plant your seedlings about 40- 50cm apart in compost-rich soil, water in your seedlings directly after planting. Add a layer of mulch to keep the soil protected and moisture in. Depending on the variety Broccoli will be ready to harvest in 2-3 months.
When to Plant Broccoli
Broccoli is a cool weather plant so you typically want to be harvesting your Broccoli during winter. However, in some climates it can be grown all year round. The key is to have the broccoli floreats ready during cooler temperatures so that they dont bolt and go straight to flower. There are many varieties available and some that can tolerate warmer weather. Sow your seeds in the last few months of Summer or during Autumn so that your Broccoli plants are ready to harvest over winter.
Care/ Maintenance
Keep the plants well-watered on warm days. Water the plant at the base to avoid excess water pooling in the leaves and causing rot. For an extra boost you can feed your plants with a liquid seaweed solution every 2-3 weeks.
Pests / Disease
Broccoli is a prime target for white butterflies and caterpillars. Check your plants regularly by lifting the leaves and checking for caterpillars or larvae and remove. A barrier of crushed eggshells or a small container of beer can help keep the slugs and snails away especially while the plants are young and delicate. Plant a few extras throughout your garden and you will be sure to have more than enough Broccoli to eat! Click here for more natural pest management to help keep the pests at bay.
How/ When to Harvest
Depending on the variety Broccoli will be ready to harvest in 50-80days. The Broccoli head should have tightly packed buds and not have started going to flower. Once the little buds start going to flower you will want to harvest ASAP as the flowers will be quite bitter in flavour. To harvest your Broccoli cut the stem on a slight angle using a sharp knife. This will allow more broccoli heads to sprout off the main trunk over the next few weeks and you will get extra Broccoli! The angled cut will allow water to drain off so the main stem so it won’t rot. You can also harvest the younger leaves and use them in cooking as extra greens. Once you have harvested the side sprouts you can remove the plant and use up the rest of the stem and leaves.
Reproducing / Saving Seeds
Broccoli seeds can be saved after letting one of the Broccoli florets go to flower and seed. Yellow flowers will appear and then after that, seed pods will form. Once they have dried off you can harvest all the seed pods. The Broccoli seeds can be removed from the dried pods and stored to replant the following season. Save the seeds in a cool, dry, dark space.
Cooking and Using Broccoli
Broccoli is such a hearty vegetable and can provide nutritious and filling meals. Broccoli can be used in so many ways such as raw in a salad, roasted, grilled, steamed, stirfried, and added to any curry or soup. Broccoli is a great source of fibre and protein. Plus it contains iron, potassium, calcium, selenium and magnesium as well as the vitamins A, C, E, K and B vitamins including folic acid.
Preserving the Harvest
Broccoli can be frozen to add to soups and stocks. To prepare the Broccoli, rinse and remove the stalks. The stalks will take longer to cook so I like to freeze them separately. Blanch the Broccoli in boiling water for 40seconds – 1minute then add to a bowl of iced water. Cut the stalks into slices or cubes and blanch for 2 minutes and then add to the ice water until completely cool. Shake off the excess water and add to freezer bags or ziplock bags. Try to remove as much of the air from the bags as possible to reduce freezer burn. Keep frozen and use within 6 months. The stems can also be pickled and stored in the refrigerator.

Roasted Broccolini with Lemon and Garlic Yoghurt Dressing
Broccolini or Broccoli is in abundance during the winter months and it…

Stirfry Broccoli with Tamari, Chilli and Garlic
This Stirfry Broccoli dish is super quick and easy to make and…