Sautéed Rainbow Chard on Toast with Feta, Crispy Sage and Pickled Onions

Sautéed Rainbow Chard on Toast with Feta, Crispy Sage and Pickled Onions

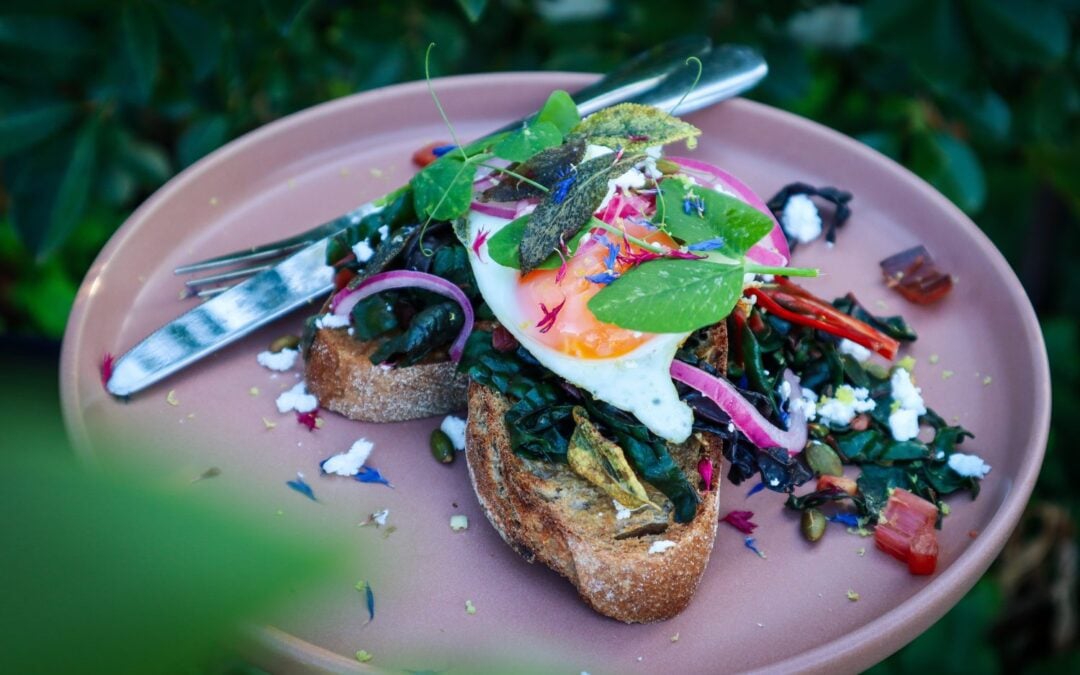
Sautéed Rainbow Chard is a quick and easy way to prepare a nutritious side of greens. This recipe is fresh, vibrant and so so delicious! Infused with garlic, lemon zest and topped with Crispy Sage and pickled onions this is the Ultimate garden-to-plate breakfast (lunch or dinner!). The pickled onions are best to make at least the day before so they have time to infuse and pickle.

Sautéed Rainbow Chard on Toast with Feta and Crispy Sage

Sautéed Rainbow Chard on Toast with Feta and Crispy Sage

Yield: serves 2
Prep Time: 20 minutes
Cook Time: 10 minutes
Total Time: 30 minutes

Fresh, nutritious and full of flavour, this garden-to-plate breakfast is easy and delicious! Make the most of the Rainbow Chard season.

Ingredients

  • 2-3 garlic cloves
  • 1 TSBP butter (or olive oil)
  • 1 tsp lemon zest
  • 3-4 Rainbow chard stalks and leaves
  • 2 TBSP Feta (or add halloumi or cottage cheese)
  • 2 TBSP Pepitas/ pumpkin seeds (or sunflower seeds)
  • Pickled red onions to serve (see recipe below)
  • 2-4 Eggs (optional)
  • Salt to season
  • 4 pieces Sourdough

Instructions

  1. Peel and finely slice garlic. Add to a pan on medium heat with butter. Cook for 2 mins.
  2. Roughly slice Rainbow chard stalks (1cm chunks) and add them to the pan. Cook for a further 2 minutes.
  3. Chop leaves and keep to the side.
  4. In another pan fry the eggs to your liking.
  5. Add chard leaves to the garlic and stalks and cook for 1-2 mins until wilted. Stir through Lemon zest and season with salt.
  6. Turn the oven grill on to 180 degrees. Drizzle Sage with olive oil or butter and place on an oven tray along with Pepitas. Toast under the grill until slightly golden watching carefully as this will take less than 1 minute. Alternatively, this can be done in the pan along side eggs.
  7. Toast sourdough and butter.
  8. Place two pieces of toast on each plate and evenly distribute rainbow chard mix, crumble on feta, top with eggs, sprinkle on toasted pepitas, and top with Red Pickled Onions.
  9. Add edible flowers for colour - I used Cornflowers and pea shoots.

Notes

The pickled onions are best to make at least the day before so they have time to infuse and pickle.

simple pickled red onions

Simple Pickled Red Onions

Prep Time: 10 minutes
Cook Time: 2 minutes
Total Time: 12 minutes

Quick and easy pickled red onions add flavour to any meal. Add your seasonal garden herbs such as Fennel, Dill or Chilli to boost the flavours.

Ingredients

  • 3 Red Onions
  • 1/4 cup Apple Cider Vinegar
  • 1/4 cup White Vinegar
  • 1 1/2 TBSP Raw Sugar
  • 1 1/2 tsp Salt
  • 1 cup Water

Instructions

  1. Finely slice the red onions - using a mandoline is the easiest option.
  2. Cram as many red Onions into a clean sterilised jar.
  3. In a saucepan add the vinegar, sugar, and salt and stir until the sugar has dissolved and the mix starts to simmer.
  4. Add any extra flavours to the jar such as chilli, fennel flowers, fennel fronds, fennel seeds, mustard seeds, or peppercorns ( 1tsp per jar).
  5. Pour over the liquid and secure the lid.
  6. Allow cooling for one hour and place in the fridge.

    Notes

    To sterlise the jars place in a hot dishwasher run or wash and heat in the over for 10-15 at 110 degrees celcius.

    You can swap and use just one type of vinegar if you prefer.

    Use within 3 weeks.

    YouTube video
    Garden Green Flatbread

    Garden Green Flatbread

    Pick your fresh greens and herbs straight from the garden and turn them into these delicious green flatbreads. This recipe is quick and easy to make and can be used for a wide range of dishes. Roll thin for flatbread wraps or tear up and use as a dipping bread for hummus and other summery dips. These would also be delicious served with curry or stew.

    green flatbread

    Garden Green Flatbread

    Yield: 8-10
    Prep Time: 10 minutes
    Cook Time: 5 minutes
    Additional Time: 15 minutes
    Total Time: 30 minutes

    Garden Green Flatbreads are easy to make and packed full of nutritious greens and herbs from the garden. These flatbreads are great for serving with summer dips, hummus or pile on your favourite salad for a healthy wrap.

    Ingredients

    • 3 cups Flour
    • 1 1/2 tsp Baking Powder
    • 1 tsp Salt
    • 4 TBS Vegetable Oil
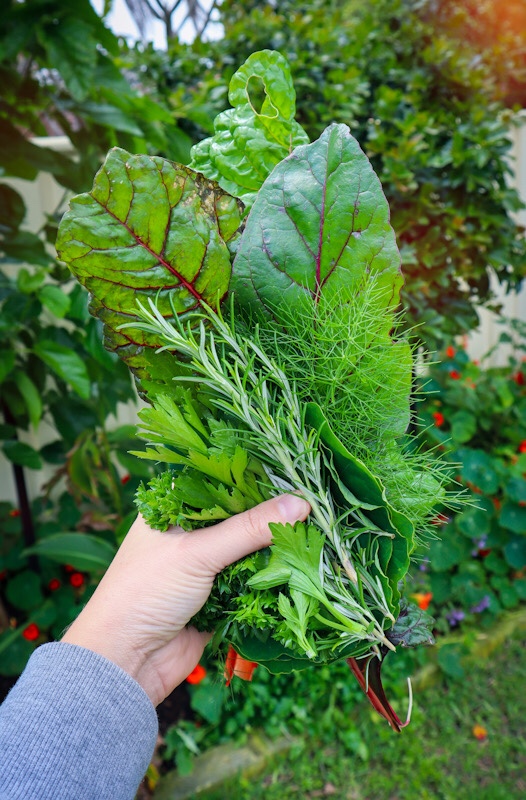
    • 2 cups mixed greens and herbs*
    • 1 sprig fresh Rosemary
    • 3/4 cup milk

    Instructions

    1. In a large mixing bowl add flour, salt, baking powder, and mix. Then add in the oil and mix to a crumbly dough.
    2. Remove the stalk and roughly chop up the rosemary leaves and add to the mix.
    3. Prepare a bowl of iced water. Blanch the greens in a large shallow pan of boiling water for 30 seconds then add to the bowl of iced water to cool.
    4. Warm the milk in a saucepan and add to a Blender. Strain the excess water off the greens and add to the blender. Blitz until smooth and combined.
    5. Add the green mix to the flour to form a dough. Add a little extra flour if it is too wet and sticky.
    6. Roll the dough into a ball, wrap with film, and refrigerate for 15mins.
    7. Lightly flour the bench, roll out your flatbreads using golf ball-sized amounts of dough. The thinner the dough is the easier it will be to bend and wrap.
    8. Heat a large pan with oil then add your flatbreads for 30 seconds on each side or until slightly golden.
    9. Tear up the flatbreads and serve with dip, hummus or add your favourite salad to use as a wrap.

    Notes

    - The darker the greens are you use the more vibrant the colour will be.

    - *Use greens such as Spinach, Chard leaves, Asian Green leaves, Parsley, Nasturtium, Sweet Potato, Fennel Frond

    Cauliflower Fried Rice

    Cauliflower Fried Rice

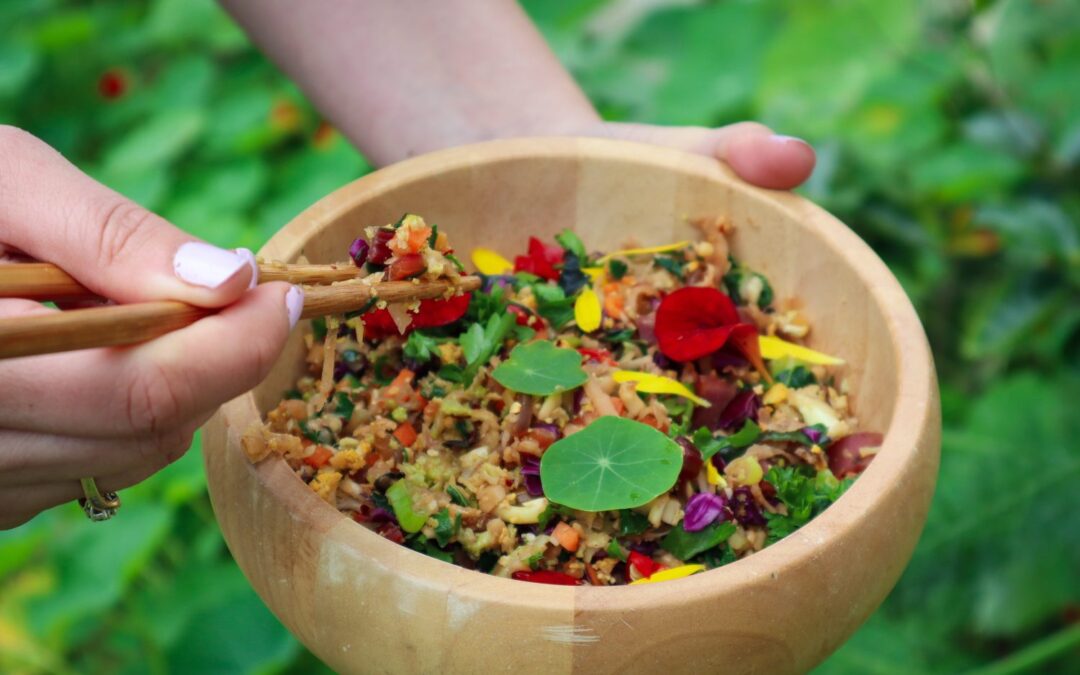
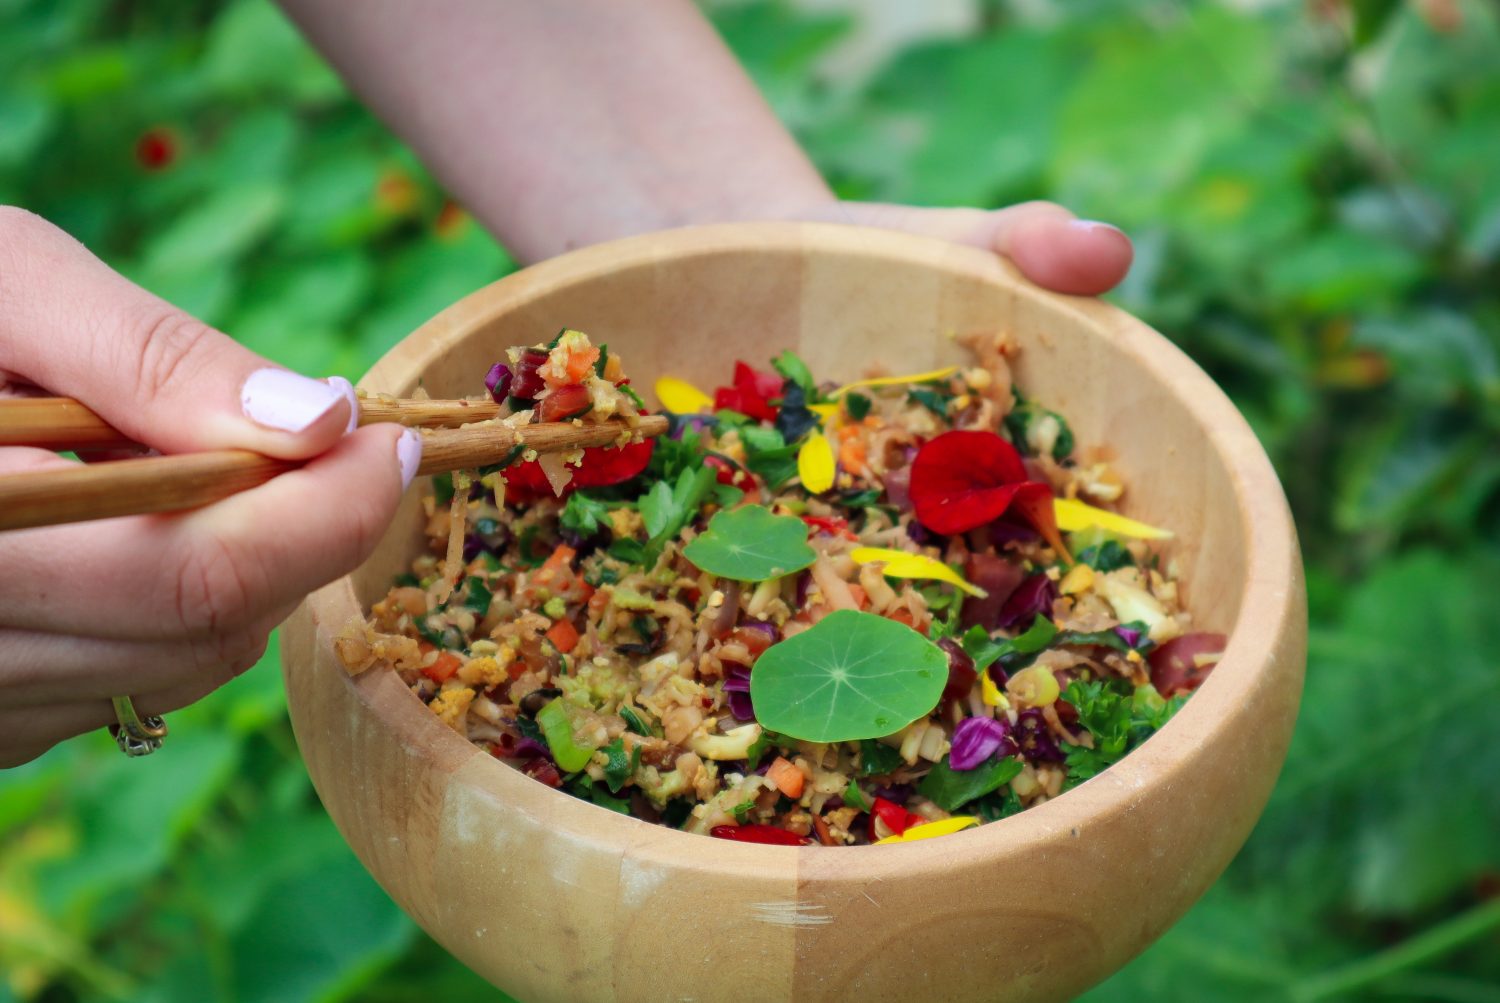
    Cauliflower is fantastic at absorbing flavour which makes it a perfect substitute for rice. This Cauliflower fried rice is simple, easy to make, packed full of nutrients and tastes so so good! This recipe is flexible, so use whatever in-season veggies you have available. I have added a list of alternatives at the bottom of the recipe.

    cauliflower fried rice

    Cauliflower Fried Rice

    Yield: Serves 4
    Prep Time: 15 minutes
    Cook Time: 20 minutes
    Total Time: 35 minutes

    Ingredients

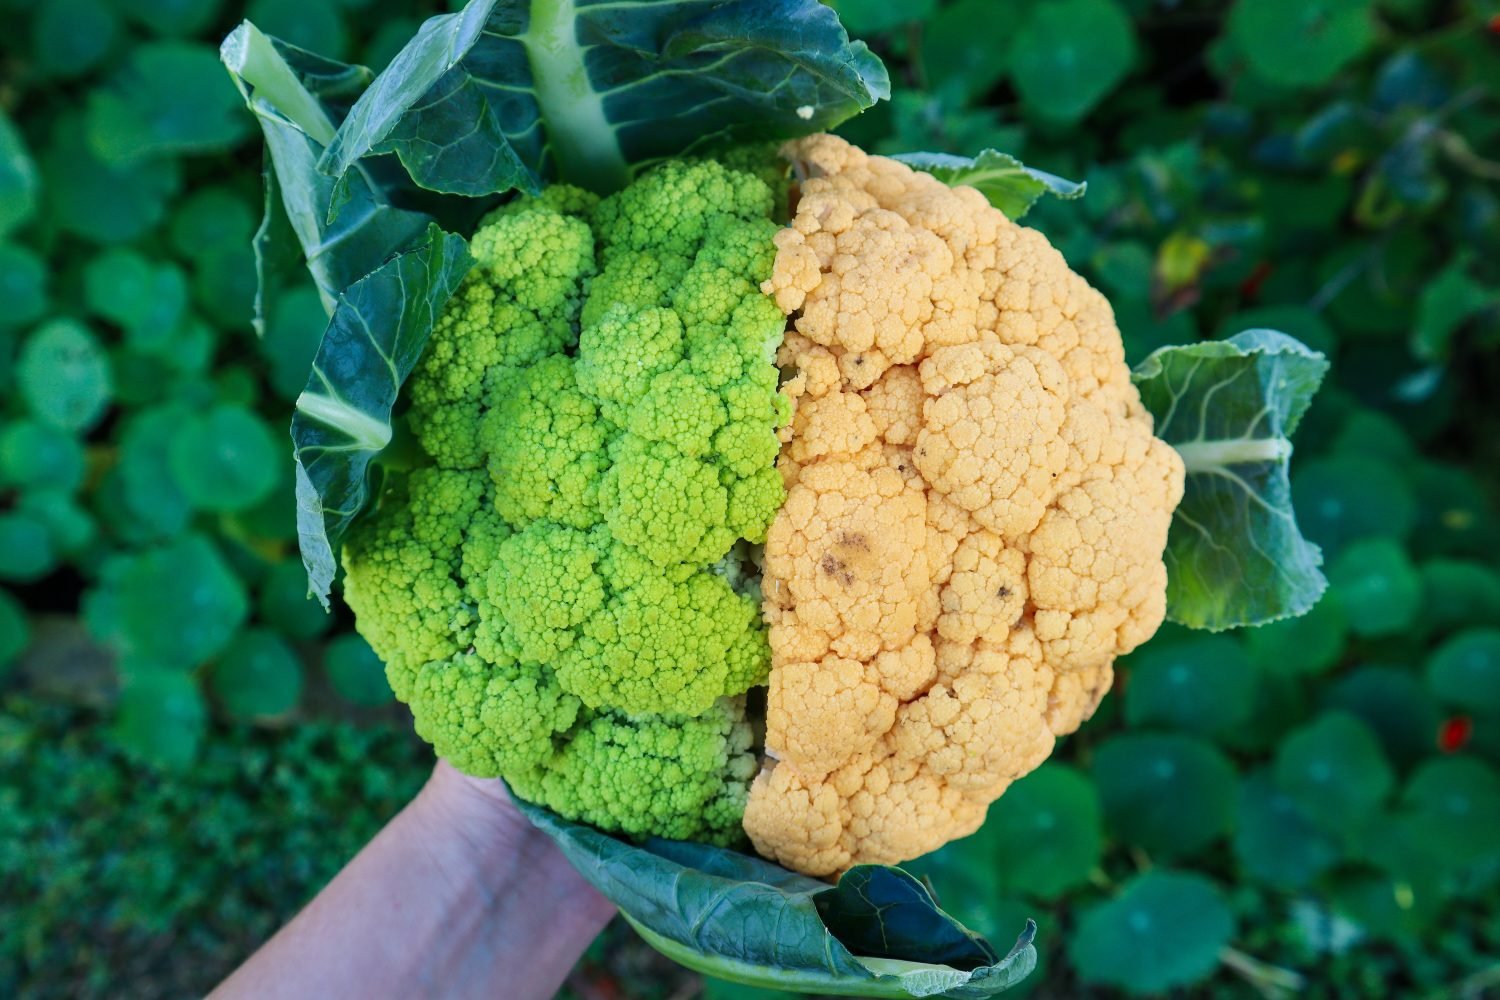
    • 1 whole cauliflower (I used half green and half yellow varieties)
    • 1/2 tsp Ground Smoked Paprika
    • 1/2 tsp Cumin Powder
    • 1/2 Red Onion
    • 2 Garlic Cloves
    • 1 Carrot
    • 1 Spring Onion
    • 1 Red Chilli
    • 1/2 cup chopped Purple Cabbage
    • 1/2 cup chopped Sweet Potato (roughly 1/2 a sweet potato)
    • 4-5 Rainbow Chard stems and leaves
    • 1/2 cup chopped Parsley
    • 2 TBS Tamari (soy sauce)
    • 1 TBS Water
    • 2 tsp sugar or sweeter (honey,agave)
    • 2 tsp lemon juice
    • 1/2 tsp sea salt flakes

    Instructions

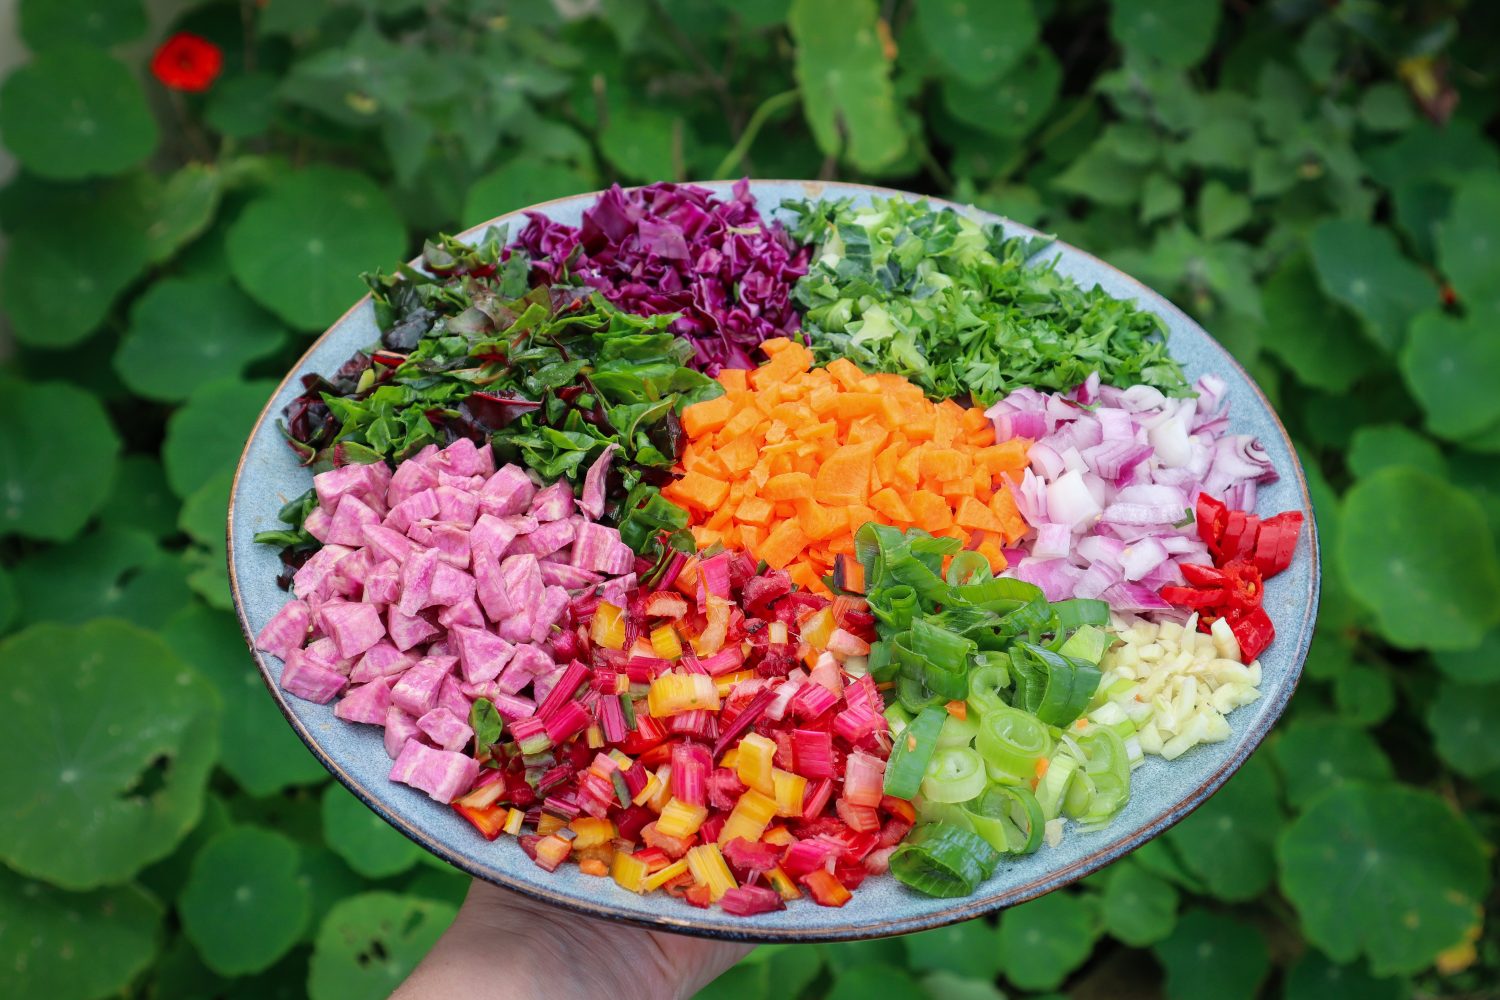
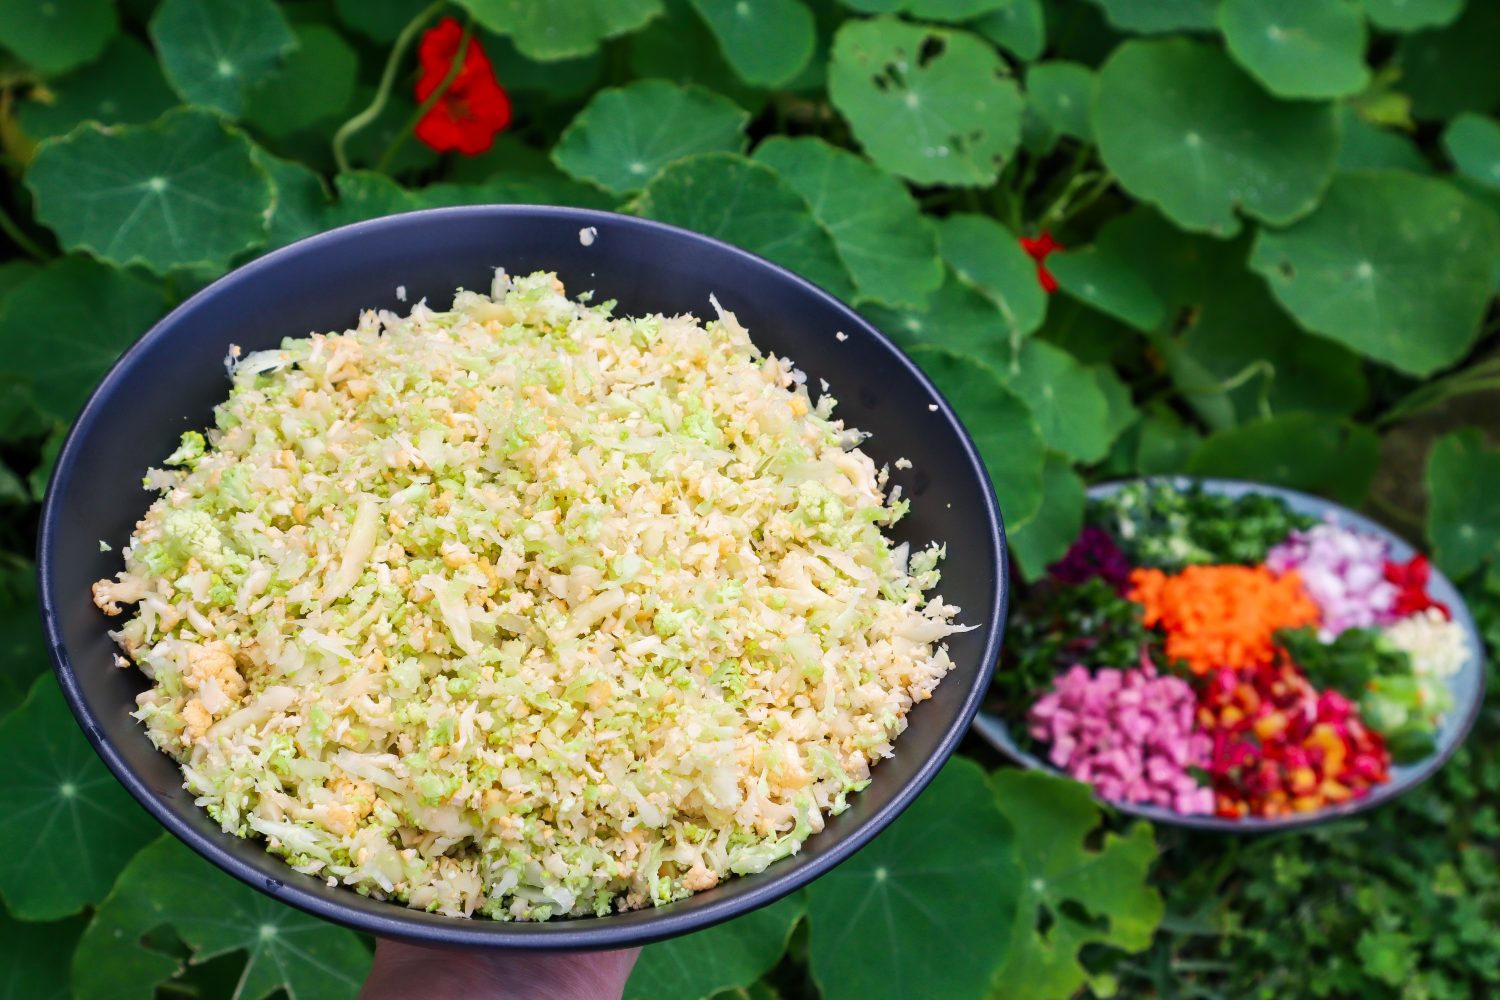
    1. Grate or chop the Cauliflower into rice sized pieces. You can also use a food processor if you have one. You want it to still be a little chunky and no smaller than the size of a long grain rice granule.
    2. Prepare all your vegetables: Finely dice the Onion, Carrot and Sweet Potato into 1/2 cm cubes or chop up in a food processor. Finely chop the Cabbage, Rainbow Chard Stalks, Leaves and any Cauliflower leaves into small 1/2cm pieces. Thinly slice the spring onion. Finely chop the garlic.
    3. Prepare the sauce by mixing in a small bowl: Tamari, Water, Lemon Juice and Sugar. Stir until sugar is dissolved.
    4. Heat a large frying pan or wok with a drizzle of oil on a medium-high heat and cook the Onion and Sweet Potato until they soften (5-10mins). Stir regularly for even cooking.
    5. Add Cumin, Paprika and Garlic to the pan and mix to combine for 1 minute.
    6. Then add the Carrot and mix to combine.
    7. Then add in the Cauliflower and mix to combine. Sprinkle over Sea Salt Flakes. Cook for 2-3 minutes.
    8. Add in the Cabbage, Rainbow Chard, and Leaves. Mix to combine.
    9. Drizzle over the sauce and mix to combine. Cook for a further 5 minutes or until vegetables are soft but still have some texture or crunch to them.
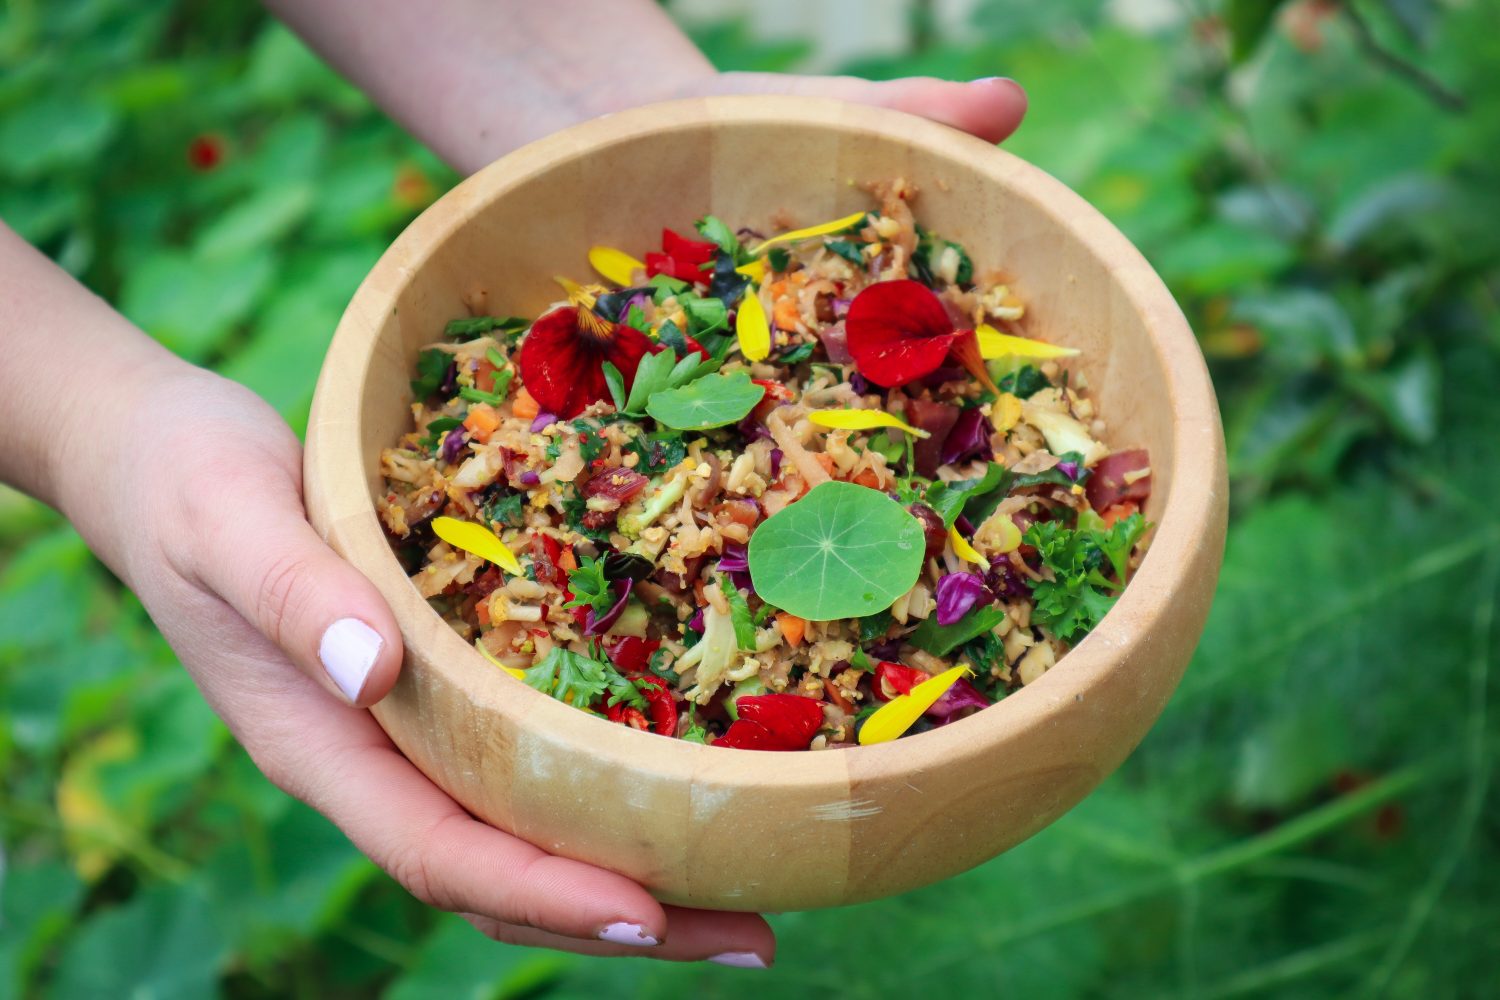
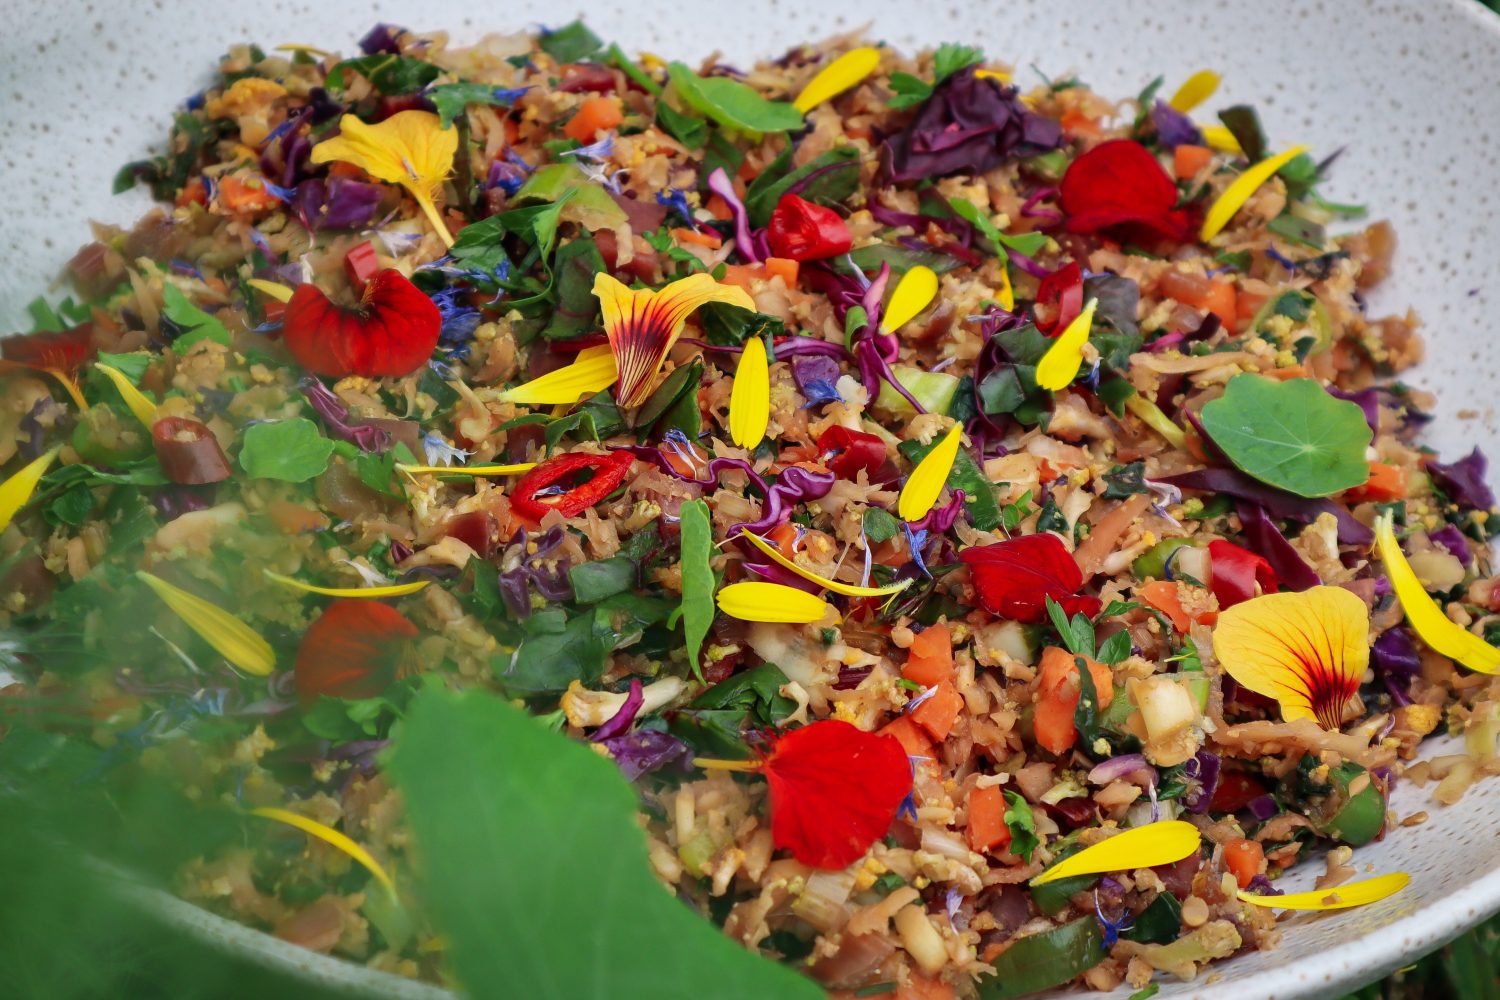
    10. Remove from the heat and add to a large serving dish or individual bowls. Garnish with fresh chopped parsley, baby nasturtium leaves and edible flowers ( I used Nasturtiums, Calendula and Blue Cornflowers).

    Notes

    This recipe is flexible and you can use the vegetables you have in season. A total of 2-3 cups of diced vegetables. Other vegetables to try: Capsicum, Pineapple, Bokchoy, Spinach, Sugar Snap Peas, Beans,

    Nourishing Garden Green Soup

    Nourishing Garden Green Soup

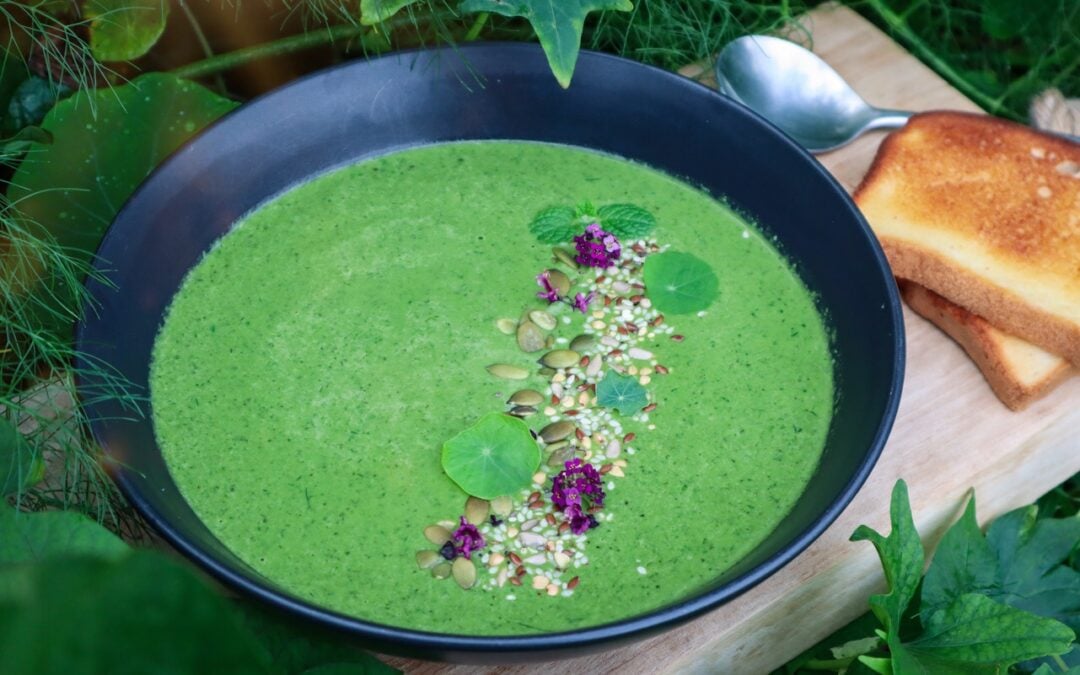
    Winter greens are in abundance and it is the perfect time of year to enjoy warm, nourishing soups. This garden green soup is full of greens that are only lightly cooked, so they retain as much of their nutrients as possible. This soup will make the perfect winter starter or lunch and can be made using any greens you have growing in the garden.

    green soup

    Nourishing Garden Green Soup

    Prep Time: 20 minutes
    Cook Time: 20 minutes
    Total Time: 40 minutes

    Packed full of fresh nutritious greens from the garden, this soup is delicious served both warm and cold.

    Ingredients

    • 1 medium Brown Onion
    • 2 cloves of Garlic
    • 4-5 Rainbow chard leaves
    • 10 Sweet Potato leaves
    • 2 Broccoli or Cauliflower leaves
    • 1 Sprig of Mint (10 leaves)
    • 3 Sprigs of Fennel Frond leaves
    • 2 Sprigs of Parsley (1/2 cup)
    • 2-3 Nasturtium leaves
    • 1 Tbsp Tamari (or soy sauce)
    • 1 tsp ground Cinnamon
    • 1 tsp ground Cumin
    • 1/2 cup Coconut Milk
    • 1 tsp Salt
    • 1 Tbsp Cooking Oil
    • 3/4 cup Water

    Instructions

    1. Finely dice the onion. Add oil to a frypan on medium-low heat and cook the onion for 10 minutes or until slightly golden.

    2. Add in the garlic and cook for 1 minute. Add in the cumin and cinnamon and stir to mix, cooking for a further 1 minute.

    3. Add in the coconut milk, Tamari, and 3/4 cup of water. Cook for 5 minutes, stirring regularly. Remove from the heat and allow to cool.

    4. Rinse your greens and remove the stems.

    5. Fill a wide bowl with cold water and ice and place it beside the stove. Place a wide pan, (or wok) on medium heat with 3-4 inches of water. Heat until the water is simmering.

    6. Blanch your leaves in the simmering water and then add to the iced water to cool. This will lightly cook the leaves and help them remain bright vibrant green. Do this in stages with each type of leaf. Blanch the thicker leaves such as Rainbow chard, Broccoli, Cauliflower leaves, and Sweet Potato leaves for 45 seconds. The more delicate leaves such as Mint, Nasturtium, and fennel for 20-30seconds.

    7. Strain off the green from the water.

    8. Blitz up the cooled onion mixture and greens in a blender or similar (stick mixer, Nutribullet).

    9. Transfer the mix to a saucepan and add salt (to taste) and reheat to serve or enjoy cold.

    OPTIONAL: Top with mixed seeds (sesame, pumpkin, sunflower), edible flowers, and baby mint and nasturtium leaves. Serve with buttered Toast.

    Notes

    The Sweet potato and Broccoli leaves can be substituted with other garden greens you have growing in the garden such as Spinach, SilverBeet, Asian greens.

    The darker the greens are in colour, the more vibrant green the soup will be.

    Satay Rainbow Rolls

    Satay Rainbow Rolls

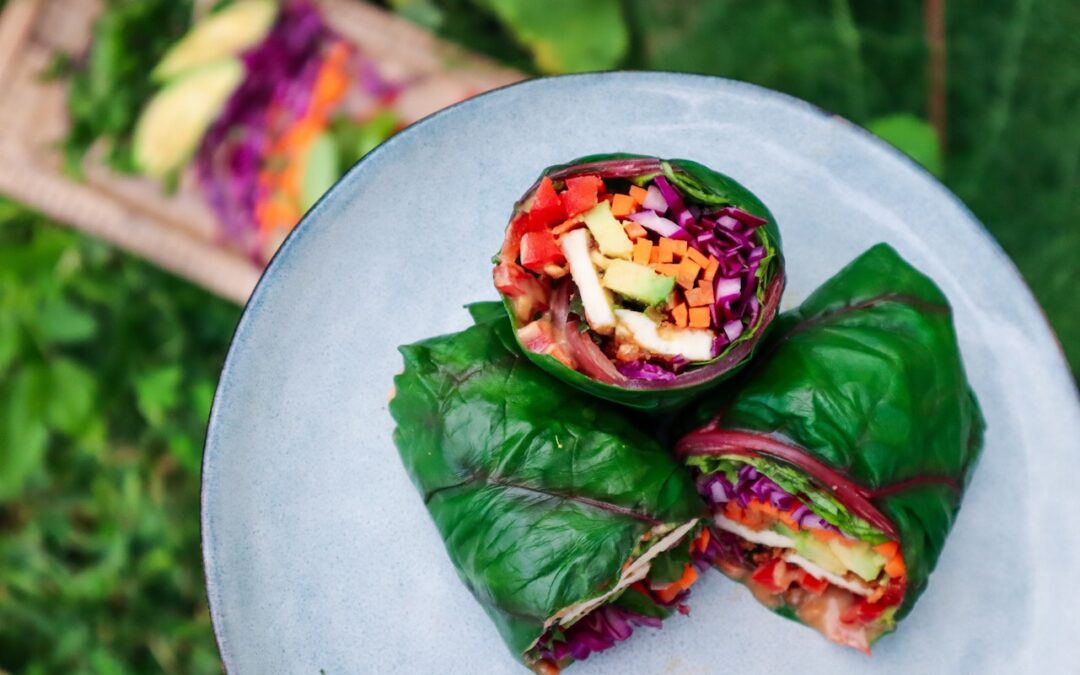
    Satay Rainbow Rolls are healthy, delicious and so easy to make! Once you master the rolls you can mix and match ingredients with what is fresh and growing in your garden. Plus, feel free to swap the halloumi for your favourite protein. These Rainbow Rolls are made using Rainbow Chard but you could also use large Beetroot leaves, Cauliflower leaves, Broccoli leaves, Spinach or even Cabbage leaves. It is important to have flexible recipes that you can make using what you have available in your garden and these rainbow rolls are definitely a versatile option for your Garden to Plate meals.

    satay rainbow roll

    Satay Rainbow Rolls

    Prep Time: 35 minutes
    Cook Time: 2 minutes
    Total Time: 37 minutes

    Ingredients

    • 3 Large Rainbow Chard leaves
    • 1 Carrot
    • 1 cup finely chopped Red Cabbage
    • 1 /4 of a Red Capsicum
    • 4 Lettuce leaves
    • 1/2 Avocado
    • 6 Strips of Haloumi (swap for Tofu or Chicken)
    • Small lemon wedge
    • 2 TBS Peanut Butter
    • 1 tsp Tamari (or soy sauce)
    • 1 tsp hot water
    • 1 tsp brown sugar

    Instructions

    1. Mix peanut butter, tamari, water, and sugar in a small bowl until fully combined.
    2. Rinse Haloumi well in water, dry off and place on a plate to coat in a tsp of the Satay Sauce. Keep the remaining sauce for the rolls.
    3. Finely slice your cabbage. Peel and cut your carrots into fine sticks. Slice capsicum, avocado, lettuce, and any other fillings you want into small strips. Squeeze a little lemon onto the avocado to stop it from going brown.
    4. Rinse your Rainbow chard and remove the stems (keep these in a small jar of water and add to any other meal over the next day). Carefully slice off the back ridge of the stem so that it is thinner (see example image below).
    5. In a small pan lightly fry your halloumi until it is slightly golden. About 1minute on each side. Set aside to cool while you prepare the leaf wraps.
    6. Place a large pan of water to simmer. The pan needs to be big enough to fit your leaves. A wok or a wide frypan works best. Place a dish of water with a few ice cubes beside the stovetop to transfer the leaves to after they have blanched. Add your leaves one at a time to the simmering water for 40secounds and then transfer to the iced water. This will soften the leaves and keep them a vibrant green colour.
    7. Once they have cooled place them on a tea towel and carefully dry off the excess water.
    8. Lay the leaves flat with the top facing down. Add your filling to the widest part near the base of the leaves. Ensure there is about an inch of the empty leaf down the sides. Spoon on some sauce above the filling.
    9. Start rolling the leave from the base and then fold the left side in. Do a half roll again and add the right side. Carefully keep rolling and tucking the sides in as best you can. The bigger the leaf and the more room you have, the easier this will be. At the end, you may need to dab some water on the tip of the leaf to allow it to stick.
    10. Cut in half with a sharp knife and enjoy!

    Notes

    Additional filling options: Sprouts, Cucumber, Tomato, Egg, Radish, Corn, Chicken, Tofu,

    Leaf Roll Alternatives: Broccoli, Cabbage, Spinach, Cauliflower, Beetroot