Rainbow Chard
Plant of The Month Info Card
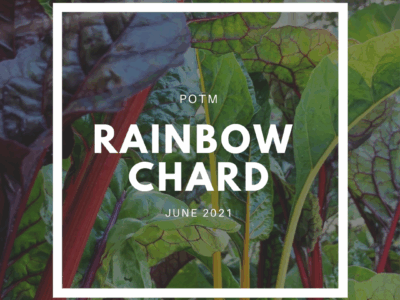
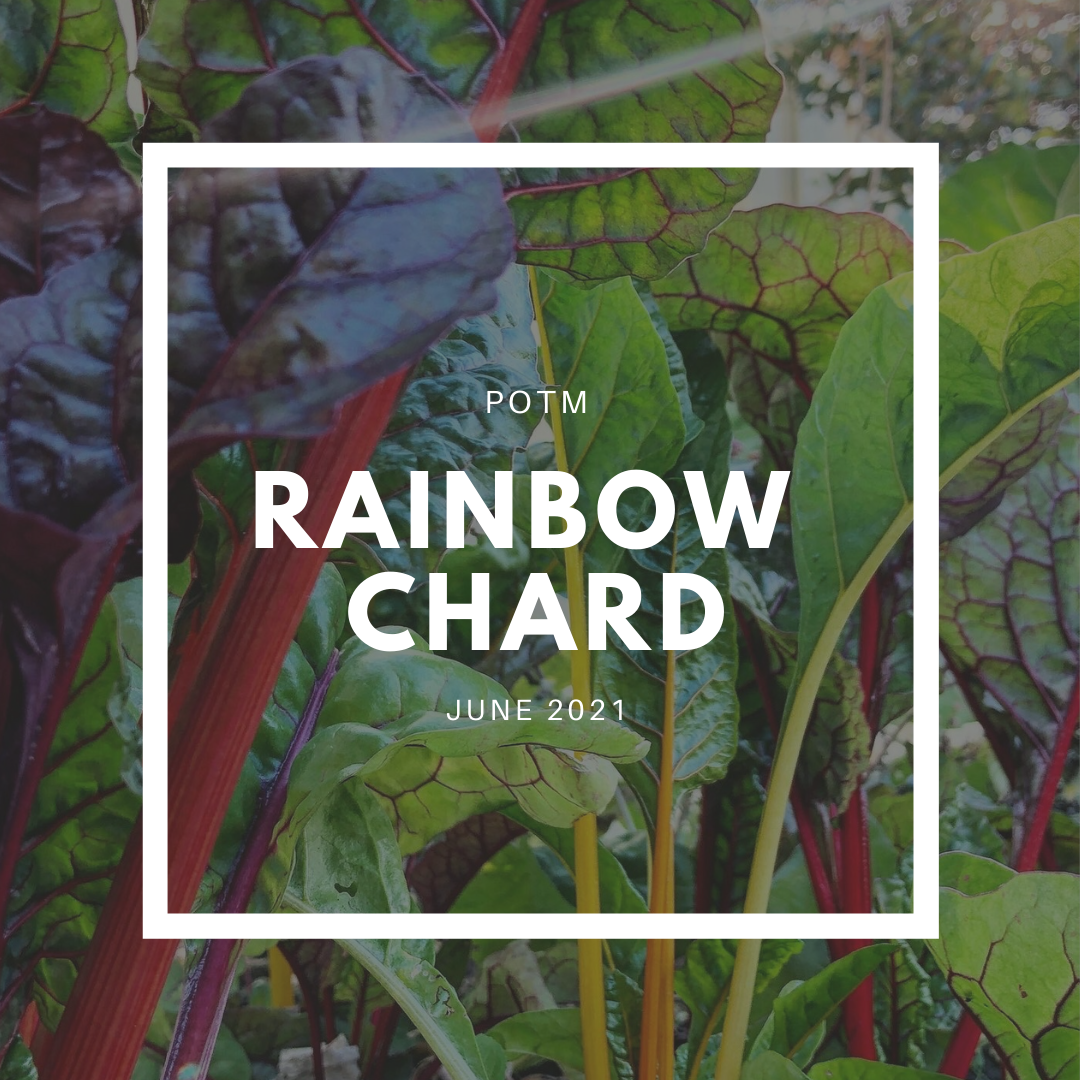
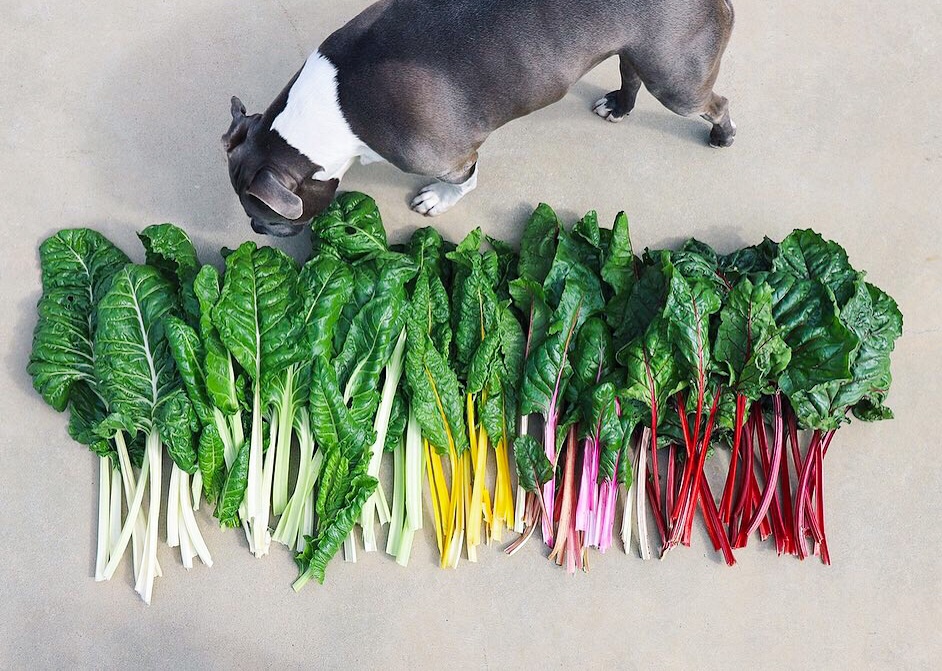
Rainbow chard is a standout plant in the garden with its vibrant coloured stems and lush green leaves. Chard is super easy to grow and will produce an abundance of edible leaves quickly. You can harvest the outer leaves as you need them and the plant will continue to produce more. This powerhouse vegetable is packed full of vitamins and minerals and can be used in many dishes. It is so versatile!
SOW

Late summer/ Autumn/ Winter.
SOIL

Deep rich compost & well draining.
LOCATION

Full sun – part shade. Plant 30cm apart.
CARE

Keep weed free. Extra water on hot days.
FERTILISE

Fertilise monthly with organic seaweed solutions.
PESTS

Watch out for slugs, snails, aphids and caterpillars.
HARVEST

8 + weeks. Harvest outer leaves throughout the season.
REPRODUCE

Biannual. Seed pods appear from a central flowers in the second year of growth.
Rainbow Chard
Rainbow Chard or Swiss Chard is actually part of the Beetroot family – Beta vulgaris. Although Rainbow Chard doesn’t form a root-like beetroot, it does have beautiful lush leaves with colourful stems. Rainbow chard is a staple crop to grow because it produces a lot of food on just a couple of plants. It also adds beautiful colour to your garden and dishes during the winter months.

How to Grow Rainbow Chard
Rainbow Chard likes cool temperatures and a sunny location. It will also grow in dappled shade at a slower rate which can be good because it is such a generous plant. This slower growth can be a strategic move if you want to plant multiple colour varieties and not be overwhelmed with too much produce. Rainbow Chard grows best in rich, moist soil with a soil pH between 6.0 and 6.8. Plant your seeds or seedlings about 30cm apart in compost-rich soil, and water your seed or seedlings directly after planting. You can direct sow seeds in location or plant them in trays and transplant them when they have produced their first 4 leaves.
When to Plant Rainbow Chard
Rainbow chard can be grown all year round in some climates. It is usually best to grow Rainbow Chard over Autumn and winter as it does not like hot weather. Sow your seeds in the last few months of Summer or during Autumn. Choose a sunny location to plant your Rainbow Chard. You may get away with growing chard over summer if you plant it in a cool shaded area of your garden. In warm weather, the chard leaves will go limp and may get burnt or bolt and go straight to seed. Here in Perth, our summers tend to be too hot for Rainbow Chard but I have had success growing it in shaded areas and making sure it receives water in the mornings. Rainbow chard can handle some frosts.
Care/ Maintenance
Rainbow Chard grows in such abundance so it is best to pick the outer leaves regularly. Keep the plants well-watered on warm days.
Pests / Disease
Chard is pretty hardy against pests but slugs, snails and slatters can be a problem, especially while the plants are young. Plant a few extras throughout your garden and you will be sure to have more than enough chard to eat! Click here for more natural pet management to help keep the pests at bay.
Reproducing / Saving Seeds
Chard seeds can be saved but they usually will only go to seed after their second season as they are Biennial crops. Once the weather gets too hot they will send up flowers and these will turn to seeds. Save the seeds and keep them in a cool, dry, dark space to plant the following Autumn.
Cooking and using Rainbow Chard
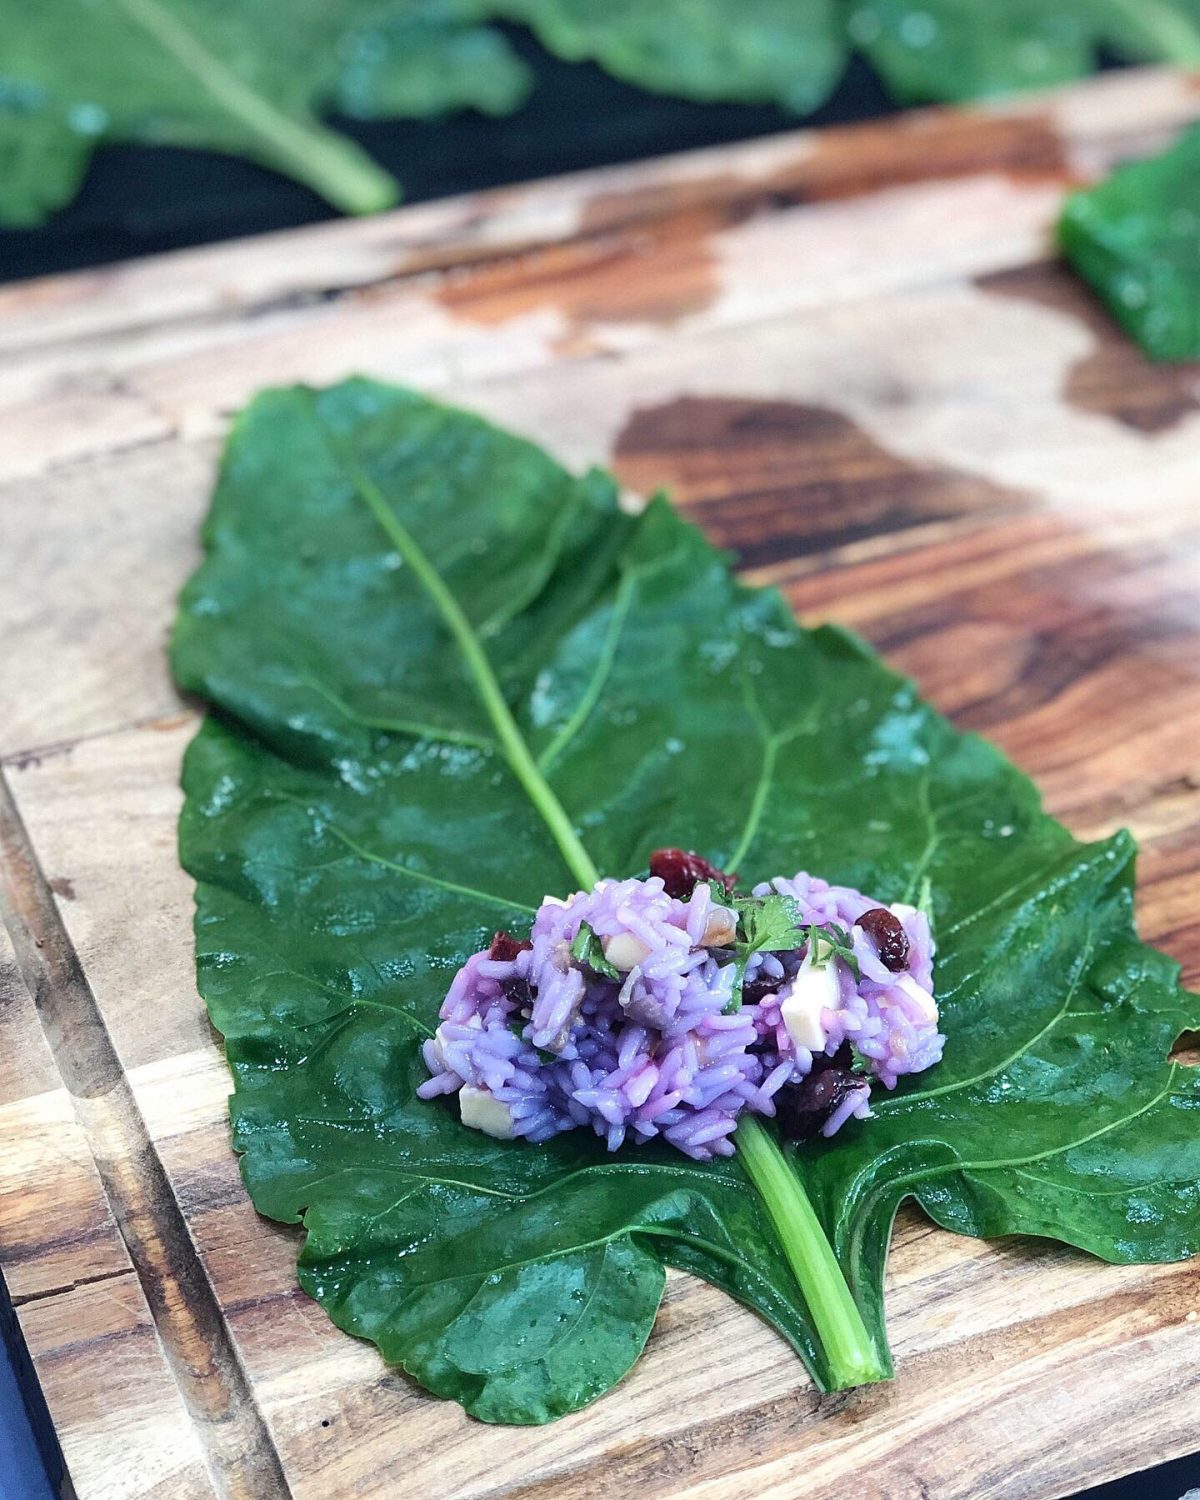
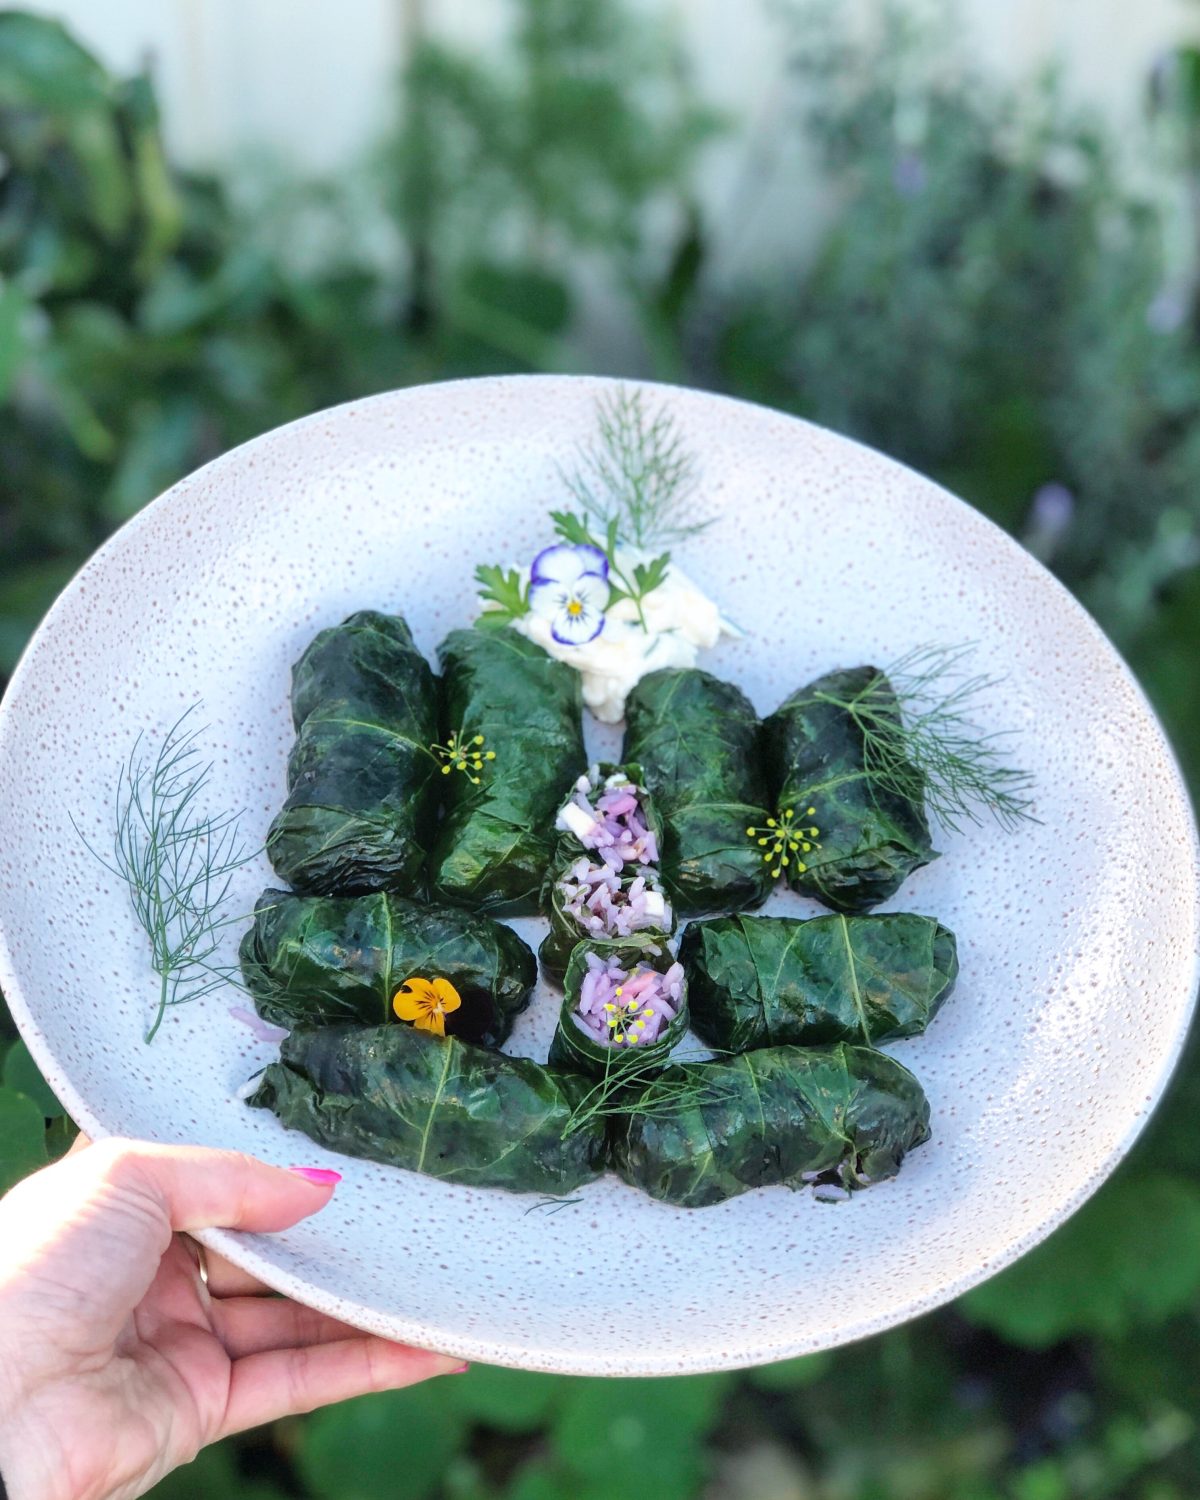
Rainbow chard not only brings colour to the garden, but also to the plate. Use chard leaves just like spinach and the colourful stems can be stir-fried, sautéed or even pickled. Add Rainbow Chard to the end of any meal such as curry, soup, stir-fry, omelette or in a salad. Just like spinach, chard cooks down to a small amount so don’t be afraid to add in a little extra. The leaves can be blanched and used to make wraps or dolmades. The Rainbow Chard leaves can be added to pesto. Sautéed Rainbow Chard in butter and garlic makes a quick and easy side dish.

Preserving the Harvest
Rainbow Chard can be frozen to add to soups and stocks. To prepare the Chard, rinse the leaves and remove the stalks. The stalks will take longer to cook so I like to freeze them separately. Blanch the leaves in boiling water for 40seconds – 1minute then add to a bowl of iced water. Do the same with the stalks but blanch for 2 minutes and then add to the ice water until completely cool. Shake off the excess water and add to freezer bags or ziplock bags. Try to remove as much of the air from the bags as possible to reduce freezer burn. Keep frozen and use within 6 months. The colourful stems can also be pickled and stored in the refrigerator. Another way to use up your harvest is to make pesto and freeze it in ice cubes. This is great to add extra greens to a dish or for a small serving of pesto for entertaining.
Or try Pickled Rainbow Chard Stalks.
Other Rainbow Chard Recipes

Sautéed Rainbow Chard on Toast with Feta, Crispy Sage and Pickled Onions
Sautéed Rainbow Chard is a quick and easy way to prepare a…


Cauliflower Fried Rice
Cauliflower is fantastic at absorbing flavour which makes it a perfect substitute…