Sautéed Rainbow Chard is a quick and easy way to prepare a nutritious side of greens. This recipe is fresh, vibrant and so so delicious! Infused with garlic, lemon zest and topped with Crispy Sage and pickled onions this is the Ultimate garden-to-plate breakfast (lunch or dinner!). The pickled onions are best to make at least the day before so they have time to infuse and pickle.
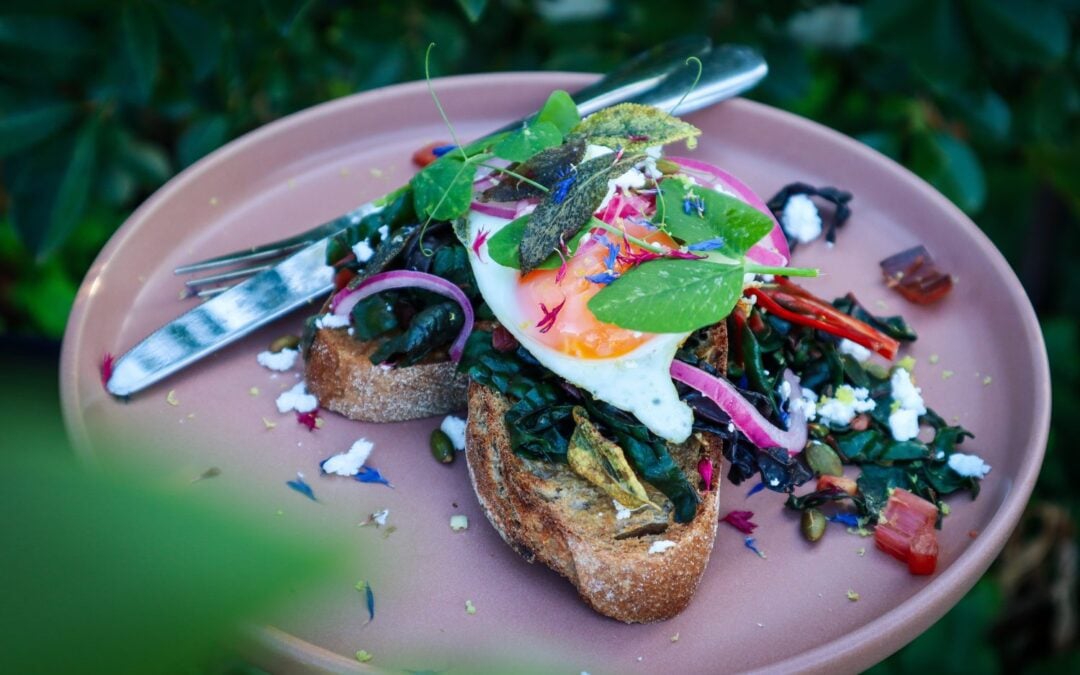
Sautéed Rainbow Chard on Toast with Feta and Crispy Sage
Yield: serves 2
Prep Time: 20 minutes
Cook Time: 10 minutes
Total Time: 30 minutes
Fresh, nutritious and full of flavour, this garden-to-plate breakfast is easy and delicious! Make the most of the Rainbow Chard season.
Peel and finely slice garlic. Add to a pan on medium heat with butter. Cook for 2 mins.
Roughly slice Rainbow chard stalks (1cm chunks) and add them to the pan. Cook for a further 2 minutes.
Chop leaves and keep to the side.
In another pan fry the eggs to your liking.
Add chard leaves to the garlic and stalks and cook for 1-2 mins until wilted. Stir through Lemon zest and season with salt.
Turn the oven grill on to 180 degrees. Drizzle Sage with olive oil or butter and place on an oven tray along with Pepitas. Toast under the grill until slightly golden watching carefully as this will take less than 1 minute. Alternatively, this can be done in the pan along side eggs.
Toast sourdough and butter.
Place two pieces of toast on each plate and evenly distribute rainbow chard mix, crumble on feta, top with eggs, sprinkle on toasted pepitas, and top with Red Pickled Onions.
Add edible flowers for colour - I used Cornflowers and pea shoots.
Notes
The pickled onions are best to make at least the day before so they have time to infuse and pickle.
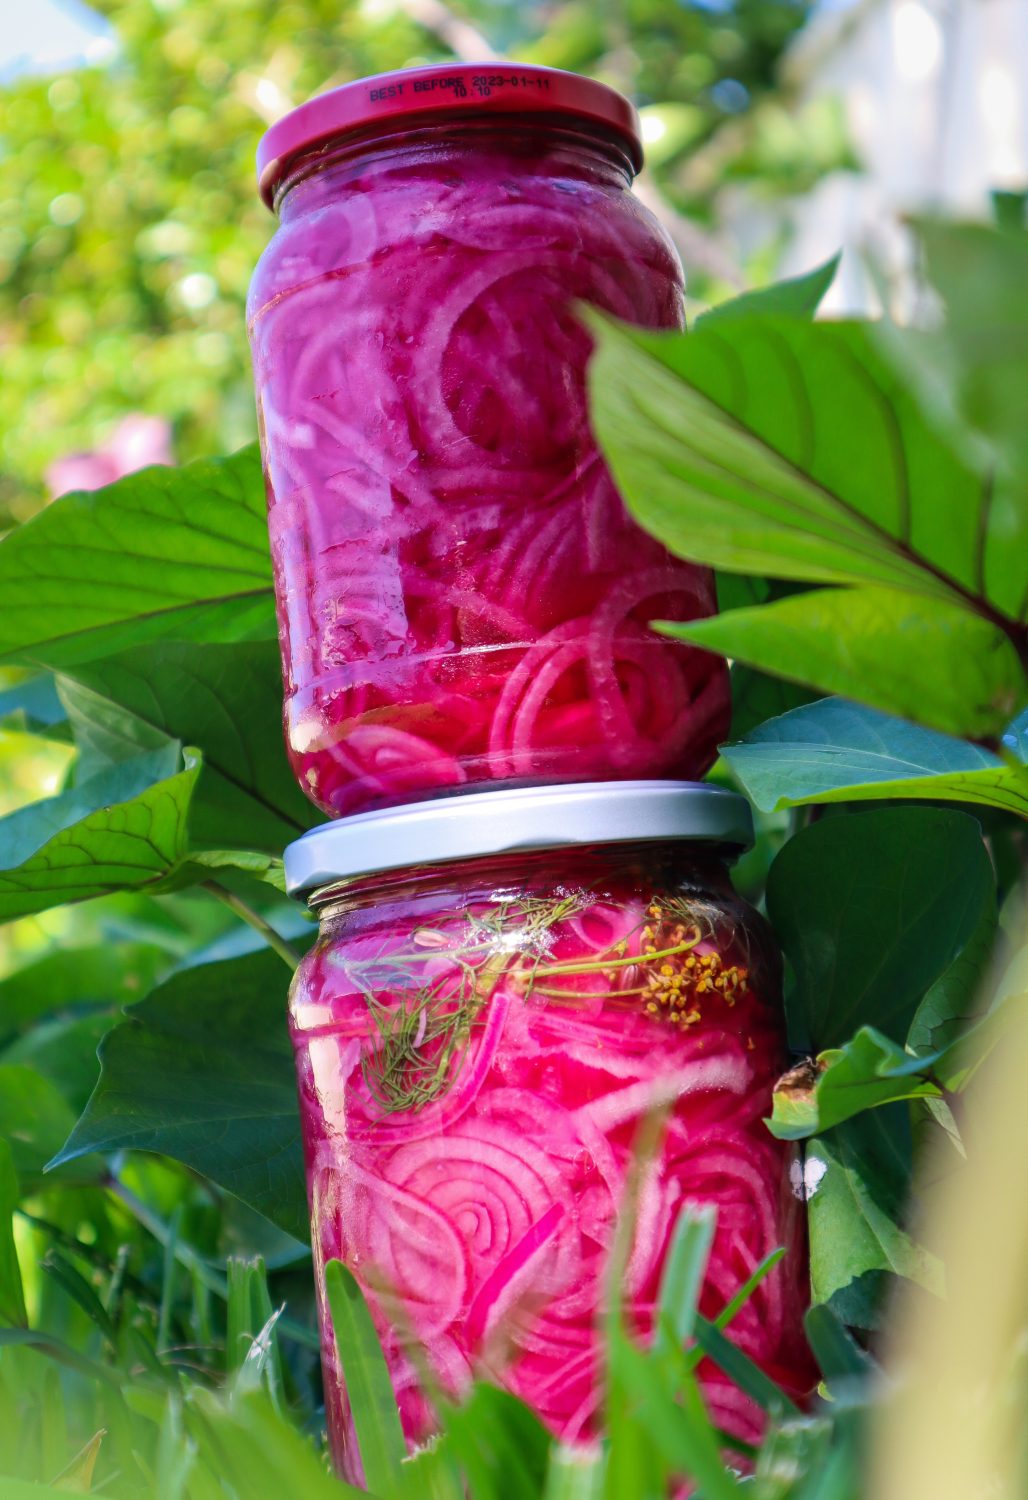
Simple Pickled Red Onions
Prep Time: 10 minutes
Cook Time: 2 minutes
Total Time: 12 minutes
Quick and easy pickled red onions add flavour to any meal. Add your seasonal garden herbs such as Fennel, Dill or Chilli to boost the flavours.
Ingredients
3 Red Onions
1/4 cup Apple Cider Vinegar
1/4 cup White Vinegar
1 1/2 TBSP Raw Sugar*
1 1/2 tsp Salt
1 cup Water
1/2 tsp Chilli flakes (optional)
Instructions
Finely slice the red onions - using a mandoline is the easiest option.
Cram as many red Onions into a clean sterilised jar.
In a saucepan add the vinegar, sugar, and salt and stir until the sugar has dissolved and the mix starts to simmer.
Add any extra flavours to the jar such as chilli, fennel flowers, fennel fronds, fennel seeds, mustard seeds, or peppercorns ( 1tsp per jar).
Pour over the liquid and secure the lid.
Allow cooling for one hour and place in the fridge.
Notes
To sterlise the jars place in a hot dishwasher run or wash and heat in the oven for 10-15 minutes at 110 degrees Celsius.
You can swap and use just one type of vinegar if you prefer.
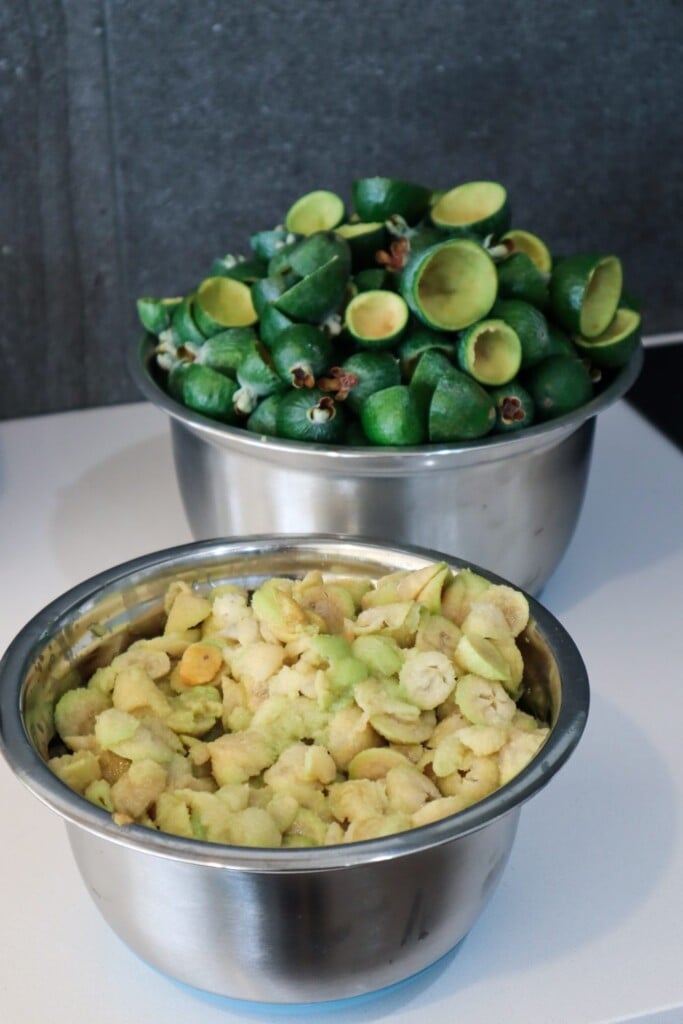
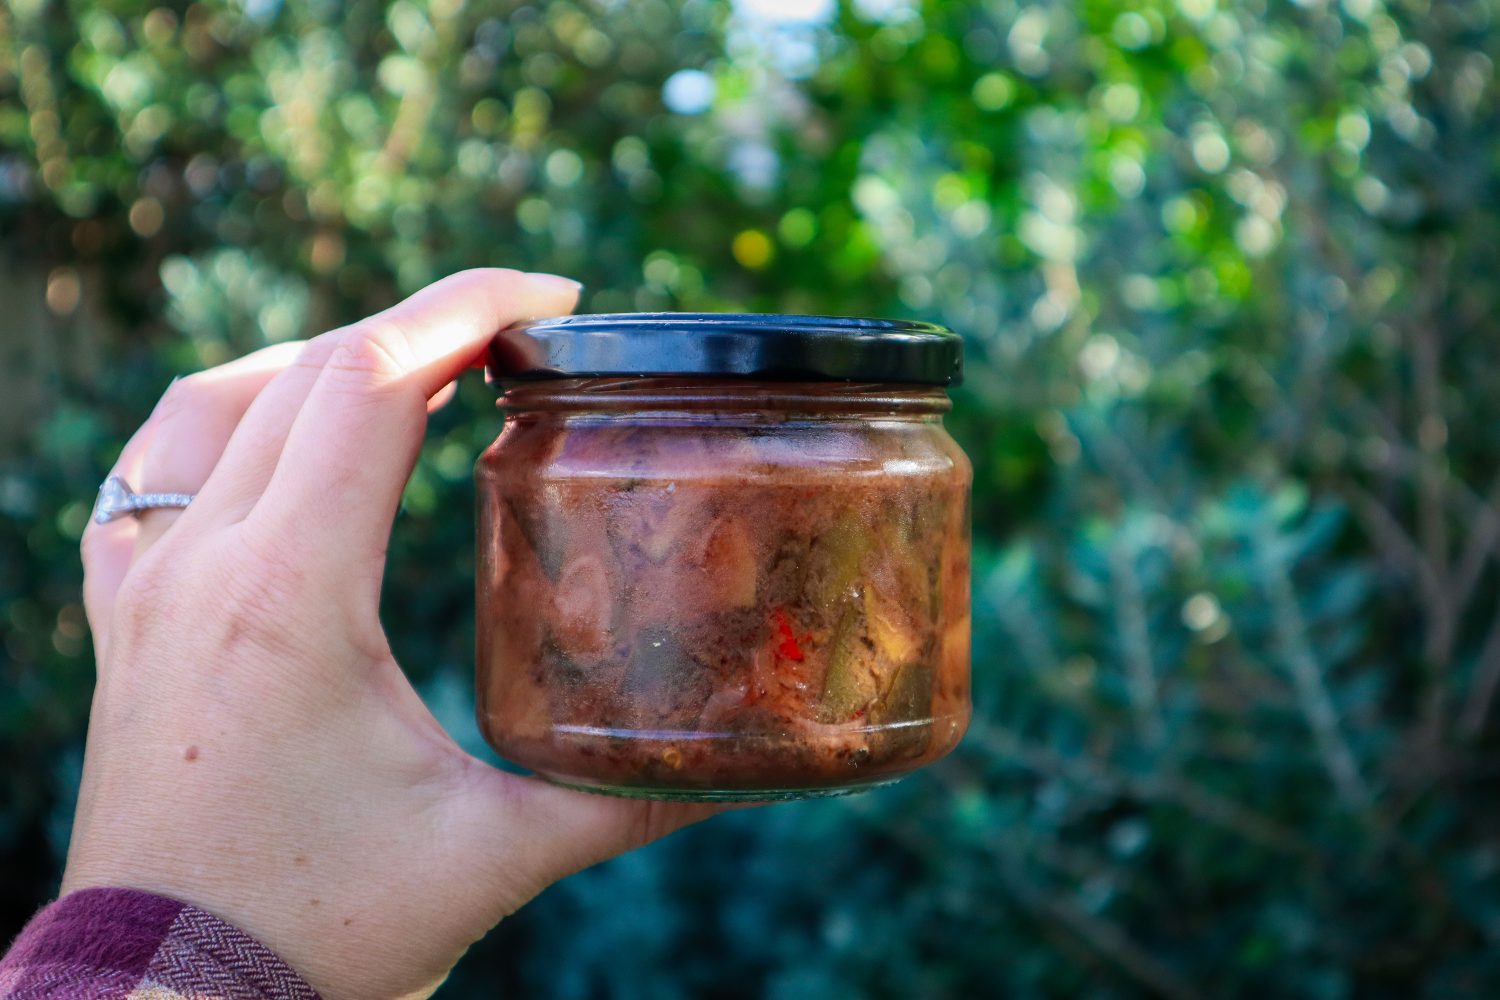
This a delicious zero-waste recipe to use up your excess Feijoa skins and get the most out of your harvest. Feijoas ripen quickly, within a few weeks, and it can be hard to keep up! This Feijoa skin chutney is a delicious way to enjoy your harvests and makes a great gift! Enjoy on a cheese platter or add flavour to a sandwich.
The Best Way to Use Feijoa Skins
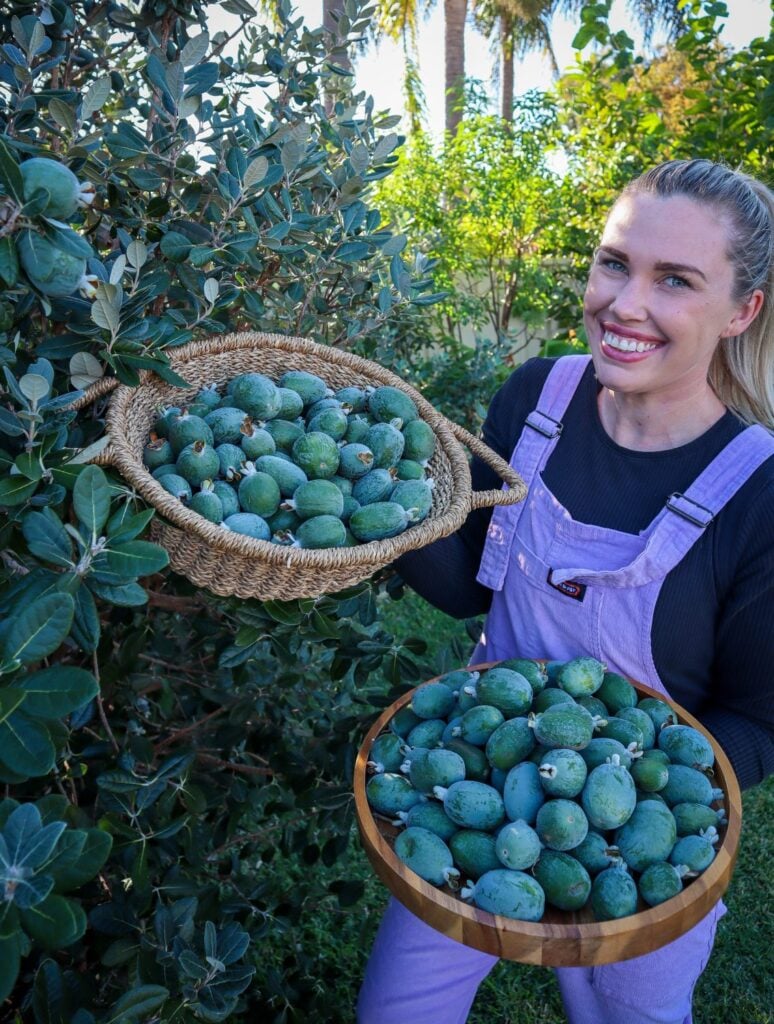
Feijoa season is short but abundant, leaving many gardeners and Feijoa/ Pineapple Guava lovers wondering what to do with the excess fruit. Instead of letting the skins go to waste, why not turn them into a delicious Feijoa Skin Chutney? This simple recipe transforms feijoa peels into a flavorful condiment that pairs beautifully with cheese, meats, and sandwiches.
Using Feijoa skins reduces food waste and ensures you get the most out of your harvest. This chutney is packed with bold flavors, balancing the natural tartness of feijoa skins with warm spices and sweetness. Plus, it makes a wonderful homemade gift for friends and family!
Why Use Feijoa Skins?
Most people scoop out the feijoa flesh and discard the skins, but the skins are packed with flavor and nutrients. I love eating them whole, which gives a balance of sweet and sour flavour! But… with huge harvests, it’s time to get creative!
The skins have a slightly bitter and aromatic taste, which blends beautifully with the spices and vinegar in this chutney.
By using the skins, you can: – Reduce food waste and maximize your harvest – Enjoy a unique flavor that’s different from regular feijoa chutney – Create a versatile condiment for both sweet and savory dishes
What You’ll Need to Make Feijoa Skin Chutney
This recipe uses simple pantry staples to bring out the best flavors in feijoa skins. Here’s what you’ll need:
Feijoa skins – Washed and chopped
Onions – For a rich, savory base
Apple cider & red wine vinegar – Adds tang and preserves the chutney
Raw sugar – Balances the tartness
Cumin Seeds – Warm spices for depth of flavor
Chili (optional) – For a little kick
Feijoa Skin Chutney
Prep Time: 15 minutes
Cook Time: 2 hours
Total Time: 2 hours15 minutes
Sweet chutney is perfect for cheese platters or to add flavour to sandwiches. Great zero-waste recipe to use up left over Feijoa skins.
Ingredients
3 cups feijoa skins chopped
1/2 cup red wine vinegar
1/2 cup apple cider vinegar
2 onions
2 green or red cayenne chilli (mild-medium spice)
1 cup raw sugar
1 1/2 tsp salt
1 tsp cumin seeds
Instructions
Remove the hard flower ends of the feijoas skins and slice the skins into strips (roughly 1cm wide).
Remove chilli seeds (or leave them in if you like it spicey!). Slice into pieces.
Peel (discard skins) and dice onion.
Place all ingredients in a pot or saucepan and lightly simmer for 1-2 hours until thickened and brown.
Sterilise jars by washing and adding them to the oven upside down at 120 degrees celsius for 15mins. Place lids in a bowl and add boiled water.
Spoon hot chutney into hot jars, clean rims and secure lids.
Notes
Once opened use within 1 week and keep refrigerated.
You can add Feijoa flesh as well as skins but this would increase the sweetness so use less sugar.
Ways to Enjoy Feijoa Skin Chutney
This chutney is incredibly versatile! Try these serving ideas:
On a cheese platter – A perfect match for sharp cheddar or creamy brie
In sandwiches or wraps – Adds a sweet and spicy kick
With grilled meats – Delicious as a glaze or dipping sauce
As a homemade gift – A thoughtful and unique present
Storage Tips & Shelf Life
Store chutney in sterilized jars for up to 6 months in a cool, dark place.
Once opened, keep in the fridge and use within 2–3 weeks.
The flavors will develop over time, so let it sit for a few weeks before enjoying for the best taste!
A Delicious Way to Reduce Food Waste
Making Feijoa Skin Chutney is one of the best ways to make the most of your feijoa harvest. It’s a simple, delicious, and sustainable recipe that transforms leftovers into a gourmet treat. Give it a try this feijoa season, and enjoy a homemade condiment that’s bursting with flavor!
What do you make with your excess feijoas? Let me know in the comments! 🌿
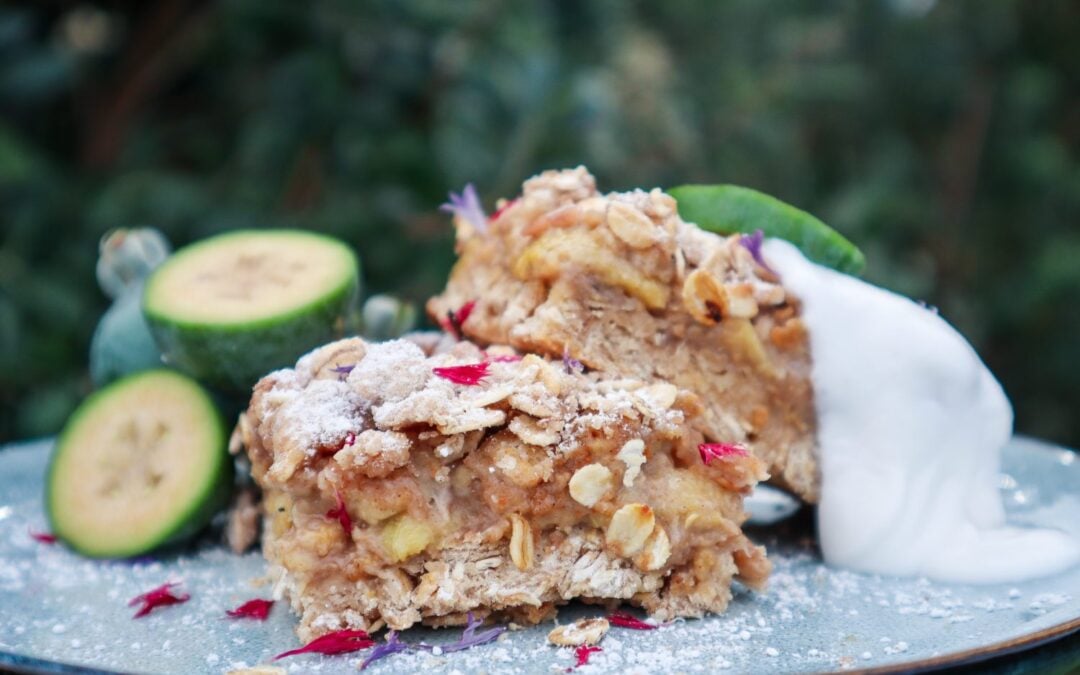
Feijoas or pineapple guavas come in thick in fast over the Autumn month. Their sweet, perfumey flavour is delicious and eaten fresh but once the trees are established you will have a hard time keeping up with them! This Feijoa crumble is delicious and not too sweet. Serve with ice cream yogurt or custard. Feijoas can be frozen to make this throughout the year or switch out the feijoas with other fruit such as apples, apricot, or plum.
Feijoa Crumble Slice
Prep Time: 20 minutes
Cook Time: 35 minutes
Total Time: 55 minutes
Feijoa crumble slice is delicious served warm with icecream, yoghurt, or a sweet treat for packed lunches.
Ingredients
Crumble
2 cups flour
1 1/2 cup rolled oats
1/2 cup shredded or desiccated coconut
1/2 teaspoon baking powder
1 /2 teaspoon cinnamon
1/8 teaspoon salt
1/4 cup yoghurt
1/3 cup maple syrup
1 teaspoon vanilla extract
80g Butter
Filling
3 cups Feijoa flesh (scooped out of the skin)
1 TBSP Raw sugar (or honey)
1 TBSP Flour
1 tsp Lemon Juice
1/2 tsp Cinnamon
Instructions
Preheat oven to 180 degrees Celsius.
Scoop out the flesh of the Feijoa (or thaw out previously frozen ones).
Add Crumble ingredients to a bowl and lightly mix into a crumble.
Grease or line a 20cm baking dish and press 2/3rds of the mixture in to form a base.
Bake for 15 minutes or until edges turn golden.
Mix filling ingredients together and pour over the base.
Evenly spread the remaining crumble on top and bake for a further 20-30 minutes until golden.
Enjoy!
Notes
Feijoas can be mixed with finely sliced apple if you do not have enough.
Swap out the Feijoas for whatever fruit you have in season such as Strawberry, Plum, Apricot
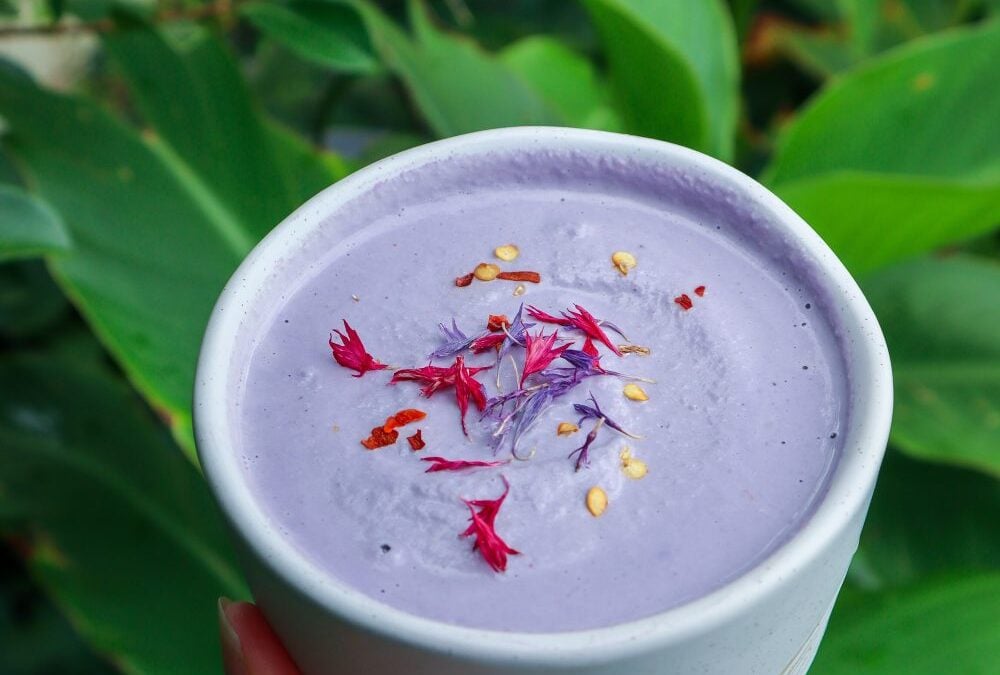
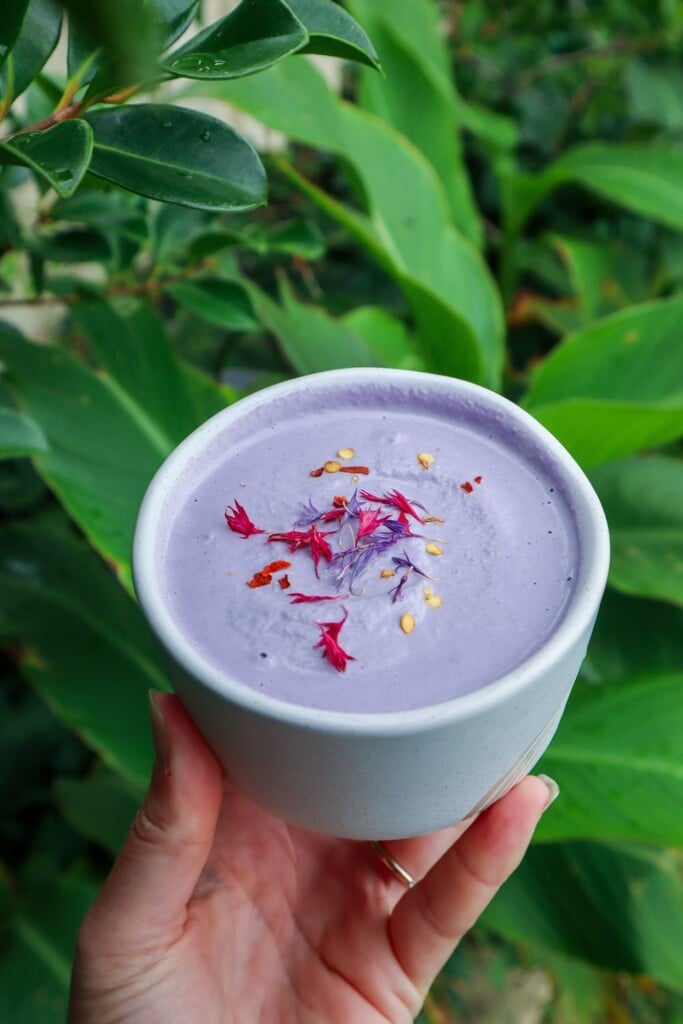
Quick and easy creamy garlic sauce that is perfect for burgers, salads, wraps, fritters, or grilled veggies. You do need to be prepared a little ahead of time to soak the nuts. This recipe can be adapted to make different flavours each time using fresh in-season herbs and veggies. The beautiful lilac colour is made naturally from the cabbage leaves and stands out against a green salad. Alternatively, swap out the cabbage for herbs and make a creamy green sauce!
Creamy Garlic Sauce
Yield: 2 cups
Prep Time: 12 hours
Additional Time: 5 minutes
Total Time: 12 hours5 minutes
Creamy and delicious dipping sauce or salad dressing with a unique all-natural lilac colour.
Ingredients
1 cup raw cashews
2 garlic cloves
1/2 red chilli ( add the whole chilli if you like spice or leave out)
2 tsp lemon fresh juice
1-2 pinch of sea salt
2 purple cabbage leaves
1 cup water
Instructions
Soak cashews in water overnight in the refrigerator (alternative if you want it quicker soak in lukewarm water for 2+ hours the longer the creamier).
Chop up red cabbage and blend all ingredients until smooth and creamy. Add more water for a runner dressing. Season with extra salt if needed.
Serve with chilli flakes and edible flowers (I used dried cornflower)
Notes
Swap red cabbage for a handful of your favourite herbs such as Parsley, Coriander or Chives.
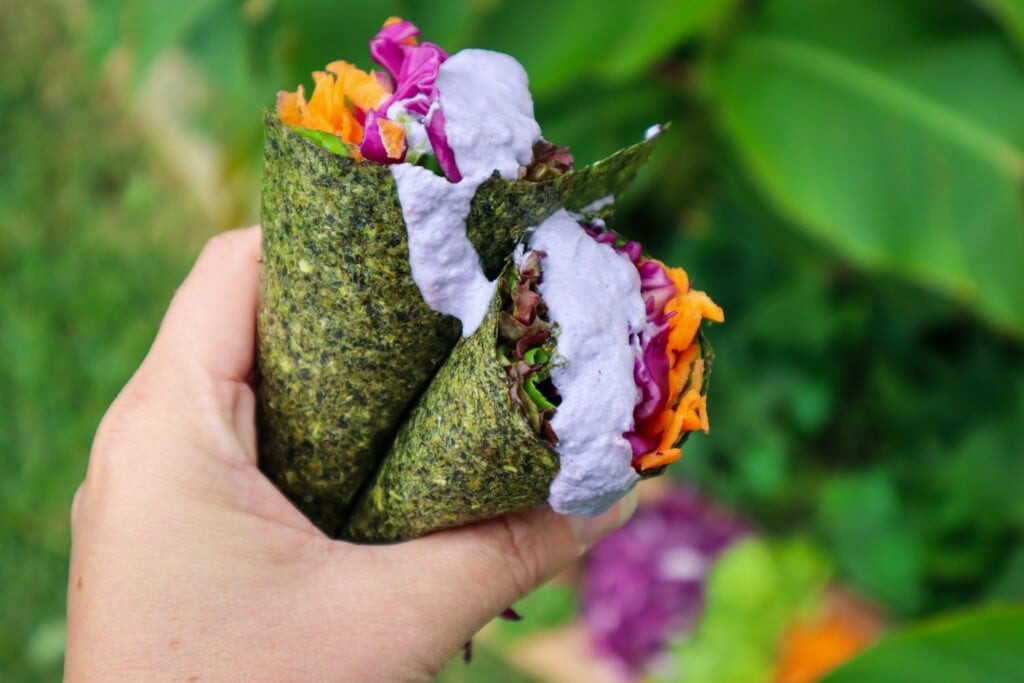
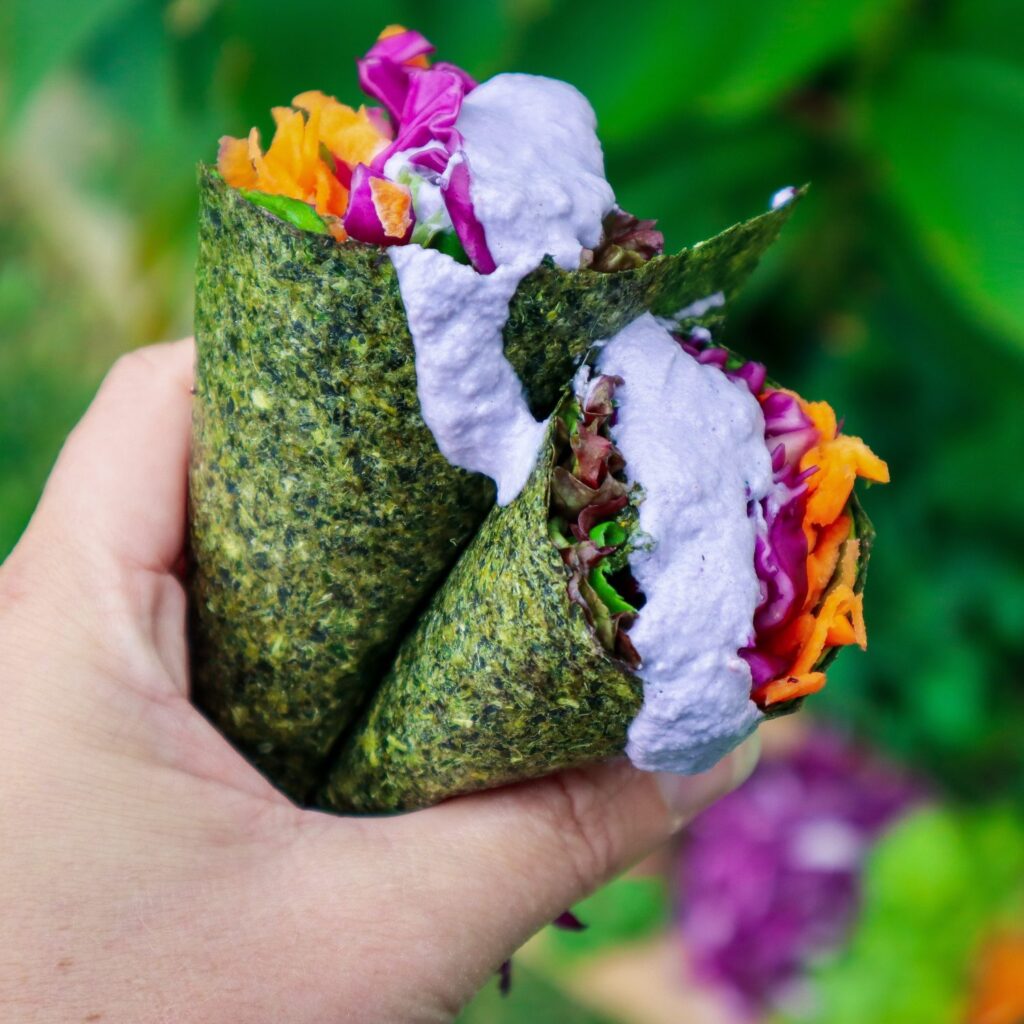
Looking for a healthy, homemade wrap alternative? These DIY spinach sushi wraps are a delicious and nutritious way to use up garden greens and create quick, wholesome meals. Whether you follow a gluten-free, low-carb, or plant-based lifestyle, these wraps are a game-changer. Made from fresh spinach, herbs, and garden vegetables, they’re packed with nutrients and completely free from preservatives and additives.
These wraps have the texture of nori but are 100% vegetable-based. Use them for sushi, wraps, or as a healthy tortilla alternative. This is the perfect recipe for zero-waste gardeners who want to make the most of their seasonal harvests. I am so impressed with how amazing these are!
These dehydrated spinach sushi wraps taste and feel just like the real deal but I know exactly what is in them. Use excess garden greens along with bottle gourd or zucchini to make a batch of sushi wraps for a quick and easy lunch. Like most of my recipes, you can mix and match different greens and herbs depending on what’s in season or in abundance in your garden.
Garden Vegetable Variations
Don’t have spinach? No problem. Try other leafy greens such as:
NZ spinach (Tetragonia)
Swiss chard
Rocket/arugula
Sweet potato leaves
Amaranth greens
You can even mix in edible weeds like chickweed or purslane for extra nutrition.
Recipe Notes
Psyllium Husk helps bind the mixture and gives flexibility.
Herbs are optional but add great flavor.
Dehydration Time varies depending on water content and thickness.
Spinach "sushi" wraps
Yield: 8
Prep Time: 10 minutes
Cook Time: 6 hours
Total Time: 6 hours10 minutes
Easy way to preserve excess produce and have wraps on hand for a quick garden-to-plate lunch when you need it.
Ingredients
4 cups spinach or greens*
1/2 cup fresh herbs*
1 TBSP psyllium husk
1 - 2 TBSP water
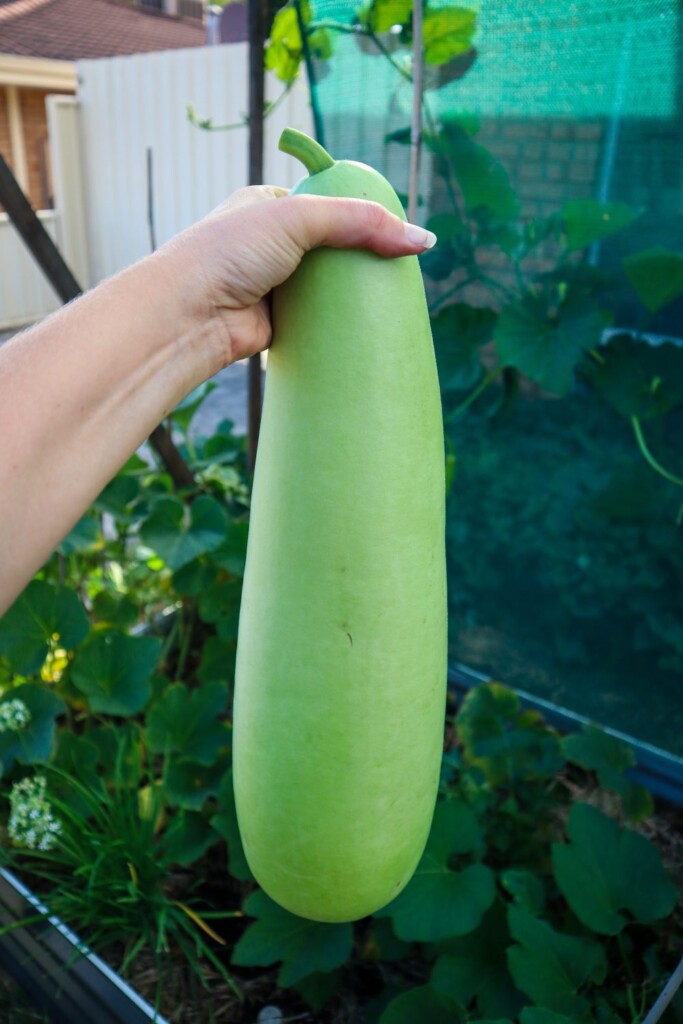
2 cups chopped bottle of gourd or zucchini
Instructions
Rinse the greens and quickly blanch for 30 seconds in hot water then transfer to iced water to cool.
Strain and add to a mixer or blender. (use the blanching water on the garden once it has cooled down)
Peel Bottle gourd using a vegetable peeler, remove the center seeds and pith then chop into 2-3cm cubes. If using zucchini there is no need to peel.
Add all the ingredients to a blender or mixer and blitz until combined. You may need to move things about with a spoon to get it mixed or add a dash more water. You want a thick paste-like consistency not too watery.
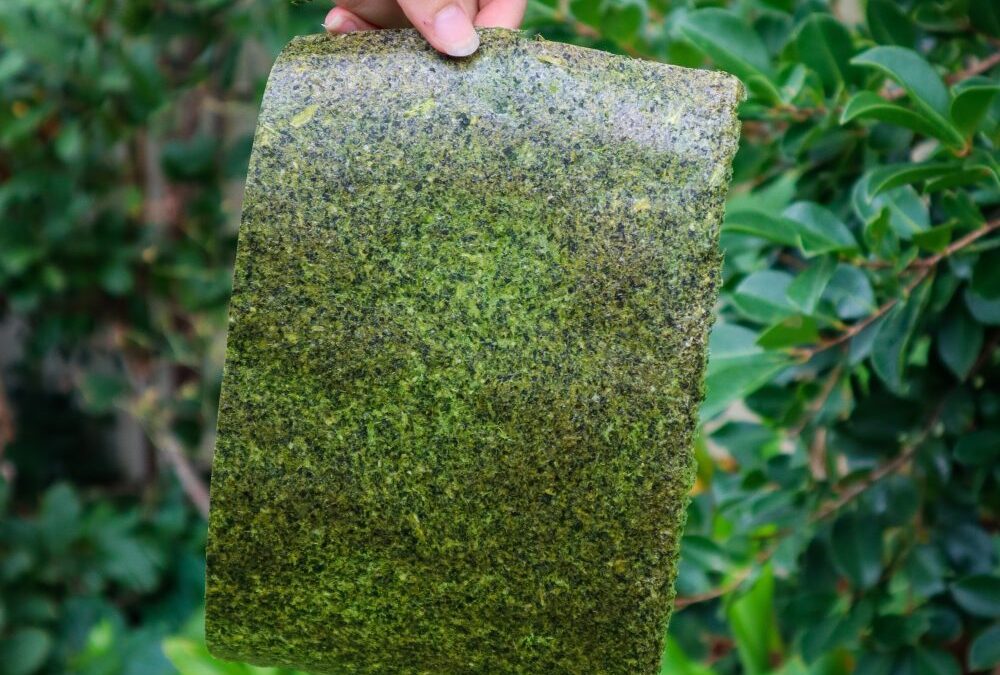
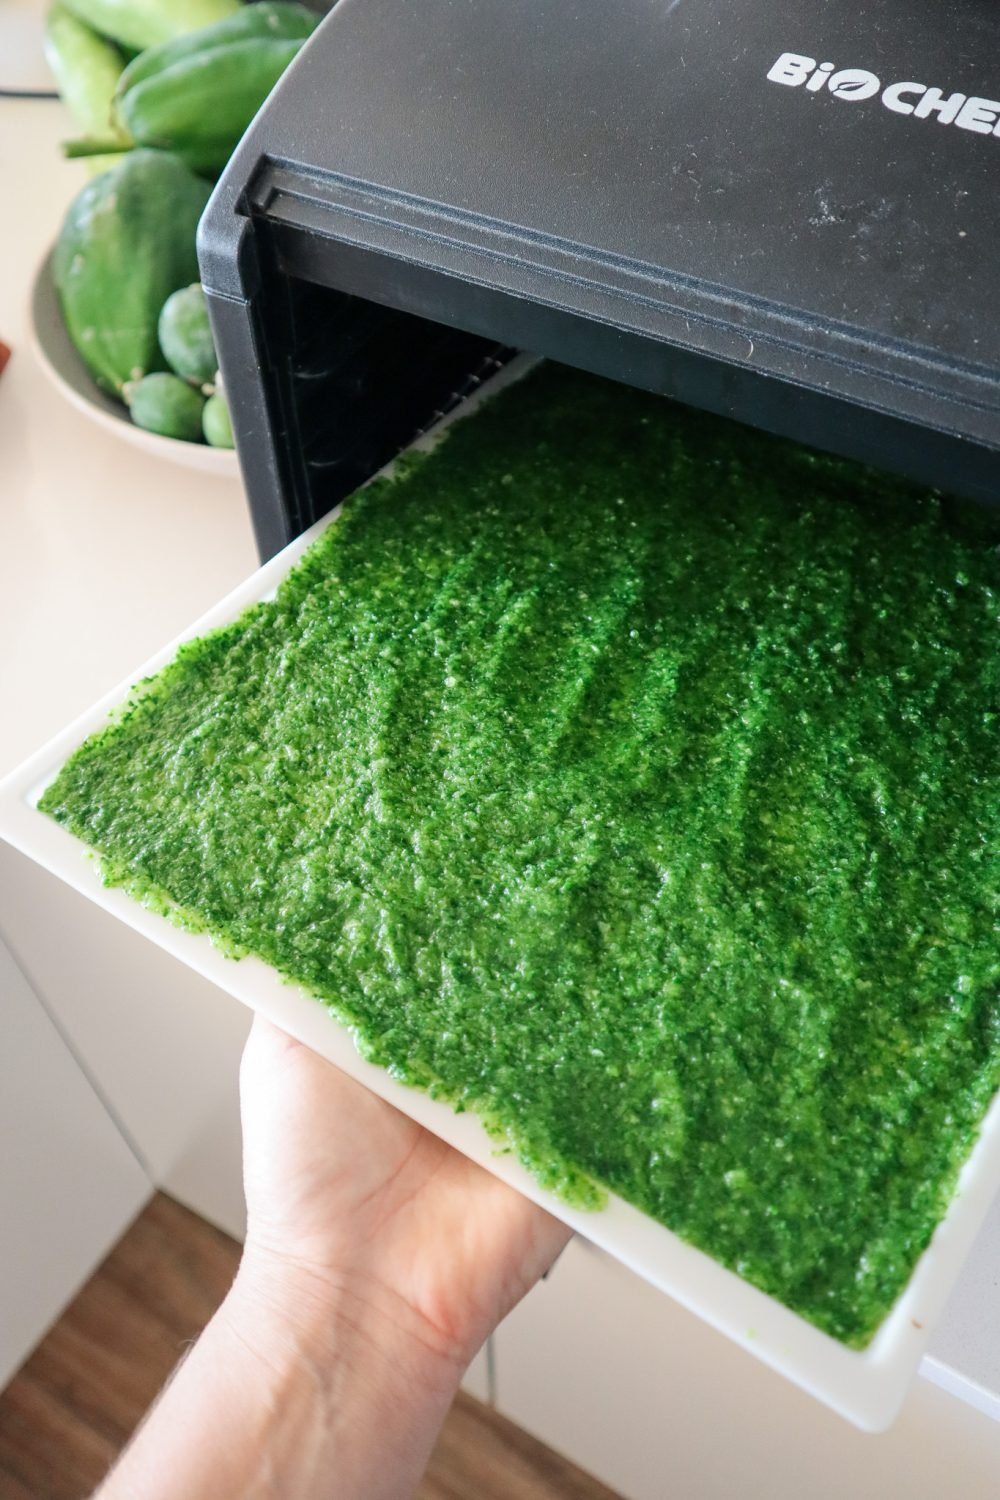
Spread the mixture onto 3-4 silicon dehydrator trays. You may need to do this in batches or use baking paper and a tray if you do not have enough of the silicon trays. The mixture should be thick enough to not see through to the tray or paper but also as thin and even as you can (before seeing through to the tray)
Dehydrate at 50 degrees celsius until dry. Check after 2-3 hours as the time will vary depending on the water content of the greens you used.
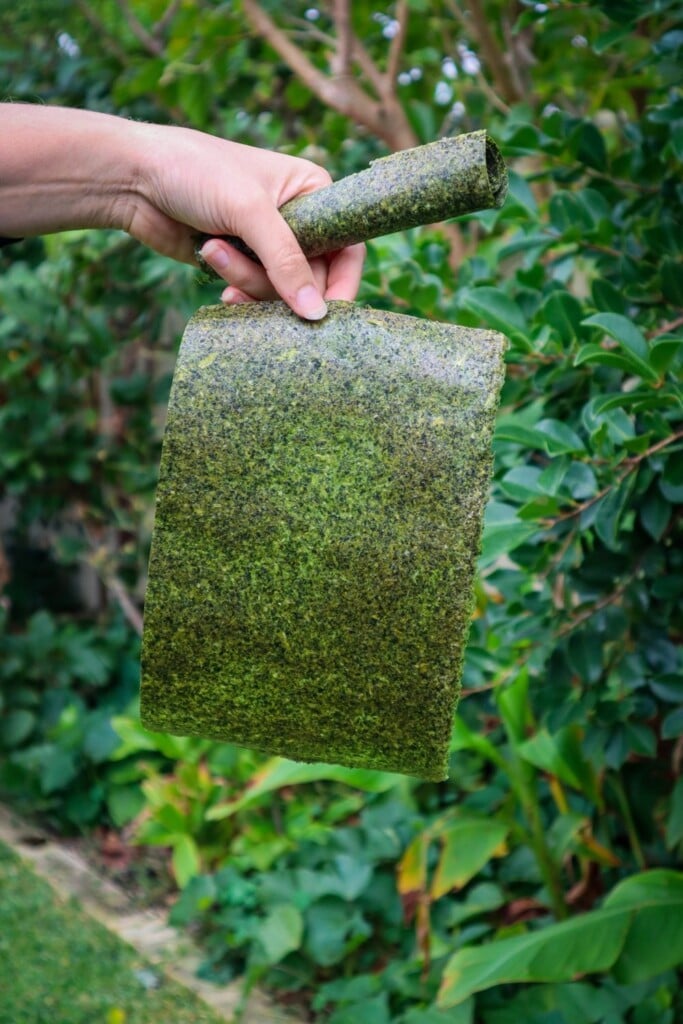
Remove and carefully run a knife around the edges to loosen it. Carefully peel off the sheet it is best to do this one bit at a time holding the sheet as close to the tray as possible as to not tear it.
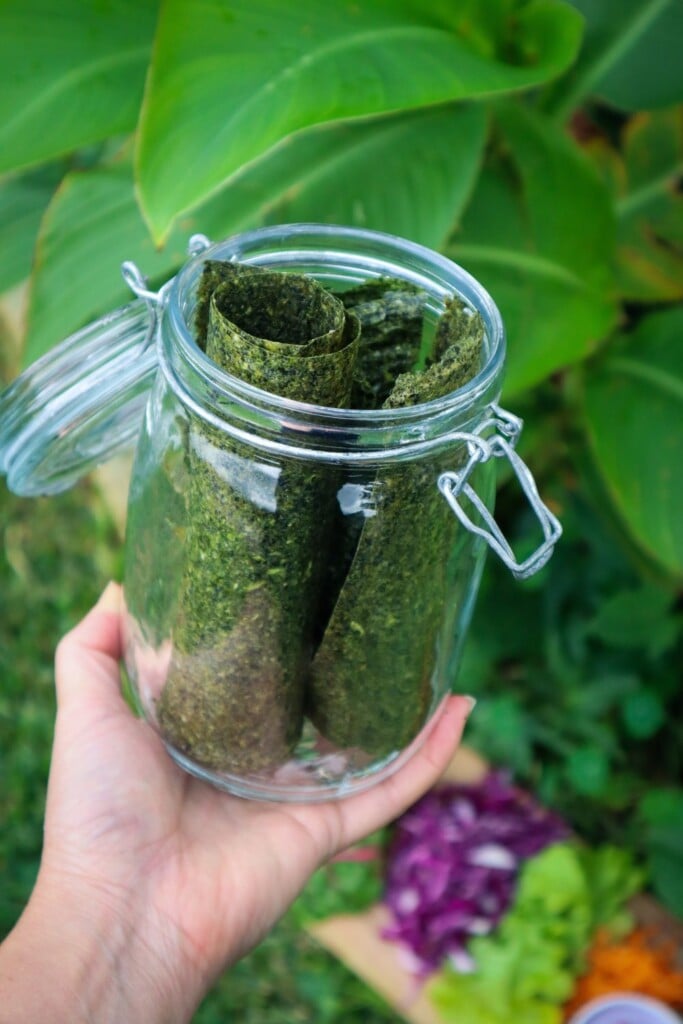
Once removed from the tray cut the sheets into the desired size (I cut in half for wraps but I keep them whole for sushi rolls) then roll them up and place them in an airtight storage jar. Or use them straight away. would
Use the wraps with your favorite salad ingredients and grilled chicken, haloumi or similar.
Notes
Greens - I used NZ spinach including the young stems but you could use any spinach or greens such as chard, rocket, sweet potato leaves etc just remove any thick stems.
Herbs - add herbs or leave them out (replace with more greens) completely up to you. Try adding 1/2 cup of herb such as parsley, chives or coriander for added flavour.
If you do not have a dehydrator you can use an oven on low to 50 degrees but be aware it may take up 6 hours so ensure you are home and not leaving the oven unattended.
These homemade spinach sushi wraps are a sustainable way to reduce kitchen waste and boost your nutrition. Whether you’re preserving an abundant garden harvest or just trying to eat healthier, they’re a delicious, eco-friendly addition to your kitchen staples.
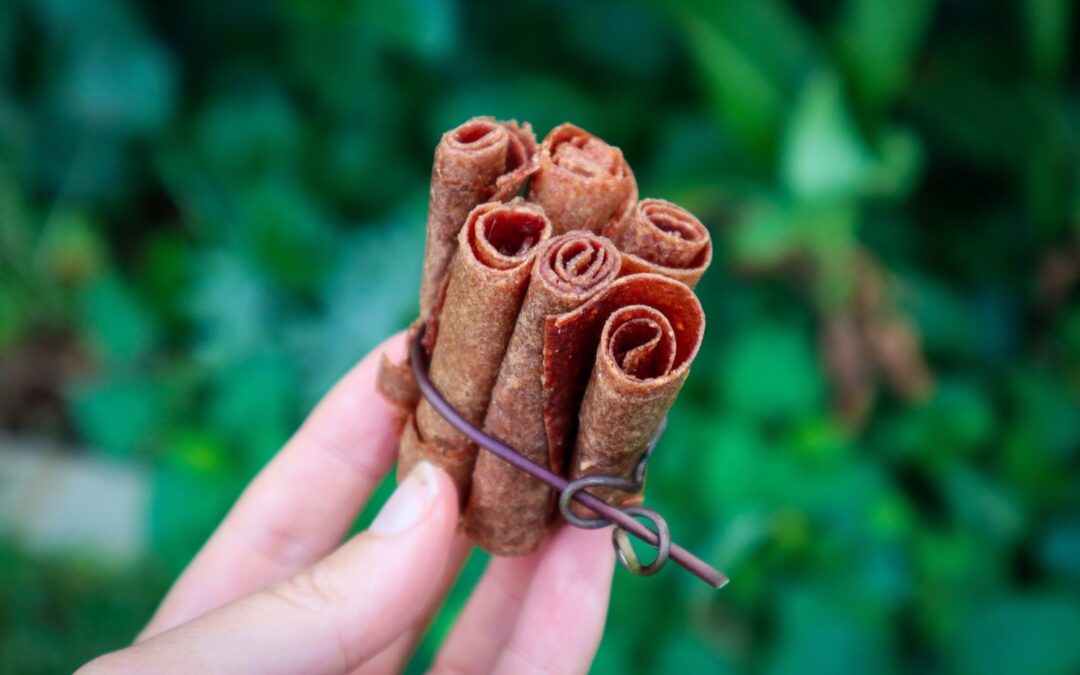
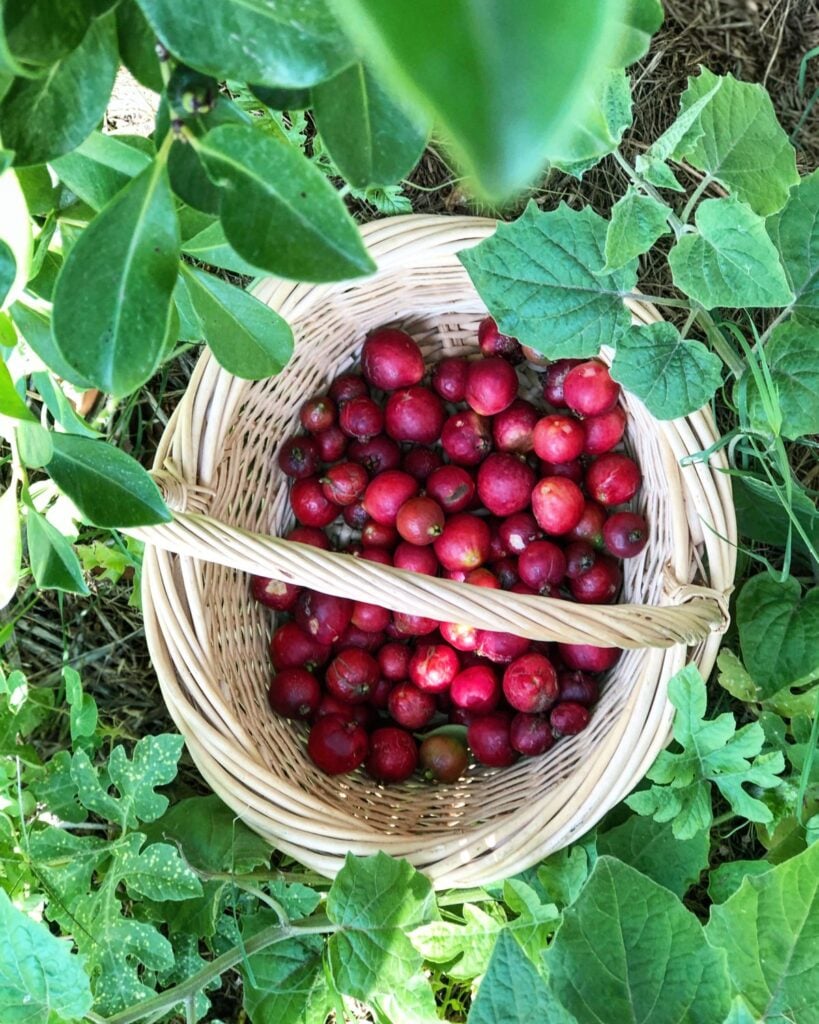
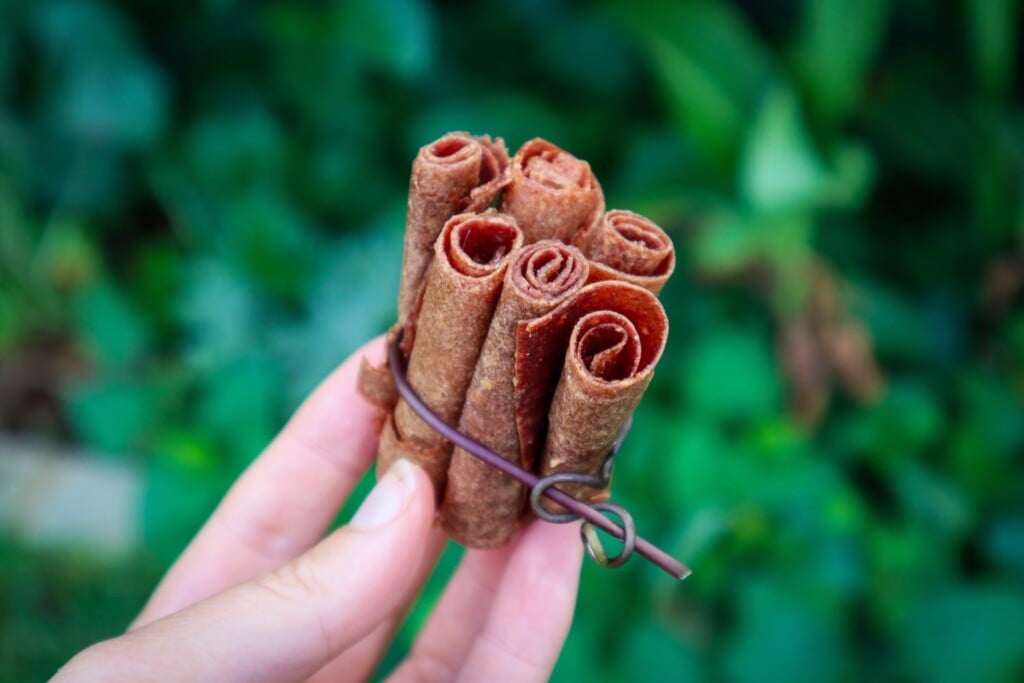
If you are growing Strawberry Guava you will almost certainly experience huge bowls of fruit after a few years. They ripen quickly and new fruits are ready each day during summer or autumn. These can be eaten fresh or extras frozen to collect a bulk amount to preserve. This fruit leather is sweet and delicious and a great way to preserve and enjoy your guava harvests without the hard seeds.
Naturally sweet and delicious garden-to-plate snacks.
Strawberry Guava and Apple Fruit Leather
Prep Time: 20 minutes
Cook Time: 6 hours
Total Time: 6 hours20 minutes
Sweet and tangy this fruit leather is a great way to enjoy your bumper crops without the hard seeds.
Ingredients
3 Cups (or large hand fulls) of Strawberry Guava (fresh or frozen)
2 Apples
1 tsp fresh lemon Juice
1 TBSP Honey or raw sugar (optional)
Instructions
Wash and cut the ends of the guavas (the pronged part). Place the guava in a blender and the ends in a jar to make a scraps vinegar (see below recipe) or add to the compost.
Wash, peel, and core apples (peels can go in the scraps jar too). Slice the apples and cook in a saucepan with a splash of water until soft.
Blend the guava, apple, lemon juice, and honey until you get a smooth consistency with no chunks - there will still be seeds.
Using a mesh strainer pass the mixture through a sieve to separate out the seeds. This is best done in small batches. Push down and mix around until the mixture comes out the bottom and the seeds are left behind. It seems hard at first but only takes about 10 minutes to complete. Remove the seeds (add to scraps jar or compost).
Taste and add more sweetener or lemon juice (if too sweet).
Using the fruit leather plastic tray of your dehydrator (or wax-free baking paper and tray) spread the mixture out to form one flat layer. Try to get it as even as possible.
Dehydrate until dry and only slightly sticky approx 6 hours at 60 degrees Celsius. Can take up to 10 or 12 with high moisture or thicker trays.
Remove and slice into long strips while still warm then roll up in wax-free baking paper to form roll-ups.
Store in an air-tight jar for 1-2 weeks or store in the fridge for 1 month.
Notes
Any fruit can be used for this. If they are firm fruit like apple or stonefruit, cook down first until soft or try Mango raw, so yum!