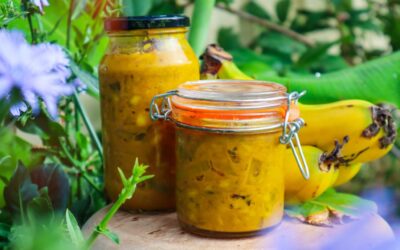
This a delicious zero-waste recipe to use up your excess Feijoa skins and get the most out of your harvest. Feijoas ripen quickly, within a few weeks, and it can be hard to keep...

Feijoa skin chutney – A Zero-Waste Recipe
read more


This a delicious zero-waste recipe to use up your excess Feijoa skins and get the most out of your harvest. Feijoas ripen quickly, within a few weeks, and it can be hard to keep...
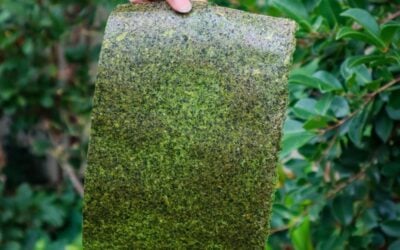
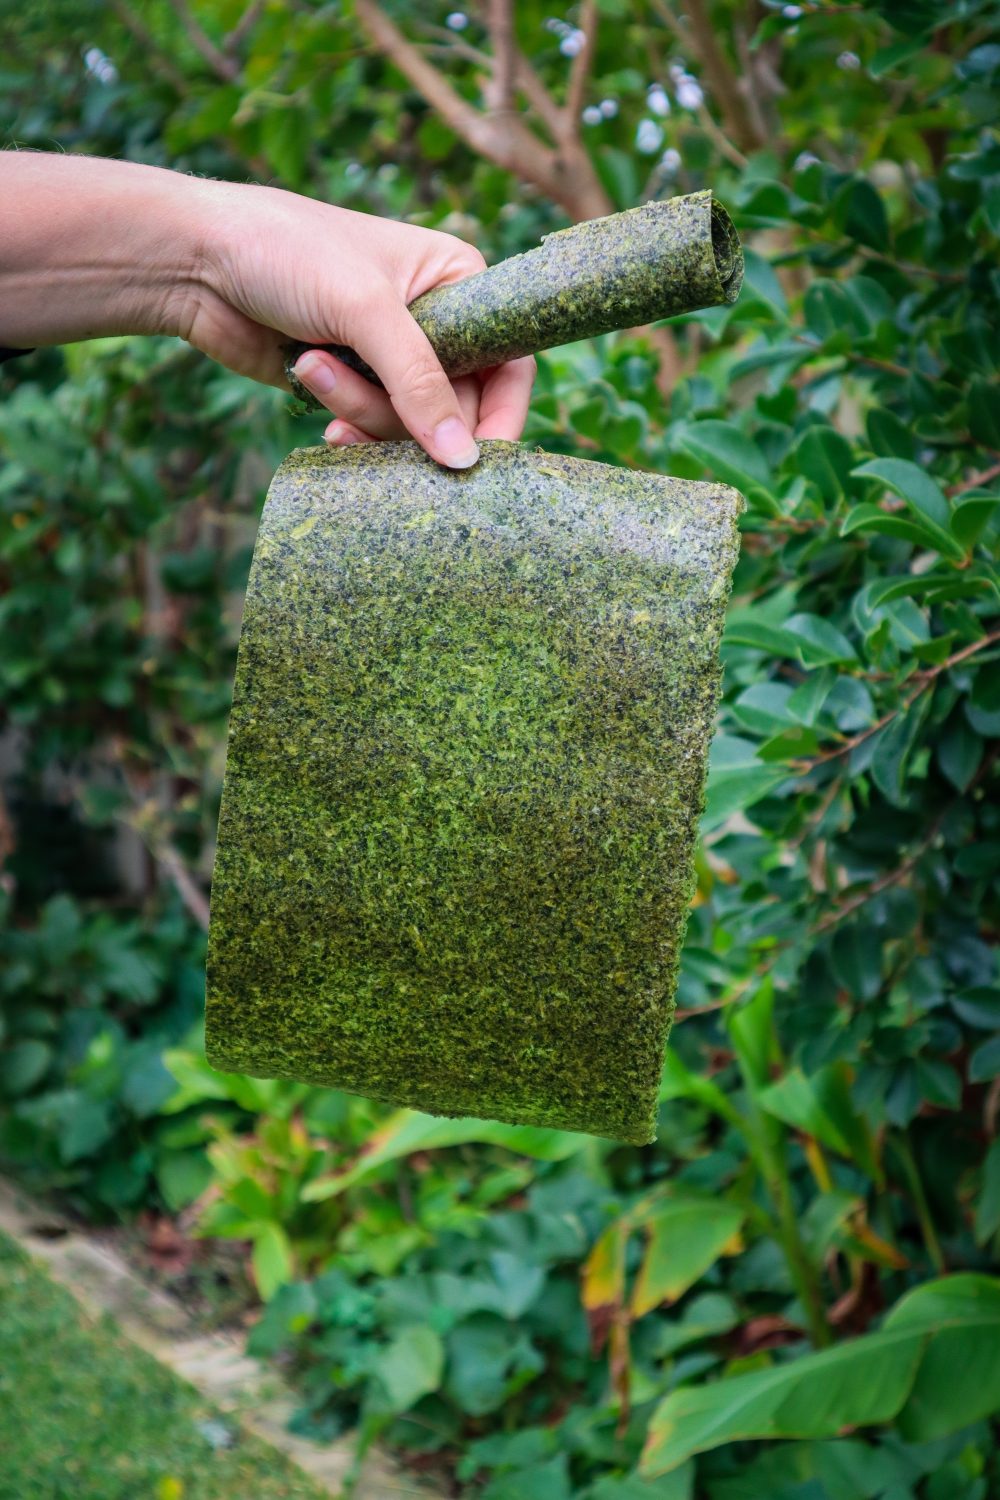
Looking for a healthy, homemade wrap alternative? These DIY spinach sushi wraps are a delicious and nutritious way to use up garden greens and create quick, wholesome meals....
Calendula-infused salts or sugars make perfect gifts from the garden. It is a great way to preserve calendula to use throughout the year. Infused sugars can be great for...

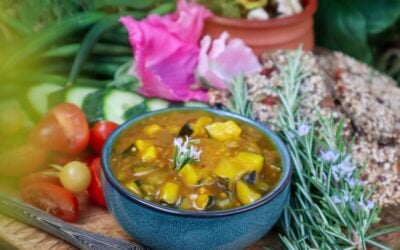
This Radish and Apple Relish is a delicious addition to any garden platter. Served with crackers and a slice of cheese this relish is sure to impress! Radish are easy to grow and...

This simple homemade pickled red onion recipe is so easy and delicious! I can easily demolish a jar of pickled red onions in a week. They just get better and better as they...
Banana peels are often discarded but they have so many uses both in the garden AND the kitchen! This Banana Peel Chutney is just one way to use up your leftover Banana Peels....
Zucchini are one of my favourite vegetables to grow because of their ease to grow and abundant harvests. They are such generous plants! The best thing about growing an abundance...
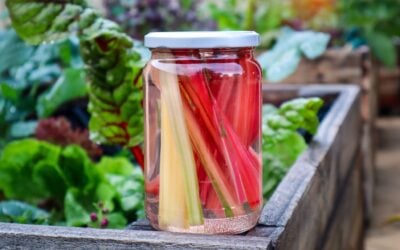
Pickled Rainbow Chard Stalks are a great way to preserve and utilise the whole vegetable. If you have made a recipe or cooked a meal using only the leafy greens, then this quick...
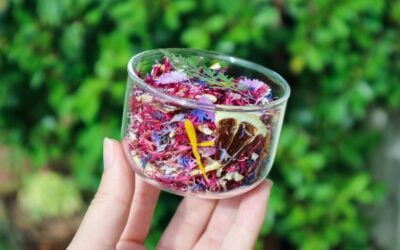
I grow a lot of edible flowers in my urban permaculture garden. That way, I not only have plenty of flowers for the bees, but also lots of beautiful edibles to brighten up any...
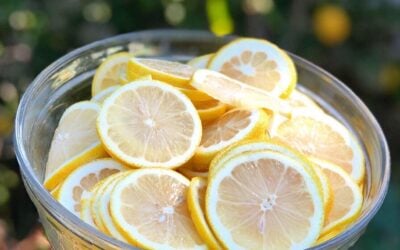
What to do with lemons?! Lemon and citrus season is in full swing and if you are lucky enough, you may be struggling to use up all your produce before it goes to waste. A great...
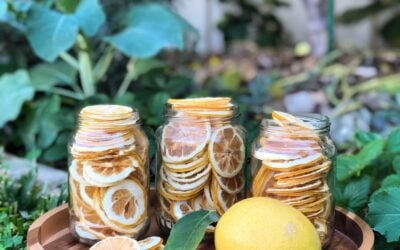
It's Lemon Season and nature times it perfectly with the start of the flu season. My lemon tree is about 5 years old and has really started producing decent crops this year. Part...