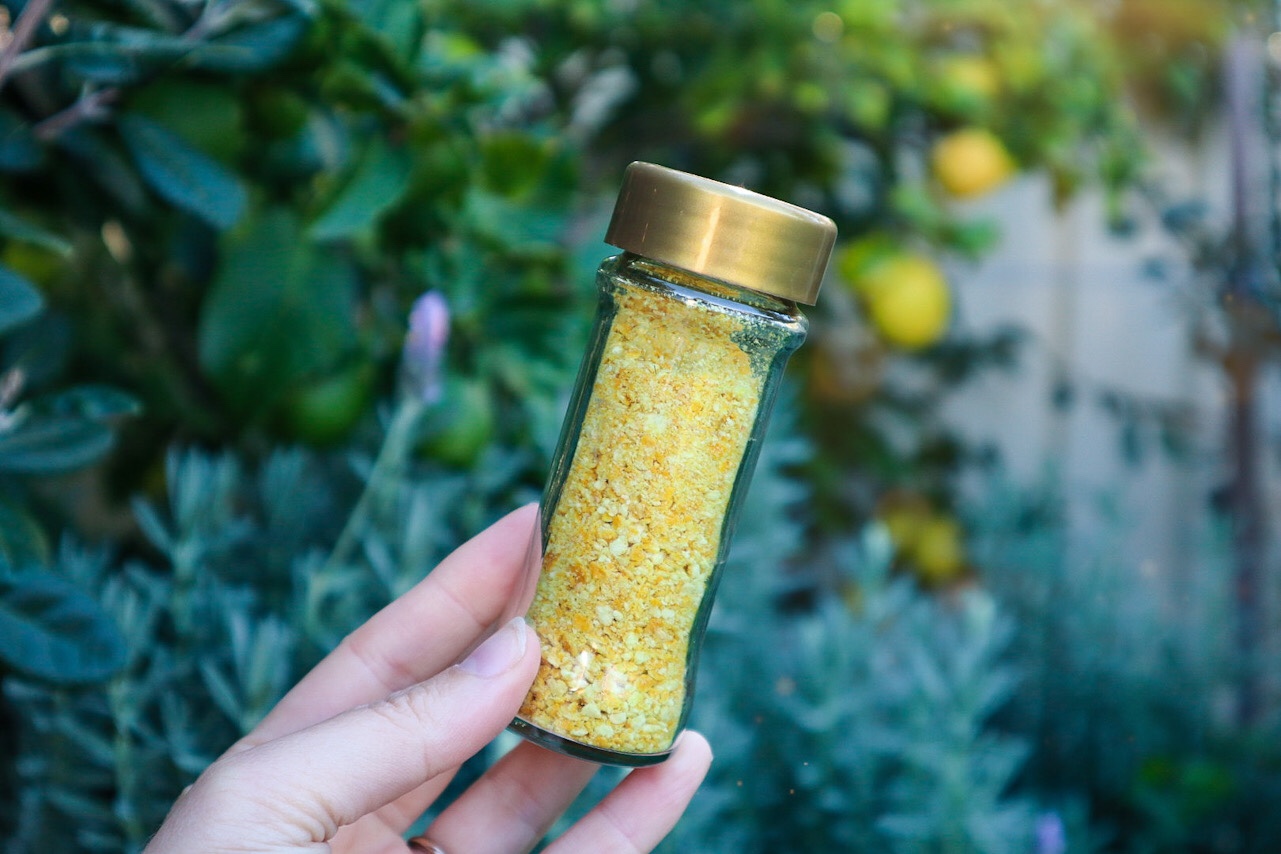
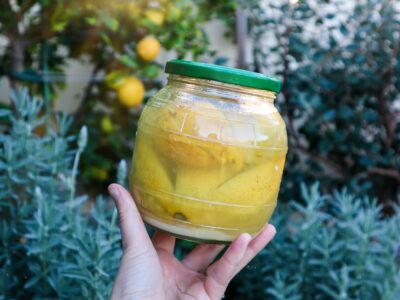
If you’ve ever juiced a bunch of lemons and felt a twinge of guilt tossing out those beautiful yellow peels, this one’s for you. These lemon zest sprinkles are a vibrant, aromatic way to get even more out of your citrus and add a burst of flavour to your meals. As a home gardener and low-waste kitchen enthusiast, I’m always looking for ways to use every part of what I grow or harvest. Lemon zest is one of my favourite zero-waste flavour boosters, and these dehydrated lemon sprinkles are a must-have in my pantry.
Not only does this recipe help reduce food waste, but it’s also a great way to preserve the bright taste of citrus for use all year round, especially when your lemon tree is loaded and you’re making juice in batches.
Sustainable, Simple, and Full of Flavour
✔️ Uses up leftover lemon skins after juicing
✔️ Easy to make with just one ingredient
✔️ Stores well and lasts for months
✔️ Adds fresh, zesty flavour to sweet and savoury dishes
✔️ A perfect DIY pantry staple for low-waste living
How to Use Lemon Zest Sprinkles
This citrusy powder is so versatile! Here are a few of my favourite ways to use it:
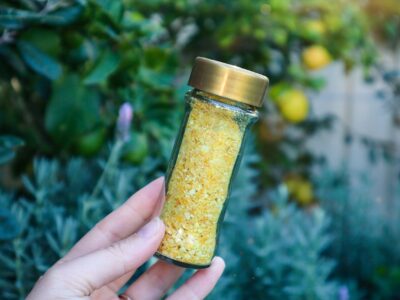
It also makes a beautiful homemade gift when packaged in a recycled spice jar with a handwritten label!
What You’ll Need
3–4 lemon skins (or more if you’re batch prepping)
A dehydrator or oven
A spice grinder, food processor, or Nutribullet
Clean, dry jar for storage
Tip: Use organic lemons or those from your own garden to avoid wax and pesticides.
How to Make Lemon Zest Sprinkles
Step 1: Wash and Peel After juicing your lemons, give the skins a quick rinse. Carefully peel or slice off the outer yellow part of the skin. Try to avoid too much of the bitter white pith.
Step 2: Dehydrate Lay the peels on a tray in your dehydrator or on a baking tray in the oven. Dry at around 45°C (113°F) for 2–4 hours, or until the peels are crisp and snap easily.
Step 3: Blend Once completely dry, add the peels to your spice grinder or blender. Blitz until they turn into a fine powder.
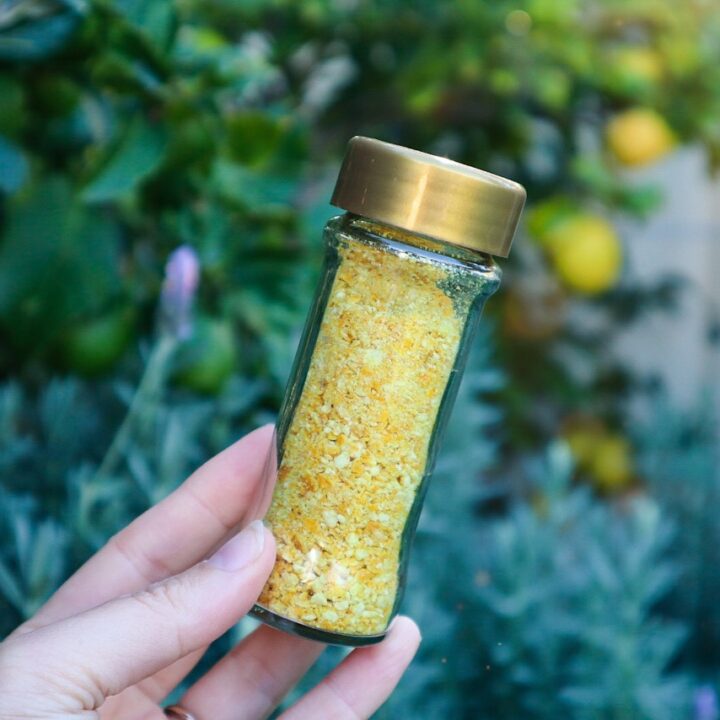
Step 4: Store Transfer to a clean jar—this is a great use for old spice jars or small glass jars with tight lids. Store in a cool, dark place.
Lemon Zest Sprinkles
Prep Time: 5 minutes
Cook Time: 3 hours2 seconds
Total Time: 3 hours5 minutes2 seconds
If you have used lemons for juicing then this is a great way to get the most out of your lemons.
Ingredients
3-4 Lemon skins
Instructions
Wash and peel or carefully slice off thin pieces of the lemon skins. Use organic lemons or fresh from the tree.
Layout the skins on a tray and dehydrate using a dehydrator or oven at 45degrees for 2-4 hours until completely dry.
Add the dry peels to a spice blender, food processor, or Nutribullet and blitz to a fine powder.
Place in a jar. I save my spice jars to recycle for future homemade spices such as this.
Notes
Add to sugar for a lemon sugar or add to your dishes for a fresh zesty flavour. Great in salad dressings, stirfry or even on top of ice-cream or yoghurt.
Low-Waste Kitchen Tip
After using the zest, the remaining lemon peel (especially the pith and leftover pulp) doesn’t have to go to waste. Here are two great options:
Compost it: Citrus adds acidity to your compost and breaks down well when chopped.
Make citrus cleaner: Soak the leftover peels in a jar of vinegar for 2–3 weeks to make a natural, homemade all-purpose cleaner. Strain and store in a spray bottle.
This lemon zest sprinkle recipe is a beautiful example of how simple, low-waste habits can add flavour and sustainability to your kitchen. It’s one of those small swaps that turns scraps into something useful, aromatic, and delicious. Next time you juice a few lemons, don’t toss those peels, dry them, blend them, and sprinkle some sunshine on your next dish.
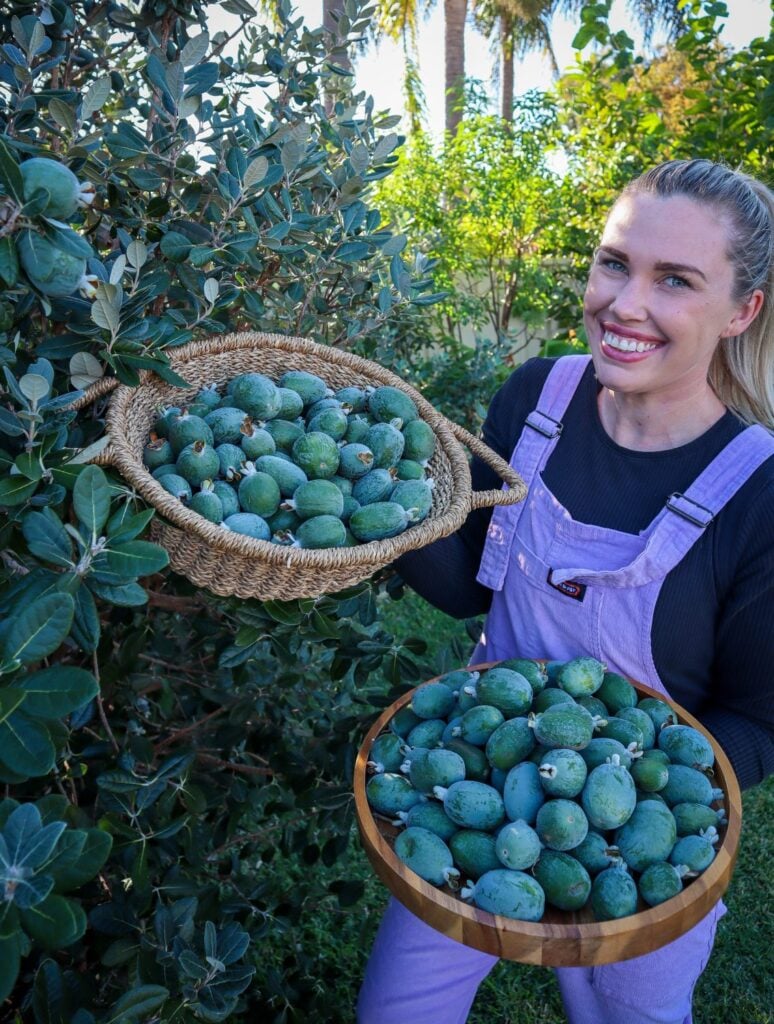
This a delicious zero-waste recipe to use up your excess Feijoa skins and get the most out of your harvest. Feijoas ripen quickly, within a few weeks, and it can be hard to keep up! This Feijoa skin chutney is a delicious way to enjoy your harvests and makes a great gift! Enjoy on a cheese platter or add flavour to a sandwich.
The Best Way to Use Feijoa Skins
Feijoa season is short but abundant, leaving many gardeners and Feijoa/ Pineapple Guava lovers wondering what to do with the excess fruit. Instead of letting the skins go to waste, why not turn them into a delicious Feijoa Skin Chutney? This simple recipe transforms feijoa peels into a flavorful condiment that pairs beautifully with cheese, meats, and sandwiches.
Using Feijoa skins reduces food waste and ensures you get the most out of your harvest. This chutney is packed with bold flavors, balancing the natural tartness of feijoa skins with warm spices and sweetness. Plus, it makes a wonderful homemade gift for friends and family!
Why Use Feijoa Skins?
Most people scoop out the feijoa flesh and discard the skins, but the skins are packed with flavor and nutrients. I love eating them whole, which gives a balance of sweet and sour flavour! But… with huge harvests, it’s time to get creative!
The skins have a slightly bitter and aromatic taste, which blends beautifully with the spices and vinegar in this chutney.
By using the skins, you can: – Reduce food waste and maximize your harvest – Enjoy a unique flavor that’s different from regular feijoa chutney – Create a versatile condiment for both sweet and savory dishes
What You’ll Need to Make Feijoa Skin Chutney
This recipe uses simple pantry staples to bring out the best flavors in feijoa skins. Here’s what you’ll need:
Feijoa skins – Washed and chopped
Onions – For a rich, savory base
Apple cider & red wine vinegar – Adds tang and preserves the chutney
Raw sugar – Balances the tartness
Cumin Seeds – Warm spices for depth of flavor
Chili (optional) – For a little kick
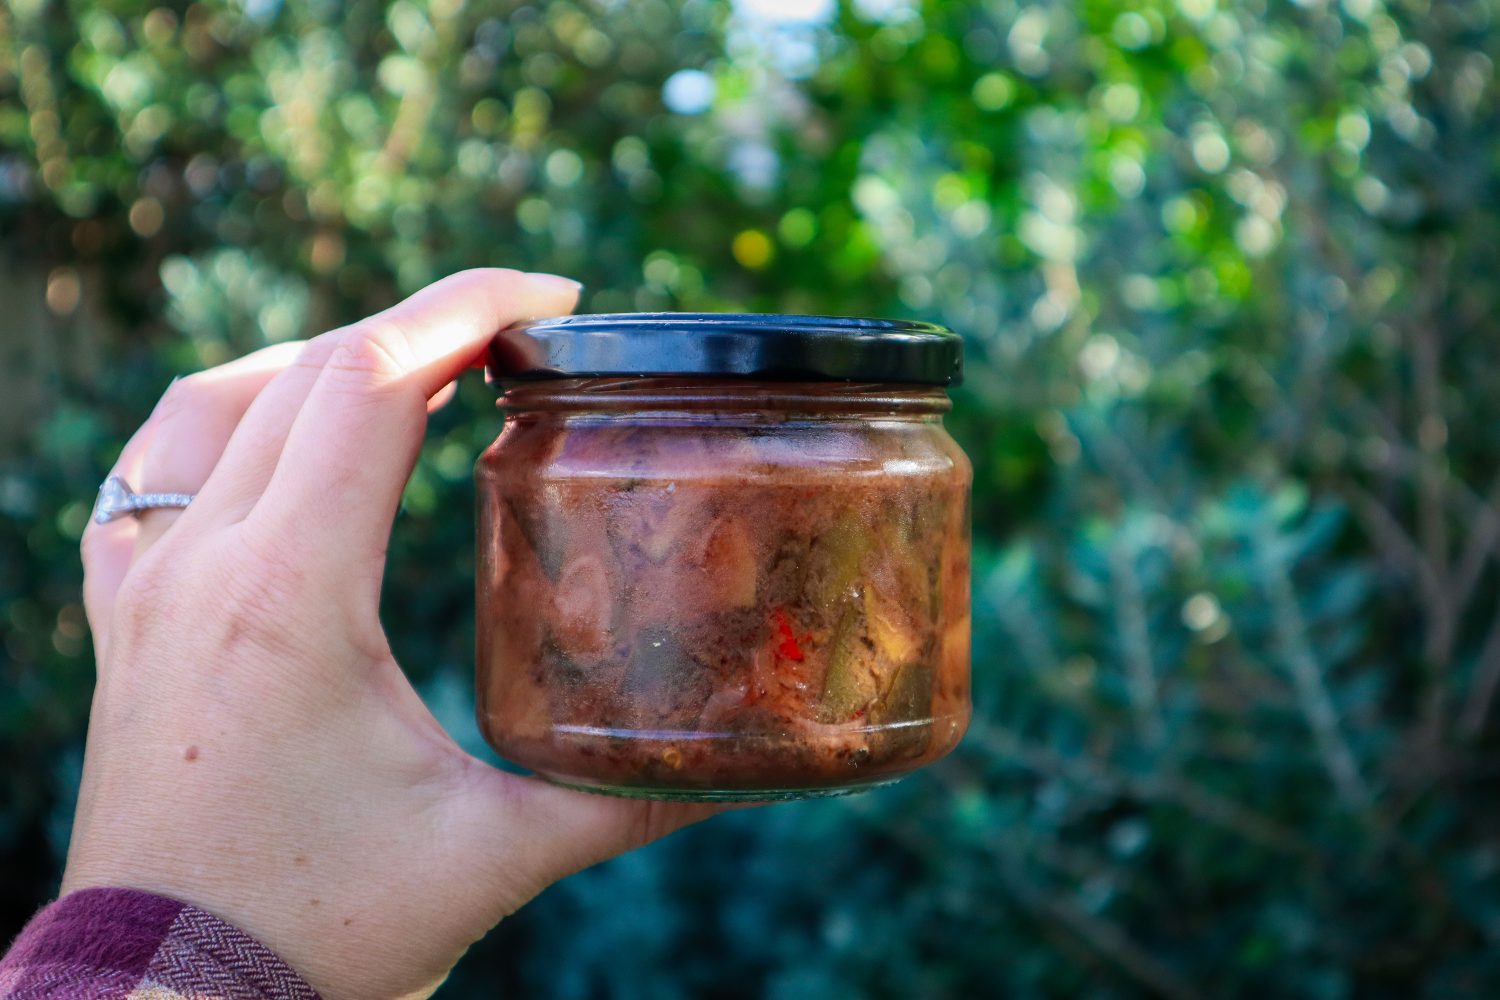
Feijoa Skin Chutney
Prep Time: 15 minutes
Cook Time: 2 hours
Total Time: 2 hours15 minutes
Sweet chutney is perfect for cheese platters or to add flavour to sandwiches. Great zero-waste recipe to use up left over Feijoa skins.
Ingredients
3 cups feijoa skins chopped
1/2 cup red wine vinegar
1/2 cup apple cider vinegar
2 onions
2 green or red cayenne chilli (mild-medium spice)
1 cup raw sugar
1 1/2 tsp salt
1 tsp cumin seeds
Instructions
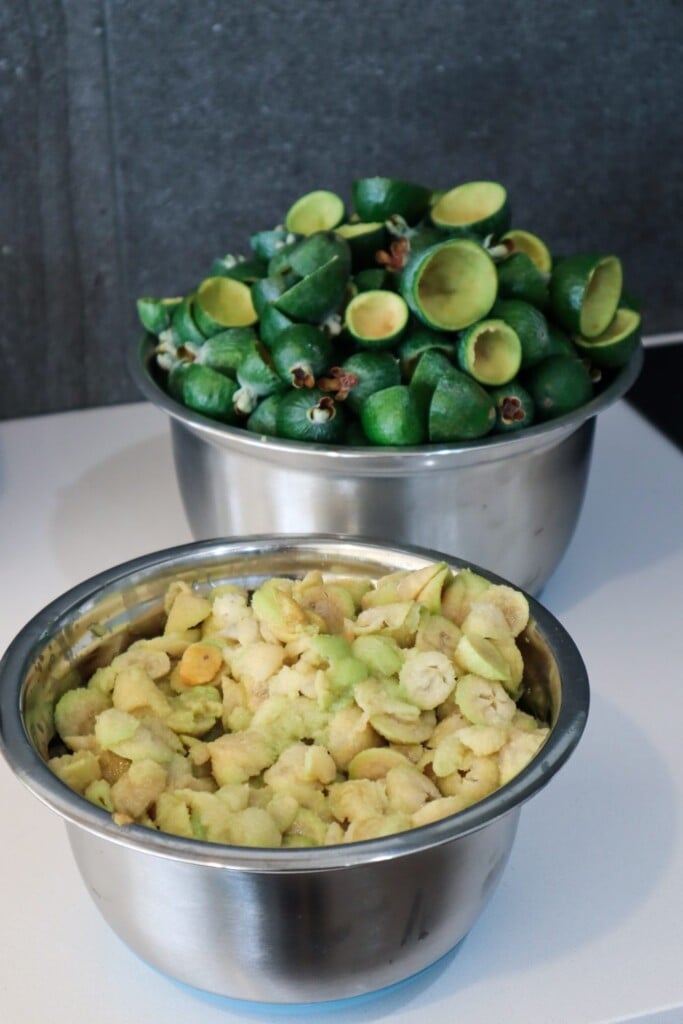
Remove the hard flower ends of the feijoas skins and slice the skins into strips (roughly 1cm wide).
Remove chilli seeds (or leave them in if you like it spicey!). Slice into pieces.
Peel (discard skins) and dice onion.
Place all ingredients in a pot or saucepan and lightly simmer for 1-2 hours until thickened and brown.
Sterilise jars by washing and adding them to the oven upside down at 120 degrees celsius for 15mins. Place lids in a bowl and add boiled water.
Spoon hot chutney into hot jars, clean rims and secure lids.
Notes
Once opened use within 1 week and keep refrigerated.
You can add Feijoa flesh as well as skins but this would increase the sweetness so use less sugar.
Ways to Enjoy Feijoa Skin Chutney
This chutney is incredibly versatile! Try these serving ideas:
On a cheese platter – A perfect match for sharp cheddar or creamy brie
In sandwiches or wraps – Adds a sweet and spicy kick
With grilled meats – Delicious as a glaze or dipping sauce
As a homemade gift – A thoughtful and unique present
Storage Tips & Shelf Life
Store chutney in sterilized jars for up to 6 months in a cool, dark place.
Once opened, keep in the fridge and use within 2–3 weeks.
The flavors will develop over time, so let it sit for a few weeks before enjoying for the best taste!
A Delicious Way to Reduce Food Waste
Making Feijoa Skin Chutney is one of the best ways to make the most of your feijoa harvest. It’s a simple, delicious, and sustainable recipe that transforms leftovers into a gourmet treat. Give it a try this feijoa season, and enjoy a homemade condiment that’s bursting with flavor!
What do you make with your excess feijoas? Let me know in the comments! 🌿
Have odd fruit and veggies to use up? This leftover breakfast loaf is a great way to reduce waste and make a delicious and healthy breakfast (or anytime) alternative. This recipe is flexible to allow a range of fruits, nuts, and seeds you have available.
Leftover Breakfast Loaf
Prep Time: 15 minutes
Cook Time: 45 minutes
Additional Time: 20 minutes
Total Time: 1 hour20 minutes
Have random odd fruit and veggies that need to be used up? This leftover breakfast loaf is a delicious way to make sure they don't go to waste.
Ingredients
Dry ingredients
2 cups flour
1 cup oats
1 tsp cinnamon
1 tsp mixed spice
1 TBSP Baking Powder
1/2 cup seeds (i used 50:50 pumpkin and sunflower)
1/2 cup walnuts (choose your favourite nuts)
1 TBSP Poppy Seeds
1/2 cup chopped mixed dried fruit (Goji berries, apricot, raisons)
Wet ingredients
1/2 cup coconut oil (liquid)
1/2 cup quality maple syrup
3/4 cup oat milk (or preferred milk)
Fruit & Veggies
1 cup grated zucchini
1 cup grated carrot
1 cup chopped greens/ spinach
1 cup grated pear (or apple)
1 cup diced Apricot & strawberry (swap for berries or cherries)
Instructions
Preheat oven to 180 degrees.
Mix dry ingredients in a bowl.
Grate and add chopped fruit and veggies to a bowl along with all the wet ingredients. Stir to combine.
Fold in the dry to the wet mix and combine with minimal mixing (don't over-mix).
Grease a loaf or bread tin and add in the mix. Bake for 45 minutes or until the skewer comes out clean.
If there is a little too much for the tin ( in my case) add to muffin trays (but these will only take 20 minutes).
Allow the tin to cool for 10 minutes then remove the loaf and cool for a further 10-15mins on a wire rack (do not slice straight out of the oven or it will fall apart and turn dry).
Notes
To freeze the extra loaf cut it into slices first and pop it in the compostable ziplock bags.
Mix and match fruit, veggies, nuts, and seeds to make your own delicious blends.
Frozen berries can be used add them in frozen don't thaw them out first.
Grow food from cuttings and boost your garden’s sustainability. Do you want to grow more food without all the cost of buying seeds and plants to make it happen? This guide will show you some easy and quick ways to grow a tonne of food. Multiplying plants from ones you already have or making cuttings from friends gardens can help you set up and grow a sustainable garden without all the costs involved.
$18
30-page Digital Ebook featuring 10 detailed plants to grow from cuttings. Plus tips & tricks to propagate and grow a sustainable garden.
Homegrown food not only tastes so much better but it also provides you with much more nutrients than many store-bought fruits and veggies. You also can control what goes on your food and skip all the pesticides, chemical fertilisers and other nasty sprays that get used on commercially grown food. Many of the plants in this guide may already be in your garden, neighbours or friends and family’s. Learning to identify these plants and how to propagate and regrow them from cuttings will take your gardening and sustainability to the next level.
By the end of this guide, you will have a list of edible plants you can go out and reproduce to grow wholesome food for you and your family.
Turn this common GARDEN PROBLEM into something AMAZING! So you can Grow Healthy Organic Plants. Making this all-natural, organic weed tea fertiliser also means you can feed your plants without worrying about any chemicals harming the insects in your garden. A happy and healthy garden will produce more food for you and all the beneficial insects and pollinators.
Weeds weeds weeds
If you have an organic garden, you probably have some weeds! Especially at this time of year with spring just around the corner in Australia, the weeds are thriving. Weeds can tell us a lot about our soil and learning to identify weeds in your garden can help you fix soil issues. Weeds are so good at pulling nutrients out of any soil and therefore can be holding on to a lot of great nutrients that can be harnessed to make an organic weed tea fertiliser.
Making weed tea fertiliser is a great way to close the loop and return nutrients back to your fruit trees and plants in a form they can easily absorb. This liquid fertiliser is also completely FREE and using up unwanted weeds from your garden. Its WIN-WIN. Making weed tea fertiliser is so easy and requires very little equipment. I put the weed tea fertiliser back into the same garden that I pulled the weeds from.
Identify your weeds
Learning to identify weeds in your garden can also mean you have more edible plants available! Yes! Some weeds are actually edible! Make sure you do your research and identify weeds that are local to you. Having good soil is key to a thriving organic garden! So learning to identify common weeds and what kind of soil they like to grow in is a great way to find out what’s going on with your soil. The weeds I identified were all ones that like to grow in compacted soil. So that is something I can check and see if my soil getting too compacted.
Catsear Flatweed – Hypochaeris radicata
How to make weed tea fertiliser
To start off you are going to need some weeds! Map out an area of your garden and start pulling weeds out and try to get the whole root out as well. I like to listen to a podcast and multitask during this time. Use some good quality gardening gloves to protect your hands from sharp spikes or insect bites.
Evaluate and identify the most common weeds in your garden. I used a book with common weeds local to my area. See if you can notice any patterns and what kind of soil they like to grow in. This might help you identify what is going on in that particular patch of garden.
Put all your weeds in a large bucket and fill with water. Rainwater is best but if you only have tap water from your local council then just pour it into a bucket and let it sit for a day or two until the chlorine has dissipated.
Roughly rip up your weeds and add to the water. Place a rock or something weighted on top so the weeds are all underwater.
Put a cover on top to stop insects like mosquitoes. I used a piece of rag cotton.
Let it BREW. stir with a stick once a week. You can brew your weed tea fertiliser for anywhere from a few weeks to a few months! The longer you leave it the more nutrients will be released but it will also start to really stink so it is up to you! Brew it longer if you have any seeds in there to try and destroy them before you put it back onto your garden.
Dilute up to 1:10 ratio and pour back on to your garden. If you want to ensure no seeds are there you can strain it through a sieve or piece of fabric. The leftover leaf material can go into your compost.
NOTE: Grass seeds can be hard to destroy so I would avoid using grasses or strain well before putting onto your garden. I use the hoselink spray mixer and strained it through a fine cloth before I used it so that the plant material doesn’t block up the nozzle.
Leave me a comment below if you have any questions.
Holly 🌱
MY GARDENING ESSENTIALS // Fertiliser spray gun: https://bit.ly/366nL1t Retractable Hose: https://bit.ly/2TSC0Bo More gardening tools: https://bit.ly/32IQmbD
DISCLAIMER: Links included in this description might be affiliate links. If you purchase a product or service with the links that I provide I may receive a small commission. There is no additional charge to you! Thank you for supporting my page so I can continue to provide you with free content!
There is no better time to start growing your own food than NOW. Creating your own food security and using your time to help create a greener world is win-win. I have always had the dream of growing my own food and living a more sustainable lifestyle and it is something that I have been continually building and working towards for years. I don’t want to be 100% self-sufficient because there are just some things I either won’t be able to grow or choose not to grow. But there are plenty of ways to supplement my homegrown food supply such as trading, swapping, and local farmers markets. I have put together (in no particular order) 18 simple ways you can start living a more self-sufficient lifestyle today.
1. Start a Herb Garden
No matter whether you have a big garden or live in a tiny apartment, growing herbs can be easy and takes up very little space. Grow in small pots, recycled containers, hanging planter,s or windowsill planters. If you like to use herbs it is a great first step towards self-sufficiency. And no, that does not mean buying those packed herb pots from the supermarket…. they are often grown hydroponically and then placed in the soil so they rarely survive long and don’t handle being planted out into real life. Get a packet of seeds and try growing your own 🙂
2. Start a Vegetable Patch
The best way to learn how to grow vegetables is to simply start trying! Start small with either a planter box or convert one small patch of your garden or even driveway into an edible vegetable patch. You can also start by simply integrating edibles into your established garden. Once you start growing some things you can start expanding bit by bit. Goodbye grass 🙂
3. Plant Fruit Trees
I love fruit trees because although they take a while to get going, once they do, they are abundant and don’t require as much care as vegetables. You can plant them in either a large pot or directly into the garden. I would recommend going to a local specialist fruit tree nursery so they can help you choose the best fruit tree for your location. Also, make sure you get something with fruit you actually enjoy! With the abundant produce you can then preserve, swap, and trade with others!
4. Grow Base Crops
I couldn’t think what else to call them but growing crops that will feed you for longer and create a good base to fill your pantry. Crops such as Pumpkins, Potatoes, Onions, Garlic, and Sweet potatoes will provide decent amounts of food that you can store and use throughout the year! A great base vegetable to feed a family.
5. Grow Soil
Composting is not only great for the fertility of your soil and the secret to AMAZING vegetables but also stops waste from going to landfill. There are a whole bunch of ways to do this depending on your living situation. You can make your own compost bin out of recycled wood, find a second-hand tumbler online or purchase one. You can also simply dig a hole in the garden and bury it (be careful of attracting pests though). There are also some new ways for people with no land to connect with others that do and give them your compost scraps. Either community gardens, local Facebook groups or now in Australia there is even an app! Sharewaste
6. Save Seeds
This is just as important as growing food and will be a huge step towards your self-sufficient journey. Saving seeds helps you maintain food security knowing that you have more healthy seeds to grow next year. Save seeds from your healthiest plants that thrive in your garden. Keep them in a dry dark place.
7. Grow Community
Get your friends involved! Take them over a basket of homegrown food or preserves. Once they see your delicious fresh food they may also get inspired! Help them out with seeds, and cuttings and surround yourself with like-minded people. Community gardens can be a great place to learn, get involved, and even seed/ produce swap. It can be an amazing network of knowledge, especially in relation to your local climate and growing conditions. There are also some great social media forums and groups that are great for finding answers to your questions and local knowledge.
8. Shop Local
Explore your local farmer’s markets! Grab a friend and go have a browse! They are usually on a Saturday or Sunday morning and I look forward to it every week. Although I love my local farmers market (Kalamunda) every few months I like to check out other farmers markets to mix things up and find new and interesting produce. Bulk food stores have been making a come back and I am sold! Lucky for me there is a fantastic Bulk Store ( Replenish Kalamunda) right by my local farmer’s markets. So I head there straight after I have picked up some fresh veggies. They may seem daunting at first but there are always plenty of signs explaining how to do it. I also love how each product clearly states where they have come from as I try to only choose Australian products.
9. Learn to Cook from Scratch
This is a big one! Learning to cook a wide range of meals from scratch using simple ingredients is key! I mean we can all make a butter chicken right…you just get the sauce and pour it in… Ditch the sauces from the supermarket and learn to make your own. I am constantly experimenting and expanding my knowledge so I can make a wide selection of meals from the produce I grow. Try to buy vegetables that are in season and fruits and vegetables that you are planning to grow. That way you can practice and become a pro at recipes for YOUR future harvests!
10. Grow Food From Scraps
Ok, this is one of my favourites! It is so quick and easy and a lot of fun! Plus you are getting the most out of your food. Buy one get multiple free!! Cut off the ends of your farmers market vegetables such as Spring Onion, Leek, Pineapple, Sweet Potato and regrow!
11. Forage and Trade
Keep an eye out on your walks and day trips for wild or excess food. So often there are olive trees, fruit, nuts or wild apple trees going to waste. Do your research and learn how to identify plants. That way you will know what you are looking at. It is also important to be careful if things have been sprayed by the council. I would be always cautious of things such as blackberries. You may even notice a neighbours tree loaded with fruit that is going to waste on the ground. Politely ask if you can have some in exchange for some preserves or baking you make with it. They will probably be happy for it to be used!
12. Repair and Upcycle
Get the most out of your things by fixing or updating them! Even if you don’t know how you may be able to pay someone a fraction of the cost to fix it rather than buying brand new. We often are so quick to throw out and buy new, we don’t even stop to consider if it can be fixed or repurposed. My hair straighteners and been fixed multiple times by electrician friends over the past 12 years and are still working amazingly! Recovering cushions, and couches, DIY, get creative, and even find a local seamstress if you don’t have access to a sewing machine.
13. Shop Second Hand
I try my best to not buy new and it is something I am continuing to work on. Most items you want can be found on Facebook market place, Gumtree (Trademe, Craigslist, etc). You can usually pick up a bargain and keep things in the loop rather than consuming more new things. You can even post in your local community groups and borrow or buy. Especially with things like appliances as many people often have them sitting in the cupboard collecting dust…Pasta maker, I’m talking about you 🙂
14. Backyard Chickens
Chickens make an excellent addition to sustainable living. They provide eggs, eat leftover scraps, produce manure for fertilising your garden, and can they also be incorporated into an integrated pest management system to help you keep your slugs and snails at bay. Many councils will allow backyard chickens in suburbia. Although I do not have chickens …yet (Pictured above is mums ‘Chick Inn’) my council allows x6 backyard chickens on properties 600sqm -2000sqm.
15. Back to Basics
Bread/milk/butter/pizza dough. The age-old skill of baking your own bread is a fantastic skill to have! How amazing to just whip up a fresh loaf of bread or make your own pizza bread without the preservatives or plastic packaging. Milk is super easy and you can make delicious plastic, preservative-free milk whenever you want! Whether that’s oat, rice or almond milk.
16. Learn to Preserve Harvests
I am not really at a point yet where I have an abundance of produce to preserve but I have planted a lot of fruit trees…so I am starting to learn different ways to preserve things so that when I am flooded with produce (yay!) I will be able to make the most of it! Get some produce from the farmer’s markets and give it a go! Jams, chutneys, sauces, pickles, nasturtium capers and all those delicious things. They also make great gifts and can be used to swap for other produce with your friends and family and community.
17. Make your Own
Ditch the toxic chemicals and pesticides and start making your own natural cleaning and garden products. You can get a few ingredients from your local bulk stores such as white vinegar and bicarb soda and make a huge range of cleaning products. Check out my Citrus cleaner here. I also used crushed eggshells to keep slugs and snails at bay. Natural pest management
18. Learn, Read, Practice
I can’t stress how important this is! Knowledge is power. Join your local library and get a book on jam making or search YouTube for “how to prune a lemon tree”. Educating yourself and giving things a go will get you a long way on your journey to living a more self-sufficient lifestyle. Take things one a time and really try and master it before moving on. It can be overwhelming if you try to do it all at once and may lead to failure and giving up.
Small and slow solutions!
Holly 🌱
MY GARDENING ESSENTIALS // Fertiliser spray gun: https://bit.ly/366nL1t Retractable Hose: https://bit.ly/2TSC0Bo More gardening tools: https://bit.ly/32IQmbD
DISCLAIMER: Links included in this description might be affiliate links. If you purchase a product or service with the links that I provide I may receive a small commission. There is no additional charge to you! Thank you for supporting my page so I can continue to provide you with free content!