Rosemary

Plant of The Month Info Card
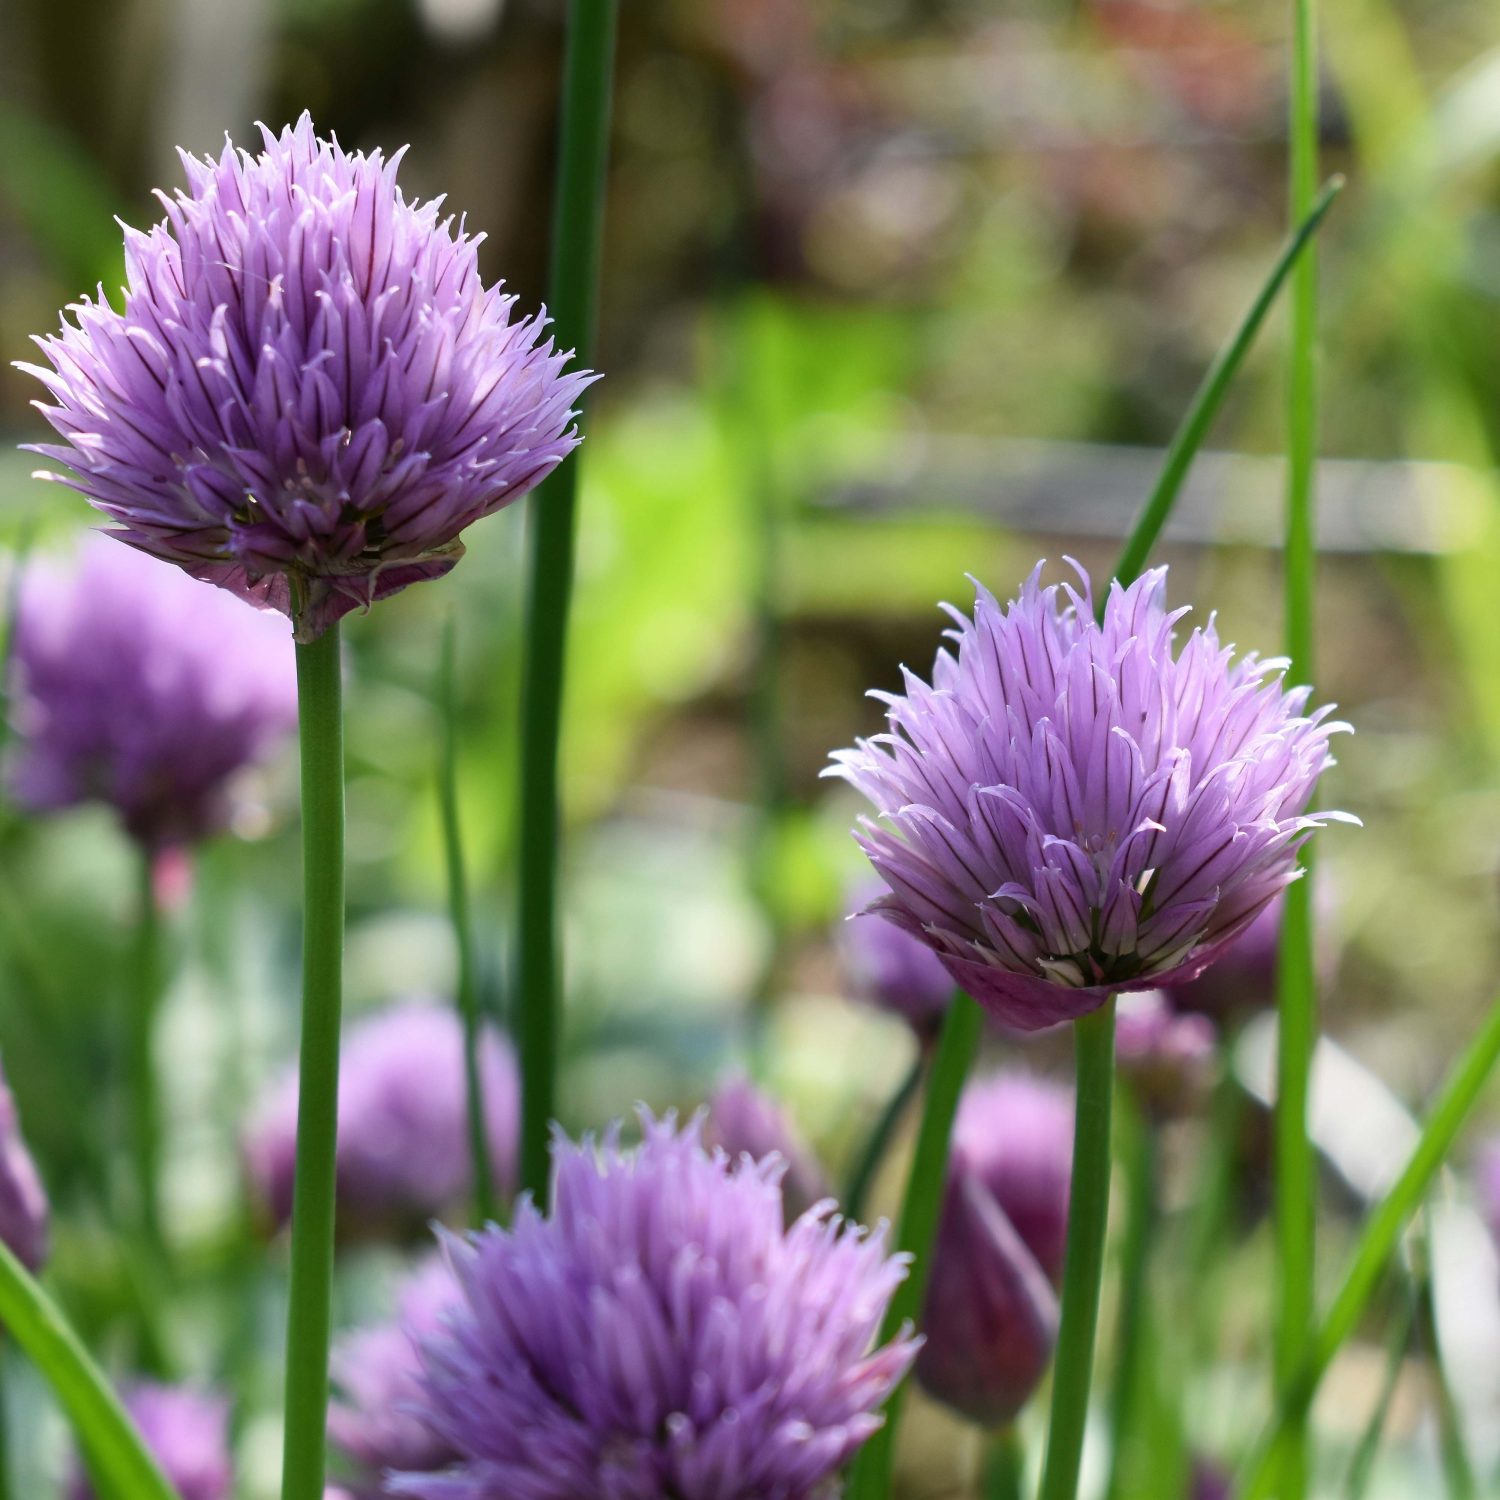
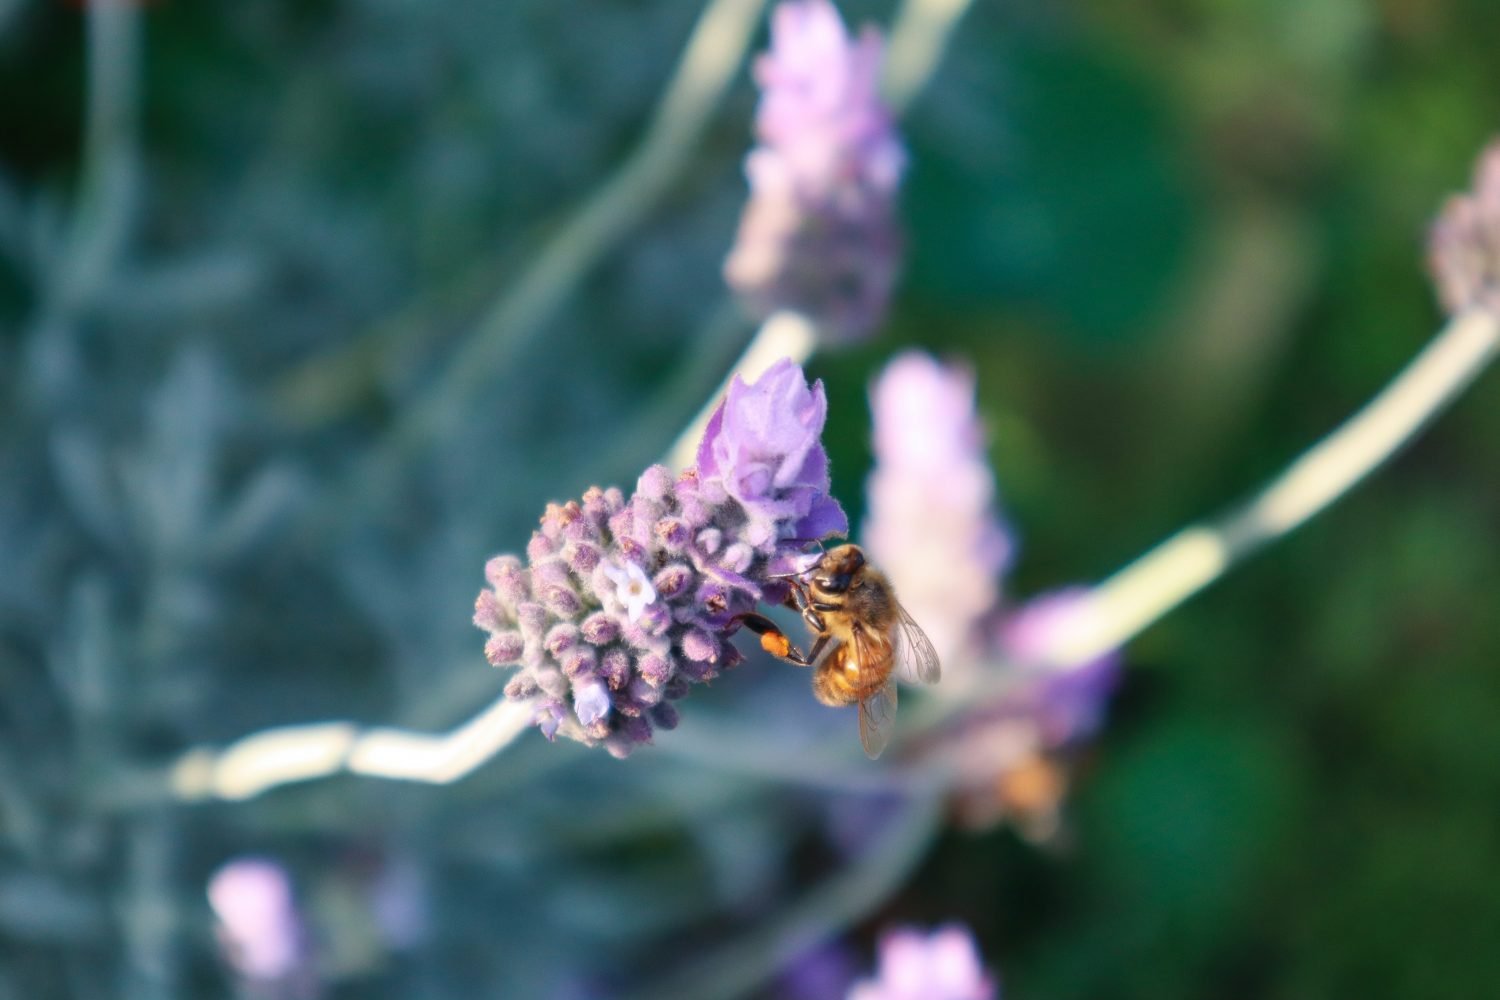
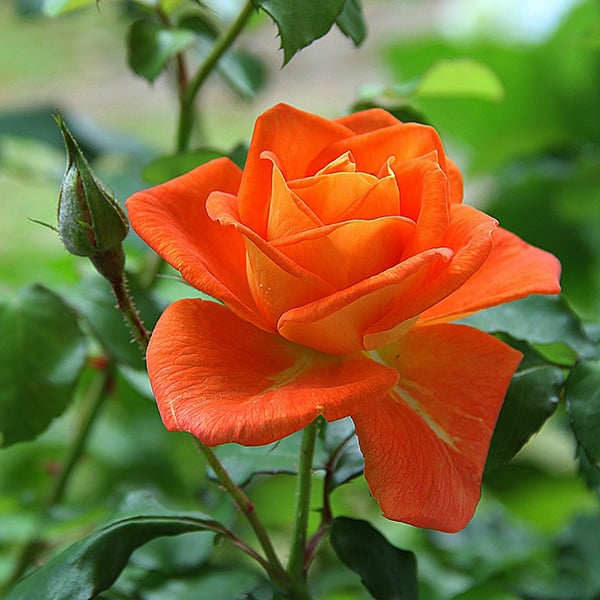
Rosemary (Rosmarinus officinalis) is a fragrant perennial herb. Rosemary is a hardy, drought tolerant shrub and can also be used as an ornamental due to its evergreen foliage and purple or white edible flowers. Rosemary is a great herb to plant on your journey to sustainability, as it has a large list of beneficial uses for the garden, home, kitchen, plus many medicinal qualities. When Rosemary flowers it will attract an abundance of beneficial pollinators to increase your gardens production.

SOW
Spring or all year around in warm climates

SOIL
Free draining soil, compost & PH neutral – slightly alkaline.

LOCATION
Full sun 6-8 hours per day. Cold climates -move it to a warmer spot in winter.

CARE
Water at base – dont over water. Keep well mulched. Prune early Spring to encourage new growth.

FERTILISE
Spring and Autumn with seaweed solution or an organic slow release fertilizer.

PESTS
Aphids, white fly, scale, mealybugs. Mildew in humid climates.

HARVEST
Anytime of the year.

REPRODUCE
Cuttings are the easiest and quickest way to reproduce.

Why Grow Rosemary?
Rosemary offers so many beneficial relationships within your garden. Rosemary is a hardy, drought tolerant, ever green perennial herb. A fantastic staple to have growing in any edible garden. Rosemary also has many healing properties, so it is a handy plant to have near the house or in a kitchen garden.
Here are some of the many reasons to grow Rosemary:
- Low maintenance
- Drought tolerant
- Pest resistant
- Attracts Pollinators
- Creates diversity in the garden
- Evergreen herbs
- Edible flowers and leaves
- Adds flavour to your meals
- Great for skin care and healing
- Anti-inflammatory properties
- Boosts mental clarity and focus
- Improves digestion
- Aids in hair growth
- Calming and therapeutic qualities
Popular Rosemary Varieties
‘Arp Rosemary’– Large sturdy shrub. Purple -blue flowers. Grows 1.5m high and 1m wide. Cold hardy. Popular for skewers.
‘Gorza’ – Tall upright shrub. Leaves are twice as big as other varieties. Large light purple flowers. Popular with Chefs. Can handle humid locations.
‘Salem’ – Medium sized upright shrub originating from Auckland, New Zealand. Deep Blue Flowers. Grows 1.5m tall and 1m wide. Popular for hedging.
‘Pink Remembrance – Small-Medium sized shrub. Light pink flowers. Grows 1m tall to 80cm wide. Can handle cold climates, wind, salt and dry soils. Popular for pots or cottage gardens.
‘Huntingdon Carpet’ – Low lying or cascading Rosemary. Bright blue flowers. Grow 30-60cm tall. Popular for rock walls or pots.
‘Tuscan Blue’ – Tall upright plant. Light blue-purple flowers. Grows 1.5m tall x 1.5m wide. Popular topiary or hedge. Can handle coastal environments.
‘Blue Lagoon’ – Compact trailing/ cascading plant. Deep blue- purple flowers speckled with white. Grows 1m tall to 1m wide. Popular for rock walls. Can handle coastal environments.
‘Golden Rain’ – The most densely compact variety. Leaves turn a golden colour during winter then back to green in summer. Light blue flowers. Grows 60-90cm high and wide.
‘White Flowering’ – Short dark green, needle shaped leaves. Curved branching form. White flowers give the appearance of snow fall.


How to Grow Rosemary
Rosemary likes a full sun location, with approximately 6-8 hours of sunlight. Rosemary is a hardy, drought tolerant plant that grows well in poor soils. Rosemary doesn’t like having wet feet, so free-draining soil is important. In humid areas, select a variety such as the ‘Gorza’. Before planting, add in a layer of compost and mulch around the base after planting.
When to Plant Rosemary
Plant Rosemary in Spring after the last frost has past.
Care/ Maintenance
Rosemary can get root rot if it gets too much water, so ensure the soil has had time to dry out between watering. Feed with liquid seaweed or plant fertiliser every few months for improved results. Pruning Rosemary regularly will help keep it compact and fresh. Older branches tend to go woody and sparse over time. Prune after it has finished flowering and remove no more than 1/3 of the plant at a time. You can then use your trimmings to make new plants!
Pests / Disease
Rosemary is a hardy plant but it can suffer from a few pests and diseases from time to time. In humid areas Rosemary can get powdery mildew and root rot. To prevent this, water only at the base and not the leaves. Let the soil dry out before watering and ensure the soil is free-draining. Prune to allow good airflow. Aphids, white fly, scale and mealy bugs may also effect your Rosemary. It is best to catch these pests early and you may be able to blast them off with the hose or try a natural spray such as chilli and garlic. A mix of natural dish detergent and water can also help remove them.
How/ When to Harvest
Harvest and use your Rosemary all year round. Use sharp secateurs to allow new growth to form easily.
Reproducing
Rosemary is very easy to reproduce from cuttings. Choose a semi-hard wood section (not the soft new growth and not the thick hard stems – somewhere in the middle. You can cut that portion down). Cut lengths of 10-15cm and strip the bottom half of the leaves off. Then either place in a jar of water to sprout roots or place directly in a pot of soil. Ensure the pot is kept well watered while they sprout roots.
Cooking and Using Rosemary
Rosemary is such a versatile herb and works well with both sweet and savoury dishes. Rosemary has a pungent, pine like aroma.
Rosemary Pairs well with: Blackberries, Potato, Sweet Potato, Apricot, Grapefruit, Lemon, Watermelon, Pumpkin, Rhubarb, Onion, Olive, Orange, Cauliflower, Mushrooms, Garlic, Gin
Rosemary has many other uses such as:
- Skewers for the BBQ
- Use as a brush to apply marinades
- Garnish and flavour teas, cocktails and drinks
- Christmas wreaths
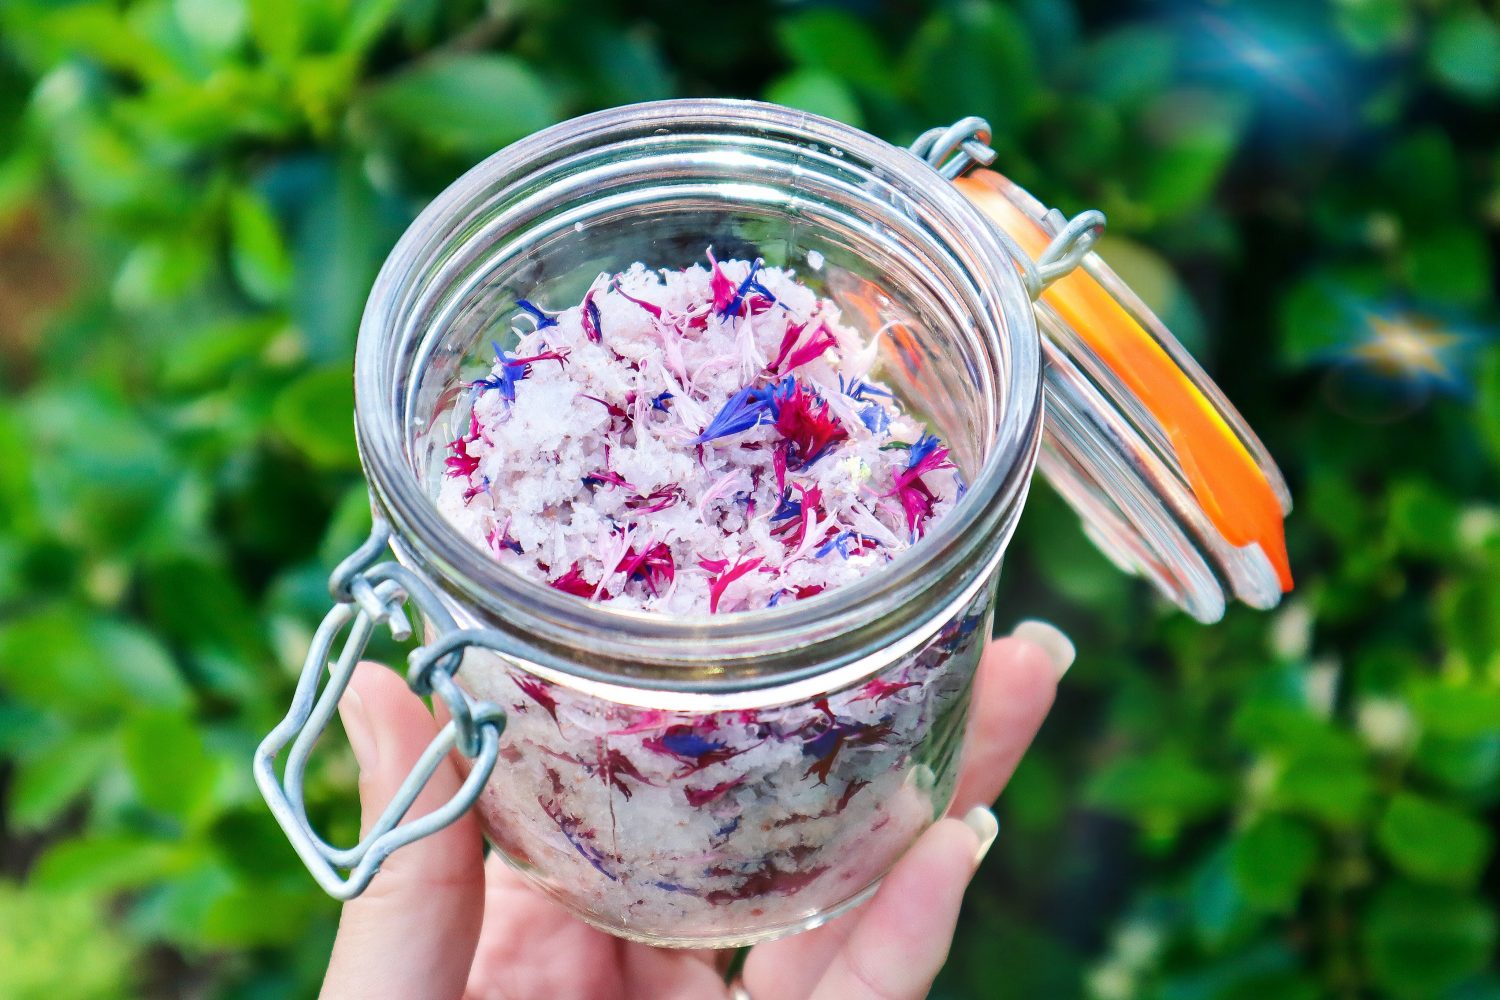
- Herb finishing salts
- Infused oils and vinegars
- Infused butter
- Bug Repellent
- Bath salts or hand scrubs
- Table setting decor
- Add a sprig to gift wrapping
- Garnishing cheese platters
- Hydrosol
Preserving the Harvest
Rosemary can be preserved by drying see preserving herbs. The great thing about drying Rosemary, is that it reduces in size dramatically. So a massive basket of Rosemary can be condensed into a single jar. It can also be blitz with salt to make delicious Rosemary finishing salt. This is an easy way to add extra flavour to your dishes. Rosemary can also be added to oils and vinegars to infuse.


Rosemary Posts

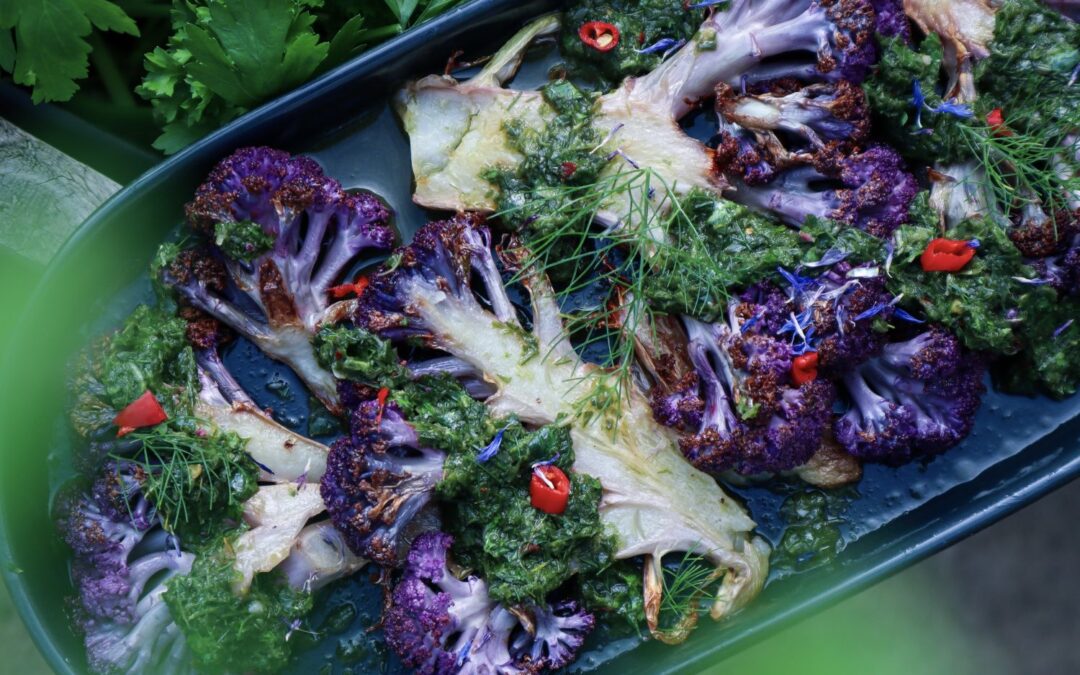
Zucchini Wrapped Haloumi on Rosemary Skewers
These Zucchini wrapped haloumi skewers are so delicious and easy to make!…


8 Medicinal Herbs that are Perfect Companion Plants
Diversity is so important for creating a thriving and sustainable edible garden….


Rosemary, Feta and Roast Veggie Hand Pies
Rosemary and roast vegetables are a classic combo for a very good…


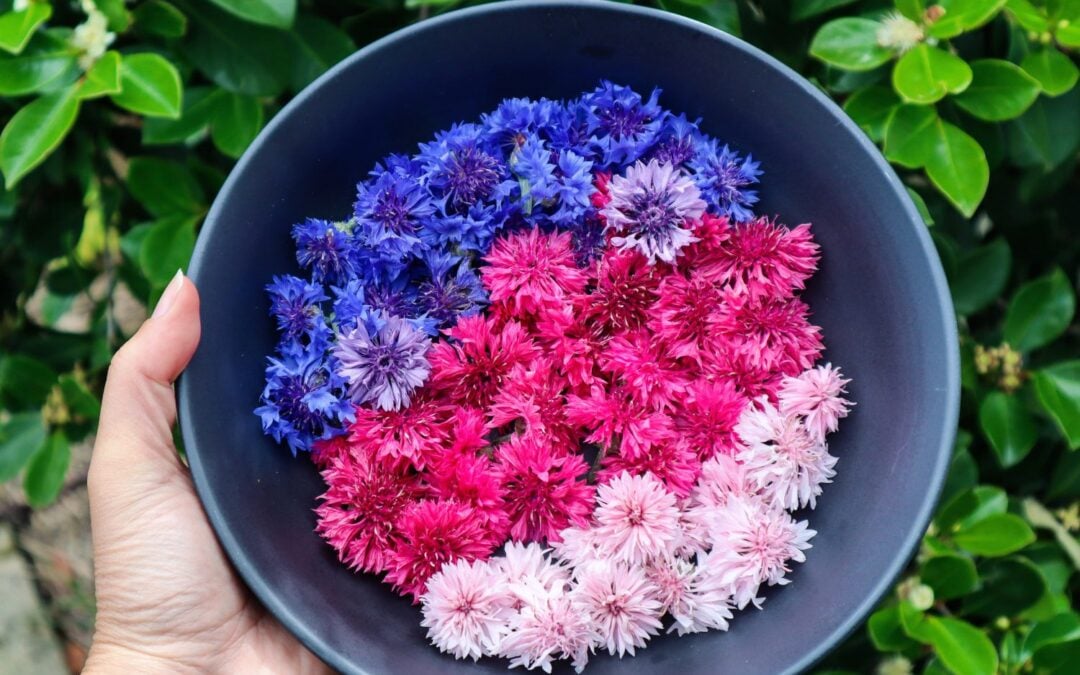
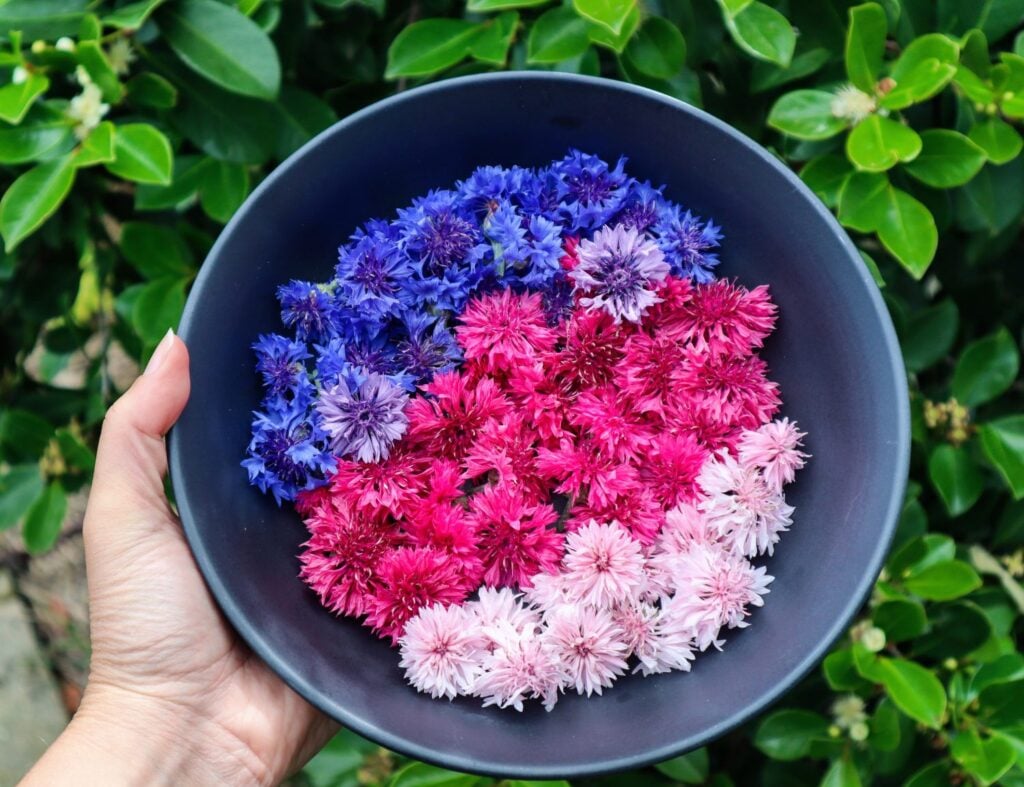
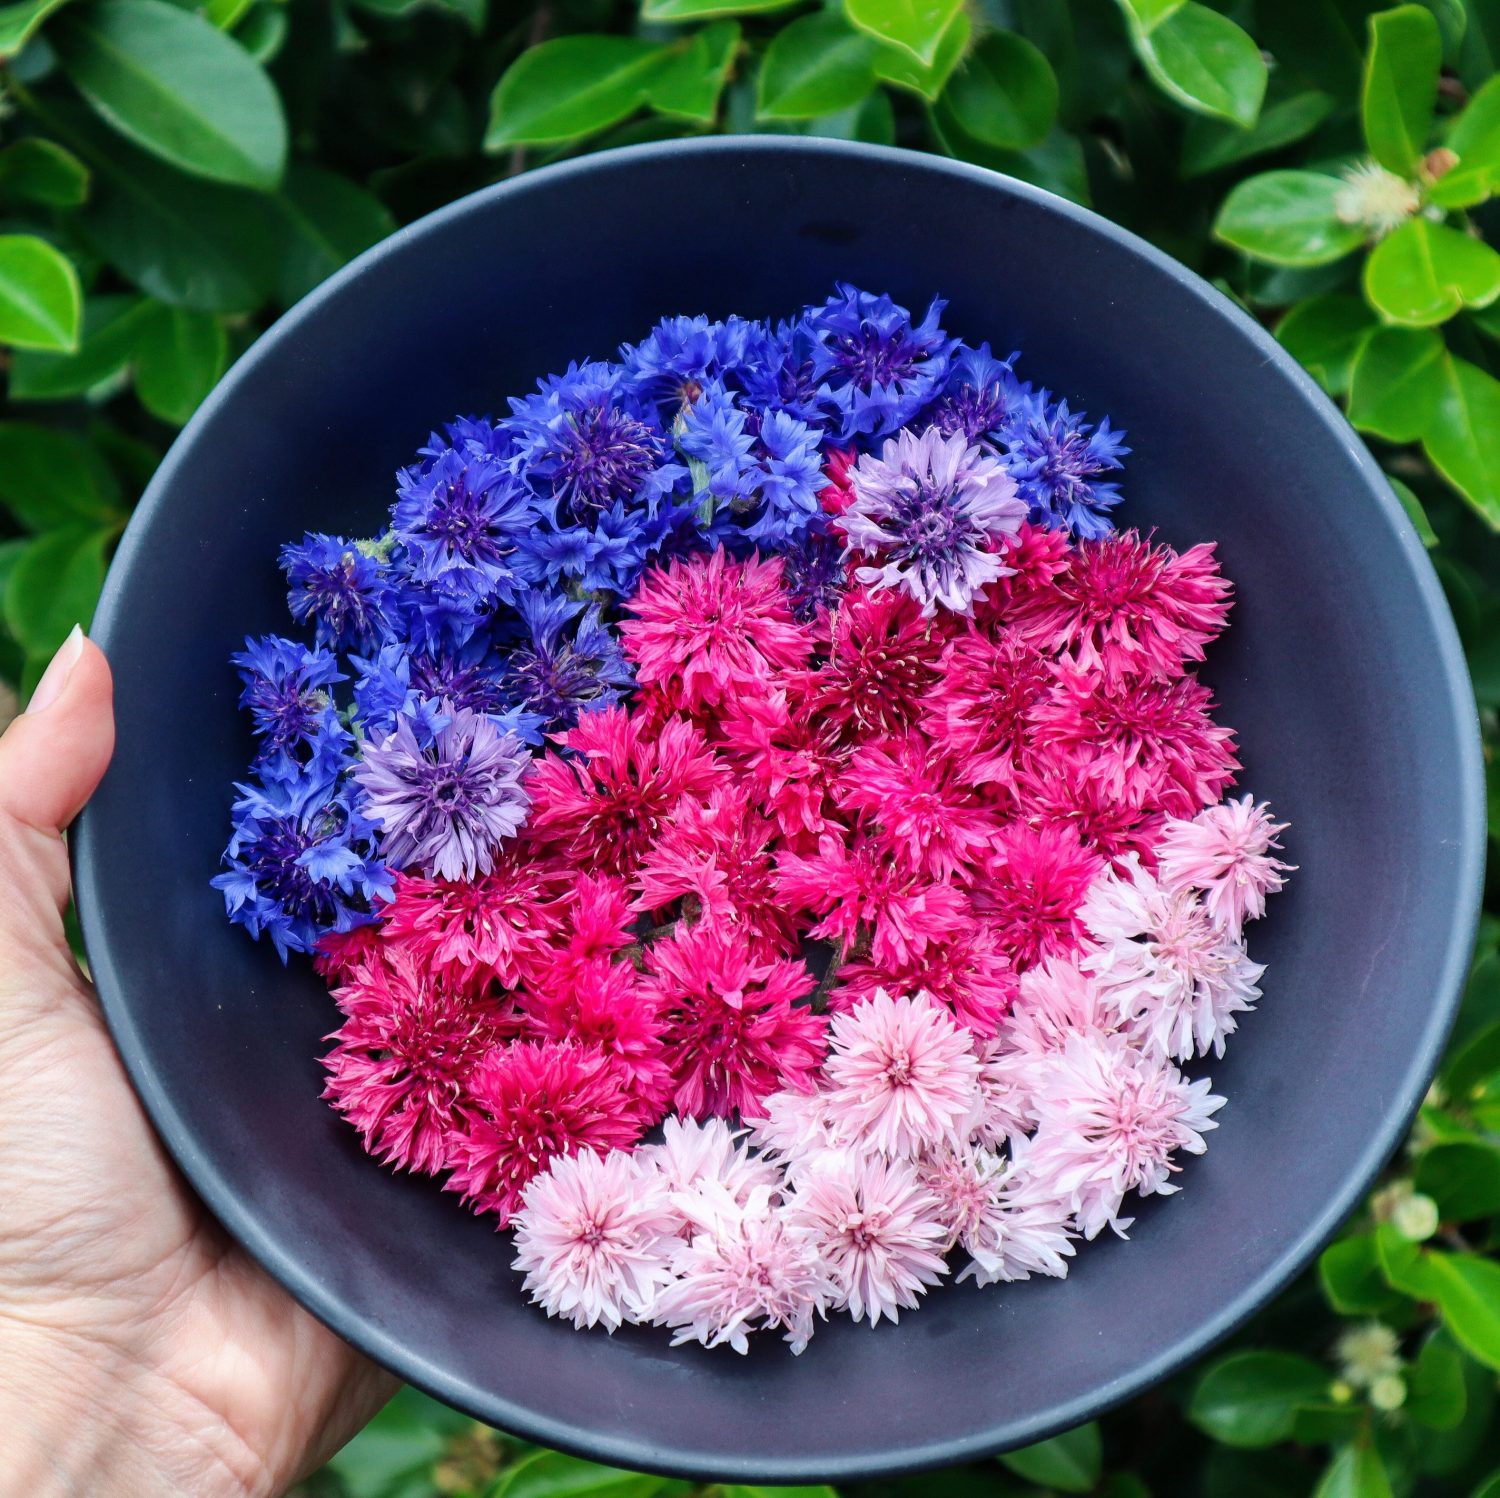
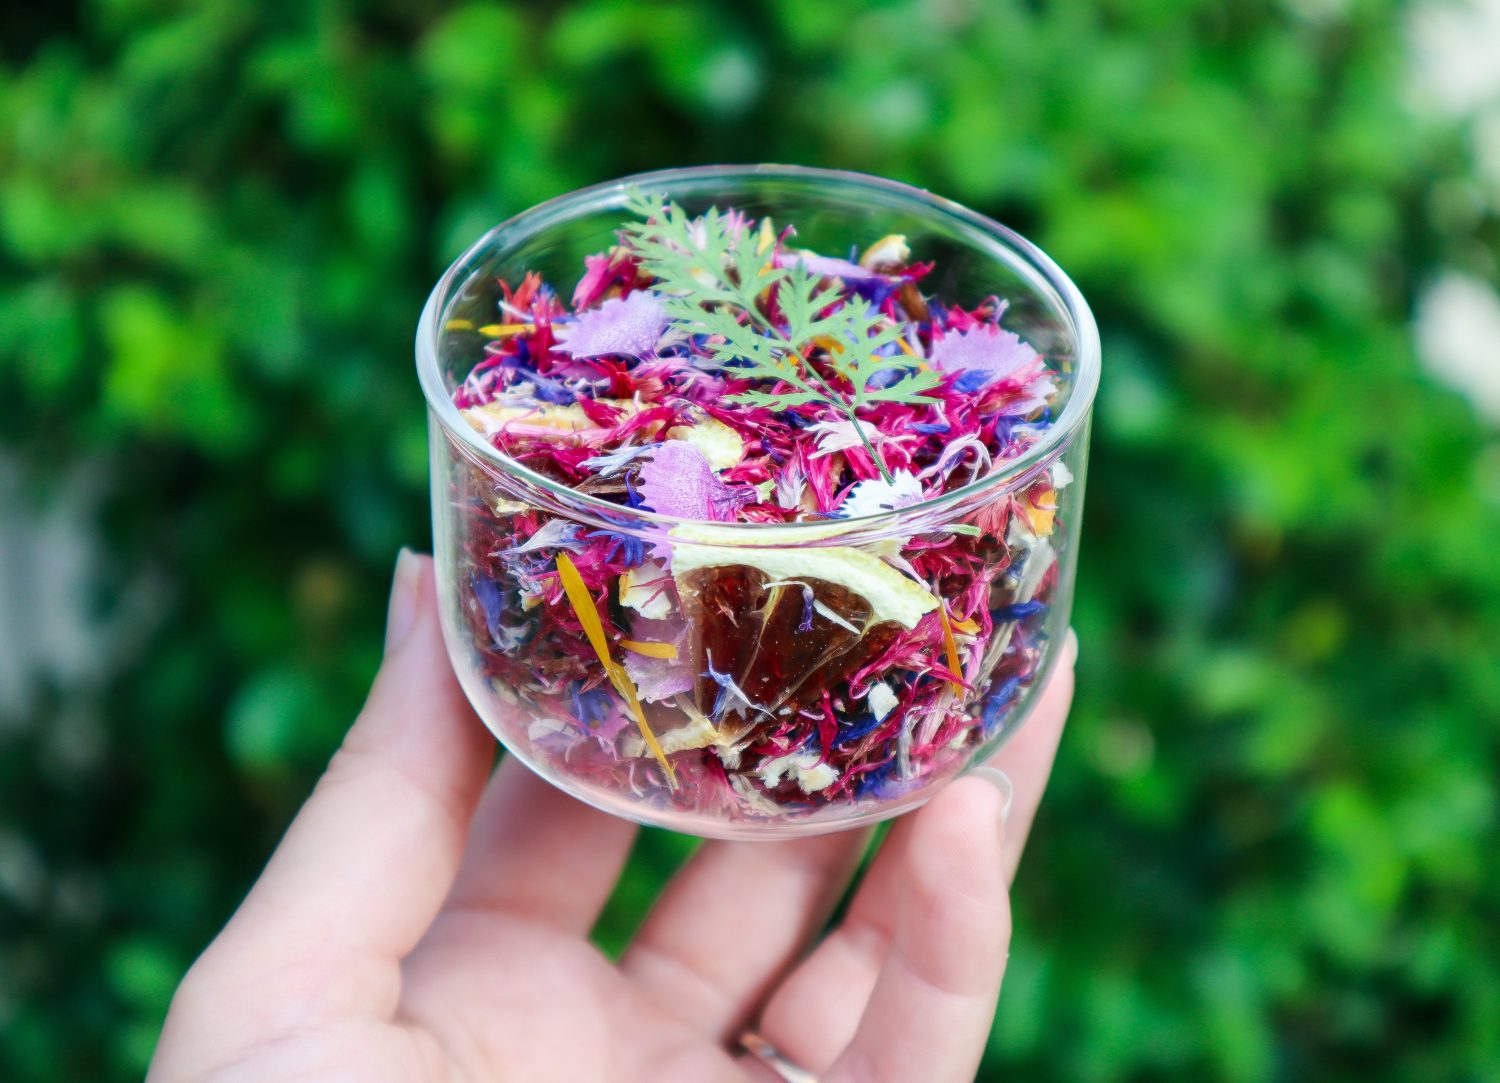
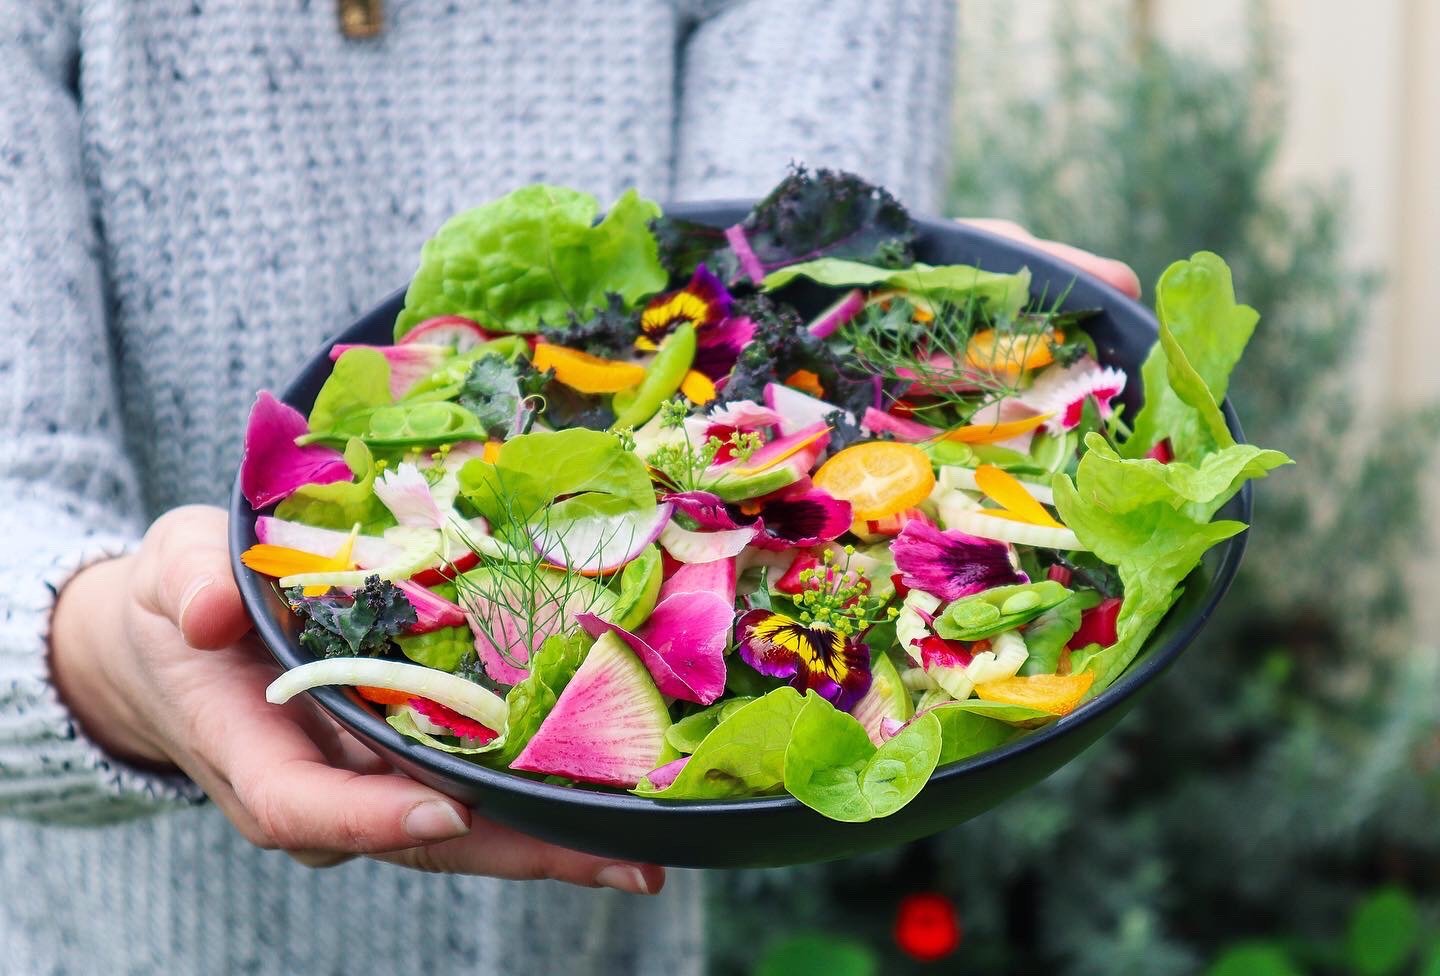
Beginners Guide to Edible Flowers
Edible flowers offer so many beneficial relationships within a home garden. When creating a sustainable


Previous Feature Plants