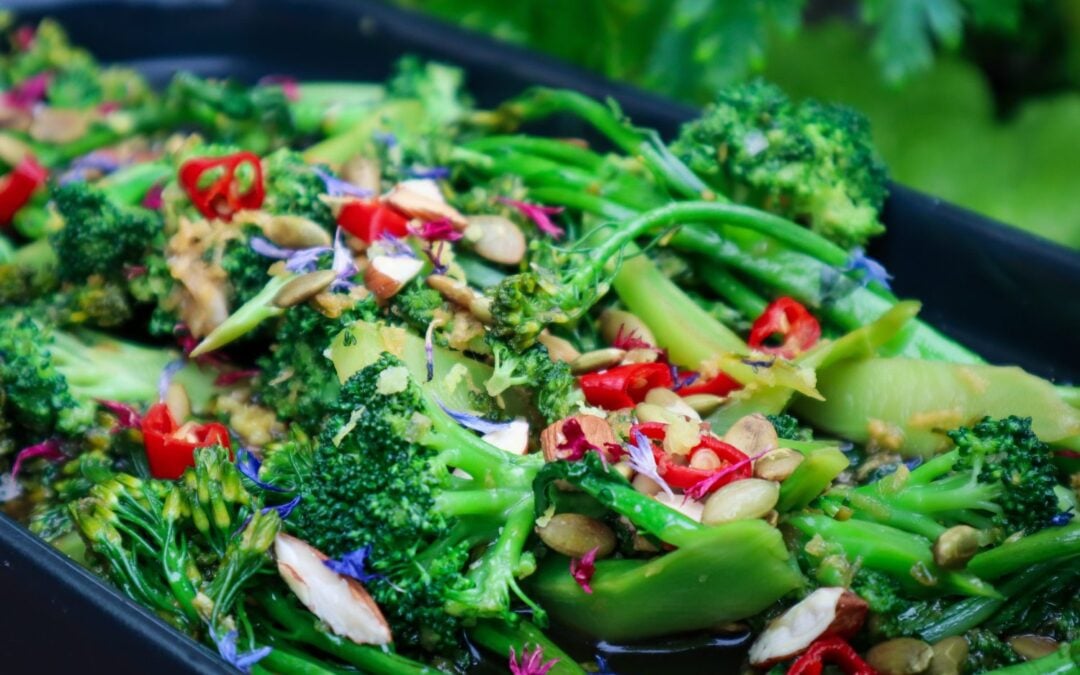
This Stirfry Broccoli dish is super quick and easy to make and packed full of flavour! A great side dish to serve with any rice or noodle meal, or just to spice up your weekly dinners. The contrasting Red chilli really makes this dish sing! I keep my chillies whole in the freezer to pull and use in meals throughout the year.
This stir fry sauce is one of my favourites and can be used with many other dishes. Just double the recipe to use for a full stir fry meal.
Stirfry Broccoli with Tamari, Chilli and Garlic
Prep Time: 5 minutes
Cook Time: 5 minutes
Additional Time: 2 minutes
Total Time: 12 minutes
A super quick and easy Broccoli side dish to serve that is packed full of flavour. Use Broccoli, Broccolini or a mix of both.
Ingredients
1 Tbsp Tamari (soy sauce)
1 Tbsp hot water
1 tsp Honey
1 tsp Lemon juice
1 Red Chilli
1 Garlic Clove
1cm cubed fresh Ginger
1 tsp Olive oil
1 Broccoli or Bunch of Broccolini
10 Almonds
1 Tbsp of Pepita seeds
Instructions
Add Tamari, Water, Honey, Lemon and Oil into a small mixing bowl. Using a fine grater, grate in ginger and garlic. Slice the red chilli and add half to the mix. Stir until honey is combined.
Roughly chop almonds into 2-3 pieces into a small frying pan. Toast for 1 minute and add the Pepita seeds until the seeds are slightly golden and remove from the heat.
Slice the Broccoli into pieces including the stem. Add to a frying pan on medium-high heat with a splash of oil.
Toss and add the dressing. Cook until the broccoli is bright green and still has a bit of crunch to it.
Place Broccoli onto a serving bowl or dish and add drizzle any extra sauce from the pan.
Top with toasted nuts and the rest of the red chilli. Season with a pinch of salt flakes and garnish with edible flowers (i used dried cornflowers)
Easy steps on how to overwinter your chilli and capsicum plants to have mature plants and bigger harvests for next season. If you have grown chillies, peppers or capsicums over the summer months, you may be able to overwinter them to keep for the next season. Around this time of year, in Autumn, you will notice your chilli and capsicum plants start to die off, lose their leaves or stop producing full-sized fruit. Chilli or peppers are warm-loving plants and do not like the cooler days of autumn and winter. It is around this time that aphids and other bugs will arrive and attack your plants when they are in a vulnerable state. Rather than ripping them out and starting again next season, you can prepare to overwinter your plants.
What does “Overwintering” Mean?
“Overwintering” is a term used when you prepare your plants to keep them alive/ semi-dormant through winter, and then they will be able to be planted out during the warmer spring months. Some plants are classed as annuals because they die off in cool weather, and then you need to replant them in Spring and Summer. But if you overwinter them and keep them somewhere warm, you will be able to convert them into perennials and grow more food without spending any extra money next season.
Why do you Overwinter Chilli Plants?
There are some great benefits to overwintering your plants. They already have an established root system, and this means the plant will be able to start back up again when the conditions are right and will produce quicker and in more abundance than a new young plant. This means your second-year chilli or capsicum harvests will often be earlier and much more fruitful! Which is definitely something we want!
How to Overwinter Chilli Pepper plants?
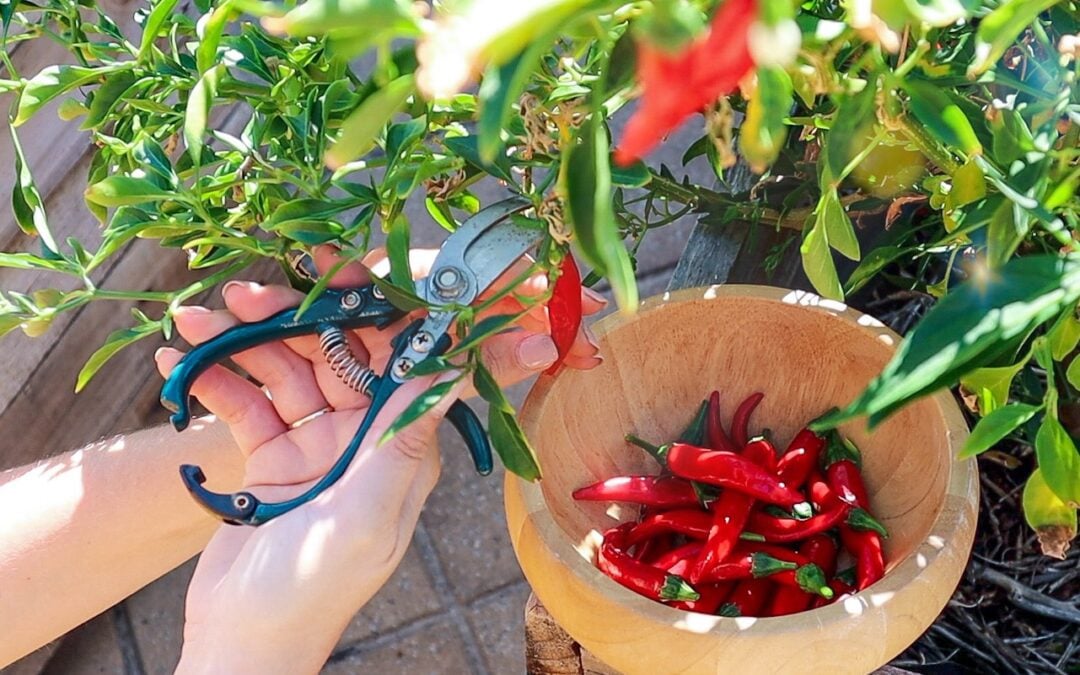
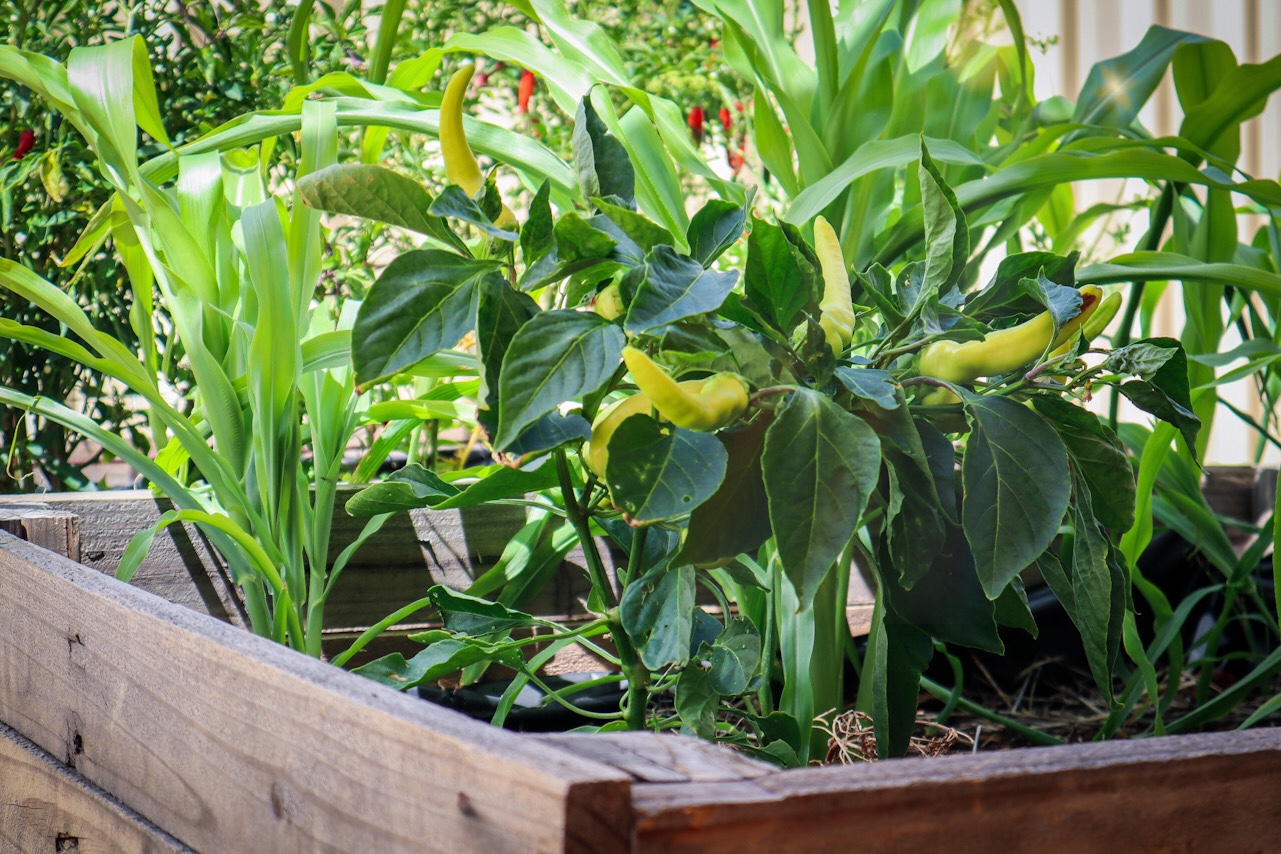
There are a few ways to overwinter your chilli and capsicum, and most of it comes down to how cold your climate is. Here in Perth, we get very little frost so I leave my plants where they are over winter. If you live in a colder climate where you get dramatic drops in temperature and frosts, then you will want to pot up your chilli and bring them into a warm spot in your patio, greenhouse or inside. I grow mine in my pallet planters, which, in winter, I move so they receive sun nearly all day. They are also in a sheltered spot close to the house and fence, so they seem to do well overwintering in situ.
The two chilli plants I have in this planter have been here for 2 or 3 seasons and produced so many chillies this summer!
To prepare them for winter:
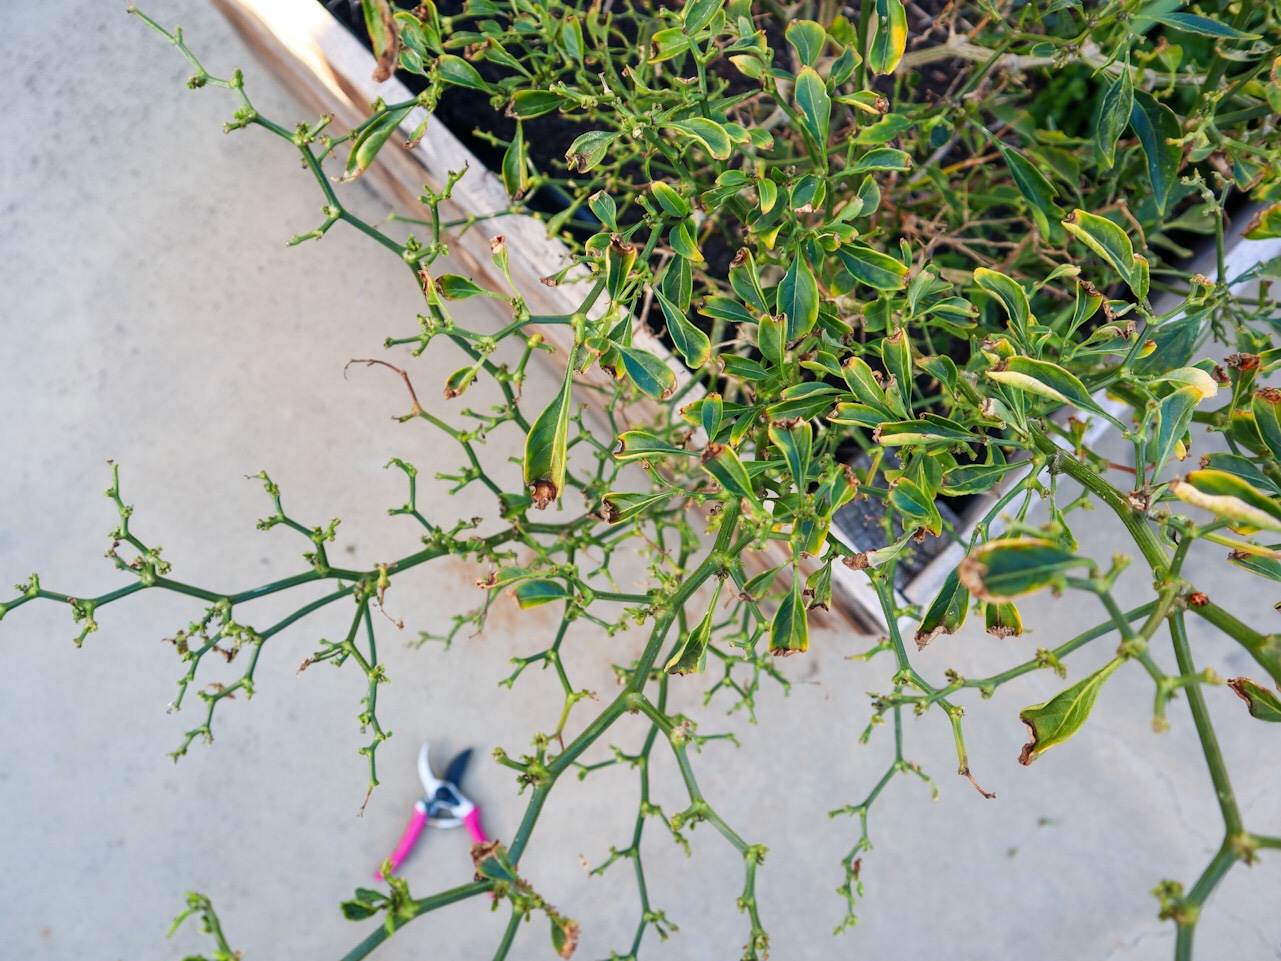
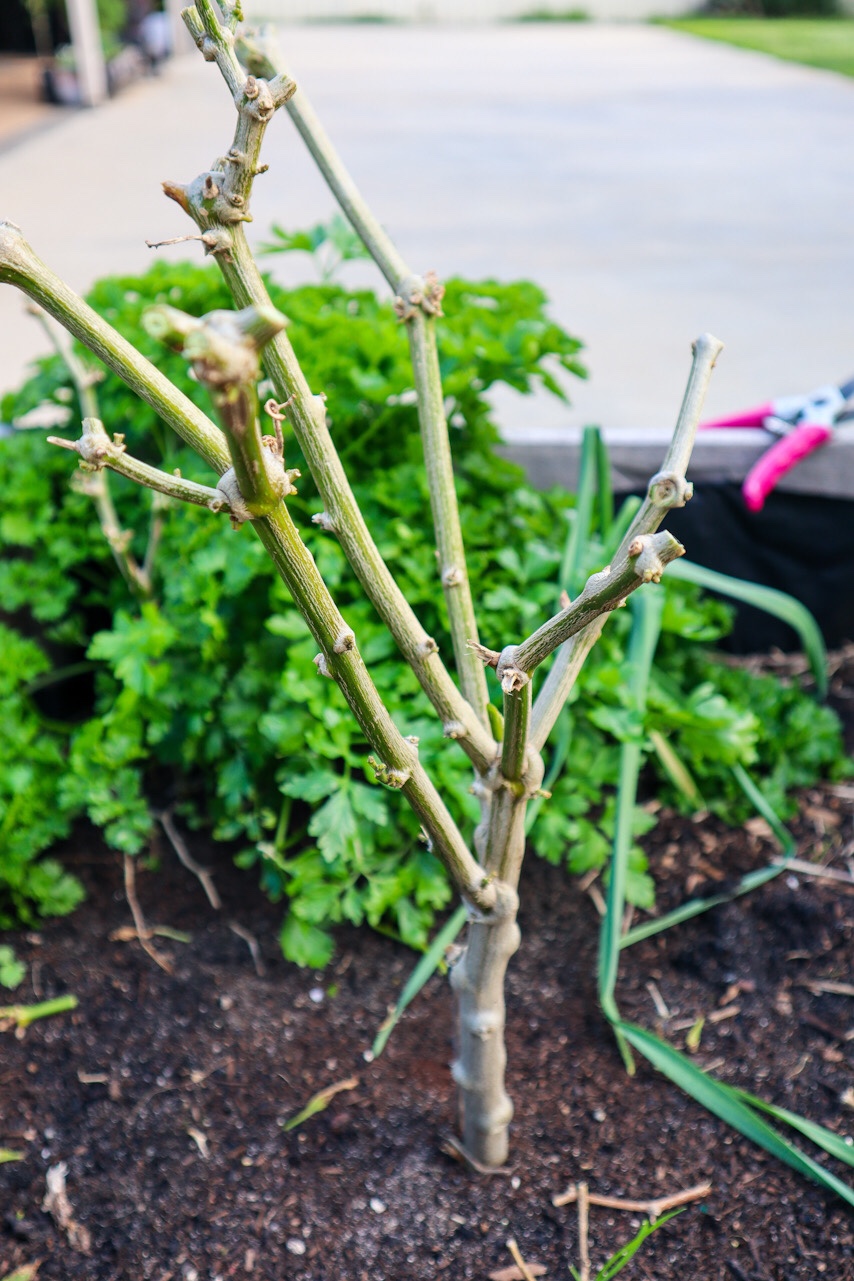
1. Prune Your Plants
I cut the plants back to around 50% or about 20 cm high. This can seem brutal, but it means the plant has fewer branches to feed and can concentrate its energy on staying alive. Make your cuts at “major intersections”. This is where multiple stems shoot out from one node.
2. Keep Them Frost Free
If you live in a colder climate that gets frosts, then carefully dig your plants out of the garden and plant them in a pot. Keep your potted chilli plant somewhere warm and sunny until the last frost has passed in Spring before planting them back out.
How to Prepare Overwintered Chilli Plants for Spring?
Once spring arrives and there are no more frosty days, plant the potted Chilli plants back into a warm, full sun location. Give the plants a good feed of organic seaweed fertiliser and they will shoot off lots of new growth. It won’t take long until they will have new growth and will start producing flowers and fruit.
If you have any questions on how to overwinter chilli pepper plants, leave me a comment below 🙂
Links included in this post might be affiliate links. If you purchase a product or service with the links that I provide I may receive a small commission. There is no additional charge to you! Thank you for supporting my blog so that I can continue to provide you with free content.
This easy Homemade Sweet Chilli Sauce is a fantastic way to use up a bunch of homegrown chillies. Growing Chillies is a great place to start for Beginner Gardeners or those with limited space, as they are easy to grow and can produce an abundance of chilli on one plant. Chilli plants like warm weather, but they can be grown throughout winter in a greenhouse or warm spot. I will cut back my chilli plants soon, place them in a warm area and let them go semi-dormant for the winter, which is called “overwintering”. That way come spring and summer, the plants are well established and will provide me with a decent crop.
This recipe can be adjusted to be as mild or hot as you like. You can use different chilli varieties, but obviously, the hotter the variety, the more your sweet chilli sauce will pack a punch! If you are concerned, I would remove and save the seeds from 3/4 of the chilli, and once it has cooked down a bit, taste and add more of the seeds to get the desired heat. I just went all-in with the seeds and used a hot Thai Chilli variety, so mine turned out quite hot, but I like that.
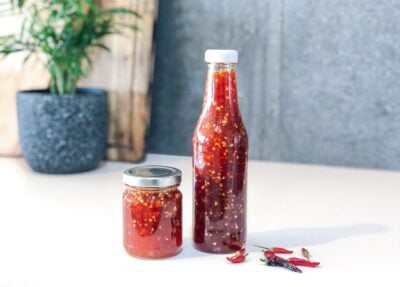
Easy Homemade Sweet Chilli Sauce
Yield: 500g
Prep Time: 10 minutes
Cook Time: 1 hour
Additional Time: 5 minutes
Total Time: 1 hour15 minutes
This easy Homemade Sweet Chilli Sauce is a fantastic way to use up a bunch of homegrown chillies. Growing Chillies is a great place to start for Beginner Gardeners or those with limited space as they are easy to grow and can produce an abundance of chilli on one plant.
This recipe can be adjusted to be as mild or hot as you like. You can use different chilli varieties but obviously, the hotter the variety the more your sweet chilli sauce will pack a punch! If you are concerned I would remove and save the seeds from 3/4 of the chilli and once it has cooked down a bit, taste and add more of the seeds to get the desired heat. I just went all-in with the seeds and used a hot Thai Chilli variety so mine turned out quite hot but I like that.
Ingredients
250 - 350g Chilli
8 Cloves Garlic
5 cm piece of Ginger
2 cups Sugar
2 cups White Vinegar
3 teaspoons Salt
Instructions
Wash chilli and cut off the green stems.
Roughly chop the Chilli, Garlic and Ginger and add to a mixing bowl or food processer.
Blitz the mixture into a rough paste using either a food processor or stick mixer. If using a stick mixer make sure you cover the bowl with a cloth to stop bits of chilli flying everywhere!
Add the blitzed chilli mixture to a pot and add Sugar, Vinegar and Salt.
Bring to the boil and then let it simmer on a low - medium heat until the mixture thickens (45min - 1hr).
The mixture will continue to thicken as it cools. Add a dash of water or extra vinegar if need be.
Heat oven to 130 degrees celsius and add your clean jars or bottles to sterilize for 15mins. Put the lids in a bowl of boiling water for 5 minutes.
Carefully pour the warm sauce mixture into your jars while they are still warm and secure the lids on.
Store in the fridge and use within 3-4 weeks*
* For long term storage place in smaller containers or jars and freeze or use canning methods for long term preservation.
Notes
If you want a mild sweet chilli sauce, remove 3/4 of the chilli seeds and set aside. Once the mixture has started to reduce, taste and add extra seeds as desired.
Serve with Sweet Potato Fries, as a Stirfry sauce, burger sauce or even add to noodles and vegetables for a deliciously tasty meal packed full of flavour.
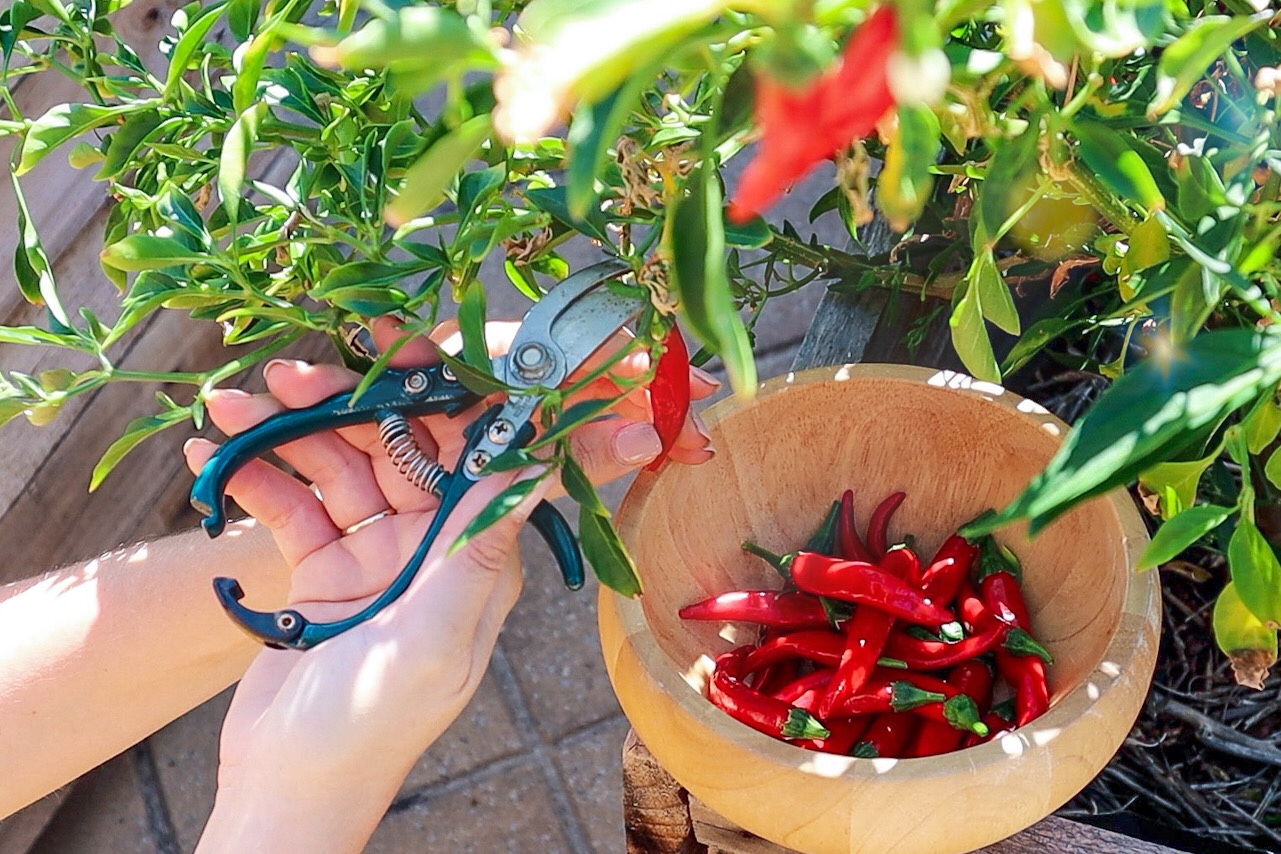
If you have chilli plants that ripen at different times or a smaller amount to harvest, try freezing them whole until you have enough saved up to make the recipe. Other ways to preserve your chillies are to dry them out and keep them whole or try blitzing the dried chillies to make a chilli powder or flakes.
I hope you enjoy this easy homemade sweet chilli sauce!
Watch My Chilli Harvest and How to Make Sweet Chilli Sauce
DISCLAIMER: Links included in this description might be affiliate links. If you purchase a product or service with the links that I provide I may receive a small commission. There is no additional charge to you! Thank you for supporting my page so I can continue to provide you with free content!
I love growing Chillies! They are so easy to grow and consistently produce in abundance. So learning how to preserve them has been important to me. These homemade Chilli Flakes are a great way to get more out of my Chilli harvests. I am currently growing Jalapeno and Cayenne types. Both plants are in their second season as they are in pots they seem to survive the winters alright. I think this might be their last though.
I usually pick and freeze the chillis then just grab one and use in my cooking but the freezer is looking a bit full so this time I tried dried homemade chilli flakes.
Homemade Chilli Flakes
Place on baking paper in your Dehydrator. If you don’t have a dehydrator you could just set the oven to 60 degrees Celcius.
I then chopped them up as fine as I could and put in a recycled spice jar.
The next crop I want to try pickled Jalapeno. I also have a few different varieties to grow this spring including Carolina Reapers which are apparently one of the hottest in the world….no idea what I will do with those!
How do you preserve your chilli? Let me know in the comments.