Looking for a healthy, homemade wrap alternative? These DIY spinach sushi wraps are a delicious and nutritious way to use up garden greens and create quick, wholesome meals....

How to Make Spinach Wraps – Easy, Healthy & Gluten-Free Recipe
read more
Looking for a healthy, homemade wrap alternative? These DIY spinach sushi wraps are a delicious and nutritious way to use up garden greens and create quick, wholesome meals....

If you are growing Strawberry Guava you will almost certainly experience huge bowls of fruit after a few years. They ripen quickly and new fruits are ready each day during summer...
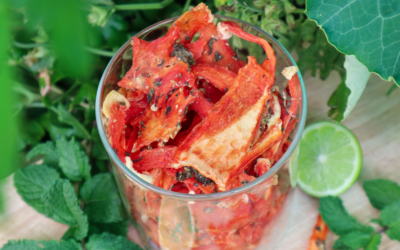
If you’ve ever ended up with a massive watermelon that’s way too big to finish, or it is simply too overripe to enjoy fresh..This Mojito Watermelon Jerky Recipe is a winner! Some...
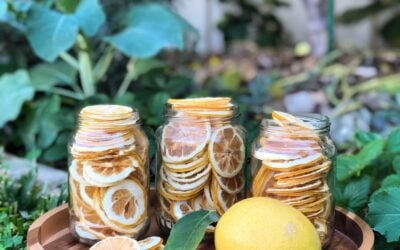
It's Lemon Season and nature times it perfectly with the start of the flu season. My lemon tree is about 5 years old and has really started producing decent crops this year. Part...