Making your own homemade green curry paste is so easy! You will never want to buy it again after you get the perfect blend. It will need adjusting to your heat tolerance, but...
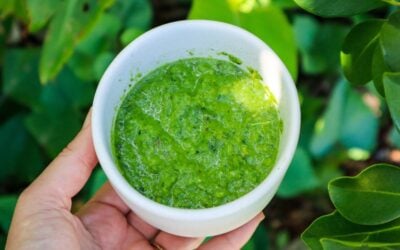
Simple Homemade Green Curry Paste with Fresh Garden Herbs
read more
Making your own homemade green curry paste is so easy! You will never want to buy it again after you get the perfect blend. It will need adjusting to your heat tolerance, but...
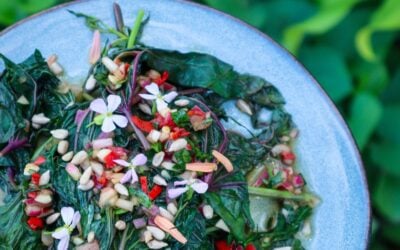
If you're looking for a delicious, nutrient-packed way to use sweet potato leaves, this sweet and spicy greens recipe is the perfect choice. They are not only edible but also...

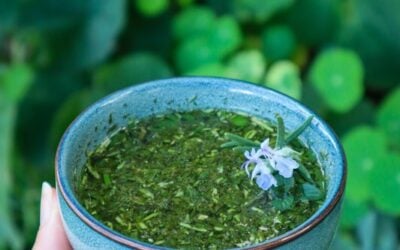
Lemon balm has calming and soothing properties that can reduce stress and anxiety. This refreshing summer drink may help you chill out and unwind. Nothing beats an iced cold...

Have odd fruit and veggies to use up? This leftover breakfast loaf is a great way to reduce waste and make a delicious and healthy breakfast (or anytime) alternative. This recipe...
Homemade Mint and Rosemary Sauce is so easy to make, and the flavour is unbeatable when compared to store-bought! With just a few ingredients and fresh herbs straight from the...
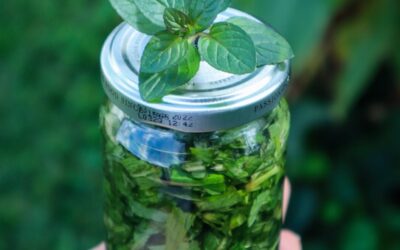
Mint Extract is a great way to preserve your abundant mint harvests. This recipe works well with chocolate mint or any type of mint you have growing in the garden. With two...

This Creamy Roast Pumpkin Pasta is the ultimate comfort food. The crispy pumpkin leaves make a delicious crunchy addition. The perfect Autumn and Winter meal. Make extra sauce...
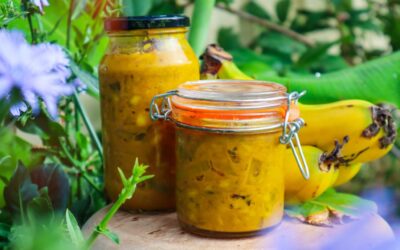
Banana peels are often discarded but they have so many uses both in the garden AND the kitchen! This Banana Peel Chutney is just one way to use up your leftover Banana Peels....
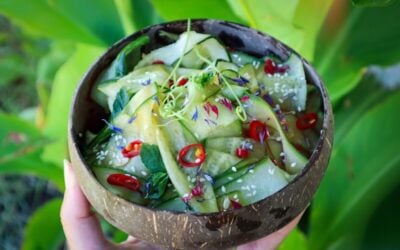
Cucumber salad is a quick and easy way to use up your summer harvests. This salad is a light and refreshing side dish that would go great with any summer BBQ or rice dish....
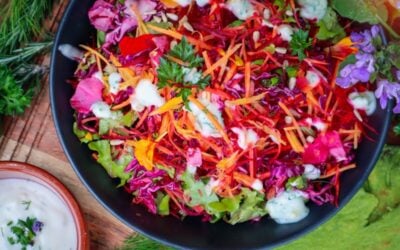
Rainbow slaw not only looks amazing but it's also packed full of nutrients. Just like planting diversity creates a healthy garden, eating diversely also has many health benefits....

Pick your fresh greens and herbs straight from the garden and turn them into these delicious green flatbreads. This recipe is quick and easy to make and can be used for a wide...
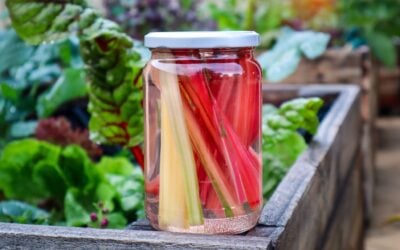
Pickled Rainbow Chard Stalks are a great way to preserve and utilise the whole vegetable. If you have made a recipe or cooked a meal using only the leafy greens, then this quick...

Satay Rainbow Rolls are healthy, delicious and so easy to make! Once you master the rolls you can mix and match ingredients with what is fresh and growing in your garden. Plus,...
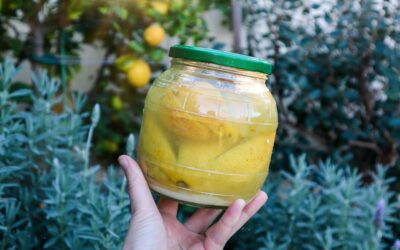
Preserved lemons is another great way to save and store your beautiful lemon harvests to use later in the year. Preserved lemons are easy to prepare and add a zesty, salty depth...

Beetroot is one of my favourite veggies to cook with. It is so versatile and can be used for both sweet and savoury dishes. Beetroot has also a vibrant natural pigment that I...