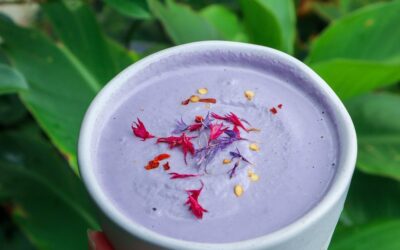
Quick and easy creamy garlic sauce that is perfect for burgers, salads, wraps, fritters, or grilled veggies. You do need to be prepared a little ahead of time to soak the nuts....
Creamy Garlic Sauce
read more
Quick and easy creamy garlic sauce that is perfect for burgers, salads, wraps, fritters, or grilled veggies. You do need to be prepared a little ahead of time to soak the nuts....

These Zucchini wrapped haloumi skewers are so delicious and easy to make! Marinated in my favourite green sauce plus the Rosemary flavour also infuses during cooking. I made this...
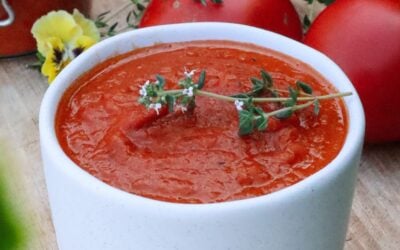
There is nothing quite like homemade tomato sauce... especially when it’s made from fresh tomatoes straight from the garden. This recipe is one of those easy,...
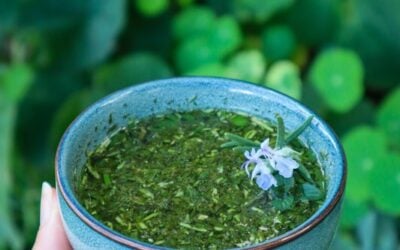
Homemade Mint and Rosemary Sauce is so easy to make, and the flavour is unbeatable when compared to store-bought! With just a few ingredients and fresh herbs straight from the...
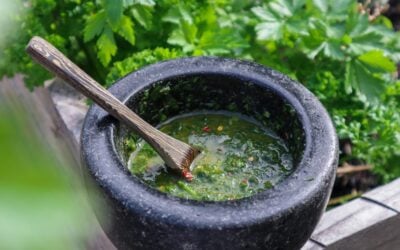
Chimichurri sauce is one of the easiest ways to transform homegrown herbs into a flavour-packed dressing. I love this chimichurri recipe because you can adapt it to use...

This easy Homemade Sweet Chilli Sauce is a fantastic way to use up a bunch of homegrown chillies. Growing Chillies is a great place to start for Beginner Gardeners or those with...