Making your own homemade green curry paste is so easy! You will never want to buy it again after you get the perfect blend. It will need adjusting to your heat tolerance, but...
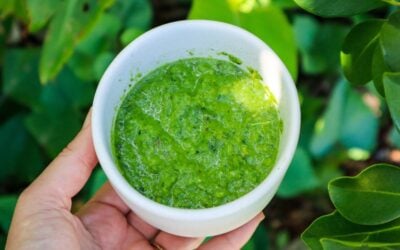
Simple Homemade Green Curry Paste with Fresh Garden Herbs
read more
Making your own homemade green curry paste is so easy! You will never want to buy it again after you get the perfect blend. It will need adjusting to your heat tolerance, but...
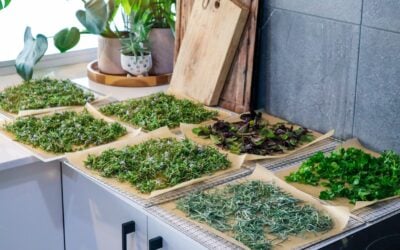
Preserving herbs from your garden is a great way to make the most of their abundance and store them for the winter months when many herbs will not be growing. Herbs are a great...
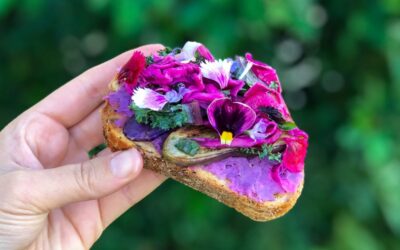
Garden toast is something I created one day when I was scraping together something for lunch and all I had was a crust and some cottage cheese in the fridge. I didn't have any...