Preserving herbs from your garden is a great way to make the most of their abundance and store them for the winter months when many herbs will not be growing. Herbs are a great way to add flavour to any dish, and once you make your own dried mixed herbs, you will never want to buy them ever again!
Click below to watch
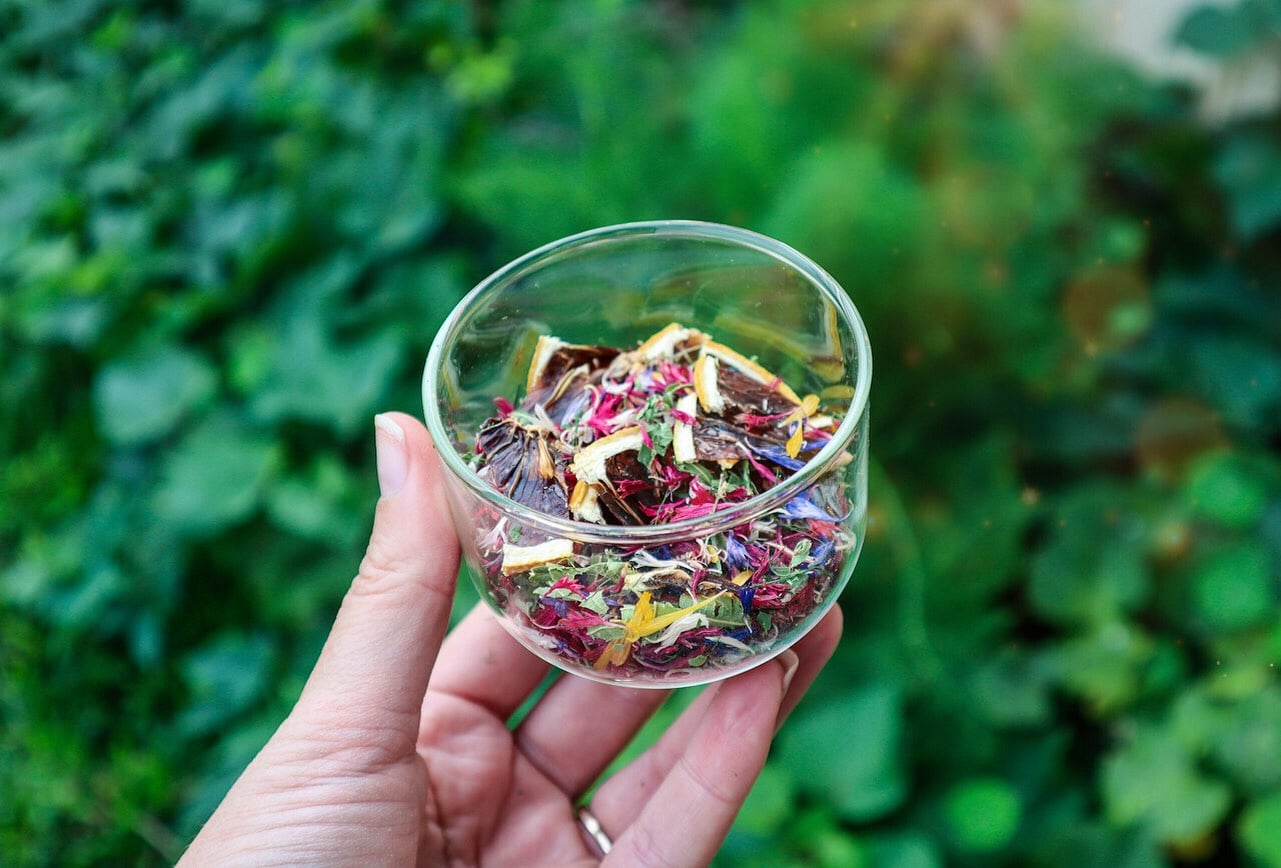
In this video I share how I pick, dry and preserve my herbs for both a dried mixed herb blend and also to make tea blends.
Why Grow Herbs?
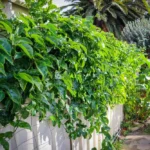
Herbs are the easiest plants to start growing because they are hardy and less susceptible to pests. They also do not require much room to grow. You can grow herbs in pots or containers if you do not have room for a garden. It is absolutely achievable, and you never know where the journey will take you.
Grow Abundant Herbs
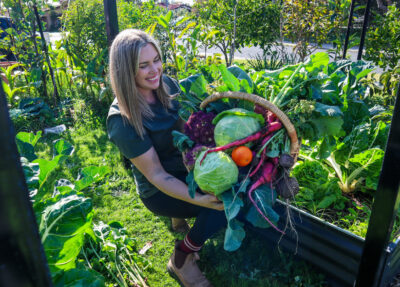
Nature provides so much abundance when we learn to see and utilise it. Sometimes cutting your plants can spark new growth, and they will continue to flourish in new directions. Young new growth is much nicer to eat than the older woody growth, too. Preserving your harvests also allows you to slow down and reconnect with where your food comes from. It just feels so right to go out to the garden and pick food that you know exactly what has gone into creating it. No chemicals, pesticides, or nasty sprays.
Basil is a warm-climate herb and will start to die off as the temperatures decrease. So harvesting and storing basil will mean I will be able to have it available during winter. Basil also responds so well to being cut. Especially towards the end of the season as it starts going to flower. Cutting the tops off will make it grow thicker and help prolong the plant’s life.


Take Cuttings for Gifts
My rosemary is growing a little wild and has even collapsed in the middle under the weight. So I am going to take some cuttings to replant and also harvest a big bunch to dry and preserve. Taking cuttings to regrow will give me new plants to gift and trade. It is always good to have some on the go for last-minute gifting.
When to Harvest Herbs?
The best time of day to harvest your herbs is first thing in the morning. This is when the plants are hydrated and full of life. As the day goes on they will lose moisture and not be as fresh and vibrant. Early in the morning, the bees are not yet active. As the sun comes up and the dew drys, the bees will be about in a hive of activity. So if you do pick later in the day just be slow and cautious not stress them out and avoid getting stung.

Take time to Slow Down
Spending time in the garden harvesting and caring for your plants allows so much time to observe and learn from your garden.
To slow down and reconnect. Giving your mind time to think. Some of my most creative ideas come when I can quiet the rest of the world. Harvesting also gives such a sense of pride. That you have grown all this delicious food is so special.
How to Preserve and Dry Herbs?
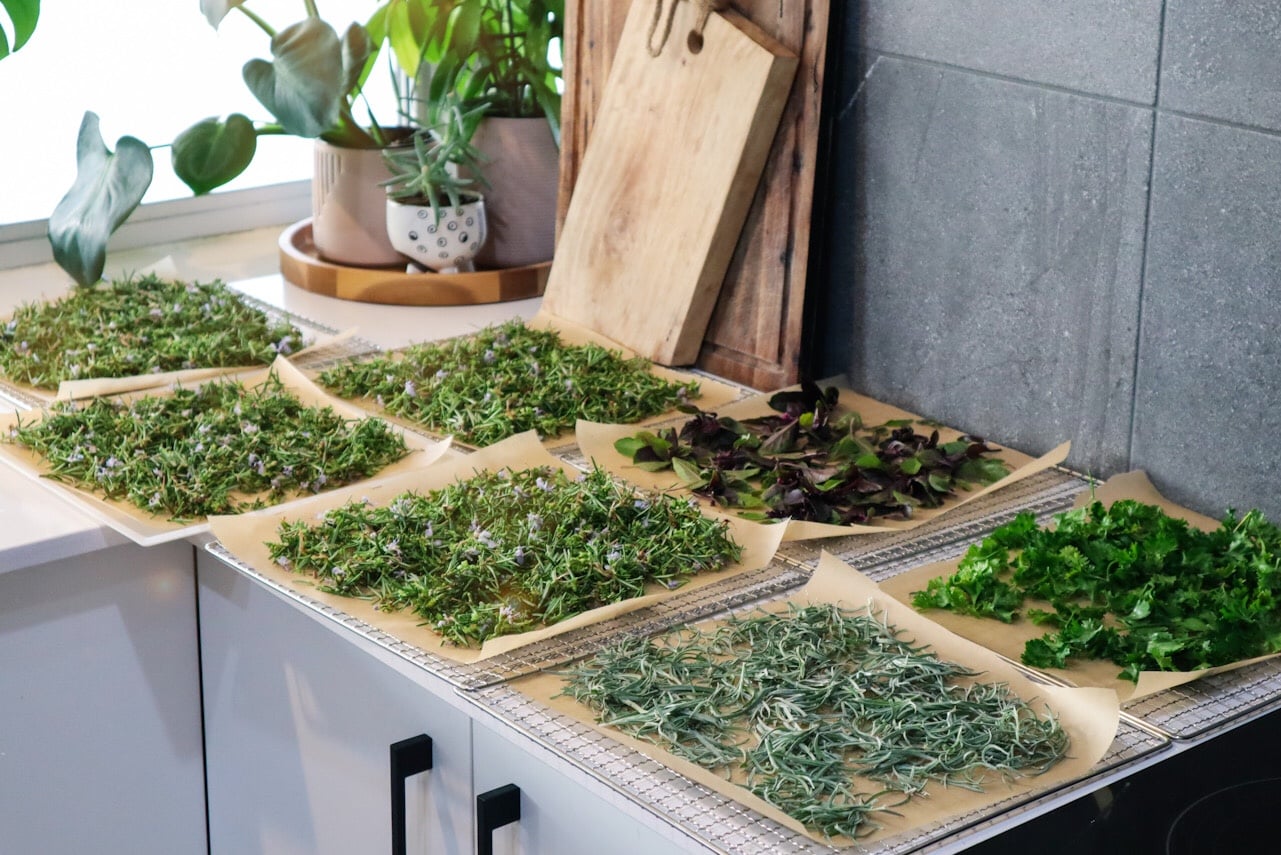
Step 1: Harvest and Wash Your Herbs
Harvest fresh herbs and give them a thorough rinse in the sink to remove any dirt, dust, or insects. Gently shake off excess water or pat them dry with a clean tea towel.
Step 2: Prepare the Herbs for Drying
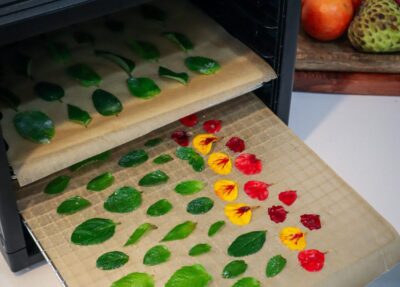
Separate the leaves from the thicker stems. Spread the leaves in a single layer on your dehydrator trays. I like to place a sheet of brown baking paper on each tray to prevent small leaves from falling through the grid. The baking paper can be reused many times for future dehydrating projects.
Step 3: Dry the Herbs
Place the trays in your dehydrator and set it to the lowest temperature setting, ideally between 20–30°C.
If you don’t have a dehydrator, you can use an oven on its lowest setting. Depending on the thickness and moisture content of the herbs, drying can take anywhere from 5–8 hours. Be sure to monitor them regularly and only use the oven when you are home.
Alternatively, herbs can be air-dried by hanging small bunches upside down in a warm, dry, well-ventilated area. This method works best in low-humidity climates. If you live in a humid area, a dehydrator is usually a more reliable option, as you want the herbs to dry as quickly as possible.
Step 4: Check for Complete Dryness
The herbs are ready when the leaves feel completely dry and crispy. They should crumble easily between your fingers. Avoid storing herbs that still contain moisture, as this can lead to mould or spoilage during storage.
Step 5: Store Your Dried Herbs
Once fully dried, transfer the herbs into clean, dry jars or airtight containers. Store them in a cool, dark place away from direct sunlight.
Step 6: Create Your Own Herb Blends
To save space, you can crush the dried herbs using a mortar and pestle before storing them. Try combining different herbs to create your own homemade seasoning mixes, perfect for winter soups, roasted vegetables, casseroles, and everyday cooking.


Share and Inspire Others
These dried herbs also make great gifts. Creating gifts from your garden to friends and family is something that should become a regular ritual. They will feel so special, and you will also feel joy and pride in sharing your homegrown produce. Sharing from the garden can also spark others to try to grow their own food, too. You have no idea how many people can be inspired to make changes from your single action of sharing. It should be the way of the future. Because what we are doing in the world right now is not sustainable.
I hope you feel inspired to grow your own herbs at home and make your own dried mixed herbs. They are so easy to make and so vibrant and full of flavour. Nothing like the dull grey herbs you find at the supermarket.
If you found this helpful, please share it with others 💚
Happy Gardening,
Holly 🌿


Trackbacks/Pingbacks