If you’ve ever grown fennel, you’ll know it’s a plant that just keeps on giving! But what do you do with all the Fennel Fronds? When you buy Fennel, the fronds are usually cut...
What to Do With Fennel Fronds – 15+ Easy Ideas & Recipes
read more
If you’ve ever grown fennel, you’ll know it’s a plant that just keeps on giving! But what do you do with all the Fennel Fronds? When you buy Fennel, the fronds are usually cut...
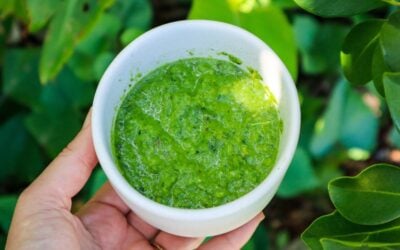
Making your own homemade green curry paste is so easy! You will never want to buy it again after you get the perfect blend. It will need adjusting to your heat tolerance, but...
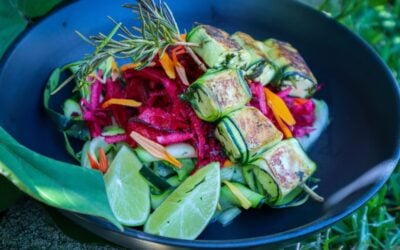
These Zucchini wrapped haloumi skewers are so delicious and easy to make! Marinated in my favourite green sauce plus the Rosemary flavour also infuses during cooking. I made this...
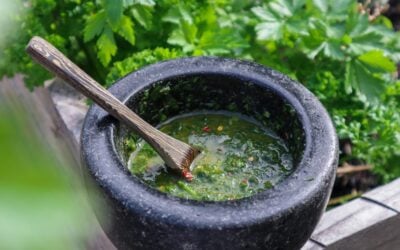
Chimichurri sauce is one of the easiest ways to transform homegrown herbs into a flavour-packed dressing. I love this chimichurri recipe because you can adapt it to use...
Diversity is so important for creating a thriving and sustainable edible garden. Choosing edible or medicinal plants to use as companion planting can not only boost the health of...
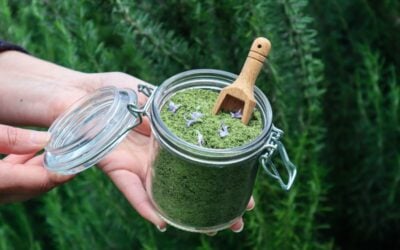
Rosemary and herb salt is a quick and easy way to preserve your homegrown herbs to use throughout the year. Herb finishing salts add so much flavour to meals in a quick and...
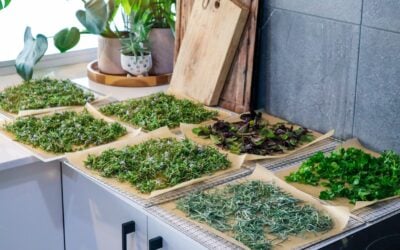
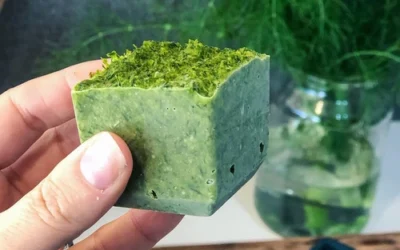
Preserving herbs from your garden is a great way to make the most of their abundance and store them for the winter months when many herbs will not be growing. Herbs are a great...
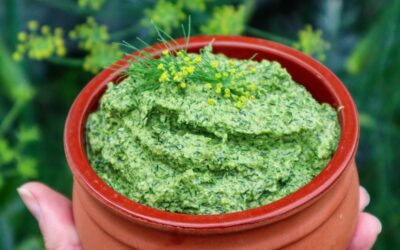
I made this delicious Fennel Front Pesto to use up the all the beautiful fresh fennel fronds I had. Super quick and easy to make! Are you growing fennel and not sure what to make...
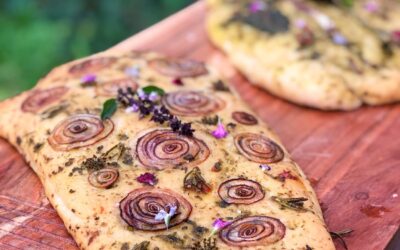
Focaccia bread is so easy to make and I use a basic bread recipe that I also use for pizza bases. With heaps of basil still in my garden, I thought I would make some delicious...
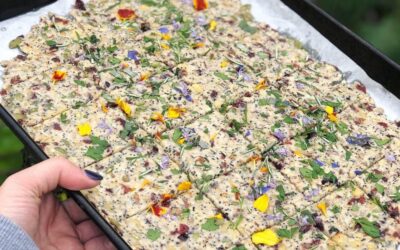
Botanical Crackers These Flower, Herb and Seed Botanical Crackers are the perfect addition for any cheese platter! The nuts and seeds could be adjusted to whatever you have...