These Zucchini wrapped haloumi skewers are so delicious and easy to make! Marinated in my favourite green sauce plus the Rosemary flavour also infuses during cooking. I made this...

Zucchini Wrapped Haloumi on Rosemary Skewers
read more
These Zucchini wrapped haloumi skewers are so delicious and easy to make! Marinated in my favourite green sauce plus the Rosemary flavour also infuses during cooking. I made this...
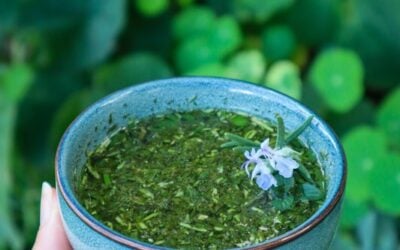
Homemade Mint and Rosemary Sauce is so easy to make, and the flavour is unbeatable when compared to store-bought! With just a few ingredients and fresh herbs straight from the...

Diversity is so important for creating a thriving and sustainable edible garden. Choosing edible or medicinal plants to use as companion planting can not only boost the health of...
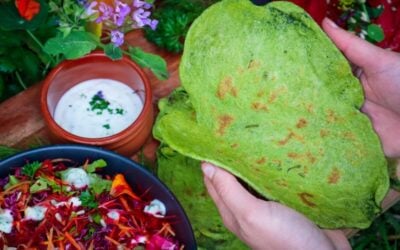
Pick your fresh greens and herbs straight from the garden and turn them into these delicious green flatbreads. This recipe is quick and easy to make and can be used for a wide...
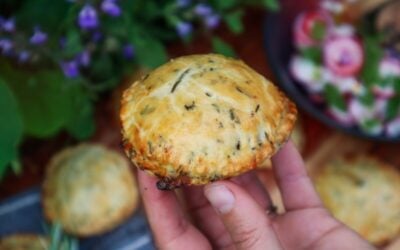
Rosemary and roast vegetables are a classic combo for a very good reason... They taste amazing! These Rosemary, Feta and Roast Veggie hand pies are so full of flavour and will...
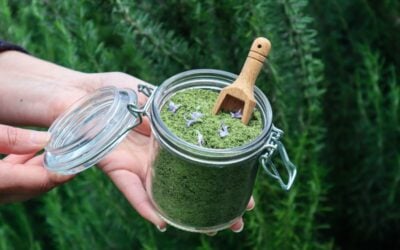
Rosemary and herb salt is a quick and easy way to preserve your homegrown herbs to use throughout the year. Herb finishing salts add so much flavour to meals in a quick and...
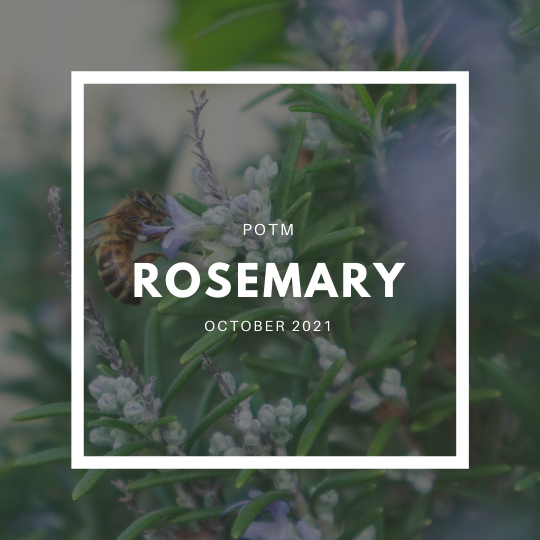
Plant of The Month Info Card Rosemary (Rosmarinus officinalis) is a fragrant perennial herb. Rosemary is a hardy, drought tolerant shrub and can also be used as an ornamental due...
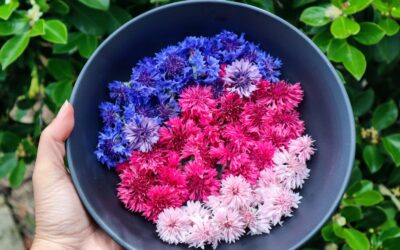
Edible flowers offer so many beneficial relationships within a home garden. When creating a sustainable
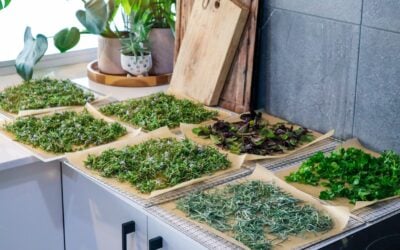
Preserving herbs from your garden is a great way to make the most of their abundance and store them for the winter months when many herbs will not be growing. Herbs are a great...
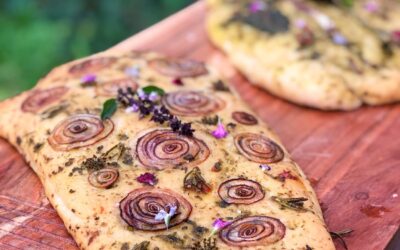
Focaccia bread is so easy to make and I use a basic bread recipe that I also use for pizza bases. With heaps of basil still in my garden, I thought I would make some delicious...
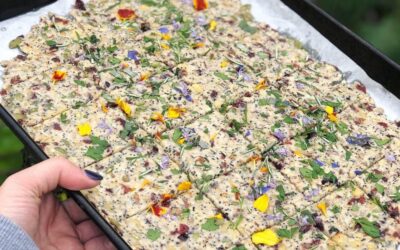
Post updates 27th June 2026 Homemade Botanical Crackers These Flower, Herb and Seed Botanical Crackers are the perfect addition for any cheese platter! The nuts and seeds could...