Winter is usually when worm farms get forgotten….Everything in the garden slows down, food scraps sit untouched, and the balance can easily be thrown off. Mould, bad bacteria and bugs can take over a once-healthy worm farm and leave you starting from scratch come spring…I have been there – done that, and it slows down momentum right when your garden is ready to explode into growth again.
If you’re using a worm farm as part of your natural or organic garden system, winter is actually a really important time! I rely on mine as a steady source of free natural fertiliser for my edible gardens…so I don’t really get the option to ignore them for a few months without it affecting my soil and plant health later on.
I have two worm farms set up in my edible gardens here in Perth, Western Australia (Zone 10b). Which has a Mediterranean-style climate: hot, dry summers and mild, wet winters. Even here, where winters are relatively short and mild (compared to many parts of the world), I still find it cold in winter, and so do the worms!
With a few simple tweaks, your worm farm will not only survive winter but… it can stay healthy, active, and ready to bounce back stronger than ever in spring to feed your abundant gardens!

Understanding What Happens to Worm Farms in Winter
Worms (red wigglers or tiger worms) are most active in warm, stable conditions, generally between 15°C and 25°C. When temperatures drop below this range in winter, their metabolism naturally slows down. They eat less, move less, and spend more time deeper in the bedding where conditions are more stable.
The worms are not dying or becoming unhealthy…they are just conserving energy until conditions warm up again. What this means is: less breakdown = less worm castings and liquid fertiliser being produced for your garden.
In my own garden here in Perth, not only with my worm farms but also with my own habits 😅 After a HOT and STRESSFUL summer, it can be easy to forget about parts of the garden. Even though we don’t experience freezing conditions…( not sure how I would cope with that!), the cooler nights and wet soil are enough to reduce worm activity quite noticeably.
Winter Conditions Your Worm Farm Needs
Even during winter, worm farms still rely on a few key environmental conditions to stay healthy. The most important factor is temperature stability. Worms do best when their environment stays above 10–12°C, even if they are not at peak activity.
Moisture is equally important, but this is where many winter worm farms run into problems. In climates like Perth, winter rain can quickly push a worm farm from “moist and healthy” into “waterlogged and oxygen-starved.” When this happens, worms are forced to move away from the surface or, in extreme cases, attempt to escape altogether (and we don’t want that!).
Airflow also plays a role. Bedding that becomes compacted or too wet can restrict oxygen, which slows decomposition even further. A healthy winter worm farm should feel damp like a wrung-out sponge, with a soft, aerated structure rather than a dense, soggy, stinky mass.
Why Worm Farms Slow Down in Winter
Lower temperatures reduce microbial activity in the bedding, which in turn slows down the breakdown of food scraps. At the same time, worms themselves become less active and eat less frequently. This combination creates the impression that nothing is happening, when in reality the system is simply operating at a slower pace.
Overfeeding is often what makes this problem worse. When more food is added than the worms can process, it begins to accumulate and break down anaerobically, which can lead to stinky smells, mould, bad bugs and unhealthy conditions. This is one of the biggest reasons worm farms stop producing efficiently in winter…not because the worms fail, but because the system becomes overloaded and stops converting scraps into usable fertiliser.
In most cases, winter issues in worm farms are not caused by the worms themselves, but by us being a little too generous and continuing summer feeding habits through winter.
How to Feed Worms in Winter
One of the most important adjustments in winter is reducing how much you feed your worm farm. Because the worms are less active, they simply cannot process the same volume of food as they do in warmer months.
Instead of frequent feeding, it is better to offer small amounts of food and wait until most of it has been broken down before adding more. This helps maintain balance in the system and prevents excess material from accumulating.
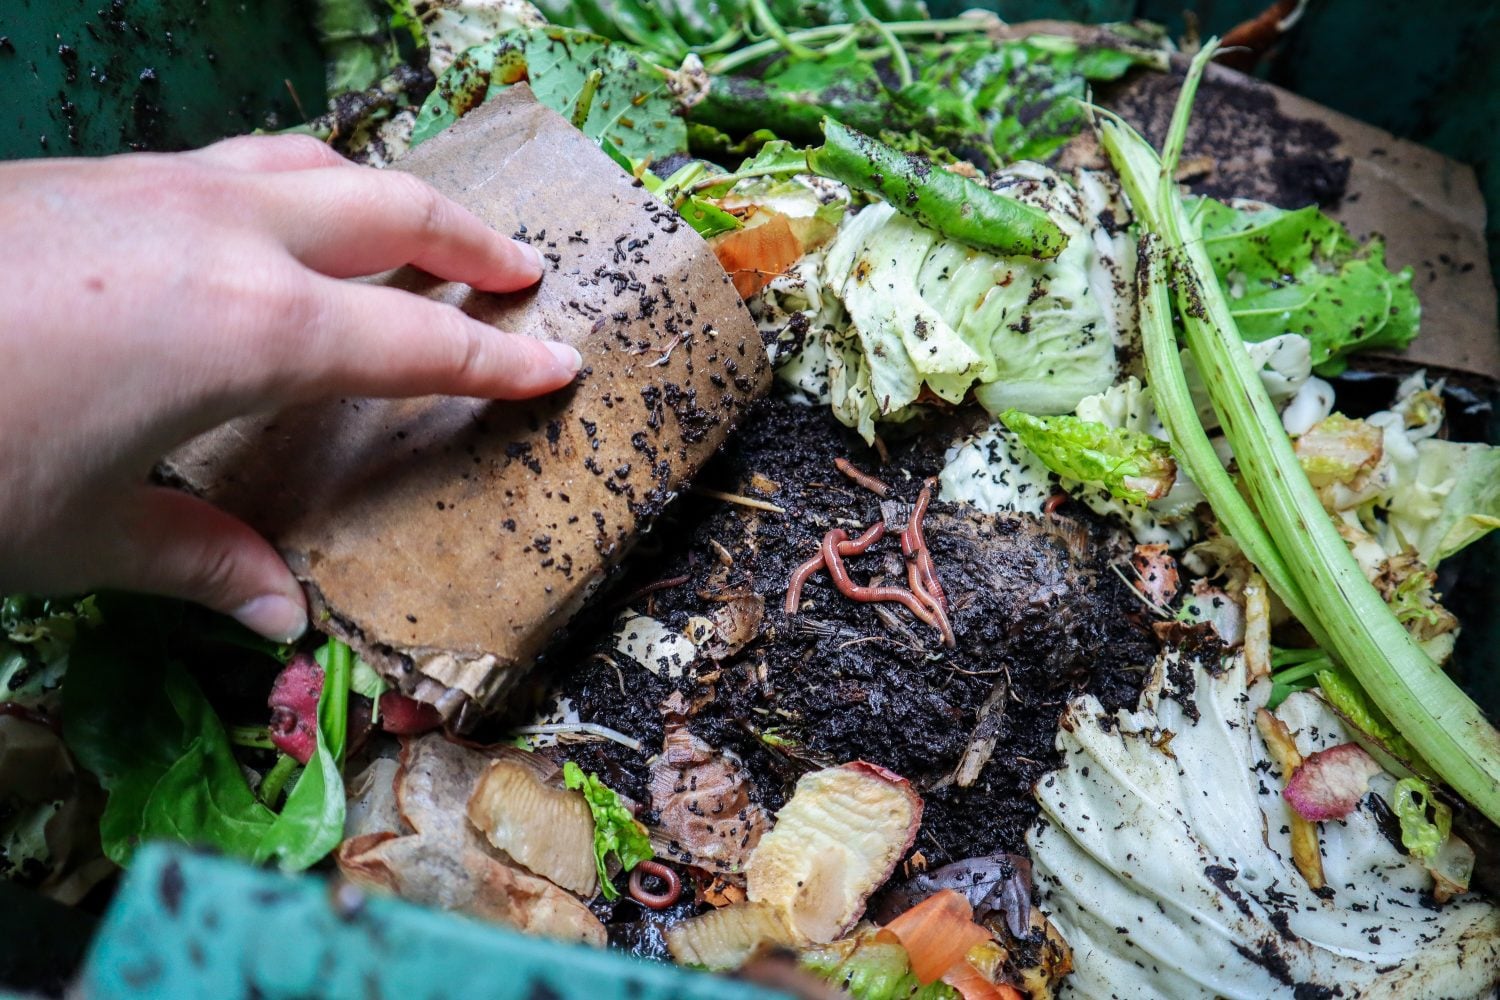
Soft vegetable scraps (like peels), coffee grounds in moderation, and crushed eggshells are all suitable winter foods. Heavier or slower-decomposing items should be reduced during this period, especially in wetter climates where breakdown is already slowed by cooler temperatures. Think small, thin, and not to water logged or heavy (don’t throw in large chunks).
What to do with Excess Scraps in Winter (so you don’t overload your worm farm)
When worms slow down, food doesn’t disappear quickly. It builds up. Then it starts to break down in the wrong way, creating mould, bad smells, and oxygen loss in the bedding. So instead of forcing everything into the worm farm, I treat winter as a split system.
If the worm farm is:
- slow
- already full
- or still working through the last feed
I stop adding more, and I divert the excess straight into my compost bins instead.
Worm Farm vs Compost in Winter
In winter, the compost handles the bulk of scraps, so it is important to add enough brown material to match. You don’t want the extra scraps to off-balance your compost systems either. Add at least double the amount of brown to green material. A bucket of dried leaves always comes in handy for this!
How to Keep Your Worm Farm Warm and Stable
Keeping a worm farm warm in winter can be done with a few simple tweaks.
- Place your worm farm in a sheltered position such as a covered patio, verandah, or protected corner of the garden. This helps reduce exposure to cold winds and heavy rain, which are two of the biggest winter stress factors.
- Add natural insulation over the bedding using materials like cardboard, shredded paper, or dry leaves. These help retain heat, buffer temperature fluctuations, and still allow airflow so the system can breathe.
- In wetter climates, focus just as much on managing rain as temperature. Make sure the system has proper drainage and is not becoming waterlogged, as excess moisture can reduce oxygen levels and lead to anaerobic conditions.
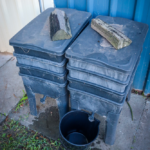
- Empty the bottom tray of excess water regularly (weekly or fortnightly). This prevents the system from becoming too wet and helps maintain healthy oxygen flow through the bedding.
- Secure the lid. I add blocks of wood on top of my worm bin lids to stop them from blowing off in wild weather. Make sure the ventilation holes are not covered.

What to Do With Worm Farm Liquid (Worm Tea)
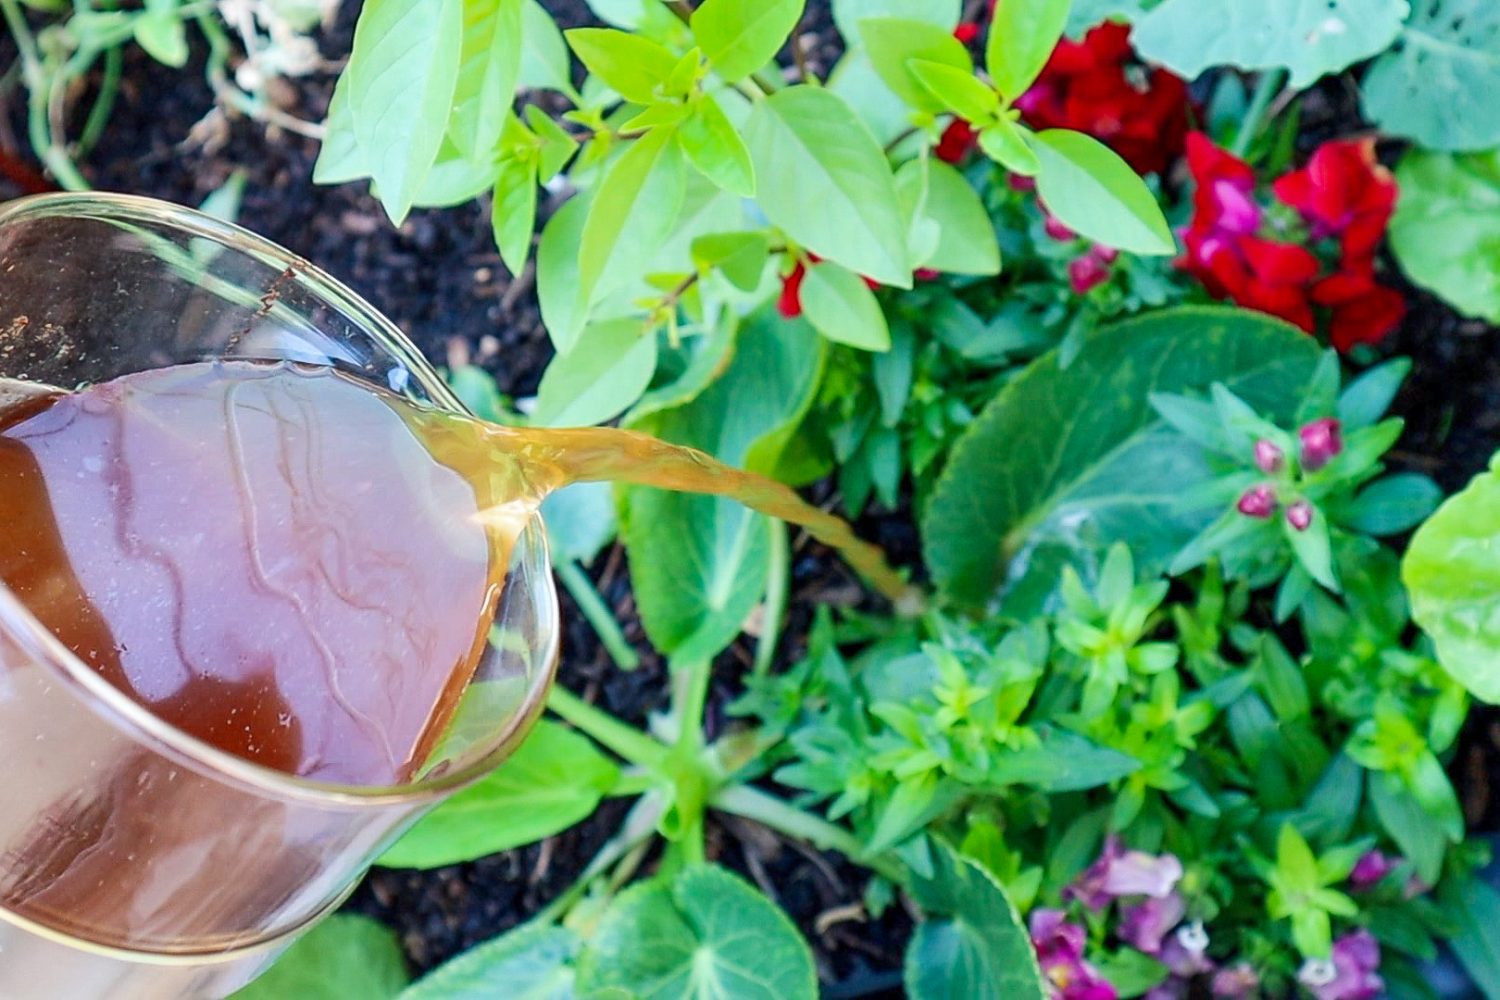
The liquid that collects in the bottom tray of a worm farm is often called “worm tea” or leachate. IIt can be amazing for natural garden fertilizers, but….
You want the liquid to smell earthy and sweet (not stinky and garbage-scented). It can be diluted and used as a liquid fertiliser. A good general ratio is about 1 part worm liquid to 10 parts water.
However, if the liquid smells sour, rotten, or anaerobic, it is better to avoid using it on edible plants (especially leafy greens you are going to harvest soon). This usually indicates that the worm farm has become too wet or oxygen-deprived. In this case, it’s safer to pour it onto non-edible areas such as ornamental garden beds, compost piles, or mulch zones where it can break down further. I usually add it to the base of fruit trees (watered down).
Either way, regularly emptying the tray is important. Allowing liquid to build up can create overly wet conditions in the worm farm. This can reduce oxygen levels and can slow or stress the worms.
What To Watch Out For In Winter
- Excess moisture is often the biggest winter problem in worm farms, even more than cold temperatures. When bedding becomes too wet, oxygen levels drop and beneficial microbial activity slows down. Signs of this include a sour or stinky smell, worms trying to move away from the bedding, or the texture becoming slimy, mouldy and overly dense. When this happens, fertiliser production almost completely stalls until balance is restored. Restore balance by adding dry, carbon-rich materials such as shredded cardboard. This helps absorb excess moisture and improve structure. Gently loosening the bedding can also help reintroduce airflow and prevent compaction, keeping the system healthier and more stable.
- Too much water in the bottom tray. I keep a bucket underneath mine and empty the water regularly. Especially if they has been recent rains.
- Slugs and snails – check your worm farm every week or so to see how the materials are breaking down and remove any slugs and snails (check underneath the lid too).
Worm Farm Setup Tips for Winter
Not all worm farm systems behave the same in winter. Some handle cold and rain much better than others, so it’s worth adjusting based on what you’re using.
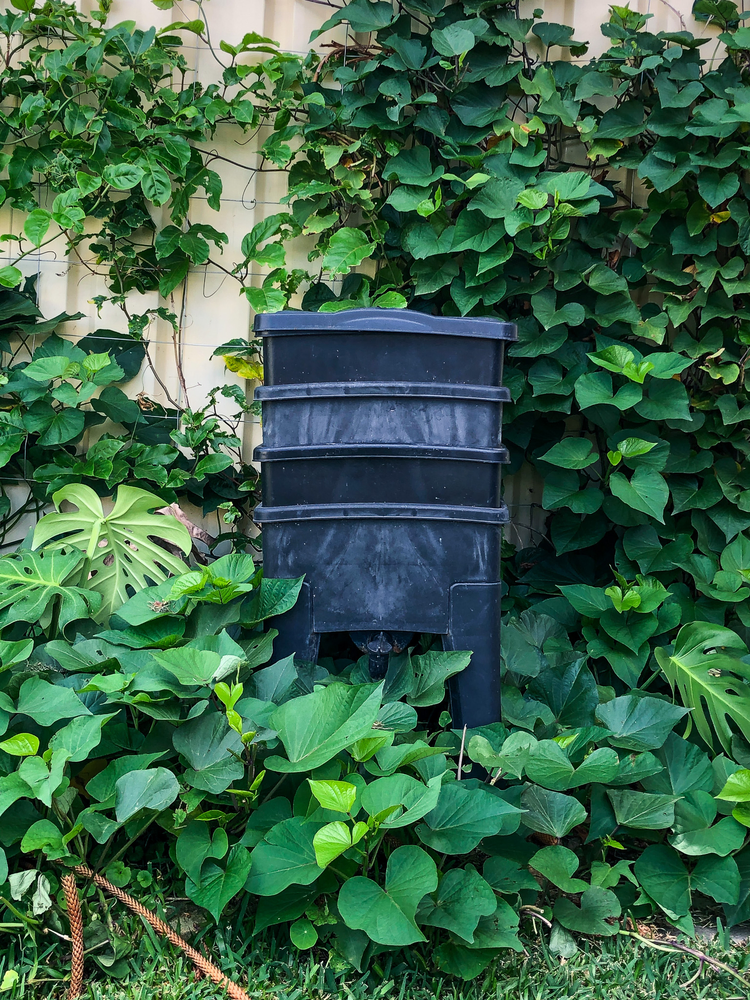
Stacked bin systems (like multi-tray worm farms)
These tend to hold heat better because of their depth and insulation. This is the style that I use in my gardens. They’re generally stable in winter, but the bottom trays can become too wet in heavy rain, so drainage needs to be checked regularly.
DIY worm farms (containers, tubs, or crates)
These are more exposed to temperature swings. In winter, they can cool down quickly and slow worm activity more noticeably. Adding insulation like cardboard, straw, or hessian around the sides makes a big difference.
Worm towers (in-ground systems)
These usually perform best in winter because the surrounding soil acts as natural insulation. They stay more temperature-stable, but you still need to monitor moisture, especially in sandy soils where water drains quickly.
No matter the system, winter success comes down to the same two things: keeping moisture stable and protecting worms from sudden temperature swings.
How Worm Farms Recover in Spring
As temperatures begin to rise again, worm activity increases rapidly. This is when all the patience and restraint from winter pays off. The worms become more active, feeding increases naturally, and decomposition speeds up significantly.
In a Zone 10b / warm climate like Perth, this transition can happen quite quickly. One warm week can speed up the whole system. By maintaining balance through winter, you allow your worm farm to enter spring in a strong, stable condition, ready to ramp up production.
Watch how quickly the scraps are being used and slowly add more.

Troubleshooting FAQ:
Is it worth having a worm farm?
Yes! Absolutely, especially if you’re trying to grow food naturally and sustainably. I love how effective a small worm farm can be for creating organic fertilisers with very little effort on your behalf!
A worm farm is one of the easiest ways to quickly turn kitchen scraps into free fertiliser for your garden. You’re converting it into worm castings to help improve sandy soils by adding fibre and liquid fertiliser that directly feed your soil and plants.
In my garden, the worm farm is a crucial part of my organic fertiliser system. It reduces waste, improves soil health, and gives me a steady supply of nutrients for my fruit trees and vegetable beds.
Can I stop feeding my worm farm completely in winter?
Yes, temporarily pausing feeding is completely fine if conditions are cold or slow. Worms can survive for extended periods on the existing bedding and organic matter already in the system. In fact, overfeeding during winter is one of the most common causes of imbalance.
If you do pause feeding, make sure:
- bedding stays moist (not wet)
- there is enough carbon material (like shredded cardboard)
- the system is protected from heavy rain and cold winds
Once temperatures rise again, you can slowly restart feeding.
How can you tell if worms are happy?
Happy worms are quite easy to spot once you know what to look for.
They should:
- be active when you lift the bedding
- move away from light quickly
- be spread throughout the bedding, not all clumped together
- have soft, moist bedding that smells earthy (not sour)
- be eating food scraps gradually rather than leaving them to rot
A healthy worm farm should smell like rich soil. If something is off, the signs usually show up fast. Bad smells, worms trying to escape, or food sitting untouched for too long usually mean the balance of moisture, food, or airflow needs adjusting. In winter especially, “happy” often looks like slower activity..not dead silence. Worms naturally slow down when temperatures drop, so less movement doesn’t always mean a problem.
Do worms reproduce in winter?
Yes, worms do still reproduce in winter, but at a much slower rate…
They continue laying cocoons (worm eggs), and those cocoons can still develop, but everything slows down as temperatures drop. Instead of speedy reproduction like in summer, winter becomes more of a “maintenance and slow growth” period for the population.
In warmer months, worms are very active and can multiply quickly! But in winter, especially when temperatures drop below about 15°C, reproduction slows significantly. Below 10–12°C, it can almost pause until conditions improve again. Even though it looks like nothing is happening, cocoons are often still developing in the bedding.
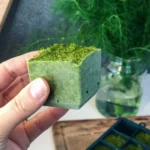
Should you harvest worm castings in winter?
Yes, you can, but only if they’re ready…Worm castings are ready to harvest when most of the food scraps have broken down and the bedding looks dark and soil-like. It should smell earthy, like rich forest soil, with no sour or rotting smell.
In winter, this process usually slows down, so castings often take longer to fully mature compared to summer. If the worm farm is full, it’s better to stop adding fresh scraps to that section and give the worms a new layer or second worm bin to move into. Add a few cms of bedding and scraps to encourage them down. This keeps the system balanced and avoids disturbing the casting layer while it’s still developing.
If you’re unsure, it’s completely fine to leave them longer. The worms will continue to break them down and improve the quality over time. I usually wait until early spring to harvest, when I’m preparing garden beds for new planting. That’s when the castings are at their most useful anyway!
The Key to Year-Round Natural Fertiliser
Caring for a worm farm in winter is about trying to match the pace of the worms and help balance the winter elements. Try to keep things active to maintain your free natural fertiliser system year-round. With a few simple tweaks and regular checks, your worms stay healthy, your system stays balanced, and your garden continues to receive the slow but steady supply of nutrients, even in the colder months.
Happy Gardening,
Holly 🌱