Making your own homemade green curry paste is so easy! You will never want to buy it again after you get the perfect blend. It will need adjusting to your heat tolerance, but...
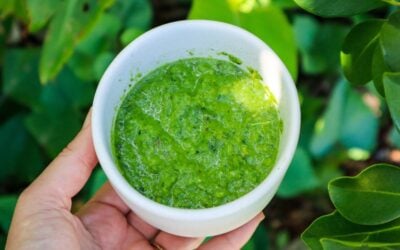
Simple Homemade Green Curry Paste with Fresh Garden Herbs
read more
Making your own homemade green curry paste is so easy! You will never want to buy it again after you get the perfect blend. It will need adjusting to your heat tolerance, but...
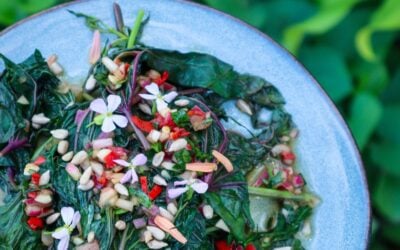
If you're looking for a delicious, nutrient-packed way to use sweet potato leaves, this sweet and spicy greens recipe is the perfect choice. They are not only edible but also...

Plant of The Month Chillies (Capsicum annuum or variations of species) are a popular staple for a kitchen garden because they produce an abundance of fruit on a single plant....
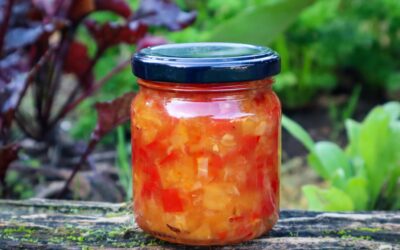
Loquat trees are incredibly productive, often producing more fruit than you can eat fresh! If you're lucky enough to have a tree loaded with fruit, this homemade loquat sweet...

Cauliflower is fantastic at absorbing flavour which makes it a perfect substitute for rice. This Cauliflower fried rice is simple, easy to make, packed full of nutrients and...
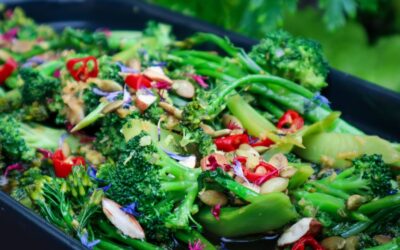
This Stirfry Broccoli dish is super quick and easy to make and packed full of flavour! A great side dish to serve with any rice or noodle meal, or just to spice up your weekly...
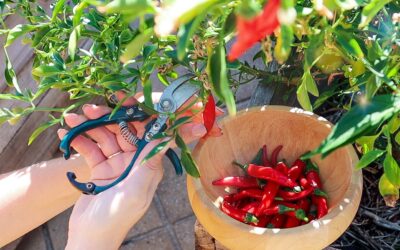
Easy Steps to Overwinter Chilli Pepper Plants Easy steps on how to overwinter your chilli and capsicum plants to have mature plants and bigger harvests for next season. If you...
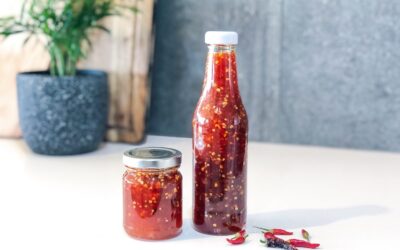
This easy Homemade Sweet Chilli Sauce is a fantastic way to use up a bunch of homegrown chillies. Growing Chillies is a great place to start for Beginner Gardeners or those with...

I love growing Chillies! They are so easy to grow and consistently produce in abundance. So learning how to preserve them has been important to me. These homemade Chilli Flakes...