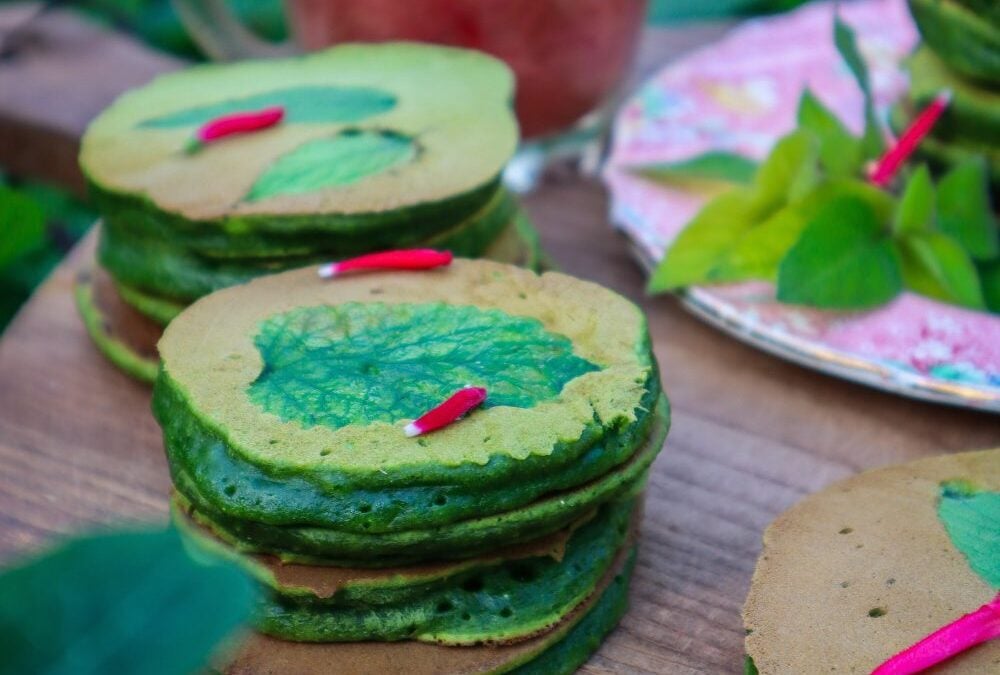
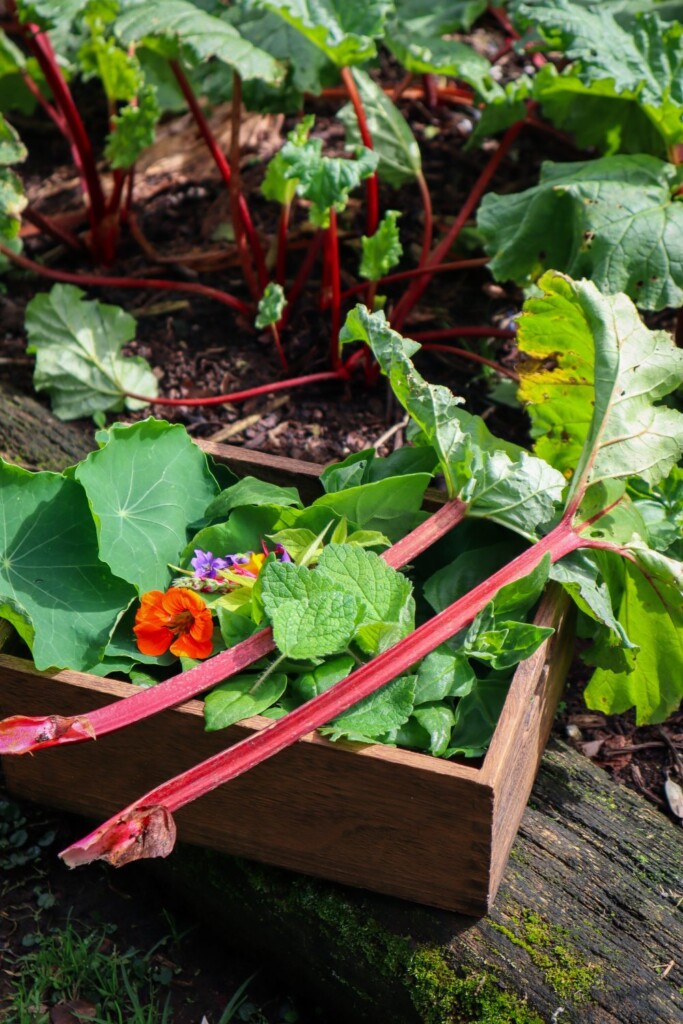
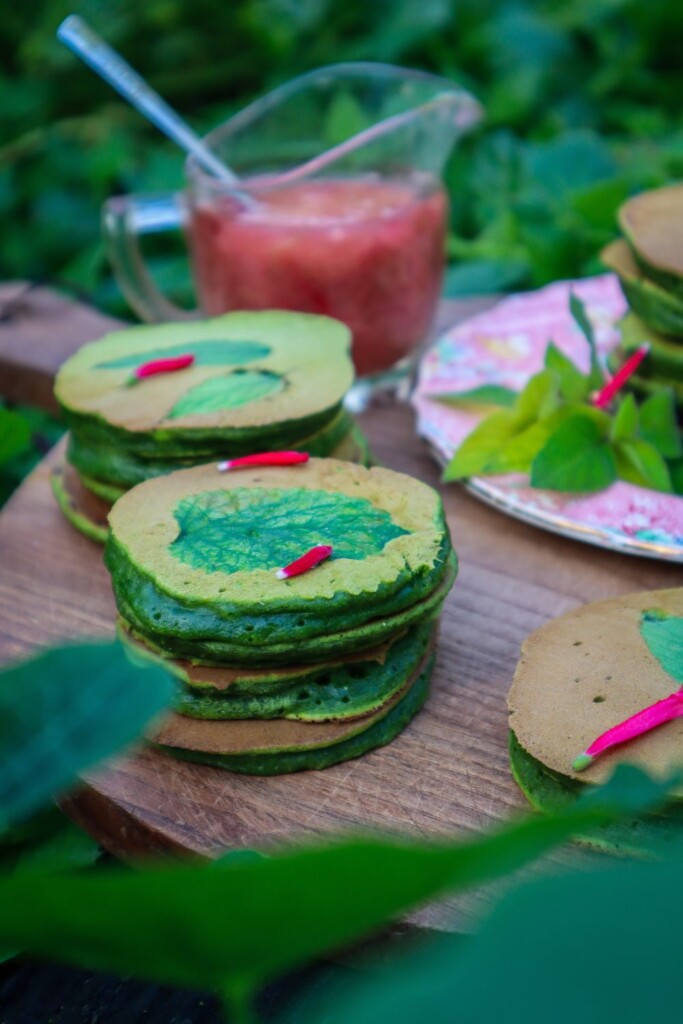
Packed with fresh greens from the garden these garden green pikelets are so fun to make. With subtle, fragrant herb flavours and vibrant green colour these pikelets are a delight to eat. Served with a delicious Rhubarb compote.
Garden Green Pikelets
Yield: 20-25 pikelets
Prep Time: 15 minutes
Cook Time: 15 minutes
Total Time: 30 minutes
Vibrant green pikelets packed with fresh greens from the garden.
Ingredients
1.5 cups of raw leafy greens*
1 cup flour
3 TBSP Sugar
1 tsp Baking Powder
1/4 cup milk
1 egg
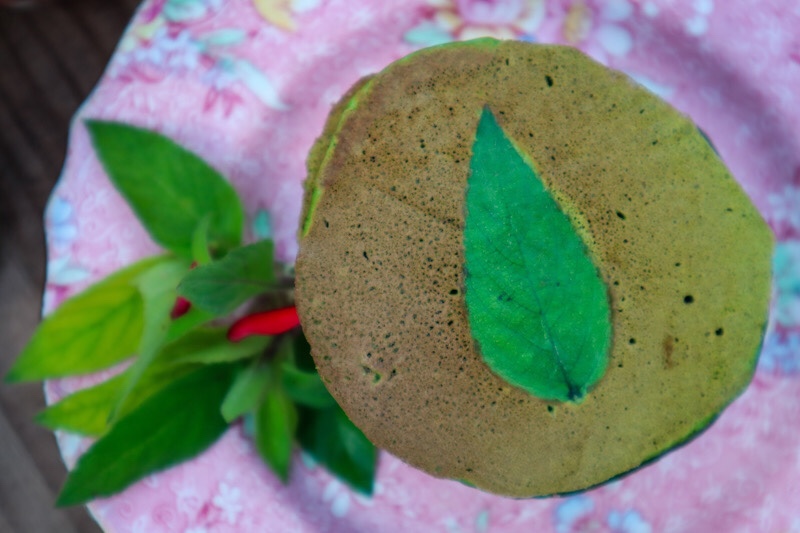
20-25 herb leaves (Pineapple Sage and Lemon Balm)*
Instructions
Rinse the leafy greens and remove any hard stems. Blanch the leaves by submerging them in a pot of simmering hot water for 30-40 seconds and then add them straight to a bowl of ice-cold water. This step will help the pikelets retain their vibrant green colour. Skipping this step may result in a duller green.
Strain the greens and place them in a blender or mixer along with the milk. Blitz until all the greens are combined to create green milk.
Add in the egg and lightly blitz to combine.
In a mixing bowl add flour, baking powder, and sugar. Stir to combine. Add the green mix slowly and stir to combine. Add about 1/4 cup of water to the empty green mixer or blender jug and shake to clean the residual green mix from the sides. Use this if the mixture needs a little more liquid. It should fall from the spoon quite easily.
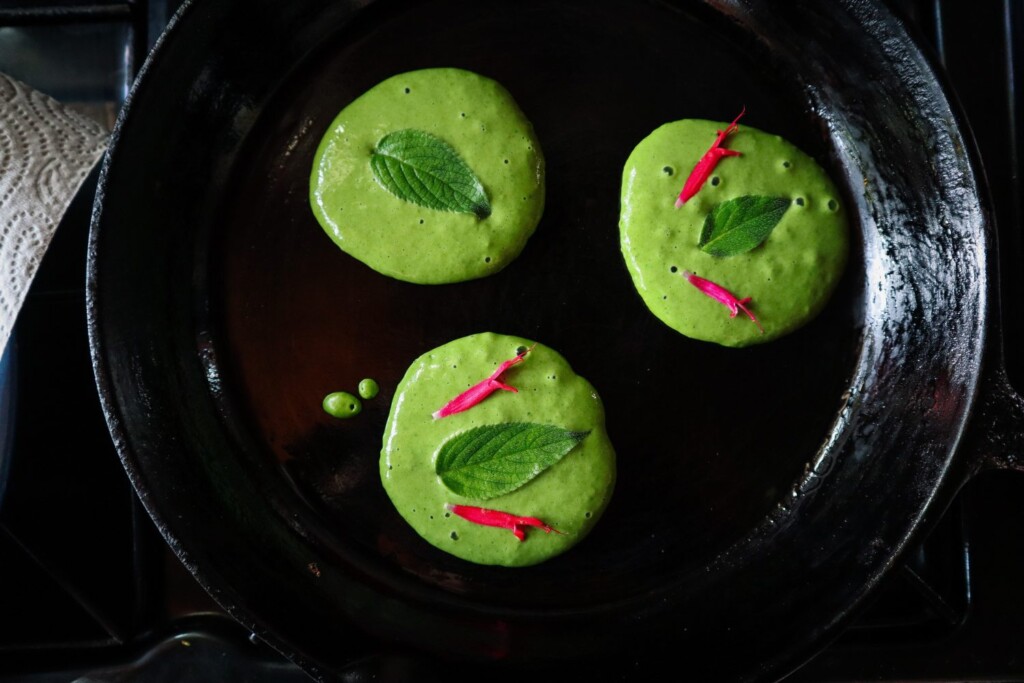
Clean your herb leaves and remove any hard stems. have these laid out ready to add while cooking your pikelets.
Place a frying pan on low-medium heat and coat with a little vegetable oil. Spoon in your pikelets and add a leaf to the top. Once the pikelet has 3-4 bubbles appear carefully flip and cook for a further minute.
Serve with Rhubarb compote and yogurt or cream.
Notes
Leafy Greens - I used Warrigal Greens (NZ Spinach) and a few Nasturtium leaves. You could use any mild flavoured leafy greens such as spinach or chard.
Herbs - Pineapple Sage and lemon balm worked the best as they handled the heat. I also tried Mint and pineapple sage flowers and they were ok too.
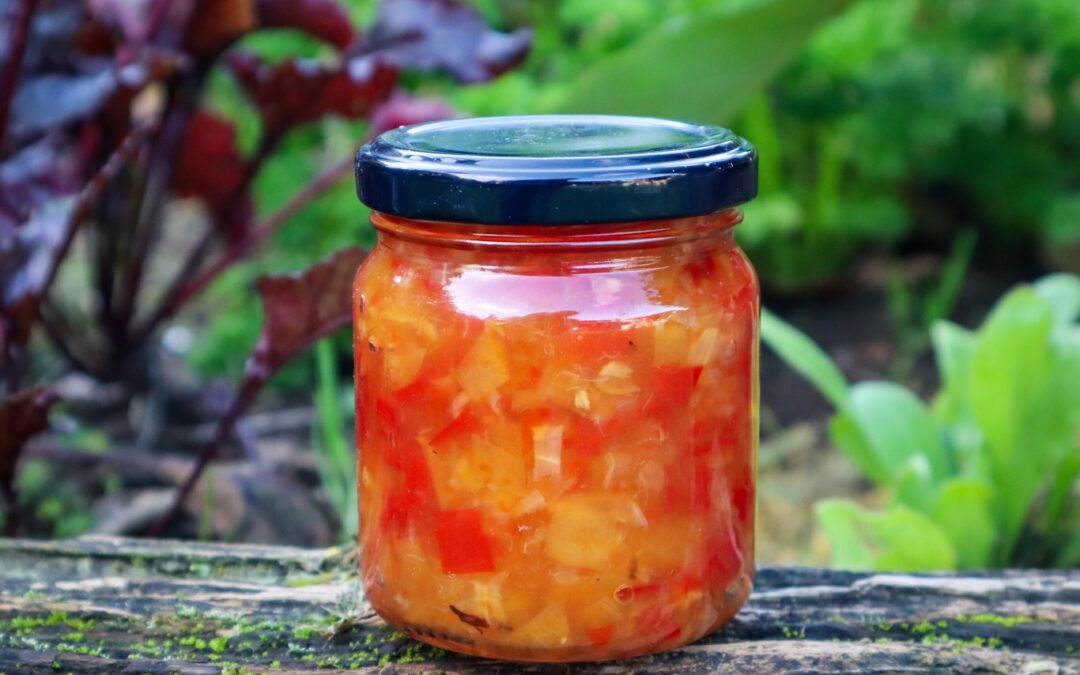
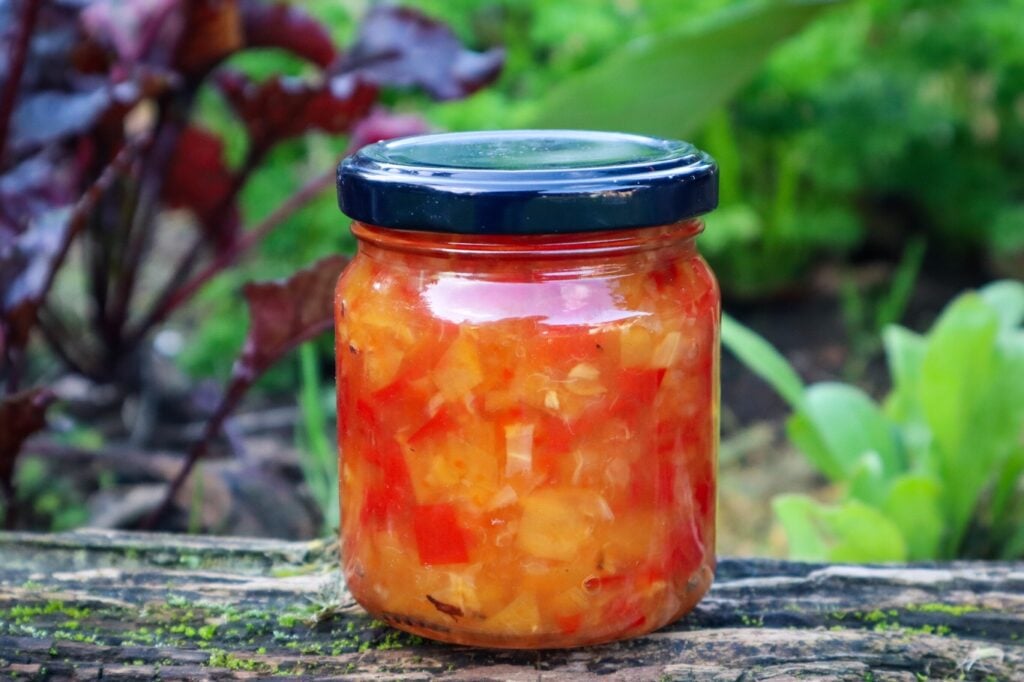
Loquat trees grow fruit in huge abundance and this Loquat and Chilli jam is a delicious preserve to go on a platter. Choose your level of heat by adding or removing seeds and using mild or spicey chilli varieties.
Loquat and Chilli Jam
Yield: 1 small Jar
Prep Time: 10 minutes
Cook Time: 30 minutes
Total Time: 40 minutes
Sweet and spicey Chilli jam that is great for serving on platters.
Ingredients
1 cup chopped Red Chillies (approx 6 large whole chilli)
1 cup chopped Loquats
1/2 cup of Vinegar
1/2 cup of Sugar
1/4 tsp Salt
1cm cube of fresh Ginger
Instructions
Wash the Loquats and remove the seeds including the seed membrane. Cut the hard end pieces off and dice them into small pieces.
Place the Loquats in a saucepan with the sugar and mix to combine allow to sit while you prepare the Chillies.
Chop the Chilli and remove the seeds. Keep them to the side as you can add them extra if you want to increase the heat later. Dice into small pieces or use a food processor.
Peel the ginger and finely dice.
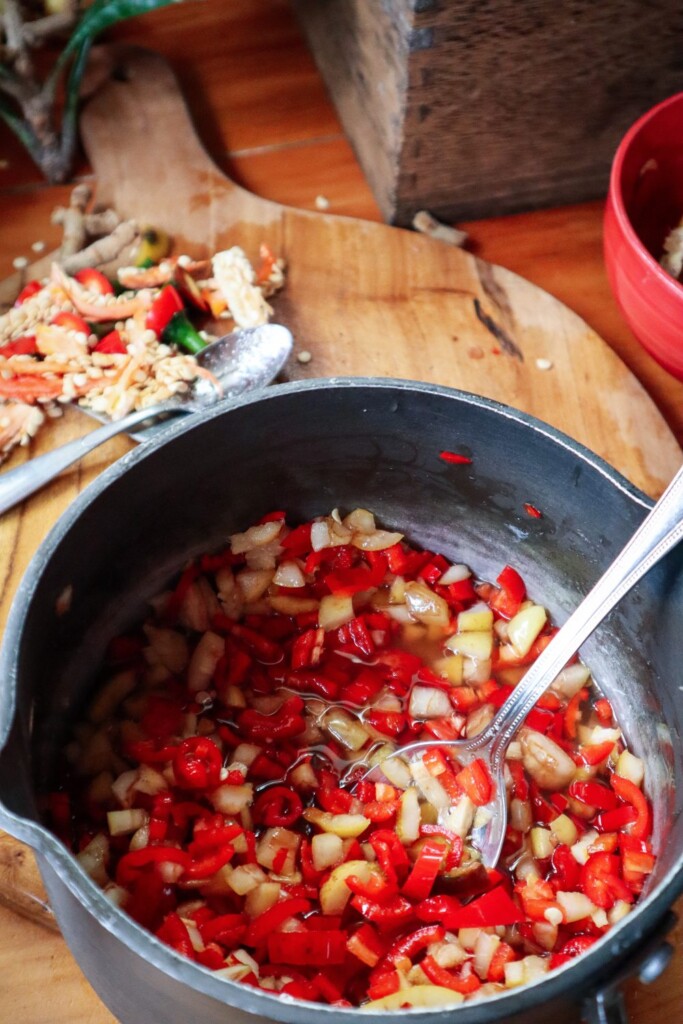
Add the chillies, vinegar, salt and ginger to the saucepan and turn on a low heat. Cover and allow to lightly simmer for 20-30minutes. Keep an eye on it so that the mixture doesn't burn or get too thick. Add a 1/4 cup of water if it does start to clump together or stick to the bottom. Once the chilli and loquats have softened taste and add extra chilli seeds if you like.
Spoon the hot mixture into a sterilized small preserving jar. Invert for 5 minutes to help the seal. Allow to cool. Store in the refrigerator and use within 2 months.
Notes
If it is too sweet add a splash more vinegar or a pinch of salt.
This Chilli Jam is quite spicey so I did not add any seeds. If you want it to be more mild add more loquats and less Chilli.
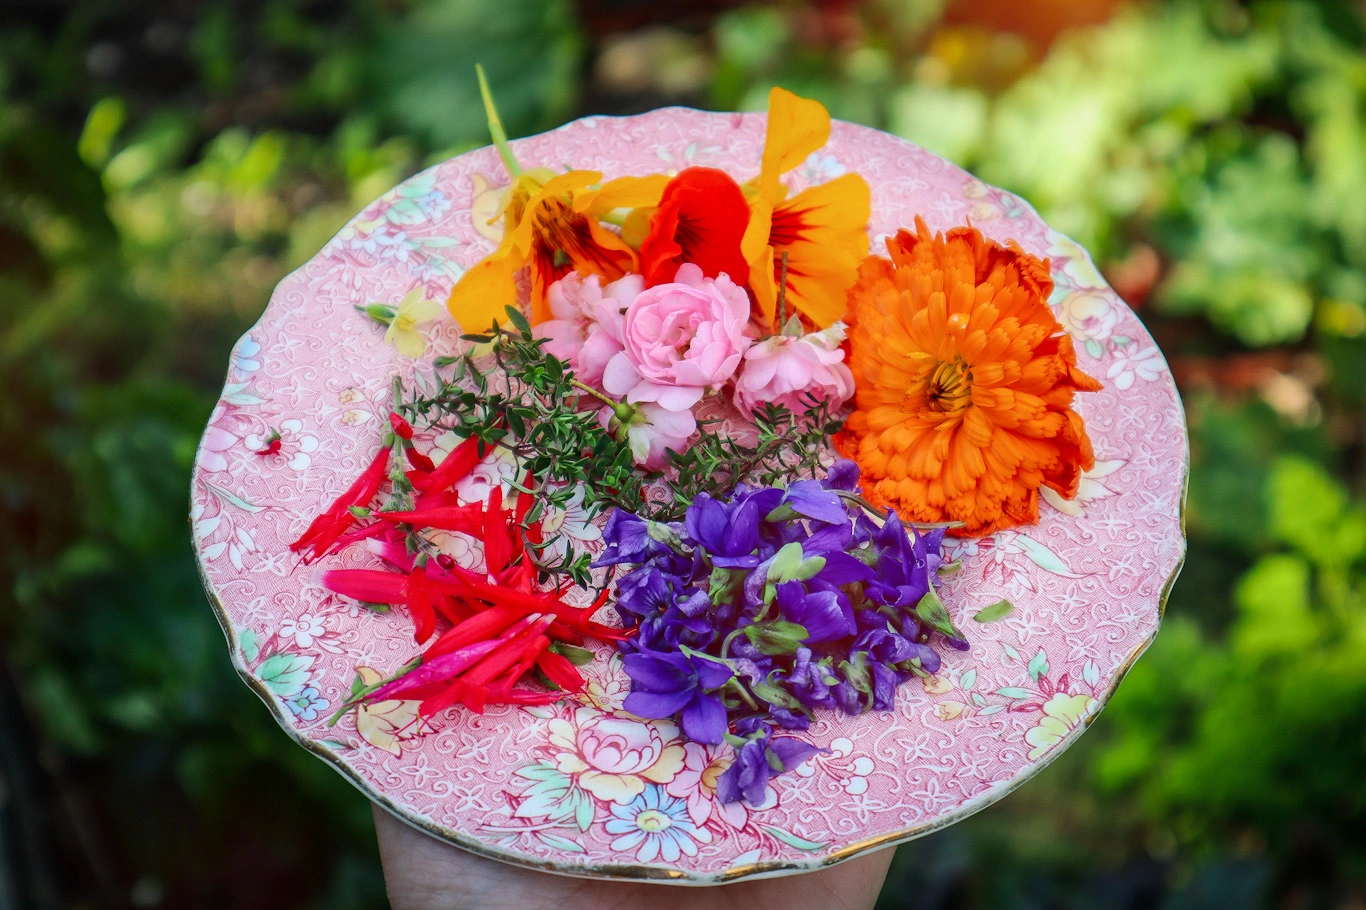
Beautiful and delicious floral shortbread with subtle flavours of orange and thyme. This basic shortbread recipe can easily be adjusted to add seasonal edible flowers and herbs from the garden. I created this recipe when I was home (New Zealand) in my mum’s garden. Although she has very limited baking equipment….she made up for it with her inspiring gardens and the perfect eclectic set of vintage floral tea cups and saucers. I hope you also find some inspiration. The perfect treat to spoil your friends and celebrate spring with a tea or coffee in the garden.
Orange and Thyme Botanical Shortbread
Prep Time: 20 minutes
Cook Time: 20 minutes
Additional Time: 1 hour
Total Time: 1 hour40 minutes
Fresh, subtle flavours infused in soft melting biscuits. These botanical shortbread biscuits can be made using seasonal edible flowers and herbs.
Ingredients
250gram butter
1 cup icing sugar
3 cups flour
2 tbsp orange juice
2 tbsp ( 1 orange) zest
1 tsp chopped fresh thyme
1 /2 cup edible flowers
Instructions
Beat sugar and butter until very pale yellow/white and creamy.
Grate the zest of one large orange and add to the mix along with 2 TBSP of juice.
Mix through the flour to make a soft dough.
Wrap or cover the bowl and refrigerate for at least 1 hour.
Preheat the oven to 140 degrees. Lightly dust a baking tray with flour.
Remove the dough and lightly knead to bring it together.
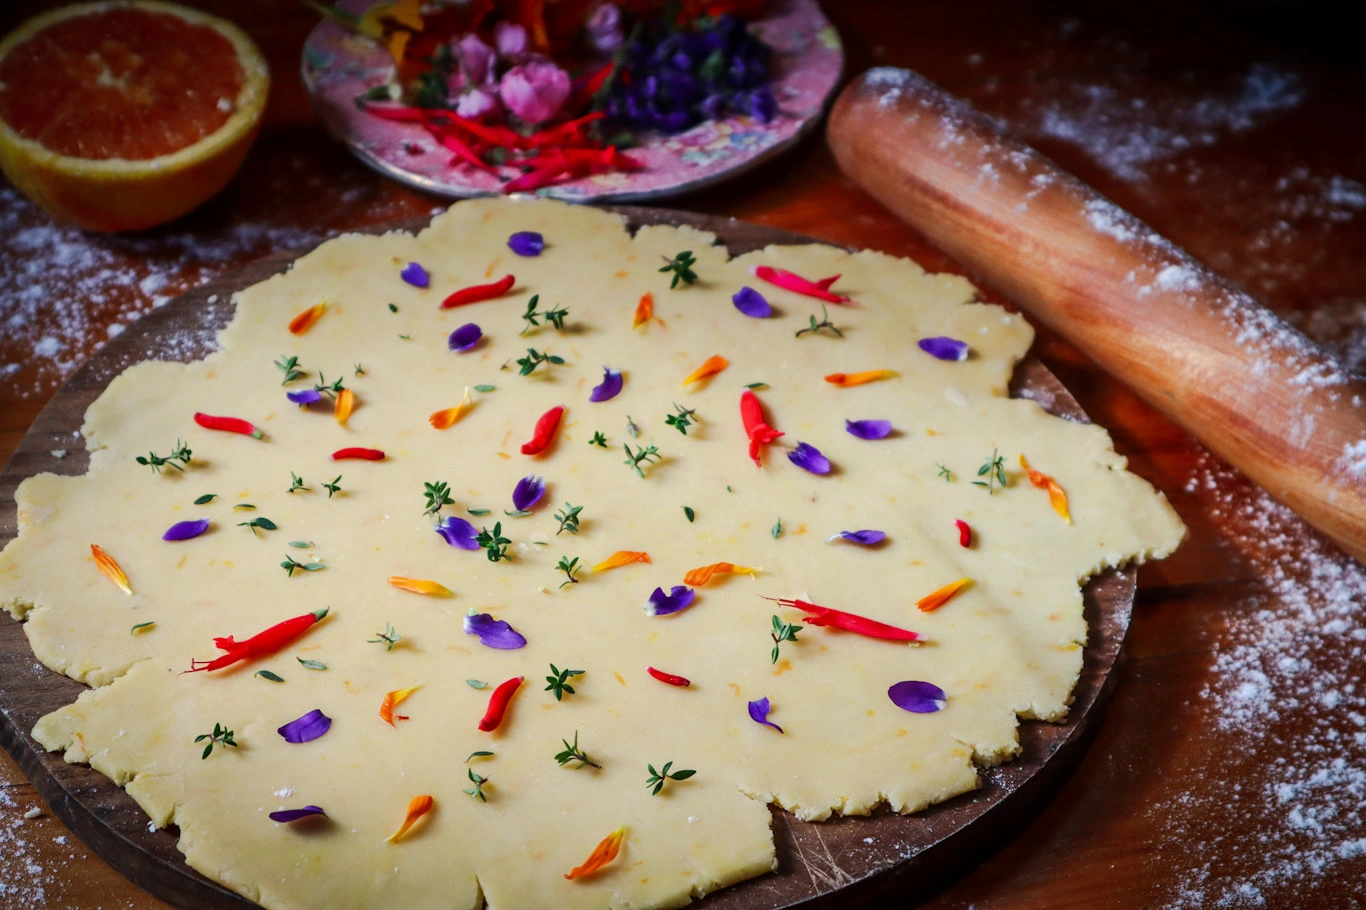
Roll out the dough on a lightly floured surface to approximately 1 cm thick (easier to manage using 1/2 the dough at a time)
Sprinkle over edible flower petals and fresh thyme leaves (removed from the stalk).
Gently roll over the flowers. Some may not stick, so just lightly press them into place. Cut out shapes using a cookie cutter and place them onto the baking tray.
Merge the leftover edges and re-roll out, and continue to cut shapes. The second roll will incorporate the flowers into the dough, so you may want to add extras on top.
Bake for 15-20mins or until very slightly starting to go golden. You want to keep them pale so they don't become too dry and crumbly. Remove and allow to cool on a wire rack.
Notes
Edible flowers I used: Pineapple Sage (red flowers), Calendula, Rose, Sweet Violet, and Nasturtium.
Use seasonal edible flowers and herbs: other options to try are Lemon and Lavender, Lemon and Rosemary, or Mint.
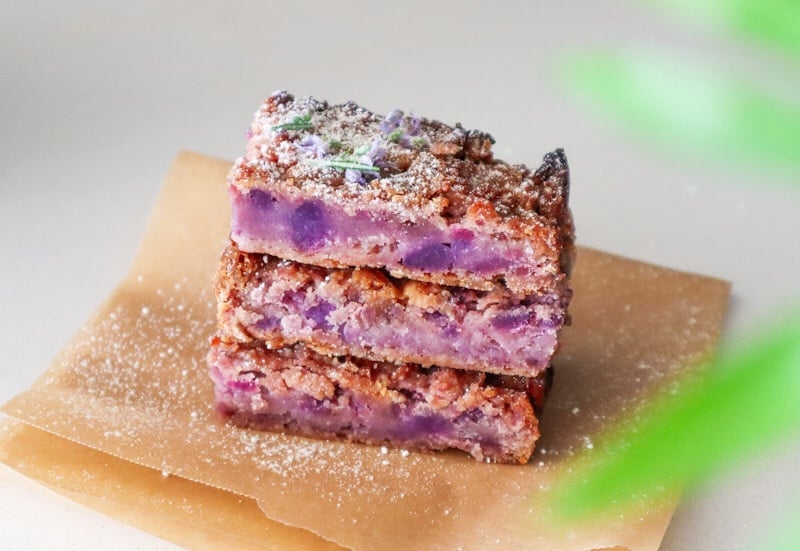
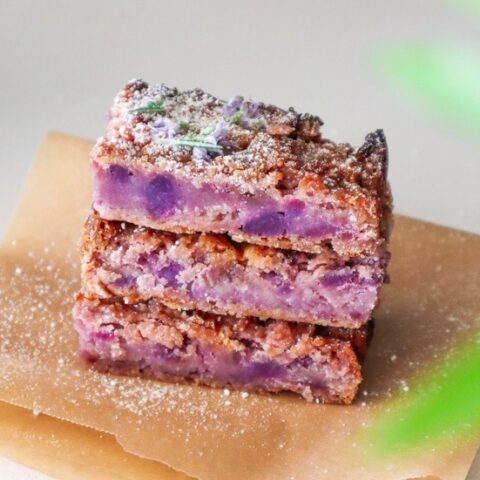
This Sweet Potato and White Chocolate Slice is so so delicious. The sweet potato makes it fudgy and the white chocolate gives it a caramel flavour with crisp and chewy edges. Sweet Potato is such a versatile plant and can be used for both sweet and savoury dishes. This Sweet Potato and White Chocolate Slice is so delicious and doesn’t require any eggs or butter so can easily be made vegan. Being able to use your homegrown veggies for a wide variety of recipes will mean you need to buy fewer ingredients. I used purple sweet potato for this, which is super fun, but you can use which every variety you have growing.
Sweet Potato and White Chocolate Slice
Prep Time: 35 minutes
Cook Time: 40 minutes
Additional Time: 15 minutes
Total Time: 1 hour30 minutes
Ingredients
1 Large Sweet Potato
1/4 cup Brown Rice Syrup (or maple syrup or agave syrup)
1/4 cup Coconut oil
1/3 Brown sugar (or coconut sugar)
1/2 cup Almond meal (or plain flour)
1/2 tsp baking powder
1/2 cup plain flour
1/2 cup white chocolate buttons
Instructions
Peel and cut sweet potato into small cubes (2-3cm cube)
Steam until cooked and can be pierced with a fork.
Cover and allow the sweet potato to come to room temperature (separate any liquid and keep it in a bowl to the side).
Preheat the oven to 180degrees Celcius
In a mixing bowl mash the sweet potato add 1TSP of the cooking liquid or water.
Add in the brown rice syrup, brown sugar and coconut oil. Mix to combine.
Add almond meal, sifted flour, baking powder and gently mix to combine.
Gently mix through most of the chocolate buttons leaving a few to add to the tray before baking.
Add your mix to a greased baking tray (20cmx20 or 30cm) and then add the remaining chocolate on top.
Garden toast is something I created one day when I was scraping together something for lunch and all I had was a crust and some cottage cheese in the fridge. I didn’t have any avocado, eggs or anything special to have with it. So I went out into the garden and found some inspiration! I picked two small tomatoes, herbs and edible flowers. It looked like a mini garden on toast and now I can’t stop making these beautiful, tasty creations!
Here are the creations I have made so far..
Original Garden Toast
My first addition with the last piece of bread I had left! I had fun making this and it definitely tasted delicious! Ingredients: Rye Multigrain toast, Cottage Cheese, Fresh tomato, Parsley, Rosemary, Rosemary flowers, Zinnia Petals and Basil leaves.
Fairy Garden Toast
It’s amazing what a little bit of Beetroot juice can do! Natural colouring and plenty of beneficial nutrients with an array of micro herbs and greens. You may even be able to convince your kids to eat more greens with this Fairy Garden toast. Get them involved in the process by having a bowl each to go outside and collect herbs. Ingredients: White Multigrain Toast, Cottage Cheese mixed with beetroot juice or fresh grated Beetroot, Baby Nasturtium leaves, Parsley leaves, Basil leaves, Sweet Violet flowers, Rosemary Flowers, Baby Pink chard leaves, Pink Zinnia Flower petals and Dill Flowers.
Jungle Garden Toast
Packed full of herbs and flavour! Ingredients: Country Grain Toast, Basil Pesto, Orange Nasturtium petals, Tiger Eye Viola Petals, Strawberry Flowers, Parsley leaves, Rosemary Flowers, Pea tendrils, Burgundy Marigold Petals and Purple basil leaves.
Summer Garden Toast
Summer on toast! Homegrown tomatoes are so sweet and delicious and tomato on toast is one of my favourite ways to eat them! Ingredients: Rye Multigrain toast, Red, yellow, orange cherry tomatoes, Purslane, Red basil leaves, Strawberry Flower, Sweet Violet Flower, Dill flowers, Rosemary Flowers, chopped Purple Kale, baby Nasturtium leaves and Fresh Chilli.
Botanical Garden Toast
Pest on toast is so delicious! I made extra pesto and if you follow me on Instagram you would have seen that I ate this for breakfast for an entire week! It was also so good with a poached egg on top. Ingredients: Sourdough toast, Basil pesto, Cottage Cheese, Chopped walnuts, Fresh Chilli, Basil Leaves, Fennel Flowers, Pink and White Dianthus, Baby Pumpkin Tendrils, Parsley Leaves and Strawberry Flowers.
Unicorn Garden Toast
My latest creation and maybe my favourite yet! Purple sweet potato spread is a vibe! Ingredients: Sourdough Toast, Mashed Purple Sweet Potato and Cottage Cheese, Overnight Pickled Red Cabbage and Red Onion (1/2 cup water, 1/2 cup apple cider vinegar, a teaspoon of sugar heated to dissolve. Pour cooled liquid over Cabbage and Onion), Purple Kale, Grilled Baby Eggplant, Purple Pansy, Multicoloured Dianthus, Rosemary Flowers and Red Basil.
Get Inspired by your Garden
There is always something in my garden to make a toast topping and I love how easy and creative it is! Each piece is so unique and full of fresh garden nutrients! Having these ideas tried and tested means I know I can always whip up something even when my fridge is looking very lean.
Get creative and inspired by your own garden. There is something so satisfying about being able to walk outside and make a meal from your own fresh, homegrown veggies. This is a great meal idea for beginner gardeners who don’t have many established edibles. Just look out for baby leaves and edible flowers (make sure you research and clearly identify they are edible). Baby leaves and flowers can add subtle flavours and turn any dish into a work of art!
Be sure to tag me on Instagram or Facebook so I can see your creations!
Holly 🌱
MY GARDENING ESSENTIALS // Fertiliser spray gun: https://bit.ly/366nL1t Retractable Hose: https://bit.ly/2TSC0Bo More gardening tools: https://bit.ly/32IQmbD
DISCLAIMER: Links included in this description might be affiliate links. If you purchase a product or service with the links that I provide I may receive a small commission. There is no additional charge to you! Thank you for supporting my page so I can continue to provide you with free content!