If you want to fill your garden with fresh food this spring/summer season but don’t have much room…these annual edible climbers are the best for vertical gardening in spring! I don’t know about you, but I always feel like I need more gardening space… BUT incorporating vertical plants into your veggie patch or garden can not only maximise the amount of food you can grow but also help shade and protect your garden. I love growing perennial or long-term climbers as they grow to produce more and more fruit each year without having to replant them but…. It’s also fun to have room to mix it up and try different annual climbers each year.
These fast-growing, productive climbing plants make the most of vertical garden space and can transform fences, trellises, and arches into lush, edible walls. Ideal for spring and summer planting, annual climbers are perfect for renters, small gardens, and food forests needing seasonal coverage and abundant harvest. Check out my top tips and plant list below and start growing more food in the same amount of space!
Annual vs Perennial Climbers? Which are better for Vertical Gardens?
I love growing a mix of both! I will share more about perennial climbers at the end of this post. Annual climbers grow for a season, produce food, and then die off. This means you can use the space to grow different things each season, or usually over two growing periods: summer crops and winter crops. Annual vertical climbers are great for….
Fast Results: Most are quick to establish and produce within one season.
Perfect for Temporary Gardens: Great for renters or testing garden layouts.
Seasonal Versatility: Easily rotated out each year to suit changing garden needs.
Creates Shade: Can provide temporary dappled shade for young fruit trees or veggie beds.
Increasing Pollinators & Biodiversity: Lush greenery, flowers, and harvests attract pollinators during the busy Spring & Summer season.
Ways to Support Your Vertical Climbers
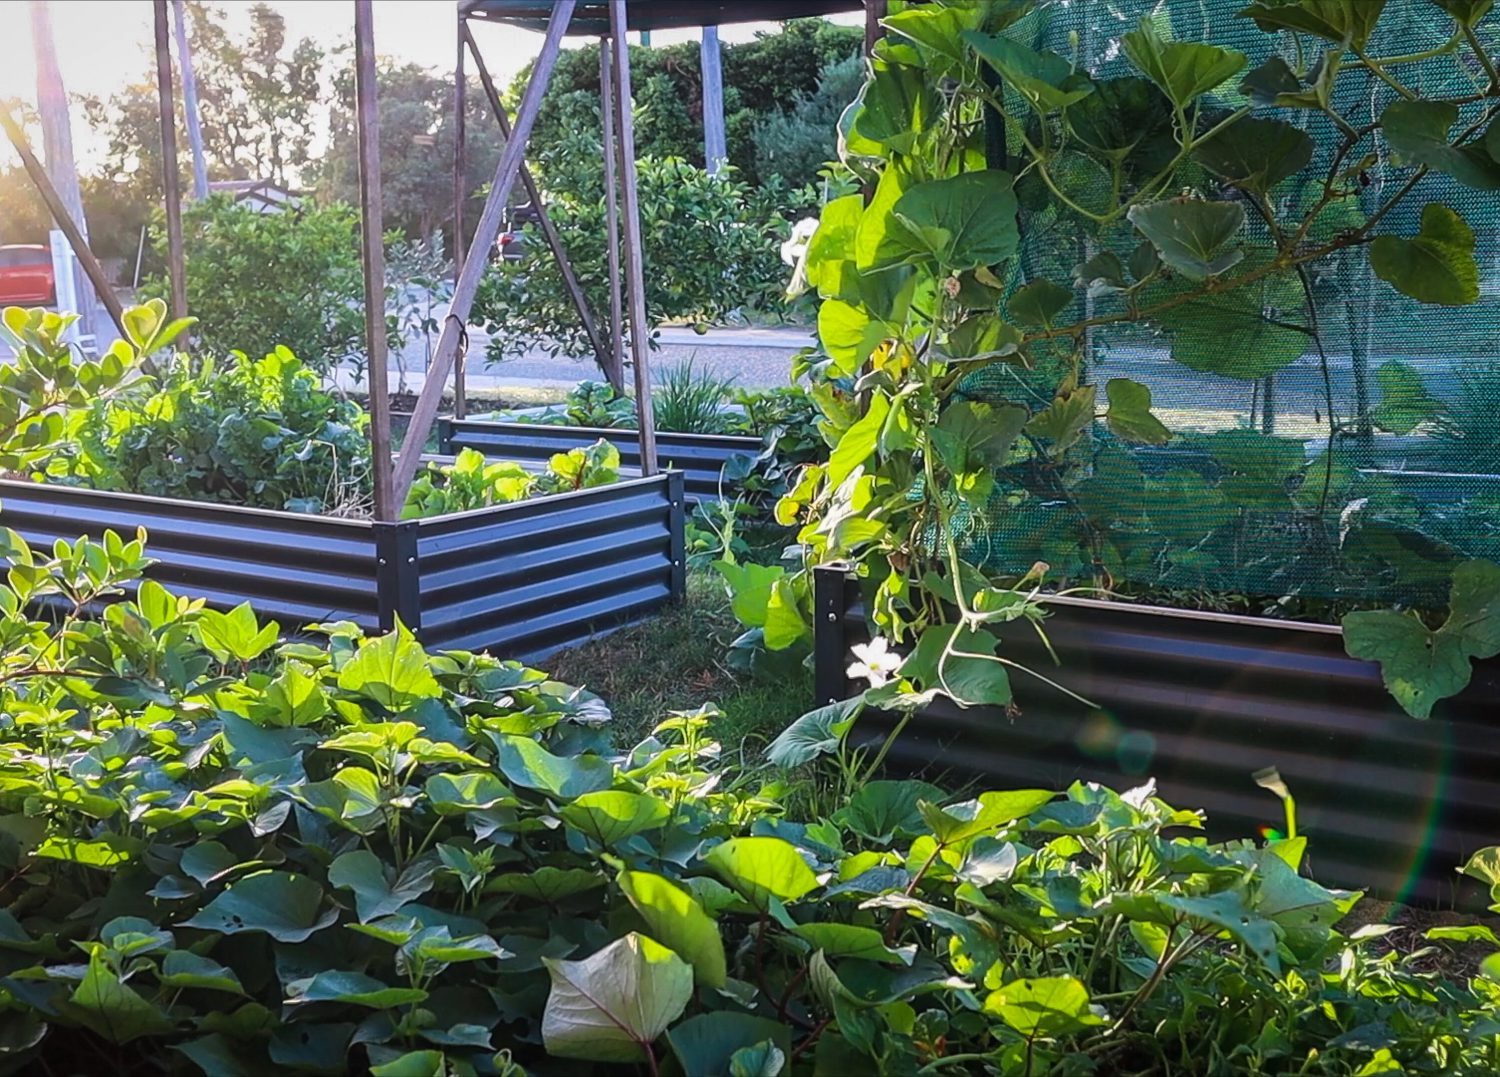
Climbers need something to climb, and it’s best to have this installed before you get busy planting your seeds and seedlings. That way, you don’t risk stepping on them or snapping off stems. Below are some of my favourite ways to create trellis and support for my vertical gardens.
Vertical Pre-made Trellises: You can buy panels of pre-made wood or metal lattice or mesh frames. These can either be scrwed to existing fences or supports or add in your own. Star pickets or bamboo poles are often an easy and cost-effective way to go.
A-Frame or Teepee Supports: These are great for a quick and easy vertical garden. They also add interest to a flat space. Bamboo, stakes, branches, or recycled materials can be tied together to create a strong Aframe support. My mum adds an old bicycle tyre to a support post and ties string lines from the tyre to pegs in the ground . It doesn’t need to be fancy as long as it is strong and secure, the plants will cover the structure and look lush in no time!
Fences & Arches: I love archways in the garden as they give space to grow vertically, plus the added experience of walking under them is a little magical. Premade archways are a quick solution, but are often expensive. DIY arch ways can be made from metal cattle panels, timber trelis, branches, or recycled wood, even PVC piping over metal stakes. Chicken mesh, Rio mesh, or fencing mesh can be used to create small vertical supports for one side of your raised bed. This way, you can grow lower plants in the front of the bed and climbers up the back to maximise growing space.
Nets or Strings: Soccer nets or other string-construction nets can be a great DIY idea. Cheap and flexible, great for beans or light vines.
Ensure your structure is strong enough to support mature vines and fruit weight. The great thing about lightweight DIY structures is that they can be used for a season and packed away. This gives you flexibility each season to design your garden. As opposed to perennial climbers, they do better on more permanent structures.
Top 15 Annual Edible Climbers to Grow in Spring/Summer
These plants are either true annuals or fast-growing tropicals, often grown as annuals in warm climates. Check out the links to find more info on how to grow, harvest, and preserve.
Luffa (Loofah Gourd) (Luffa aegyptiaca / L. acutangula) – edible when young and makes natural sponges.
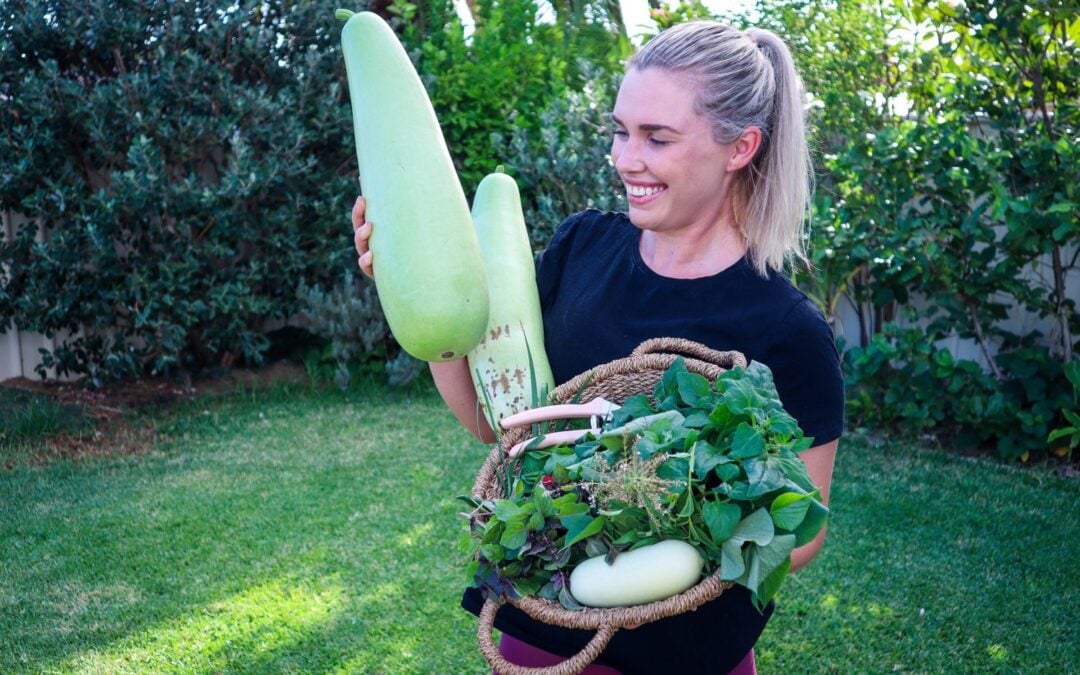
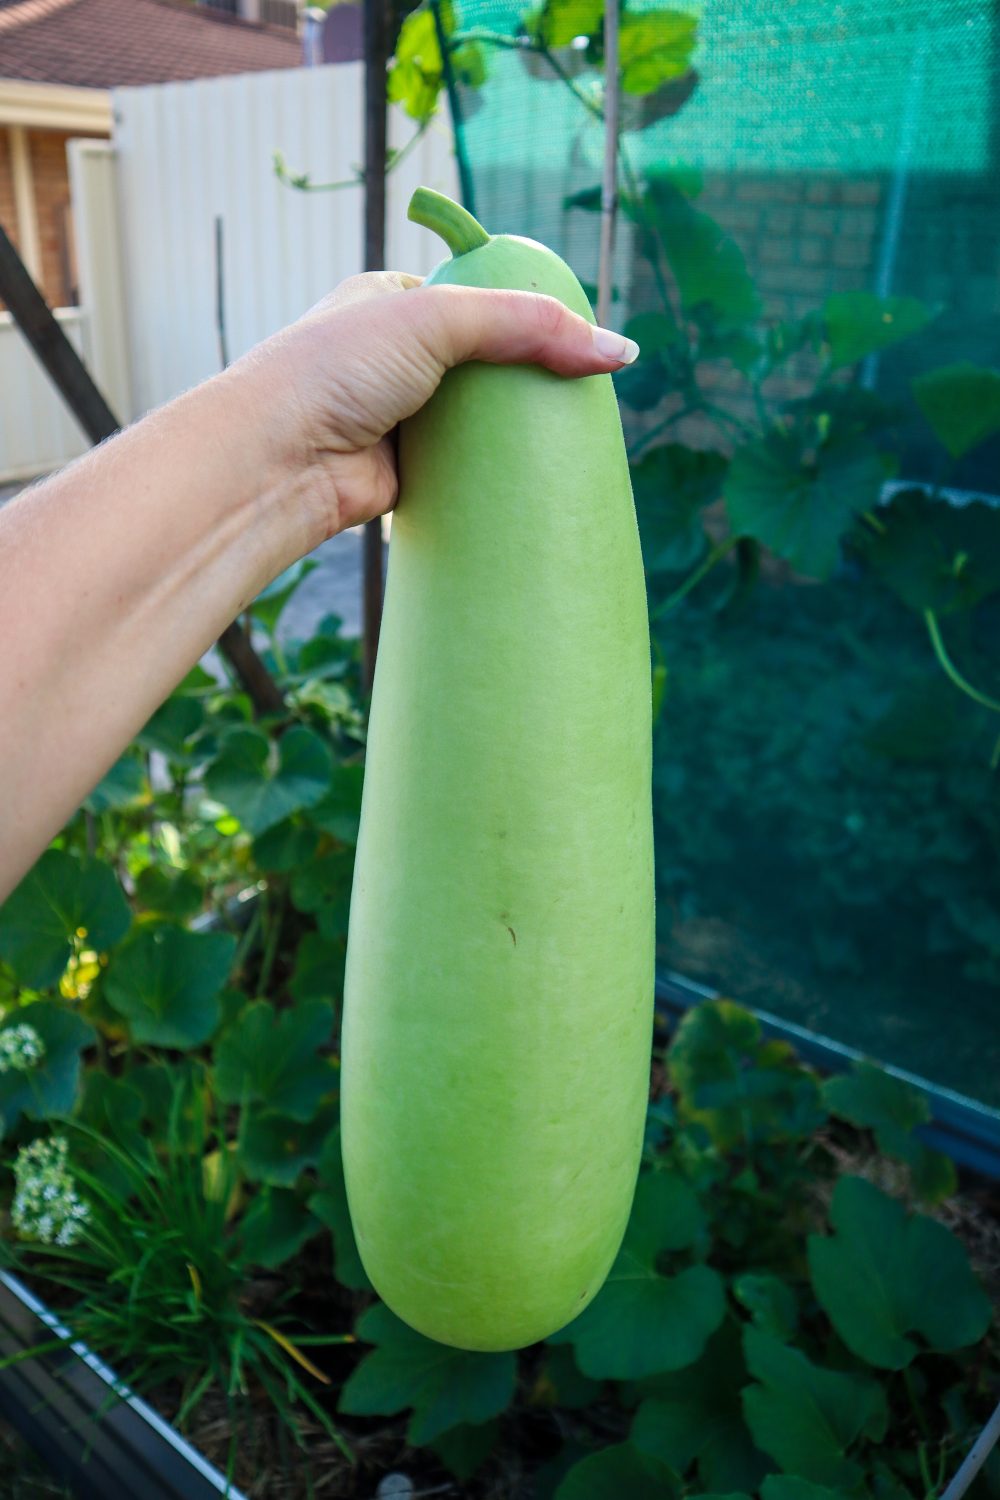
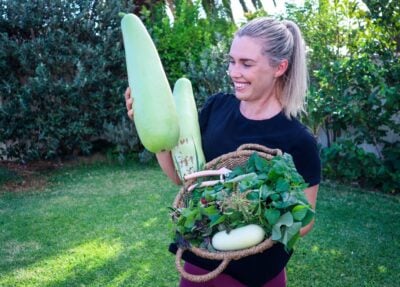
Bottle Gourd (Lagenaria siceraria) – versatile vegetable, produces a lot of food! A vigorous growing vine that is perfect for creating summer shade
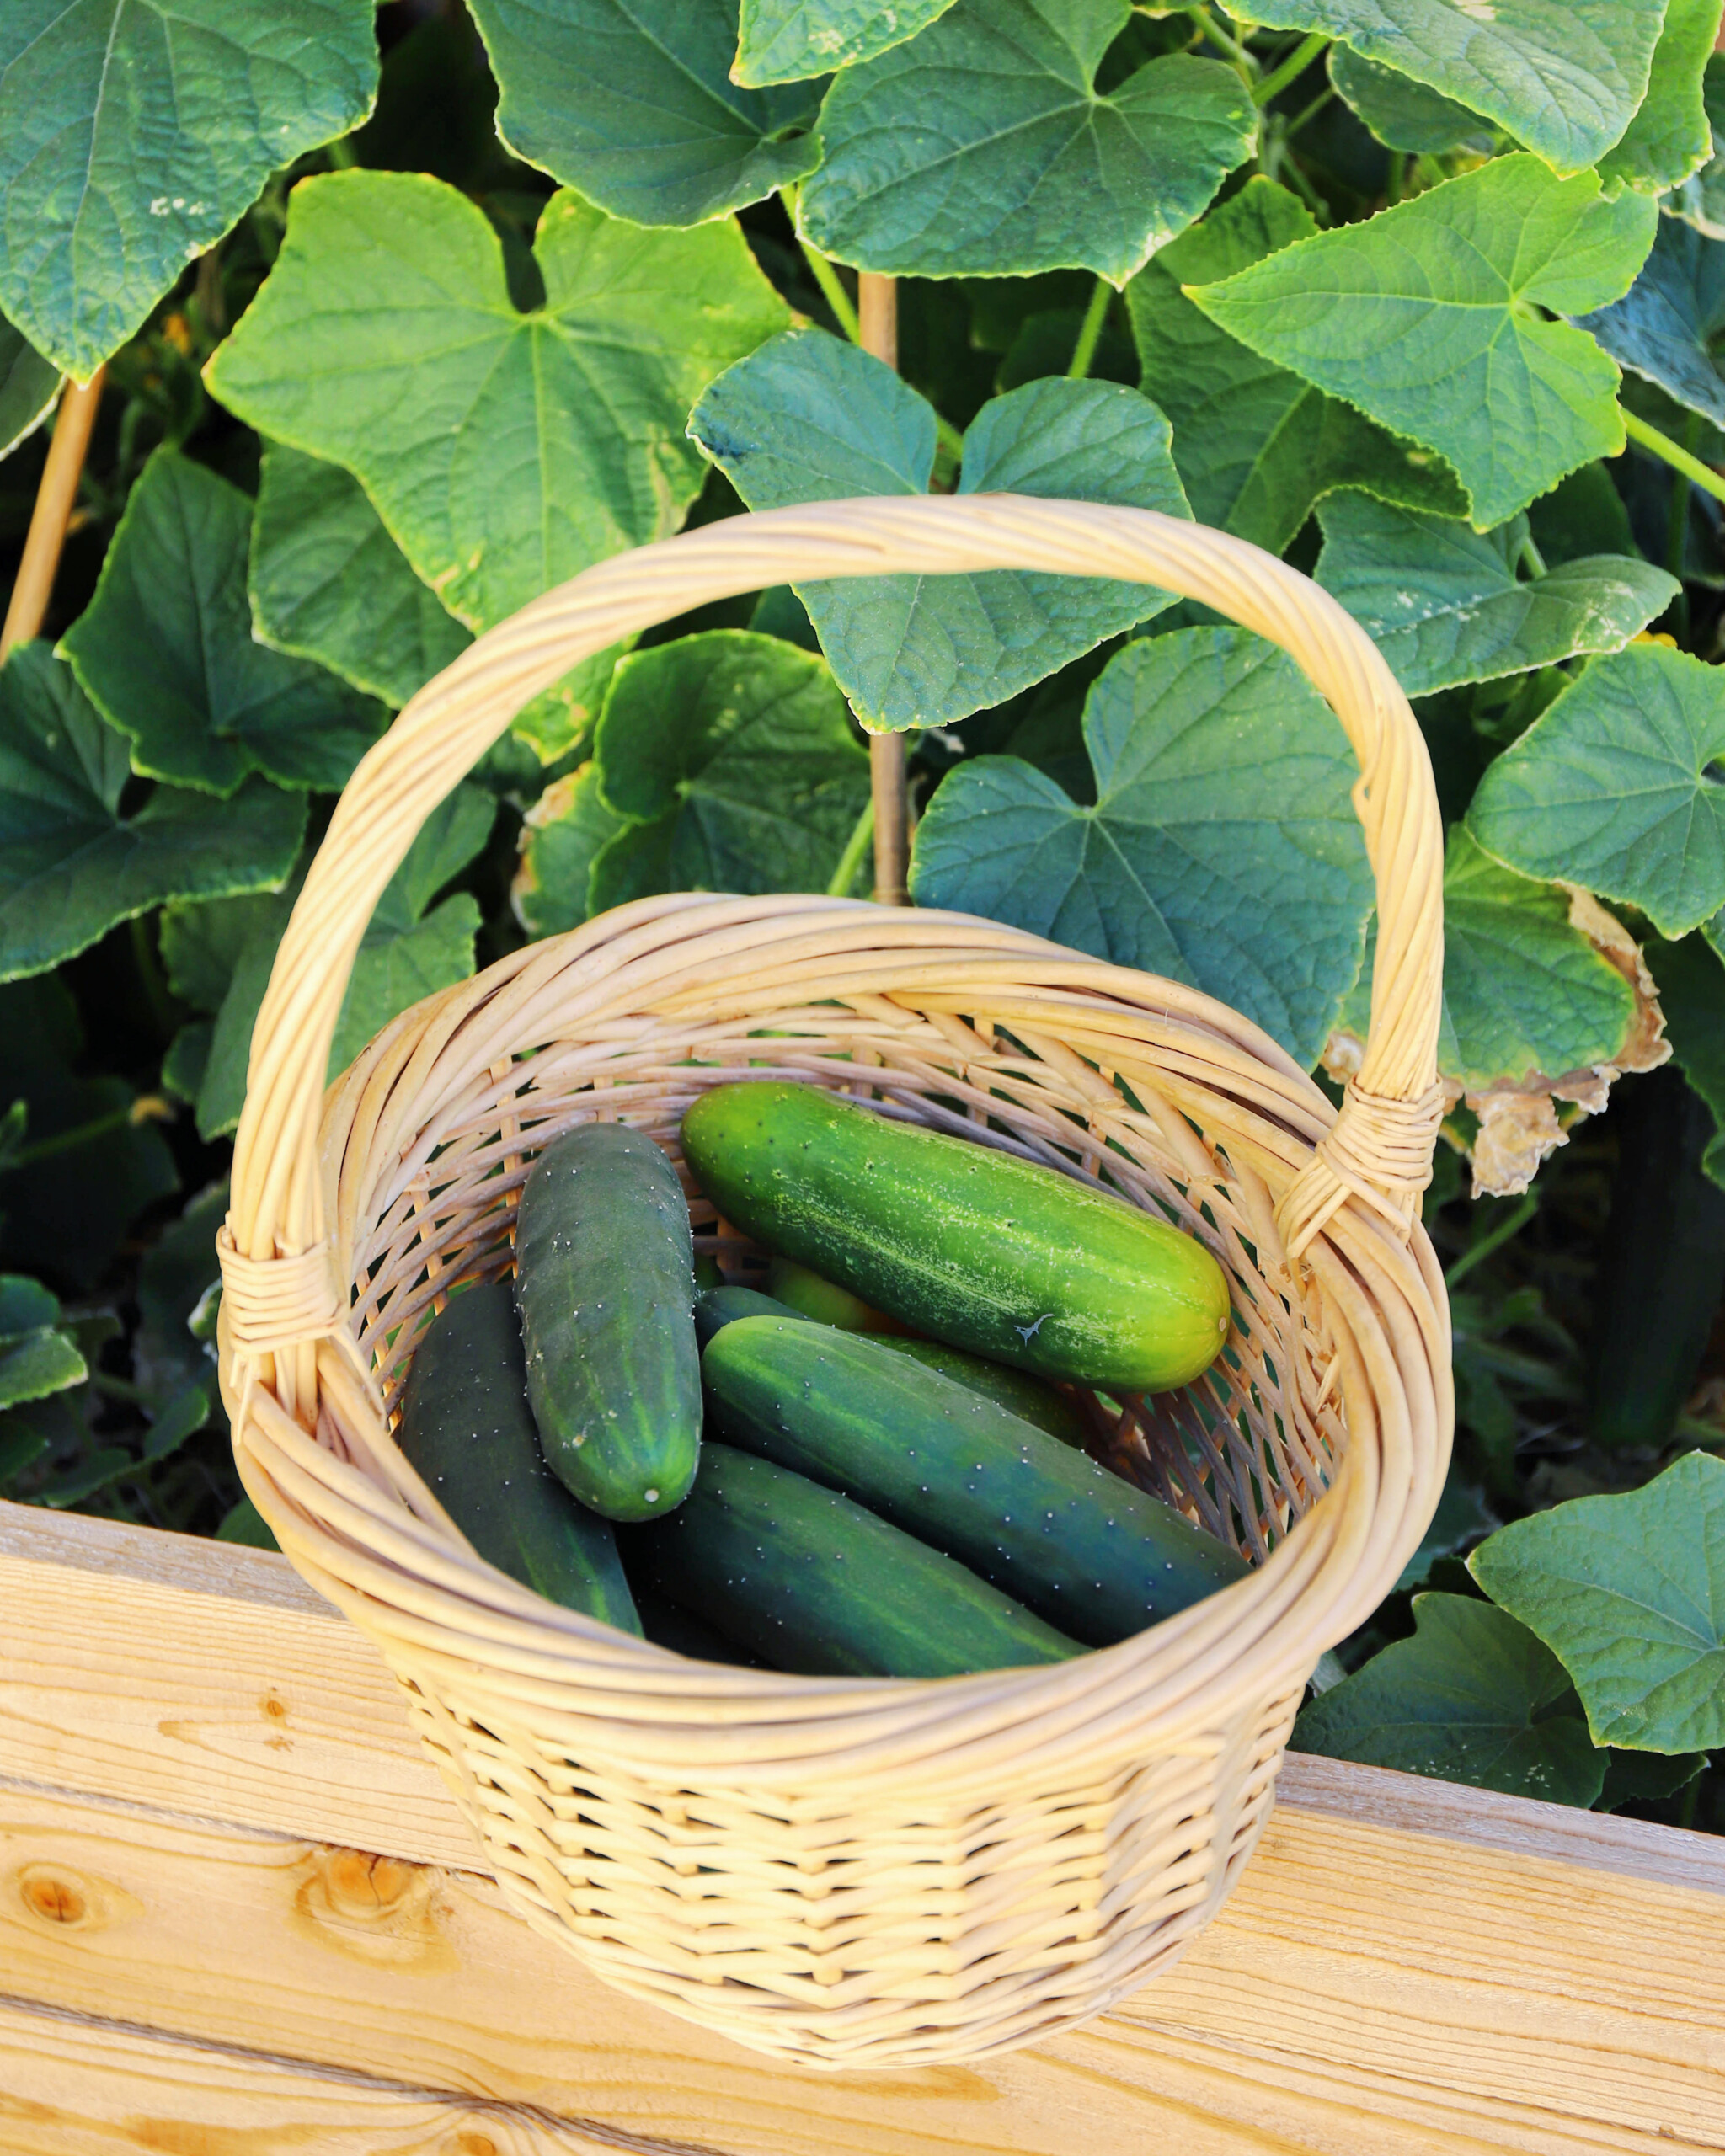
Cucumber (Cucumis sativus) – classic favourite with refreshing fruit for summer salads or pickling.
Tromboncino (Climbing Zucchini) – long fruits, mildew-resistant, great summer for creating shade.
Winged Bean (Psophocarpus tetragonolobus) – edible pods and leaves, great shade plant. Thrives in hot, humid conditions.
Malabar Spinach (Basella alba / rubra) – succulent-like leafy green for warm climates.
Climbing Beans (Purple, Green, Borlotti, etc.) – great for A-frames and Teepee structures.
Chayote/Choko (Sechium edule) – vigorous, edible fruit and shoots. Hardy summer shade plant. It can be perennial in warmer climates.
Cucamelon / Mouse Melon (Melothria scabra) Tiny, cucumber-like fruits with a tangy, citrusy flavor. Fun snacking plant for kids and great in salads or pickled.
Pumpkin / Squash (Cucurbita spp.) Fruits for roasting and soups. Young shoots, flowers, and even leaves are edible.
Climbing Tomatoes (Indeterminate Varieties) – support needed, but highly productive.
Melons (Cantaloupe, Honeydew, Watermelon) – may need individual support slings for the fruit to stop them from dropping when ripe and smashing.
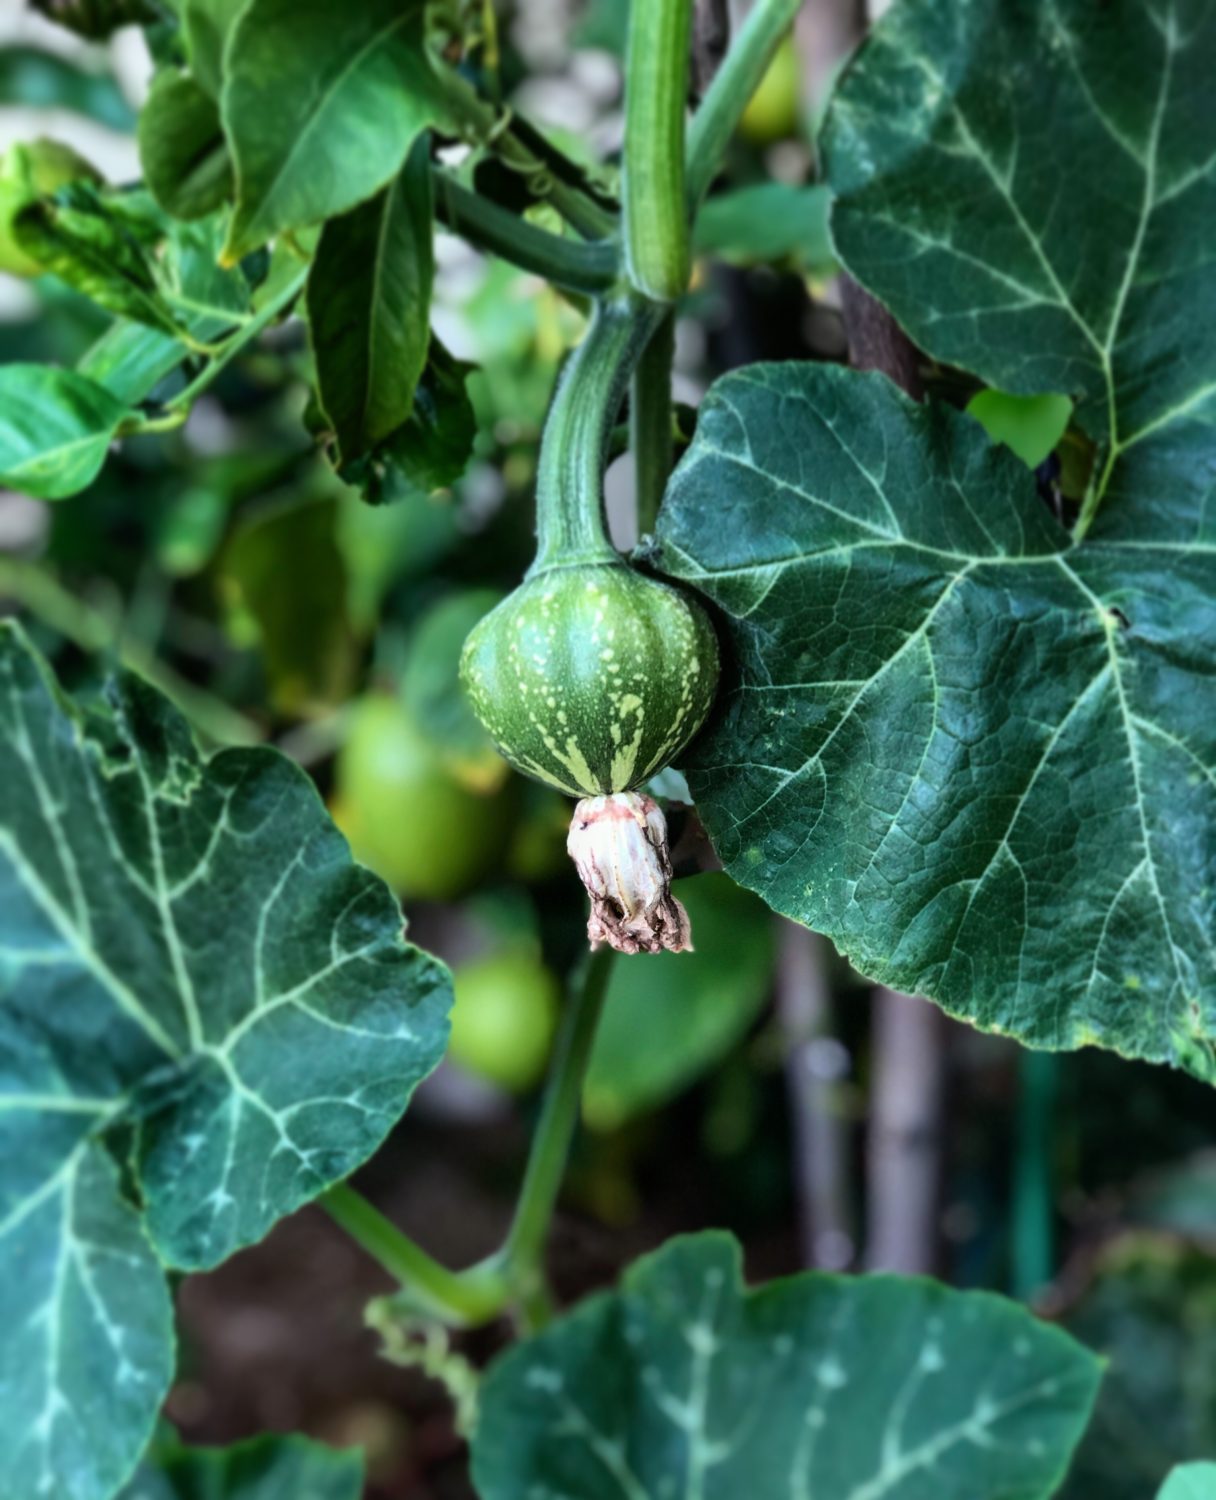
Mini Pumpkins or Gourds – great for a smaller trellis and very ornamental.
Sweet Potato (Ipomoea batatas) – Fast-growing vine with edible roots (tubers), tender young leaves, and shoots. A dual-purpose plant that provides staple carbohydrates and leafy greens through summer.
When to Sow and Planting Tips
Start Seeds Early: Direct sow after frost, or start indoors if needed. Plants that flower and then produce fruit such as melons, pumpkins, and gourds, need the full spring and summer season to grow, flower, and mature their fruit. Plant these in late winter or early spring. If you are likely to get cold snaps or frosts, start them indoors or in a greenhouse until the last frost has cleared.
Get structures installed: Make sure your structures are in place and sturdy before planting out your seeds and seedlings.
Feed the Soil: Mix compost and organic fertiliser into the soil before planting. Quick-growing annual plants require plenty of food and energy to grow.
Mulch: Retains moisture and keeps roots cool during the warmer months.
Train Early: Gently guide vines to supports while young.
Prune Lightly: Remove tangled or unhealthy vines to maintain airflow and access. As they grow, prune off leaves that are in the first 30cm of the soil. This helps reduce bacteria from splashing up onto the plant. Prune old or dead leaves throughout the growing period to increase airflow and reduce wasted energy.
Support fruit: Some large fruits, like pumpkins and melons, may need extra support. Hammock-style nets or string can help take some of the weight off and reduce the chance of the fruit dropping to the ground.
Want More Long-term Vertical Gardening Ideas?
Annual climbing vines are an incredible way to grow more food in less space, add beauty to your garden, and have fun experimenting with new crops each year! I always make room for annual climbers in my raised beds and kitchen garden. I also love perennial climbers for more long-term vertical food and summer shade. Although more permanent, these grow back each year to provide more and more food. Incorporating a mix of both annual and perennial climbers into your garden will help you grow massive amounts of food whilst still having the flexibility and space to try new varieties and plants each year.
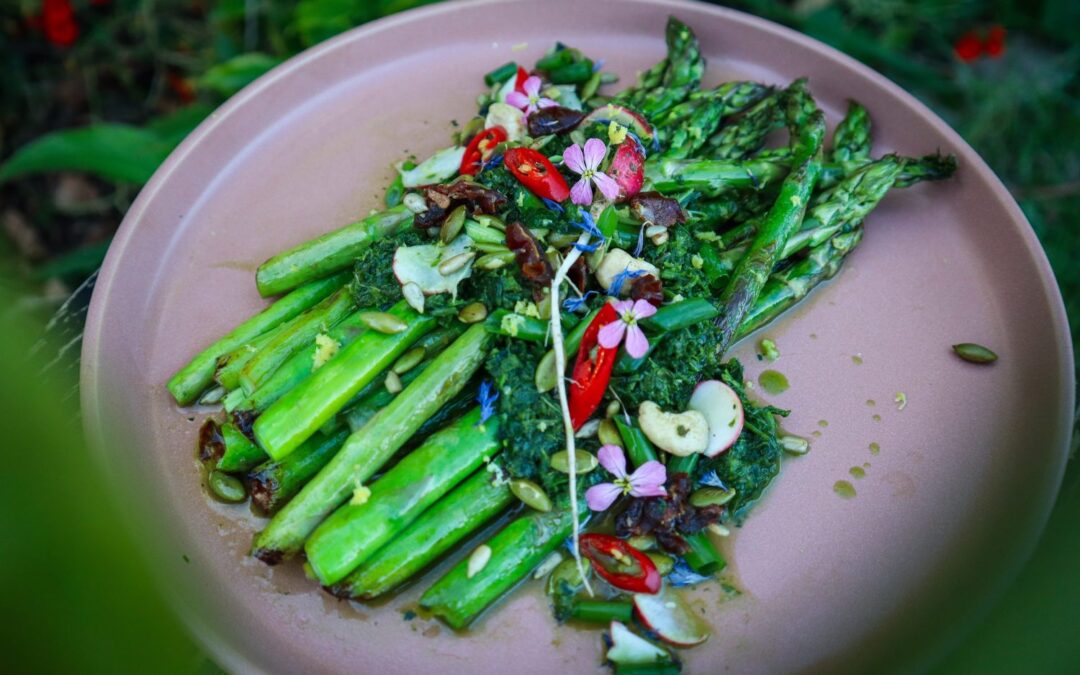
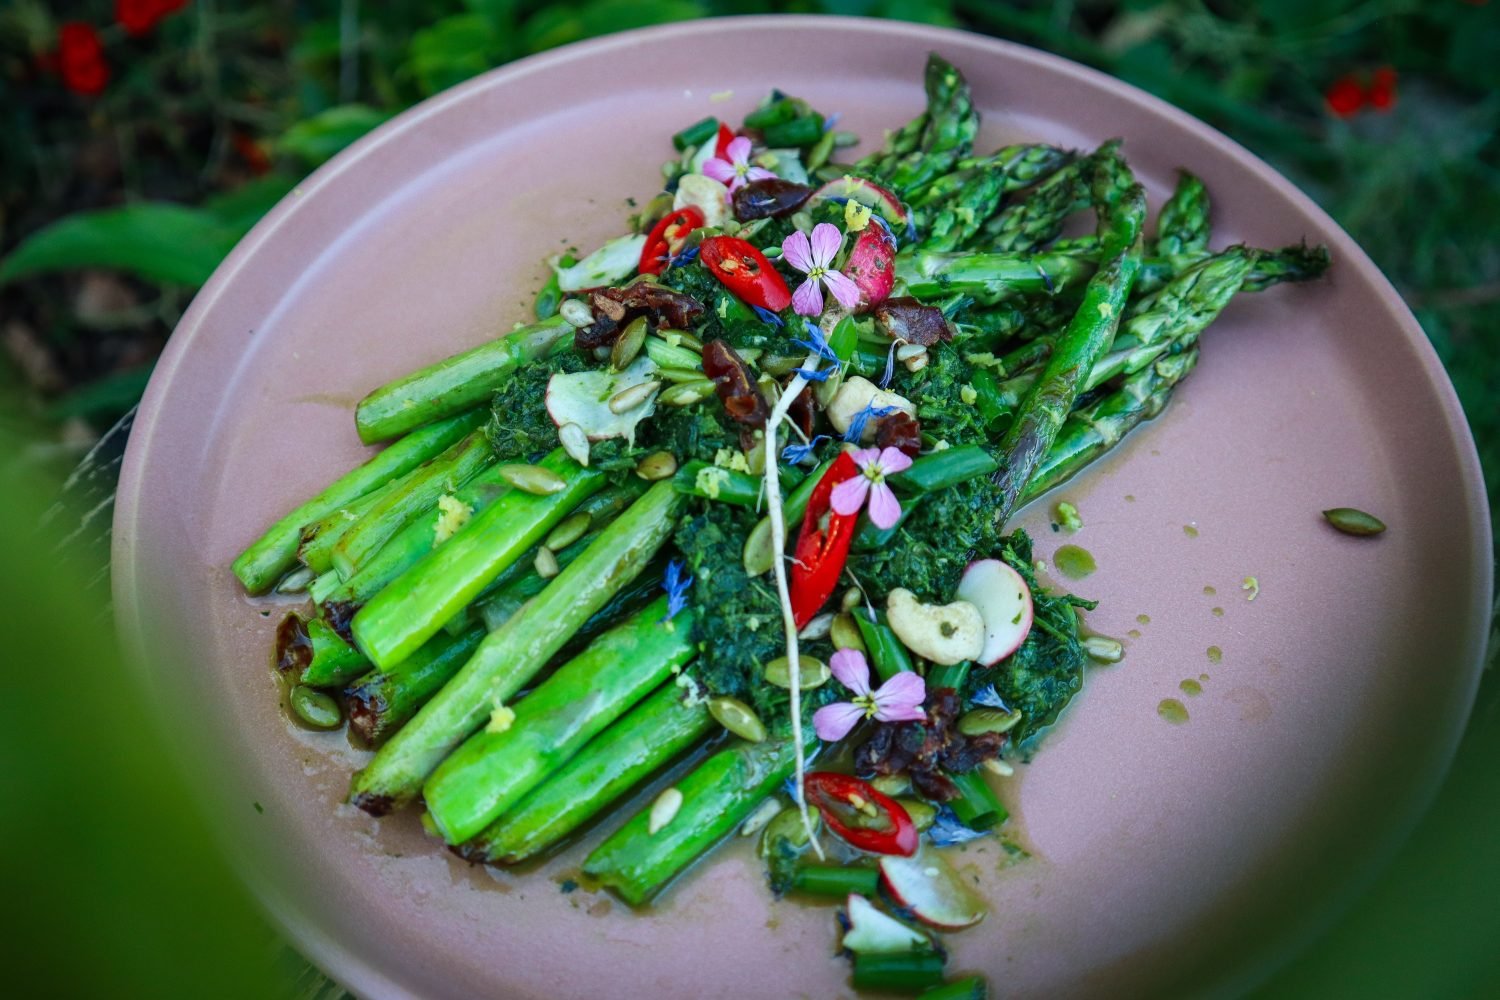
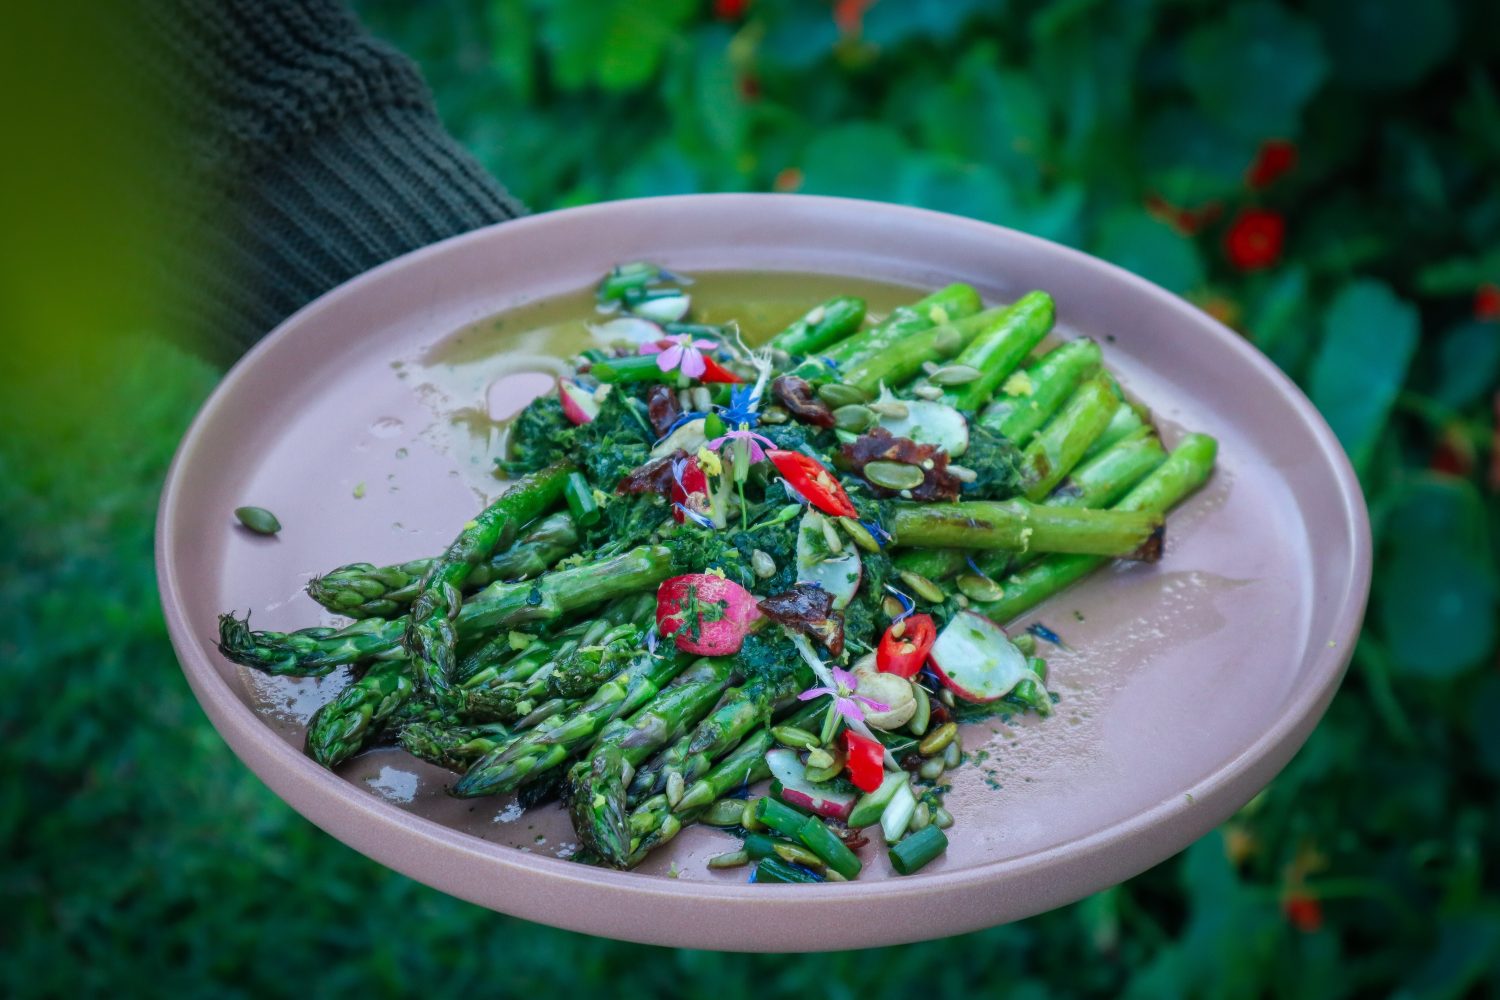
Fresh seared Asparagus topped with a delicious flavour-packed Radish top chimichurri and topped with crispy seeds. This Asparagus dish is quick and easy and makes a great Spring side dish to accompany your meals. Add fresh in-season herbs and greens to adapt to suit. This Chimichurri green sauce is one of my favourites and is packed with flavour! Asparagus is ready in Spring and is the perfect balance between a light yet hearty side dish. Top with radish flowers for a pop of spring colour!
Why You’ll Love This Recipe
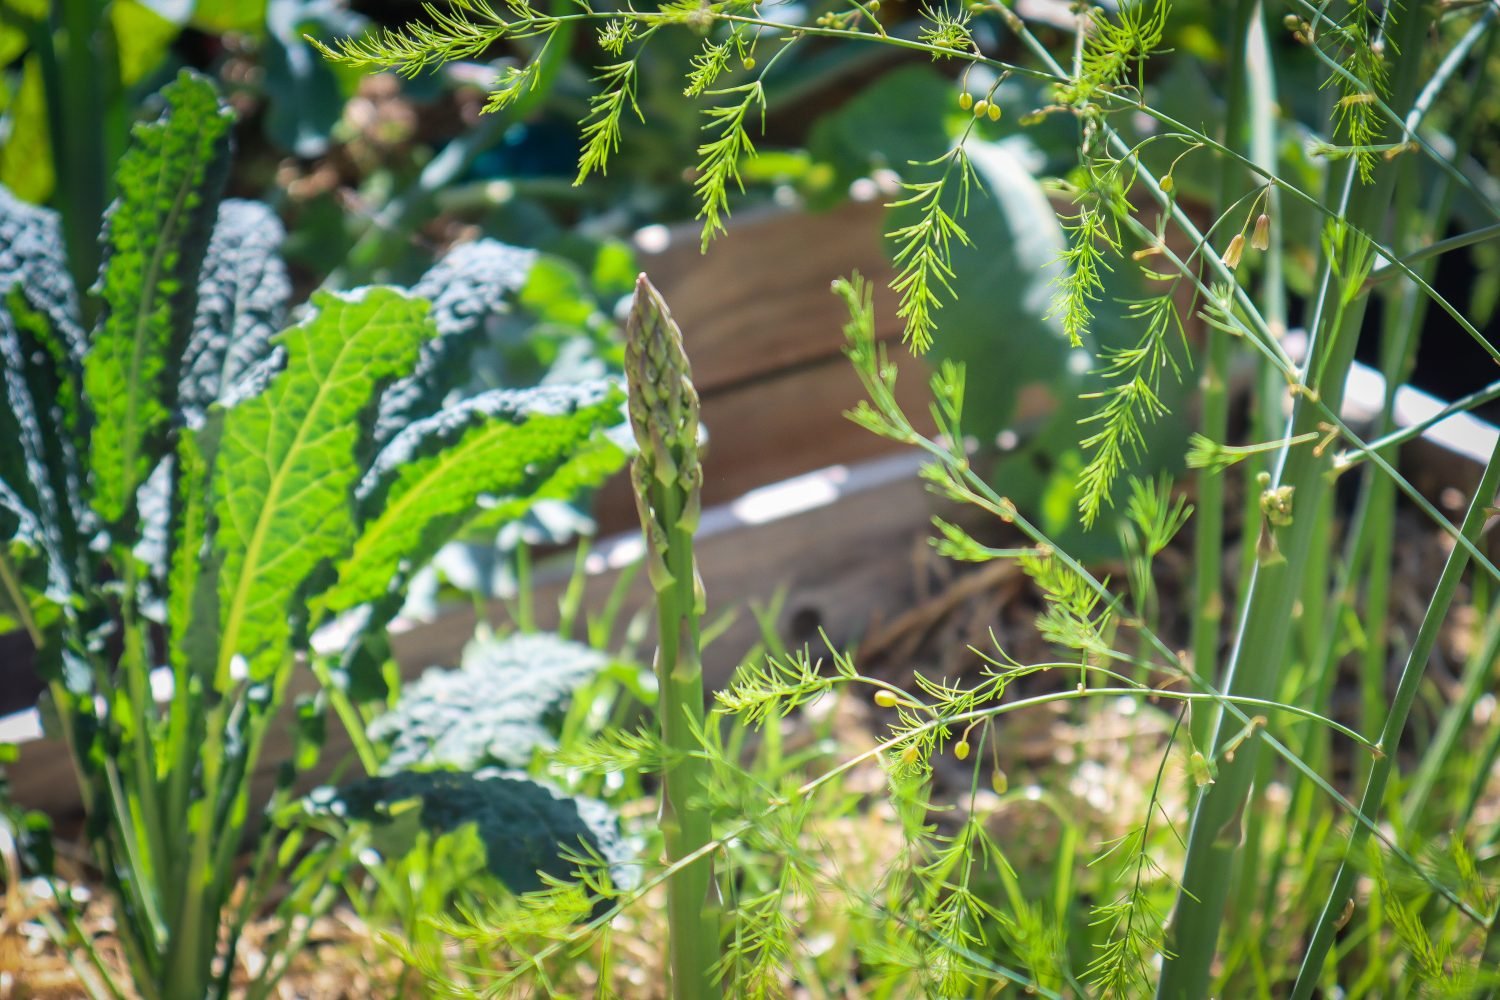
Spring is all about fresh greens and easy meals, and this recipe ticks all the boxes. Asparagus is one of the first vegetables to pop up after winter and is always a sign that the garden is waking up. Cooking it simply—seared, grilled, or pan-fried—lets its natural flavour shine.
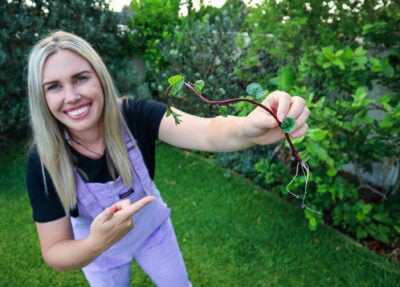
Pairing it with a chimichurri made from radish tops makes this dish both flavourful and low-waste. Radish greens are often overlooked, but they’re peppery, nutrient-rich, and perfect for green sauces like this.
Low-Waste, High-Flavour
This chimichurri can be adapted with whatever fresh herbs or leafy greens you have on hand—think parsley, coriander, lemon balm, or even carrot tops. A handful of toasted seeds (like sunflower or pepitas) adds texture, while soft, chewy dates bring a lovely balance of sweetness.
For a final flourish, top with delicate radish flowers or other edible blooms from your garden to highlight the beauty of spring produce.
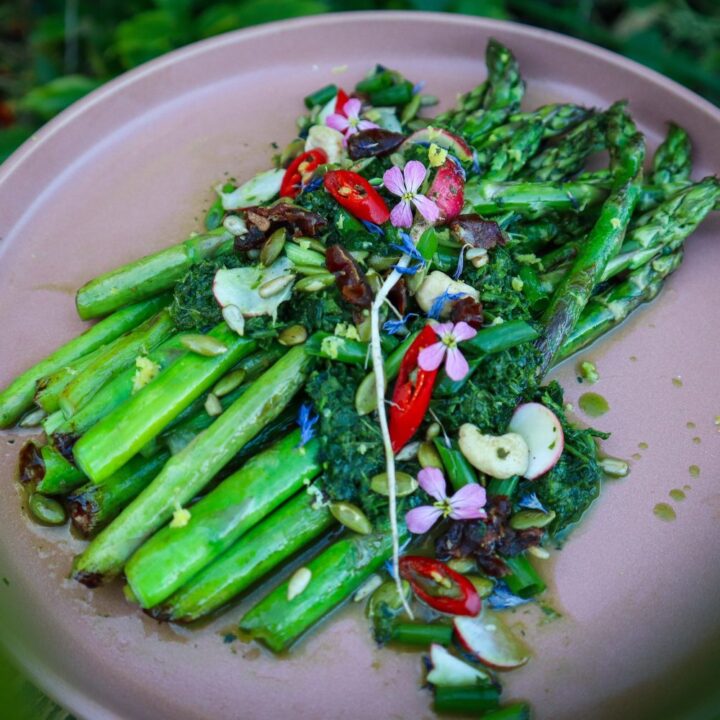
Asparagus with Radish Top Chimichurri, toasted Seeds and Dates
Prep Time: 10 minutes
Cook Time: 5 minutes
Total Time: 10 minutes
Light, fresh, and packed full of flavour, this grilled Asparagus is the ultimate Spring side dish. Topped with crispy seeds, chilli, and dates for a sweet and spicy punch.
Ingredients
1 large bunch of Asparagus
1 red chilli
2 TSP seeds (sunflower and/or pumpkin)
1 tsp lemon zest
1 tsp Olive Oil
2 Pitted Dates
Radish top Chimichurri
1 cup greens (Medium - young leaves Radish leaves and Parsley)*
1 1/2 TBSP lemon juice
1 TBSP Red Wine Vinegar
1/4 cup Olive Oil
1 tsp Sugar
2-3 Garlic Cloves
Sea salt flakes to season
Fresh Red Chilli or 1/4 tsp chilli flakes
Instructions
Rinse Asparagus, hold the bottom, and bend to snap. The spears will snap at the freshest part. Add oil to a grill or fry pan and cook Asparagus until lightly charred, bright green, and still a little crunchy.
Add Greens (Radish tops and Parsley), Lemon juice, Vinegar, Sugar, and Garlic to a mixer or mortar and pestle. I prefer a mortar and pestle as I like it chunky and not to blended. Blitz or crush to combine and make a green sauce.
Then gradually add oil to combine. Add Chilli flakes and a pinch of Sea Salt Flakes. Taste and balance with more salt or sugar if needed.
Remove Asparagus from the pan when cooked and add in the seeds and sliced dates (optional for those that like a bit of sweetness). Lightly toast until slightly golden.
Add Asparagus to a plate and drizzle over the green sauce. Garnish with toasted seeds, sliced red chilli, lemon zest, and edible flowers (I used Radish and cornflowers)
Notes
Swap Parsley or Radish tops for Fennel fronds, Carrot tops, Corriander, or a mix.
A Celebration of Spring on a Plate
This dish is proof that you don’t need fancy ingredients to create something beautiful and delicious. It’s quick to throw together, makes use of food scraps that might otherwise be tossed, and looks stunning on the plate. Perfect for a shared meal, a garden lunch, or a seasonal celebration.
Links included in this post might be affiliate links. If you purchase a product or service with the links that I provide I may receive a small commission. There is no additional charge to you! Thank you for supporting my blog so that I can continue to provide you with free content.
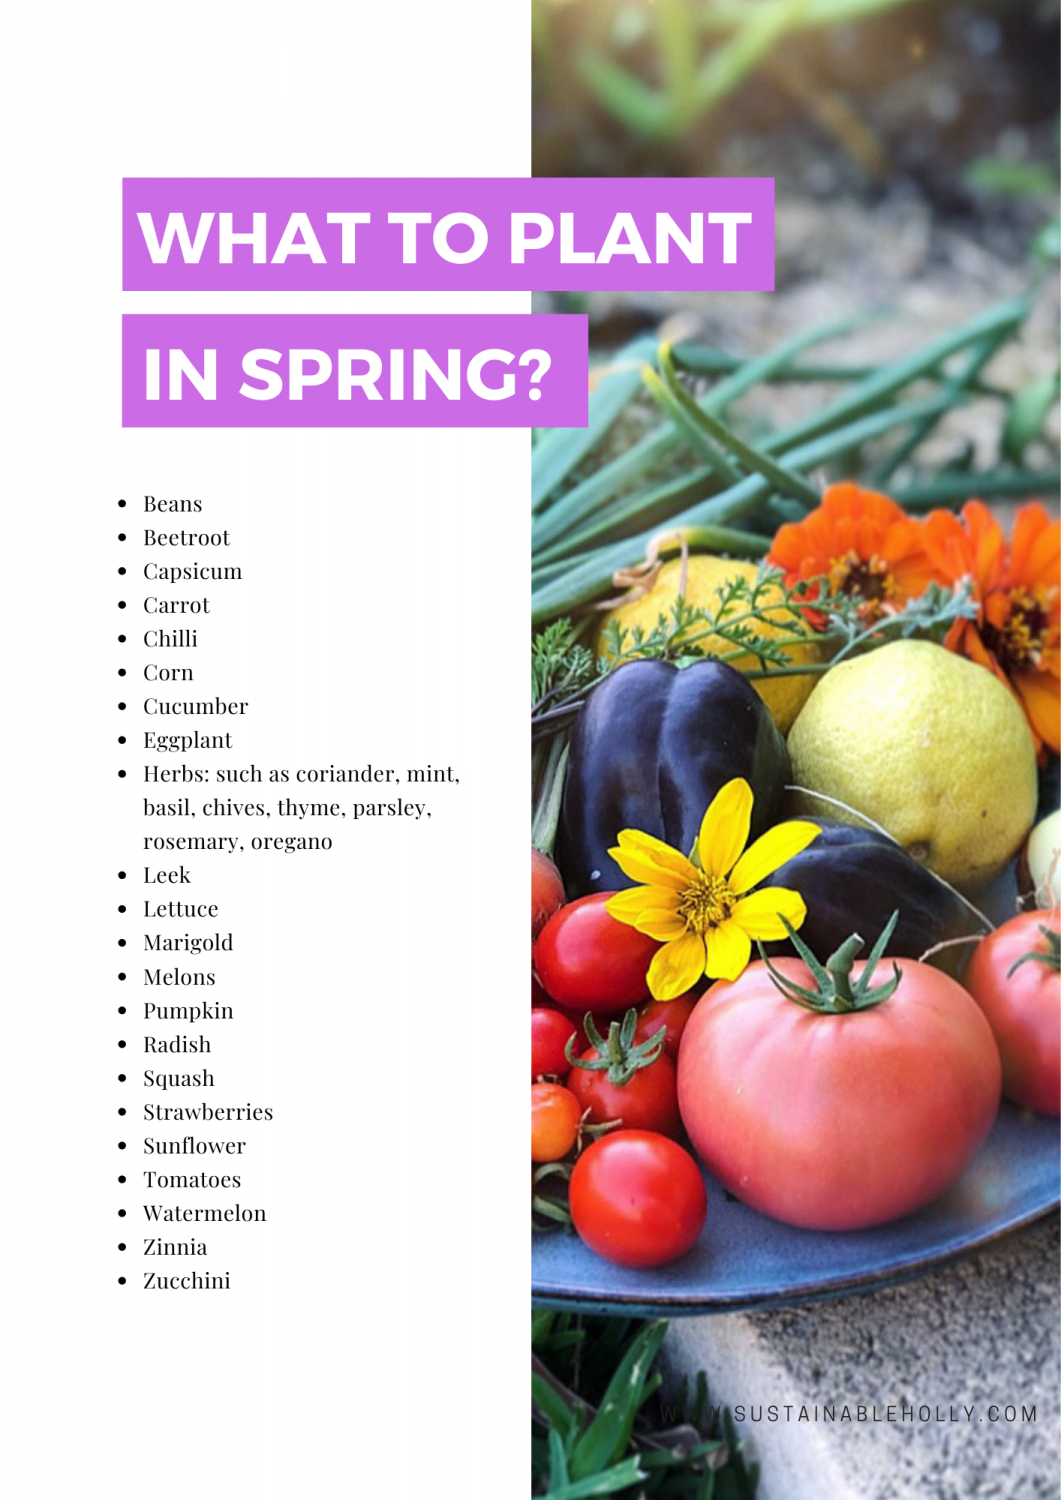
SPRING is all about planting seeds, seeds and more seeds. It’s an active time for gardeners which is a refreshing and much welcomed change after slowing down during the winter months. In winter I tend to spend more time indoors, sipping too much coffee, flicking through inspiring books and dreaming up all the potential new gardens for Spring.
Be careful during the spring months for late frosts and cold weather snaps. Starting your seeds inside or in a greenhouse is a good idea. Towards the end of spring you can start to sow some of the hardier seeds such as Zucchini and Pumpkin directly into the garden.
Spring Gardening
Spring can be a bit up and down with temperatures so it’s best to start your seeds in seed trays and keep them somewhere warm to germinate. Greenhouses and sunny windows inside will work well to get your seeds up and growing.
There are a few mini-greenhouse systems you can get these days or I often use clear storage containers and fish tanks as makeshift greenhouse systems.
The key is to keep your seeds warm but still allow plenty of diffused sunlight, air and moisture. These systems can also protect your seeds from hungry little mice who often like to dig up and eat your seeds before they get a chance to sprout!
Prune your fruit trees such as citrus if they are out of shape or too big. Do this before the spring growth starts. Keeping fruit trees pruned to a manageable height will allow the tree to put more of its energy into fruit production and also means you can harvest the fruit easier before the birds or other animals get to it.
Let your best vegetables go to seed so that you can collect your seeds. Some of your Winter veggies will be coming to an end so finish harvesting and allow the best ones to go to seed. This means you will have seeds to plant the next year which will be acclimated to your exact conditions. It also means some seeds will end up in the soil and will pop up on their own next season when the conditions are just right! This is my favourite thing to do. Let nature do its thing and everything becomes so easy and flows without any external work or force.
Keep gardens mulched to help retain moisture for the warmer months. Mulch will also help reduce the amount of weeds popping up during their peak growth months.
Save the ends and scraps of your greens, herbs, onion and root vegetables and make a batch of Veggie Scrap Stock
Make extra soups to freeze
Be inspired by Spring
Hang solar fairy lights.
Create an outdoor dining area.
Cook over an outdoor fire pit or fireplace and spend more nights outside.
Make an insect hotel using foraged sticks.
Make colourful plant labels for your new seedlings.
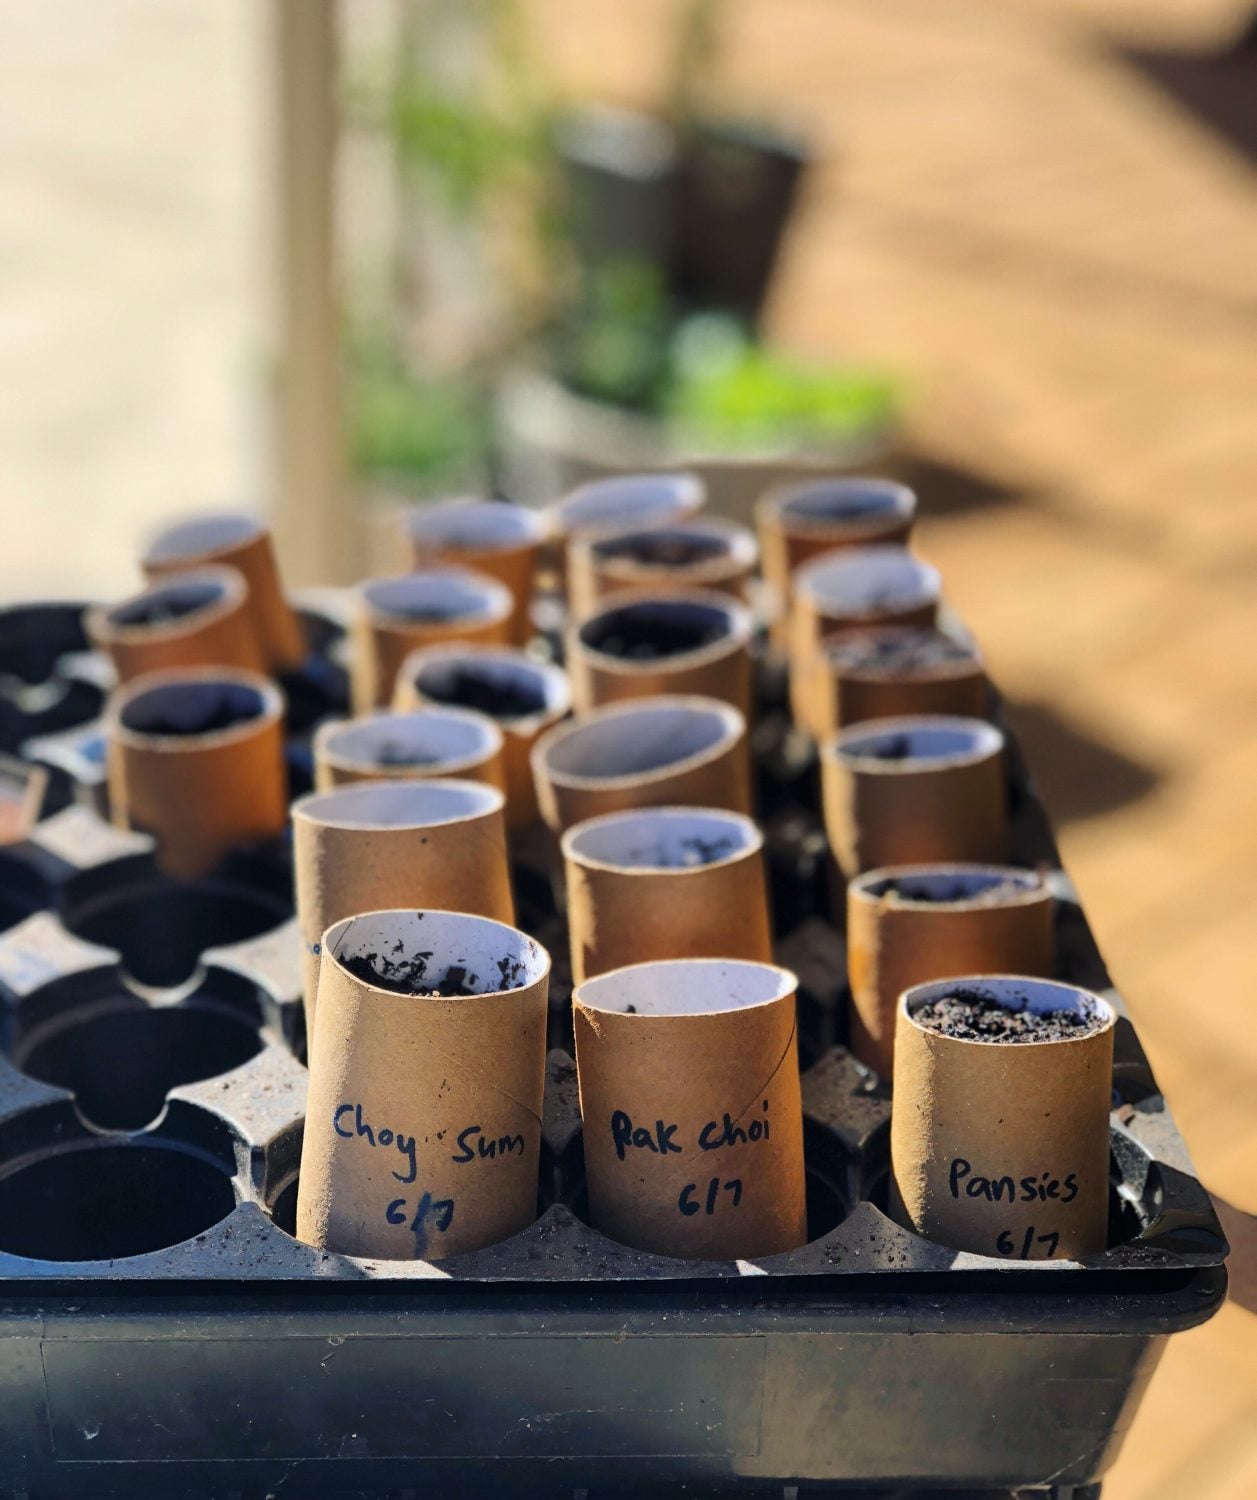
Make recycled pots and seed trays using toilet rolls, newspaper and egg cartons.
Start a cocktail garden – Plant herbs and flowers so you can enjoy beautiful refreshing summer drinks.
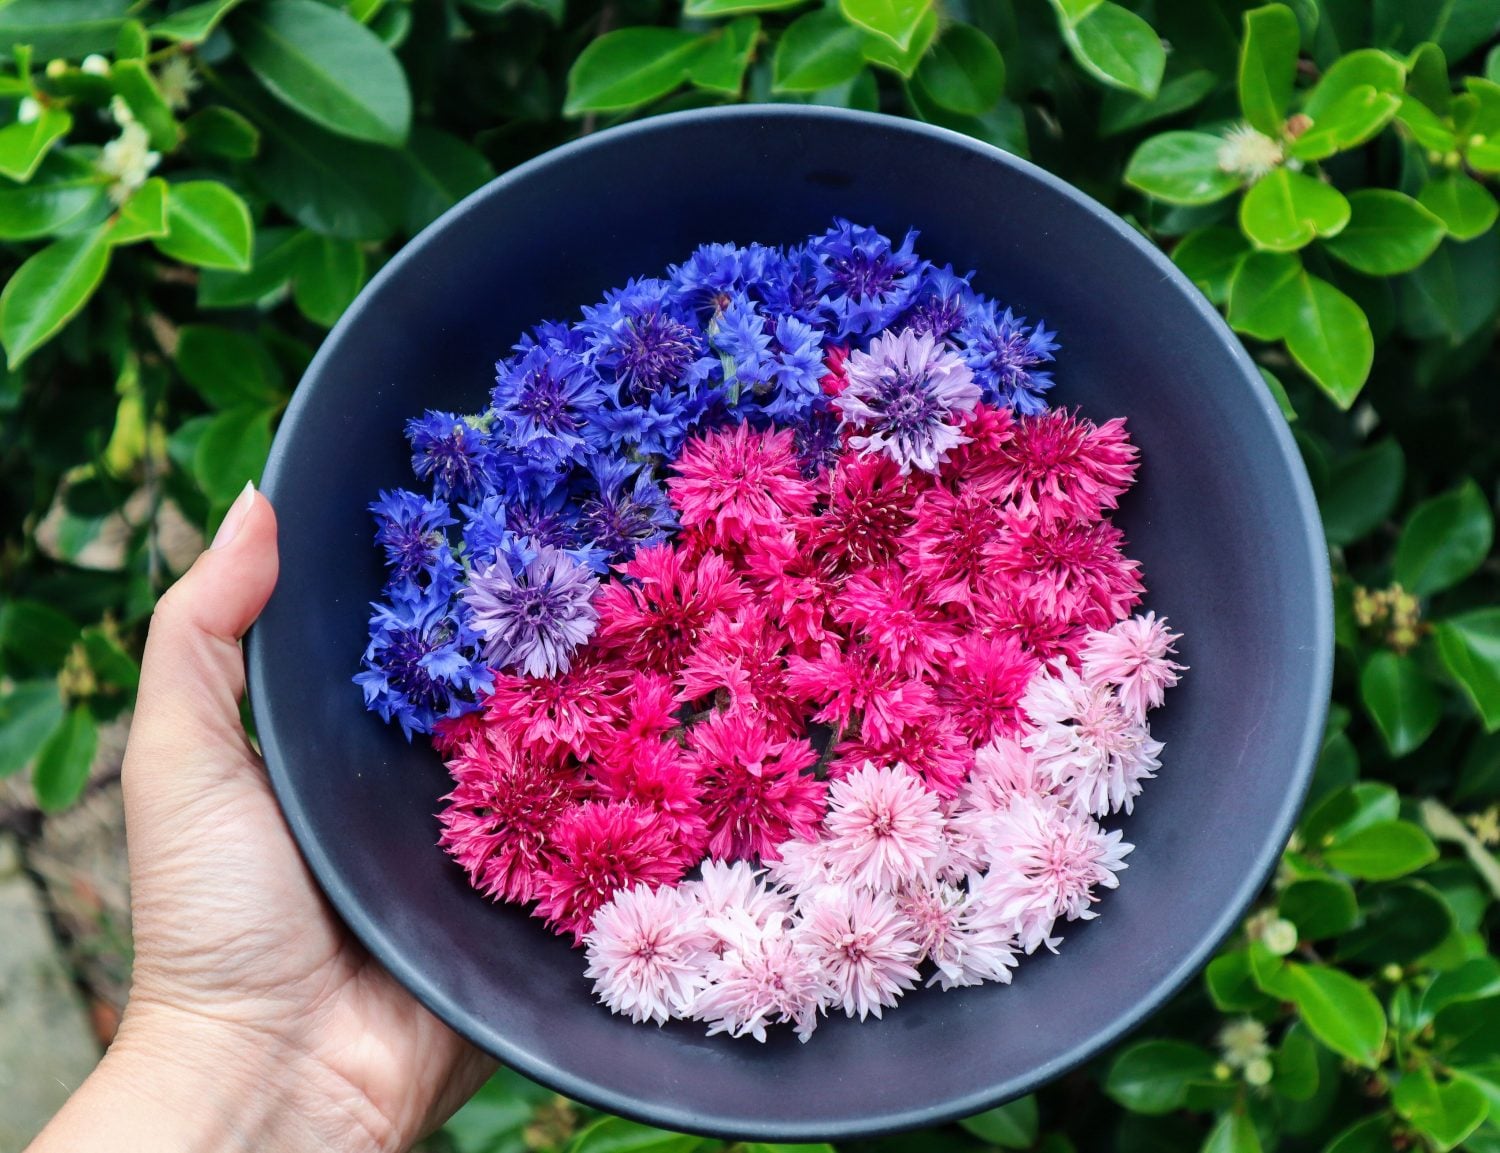
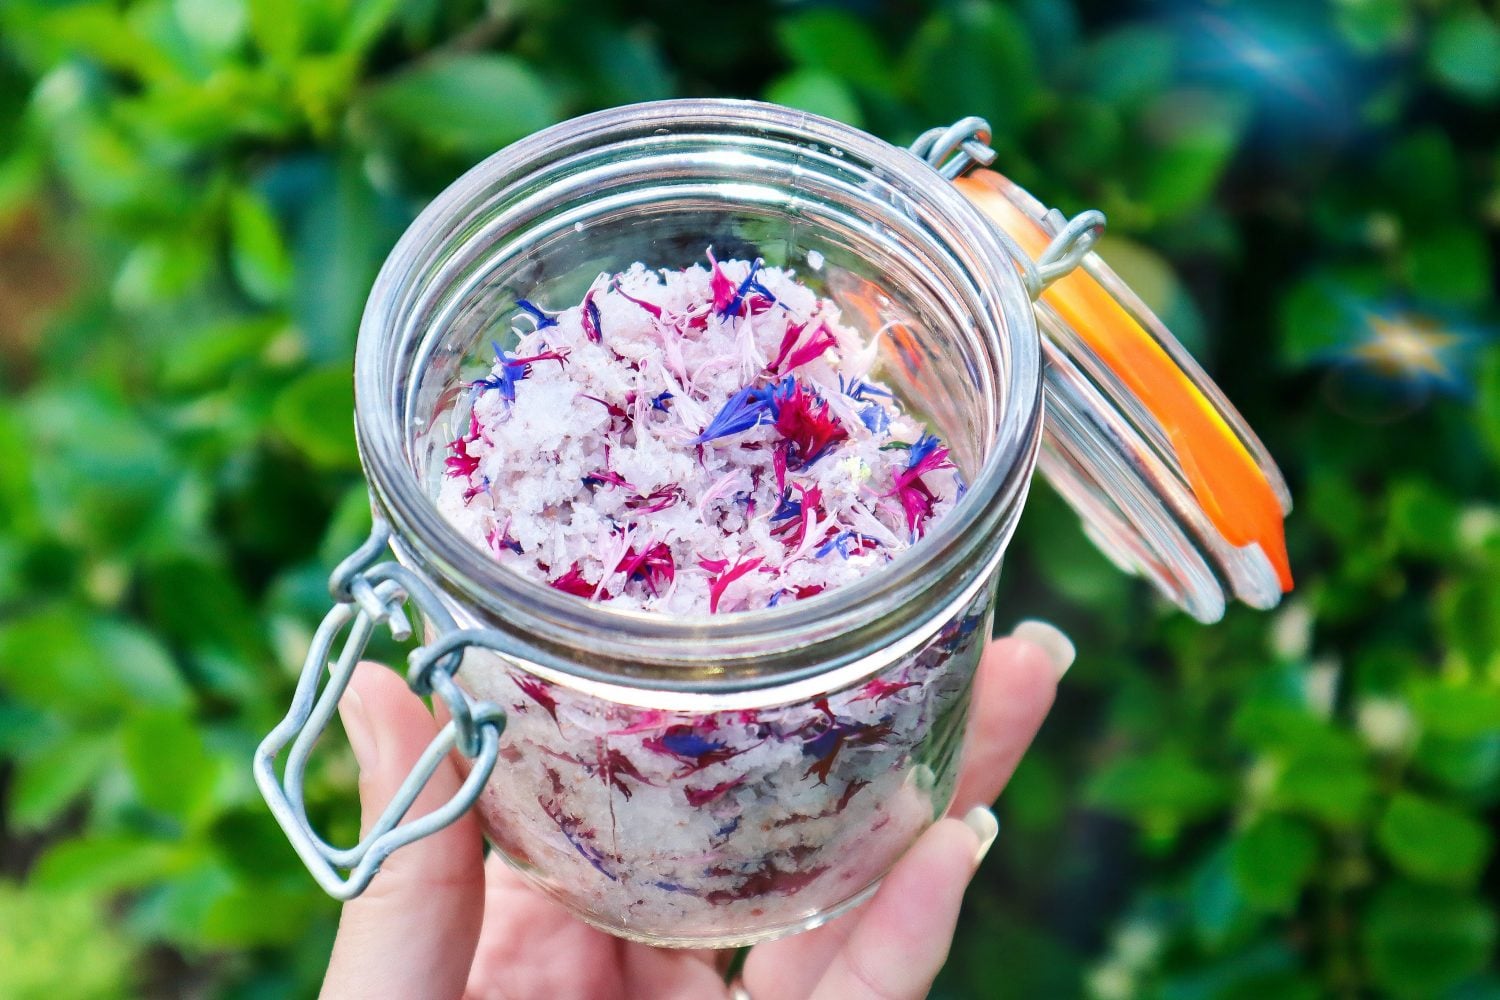
Press flowers – Preserve the colourful blooms of spring to create cards and art during the slower seasons.
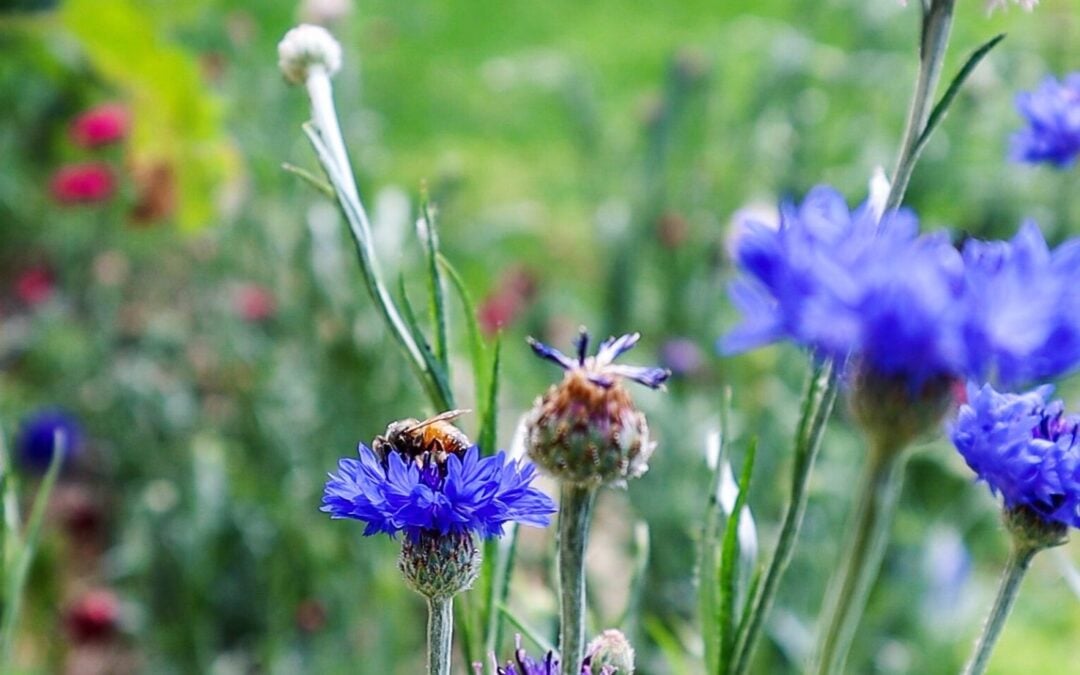
Try your hand at some photography! The bees and flowers will be putting on a brilliant show.
Host a dinner party or high tea to celebrate and welcome the change of season. Use edible flowers to create show stopping, colourful drinks and dishes.
Planning for Summer
The key for easy and successful gardens is to plan ahead. This can help you maximise your food production and help maintain momentum. Summer can be a harsh season in the garden but there are a few things you can do to get the most out of your summer crops. The last month of Spring is a great time to get prepared and create a seamless transition into summer gardening.
Plan and prep any new garden beds with plenty of compost and composted manure.
Lay a thick 10cm layer of mulch to help retain water during summer.
Think about shade, if your garden beds will be in full sun do they need temporary shade.
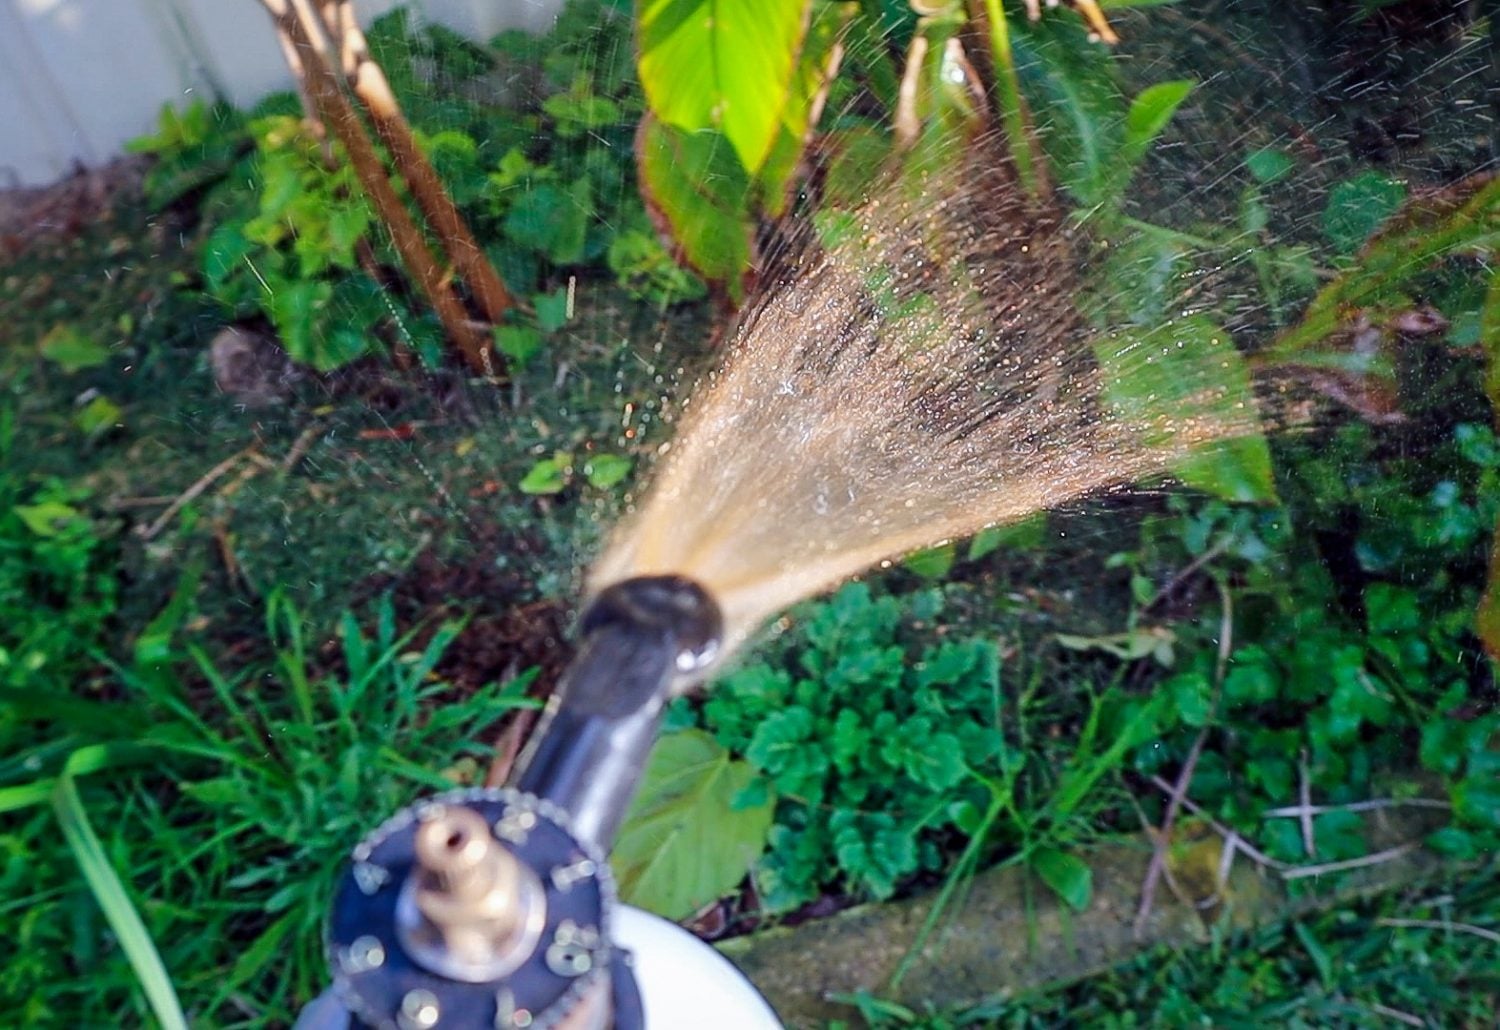
Clean out any sprinkler heads and remove grass or plants from around the nozzles.
Do you have a hose nearby for ease of watering? On those super hot days you may need to water early morning and late evening so it is much easier and more realistically achievable if you have a hose close by.
Weeper hoses are great for distributing water slowly and allow the plants and trees to absorb it.
Plant flowers for the Bees. With lots of flowering fruit and vegetables over summer, it is vital you have pollinators in your garden to get a successful harvests. Plant lots of flowers in between your fruit trees and vegetables. Choose edible flowers so that you can also use them too! Zinnia and sunflowers are beautiful summer editions that the bees love.