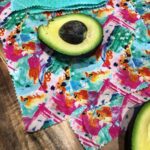
It’s Lemon Season and nature times it perfectly with the start of the flu season. My lemon tree is about 5 years old and has really started producing decent crops this year. Part of my journey has been to learn different ways to preserve and use excess crops (as well as gifting extra to friends). I love dehydrated lemons as they not only look pretty on the shelf but they are also so easy to make and use.
How to make Dehydrated Lemons
Rinse lemons
Slice evenly – I use a mandoline to do this. It’s definitely worth it! I love mine.
Lay out the lemon slices on your dehydrator tray and turn the setting to around 60 degrees Celsius.
Dehydrate for 6-8 hours until the flesh is no longer sticky to touch.
Allow to cool and place into jars.
You can do this in the oven if you don’t have a dehydrator. It all depends on how thick your slices are and your oven type but I did mine at 60degrees celsius for 8-9 hours and cracked the door for the first few hours to let the moisture escape.
How to use dehydrated Lemons
This is a question I got asked a lot on Instagram. So here are some of the ways I like to use my dehydrated lemons.
Tea – Place a couple in hot water or green tea. I also add fresh mint or honey too.
Mulled Wine – I love a wintery mulled wine and adding these at the end makes it look and taste amazing!
Baking – I made a delicious lemon slice and cut the dehydrated lemons into quarters and placed on top for an extra lemony taste. You can also place in cakes and muffins and it will have a chewy texture so make sure they are small pieces.
Broken up into a Laksa soup – once the lemons rehydrate they are similar to a fresh slice so treat them as you would a fresh lemon.
The decoration on any cakes, baking, platters or fish meals.
Cocktails! or Mocktails. They make a beautiful addition and will elevate any drink.
What dehydrator do I use?
If you are looking to invest in a dehydrator I highly recommend keeping an eye out for a second hand one or borrow from a friend. They are the type of thing that people buy and don’t find enough things to make so it collects dust in the cupboard. Also, not all dehydrators are made the same…Some are super noisy and slow so make sure you look into the reviews before you purchase.
I have the Bio Chef Arizona 6 tray one and I love it.
Let me know in the comments below if you have made dehydrated lemons before and how you use them.
MY GARDENING ESSENTIALS //
Fertiliser spray gun: https://bit.ly/366nL1t
Retractable Hose: https://bit.ly/2TSC0Bo
More gardening tools: https://bit.ly/32IQmbD
DISCLAIMER: Links included in this description might be affiliate links. If you purchase a product or service with the links that I provide I may receive a small commission. There is no additional charge to you! Thank you for supporting my page so I can continue to provide you with free content!
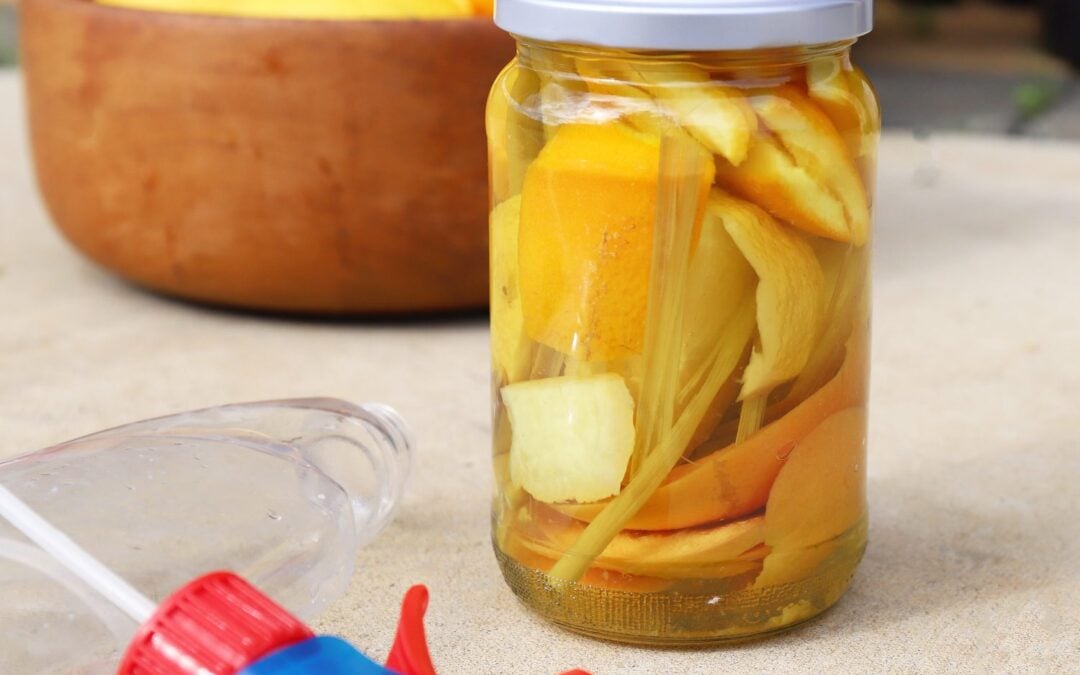
I made DIY Citrus Cleaner and it’s AMAZING, so I had to share! It’s really easy! You just collect some citrus peel or slices. You can do this over a week and just add to the jar as you get more. I used a combination of lemon, grapefruit, and orange. Citrus isn’t very good for the garden or compost so this is a great way to reuse the discarded peels. I also added lemongrass because it’s growing wild in my garden and smells amazing.
DIY Citrus Cleaner Recipe
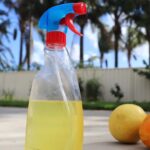
Fill the jar 3/4 up with white vinegar and the rest distilled water (I just boiled the jug/ kettle and used the cooled down water from that). Leave it for two weeks somewhere out of the sun (pantry or cupboard) and then just strain and pour into a spray bottle with some extra water to fill.
I was quite worried it would smell like vinegar because it’s so strong when you first make it and no one wants to spray raw vinegar around their house! But I was pleasantly surprised when I poured it out today it smelt so good! I wish I had made this sooner rather than spraying who knows what nasty chemicals all over my bench 👎
Give it a try! I’m off to make another slightly different batch of DIY Citrus Cleaner because I’m hooked.
Have you made your own cleaner? Let me know your favourite homemade cleaning products below in the comments.
When I first saw the Plastic-Free July movement on Instagram, straight away I decided I wanted to give it a go! I got started on my plastic-free journey a few months ago probably April/May 2018. Luckily I started early, because holy crap it is actually so overwhelming and hard to get started!
Once I started paying more attention to plastic I realised how bad the issue was. I felt like I had been blindly walking through a plastic world and now it was nearly completely infested! I had to remind myself it was ok to start small and build on it, which is exactly what I did. Below is the order in which I progressed.
Reusable bags
I started off with reusable bags. I have a whole cupboard of them that I never use and always forget to take them to the supermarket. So I made a concerted effort to remember them even if I was only getting a “couple things” because realistically that never ends up happening.
A few things I noticed were that I automatically went to grab the plastic bags at the self-checkout even though I didn’t need them. It was just a habit! Also going to clothing stores..you need to take your reusable bags and also remind the check out person that you don’t need a plastic bag. Usually, multiple times because they are in that habit too.
Rubbish bags
We have one of those rubbish bins with two separate sections one for waste and one for recycling. They have an inner plastic bucket with a handle so you can easily lift it out. I did a bit of research on how to replace rubbish bags and quite a few people suggested lining with newspaper. I never have much newspaper so that wasn’t going to work. So I decided to just go commando… it’s pretty easy as most of my fruit and vege goes to the compost, you just have to hide sloppy or wet things inside other rubbish.
So for example, leftover meat I wrap in another piece of rubbish or tuck inside something so it’s not going to touch the sides. Even if there is a bit of spill they are easy enough to hose out.
Fruit and Vege
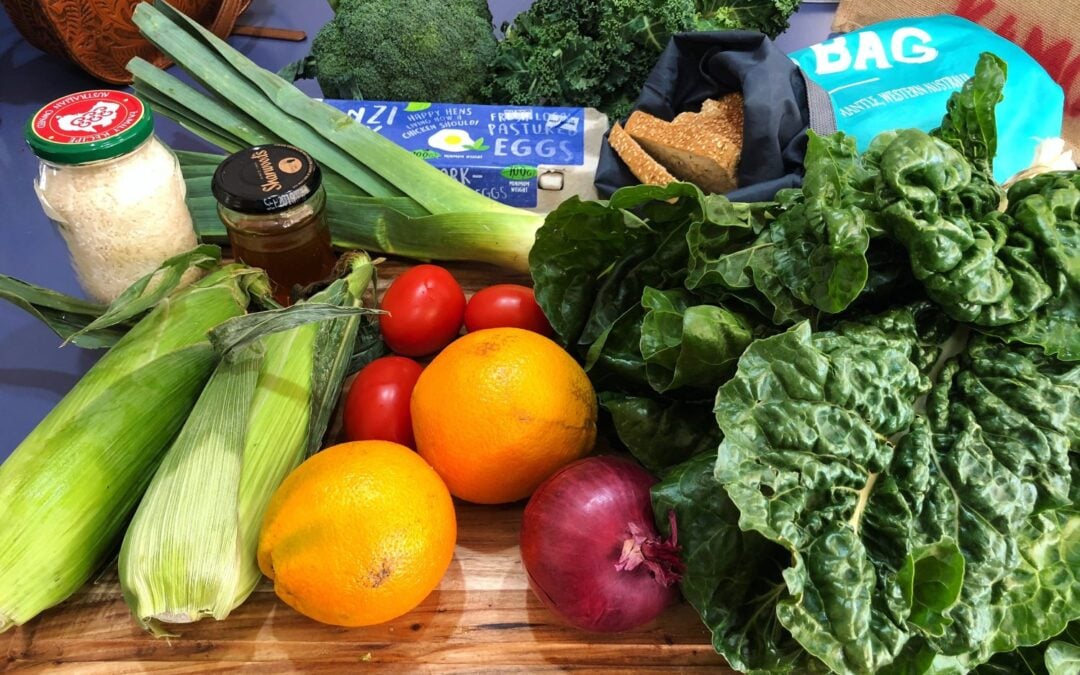
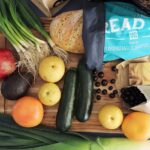
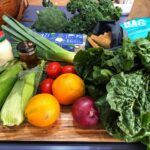
Next in Plastic-free July, I stopped buying veges with plastic. Which at the supermarket is actually so hard to do! There is only one type of lettuce not wrapped and it’s like a sea of plastic in the produce section. I quickly realised this wasn’t going to work so I started going to my local farmers market on a Sunday.
The produce is in season so it’s cheap and it lasts so much longer! It also tastes much better because it has been allowed to ripen on the plant rather than picked early, sprayed, frozen or whatever else the supermarkets do. So I HIGHLY recommend you check out the farmers market. Again, there were a lot of small produce plastic bags but they had baskets available so I used that and then put in my reusable bag.
Bread
With veges sorted I moved onto bread. My bf is obsessed with bread so it’s very much a staple in our household. Now, I can’t bake…but the whole point of this journey is about learning right! So I thought why not bake my own bread!! I researched and it all looked too hard so I bought a bread kit (plastic included) and attempted my first homemade-ish loaf. It turned out okay but not amazing. It also took up a lot of time and was just not going to be achievable/sustainable right now.
I then found a great reusable bread bag by a local Fremantle company called Onyalife. It arrived and I went down to the local Bakers Delight and bought a freshly baked loaf! You can choose to have it cut in either thick or thin slices and they put it in my reusable bread bag. SUCCESS! I also get bread at the farmers markets and bread rolls.
Beeswax Wraps
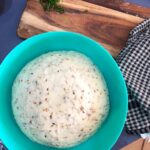
I use gladwrap a lot…way too much and I know it. I went around to a friends place as she was also keen on making beeswax wraps. She sourced some local wax and we made some wraps in different sizes. I do think we were a bit light on the wax so I will make some more and be a little more generous next time.
You basically grate beeswax on to some cotton fabric, cover with baking paper and melt it with an iron. A great tip is to put aluminium foil over your iron to stop it from getting covered in wax and ruining your clothes in the future. You can use them to cover containers, wrap half cut fruit or anything you would normally use gladwrap for.
Beeswax is naturally antibacterial so to clean them you just rinse in cold water and dry. A few things I’ve noticed were that I forgot what was in them because they are not see-through like gladwrap and also the cheese dried out and went crusty.
Extra Items
Try not to get too caught up in buying too many “Plastic-free items” try and use what you have. I got super excited and bought a few things online including Bamboo toothbrushes. Apparently, the bristles need to be cut off and thrown in the bin though.. but better than full plastic I guess. They are actually amazing toothbrushes through by far the best I’ve ever used.
Metal drink bottles are which is amazing for keeping water cool!
Ceramic coffee cup. Ok, so this is definitely my favourite purchase and mainly because it looks so good! I got it from Pottery for the planet and it’s amazing! It took a while for me to get used to asking people for coffee in my cup but most are so receptive and you even get 50cents off at heaps of places.
Bulk store
I stopped into my local Bulk store in Kalamunda after the farmers market one Sunday. I had a good look around and they had super helpful signs telling you exactly what to do. I really had no idea what I needed and ended up just purchasing some chocolate coffee beans.
The next time I went with a few things in mind and some jars! You weigh them at the scale station and write on some masking tape how heavy the jar is (lid on). Then I got some rice and local honey. I tried to stick with Australian products and they all have the origin on the description. You can get all your pantry goods there including tea, coffee, oils, dressings and cleaning products. You can also make your own nut butter in store!
Meat
Ok, so I definitely left this until last. It totally felt like it was in the too-hard basket but I knew I needed to sort it out. I took a reusable bag with a couple of containers and went down to the local butcher. He was so nice and was happy to tare off my containers and so I got some free-range chicken. SO PROUD! I was actually so stoked I had accomplished that as it was one of the last things on my list for Plastic-Free July!
HELLO PLASTIC-FREE JULY
It’s only the first week of Plastic-free July but I feel very prepared and I am so glad I started early to master all these things. I am still using all the plastic items in my house as I’m not throwing away things just because they are plastic. I’m just making a real effort not to buy any more plastic!
There are some things like dog food, beauty, and health products I still haven’t mastered but its a journey and I am constantly improving. Also not buying plants, this is a hard one. But I have plenty of seeds to get planting.
Plastic-Free July Tips and Tricks
Master the habit of using Reusable bags. Keep them in your car, handbag, everywhere incase you forget! If you do forget do your best and even load your shopping into your car (securely, maybe the back seat) and grab your reusable bags when you get home and transfer them. If you carried it easily through the supermarket chances are you will manage to the car…you don’t need a bag for your 3 items.
Visit your local farmers market. You will have so many more options for plastic-free food and fewer distractions of chips and packaged goods. It just feels so good for the soul too. And did i mention there are puppies? So many dogs…even the odd cat on a leash.
Cook from scratch! Baking and homemade foods are so much better for you as you know exactly what’s in them and they don’t have all the hidden preservatives.
Invest in a really nice BYO cup or bottle. This will mean you will be more inclined to actually use it!
Start with one thing at a time and master that. It’s so easy to get overwhelmed and feel like there’s no point. You can do it!
Share the Love. By sharing your journey or experience you never know you might just inspire one other person to get involved!
If you got this far in my post, well done! Let me know if you have any great Plastic-free July tips or bread recipes. Leave a comment below.
Holly 🙂
“Start where you are. Use what you have. Do what you can”.