Calendula-infused salts or sugars make perfect gifts from the garden. It is a great way to preserve calendula to use throughout the year. Infused sugars can be great for finishing cakes, desserts, cookies, cocktails, or other sweet treats. There are two easy ways to make infused salt or sugar:
Mix dried herbs and flowers with Salt or Sugar and place in a jar.
Blend equal parts (1:1) of fresh herbs or flowers with Salt or Sugar and lay flat on a tray and allow to dry completely in a dehydrator or oven at 40 degrees celsius. Once the herbs are dry you can loosen the mix back up and place in a jar.
Note: blended sugar will turn to fine powdered sugar, similar to icing sugar. If you want more of a granular salt or sugar just blend a small amount with the herbs and mix the rest through at the end.
Calendula and Lemon Sugar
Ingredients
Zest of 1 lemon
1 cup Raw Sugar
6-8 fresh Calendula Flowers
Instructions
Zest Lemon using a fine grater.
Remove petals from the fresh calendula flowers and add to a bowl with the sugar and lemon zest.
Lightly blitz in a mixer or blender.
Spread on a tray to dry. Use a dehydrator at 40degrees celsius or the oven for 4-5 hours or until lemon zest and flowers are completely dry.
Place in an air-tight jar to store.
Notes
To make an infused salt simply swap the sugar with salt.
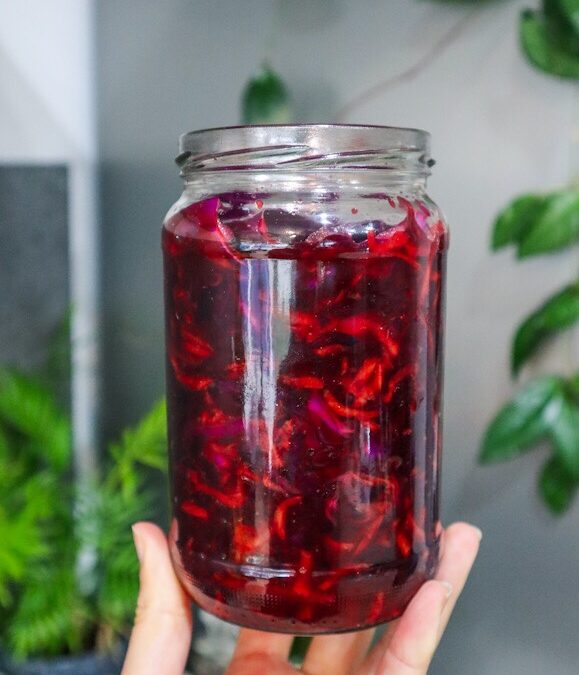
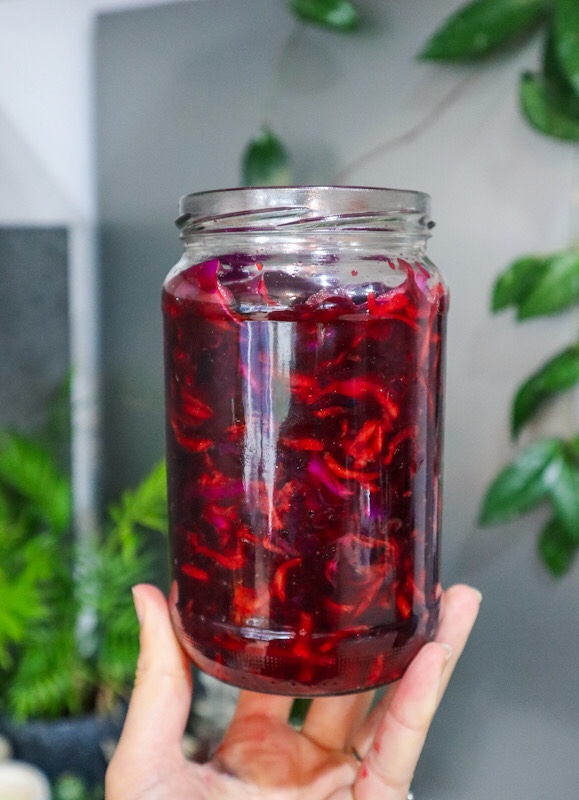
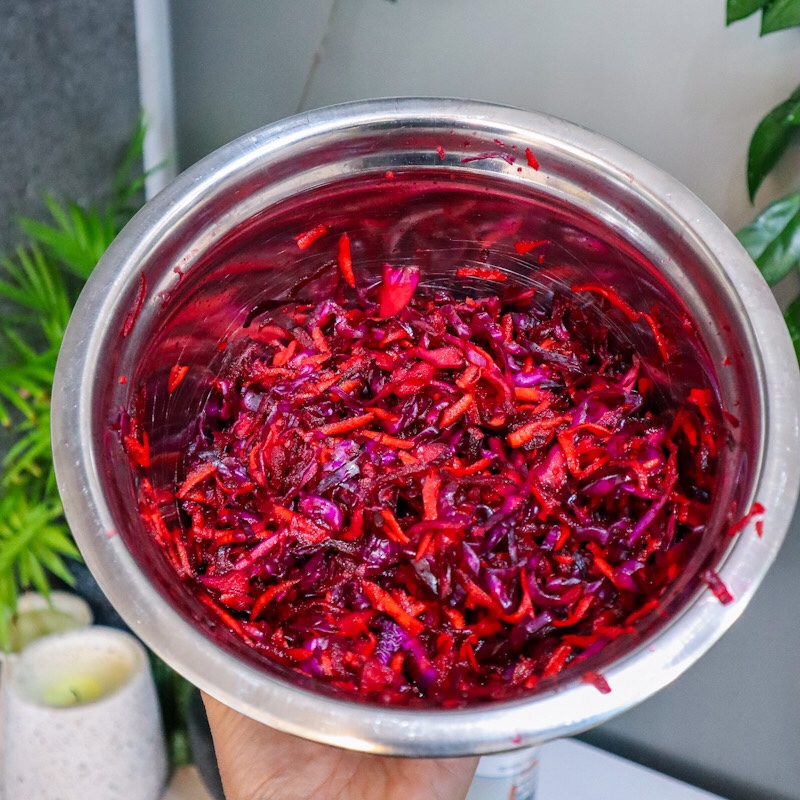
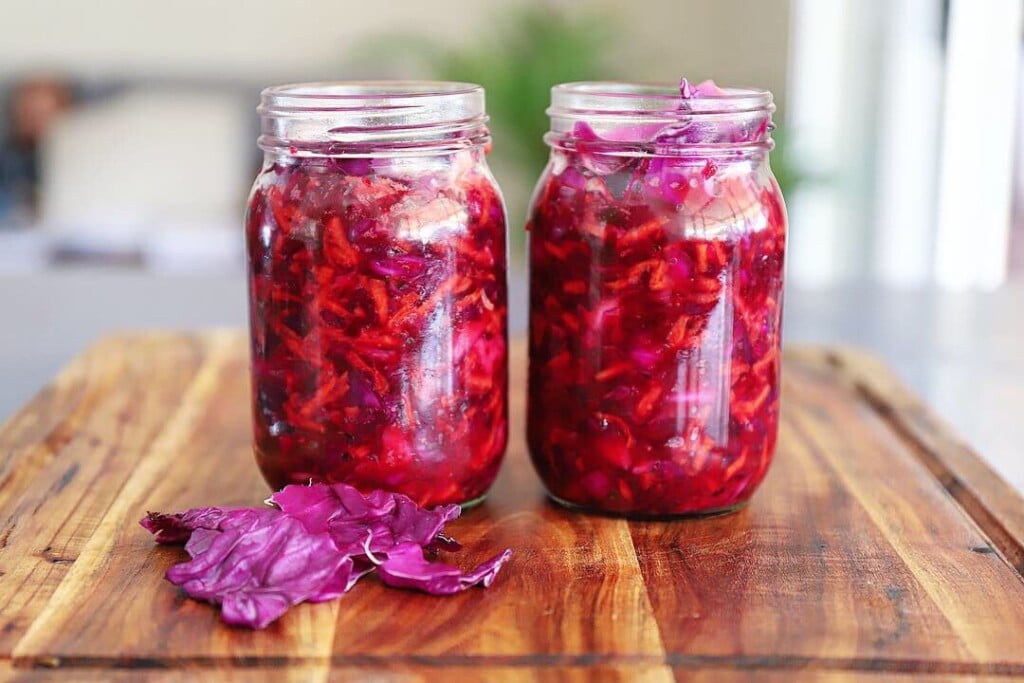
Sauerkraut is a great way to preserve extra cabbage and make a delicious probiotic accompaniment. Red Cabbage, Carrot, and Beet make this a vibrant colourful Sauerkraut but you could use regular cabbage.
Cabbage, Beet and Carrot Sauerkraut
Prep Time: 10 minutes
Total Time: 10 minutes
Vibrant kraut full of gut-loving probiotics. This is a quick and easy way to see up extra Cabbage harvests.
Ingredients
3 cups shredded cabbage (1/4 of a whole cabbage)
1 medium Beetroot
2 Medium Carrots
1 1/2 tsp Salt
Instructions
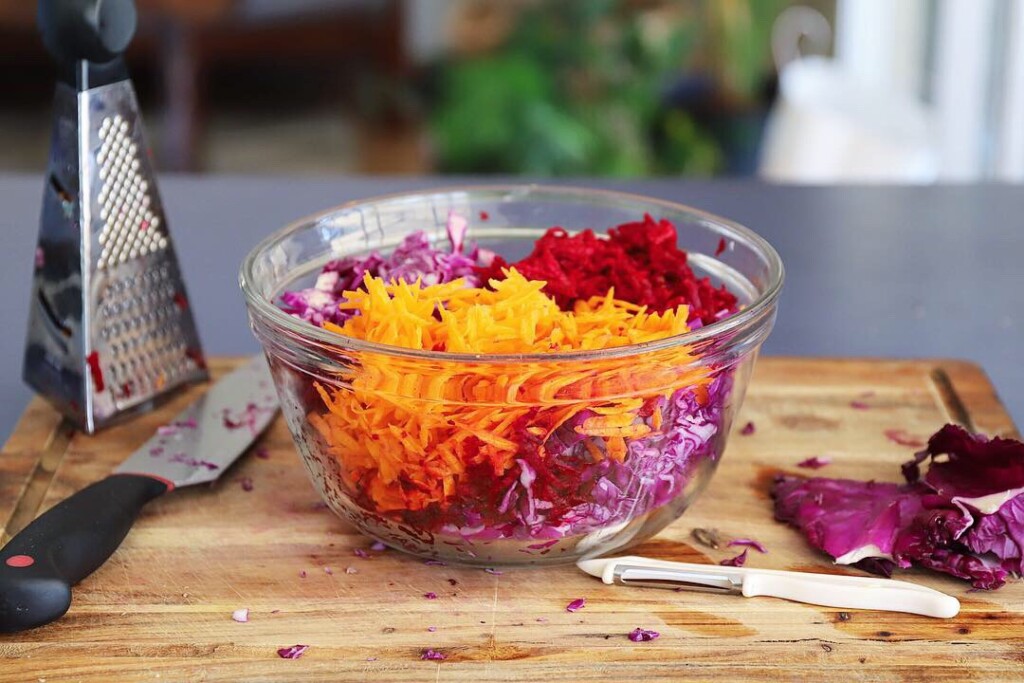
Finely slice or grate cabbage using a mandoline or grater. Reserve a whole piece to cover the contents at the end. Add to a large mixing bowl and sprinkle over the salt. at the
Squeeze the salted cabbage to extract the moisture. Do this for 5-7 minutes.
Grate carrot and Beetroot and add to the cabbage bowl. Peeled or unpeeled is optional - see notes.
MIx to combine. Cover and let it sit for 5 minutes.
Give the mixture a final squeeze and mix. Then add to a sterilised jar. This mix will fit a 700gram jar so you could also use two smaller jars. Allow 2cm of empty space at the top of the jar. Press the mixture down to remove air bubbles and pour over any remaining liquid from the bowl. The liquid should cover the cabbage. Add a little bit of filtered water if you need it. Place a piece of cabbage leaf over the top to keep the mix submerged in liquid.
Store in a cool dark place for 3-5 days or until you like the flavour. It will get increasingly sour the longer you ferment it. Once you are happy secure the lid and place it in the refrigerator. This will mellow out the smell and slow the fermentation down.
Notes
- Peel the beets and carrots if the skin is particularly dirty and hard to remove or if you have purchased the beets from the store.
- Don't use pre-shredded store-bought cabbage as it will not have the active bacteria.
- Check the mix daily to ensure it is fully submerged in liquid. You may need to add a small weight to keep it down.
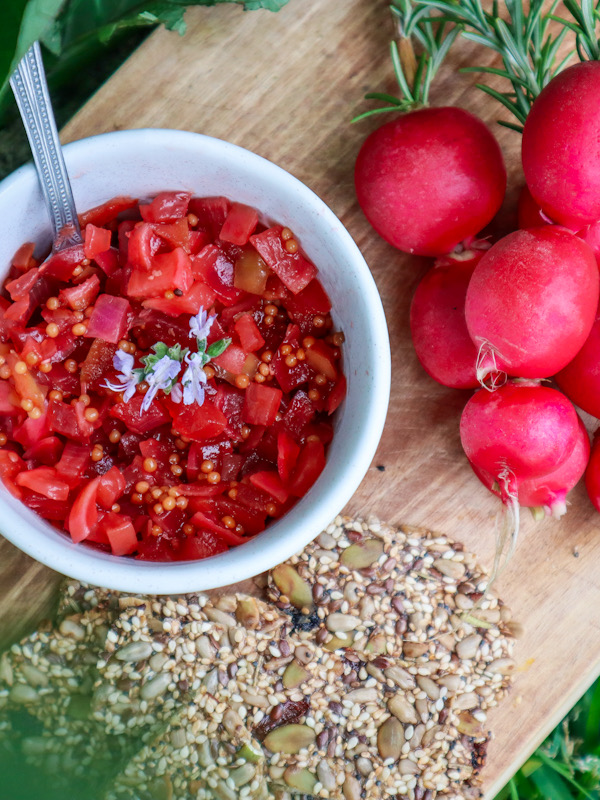
This Radish and Apple Relish is a delicious addition to any garden platter. Served with crackers and a slice of cheese this relish is sure to impress! Radish are easy to grow and you can plant them in between your other vegetables.
Radish and Apple Relish
Yield: 2 cups
Prep Time: 10 minutes
Cook Time: 1 hour30 minutes
Total Time: 1 hour40 minutes
Vibrant and delicious radish relish to add flavour to a platter or BBQ meal.
Ingredients
1 Apple (1 cup diced)
1 Red Onion (1 cup diced)
8 Radish (2 cups diced)
1/2 Cup Apple Cider Vinegar*
1/2 Cup White Vinegar*
1/4 Cup raw Sugar
1TBS Coconut Sugar
1 tsp Salt
1 pinch dried Chilli Flakes
1 crushed Clove Garlic
1 1/2 TBSP Mustard Seeds
Instructions
Wash Radish and remove the greens
Place the radish, apple, and onion into a food processor to cut into small pieces or finely dice using a knife.
Add the cut vegetables to a saucepan with the vinegar, salt, sugar, chill flakes, and crushed garlic.
Simmer until cooked and liquid has reduced (1.5 hours).
Sterilize a jar using boiling water or in an oven at 120 degrees for 15 minutes. place the hot relish mix into the hot jar. Secure the lid and allow to come to room temperature before placing it in the fridge.
Notes
*Use 5% vinegar for the correct level of acidity. You can use both White and Apple Cider as per the recipe or swap to just use the one type if you prefer.
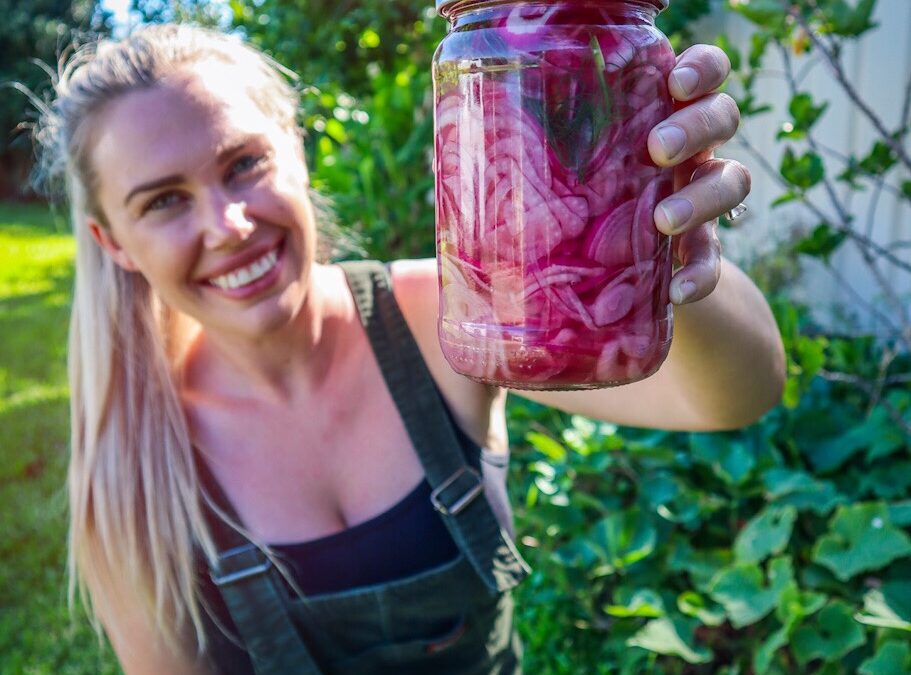
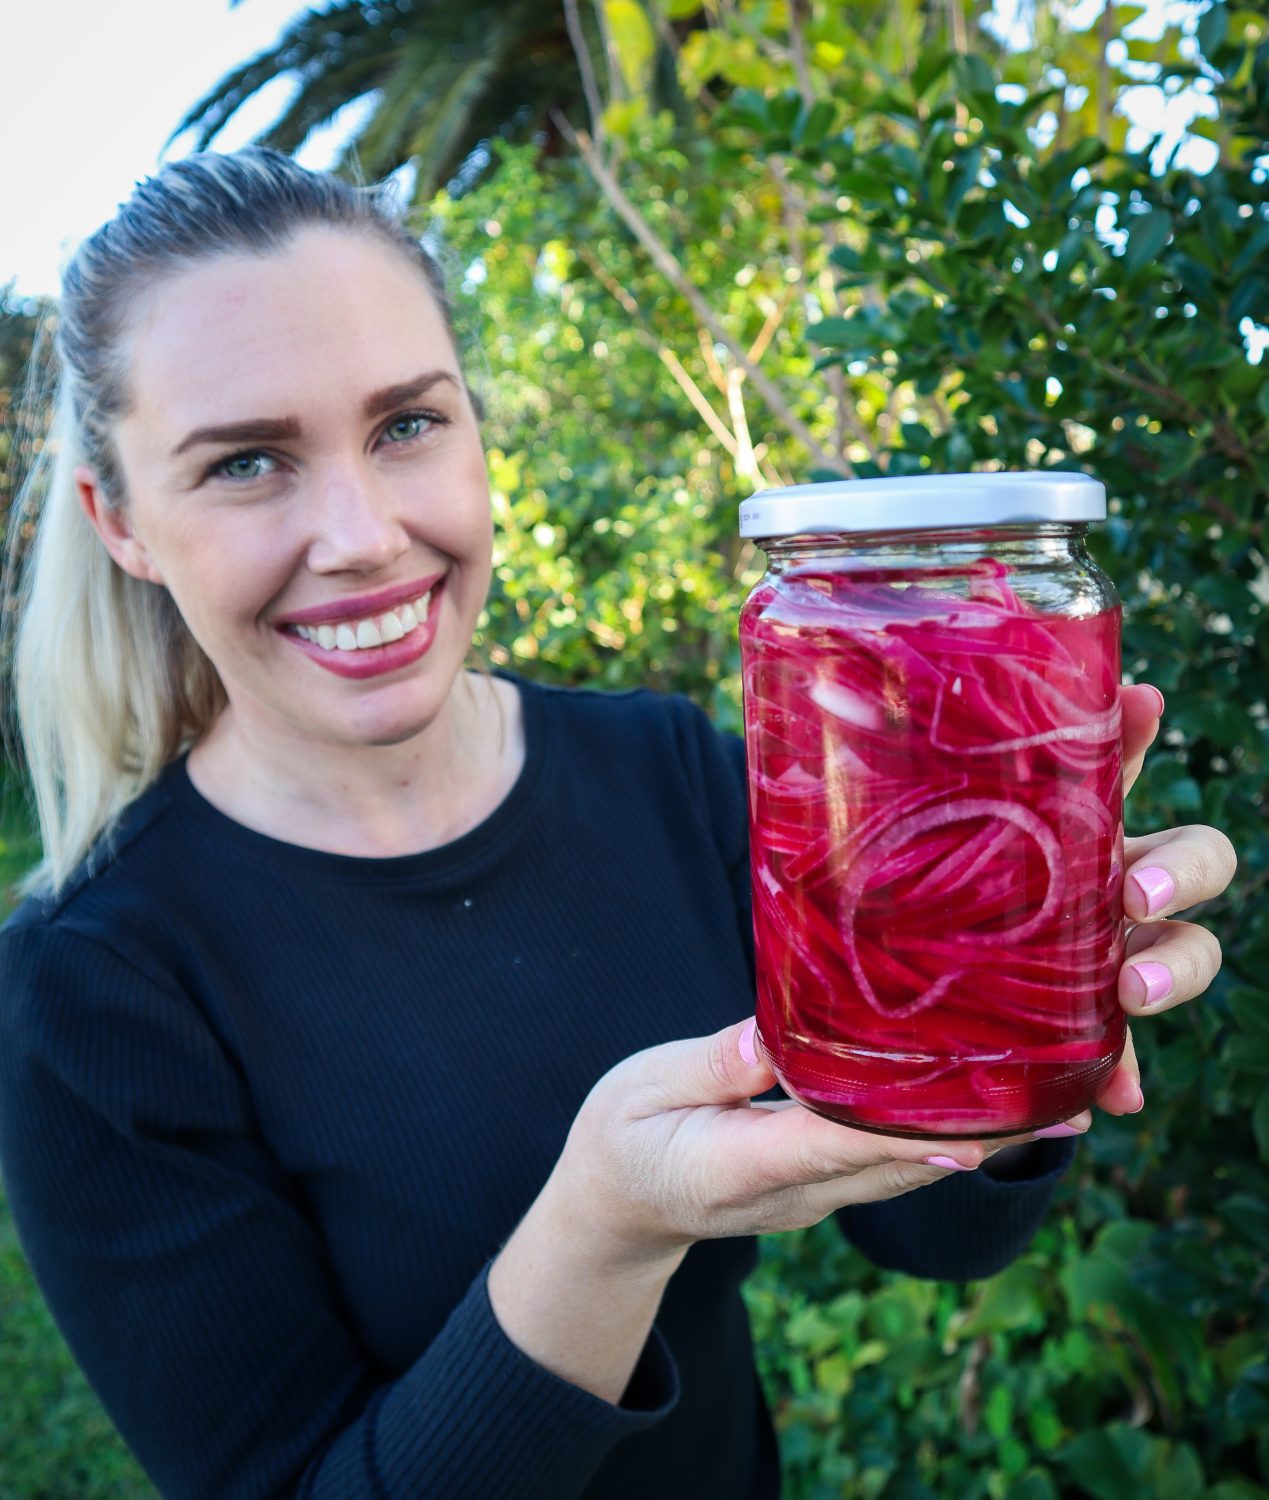
This simple homemade pickled red onion recipe is so easy and delicious! I can easily demolish a jar of pickled red onions in a week. They just get better and better as they continue to pickle and infuse. You can eat these pickled red onions on absolutely anything!! And I mean anything…avocado on toast, salads, stir-fries, tacos, noodles, cheese, and crackers, or in sandwiches. They also make beautiful, delicious garden-to-table gifts for your friends and family.
What You Will Need:
3 medium red onions, thinly sliced
¼ cup apple cider vinegar
¼ cup white vinegar
1 ½ tbsp raw sugar*
1 ½ tsp salt
1 cup water
½ tsp chilli flakes (optional, for heat)
The Benefits of Homemade Pickled Red Onions
Making homemade pickled red onions means you control everything from the ingredients to the flavour. No preservatives, no artificial colours, just simple pantry staples and fresh onions. I like mine on the sweeter side, but if you like yours spicy, then add more chilli. Plus, the flavour is far better than store-bought. I find store-bought (I’ve tried a lot of brands!) are weak and dull, and not to mention expensive! Not these! They are packed full of flavour and go a vibrant all natural hot pink colour.
Simple Pickled Red Onions
Prep Time: 10 minutes
Cook Time: 2 minutes
Total Time: 12 minutes
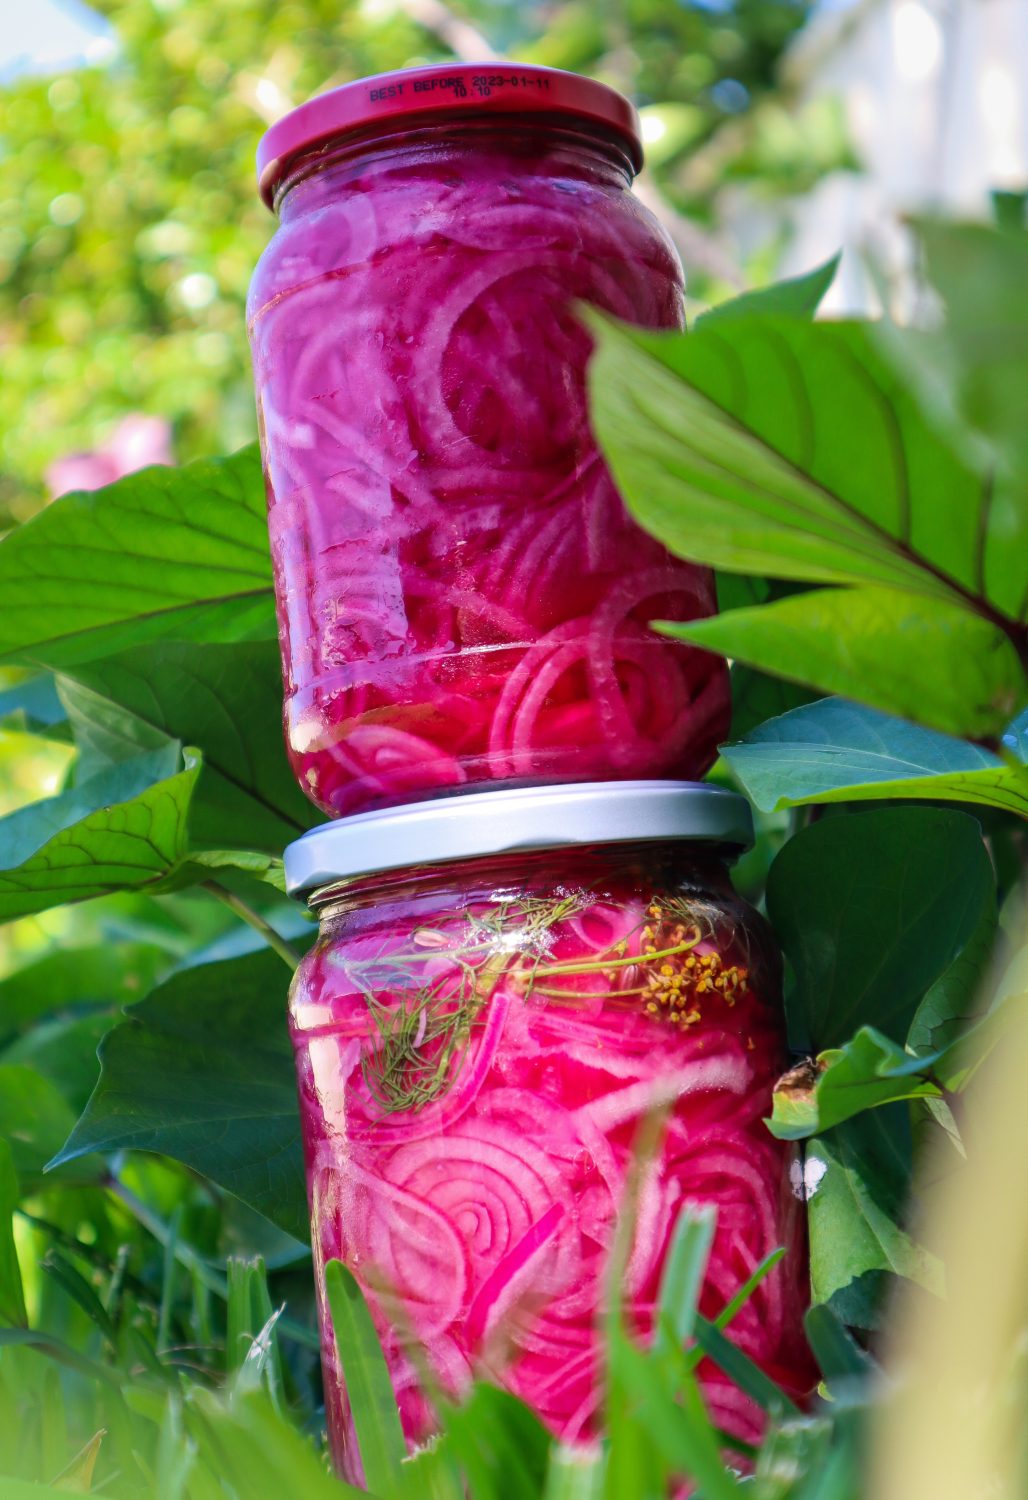
Quick and easy pickled red onions add flavour to any meal. Add your seasonal garden herbs such as Fennel, Dill or Chilli to boost the flavours.
Ingredients
3 Red Onions
1/4 cup Apple Cider Vinegar
1/4 cup White Vinegar
1 1/2 TBSP Raw Sugar*
1 1/2 tsp Salt
1 cup Water
1/2 tsp Chilli flakes (optional)
Instructions
Finely slice the red onions - using a mandoline is the easiest option.
Cram as many red Onions into a clean sterilised jar.
In a saucepan add the vinegar, sugar, and salt and stir until the sugar has dissolved and the mix starts to simmer.
Add any extra flavours to the jar such as chilli, fennel flowers, fennel fronds, fennel seeds, mustard seeds, or peppercorns ( 1tsp per jar).
Pour over the liquid and secure the lid.
Allow cooling for one hour and place in the fridge.
Notes
To sterlise the jars place in a hot dishwasher run or wash and heat in the oven for 10-15 minutes at 110 degrees Celsius.
You can swap and use just one type of vinegar if you prefer.
*Swap to honey (1 1/2 TBSP)
Add herbs or spices for extra flavour
Use within 3 weeks.
Homemade is best!
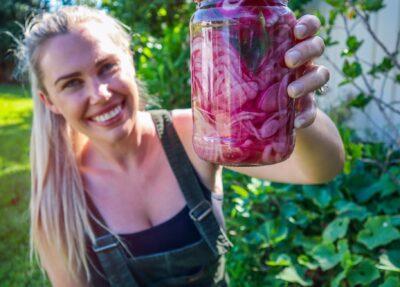
Homemade pickled red onions taste so much better, and they are so quick to make. I prepare a batch on Sundays, and it usually is gone within the week! Enjoy these Simple Pickled Red Onions on your morning breakfast toast with avocado (my favourite way) and egg, or in burgers, wraps, salads, and more! It’s such a versatile addition to your garden-to-plate meals!
Customise Your Homemade Pickled Red Onions
One of the best things about homemade pickled red onions is how easy they are to adapt. Add herbs like thyme, fennel flowers or dill for a fresh twist, or try slices of jalapeño or ginger for an extra kick. You can even swap in red wine vinegar for a bold colour. Once you start experimenting, you’ll find a version that suits your taste perfectly.
Want more Garden Tips?
🌱 Want a Thriving Garden? Get exclusive gardening tips, seasonal advice, and delicious homegrown recipes delivered straight to your inbox every Tuesday! Stay updated on new plants, garden projects, and more.Sign up now and grow with us! 🌿✨
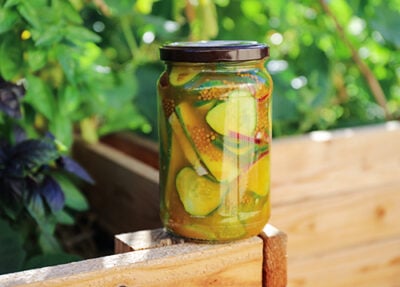
Make the most of your abundant Cucumber harvest with these delicious, quick, and easy refrigerator pickles. Turmeric has anti-inflammatory properties and the Apple Cider Vinegar has anti-microbial properties and anti-oxidants. These quick pickles are great for adding to sandwiches, salads, burgers, and of course a cheese platter!
Quick Sweet & Sour Turmeric Pickles
Yield: 2 jars
Prep Time: 10 minutes
Cook Time: 3 minutes
Additional Time: 2 days
Total Time: 2 days13 minutes
Sweet and sour Refridgerator pickles are so quick and easy to make!
Ingredients
2-3 Medium Cucumbers or two jars of whole small pickling Cucumbers
1 cup Apple Cider Vinegar
1 cup Water
1 TBSP Mustard Seeds
2 TBSP Sugar
1 tsp Salt
1 tsp ground Turmeric powder
Instructions
Sterilise your jars by heating them in the oven face down at 120degrees Celsius or in the dishwasher on high heat. Sterilise the lids in a bowl by pouring boiling water on them.
In a saucepan add your vinegar, water, sugar, turmeric, salt, and mustard seeds (*optional chili flakes see notes) and bring to a simmer.
Slice your Cucumbers into spears or round slices and place them in the clean jar.
Pour over your pickling liquid and secure the lid. Carefully place the jar upside down to cool. This helps create a secure seal.
Once the jars are close to room temperature, turn them up the right way and add them to the refrigerator.
They will be ready to eat after 48 hours and use within a month or two.
Notes
Add sliced Red Onion, Dill, or Chilli flakes to your cucumber pickles for extra flavour.
This recipe also works with Zucchini in replace of Cucumbers too.
Zucchini are one of my favourite vegetables to grow because of their ease to grow and abundant harvests. They are such generous plants! The best thing about growing an abundance is that you can preserve the excess to use throughout the year. Harvesting and preserving your own Zucchini will allow you to build your self-sufficiency.
This Zucchini recipe is easy to make and you can adjust it to suit your harvest. Zucchini relish is a great addition to sandwiches or add it to a platter with all your delicious homegrown produce and homemade crackers. Zucchini pickle also makes great gifts! Sharing your delicious homegrown produce can help inspire others to grow their own too. Then you can swap and trade and support your friends and family.
Easy Zucchini Relish
Yield: 3 cups
Prep Time: 12 hours
Cook Time: 20 minutes
Total Time: 12 hours20 minutes
Ingredients
1 1/4 cup Apple Cider Vinegar
1 cup Raw Sugar
1/2 tsp ground Tumeric
1/2 tsp dried Chilli flakes ( or more to your taste)
2 tsp dried Mustard Seeds
1 TBS Salt
3-4 medium Zucchini
1 medium- large Onion
3 tsp Cornflour
Instructions
Wash and dice your Zucchini and Onion into small cubes. Place in an airtight container and sprinkle with salt. Mix in well, place on the lid, and add to the refrigerator for 12-24 hours to release the water.
Remove the Zucchini and onion mix from the fridge and strain off the excess liquid.
In a saucepan add the Vinegar, Sugar, Tumeric, Chilli, and Mustard Seeds. Bring to a simmer and stir for 2 minutes. Then add the Zucchini.
Allow to cook down slightly for 15-20 minutes, stirring regularly.
Remove a TBSP or so of the liquid and mix with the cornflour to make a paste. Return this back into the saucepan to thicken the Relish.
Sterilize your jars by either running through a hot dishwasher or in the oven at 110degrees for 15minutes. Sterilize the lids in boiling water.
Pour your zucchini mix into the hot jars and secure the lid. Place the jars upside down to cool. This helps them seal. Once the jars have cooled down, place them in the refrigerator. Enjoy!!
For long-term storage only cook the zucchini mix for 10minutes then add to jars. Process the jars in a boiling water bath for 10minutes.
Notes
For added colour and flavour you can also add Capsicum into the mix.