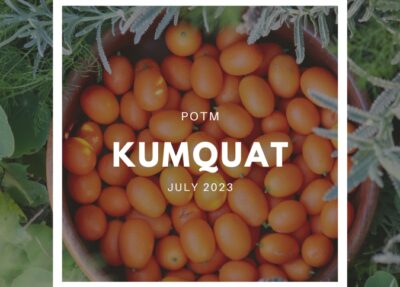
Kumquat and Custard Scrolls – What to Make With Excess Kumquats
Kumquat and custard scrolls are delicious! If you have a Kumquat tree overflowing with fruit, then whip up a batch of Kumquat jam and make these scrolls. There’s nothing quite like a tree dripping with golden-orange kumquats in the middle of winter. These tiny citrus gems are tart, tangy, and packed with flavour, and if you’ve ever grown your own, you’ll know how quickly they can go from “a few ripe fruit” to an overwhelming abundance.
When your kumquat tree is loaded and you’re wondering what to do with all that fruit, this kumquat and custard scroll recipe is a must-try. It’s comforting, simple, and a great way to preserve and use your homegrown harvest. These scrolls are soft, sticky, and filled with a beautiful mix of creamy custard and zesty kumquat jam—perfect for a weekend treat, morning tea, or a garden-inspired dessert.


Why Kumquats Deserve a Spot in Your Garden
If you’re new to kumquats, they’re small, oval citrus fruits that can be eaten whole, skin and all! Their skin is sweet while the inside is tart, making them ideal for marmalades, jams, and even fermenting. They’re also compact and make wonderful trees for small backyards, pots, or food forests.
Kumquats fruit prolifically through the cooler months, adding much-needed colour and freshness to a winter garden. But because they’re so tangy, many gardeners are left scratching their heads over how to use them all. This recipe is one of my favourite ways to turn that vibrant tartness into something sweet, creamy, and utterly delicious.
Kumquat & Custard Scrolls Recipe
These scrolls are super easy to make and don’t require yeast or rising time, so they’re perfect for a quick baking session. All you need is a batch of homemade kumquat jam, thick custard, and a few pantry basics.
Ingredients
- 2 cups self-raising flour
- 2 tablespoons icing sugar
- 80g butter
- 1/2 cup milk
- 1/2 cup kumquat jam (also see recipe below)
- 1 cup thickened custard (store-bought or homemade)

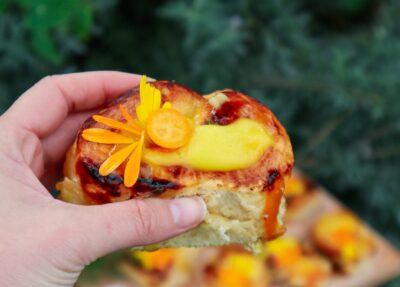
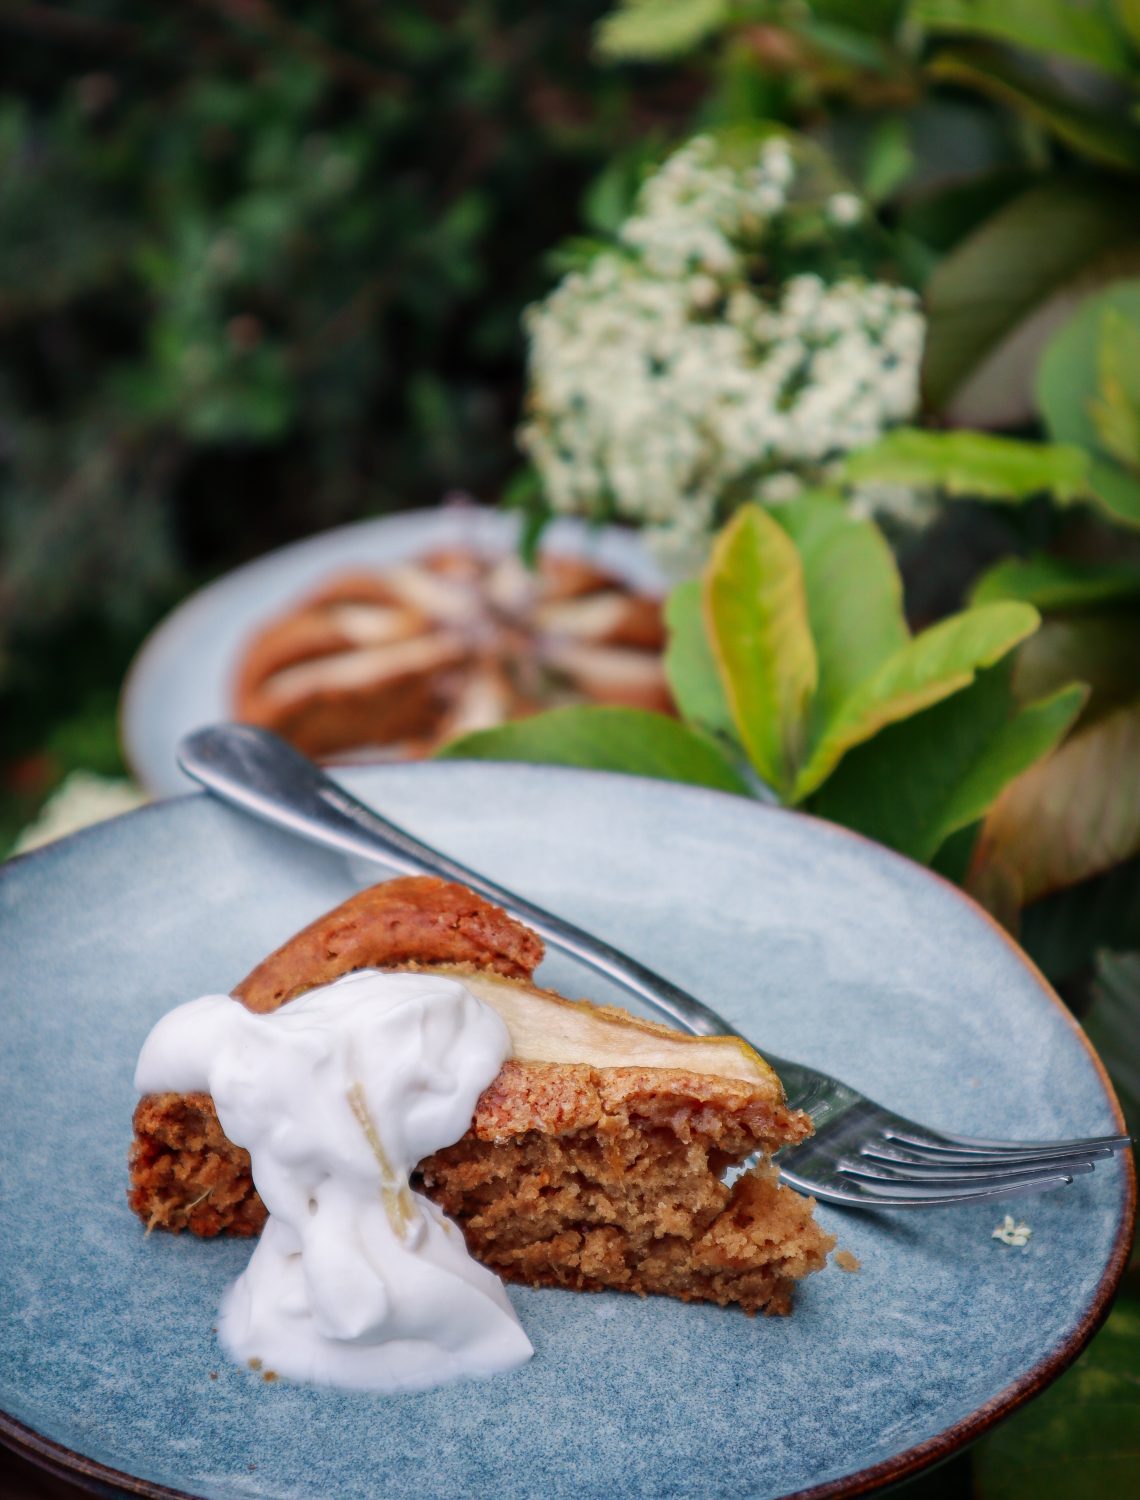
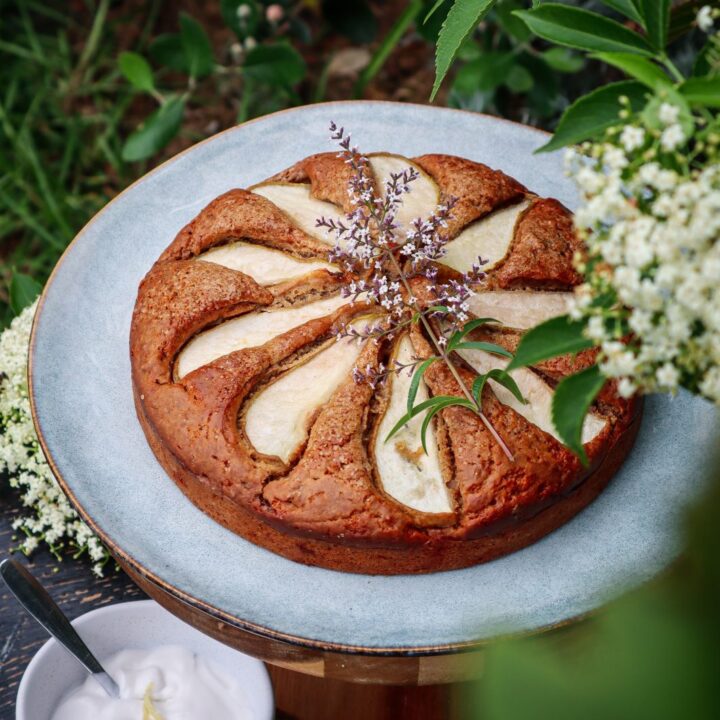
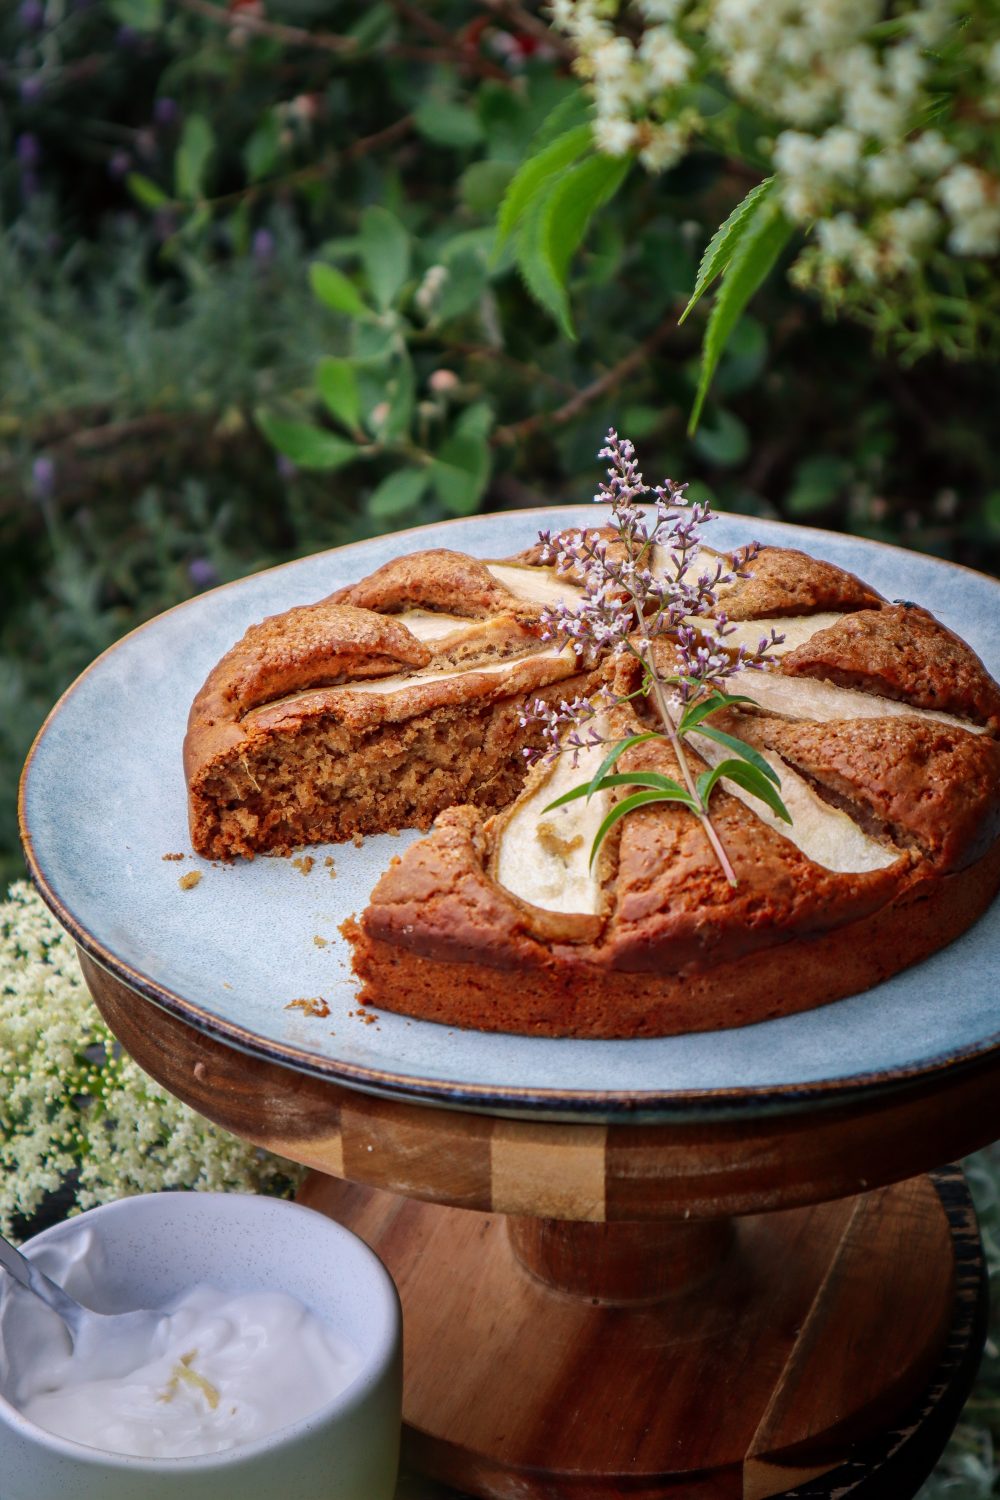
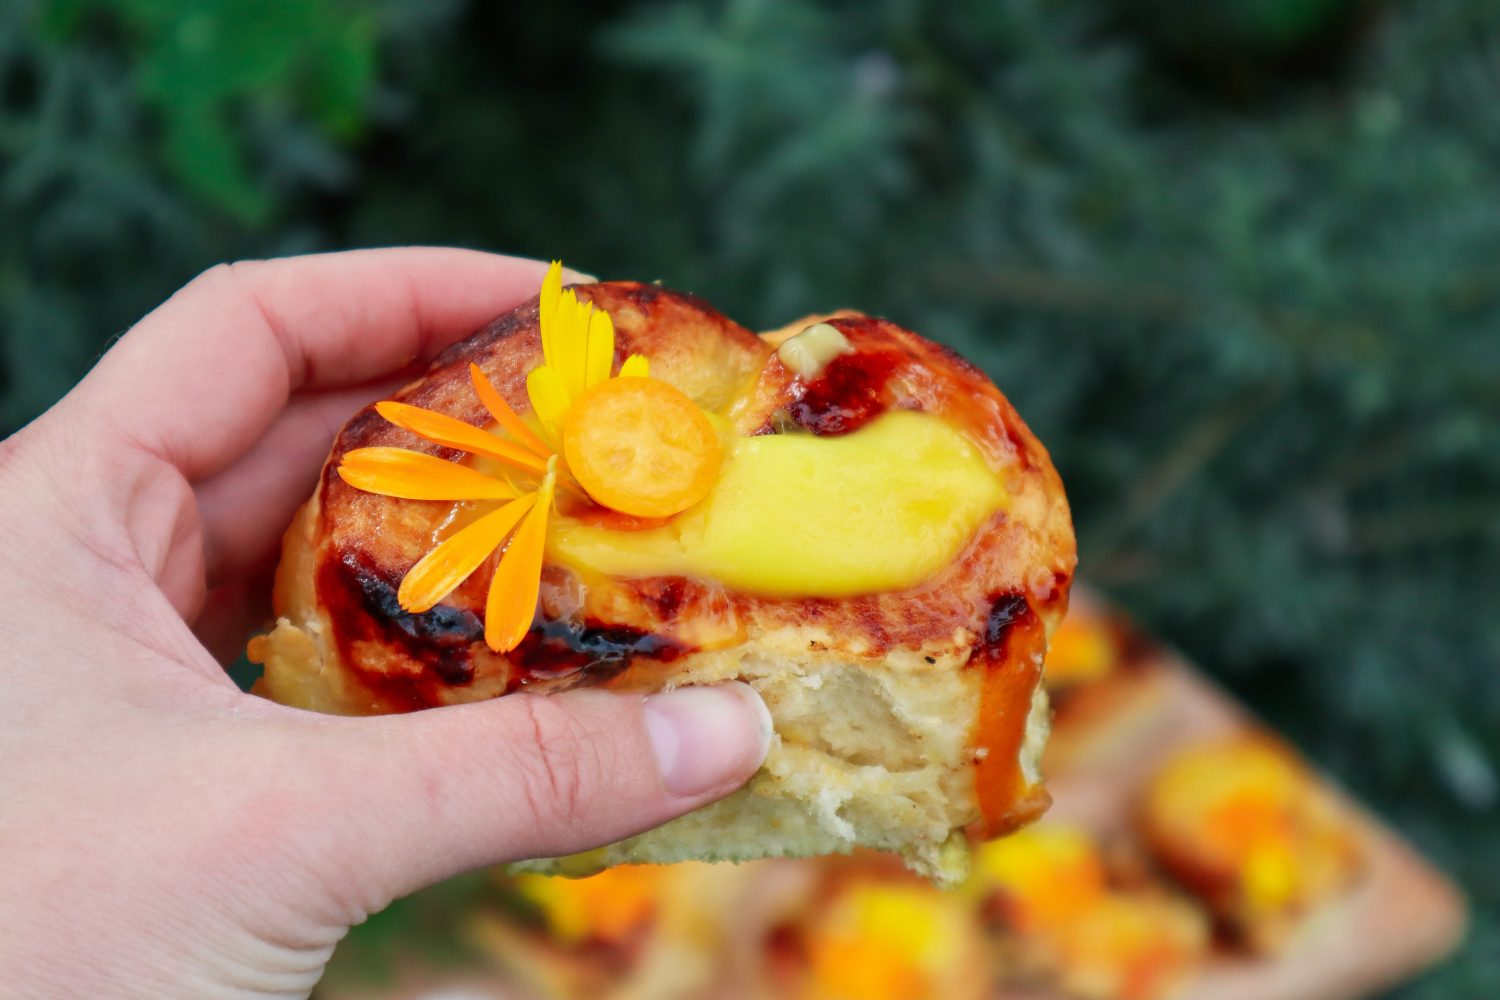
Kumquat and Custard Scrolls
Sweet, tart, creamy, and crunchy these Kumquat and custard scrolls are mouthwatering and delcious.
Ingredients
- 2 cups self-raising flour
- 2 TBSP icing sugar
- 80 grams of butter
- 1/2 cup milk
- 1/2 cup Kumquat Jam (see recipe below)
- 1 cup thickened custard
Instructions
Preheat oven to 200 degrees celsius.
Mix flour, icing sugar, and butter until it forms a breadcrumb texture. Add milk and form a dough.
Roll out on a floured bench to a rectangle shape rough 30cm long.
Add cooled set custard on top and spoon on your kumquat jam. Mix slightly.
Then roll the long side to form a long roll. This is quite tricky but just do your best.
Then cut into 8cm pieces and place in a greased oven dish with the cut side down.
Spoon on any extra mixture that has fallen out. Bake for 20mins until golden.
Allow cooling before removing them so the custard has set again.
You can also brush with extra jam to glaze.
Make Your Own Kumquat Jam
You’ll need kumquat jam for this recipe, and making your own is incredibly rewarding. You can bottle up the sunshine of your citrus tree and use it in scrolls, toast, cakes, or even savoury dishes like glazed roasted vegetables.

Kumquat Jam
Kumquat jam is a great way to use and preserve your harvests. Add this jam to pikelets or baking for a delicious citrus flavour.
Ingredients
- 4 cups chopped Kumquats
- 5 cups of water
- 1 1/2 cups sugar
- 1/2 lemon
Instructions
Wash and chop your Kumquats and keep the seeds as you will need them to use as natural pectin.
Place the Kumquats and water in a pot.
Get all your seeds and make a little bag from cheesecloth or in a strainer. You want the seeds to be submerged in the water but not dispersed throughout as you will be discarding them later. Let the seeds and kumquats sit in the water for 4hrs to release the natural pectin. Remove the seeds and discard.
Place a saucer or plate in the freezer to test your jam out at the end.
Bring the pot to a simmer for 30mins. Add in the sugar and stir. Bring the pot to boil for 5min.
Test your jam by putting droplets onto your frozen plate. They should thicken as you run the end of a spoon through the droplet to check. If it doesn't look like it is set add some fresh lemon juice, reheat, and stir. Test again. I repeated this a couple of times and it started to look set.
Spoon hot mixture into hot jars (heat mine in the oven to sterilise 120 degrees for 15 mins and the lids in a bowl of boiling water).
Turn the jars upside down to cool and help the lids seal.
Refrigerate and enjoy.
Watch the video

Why Grow Kumquats at home?
Here are some of the many reasons to grow Kumquat
- Hardy, low-maintenance fruit tree
- Perennial
- Ornamental and edible
- Prolific producer
- Dense busy shrub
- Grows well in pots and containers
- The whole fruit is edible
- Great for making jams and preserves
Popular Kumquat Varieties
Nagami – Japanese variety with small oval-shaped fruit. Bright orange when ready. Sweet skin and tart flesh. 1-2 seeds in each fruit ( my favourite).
Meiwa – Larger round orange fruits. Sweet skin and flesh. A hybrid of Nagami and Marumi varieties.
Marumi – Round fruits that are quite sour or tart. Mainly used for preserving.
Variegated Kumquat – Stand out ornamental variegated leaves and fruit. Variegation disappears on fruit usually once ripe. Also known as Calamondin or Calamansi.
What to Make With Excess Kumquats
If your kumquat tree is overflowing with fruit and you’re wondering what to do with them all, you’re not alone! Kumquats are a wonderful citrus to grow, but their short season can leave you with more fruit than you know what to do with. Thankfully, these small citrus gems are incredibly versatile — perfect for both sweet and savoury recipes.
Here are some delicious ways to use up your extra kumquats:
- Make a quick kumquat jam – perfect for toast, yogurt bowls, or as a swirl in baked goods like scrolls or muffins. (I used mine in these Kumquat & Custard Scrolls!)
- Candy them – sliced thin and simmered in sugar syrup, candied kumquats are beautiful on desserts or cheeseboards.
- Add to salads – thinly sliced fresh kumquats add a pop of tang and sweetness to green or grain salads.
- Preserve them – kumquats can be fermented, turned into marmalade, or preserved in honey for winter immunity boosts.
- Dehydrate them – sliced and dried kumquats make a bright, citrusy snack or addition to tea blends.
- Use in sauces or glazes – cook them down with honey or vinegar for a punchy topping to chicken, tofu, or roasted veg.
And of course, if you’re baking, kumquat and custard scrolls are a delicious and unexpected way to transform your harvest into something cozy and irresistible.
TIP: Don’t forget — even if you’re not using the whole fruit right away, kumquats freeze well or can be zested and juiced for future use.
Garden to Plate
There’s something incredibly satisfying about using your own homegrown ingredients in a recipe from start to finish. These kumquat and custard scrolls are a sweet reward for your gardening efforts, and they showcase just how versatile your backyard harvest can be. If you make these, I’d love to see them! Tag me on Instagram or leave a comment letting me know how they turned out—and if you’ve got other creative ways to use kumquats, share them too.
Happy Gardening,
Holly 🌱