Looking for a healthy, homemade wrap alternative? These DIY spinach sushi wraps are a delicious and nutritious way to use up garden greens and create quick, wholesome meals. Whether you follow a gluten-free, low-carb, or plant-based lifestyle, these wraps are a game-changer. Made from fresh spinach, herbs, and garden vegetables, they’re packed with nutrients and completely free from preservatives and additives.
These wraps have the texture of nori but are 100% vegetable-based. Use them for sushi, wraps, or as a healthy tortilla alternative. This is the perfect recipe for zero-waste gardeners who want to make the most of their seasonal harvests. I am so impressed with how amazing these are!
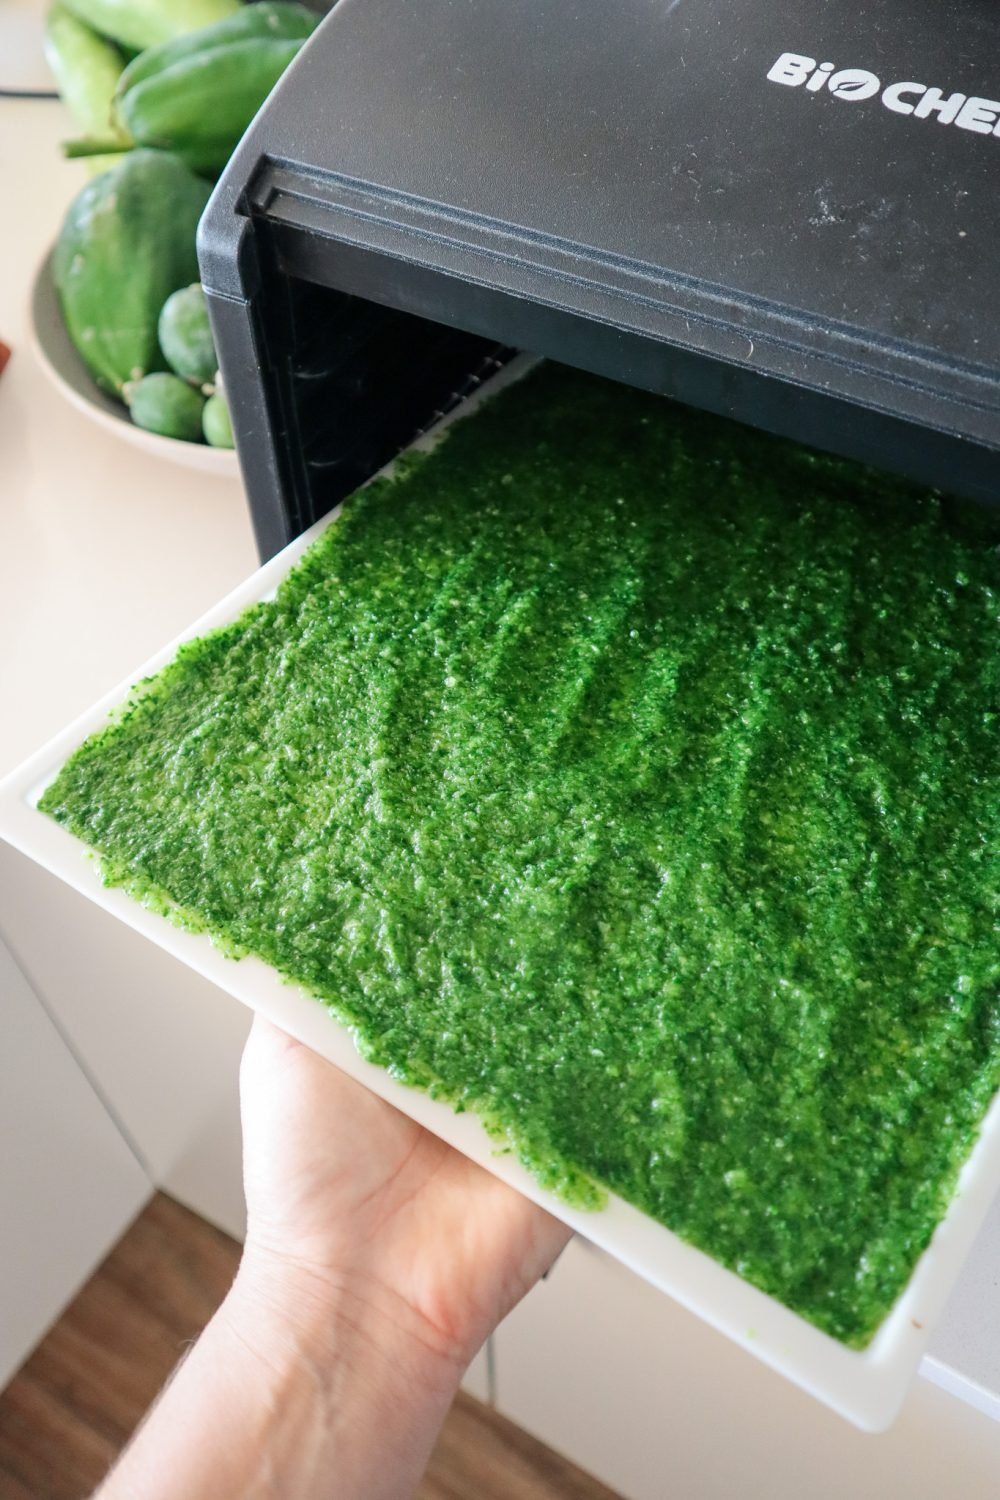
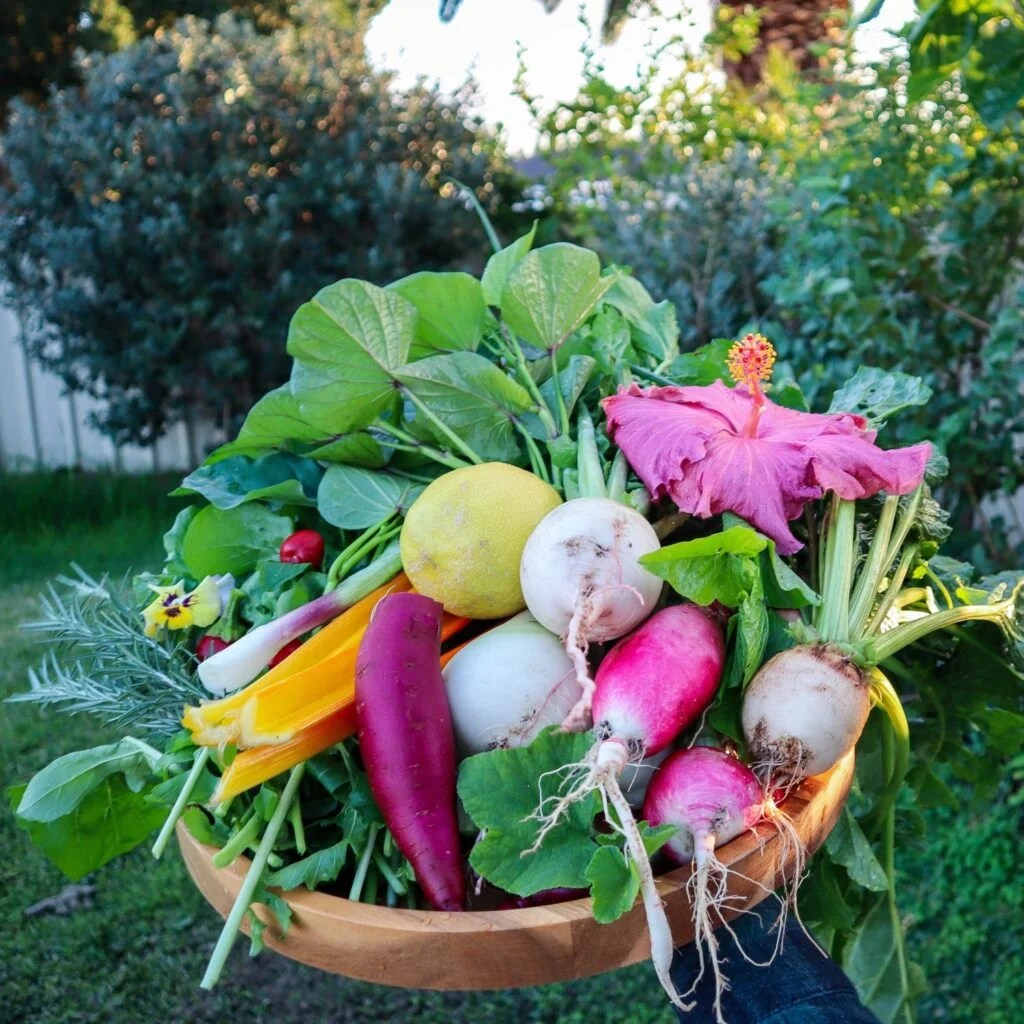
These dehydrated spinach sushi wraps taste and feel just like the real deal but I know exactly what is in them. Use excess garden greens along with bottle gourd or zucchini to make a batch of sushi wraps for a quick and easy lunch. Like most of my recipes, you can mix and match different greens and herbs depending on what’s in season or in abundance in your garden.
Garden Vegetable Variations
Don’t have spinach? No problem. Try other leafy greens such as:
NZ spinach (Tetragonia)
Swiss chard
Rocket/arugula
Sweet potato leaves
Amaranth greens
You can even mix in edible weeds like chickweed or purslane for extra nutrition.
Recipe Notes
Psyllium Husk helps bind the mixture and gives flexibility.
Herbs are optional but add great flavor.
Dehydration Time varies depending on water content and thickness.
Spinach "sushi" wraps
Yield: 8
Prep Time: 10 minutes
Cook Time: 6 hours
Total Time: 6 hours10 minutes
Easy way to preserve excess produce and have wraps on hand for a quick garden-to-plate lunch when you need it.
Ingredients
4 cups spinach or greens*
1/2 cup fresh herbs*
1 TBSP psyllium husk
1 - 2 TBSP water
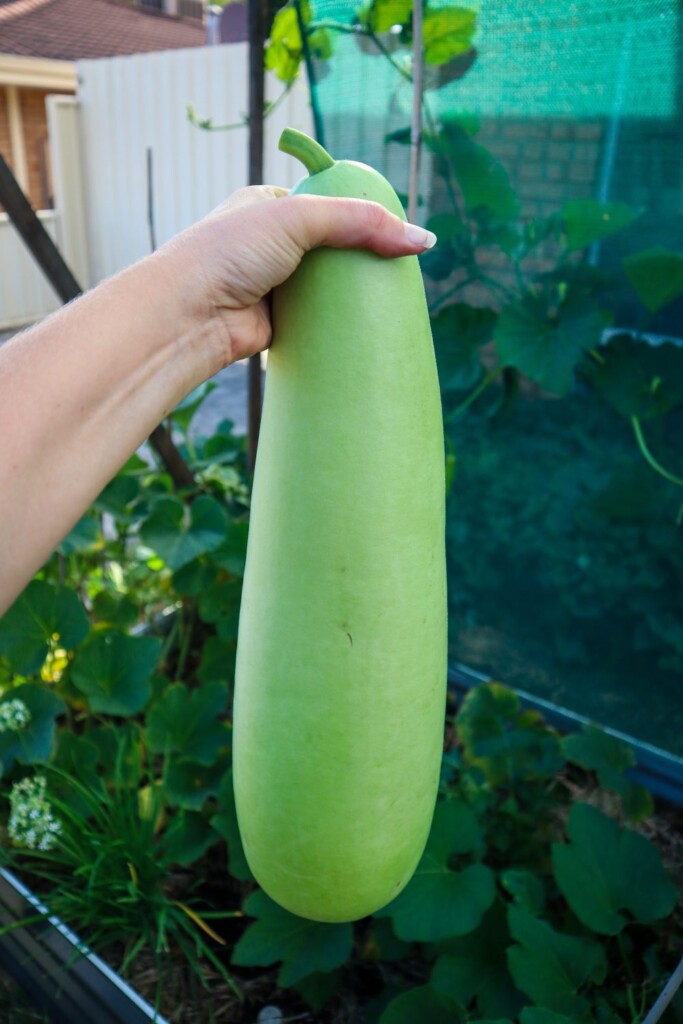
2 cups chopped bottle of gourd or zucchini
Instructions
Rinse the greens and quickly blanch for 30 seconds in hot water then transfer to iced water to cool.
Strain and add to a mixer or blender. (use the blanching water on the garden once it has cooled down)
Peel Bottle gourd using a vegetable peeler, remove the center seeds and pith then chop into 2-3cm cubes. If using zucchini there is no need to peel.
Add all the ingredients to a blender or mixer and blitz until combined. You may need to move things about with a spoon to get it mixed or add a dash more water. You want a thick paste-like consistency not too watery.
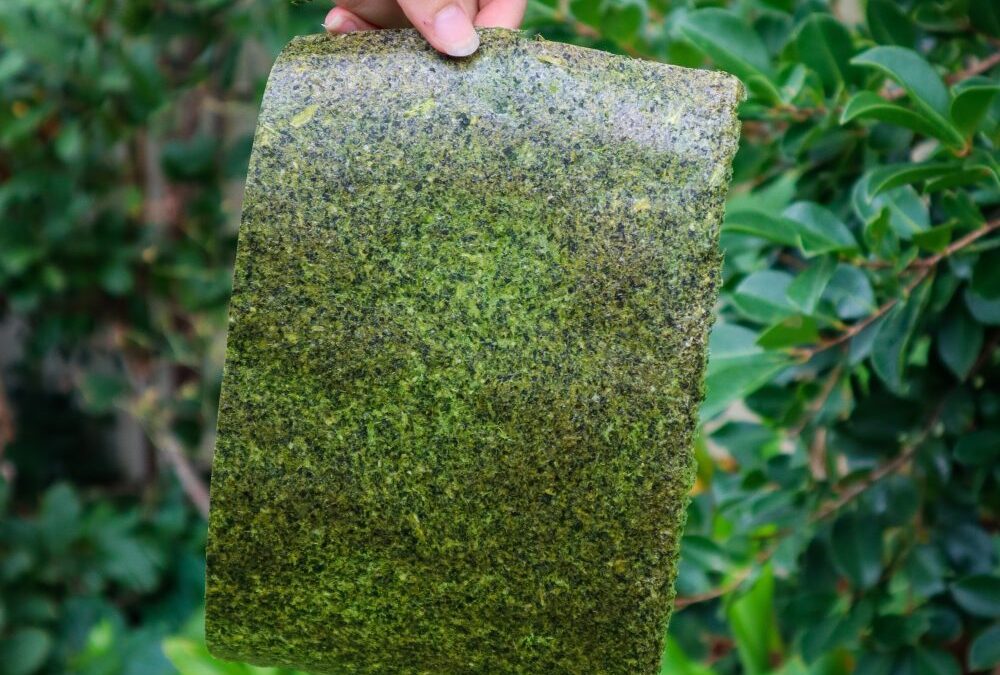
Spread the mixture onto 3-4 silicon dehydrator trays. You may need to do this in batches or use baking paper and a tray if you do not have enough of the silicon trays. The mixture should be thick enough to not see through to the tray or paper but also as thin and even as you can (before seeing through to the tray)
Dehydrate at 50 degrees celsius until dry. Check after 2-3 hours as the time will vary depending on the water content of the greens you used.
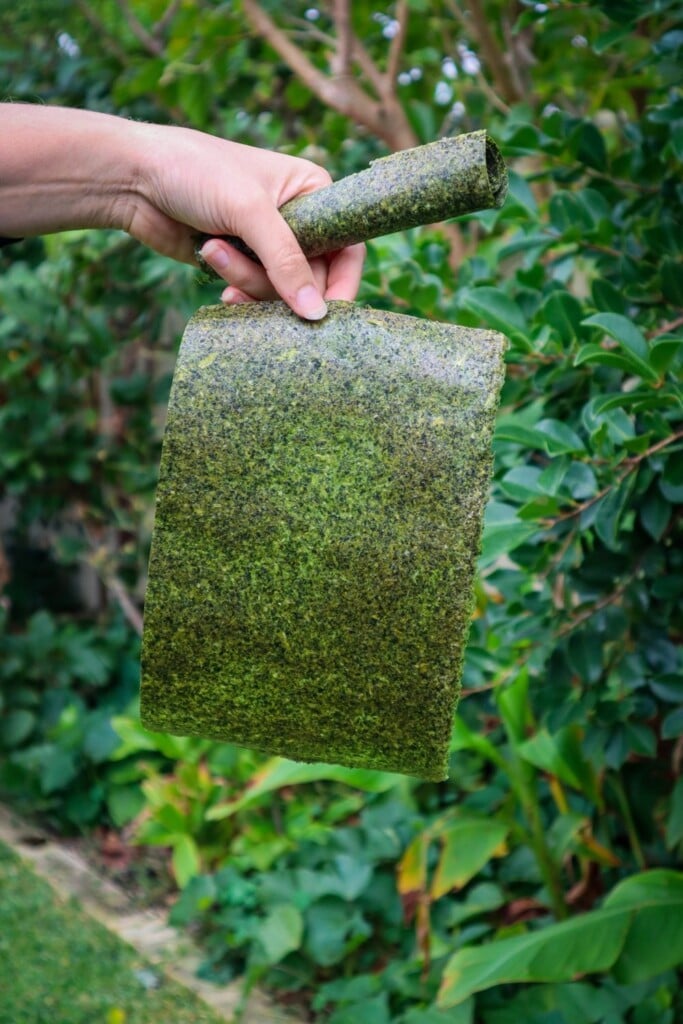
Remove and carefully run a knife around the edges to loosen it. Carefully peel off the sheet it is best to do this one bit at a time holding the sheet as close to the tray as possible as to not tear it.
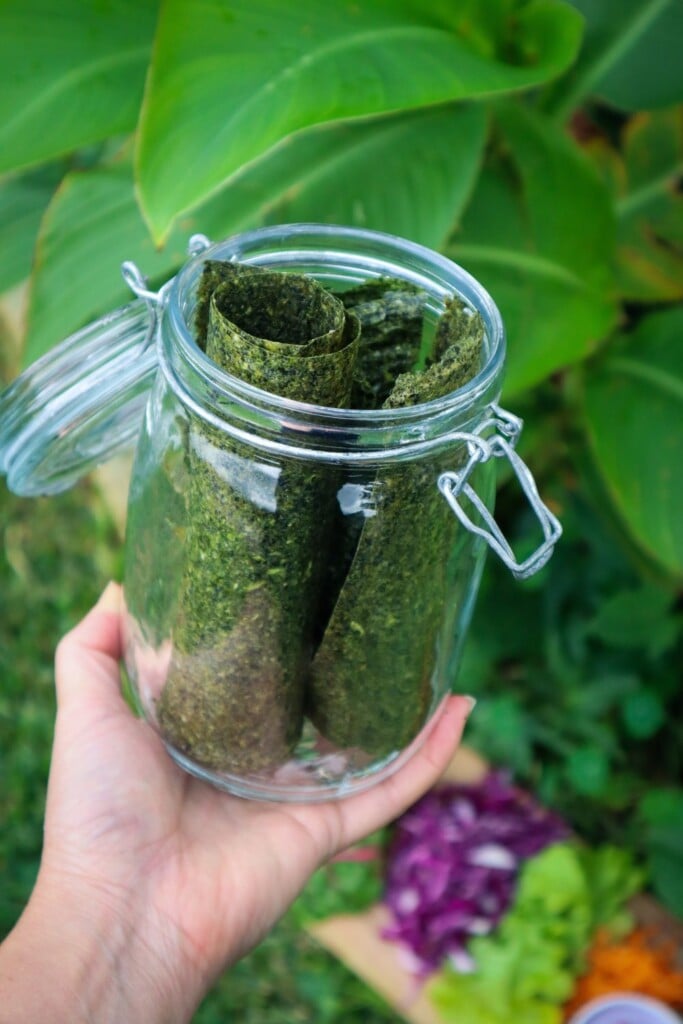
Once removed from the tray cut the sheets into the desired size (I cut in half for wraps but I keep them whole for sushi rolls) then roll them up and place them in an airtight storage jar. Or use them straight away. would
Use the wraps with your favorite salad ingredients and grilled chicken, haloumi or similar.
Notes
Greens - I used NZ spinach including the young stems but you could use any spinach or greens such as chard, rocket, sweet potato leaves etc just remove any thick stems.
Herbs - add herbs or leave them out (replace with more greens) completely up to you. Try adding 1/2 cup of herb such as parsley, chives or coriander for added flavour.
If you do not have a dehydrator you can use an oven on low to 50 degrees but be aware it may take up 6 hours so ensure you are home and not leaving the oven unattended.
These homemade spinach sushi wraps are a sustainable way to reduce kitchen waste and boost your nutrition. Whether you’re preserving an abundant garden harvest or just trying to eat healthier, they’re a delicious, eco-friendly addition to your kitchen staples.
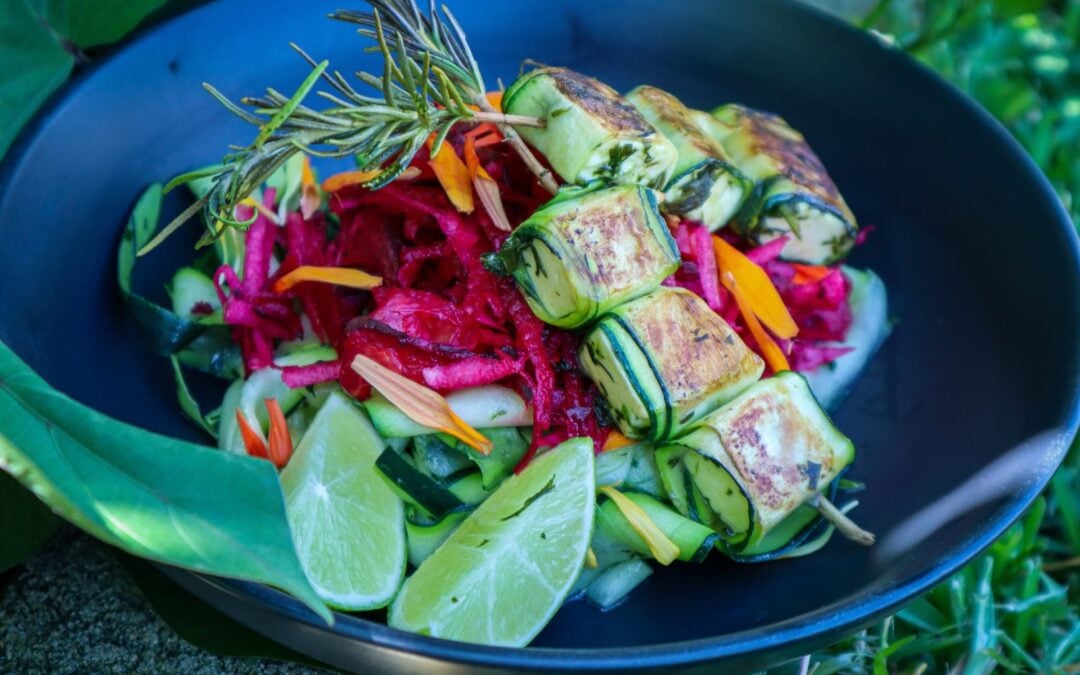
These Zucchini wrapped haloumi skewers are so delicious and easy to make! Marinated in my favourite green sauce plus the Rosemary flavour also infuses during cooking. I made this during one of my YouTube live streams and had to share the recipe! Serve on a fresh salad or with a charcuterie board. These would also be great for summer BBQs.
Rosemary (Rosmarinus officinalis) is a fragrant perennial herb. Rosemary is a hardy, drought-tolerant shrub and can also be used as an ornamental due to its evergreen foliage and purple or white edible flowers. Rosemary is a great herb to plant on your journey to sustainability, as it has a large list of beneficial uses for the garden, home, kitchen, plus many medicinal qualities. When Rosemary flowers it will attract an abundance of beneficial pollinators to increase your garden’s production.
Zucchini wrapped Haloumi on Rosemary Skewers
Yield: 9
Prep Time: 25 minutes
Cook Time: 8 minutes
Total Time: 8 minutes
Easy and delicious these Rosemary Skewers make a quick lunch or entertaining dish.
Ingredients
1 medium Zuchinni
1 packet Haloumi
Olive oil
9 Rosemary sprigs
Green Dressing (available below for logged in members or see notes)
Instructions
Soak the Haloumi in a bowl of water for 5-10 mins while prepping the rest of the dish (optional but reduces the salt and makes the halloumi softer).
Cut the Zucchini into thin ribbons using a wide vegetable peeler.
Prepare the green sauce or marinade (available below for logged-in members or see notes)
Pour half the marinade over the zucchini Ribbons.
Remove the haloumi from the water, cut it into squares roughly 1-2cm, and place in the bowl with the remainder of the marinade.
Place the ribbons and halloumi in the fridge to marinate further for 10-20min.
Heat a pan with olive oil on medium heat.
Lay a zucchini strip out flat and place a haloumi cube at the beginning then roll to wrap the square.
Strip 3/4 of the leaves from the rosemary skewers (see notes if you are using the leaves for the marinade you will need to do this at the beginning).
Place 3 wrapped cubes on a skewer and place in the pan. Cook until golden on each side - roughly 3 minutes each side.
Serve on a fresh salad with lemon or lime wedges and extra green sauce or a creamy yogurt dressing.
Notes
Non-member's alternative to the green dressing - Strip 3/4 of the leaves from the Rosemary sprigs. Roughly chop and add 1/4 cup of Olive Oil and use that as the marinade.
Swap Haloumi for Feta or Vegan Cheese
P.S - I make the members green dressing in the YouTube live.
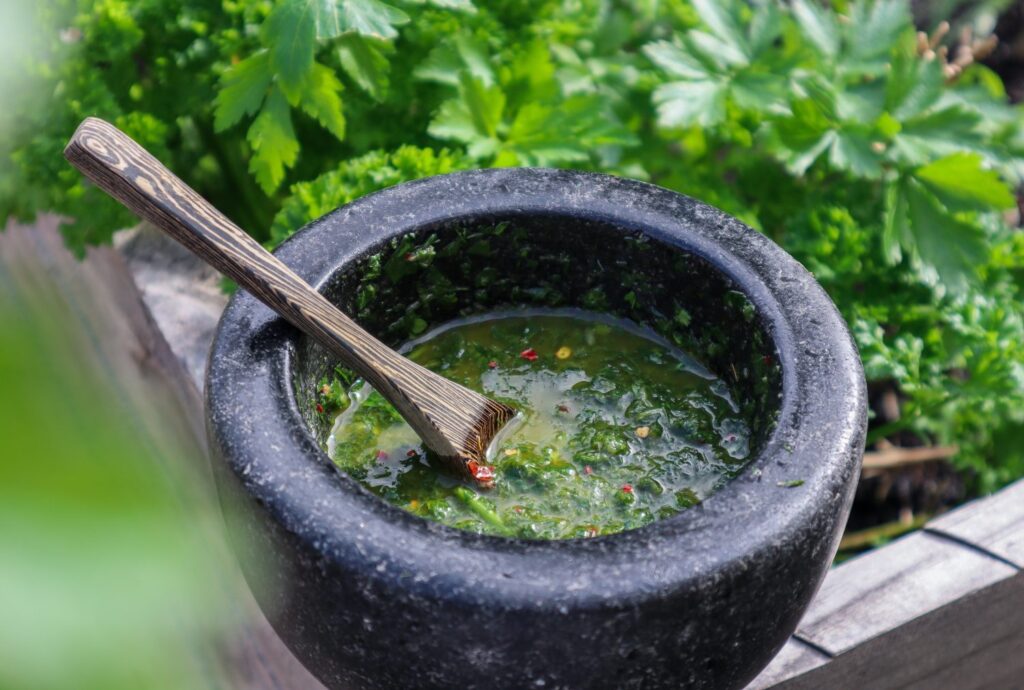
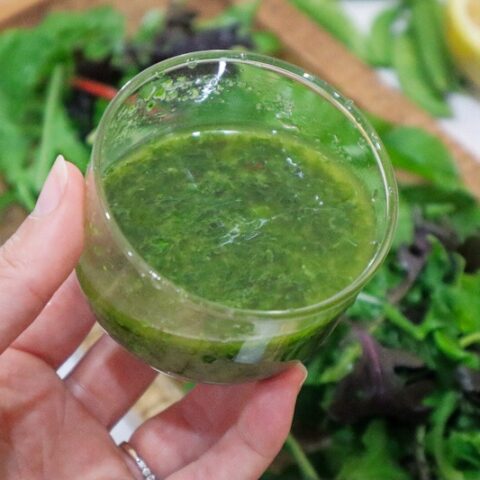
Green Sauce Chimichurri
This vibrant green dressing is packed full of flavour and is a delicious way to add a fresh zing to your meals.
Content is protected for Garden to Plate members only. Sign up for full access https://sustainableholly.com/join-the-club/
Watch the Live Video 👇
Want more Recipes?
Join the Garden to Plate club to learn more about growing thriving gardens and wholesome Garden to Plate meals.
Have odd fruit and veggies to use up? This leftover breakfast loaf is a great way to reduce waste and make a delicious and healthy breakfast (or anytime) alternative. This recipe is flexible to allow a range of fruits, nuts, and seeds you have available.
Leftover Breakfast Loaf
Prep Time: 15 minutes
Cook Time: 45 minutes
Additional Time: 20 minutes
Total Time: 1 hour20 minutes
Have random odd fruit and veggies that need to be used up? This leftover breakfast loaf is a delicious way to make sure they don't go to waste.
Ingredients
Dry ingredients
2 cups flour
1 cup oats
1 tsp cinnamon
1 tsp mixed spice
1 TBSP Baking Powder
1/2 cup seeds (i used 50:50 pumpkin and sunflower)
1/2 cup walnuts (choose your favourite nuts)
1 TBSP Poppy Seeds
1/2 cup chopped mixed dried fruit (Goji berries, apricot, raisons)
Wet ingredients
1/2 cup coconut oil (liquid)
1/2 cup quality maple syrup
3/4 cup oat milk (or preferred milk)
Fruit & Veggies
1 cup grated zucchini
1 cup grated carrot
1 cup chopped greens/ spinach
1 cup grated pear (or apple)
1 cup diced Apricot & strawberry (swap for berries or cherries)
Instructions
Preheat oven to 180 degrees.
Mix dry ingredients in a bowl.
Grate and add chopped fruit and veggies to a bowl along with all the wet ingredients. Stir to combine.
Fold in the dry to the wet mix and combine with minimal mixing (don't over-mix).
Grease a loaf or bread tin and add in the mix. Bake for 45 minutes or until the skewer comes out clean.
If there is a little too much for the tin ( in my case) add to muffin trays (but these will only take 20 minutes).
Allow the tin to cool for 10 minutes then remove the loaf and cool for a further 10-15mins on a wire rack (do not slice straight out of the oven or it will fall apart and turn dry).
Notes
To freeze the extra loaf cut it into slices first and pop it in the compostable ziplock bags.
Mix and match fruit, veggies, nuts, and seeds to make your own delicious blends.
Frozen berries can be used add them in frozen don't thaw them out first.
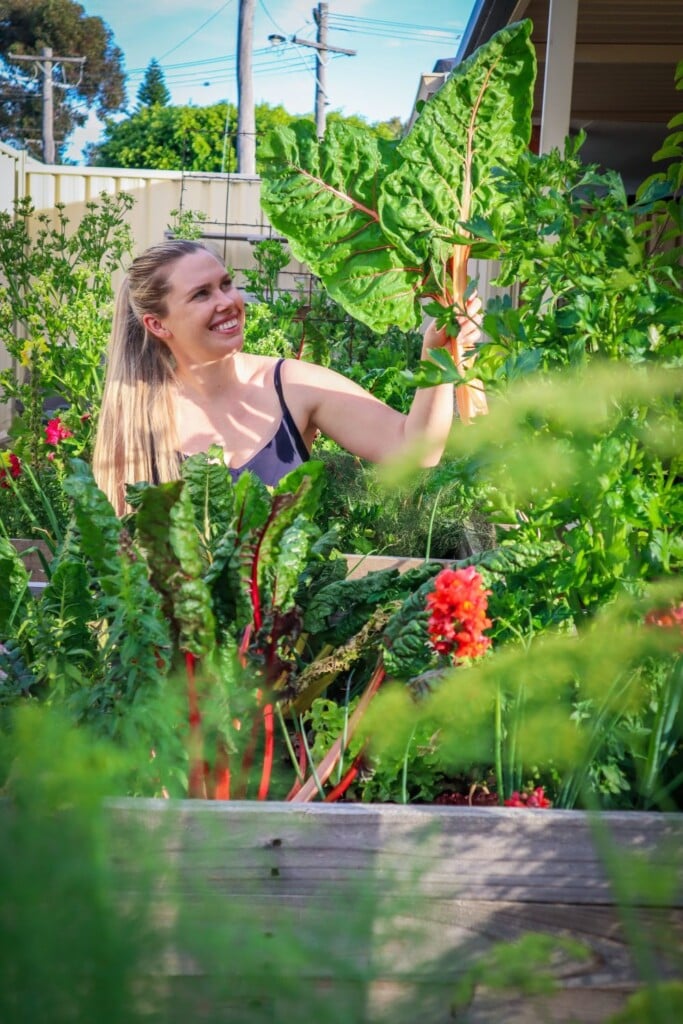
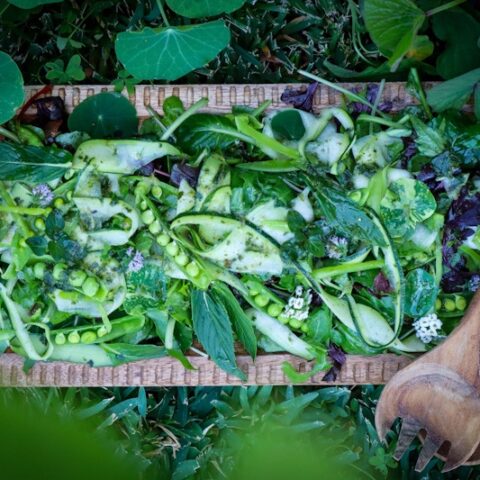
Green salads are a staple in any homegrown, garden-to-plate lifestyle — but that doesn’t mean they have to be boring. This simple green salad is fresh, vibrant, and packed with flavour, using ingredients that grow during the spring months. It’s the kind of salad you throw together in five minutes, but it tastes like something you’ve put real effort into. The secret is in the sauce! What I love most is how adaptable it is. Rocket brings a peppery bite, zucchini adds sweetness and crunch, peas bring that soft pop of freshness, and the mint ties everything together with a cooling lift. It’s the perfect side dish for spring and summer meals, or an easy way to use up handfuls of garden produce when everything is growing at once.
Try this delicious mint sauce recipe to dress potatoes or roast veggies!
Green Living
This is also a great recipe for anyone trying to reduce food waste — baby zucchinis, slightly overgrown rocket, or peas that aren’t “pretty” enough for a pod-and-eat moment all shine beautifully in this salad. Serve it alongside grilled veggies, roast chicken, a simple pasta, or enjoy it as a refreshing lunch on its own. And if you want to take it to the next level, try dressing it with my fresh mint sauce — it’s unbelievably good drizzled over potatoes, tossed through greens, or spooned onto roasted vegetables.
Growing your own food is all about keeping things simple, seasonal, and flavourful — and this salad does exactly that. Fresh, light, nourishing… and straight from the garden.
Rocket, Zucchini, Pea and Mint Green Salad
Prep Time: 10 minutes
Total Time: 10 minutes
Simple and packed full of flavour this green salad is sure to impress!
Ingredients
3 cups of Rocket and mixed greens*
1/2 Zucchini
6-8 Sugar Snap Peas
5-6 Mint Leaves for serving
1/2 cup Mint Dressing (see recipe below)
Instructions
Add Rocket and Greens to a mixing bowl and drizzle with 1/2 the mint sauce. Mix lightly to coat.
Add greens to the Serving dish.
Using a wide peeler, peel long strips of zucchini lengthwise. Add to mixing bowl and coat with a little extra dressing. Add on top of the salad mix.
Cut the Peas in half-length ways and place them throughout the salad.
Place mint leaves throughout the salad and top with edible flowers. (I used Mint flowers and white Alyssum). Drizzle over the remaining mint sauce to serve.
Notes
* Use seasonal salad greens such as Mizuno, Lettuce, Nasturtium, and Baby Spinach
Mint Sauce/ Dressing
Yield: 1/2 cup
Prep Time: 10 minutes
Total Time: 10 minutes
Ingredients
1/2 cup Mint leaves (Spearmint or common mint)
1 tsp Lemon Juice
1 tsp ACV
1 Tbsp Red Wine Vinegar
1 Tbsp Olive Oil
2 Tbsp Water
Salt to season
1/2 tsp Honey
Instructions
Roughly chop up the Mint leaves and add to a Mortar and Pestle
Add in the remaining ingredients and grind to a combined dressing.
Taste and add more lemon, honey, or salt to balance if needed.
Make the most of your abundant Cucumber harvest with these delicious, quick, and easy refrigerator pickles. Turmeric has anti-inflammatory properties and the Apple Cider Vinegar has anti-microbial properties and anti-oxidants. These quick pickles are great for adding to sandwiches, salads, burgers, and of course a cheese platter!
Quick Sweet & Sour Turmeric Pickles
Yield: 2 jars
Prep Time: 10 minutes
Cook Time: 3 minutes
Additional Time: 2 days
Total Time: 2 days13 minutes
Sweet and sour Refridgerator pickles are so quick and easy to make!
Ingredients
2-3 Medium Cucumbers or two jars of whole small pickling Cucumbers
1 cup Apple Cider Vinegar
1 cup Water
1 TBSP Mustard Seeds
2 TBSP Sugar
1 tsp Salt
1 tsp ground Turmeric powder
Instructions
Sterilise your jars by heating them in the oven face down at 120degrees Celsius or in the dishwasher on high heat. Sterilise the lids in a bowl by pouring boiling water on them.
In a saucepan add your vinegar, water, sugar, turmeric, salt, and mustard seeds (*optional chili flakes see notes) and bring to a simmer.
Slice your Cucumbers into spears or round slices and place them in the clean jar.
Pour over your pickling liquid and secure the lid. Carefully place the jar upside down to cool. This helps create a secure seal.
Once the jars are close to room temperature, turn them up the right way and add them to the refrigerator.
They will be ready to eat after 48 hours and use within a month or two.
Notes
Add sliced Red Onion, Dill, or Chilli flakes to your cucumber pickles for extra flavour.
This recipe also works with Zucchini in replace of Cucumbers too.