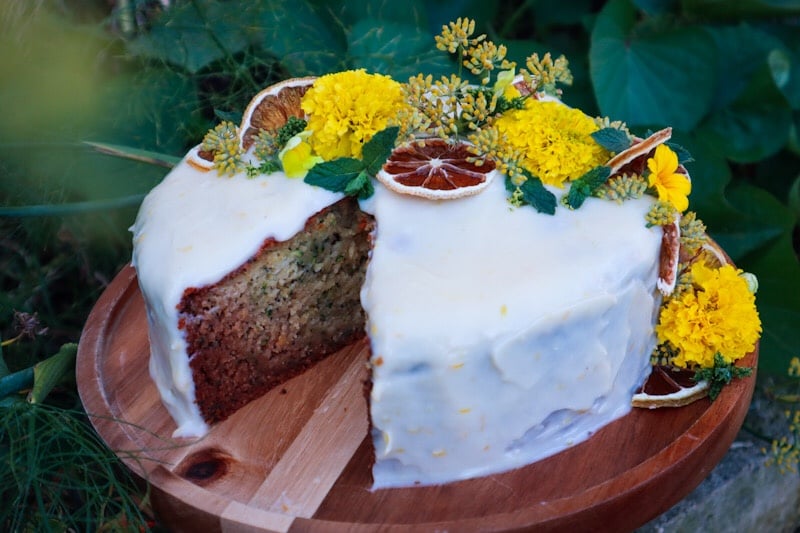
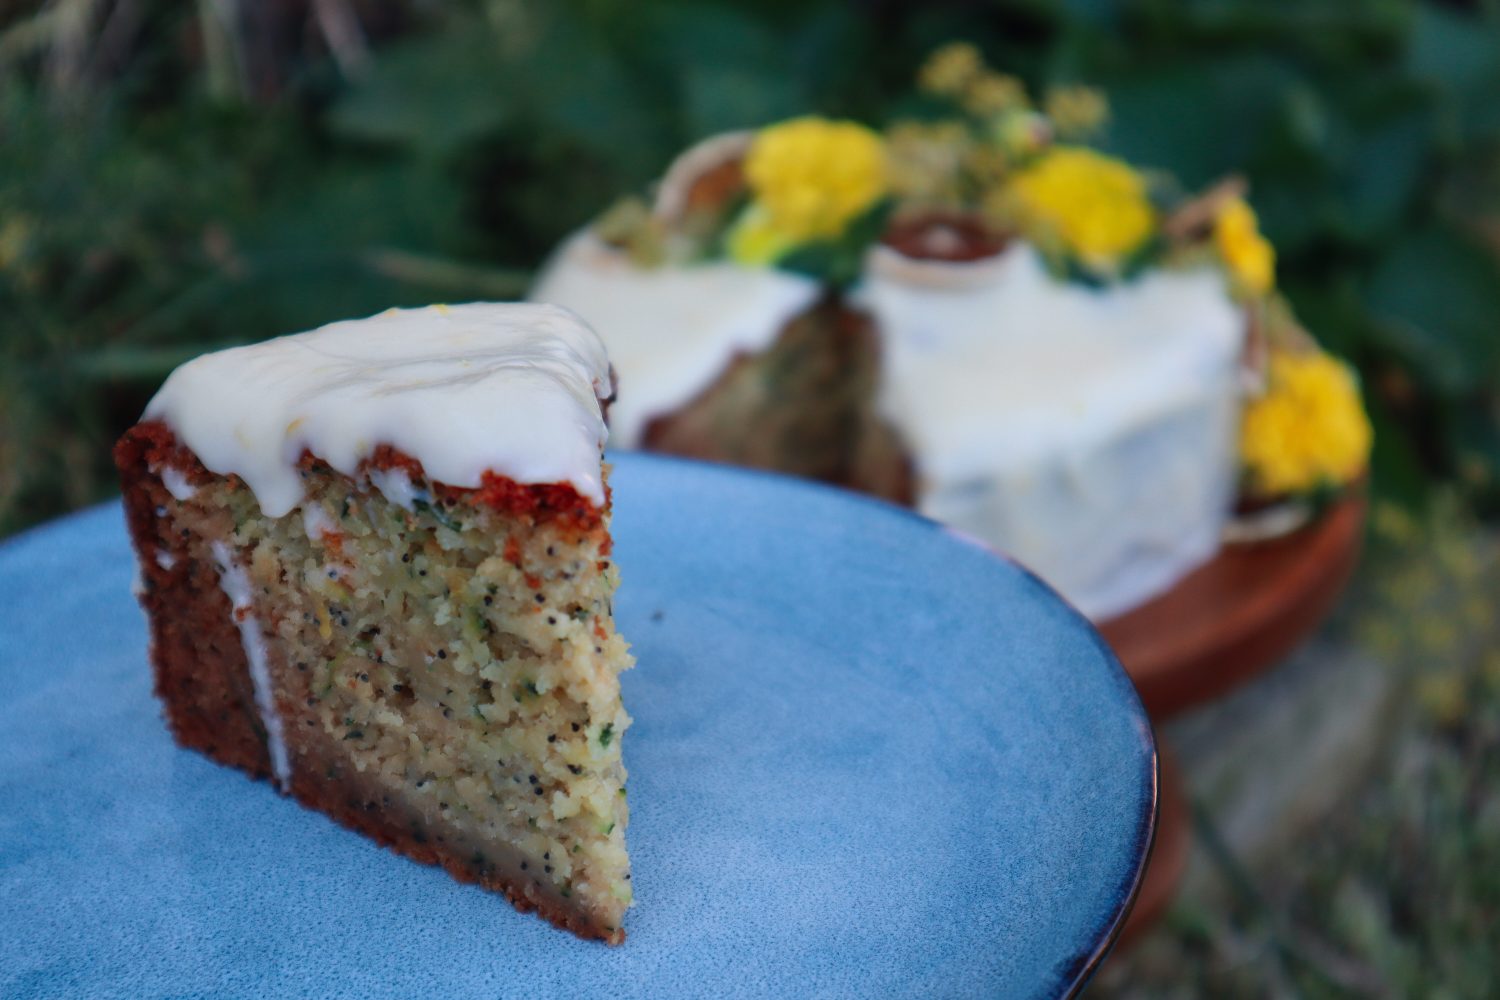
Zucchini are ready and abundant during the warmer months of summer which co-insides with a season of celebrations and events. This Lemon and Poppy Seed Zucchini cake is perfect for any occasion. Light, fresh and easily adaptable to seasonal flavours and fruits.
Lemon and Poppy Seed Zucchini Cake
Prep Time: 10 minutes
Cook Time: 40 minutes
Additional Time: 5 minutes
Total Time: 5 minutes
Ingredients
2 1/2 cups Plain Flour
2 tsp Baking Soda
1/4 tsp Baking Powder
1 Lemon
2-3 Zucchini (3 cups grated with the moisture removed)
3/4 cup Vegetable Oil
1 cup Sugar
1/4 cup Honey
1 tsp Vanilla Essence
3 Eggs
1 TBSP Poppy Seeds
1 tsp salt
extra salt for zucchini (1/4 tsp)
Icing
250g Cream Cheese
1 TBSP Lemon zest
2 TSBP Lemon Juice
1 cup of Icing Sugar
Instructions
Wash and grate the zucchini into a bowl. Sprinkle with roughly 1/4 tsp salt and mix through. Allow to sit while you prepare the other ingredients.
Preheat oven to 175 degrees celsius. In a bowl mix flour, baking soda, baking powder, poppy seeds, and salt and set aside.
In a mixer (or bowl with a whisk) add eggs beat until frothy. Add in the sugar, oil, vanilla, zest, and juice of one lemon. Whist until combined. Gradually add to the flour mix and stir to combine.
Strain and squeeze the extra moisture out of the zucchini using a sieve. Add 3 cups to the mixture and stir to combine.
Grease a cake tin (20cm). Pour in the cake mix and cook for 40 mins to 1hr or until a cake skewer comes out clean.
Remove the cake from the tin and allow to cool.
To make the Icing
Mix Icing ingredients together and ice the cake. Top with Dehydrated citrus and edible flowers.
Notes
To make a special occasion cake, make x2 cakes and add an extra layer of icing between them.
Zucchini are one of my favourite vegetables to grow because of their ease to grow and abundant harvests. They are such generous plants! The best thing about growing an abundance is that you can preserve the excess to use throughout the year. Harvesting and preserving your own Zucchini will allow you to build your self-sufficiency.
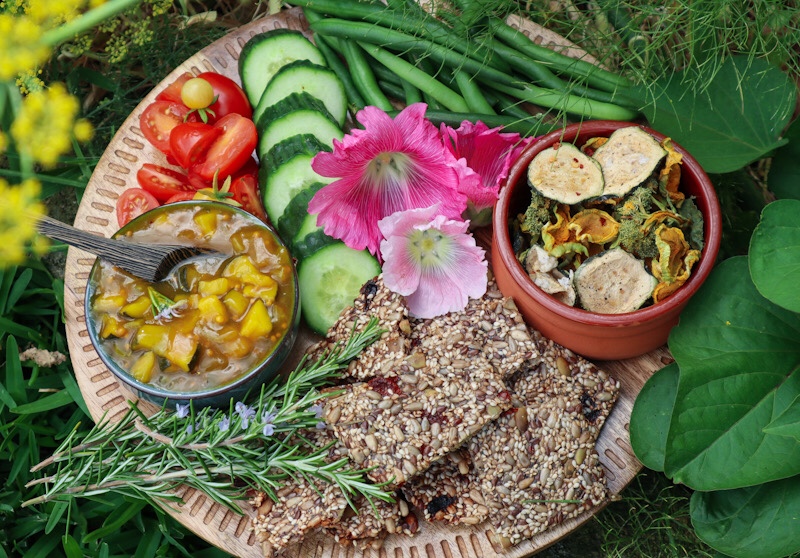
This Zucchini recipe is easy to make and you can adjust it to suit your harvest. Zucchini relish is a great addition to sandwiches or add it to a platter with all your delicious homegrown produce and homemade crackers. Zucchini pickle also makes great gifts! Sharing your delicious homegrown produce can help inspire others to grow their own too. Then you can swap and trade and support your friends and family.
Easy Zucchini Relish
Yield: 3 cups
Prep Time: 12 hours
Cook Time: 20 minutes
Total Time: 12 hours20 minutes
Ingredients
1 1/4 cup Apple Cider Vinegar
1 cup Raw Sugar
1/2 tsp ground Tumeric
1/2 tsp dried Chilli flakes ( or more to your taste)
2 tsp dried Mustard Seeds
1 TBS Salt
3-4 medium Zucchini
1 medium- large Onion
3 tsp Cornflour
Instructions
Wash and dice your Zucchini and Onion into small cubes. Place in an airtight container and sprinkle with salt. Mix in well, place on the lid, and add to the refrigerator for 12-24 hours to release the water.
Remove the Zucchini and onion mix from the fridge and strain off the excess liquid.
In a saucepan add the Vinegar, Sugar, Tumeric, Chilli, and Mustard Seeds. Bring to a simmer and stir for 2 minutes. Then add the Zucchini.
Allow to cook down slightly for 15-20 minutes, stirring regularly.
Remove a TBSP or so of the liquid and mix with the cornflour to make a paste. Return this back into the saucepan to thicken the Relish.
Sterilize your jars by either running through a hot dishwasher or in the oven at 110degrees for 15minutes. Sterilize the lids in boiling water.
Pour your zucchini mix into the hot jars and secure the lid. Place the jars upside down to cool. This helps them seal. Once the jars have cooled down, place them in the refrigerator. Enjoy!!
For long-term storage only cook the zucchini mix for 10minutes then add to jars. Process the jars in a boiling water bath for 10minutes.
Notes
For added colour and flavour you can also add Capsicum into the mix.
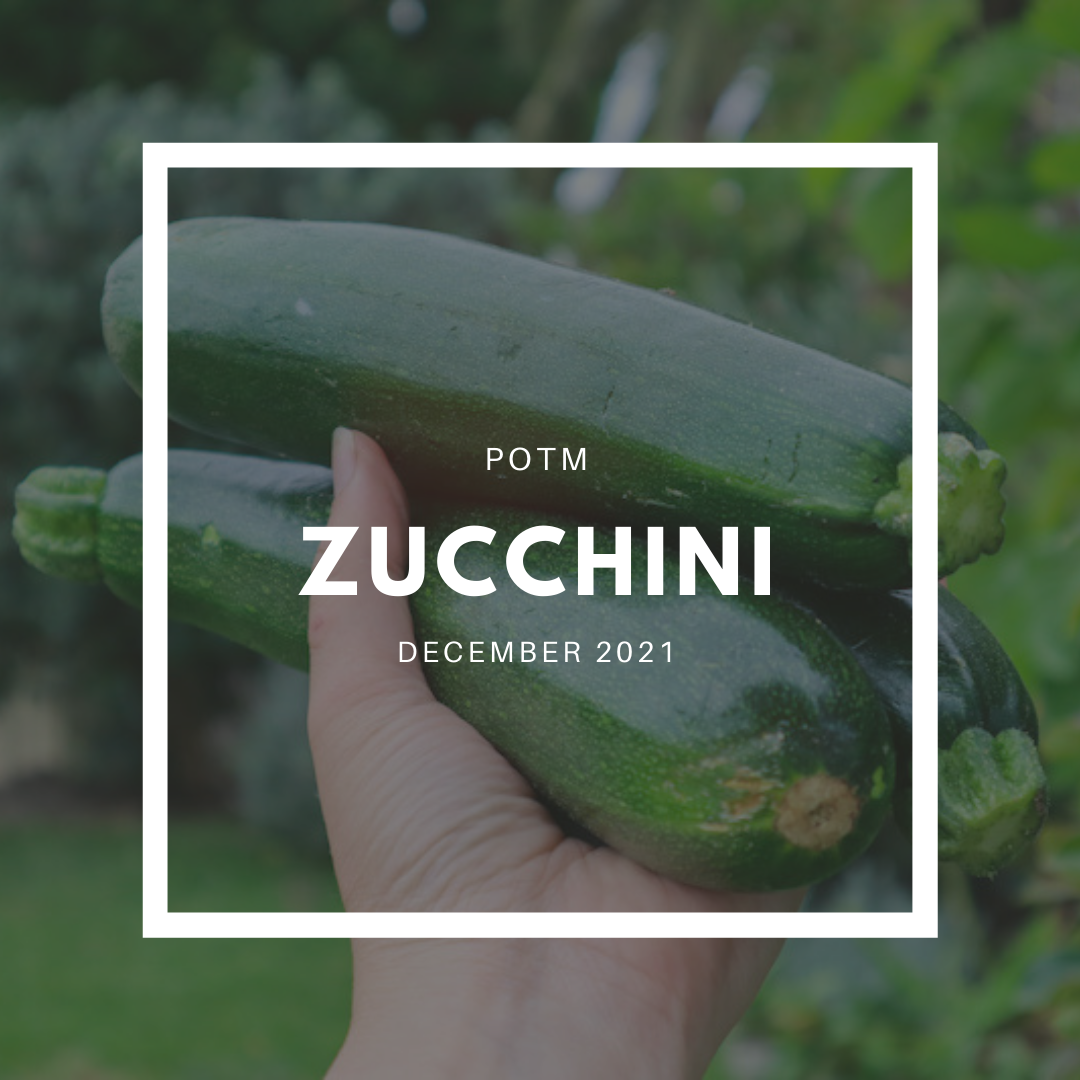
Zucchini (Cucurbita pepo) is a popular edible for home gardeners, as they are easy to grow and produce an abundance of food on a single plant. Zucchini can also be grown in pots or grow bags, so they make a fantastic high-yield option for urban gardens.
Zucchini is so versatile and can be used for sweet or savoury dishes and both raw or cooked. The great thing about growing Zucchini is that you will have more than enough to preserve, gift, swap, or trade.
Creating an abundant garden that you can share with your friends, family, and neighbours, is a rewarding and fulfilling way to garden.
Rich compost and composted manure soil. Create soil mounds.
LOCATION
Full sun 6 hours per day.
CARE
Water at the base to prevent mildew on the leaves.
FERTILISE
Feed every 2-3 weeks with liquid seaweed fertiliser.
PESTS
Mildew in humid climates.Rodents may attack the fruit.
HARVEST
Spring and Summer. Usually around 2 months after planting.
REPRODUCE
Save seeds from your best Zucchini at maturity.
Why Grow Zucchini?
Zucchini are quick-growing and can be used to make a wide variety of meals. Zucchini is a great base crop to grow, allowing you to create more meals straight from your garden. Below are just a few reasons to grow your own Zucchini at home.
Here are some of the many reasons to grow Zucchini:
Easy to grow
Prolific production on each plant
High in Vitamin A & C
Rich in Antioxidants
Can promote healthy digestion
Edible flowers
Can be eaten raw or cooked
Can be used for sweet or savoury dishes
Absorb flavour easily
Generous crops for gifting, swapping, or trading
Popular Zucchini Varieties
‘Black Beauty‘– Most popular heirloom variety with dark green skin. Prolific, quick-growing, ready to harvest in 7-9 weeks.
‘Long Florence‘ – Italian heirloom with green ribbed skin. Grows larger flowers perfect for stuffing. Ready to harvest in 6-8 weeks.
‘Fordhook‘ – Classic variety with smooth green skin with light speckles. High yield. Ready to harvest in 6-8 weeks.
‘Costata Romenesco‘ – Italian heirloom variety with pale green ribs and speckles. Looks like a star when sliced. Quick growing, ready to harvest in 6 weeks.
‘Lebanese‘ – Pale green or ‘grey’ variety. Sweet flavour. Best picked small. 8 weeks to harvest.
‘Golden‘ – Bright yellow/golden variety. Great for summer BBQs or baking. Ready to harvest in 9 weeks.
‘Ronde de Nice‘ – French heirloom variety. Small round fruits with green skin. Great for stuffing. Bruise easily so you don’t see these available at the shops often. Ready to harvest in 8 weeks.
How to Grow Zucchini
Zucchini grow in a large low structure and do take up quite a lot of space in the garden due to their large leaves. Choose a full sun location with at least 6 hours of sunlight a day. Zucchini can also be grown in pots and containers.
Zucchini are warm-loving plants and can be damaged by frosts. It may be best to plant your seeds in small pots or seed trays until your last frost has passed. Otherwise, Zucchini grow best sown directly into the soil. Plant your seeds as per the packet instruction as each variety and climate will have different growing suggestions. Once your seedlings have 4-5 leaves and your likelihood of frosts has passed, plant your seedlings in free-draining soil with plenty of compost. If you are growing Zucchini in garden beds, create small mounds of soil to plant your Zucchini seedlings on top of. Plant each seedling at least 1m apart.
When to Plant Zucchini
Plant Zucchini seeds directly in the soil during spring and summer. For early crops you can plant seeds inside in seed trays and plant outside once your last frost has finished.
Care/ Maintenance
Zucchini are heavy feeders, so it can be helpful to feed your plants with liquid seaweed or garden fertilizer every 2-3 weeks.
Mulch around your plants to protect the soil and retain moisture. Water your Zucchini at the base to avoid getting the leaves wet, as Zucchini can be prone to powdery mildew. Watering in the morning can also help to prevent this, as the leaves will have time to dry out and not sit wet for too long. If you do see white powdery mildew, remove the affected leaves and make up an organic spray with a mix of 9 parts water to 1 part milk. Spray this over the Zucchini leaves.
It can be beneficial to remove the older leaves at the base of the plant to increase airflow and prevent moisture from sitting around too long. Use sharp and clean secateurs to reduce the spread of any diseases.
Some plants may need staking or support as they grow.
Pollination/ Fruiting
Zucchini produce both male and female flowers on each plant for pollination. Our bees do a fantastic job at pollinating, so planting flowers nearby will help to encourage plenty of pollinators to your garden.
If your Zucchini are not reaching maturity and seem to shrivel and die prematurely, this may be due to a lack of pollination. You can manually pollinate your flowers by using a small paintbrush to dust the pollen of the male flower’s stamen (single flower with no baby Zucchini forming) to the female flower Stigma (flower with a baby Zucchini at the base). This can help boost your success rate and grow more Zucchini. This can also be achieved by picking a male flower, removing the petals, and using the pollen-covered stamen to transfer pollen to the female flowers. If you do notice pollination issues be sure to plant lots more flowers in between your plants to attract more bees.
Another reason your fruit may be dying off could be due to blossom end rot. This will cause the end of the Zucchini to go brown and start to rot before reaching maturity. This is due to a number of factors such as lack of calcium in the soil, feeder roots being cut or damaged, and most commonly, inconstant watering. During hot, dry periods, it is important to keep a regular watering schedule. Anautomatic timer will come in very useful. Mulching will also help retain moisture.
Pests / Disease
Zucchini is relatively pest-resistant. Protect young seedlings from slugs and snails. They can get some fungal diseases in humid weather. It is important not to wet the leaves to prevent powdery mildew from forming. If you do start to see some powdery mildew, remove the leaves (if it is only a few) or create a spray of 1 part milk to 9parts water and spray over the affected area. Once the fruits start to mature be aware of rodents or other animals finding your harvests.
How/ When to Harvest
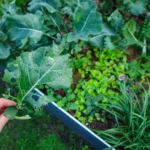
Harvest your Zucchini when they are small (15-20cm long) and often. This will encourage your plant to produce more and more fruit. Use sharp secateurs to avoid accidentally ripping the entire plant out or snapping off part of your Zucchini.
Zucchini grow very quickly once the plant is established, so you may need to check every day or every other day for new produce.
If you want to harvest Zucchini flowers for eating, choose the male flowers. Otherwise, you will be reducing the number of Zucchini you get from each plant. Be sure to leave some male flowers for pollination, or harvest your flowers after manually pollinating the female flowers.
Reproducing
Zucchini seeds are the easiest way to reproduce. Let 1-2 of your best-looking Zucchini grow to maturity (until the skin is hard and cannot be broken with your fingernail). This will be when the seeds are mature and ready to harvest. Wash the flesh off the seeds and allow them to dry before storing it in a cool, dry, dark space.
Cooking and Using Zucchini
There are so many ways to use Zucchini and with just one plant, you will have plenty of opportunities to try many of them out! Below are just a few of the many ways to cook and preserve your abundant Zucchini harvests.
Watermelon salsa is a refreshing and delicious addition to any summer BBQ. Serve with grilled Fish, Chicken, Fritters, Tofu, or Haloumi. This salsa is so quick and easy to make and looks so festive! Watermelon Salsa would be a perfect addition to summer entertaining.
Watermelon Summer Salsa
Prep Time: 5 minutes
Total Time: 5 minutes
Fresh, Vibrant, and refreshing salsa for all your summer BBQs.
Ingredients
1 cup diced Watermelon
1/2 Lime
1/2 cup diced green capsicum
1 TBSP Fresh chopped Mint
Drizzle of olive oil
Sea salt flakes to season
1 small red Chilli
1/4 of a Red Onion
2 TBSP Fresh Chopped Parsley
Instructions
Finely dice the watermelon into small cubes (approx 1/2cm square).
Dice the Capsicum into small cubes.
Finely dice the red onion.
Roughly chop up the fresh Mint and Parsley.
Add the Watermelon, Capsicum, Onion, Parsley, and Mint to a bowl. Drizzle with a little olive oil, squeeze the juice of 1/2 a lime, add sliced red Chilli and mix to combine.
When ready to serve add Salt Flakes and Edible Flowers (I have used Purple Cornflower petals)
Notes
Make this as close to serving as possible, as the watermelon will let go of a lot of water if prepared ahead of time.
Zucchini Fritters with Haloumi and Watermelon Salsa
This is a seasonal match made in heaven. Summer brings an abundance of Zucchini and delicious mouth-watering Watermelon. Serve these fritters on Nasturtium leaves for a nutritious lunch or with a garden salad for a light refreshing meal on those hot summer nights.
Zucchini Fritters with Haloumi and Watermelon Salsa
Ingredients
3 small-medium Zucchini
1/2 cup flour
1 Egg (optional)
1 tsp Salt
1/4 finely sliced Red Onion (could use shallots or spring onion)
1/4 cup chopped fresh Parsley
1 TBSP chopped fresh Basil (or Chives)
Salt and Pepper
1 small fresh chilli finely sliced
1 packet Haloumi
10-12 Nasturtium leaves (or lettuce leaves) to serve (optional)
Watermelon Salsa
Instructions
Rinse your Zucchini and grate them into a bowl. Sprinkle with 1 tsp of ground rock salt (roughly 5-6 grinds) to allow the moisture to extract. Stir through, cover, and set aside for 10 minutes.
Finely chop your Herbs, Onion and Chilli.
After 10 minutes or so place your grated Zucchini in a sieve and squeeze out all the extra moisture.
Then in a clean bowl mix all your ingredients together and season well with salt and pepper.
Heat a pan on medium-high heat with oil. Spoon your mixture into the medium-sized pan and flatten it down a bit. Cook 3-4 minutes on each side or until crispy brown.
While your fritters are cooking, heat a small pan and fry off your sliced Haloumi until lightly golden.
Allow your fritters to cool slightly and serve on Nasturtium leaves with a slice of Haloumi and a spoon full of Watermelon Salsa.
Notes
Alternatively, serve your Zucchini Fritters with a garden salad and top with Haloumi and Watermelon Salsa for a Light and Refreshing Summer meal.
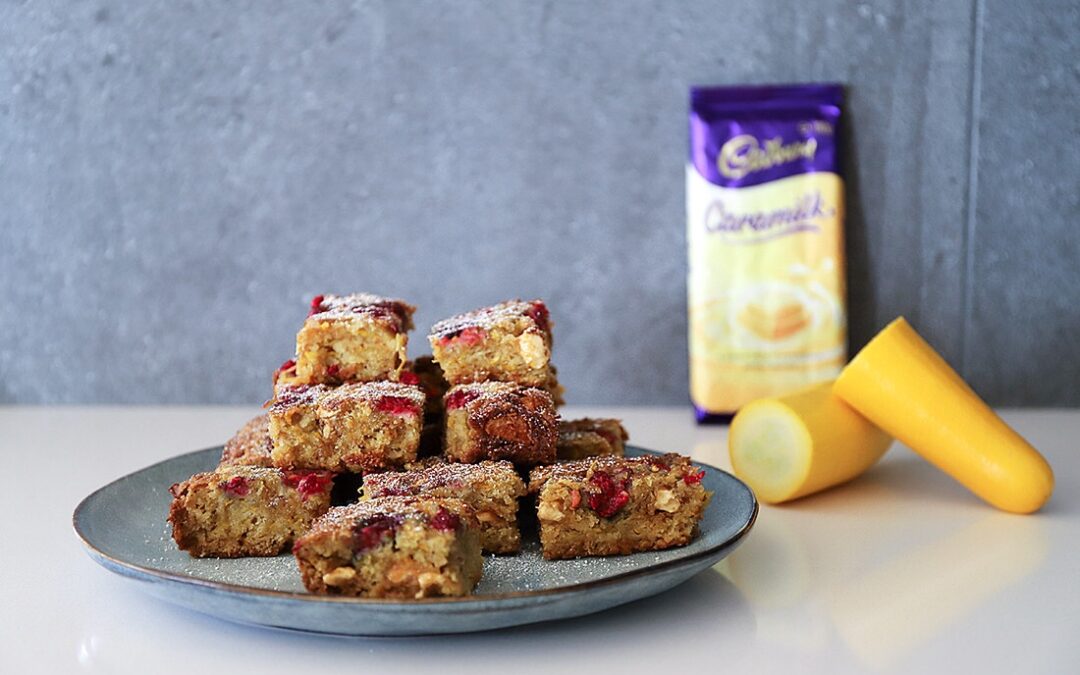
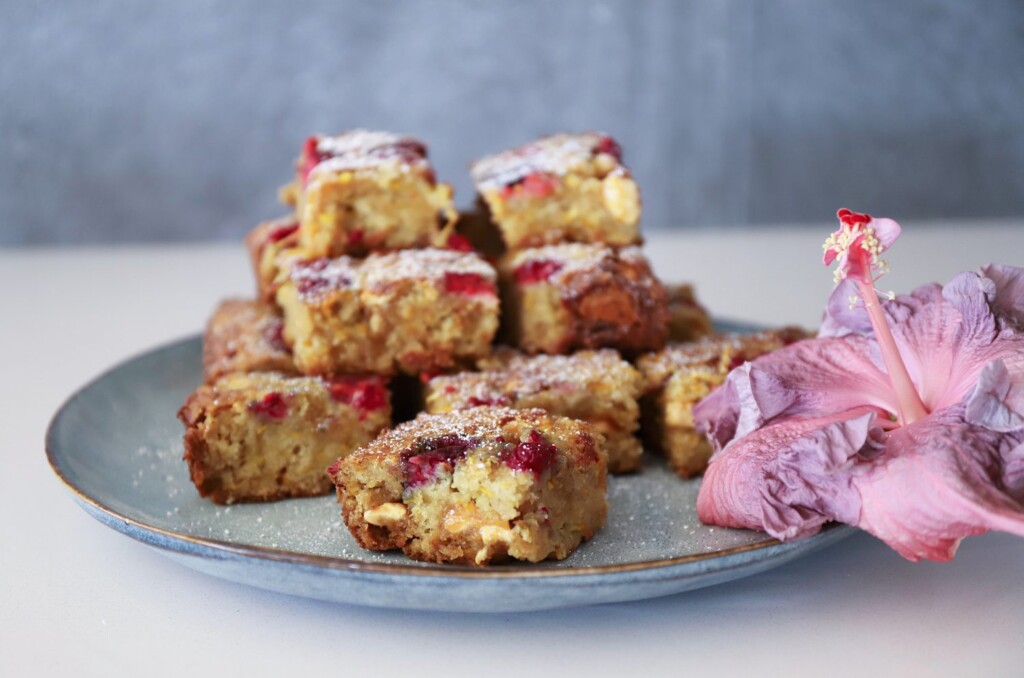
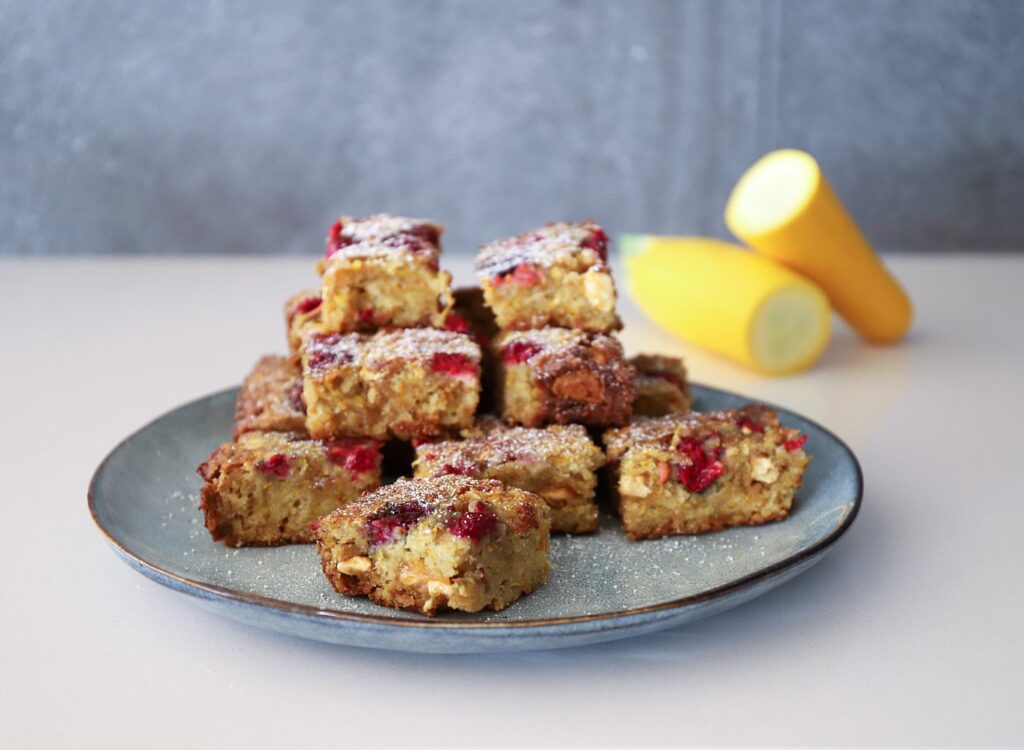
Zucchini season is in full swing and I am trying to make as many different recipes as I can to learn how to get the most out of harvests. These White Chocolate and Raspberry Zucchini Brownies are my new favourite sweet treats!! You can’t even taste the Zucchini.
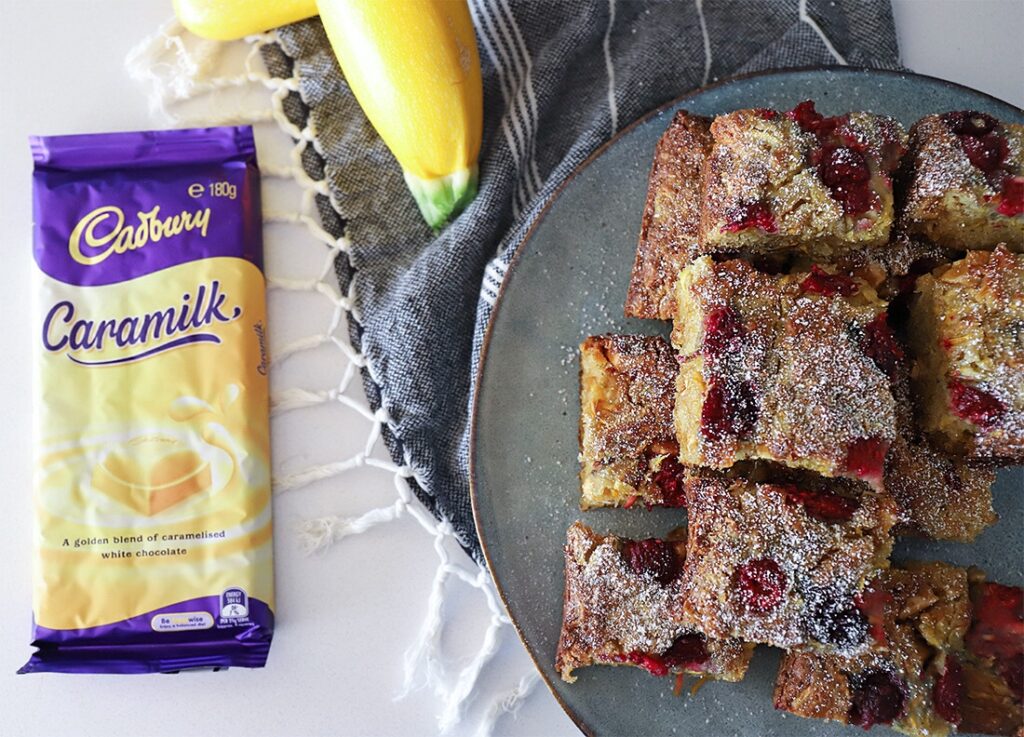
My sister-in-law sent me a bunch of Caramilk blocks and I have been saving them in the freezer. I decided to use some to test out a batch of white chocolate brownies using my Golden Zucchini. WOW. They turned out way better than I could ever have imagined! Even have a slight banana bread vibe to them. I did try to film the recipe but my memory card ran out halfway through which was a total fail! I will get there!
Anyway, these are super easy and definitely a sweet treat! The raspberry is perfect to help balance out the sweetness.
White Chocolate and Raspberry Zucchini Brownies
Ingredients:
2 cups grated Zucchini – mine worked out about 2 medium-sized Zucchini
1/2 cup vegetable oil
1/2 cup brown sugar
1/2 cup raw sugar
2 teaspoons vanilla extract
1 1/2 teaspoons baking soda
2 cups organic plain flour
3/4 cup raspberries
1 block/180g White Chocolate (replace with which ever chocolate you like)
1 teaspoon salt
Method
Preheat oven to bake at 180degrees Celcius. Grease baking pan (roughly 28cm x20cm).
In a bowl mix sugar, flour and oil until combined.
Grate Zucchini and add to the bowl along with baking soda and vanilla extract.
Sprinkle salt over and stir until it becomes a moist batter. The mix will start off quite dry but keep mixing and the Zucchini will release its moisture to form a batter.
Once it has started to become a sticky batter. Chop up your chocolate into small chunks and mix through the batter.
Add half the raspberries and stir through gently.
Pour the mix into the greased pan and press in the remaining Raspberries.
Bake for 20-30 minutes or until a skewer comes out clean.
Cool on a wire rack. Cut into squares and enjoy!
Try quizzing your friends to see if they can pick the core ingredient.
Enjoy!
Holly 🌱
MY GARDENING ESSENTIALS // Fertiliser spray gun: https://bit.ly/366nL1t Retractable Hose: https://bit.ly/2TSC0Bo More gardening tools: https://bit.ly/32IQmbD
DISCLAIMER: Links included in this description might be affiliate links. If you purchase a product or service with the links that I provide I may receive a small commission. There is no additional charge to you! Thank you for supporting my page so I can continue to provide you with free content!