Celebrate summer with these delicious watermelon choc-tops. Indulge in a sweet treat without all the added refined sugars. These watermelon choc-tops can be made frozen for an iceblock or chilled in the fridge for a refreshing summer treat. If you don’t like biting into a frozen iceblock, the refrigerated versions may be the best for you. These were such a hit and will now be a summer staple in our house!
With just two simple ingredients you can quickly and easily make these Watermelon Choc-tops that are sure to impress! Sprinkle with edible flowers before the chocolate sets to add a little extra magic.
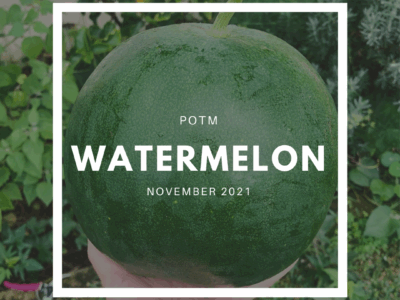
Watermelon Choc-tops
Prep Time: 5 minutes
Additional Time: 2 hours
Total Time: 2 hours5 minutes
Watermelon Choc-tops are the ultimate summer treats! Quick and easy to make using simple ingredients.
Ingredients
Watermelon
Chocolate buttons (or whatever chocolate you prefer)
Edible Flowers
Iceblock sticks
Instructions
Slice your watermelon up into Iceblock sized pieces around 1cm thick and place in a container in the fridge to cool while you melt your chocolate.
To melt the chocolate I place my chocolate buttons in a small saucepan and set it over another saucepan with water and allow the steam to heat it.
Once your chocolate has melted remove it from the heat.
Create a rack to hold your watermelon iceblocks by placing two sticks (or chopsticks or knives) across the top of a cup.
Push the iceblock stick into the watermelon pieces so that they are secured.
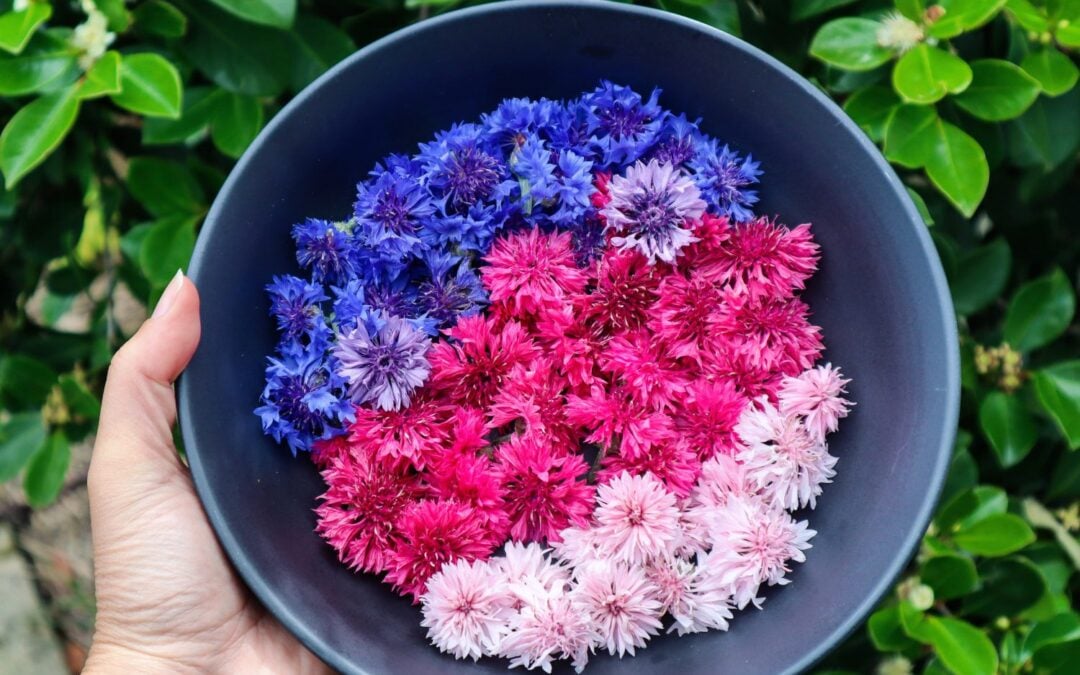
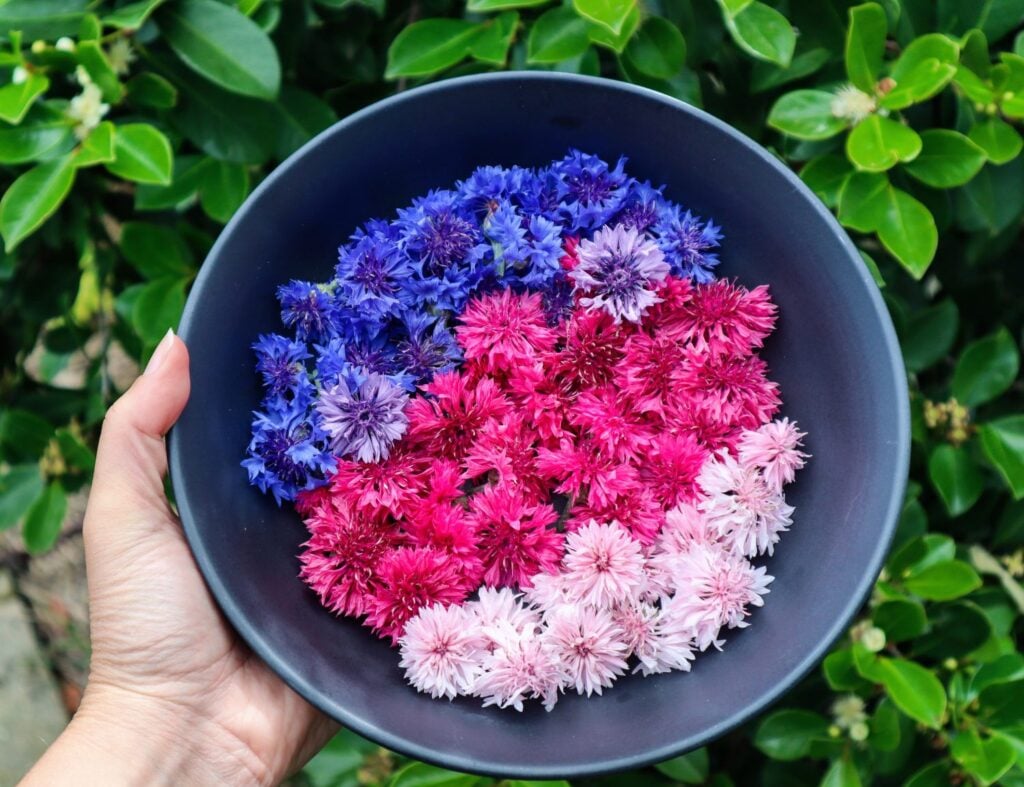
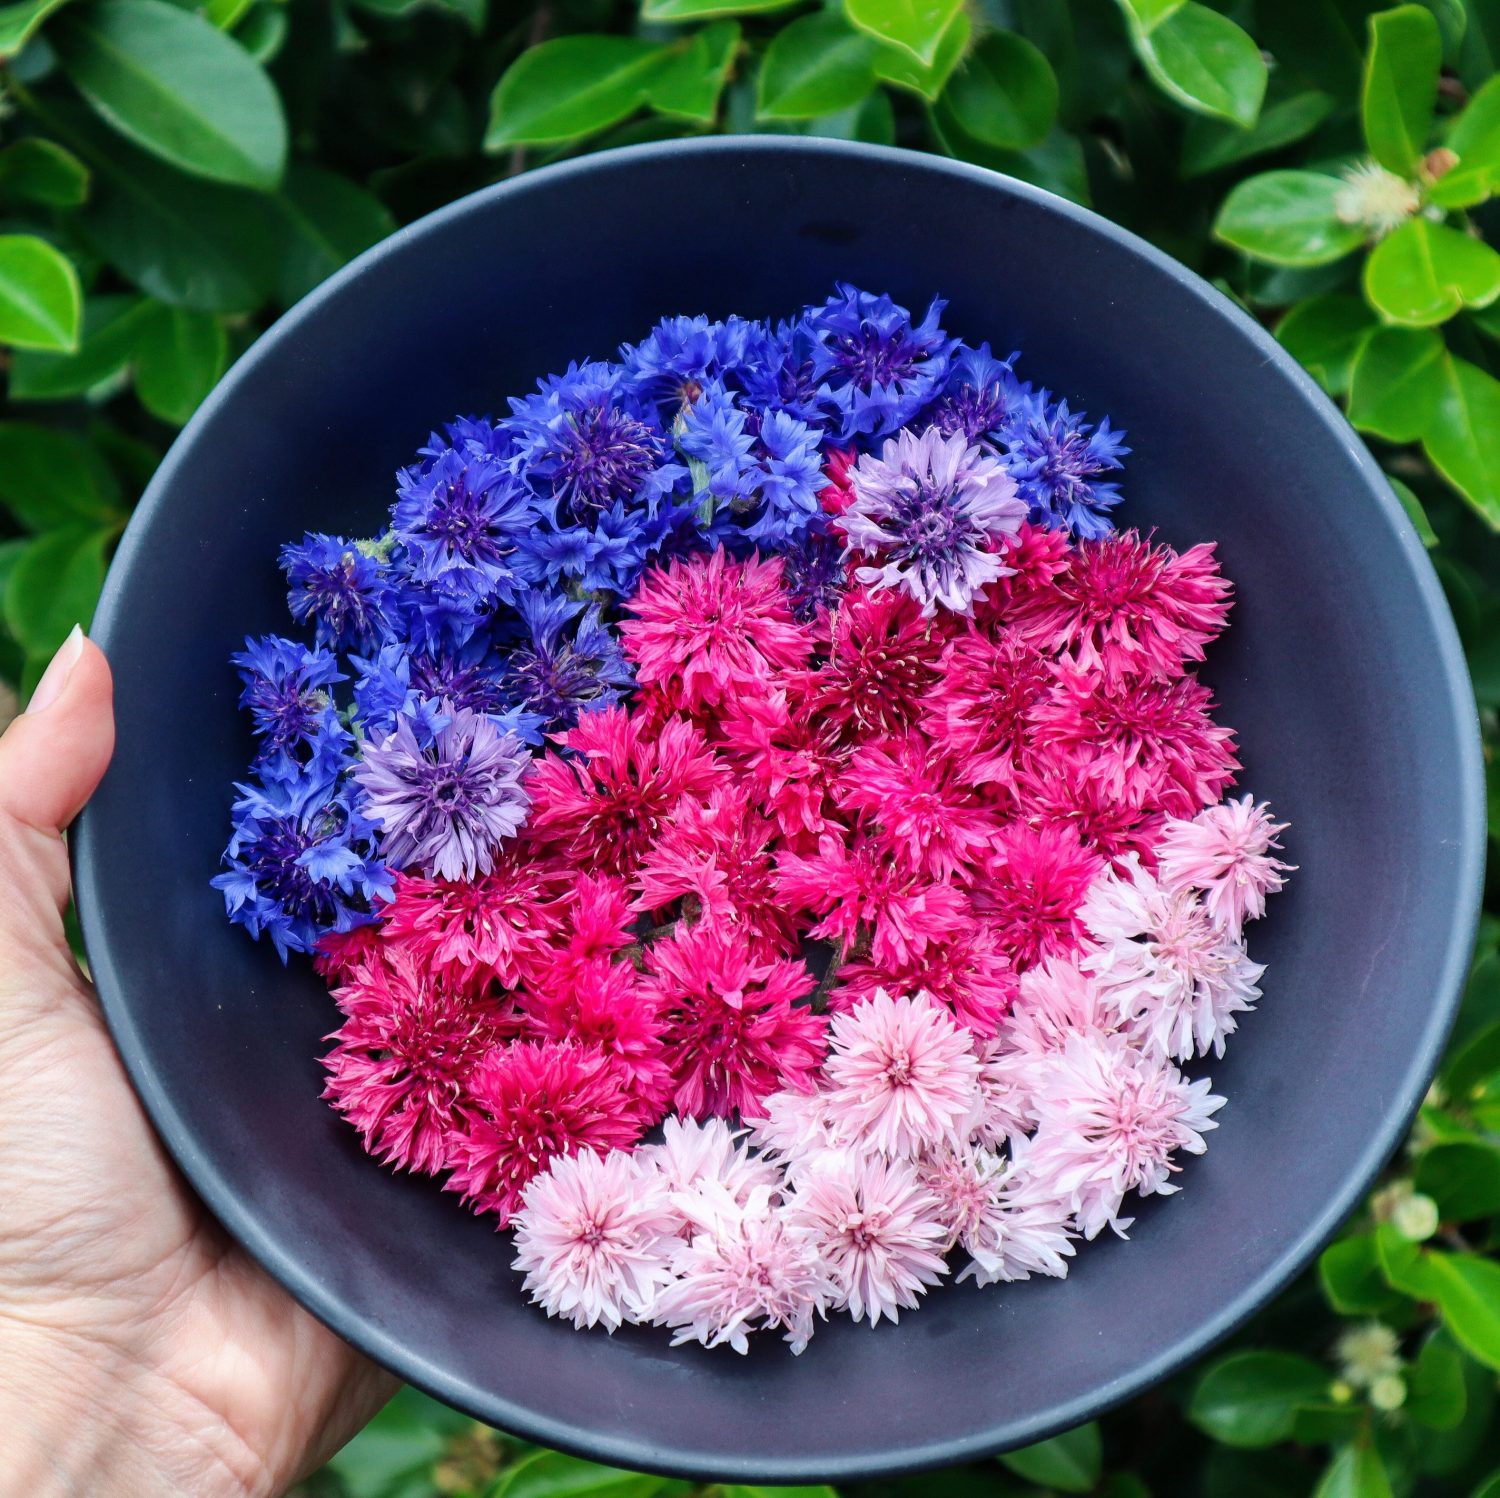
Spoon over your melted chocolate and sprinkle on edible flowers. I used dried cornflower. Carefully place your chocolate-coated watermelon upright on your makeshift rack by holding the bottom edge of the watermelon.
Place in the freezer to set. The watermelon will be frozen and ready to eat within 2hours. Or place in the fridge until the chocolate has set for the fresh version.
Notes
Both fresh and frozen are good! However, I do prefer the frozen ones.
The difference between the fresh or frozen versions is :
Fresh - Sweeter, very juicy, a little hard to eat.
Frozen- Mild watermelon flavour, not too sweet, need to be good with biting into frozen food.
Watermelon salsa is a refreshing and delicious addition to any summer BBQ. Serve with grilled Fish, Chicken, Fritters, Tofu, or Haloumi. This salsa is so quick and easy to make and looks so festive! Watermelon Salsa would be a perfect addition to summer entertaining.
Watermelon Summer Salsa
Prep Time: 5 minutes
Total Time: 5 minutes
Fresh, Vibrant, and refreshing salsa for all your summer BBQs.
Ingredients
1 cup diced Watermelon
1/2 Lime
1/2 cup diced green capsicum
1 TBSP Fresh chopped Mint
Drizzle of olive oil
Sea salt flakes to season
1 small red Chilli
1/4 of a Red Onion
2 TBSP Fresh Chopped Parsley
Instructions
Finely dice the watermelon into small cubes (approx 1/2cm square).
Dice the Capsicum into small cubes.
Finely dice the red onion.
Roughly chop up the fresh Mint and Parsley.
Add the Watermelon, Capsicum, Onion, Parsley, and Mint to a bowl. Drizzle with a little olive oil, squeeze the juice of 1/2 a lime, add sliced red Chilli and mix to combine.
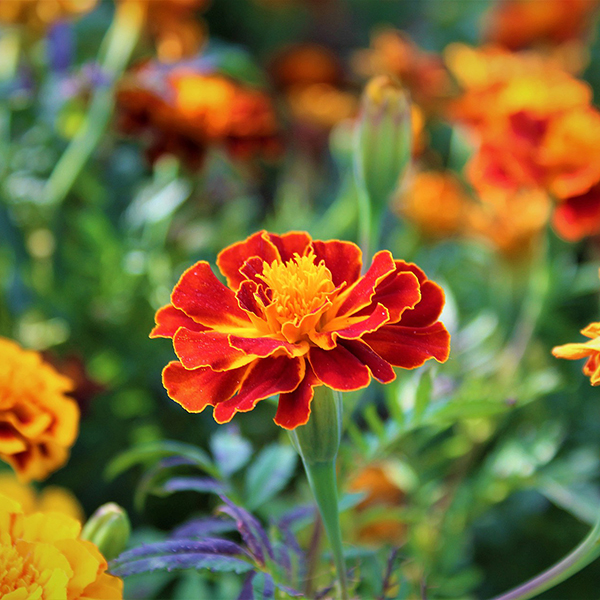
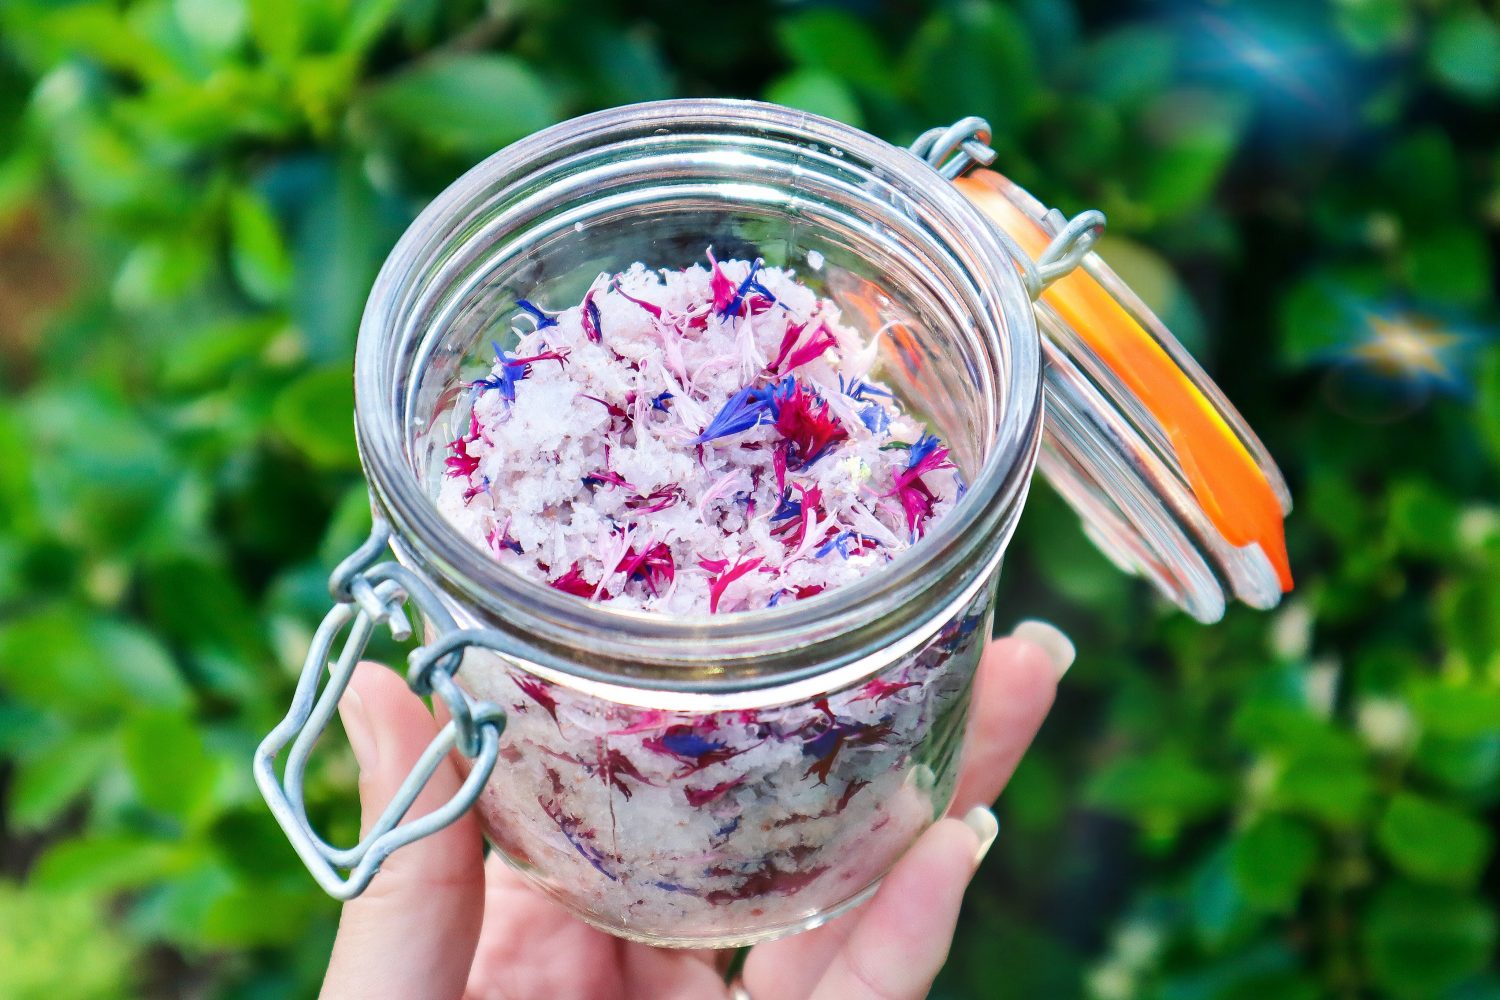
When ready to serve add Salt Flakes and Edible Flowers (I have used Purple Cornflower petals)
Notes
Make this as close to serving as possible, as the watermelon will let go of a lot of water if prepared ahead of time.
Zucchini Fritters with Haloumi and Watermelon Salsa
This is a seasonal match made in heaven. Summer brings an abundance of Zucchini and delicious mouth-watering Watermelon. Serve these fritters on Nasturtium leaves for a nutritious lunch or with a garden salad for a light refreshing meal on those hot summer nights.
Zucchini Fritters with Haloumi and Watermelon Salsa
Ingredients
3 small-medium Zucchini
1/2 cup flour
1 Egg (optional)
1 tsp Salt
1/4 finely sliced Red Onion (could use shallots or spring onion)
1/4 cup chopped fresh Parsley
1 TBSP chopped fresh Basil (or Chives)
Salt and Pepper
1 small fresh chilli finely sliced
1 packet Haloumi
10-12 Nasturtium leaves (or lettuce leaves) to serve (optional)
Watermelon Salsa
Instructions
Rinse your Zucchini and grate them into a bowl. Sprinkle with 1 tsp of ground rock salt (roughly 5-6 grinds) to allow the moisture to extract. Stir through, cover, and set aside for 10 minutes.
Finely chop your Herbs, Onion and Chilli.
After 10 minutes or so place your grated Zucchini in a sieve and squeeze out all the extra moisture.
Then in a clean bowl mix all your ingredients together and season well with salt and pepper.
Heat a pan on medium-high heat with oil. Spoon your mixture into the medium-sized pan and flatten it down a bit. Cook 3-4 minutes on each side or until crispy brown.
While your fritters are cooking, heat a small pan and fry off your sliced Haloumi until lightly golden.
Allow your fritters to cool slightly and serve on Nasturtium leaves with a slice of Haloumi and a spoon full of Watermelon Salsa.
Notes
Alternatively, serve your Zucchini Fritters with a garden salad and top with Haloumi and Watermelon Salsa for a Light and Refreshing Summer meal.
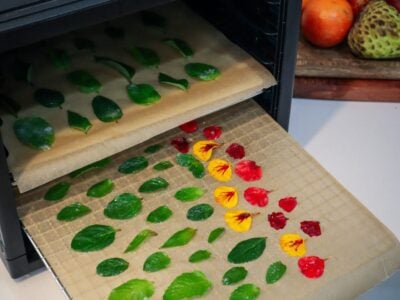
Watermelon jerky or dehydrated watermelon is a great way to use and preserve your leftover or excess watermelon. Some watermelon can grow to over 25kg! That’s a whole lot of watermelon to eat before it goes to waste. This recipe makes a delicious, chewy, sweet treat and helps stop any precious watermelon from going to waste.
Marinated in fresh mint and lime juice, this watermelon jerky is packed full of delicious summer flavours!
Watermelon, like its name suggests, has high water content. By dehydrating and removing that water content, you are left with a high concentration of natural sugars. This Mojito watermelon jerky recipe helps balance some of that sweetness and adds a delicious and refreshing flavour. When making this recipe you can do some with the marinate and some plain to work out which you prefer.
Mojito Watermelon Jerky
Cook Time: 1 minute
Total Time: 1 minute
Naturally, sweet watermelon treats 🍉
Ingredients
1/2 Watermelon
1 Lime
1/2 cup fresh Mint
Instructions
Rinse and finely slice the mint.
Add the juice and zest of one Lime to a bowl and mix through the mint.
Remove the rind and any seeds from the watermelon and slice it into strips roughly 1cm thick. If the strips are too thin they will break apart and be hard to remove from the tray. Too thick and it will take a loooooong time to dehydrate, so I have found around 1cm is a happy medium.
Lay your watermelon strips in a large shallow dish and pour over the lime and mint marinate. Gently turn over to coat. I like to do a mix of some marinated and some plain. Cover your dish and refrigerate for 1-2 hours to allow the flavours to combine.
Place your watermelon onto your dehydrator trays, ensuring you have a drip tray at the bottom to catch excess juices. I have found it is best to use fruit leather trays or parchment paper otherwise the jerky gets stuck to the metal grids. Dehydrate at 60 degrees Celsius until dry (This will take anywhere from 18-24 hours). To speed up the process, turn your watermelon strips over a few times during the process.
They should not be sticky to touch. The thicker parts that aren't quite dry will be a darker red colour. You may need to remove the dried watermelon and let the thicker slices dehydrate a bit longer. This will take anywhere from 18-24 hours.
Allow to cool and add to a clean, dry, airtight container.
Enjoy! 🍉
Notes
Please note that the Watermelon reduces significantly in size once dehydrated and has concentrated, high levels of sugars. Enjoy 2-3 pieces per serve as a treat or natural confectionary.
Watermelon (Citrullus lanatus) is easy to grow in home gardens and provides large amounts of delicious fruit. Sweet and bursting with juice, watermelons provide us with a delicious and hydrating summer treat. Watermelons grow on a vine and can trail along the ground or can also be grown vertically with extra support for their heavy fruit. This makes them a great addition to any home garden.
Rich compost and composted manure soil. Create soil mounds.
LOCATION
Full sun 6-8+ hours per day.
CARE
Young plants need regular watering.Water at the base to prevent mildew on the leaves.
FERTILISE
Feed every 2-3 weeks with liquid seaweed fertiliser.
PESTS
Mildew in humid climates.Rodents may attack mature fruit.
HARVEST
Late Summer. Usually around 3 months after planting.
REPRODUCE
Save seeds from your best watermelons.
Why Grow Watermelon?
Watermelon is bursting full of sweet, delicious, and hydrating food. Nature’s way of providing us with refreshing and nutritious energy for the long, hot summer days. Although they do need plenty of water to grow abundant crops, watermelon can do well in hot, dry climates.
Here are some of the many reasons to grow Watermelon:
Low maintenance
Drought tolerant
Pest resistant
Creates diversity in the garden
Abundant, sweet, juicy fruit
Can be grown along the ground or vertically
Can be used for sweet or savoury dishes
Make your own garden treats
Hydration
Vitamin C & A
Antioxidants
Animal Feed
Popular Watermelon Varieties
‘Sugar Baby’– Abundant red flesh Heirloom variety. Compact fruit with matte green hard outer skin to prevent splitting. 10-week harvest. 4 Fruit per plant. 3kg per fruit.
‘Moon & Stars’ – Heirloom pinky-red flesh variety with yellow “stars” over the fruit and leaves and one large “moon” speck. Thich skin to prevent splitting. 14- week harvest. 3-4 fruit per plant. 25kg per fruit.
‘Crimson Sweet (War Paint)’ – Very popular with deep red flesh and white paint-like stripes on the skin. 12-week harvest. 10kg per fruit.
‘Candy Red (Charleston Grey) – Heirloom. Large oval fruits with deep red flesh. Light green skin. 15+ week harvest. 15kg fruit.
‘Bush Jubilee’ – Old variety with red flesh and green striped skin. High sugar content. Compact bushy vine, great for small space gardening. 14-week harvest. 5kg fruit.
‘Blacktail Mountain’ – Large round fruit with red flesh. Dark green skin. Extra Sweet. Great for colder climates. 15-week harvest. 4 fruit per plant. 5kg per fruit.
‘Sweet Siberian’ – Heirloom with a green outer skin and sweet orange flesh. Great for colder climates. 10-weeks harvest. 5 fruit per plant. 4kg per fruit.
‘Golden Midget’ – Skin turns yellow when ripe. Sweet red flesh. Prefers warmer climates. 14-week harvest. 7 fruit per plant. 2.5kg per fruit.
How to Grow Watermelon
Watermelon likes a full sun location, with approximately 6-8 hours of sunlight. Plant seeds when daily temperatures start to average 20-25 degrees Celsius per day (less for colder varieties). Watermelon does not like their roots being disturbed. So if possible planting them directly in the ground can be beneficial. Create 30cm high mounds of soil using rich compost and composted manure. Plant your seeds 1 inch deep on the top or plant your seedlings if you have germinated inside.
When to Plant Watermelon
Plant your watermelon seeds from Spring to early Summer. Watermelon can take a while to produce so it is a good idea to get them in the ground early. As soon as temperatures average 20-25 degrees Celcius.
Care/ Maintenance
Young watermelon plants will need regular watering. Especially in the height of summer. The leaves will curl up and notify you that they are too dry. Avoid watering the leaves as this can allow powdery mildew to form. It can be a great idea to put a stick or marker where you plant the seeds. Once the plant is established, it can be hard to see where the main stem and roots are to water correctly. Placing a marker will help you water the correct part of the plant for maximum efficiency. Cover your soil with mulch – pea straw or lucerne can be a great option as it will start to break down and feed your plants.
Feed your plants regularly (every 2 weeks or so) with a liquid seaweed fertiliser for an extra boost of nutrients.
Heavy rain or excess watering when the fruit is nearing maturity, may cause the melon to crack open. Keep an eye on your ripening melons.
Watermelon can also be grown vertically! Especially the smaller fruiting varieties. Plant them near a trellis or frame and move the vines as they grow to latch onto the frame. They have strong tendrils that will hold them in place. Once the fruit starts to form you may need to support the weight so that they do not snap and fall. A mini hammock under the melon using a stretchy, breathable fabric such as a stocking can be useful.
Pollination/ Fruiting
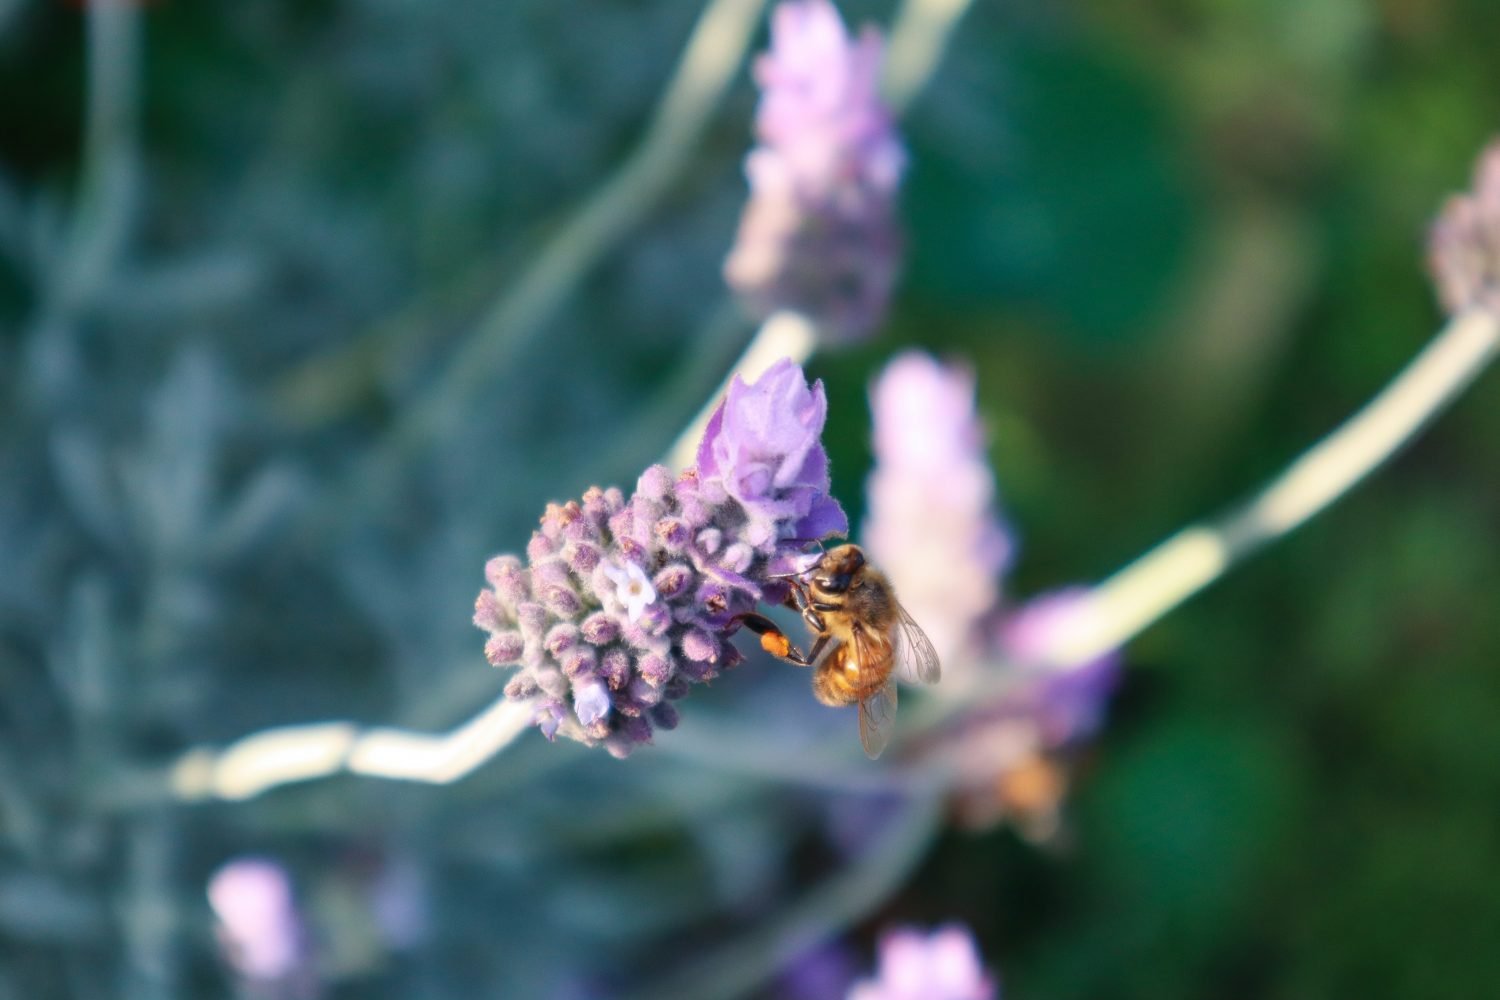
Watermelons require pollination from a male to a female flower to form fruit. If you have plenty of bees in your garden, they should be able to do this for you. If you notice small watermelons forming and then dying off, this may mean you have a pollination problem. This can be aided by using a small paintbrush to dust the pollen of the male flower (single flower with no baby melon forming) to a female flower (flower with a baby melon at the base). This can help boost your success rate and grow more watermelon. Be sure to plant lots more flowers in between your plants to attract the bees if you ever have pollination problems.
Pests / Disease
Watermelon is relatively pest-resistant. They can get some fungal diseases in humid weather. It is important not to wet the leaves to prevent powdery mildew from forming. If you do start to see some powdery mildew, remove the leaves (if it is only a few) or create a spray of 1 part milk to 9 parts water and spray over the affected area. Once the fruits start to mature be aware of rodents or other animals finding your fruit.
How/ When to Harvest
Harvesting watermelon can be tricky! And devastating when you get it wrong (be prepared it may happen from time to time..). Under-ripe watermelon will be bland and lack flavour, whereas, over-ripe watermelon will be floury and granular.
Some ways to determine if your watermelon is ready:
Look for the curly tendrils closest to the watermelon stem. They should turn brown and dry when the watermelon is ready.
A light knock on the watermelon, it should sound slightly hollow when ready.
Carefully roll the melon over and the part that was touching the ground should be turning yellow.
Reproducing
Watermelon seeds are the easiest way to reproduce watermelon. Choose seeds from your best mature melons. Wash off the flesh and allow it to dry before storing it in a cool, dry, dark space. Watermelon can also be grown from cuttings. Do this early in the season otherwise, the vine will not have enough time to produce before the weather gets cold. Cut a 10cm piece of a side shoots off. You want to let the main leader vine grow so do not cut this. Cut just below a leaf as this is where the roots will form. Place in a jar of water until you see some roots form. Then plant it back out into the garden. This is more for a bit of fun as you will get the best crops from direct-sown seeds.
Cooking and Using Watermelon
Watermelon is so delicious eaten fresh but there are many other ways to prepare watermelon to use in both sweet or savoury dishes.
Watermelon Pairs well with: Mint, Lime, Basil, Citrus, Red Onion, Feta Cheese, Coconut, Yoghurt, Almonds, Jalapeno, Haloumi, Ginger
Watermelon ideas:
Fruit salad
Juice
Iceblocks
Salads
“Chips” or “Wedges” with dipping sauce
Fruit kebabs
Watermelon jerky
Grilled watermelon
Cocktails
Serving Bowls using the skin/shell
Cocktails and Mocktails
Carvings
Sorbet
Watermelon Cake
Flavoured Water
Salsa
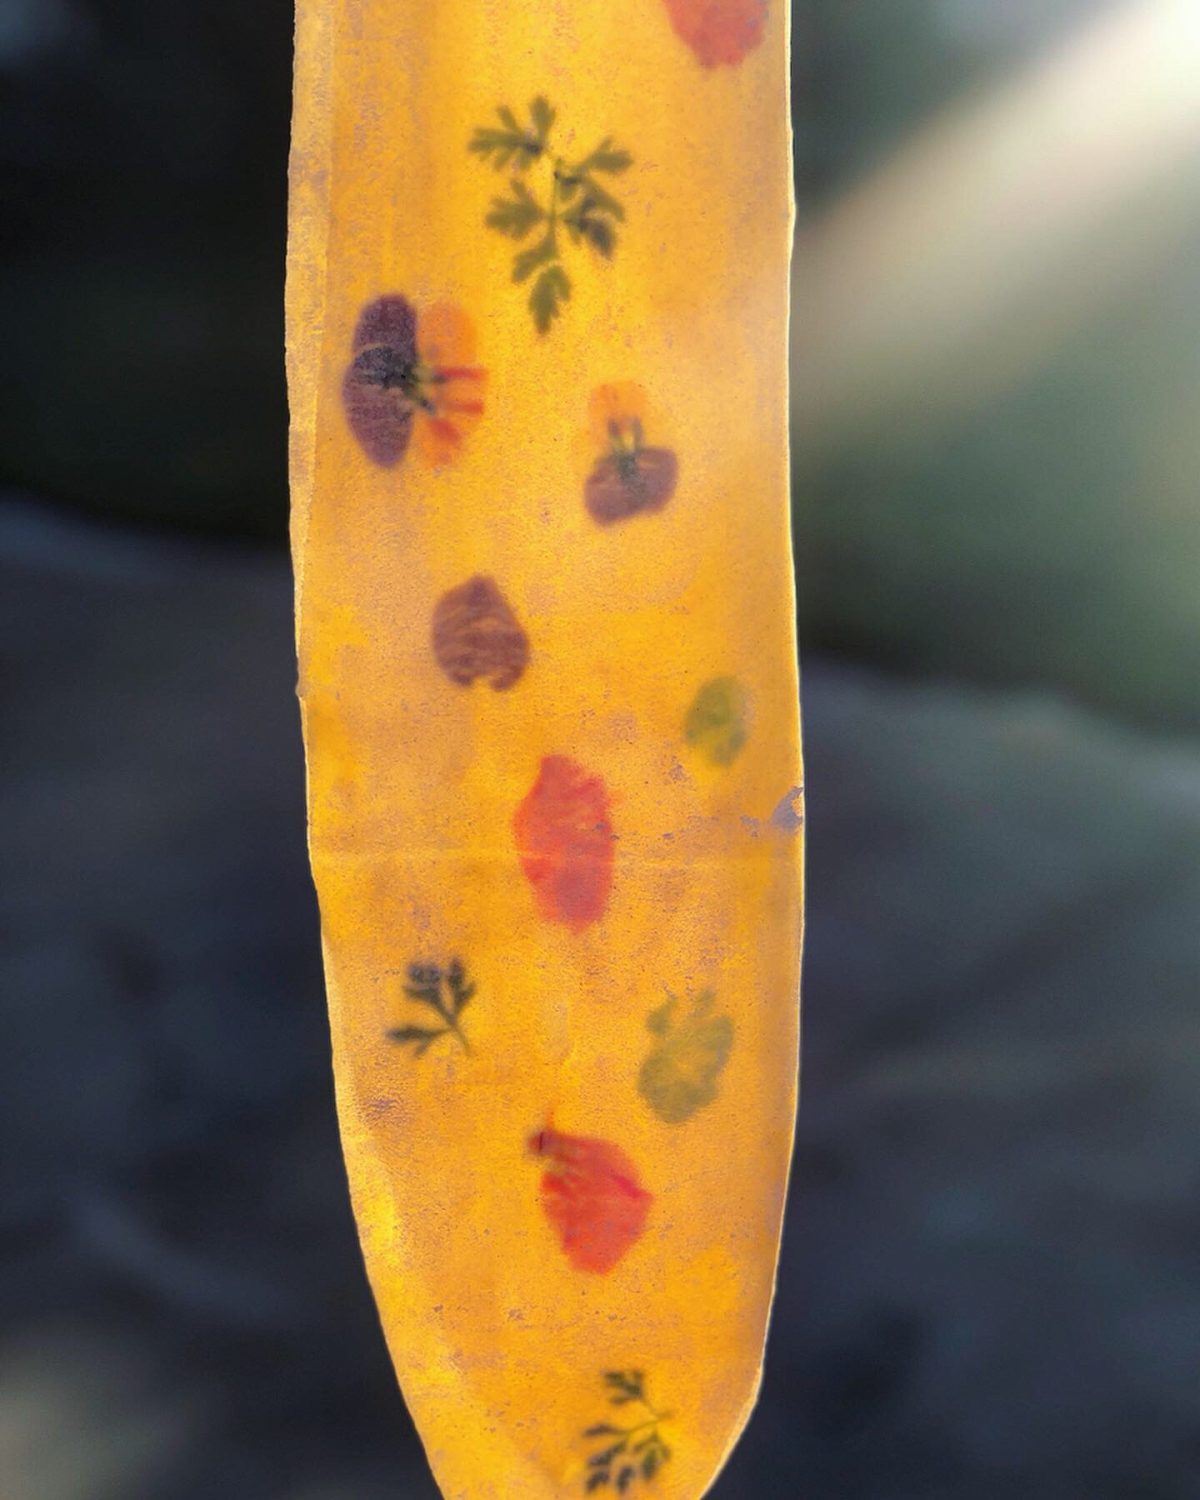
Fruit leather
Syrup
Preserving the Harvest
Watermelon is best eaten cold and fresh but sometimes we can’t keep up with their generous yields. Dehydrated watermelon is a great way to use up a lot of extra watermelons. Watermelon jerky is extremely sweet and could make a good substitute for natural lollies. Other ways you could preserve your watermelon are Freezing cubes, juicing and freezing cubes or making syrup or chutney.
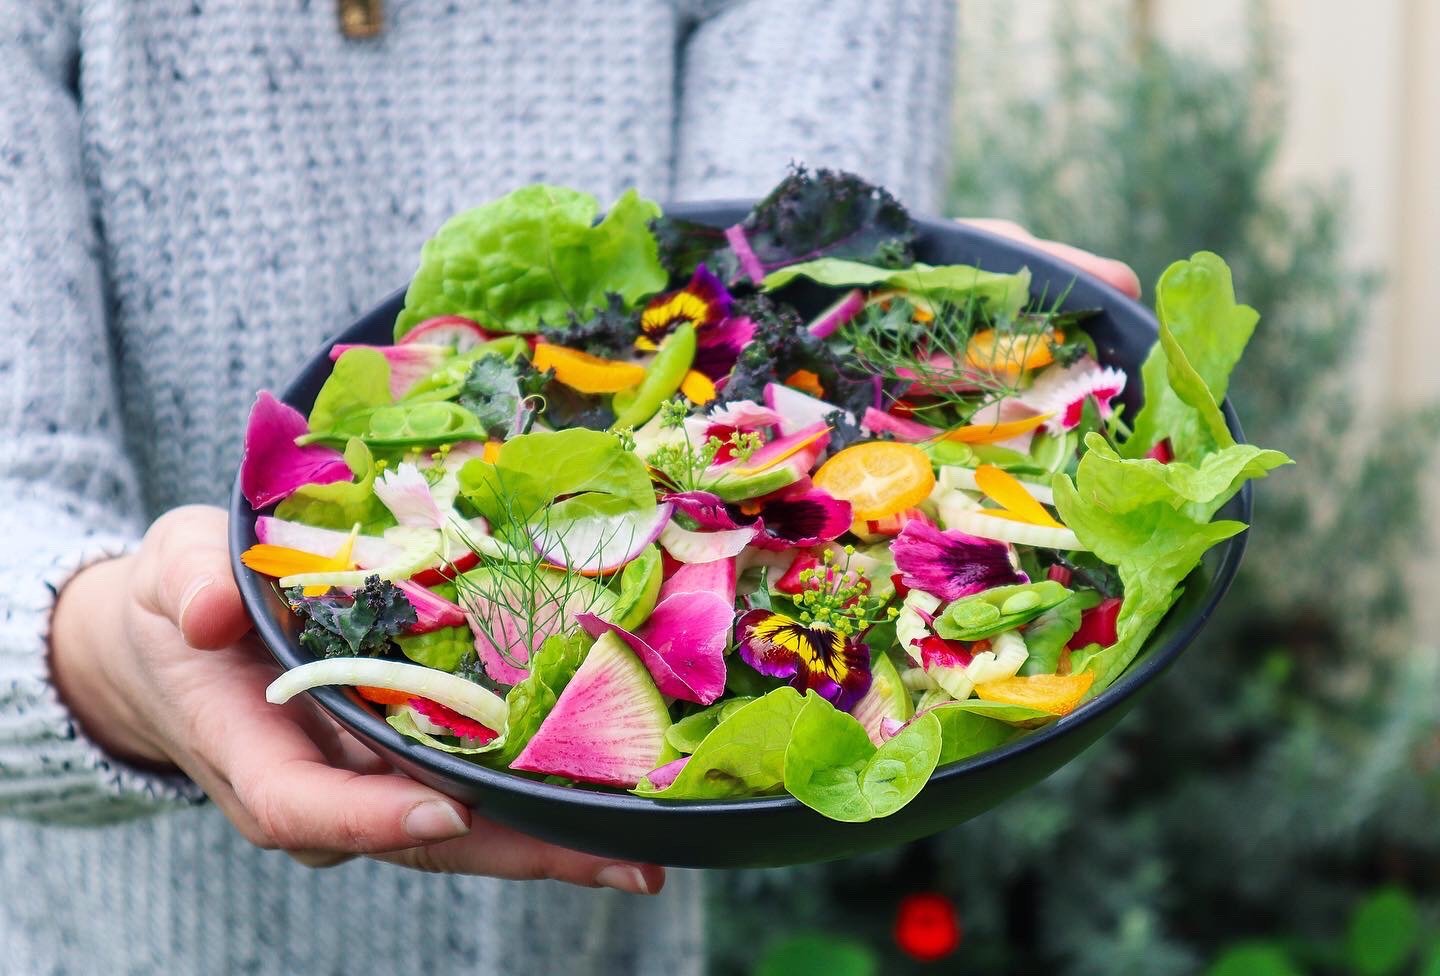
Rainbow slaw not only looks amazing but it’s also packed full of nutrients. Just like planting diversity creates a healthy garden, eating diversely also has many health benefits. Each vegetable has different levels of vitamins, minerals, phytochemicals, dietary fibre, and antioxidants. This slaw can be adjusted to suit your seasonal produce – see the notes for other vegetables to try out. Rainbow slaw is very quick and easy to make and can be a delicious and wholesome accompaniment to any meal.
Rainbow Slaw
Vibrant and full of nutrients, this Rainbow Slaw is the ultimate Spring side salad.
Ingredients
1 cup shredded Red Cabbage
2-3 Carrots
1 cup chopped Lettuce
1 medium Red Beetroot
3-4 Radishes
5cm cube Butternut Pumpkin
2 TBS Sunflower Seeds
Dressing
3 TBS Coconut (or greek) Yoghurt
1 tsp Lemon Juice
1 Clove Garlic
2 tsp finely chopped fresh Fennel Frond or Parsley
1 TBS Water
1 Tbs Olive Oil
1/2 tsp Chilli Flakes
Salt and Pepper to season
Instructions
Rinse your veggies and clean off any grit or soil.
Finely slice the Cabbage using the thin-medium section of the mandolin. If you don't have a mandoline, you can either grate or finely slice using a knife.
Peel the Carrot, Butternut, and Beetroot (The skins dressed in olive oil and seasoned make delicious chips - see notes below).
Using the Julienne teeth on the mandoline, finely slice the Carrot, Radish, Butternut, and Beetroot into thin strips. Use a grater if you do not have a mandoline.
Roughly chop your lettuce into small pieces.
Add a little of each vegetable to a bowl so they are all mixed without having to stir through (otherwise the beetroot will turn everything red and you will lose some of your colours).
Drizzle with olive oil and a squeeze of lemon juice. Lightly toss.
To make the dressing, add yogurt to a small bowl. Then add crushed garlic, finely chopped fennel frond, lemon juice, water, chilli flakes, and salt and pepper to season. Stir well and taste. Add extra salt or lemon juice if needed.
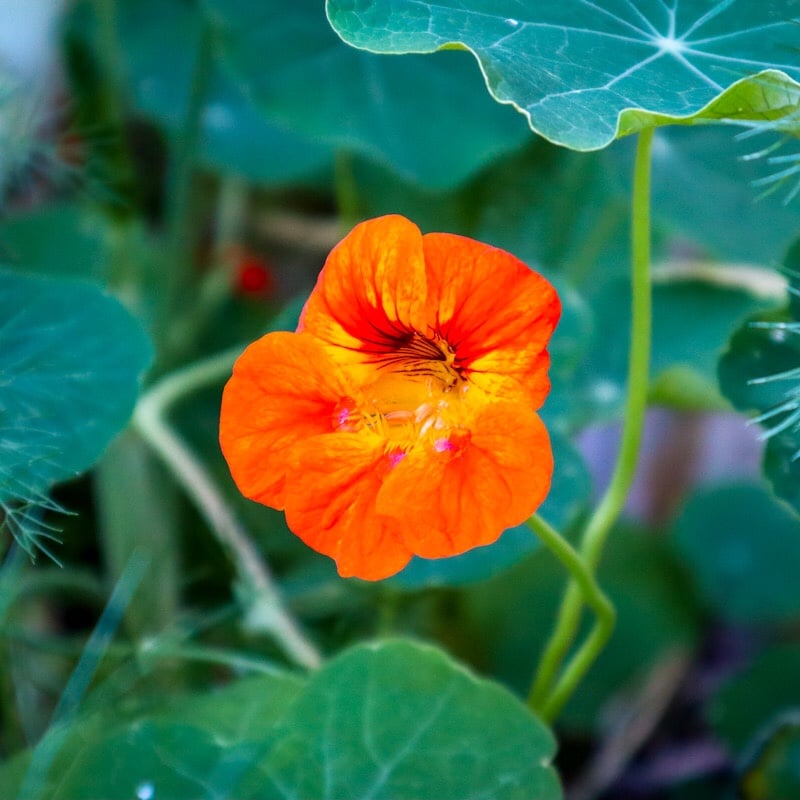
When ready to serve, drizzle the dressing over the salad and top with sunflower seeds and edible flowers - I used nasturtium petals.
Notes
- Use vegetable skins from Carrot, Beetroot, and Butternut to make vegetable chips
Coat your skins in a light drizzle of oil.
Place your vegetable skins on a baking tray and sprinkle with a little salt.
Cook at 190 degrees celsius for about 5 minutes turning once halfway through. Keep an eye on them as they are so thin they will overcook easily.
Remove when they are golden and slightly crispy. They will also crisp up as they cool.
- Other vegetables that would be great in this slaw are: coloured Capsicums, Fennel, Nasturtium leaves, other Beetroot Varieties.
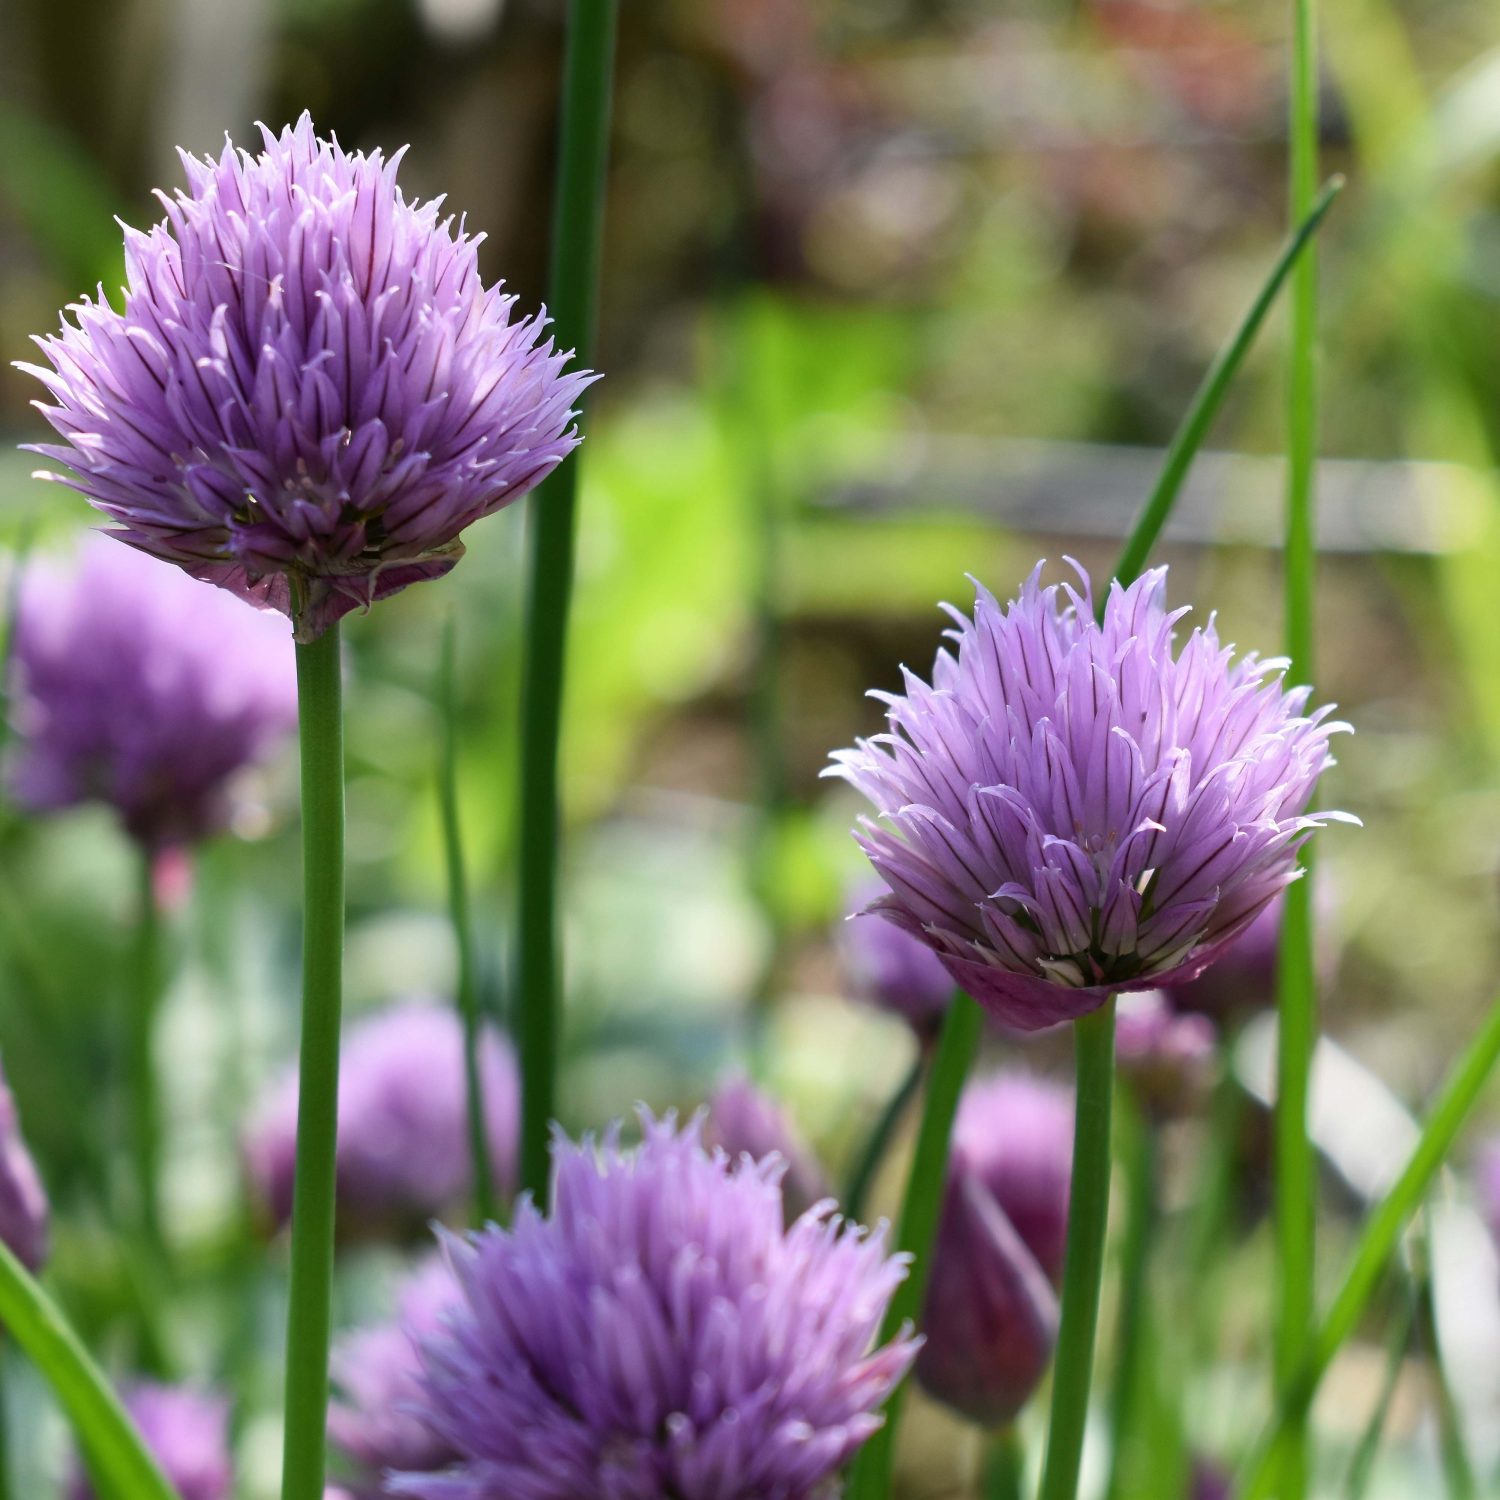
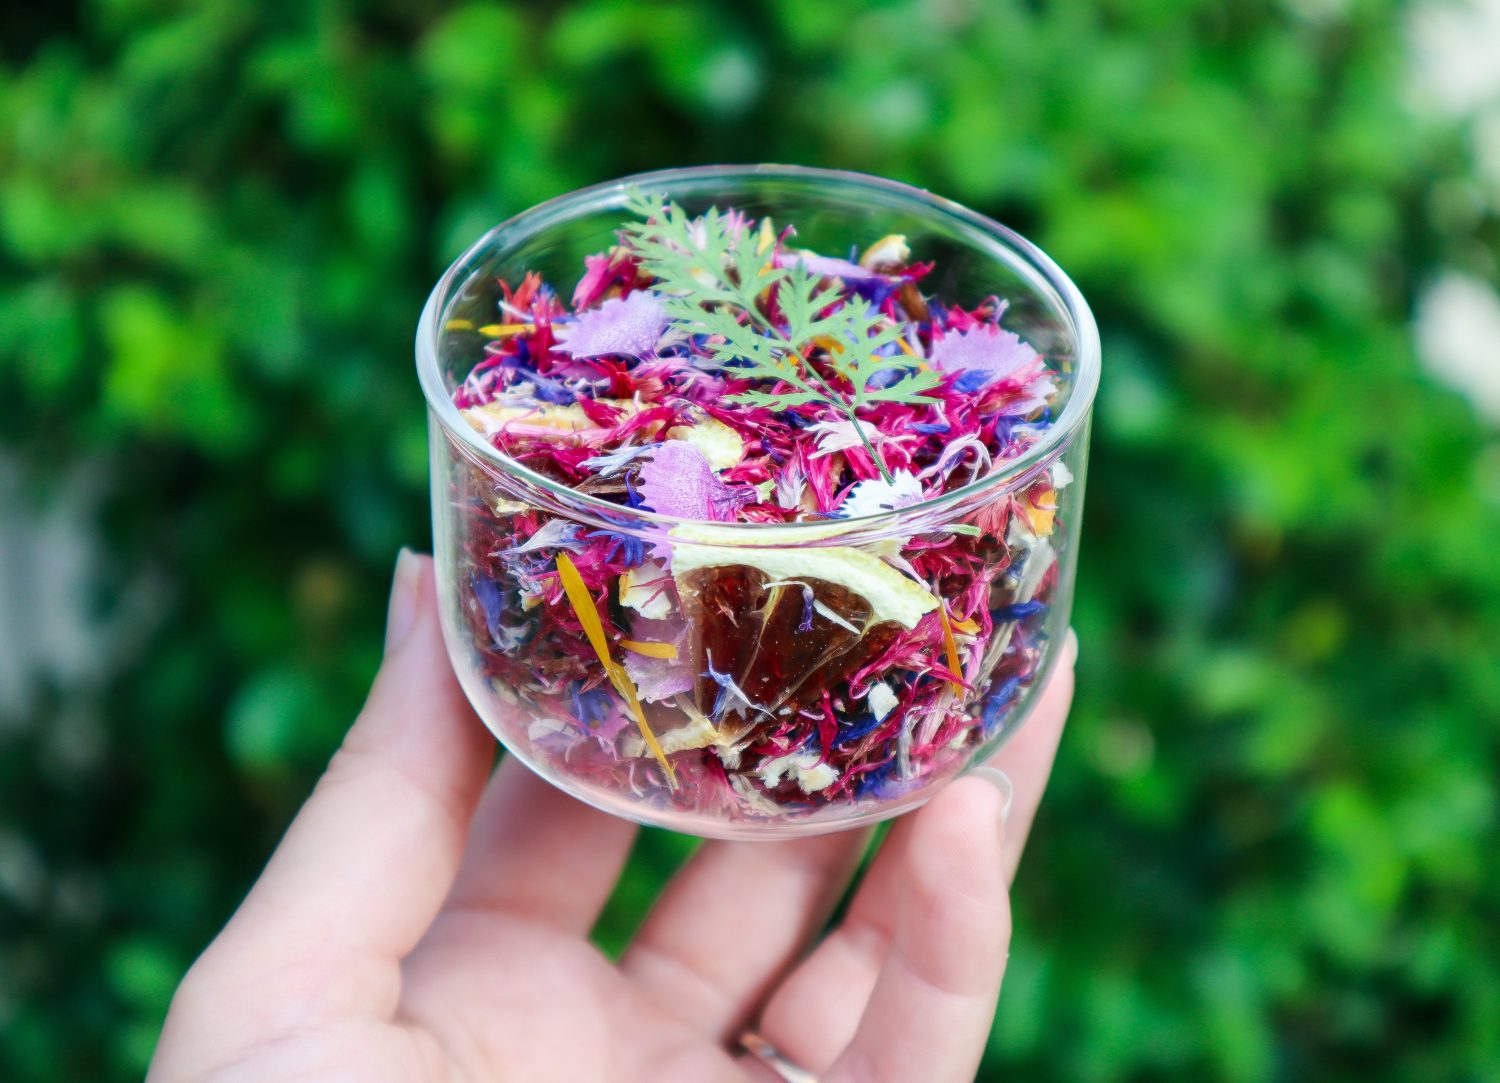
Edible flowers offer so many beneficial relationships within a home garden. When creating a sustainable permaculture garden, everything should have multiple functions and uses. The more the better! Edible flowers not only look beautiful, but they also aid in pollination, provide food and habitat to beneficial insects for pest management, add diversity to the soil and provide food, and in some cases, offer medicinal qualities for us.
Without adequate pollination, crops may be smaller, less abundant or may not produce at all. So, it is important that we attract pollinators to our gardens to increase yields along with the quality of produce.
Note: not all flowers are edible. Make sure you identify them correctly. Do not eat flowers from florists or areas unknown, as they may have been sprayed with pesticides. The safest option is to grow your own.
Pick your edible flowers in the morning but after the sun has come up. First thing in the morning the flowers will still be closed, so wait until they fully open up. They will be at their best in the morning, full of life and well-hydrated. If you are serving them fresh, pick your edible flowers as close to serving time as possible. Otherwise, place stems in a jar of water or keep in a moistened towel somewhere cool.