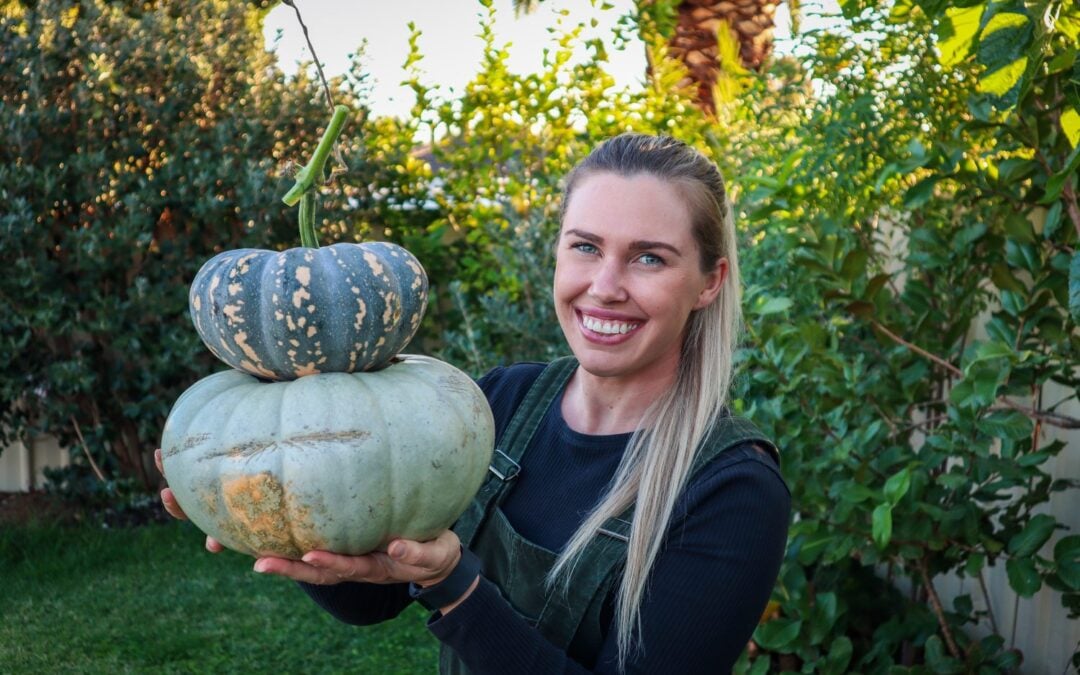
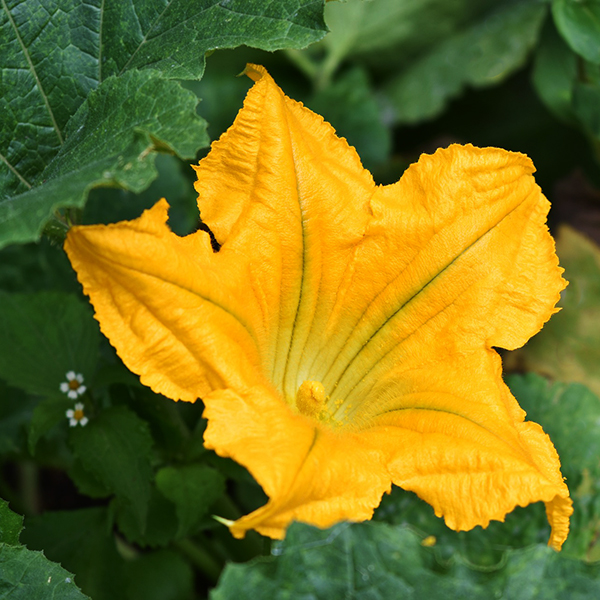
Pumpkins are a great base crop to grow and can provide you with a large amount of food. Pumpkins come with their very own packaging and can be stored as they are for 3-8 months if they are prepared and stored correctly. Having a supply of pumpkins in the pantry can supplement your meals throughout the year. Different varieties of pumpkins will store for varying amounts of time. This is usually due to the toughness and thickness of the skin. If you want to grow pumpkins for storage choose a variety that has longer storage qualities. Varieties such as Jarradale, Queensland Blue, and Blue Hubbard have great storage qualities.
STEP 1: HARVESTING
The first step to preparing your pumpkins for storage is to harvest them correctly. Follow the tips below.
Harvest the Pumpkins once they reach maturity to ensure the skin is as hard as it can be.
Pumpkins are ready to be picked when the closest curly tendril to the stem is brown and going dry. The vines will be starting to die off slightly. The pumpkins should be slightly hollow when you knock on them and have hard skins.
Use sharp secateurs and cut the stem as close to the vine as you can. This ensures you don’t damage the pumpkin and creates a handle to carry them with.
STEP 2: CLEANING
Wash the excess soil off and ensure the pumpkins are clean. Use a mix of 1:1 vinegar and water to wipe them down and remove any bacteria.
While washing the pumpkins check for any damage or areas that pierce the skin such as holes, or scratches. These won’t store well so it would be best to start using these first.
STEP 3: CURING
Curing allows the pumpkin skins to dry and harden before storage.
To cure the pumpkins place them somewhere sunny and sheltered for 1-2 weeks. This can be outside if there are no frosts or rain otherwise a sunny porch or deck will do. Just be careful if you have rats or other critters around.
Ensure they are spaced out and not stacked on top of each other.
STEP 4: STORAGE
Once the pumpkins are cured choose a dark cool location to store them. 10-16 degrees Celcius.
Pumpkins may leak sticky residue from the bottom flower or stem so don’t be alarmed. Also, consider this when choosing a location to store.
Ideally place them on cardboard, wood, or plywood. Do NOT store them on carpet, lino, or concrete as this will promote bacteria and moisture.
Allow space between the pumpkins and do not stack them to allow airflow.
Roll the pumpkins over and check the cardboard for mold regularly.
Edible Perennial Plants are an investment in your future food production. Perennials grow back each year and provide long-term sustainable harvests. When creating a self-sufficient garden, edible perennials can form a really good base to build from. Annual vegetables can be a lot of work and it can be devastating if you lose a crop after all that time and effort. Having a mix of edible perennials in your garden will give you the comfort of knowing you will still have food available that will re-grow year after year.
Most of the vegetables we see in the supermarkets are annual vegetables that are grown for a single season and then harvested. This means that perennials are a little unusual for home gardeners to grow and cook.
What is a Perennial Vegetable?
Annuals – Grow for a single season and then harvested completely or die off
Biennials – Grow for a season and then flower or seed for the second season. Most are grown as annuals or left to collect seeds.
Perennials – Grow for more than two years and many can continue to grow for decades. They often die back in winter and re-grow in spring on their own accord.
Why Grow Edible Perennial Plants?
Re-grow each year without planting
Stable consistent food supply
Create diversity in the garden
Economical plant purchases
Low maintenance
Form deeper root systems to require less watering
Stabilise soil and reduce erosion
Require less feeding as they are slow-growing
Habitat for wildlife long term
Support no-dig gardens
Pros and cons of Edible Perennial Plants vs Annuals?
Many edible perennial plants are quite slow-growing. This helps them form strong established root systems to feed and support their growth for many years to come. This can mean that you may not get food from your perennial plants within the first year or two. However, all good things take time and time is going to pass anyway. Think of it as an investment that will have compounding growth and provide you with a sustainable future food supply. Saving your future self, time, and money!
Perennials stay in the same spot and regrow year after year so you need to make sure you select a suitable spot from the start. Look into how much sunlight/shade and type of soil they prefer before planting. This also means your garden beds will be allocated to that plant long-term. The great thing about annuals is that you can mix and match different plants constantly.
Note: Plants behave differently in each climate. What may grow as a perennial in some climates may not in others. For instance if it gets too cold or too hot each year the plant may die off and need to be replanted each year just like an annual would.
A-Z Top Edible Perennial Plants
Artichoke
Cynara cardunculus var. scolymus
Full Sun – summer harvest
Edible flowers
Beautiful aesthetic plant
Very popular with the bees!
Most produce in their second year
Harvest buds before they flower
Reproduce from side suckers
Asparagus
Asparagus officinalis
Full sun – spring & summer harvest
Produces for up to 30 years
Beds can look bare for part of the year
Grow underground and pop up in spring
Mulch well
Feed with animal manure
Seeds form from berries
Brazilian Spinach
Alternanthera sisssoo
Sub-tropical or tropical climate – All year round
Low growing lush green plant
Hardy easy to grow plant
Use as you would spinach
Propagate from cuttings
Likes humid weather
Blueberry
Vaccinium sect. Cyanococcus
Full sun – part shade
Grow to about 2m tall
Can fruit for up to 30 years
Likes acidic soil
Fruit starts really producing after two years
High in antioxidants
Produce up to 7kg of fruit each year
Chicory
Cichorium intybus
Full sun – part shade
Eat fresh or cooked to reduce bitterness
Great animal feed
Beautiful edible flowers
Attracts bees for pollination
Can be grown as an annual or perennial
Short lived 7 year perennial
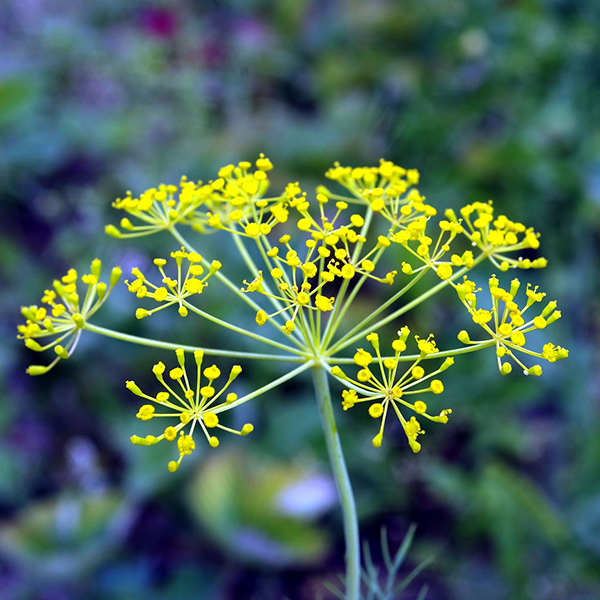
Fennel
Foeniculum vulgare
Full sun – part shade
Green variety can be invasive
Edible leaves, flowers, seeds and bulbs
Easy care free plant
Leaves, seeds and flowers are great for flavouring pickles and ferments
Medicinal qualites
Horseradish
Armoracia rusticana
Full sun – part shade
Root crop that spreads (can be invasive)
Edible leaves and roots
“wasabi” like flavour used as a condiment
Great for flavouring pickles and ferments
Medicinal qualities
Likes cooler climates
Jerusalem Artichoke (sunchoke)
Helianthus tuberosus
Full sun
Edible roots
Low maintenance
Attracts Bees and Butterflies
Abundant production of crops
Drought tolerant
Good for mulch and biomass
Can be invasive – keep conatained
Pepino
Solanum muricatum
Full sun – part shade
Low-lying fruiting shrub
Melon flavour
Abundant production
Frost sensitive
Easy to grow, low maintenance
Easily grown from cuttings
Pineapple
Ananas comosus
Full sun – warm climates
Low maintenance
Re-grow from the top and side suckers
Low lying and can be grown in pots
Slow growing can take 2 years to fruit
Regrow to have many on the go and have regular fruit
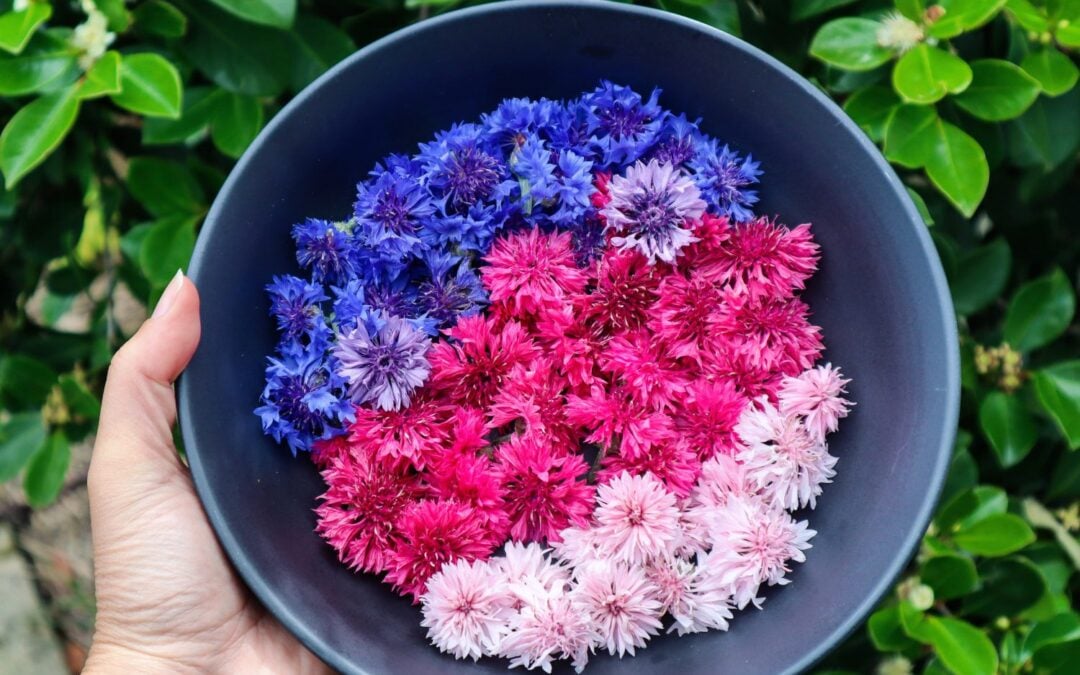
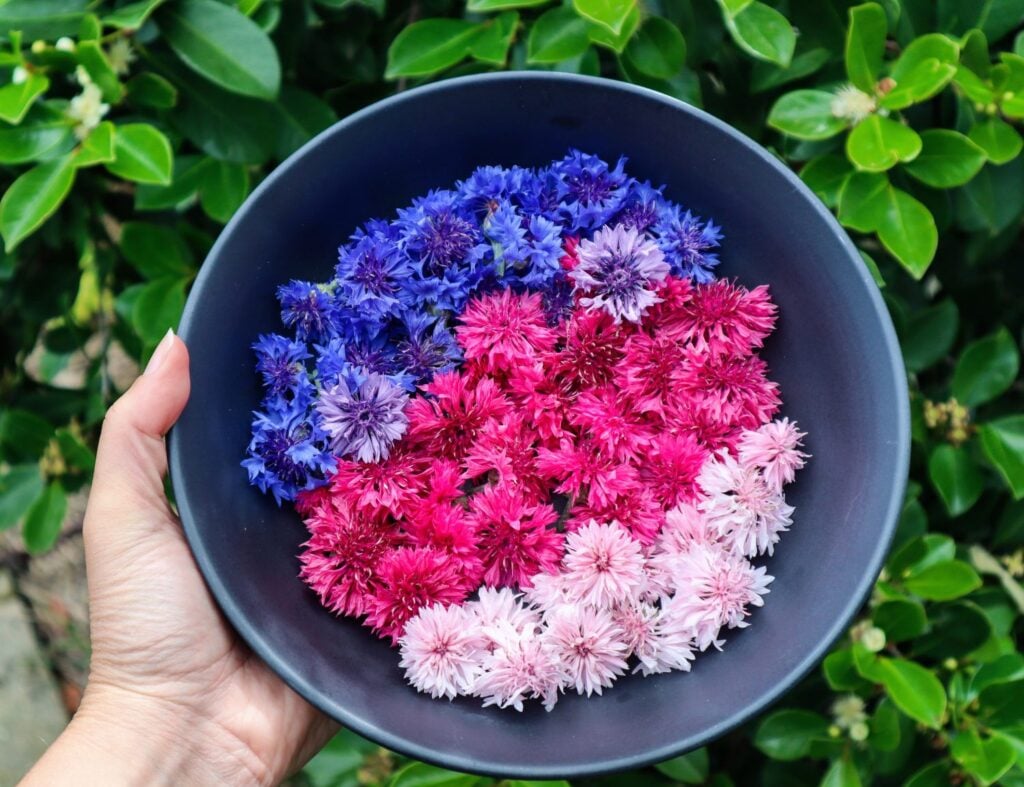
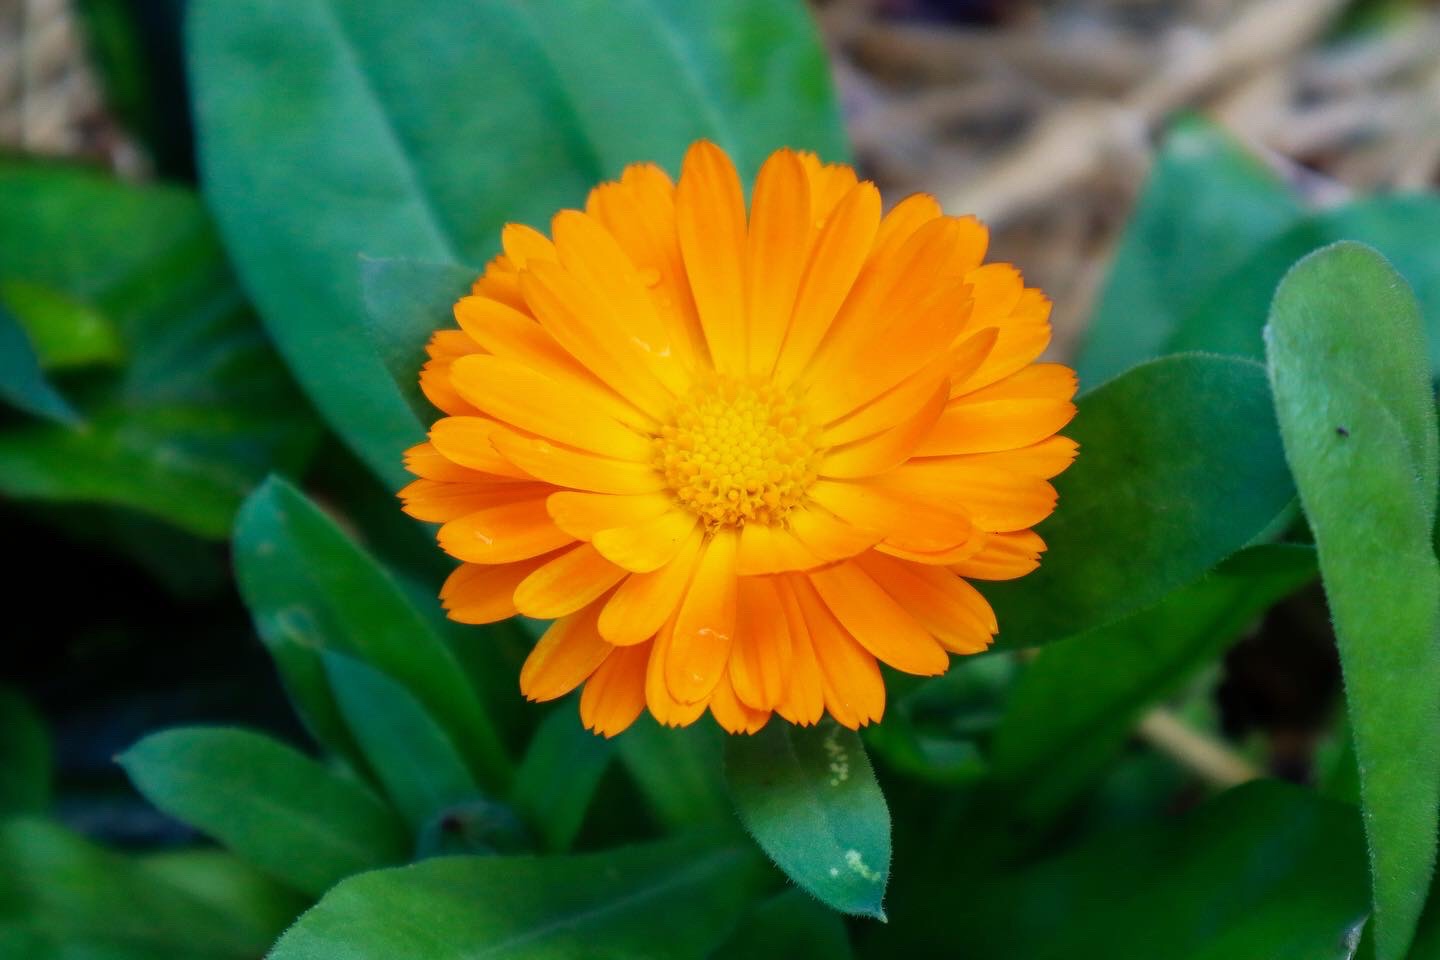
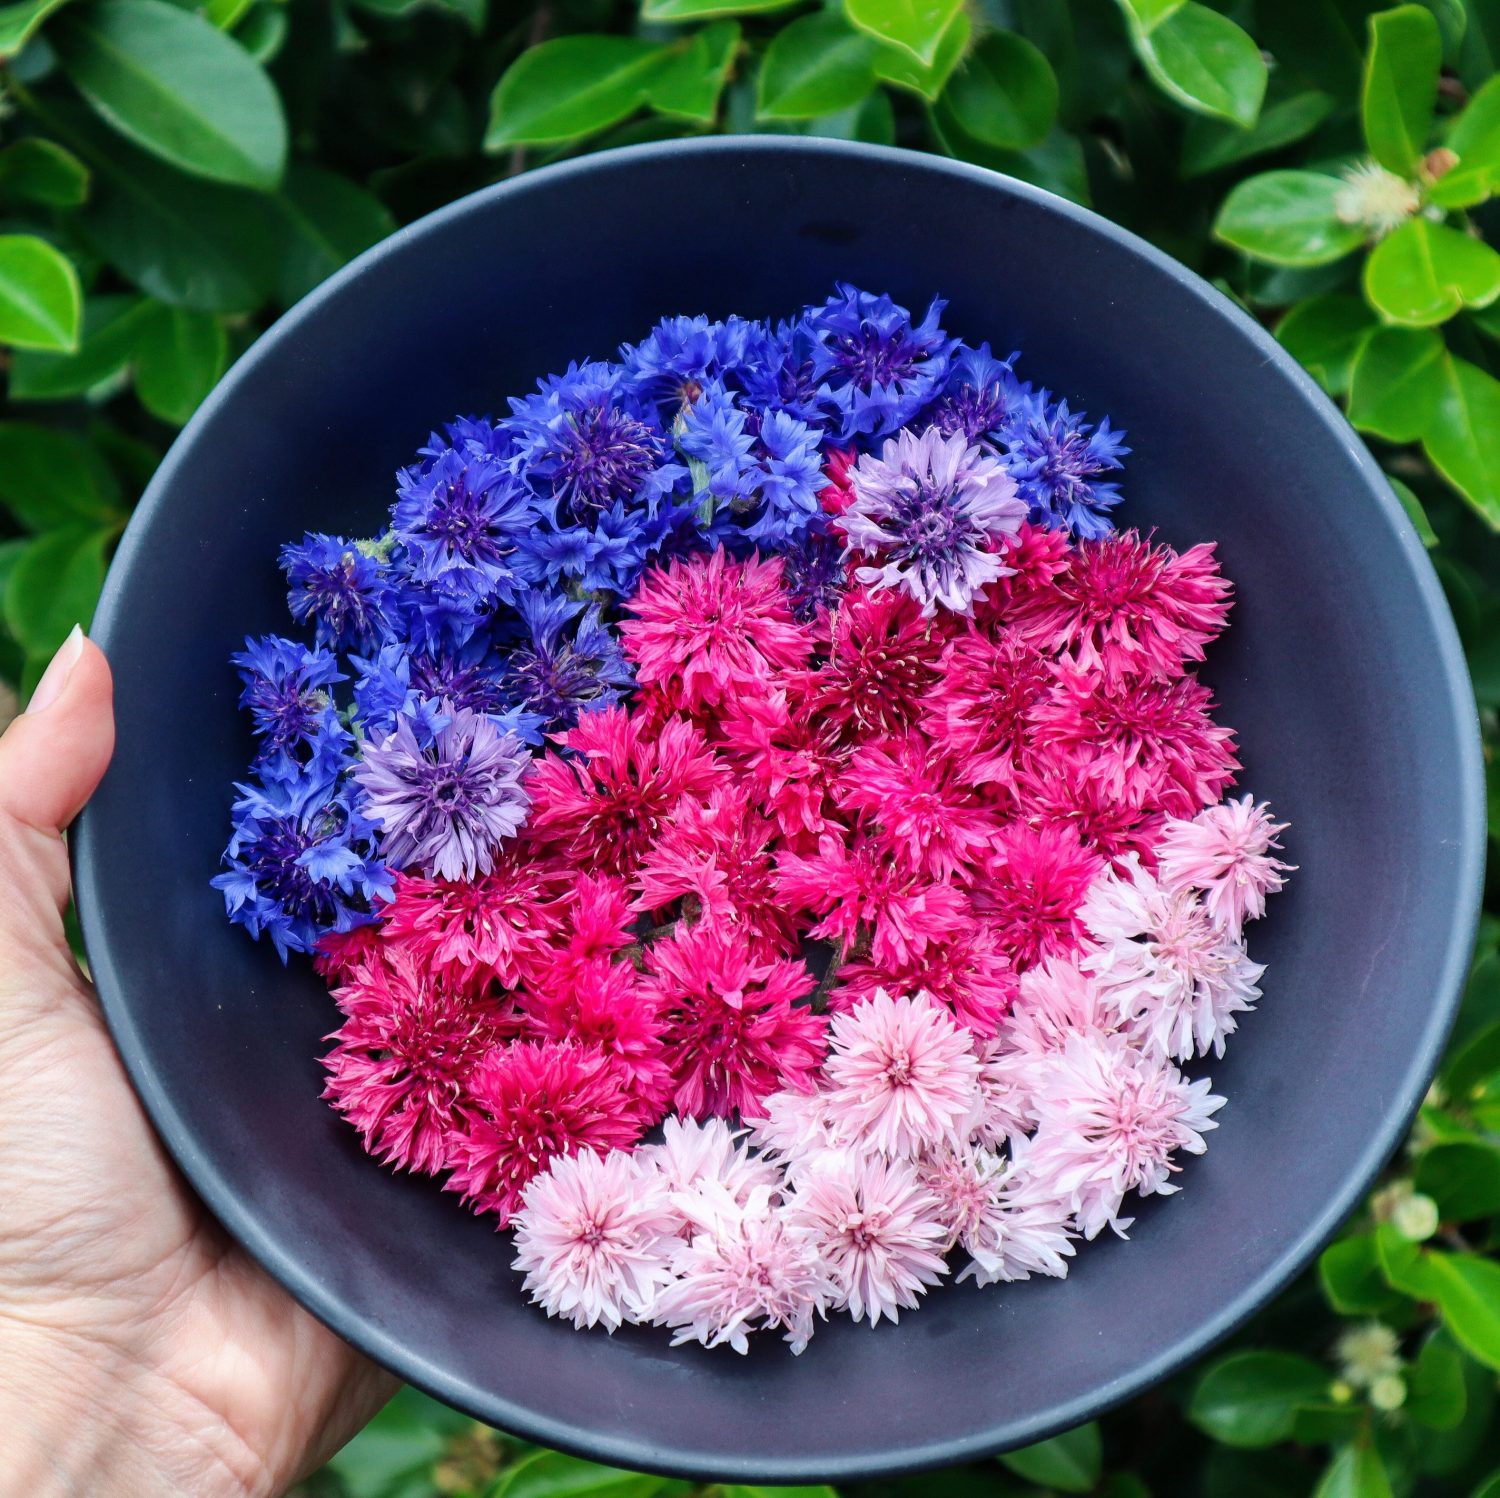
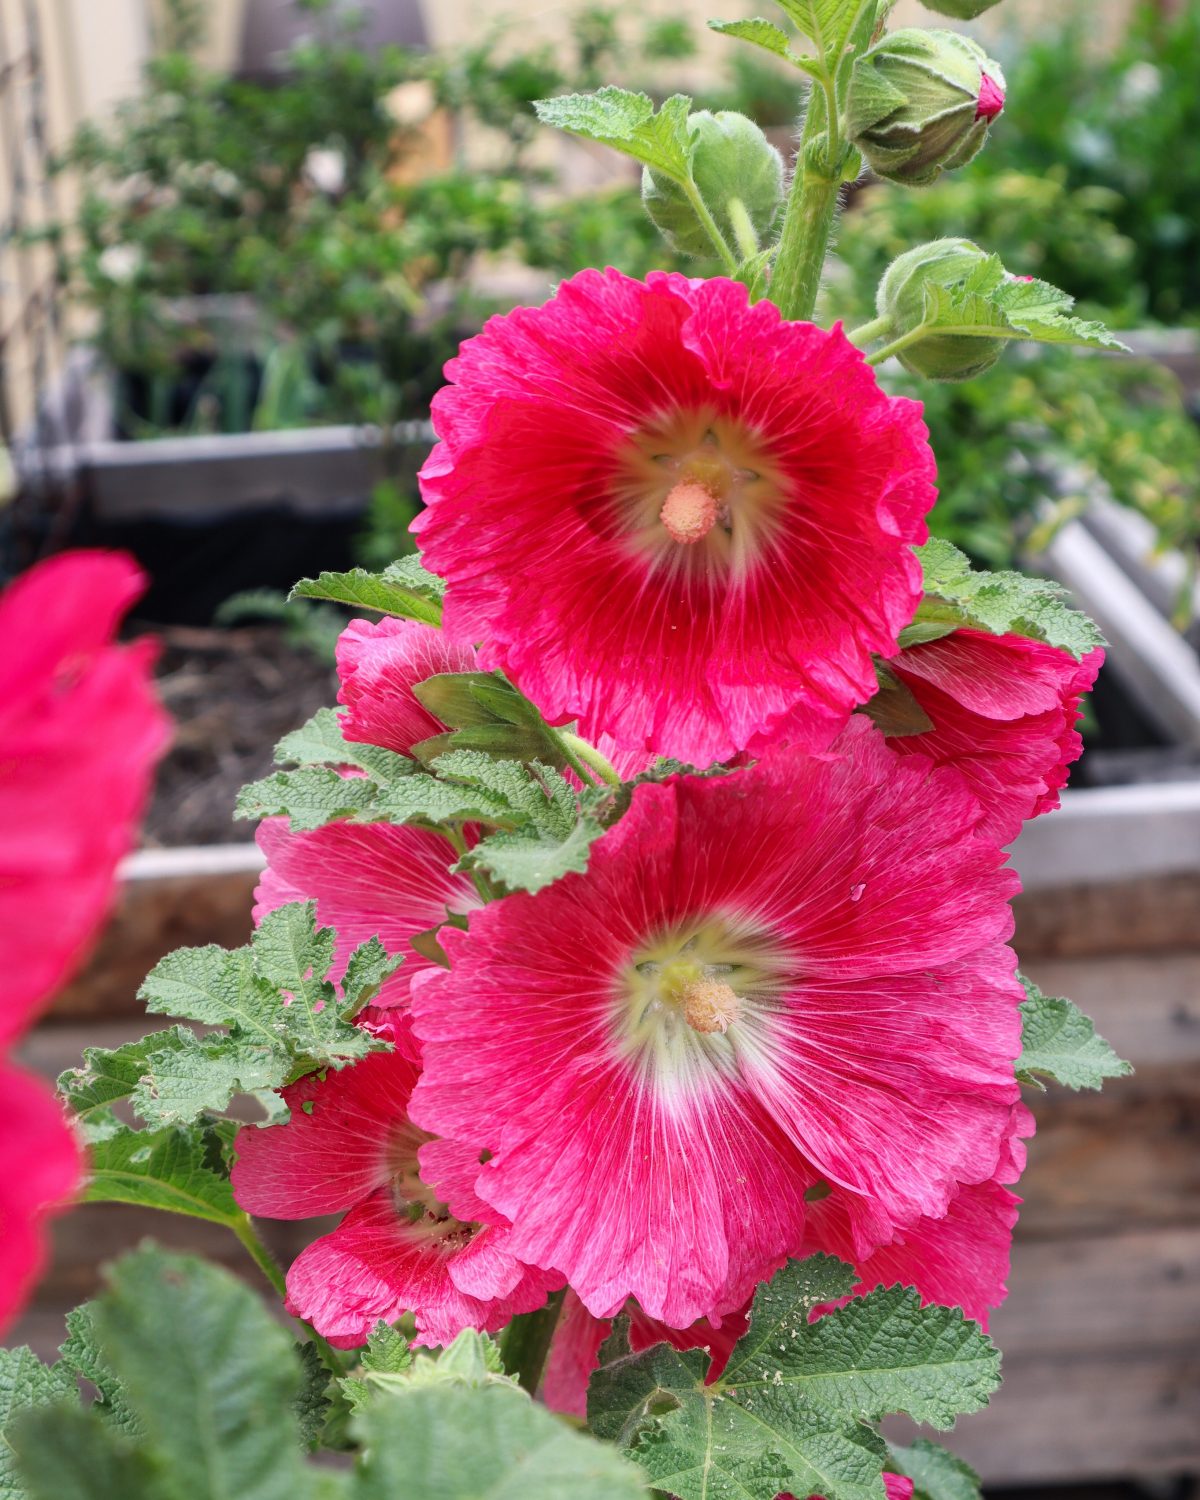
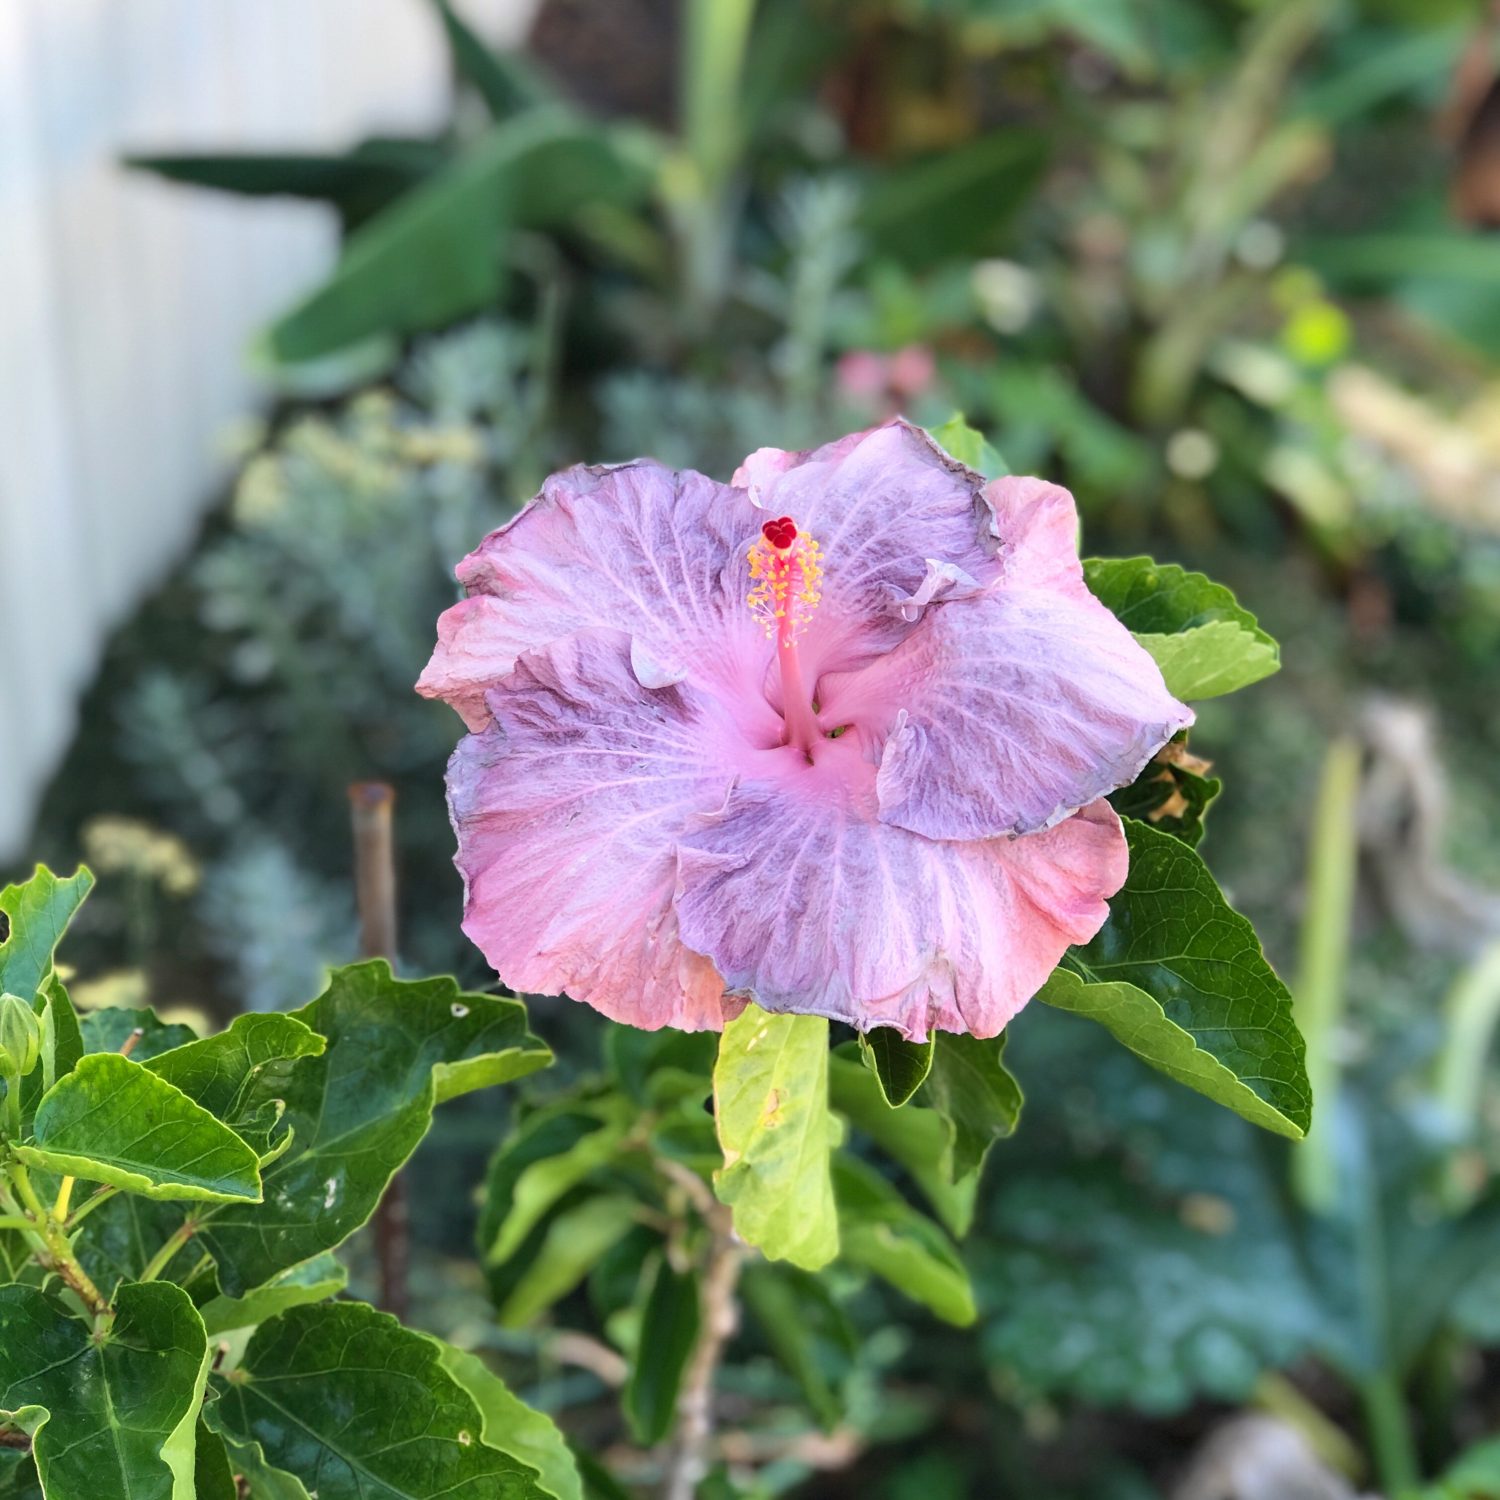
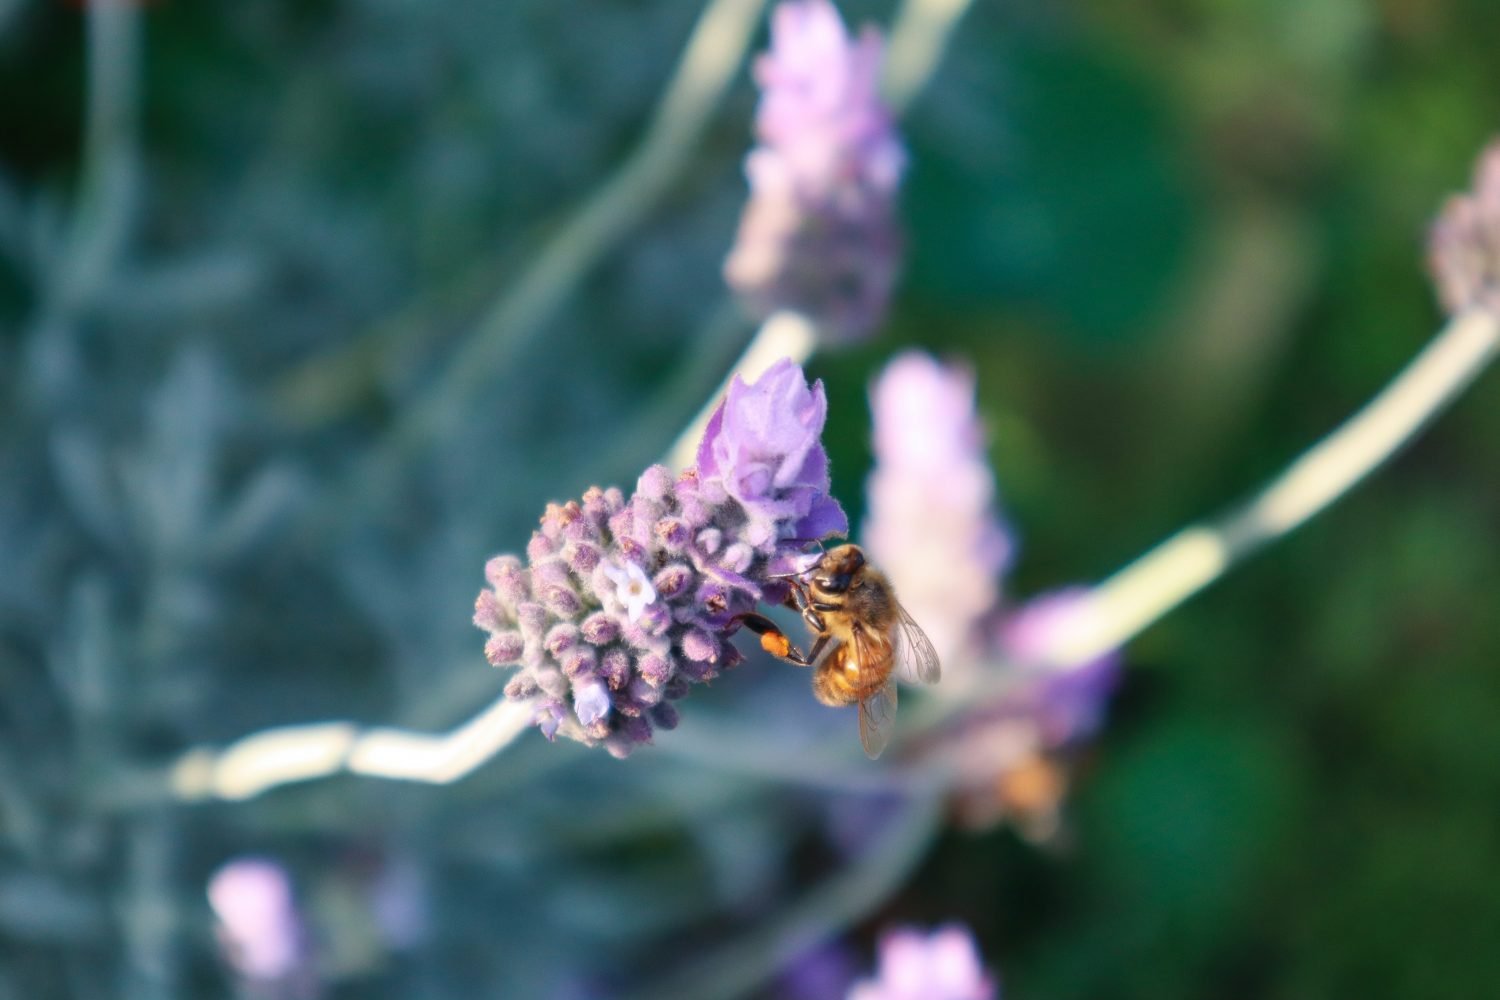
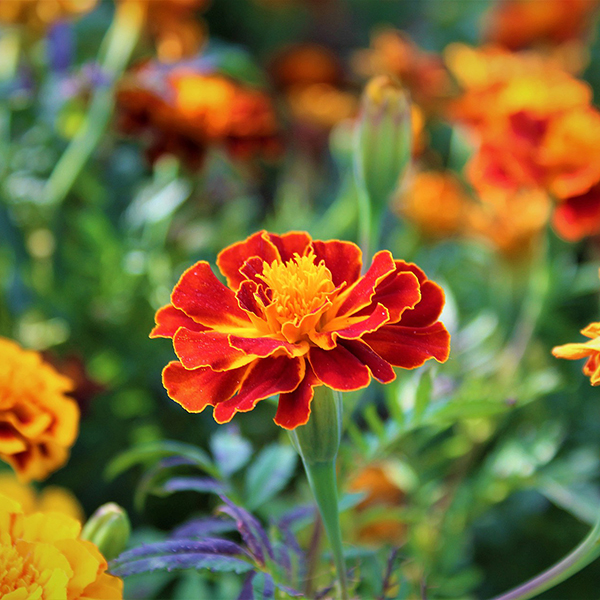
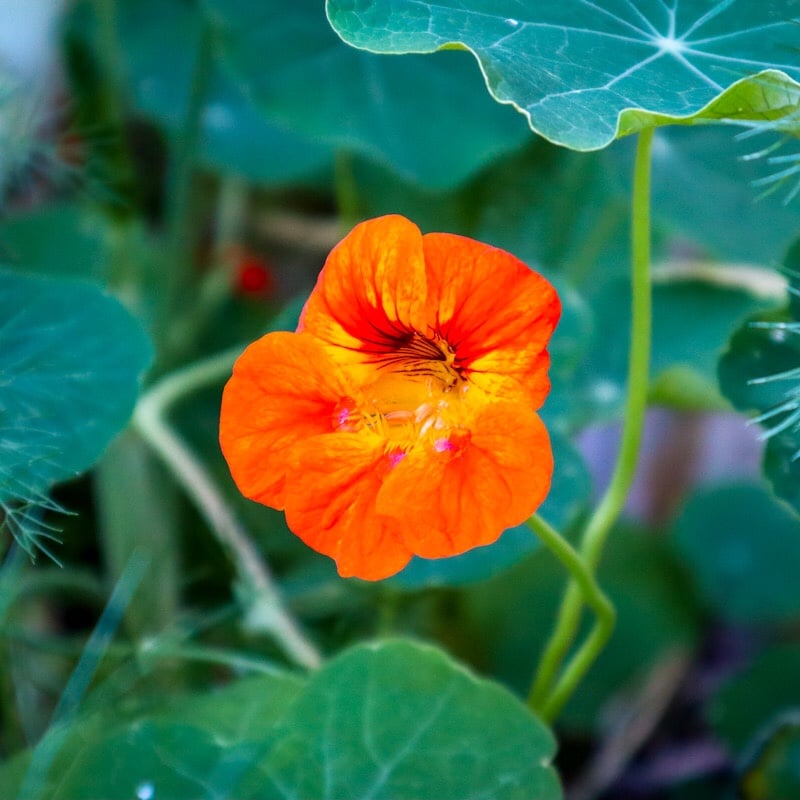
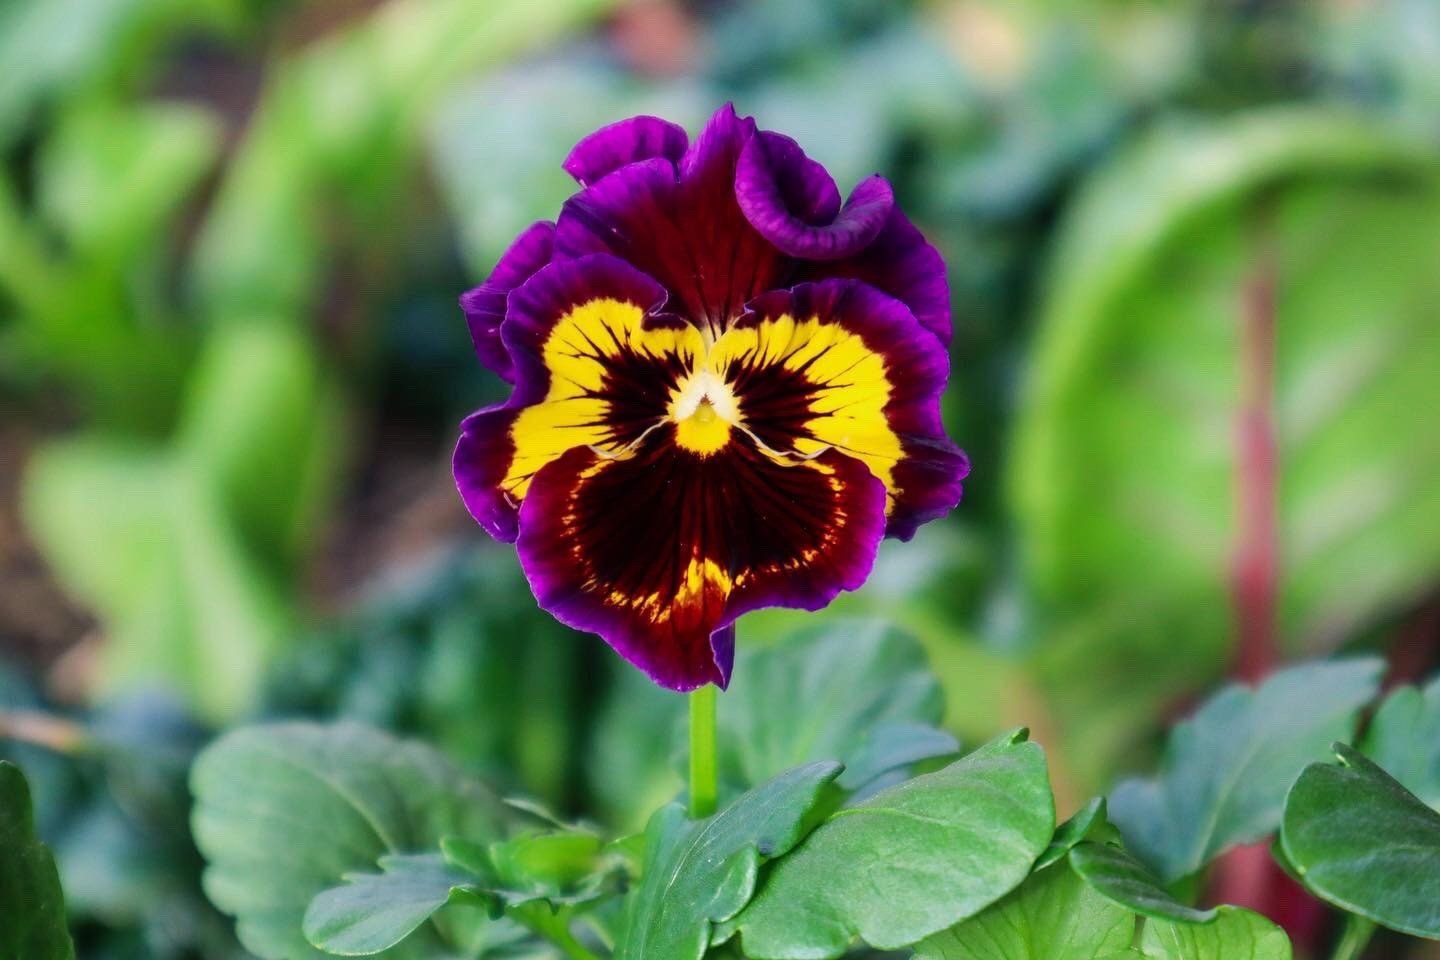
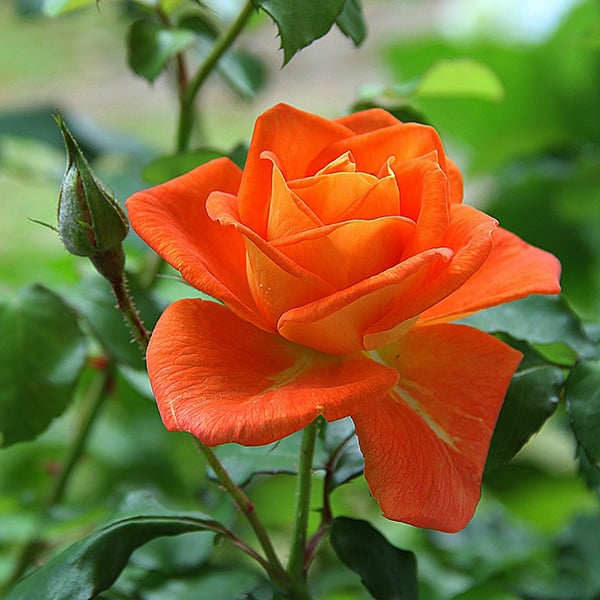
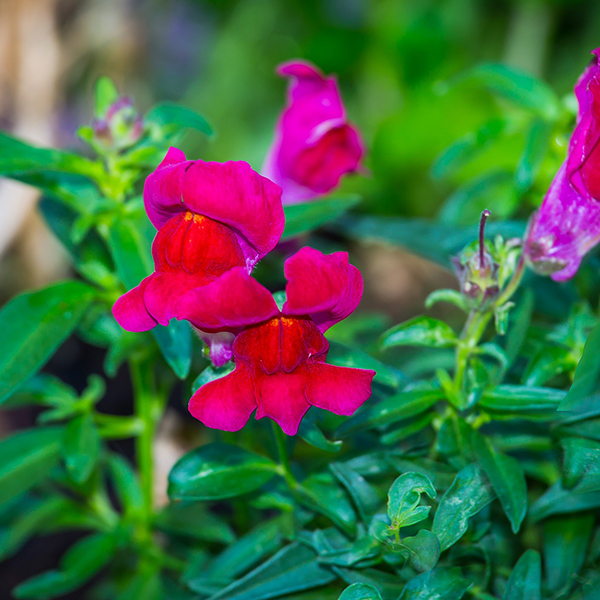
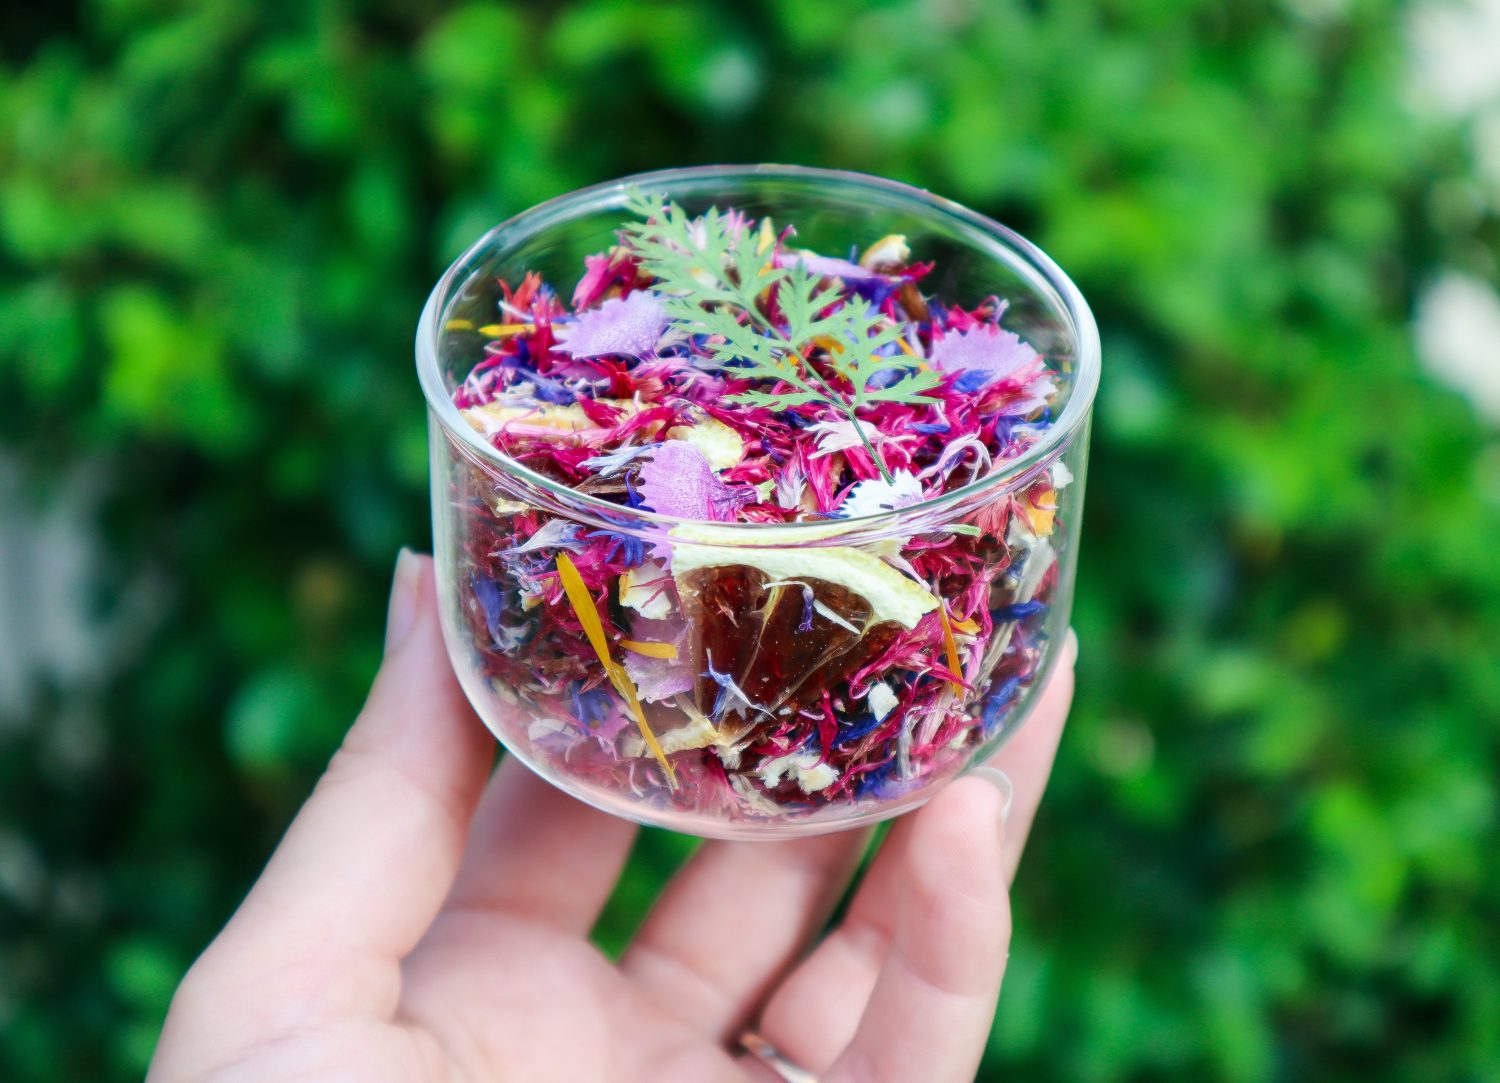
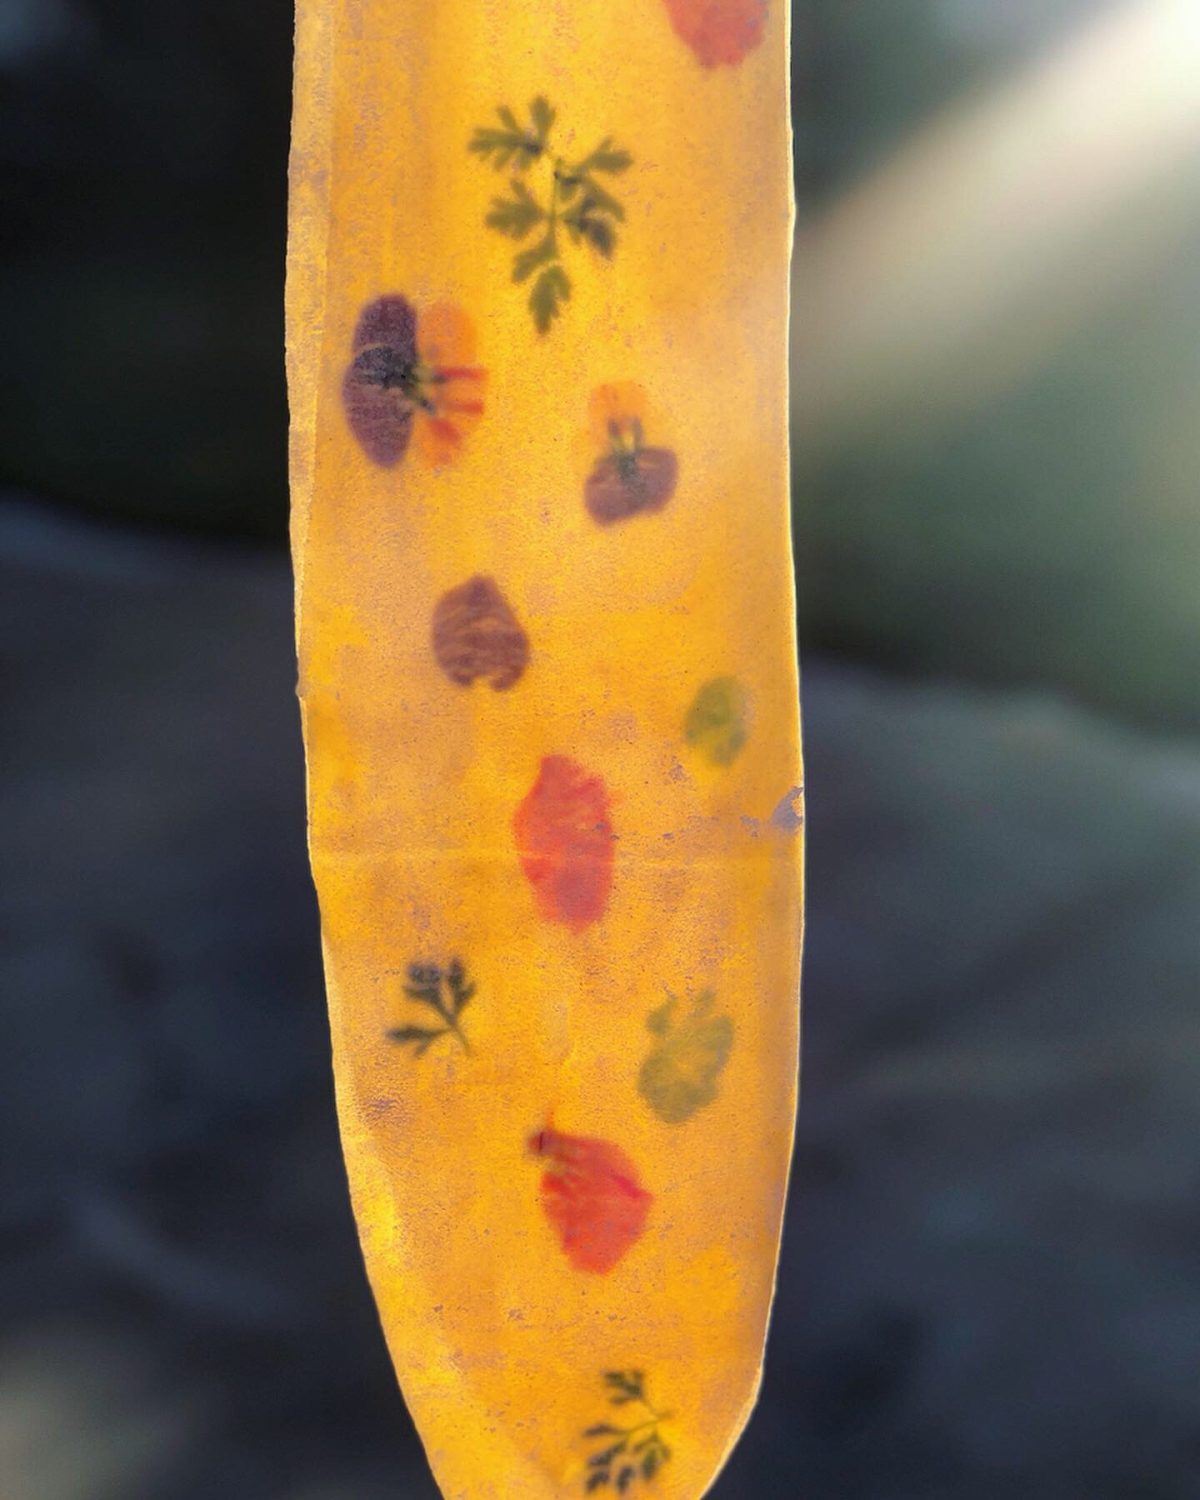
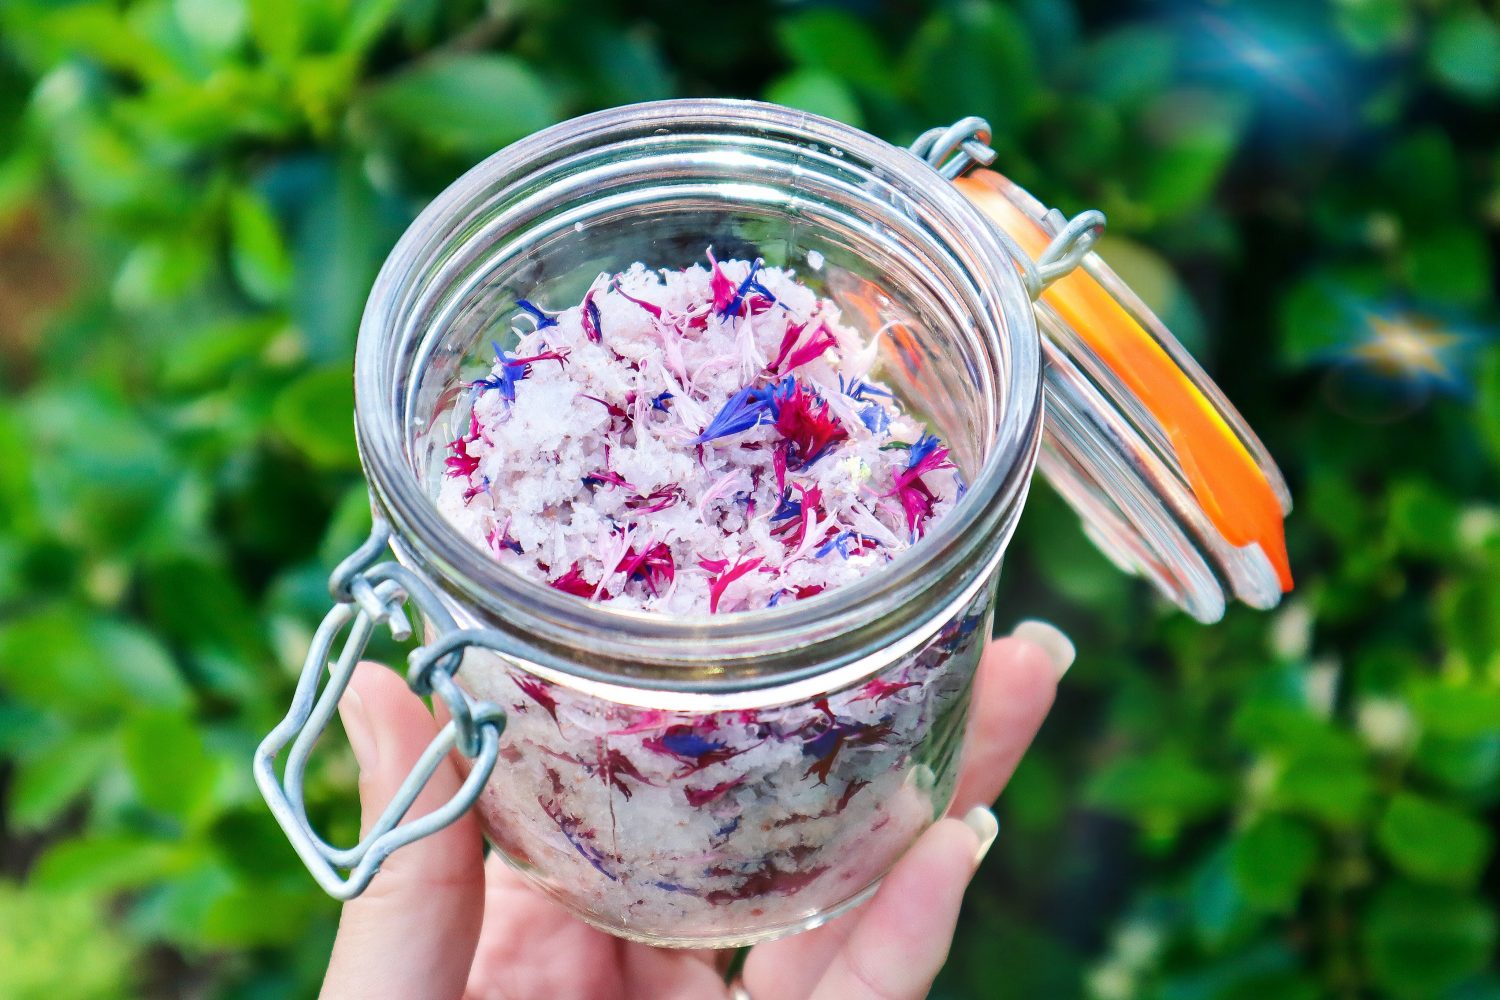
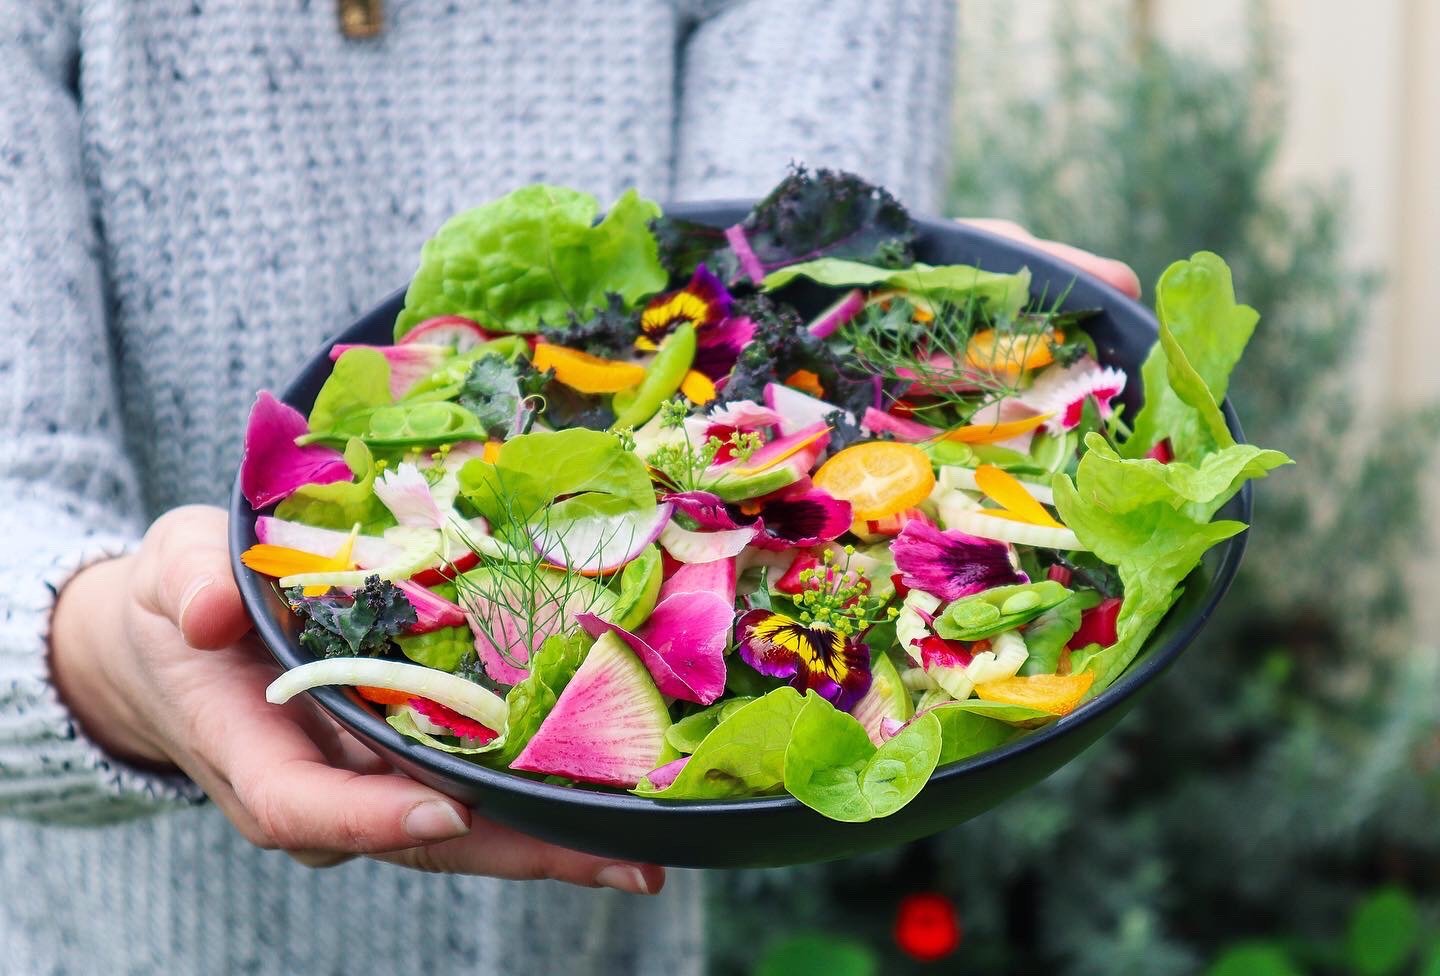
Edible flowers offer so many beneficial relationships within a home garden. When creating a sustainable permaculture garden, everything should have multiple functions and uses. The more the better! Edible flowers not only look beautiful, but they also aid in pollination, provide food and habitat to beneficial insects for pest management, add diversity to the soil and provide food, and in some cases, offer medicinal qualities for us.
Without adequate pollination, crops may be smaller, less abundant or may not produce at all. So, it is important that we attract pollinators to our gardens to increase yields along with the quality of produce.
Note: not all flowers are edible. Make sure you identify them correctly. Do not eat flowers from florists or areas unknown, as they may have been sprayed with pesticides. The safest option is to grow your own.
Pick your edible flowers in the morning but after the sun has come up. First thing in the morning the flowers will still be closed, so wait until they fully open up. They will be at their best in the morning, full of life and well-hydrated. If you are serving them fresh, pick your edible flowers as close to serving time as possible. Otherwise, place stems in a jar of water or keep in a moistened towel somewhere cool.
Saving seeds can go a long way towards creating a sustainable lifestyle. Seeds have the power to grow an endless supply of food if they are continuously saved. Saving your own seeds will not only provide you with a sustainable food source but will also save you money in replenishing your seeds each year.
Saving your seeds is a great step towards self-sufficiency and when a world crisis happens, (hello 2020) the seed shelves are empty. People become more aware that they are relying on others to provide for them. Having your own seeds will mean you will have more resilience and can be more self-reliant.
Saving seeds from your best vegetables will help you develop your own SUPER plants! Selecting for pest resilience, size, strength, taste or timing, means you can grow more plants with those desired traits.
You will also get seeds and vegetables that are acclimatised to your exact growing conditions. They have adapted to their surroundings and will thrive! If you are already growing these vegetables you may as well save the seeds!
Can you save any seeds?
Heirloom or open-pollinated seeds are the best to save. These are varieties have been passed down for generations and have been bred “true to type”. This means they haven’t been cross-pollinated so they will produce the same or very similar vegetables each time they are planted.
Hybrid seeds have been cross-pollinated with two different varieties to get the 3rd outcome. The seeds saved from these can have extremely varied results, that can often be less desirable.
Over the years many heirloom seed varieties have been lost forever as more and more hybrid seeds are produced by large corporations that control the market. Saving your own heirloom seeds can help keep those varieties alive for future generations.
Saving seeds from the best-performing vegetables in your garden is such a valuable skill to have. It means you will have direct access to high-performing vegetables that you know and love.
Our family have tomato seeds that have been passed down from our grandpa and they produce the most incredible tomatoes for making sauce! Each year we grow the tomatoes and come together to make a big batch of tomato sauce. It is a fun, family tradition.
Annuals, Biennials, and Perennials
Not all plants go to seed in the first season. Annuals are often most of your common seasonal vegetables such as lettuce, tomatoes, watermelon, pumpkin, beans, peas and cucumbers. These produce seeds at the end of each crop or are in the ripe fruit. This means you can save the seeds from these each year. By choosing the best fruit and vegetables to save seeds from, each year your plants will get better depending on the desired traits you have selected for eg: biggest fruit, best flavour, most pest resistant.
Biennials will only go to seed in their second season and you will need to keep them growing throughout winter. This can mean you need to transplant them to a greenhouse if your winters are too cold. Biennials can be a little trickier to save seeds from. They also take up a lot of space whilst not producing much food while you wait for the seeds. These are many of the root vegetables and vegetables such as beetroot, carrot, onions, cabbage, kale, rainbow chard, and cauliflower.
Perennials are even trickier again as they are plants that regrow by themselves every year such as asparagus. It is often easier to transplant perennials by splitting the plant and transplanting than saving seeds.
Cross-Pollinating Varieties
When deciding to save seeds from your heirloom vegetables make sure that they are not getting cross-pollinated. Pollination can happen from insects or even wind for some varieties. So it is best to keep varieties of the same vegetable separate and in different corners of the garden. Another great way to protect and avoid cross-pollination is to stagger your planting. So if you want to plant two different types of tomatoes then plant them so that the first variety has finished flowering before the second one starts. This will just help ensure you get true-to-type seeds and know exactly what tomatoes you will have to plant the next year.
If you are growing multiple varieties at the same time, they may cross-pollinated but you can still save the seeds as this process will be good practice. If you plant those seeds out it will be a bit of an experiment to see what will regrow.
That doesn’t mean you can’t have some fun and try to cross-pollinate each season and see what happens.
Wait Until They’re Mature
Many fruit and vegetable seeds are only viable once they become over-ripe. This means you may miss out on getting to eat them. To save the seeds from vegetables you want to leave them on the plant until they are either dry or with fruit such as tomato and cucumbers they should be so over-ripe that they are starting to rot or go way past eating quality. This is how they naturally produce seeds in the wild.
Plants such as lettuce, celery, chard and radish will send off flowers once they get ripe and then these flowers will turn to seed pods. You will want to wait until the seed pods start to go brown and dry before harvesting for seeds.
Selecting Plants to Save Seeds From
This is an important step to make sure you save the best seeds! It can also be one of the hardest steps to commit to, as you will often have to forfeit eating that top-performing vegetable. If you see the perfect cucumber or tomato growing during the season, you will have to let it go overripe and bad before saving the seeds. This can often be disheartening, but just remember you will have even better crops in the years to follow!
Selecting “the best” vegetables to save seeds from is completely up to you. You may select for the biggest fruit, best tasting, plants that produce a lot, early fruiting, cold-hardy, disease-resistant, colour, or pest resistant.
How to Save Seeds?
There are two main ways to save seeds depending on the plants.
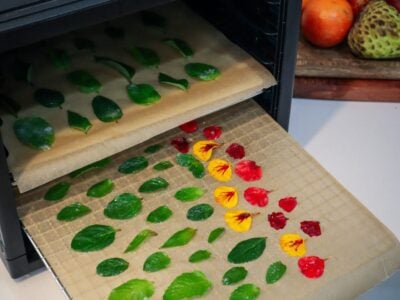
1 . Wait for the flowers to turn to seed or the seed pods to dry on the plant (beans, peas, flowers, radish, parsley, fennel). Once dry, pick and allow them to dry even further. Seed heads such as flowers can be hung upside down with the seeds heads secured in a paper bag. Once they are completely dry, you can shake off the seeds into the bag.
For seed pods such as beans, peas, and radish, once they are completely dry, you can remove the seeds from the pods and place them in a jar or brown paper bag. This can be quite time-consuming, especially with smaller seed pods.
2. Let fruit or vegetables go overripe on the plant to mature the seeds. They may change colour or start to break down ( tomatoes, cucumber, eggplant, chilli, capsicum, squash).
Once they are overripe, pick them and cut them open to reveal the seeds. Clean off the flesh and dry.
FermentFleshy Fruit Seeds
When saving seeds from fleshy fruits such as cucumbers, melons, or tomatoes, it can be hard to separate out the slimy layer surrounding the seed. This layer is to protect the seed when it is ingested by animals, birds, or from soil bacteria, and allows the seed to make it safely to the next season.
In nature, the fruit will rot on the plant producing mature seeds, then fall to the ground and the slimy film will protect the seed while the soil bacteria and microbes start breaking it down. Then, by the time the soil has warmed up again the following season, the seed will be ready to burst into life! This is why your volunteer tomatoes that grow from the compost are so hardy and fast-growing! They have been processed correctly.
We can mimic nature by squeezing the fresh fleshy seeds into a jar of filtered water to ferment (will be stinky) for a few days. Leave a lid loosely on the top of the jar and you will notice a white film starting to cover the surface. This is the lacto-fermenting process.
The viable seeds will be at the bottom of the jar and the bad seeds will float. Once the film covers the top of the surface you can separate off the bad seeds, rinse your seeds, dry them, and store them.
The easiest way to do this, is to dry them on a paper towel and when they are completely dry fold it up and place them in a brown paper bag or jar to store.
Is Fermenting Necessary?
No, you can simply rinse your seeds and dry them out. The fermenting phase helps eliminate the bad seeds, remove the protective layer and kill off some of the seed-borne diseases.
Dry the Seeds Completely
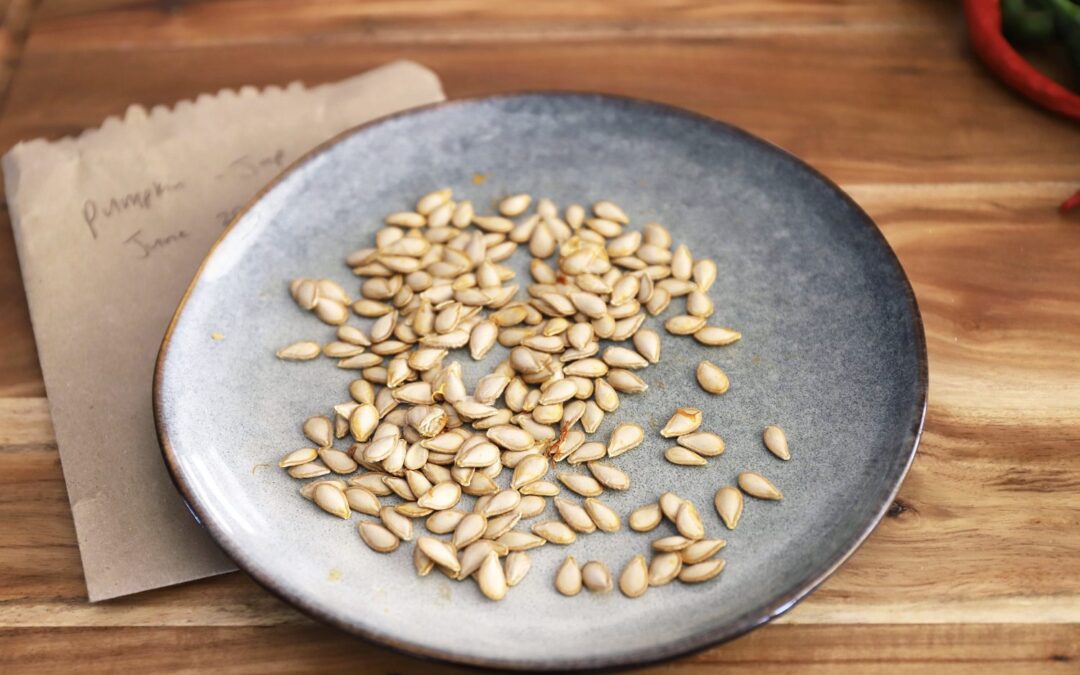
You want to make sure your seeds are completely dry before storing them. Lay them flat on a tray, moving them around every day or so until they are dry. Thicker seeds such as pumpkin may take a week or so to fully dry. Remove as much of the extra plant matter as possible (seed pods, petals, protective layers).
Storing the Seeds
Store your seeds somewhere cool, dark, and dry. I like to keep my seeds in brown paper bags, envelopes or recycled vitamin/pill canisters. Make sure you label them well with the name and/or desired trait (early tomatoes, best-tasting pumpkins, etc) and put the date.
Store your seeds in the coolest room or area of your house. Seeds can also be kept in the fridge in airtight containers.
How Long will Saved Seeds Last?
It is best to plant your seeds and resave each year or two, but if they have been stored correctly, some seeds may last over 10 years. Saving seeds and gifting them to friends and family, will mean you will be able to keep heirloom varieties available for generations to come.
If in doubt don’t throw them out! Old seeds can still be sown, you may just get less successful germination.
Saving seeds and figuring out how to save seeds from each plant can be tricky. Let me know if you have any questions about saving your seeds. This guide may also come in handy to determine whether plants are annual or biennial and how they are pollinated.