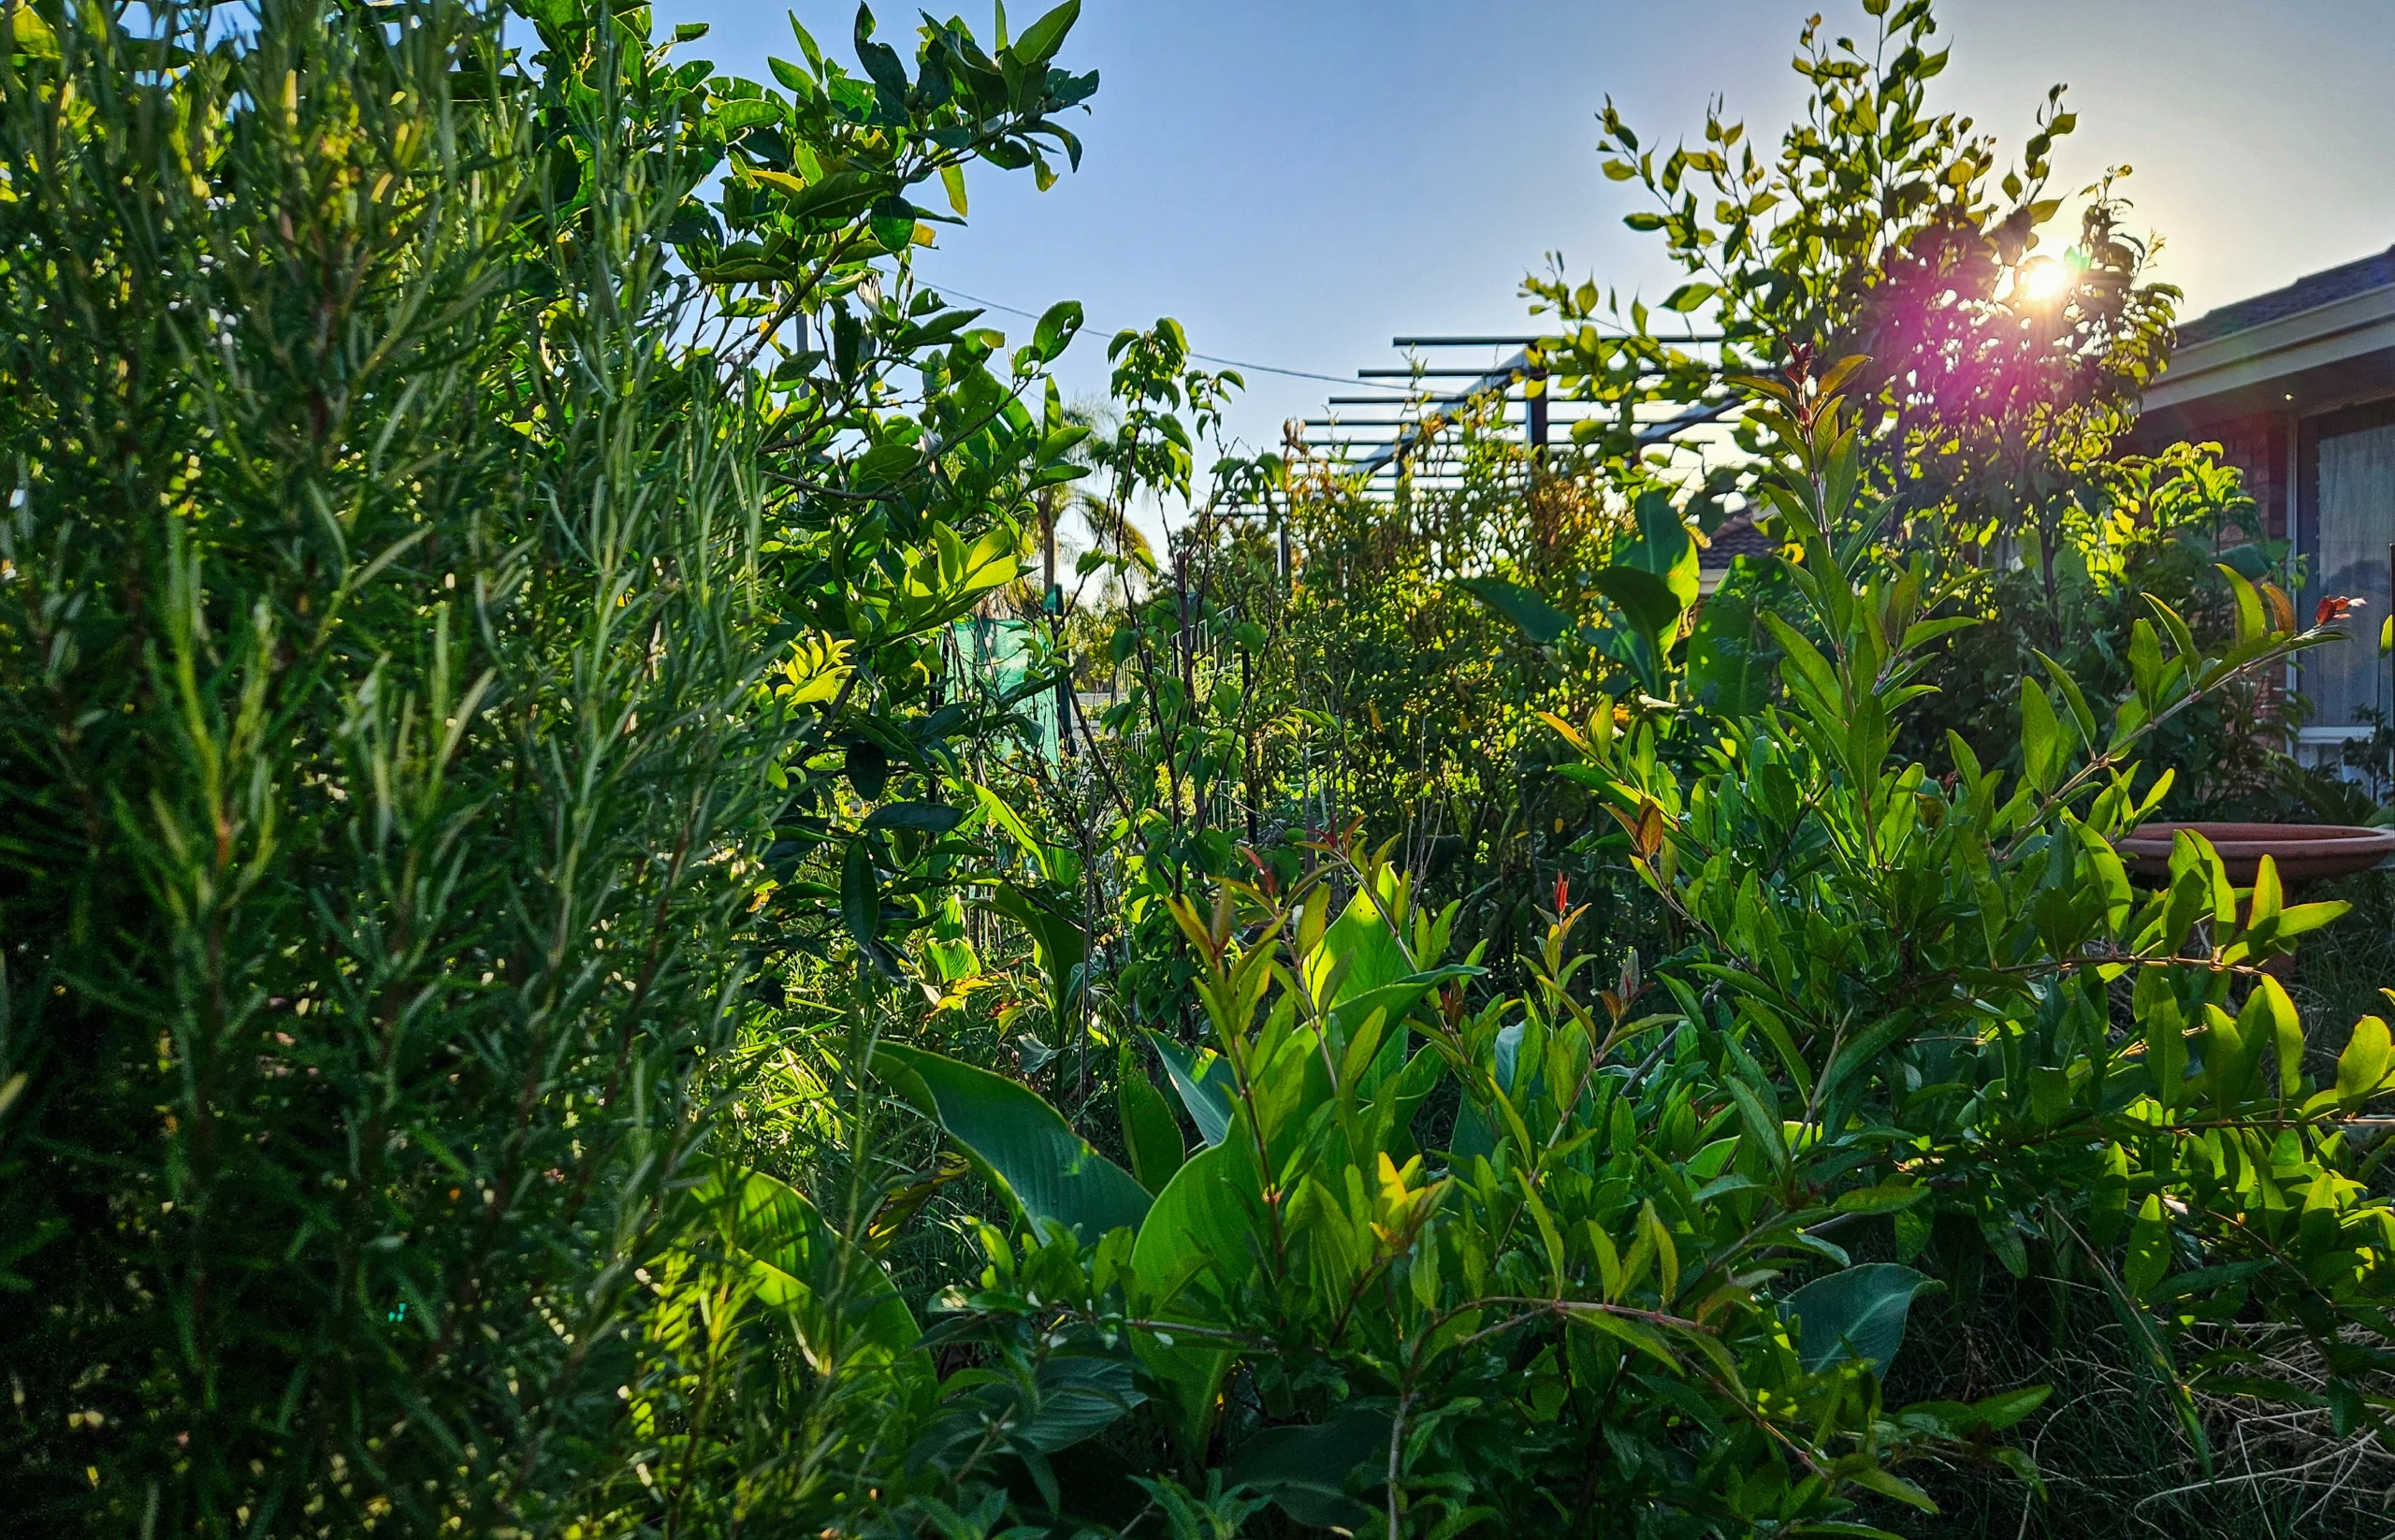
Gardening in sandy soil can be a challenge, especially in hot, dry climates. Sandy soil drains quickly, lacks nutrients, and struggles to retain moisture. However, by choosing the right plants, you can naturally improve soil health while also growing food. In this post, I’ll share five of the best plants to grow for mulch and improve sandy soil, all of which are fast-growing, drought-tolerant, and multi-functional. These plants help build organic matter, retain moisture, and create a thriving ecosystem in your garden.
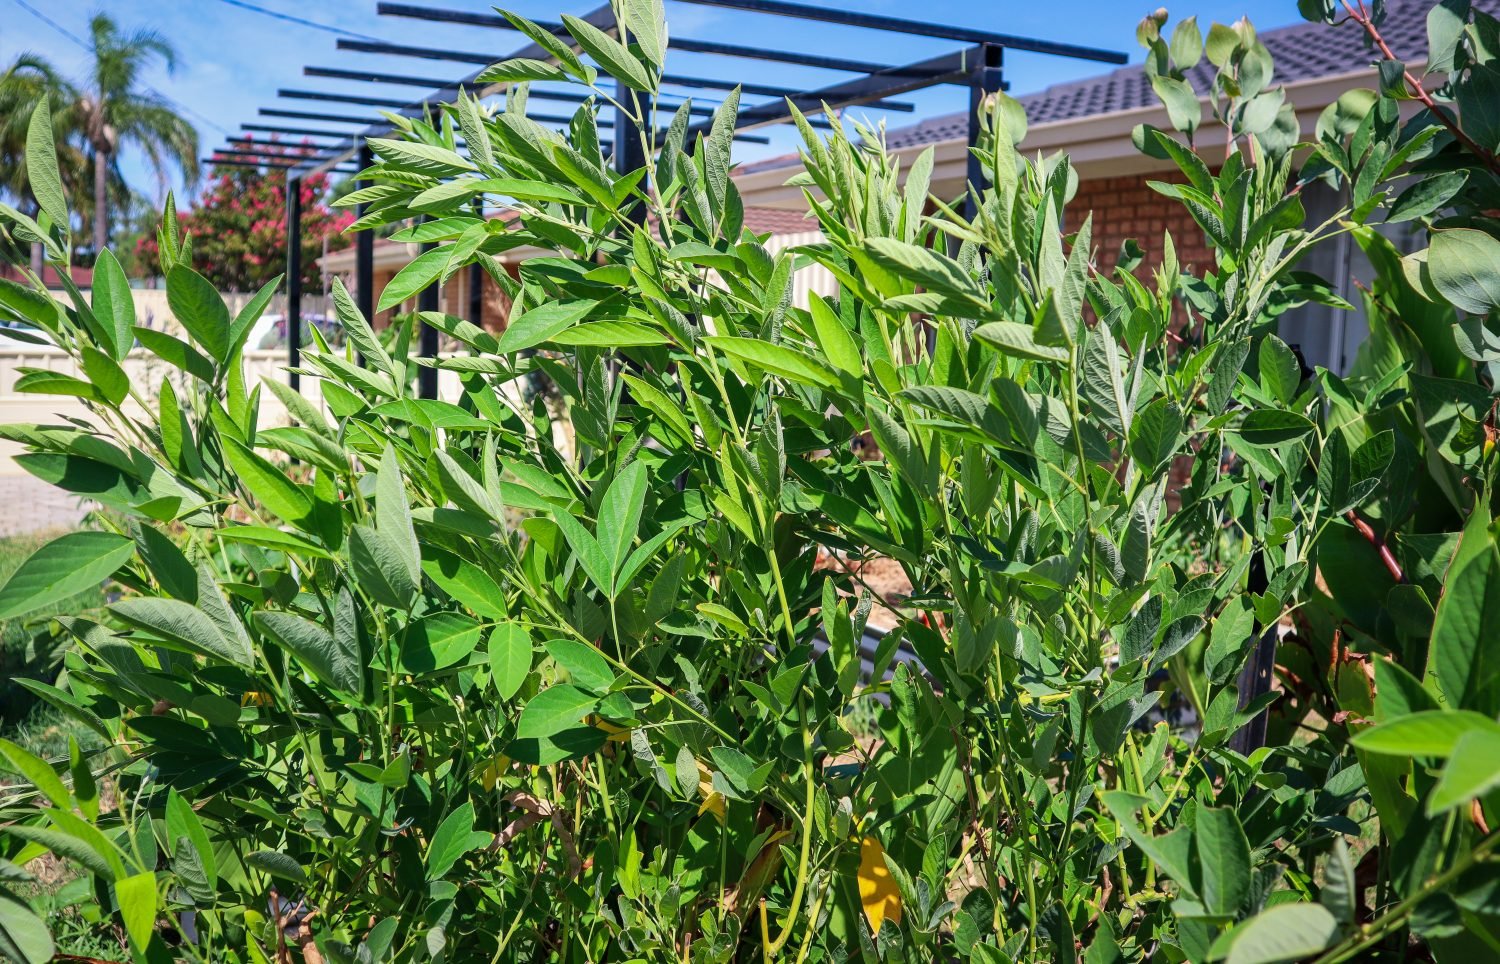
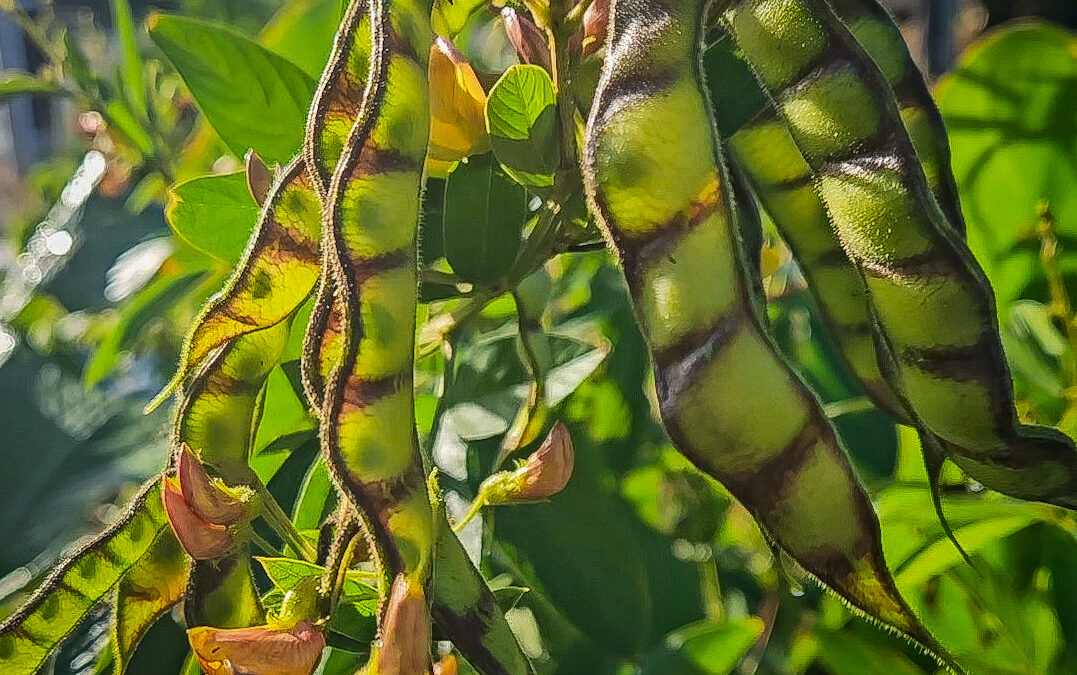
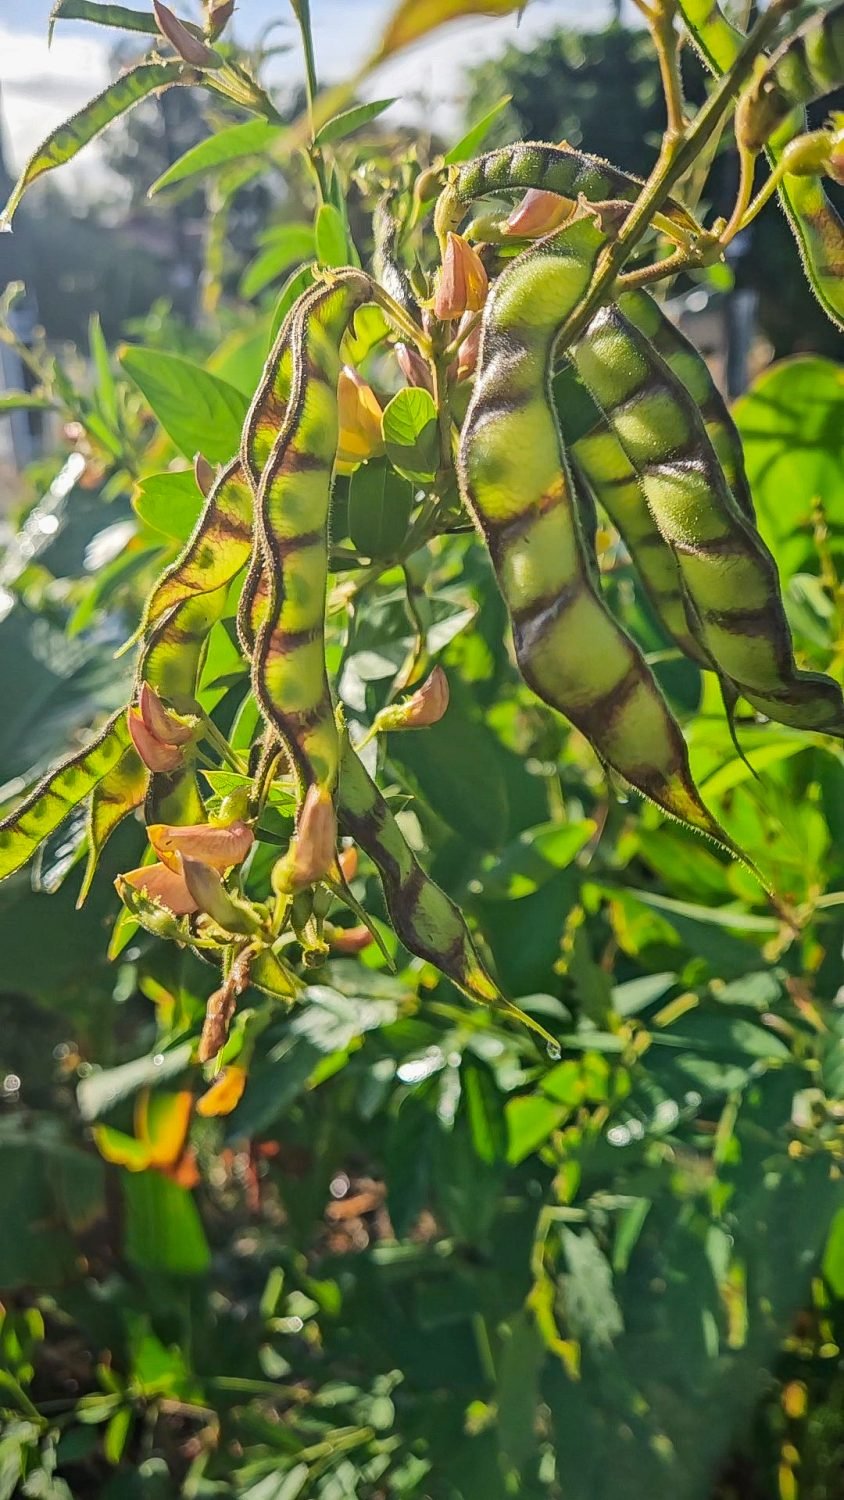
Pigeon pea is a nitrogen-fixing shrub that grows quickly and thrives in poor soil conditions. This makes it an excellent pioneer plant for mulching to improve sandy soil and support other plants in your garden.
Benefits of Pigeon Pea:
Fixes nitrogen, enriching the soil naturally
Produces edible, protein-rich peas
Attracts pollinators and beneficial insects
Provides dappled shade for smaller plants
Offers abundant biomass for mulch and soil improvement
Works as a windbreak and shelter for small birds and insects
Pigeon pea is a short-lived perennial (4-5 years) and can be used to establish a garden while building soil fertility.
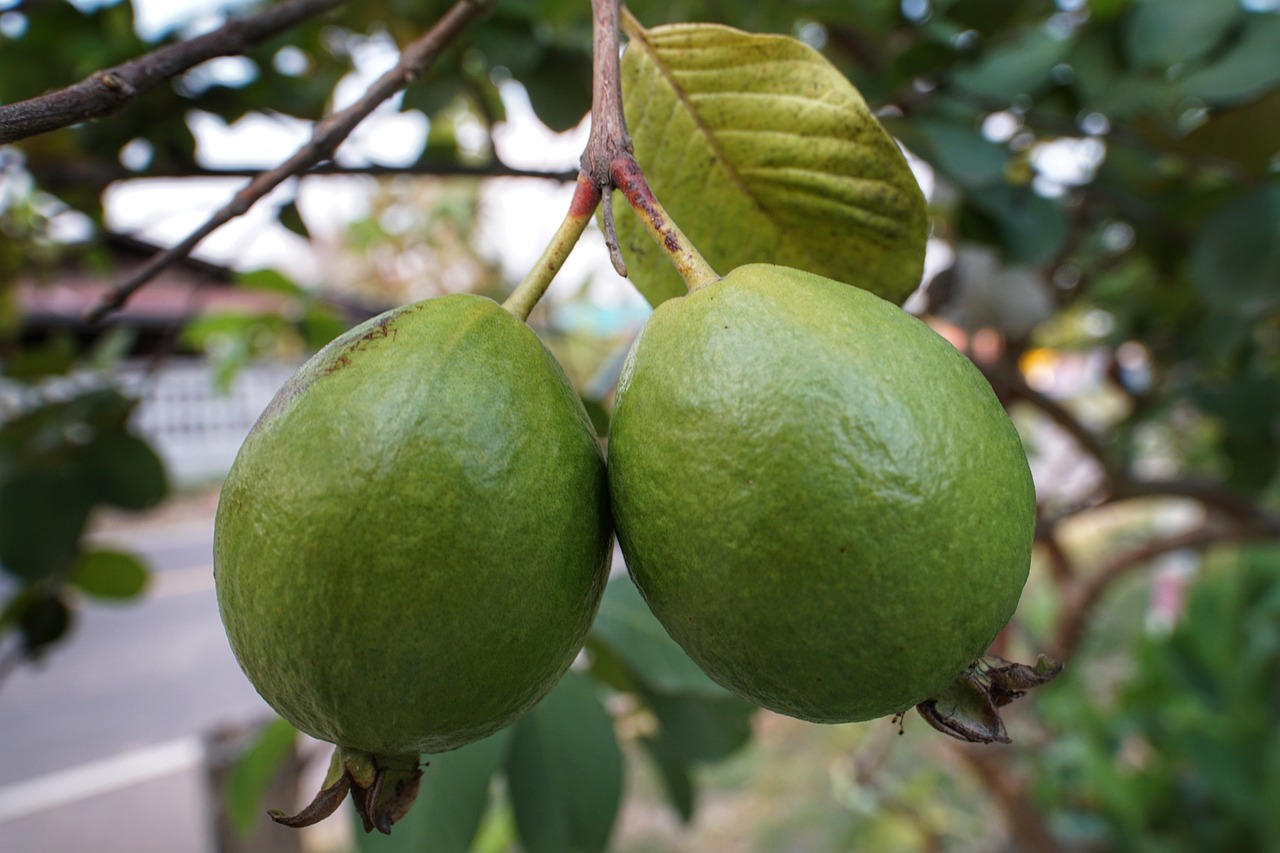
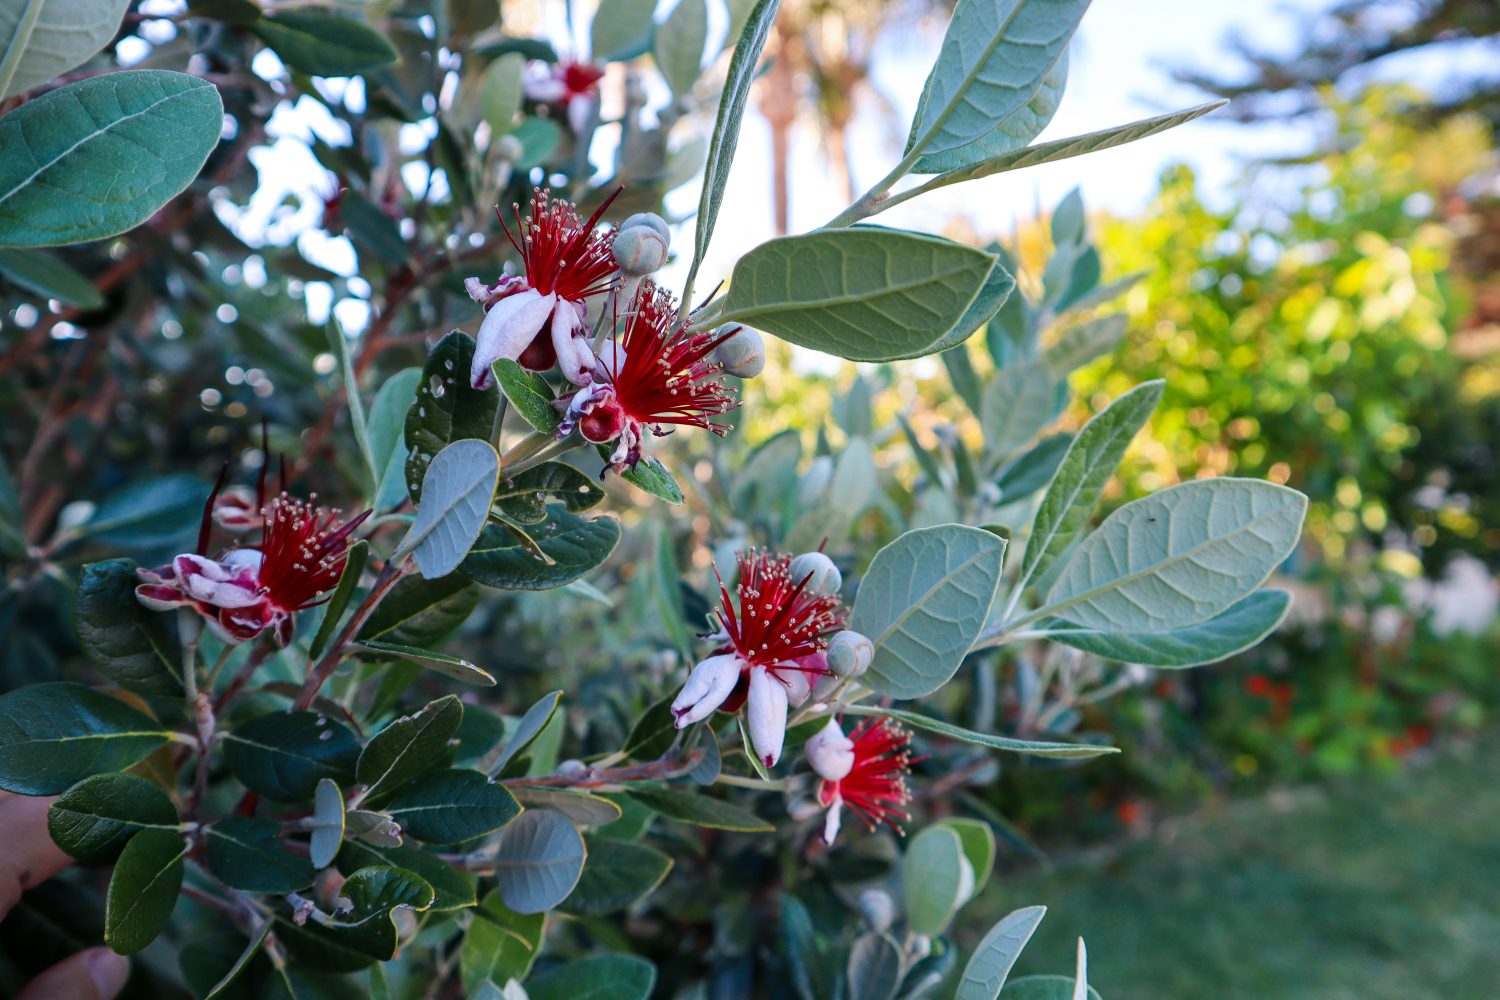
Feijoa, also known as pineapple guava, is a hardy shrub that thrives in drought-prone and sandy soil conditions.
Benefits of Feijoa:
Tolerates drought and poor soil
Produces delicious, fragrant fruit
Provides dense foliage for wind protection
Low-maintenance and easy to grow
Can be used as a hedging plant to protect other crops
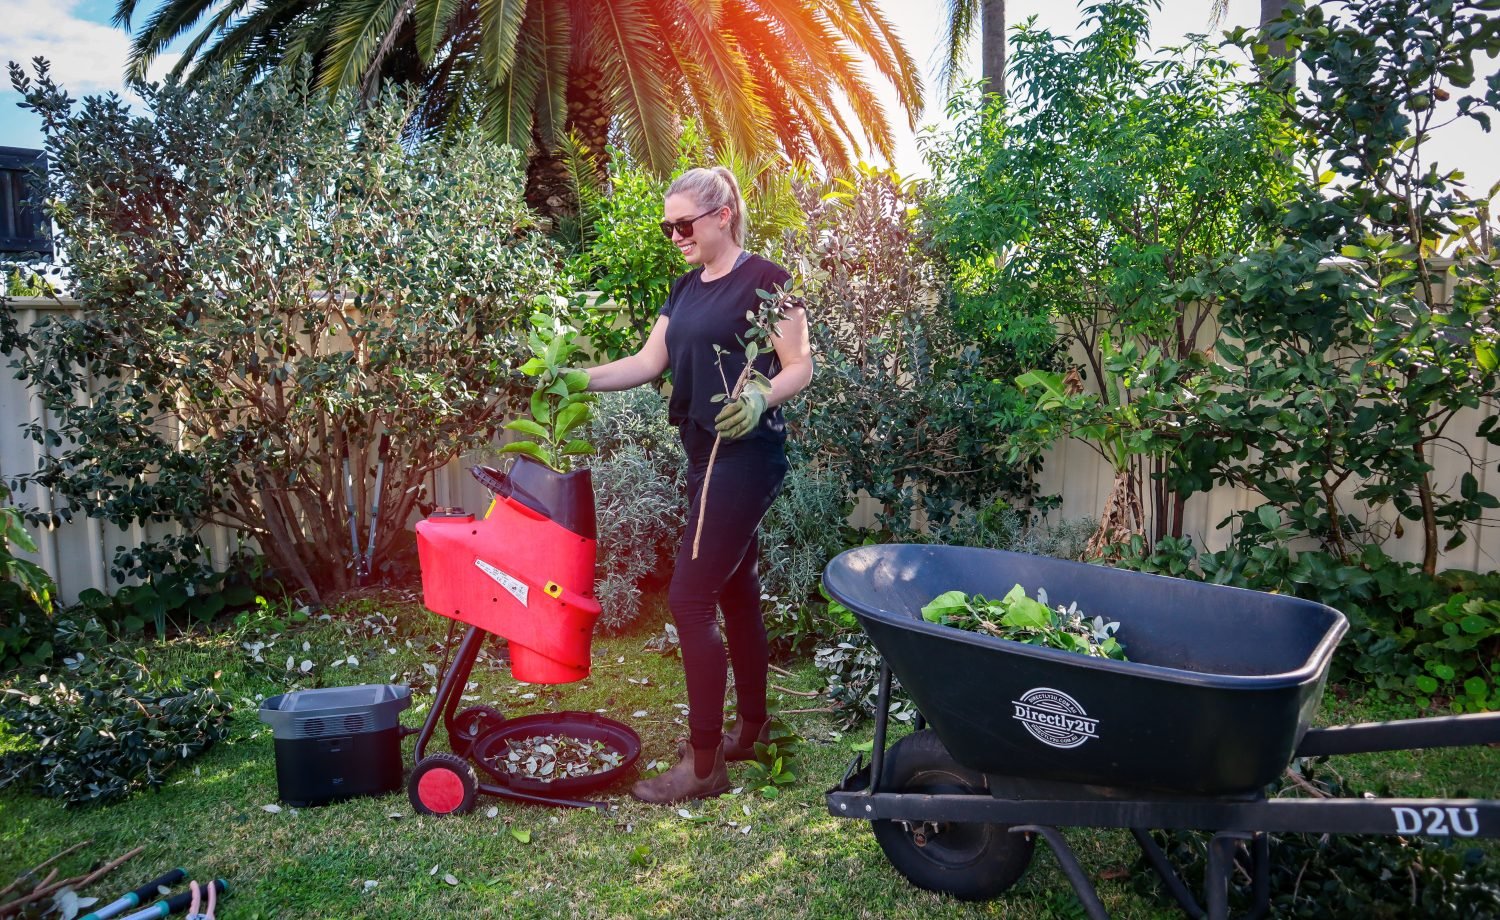
Feijoa is an excellent addition to sandy-soil gardens, offering both food and improved soil structure. They grow so much each year, which provides a consistent supply of green material to mulch. This is currently my top producer for mulch in the garden, and I use a mini mulcher with the Ecoflowbattery pack to give me cordless solar power anywhere in the garden.
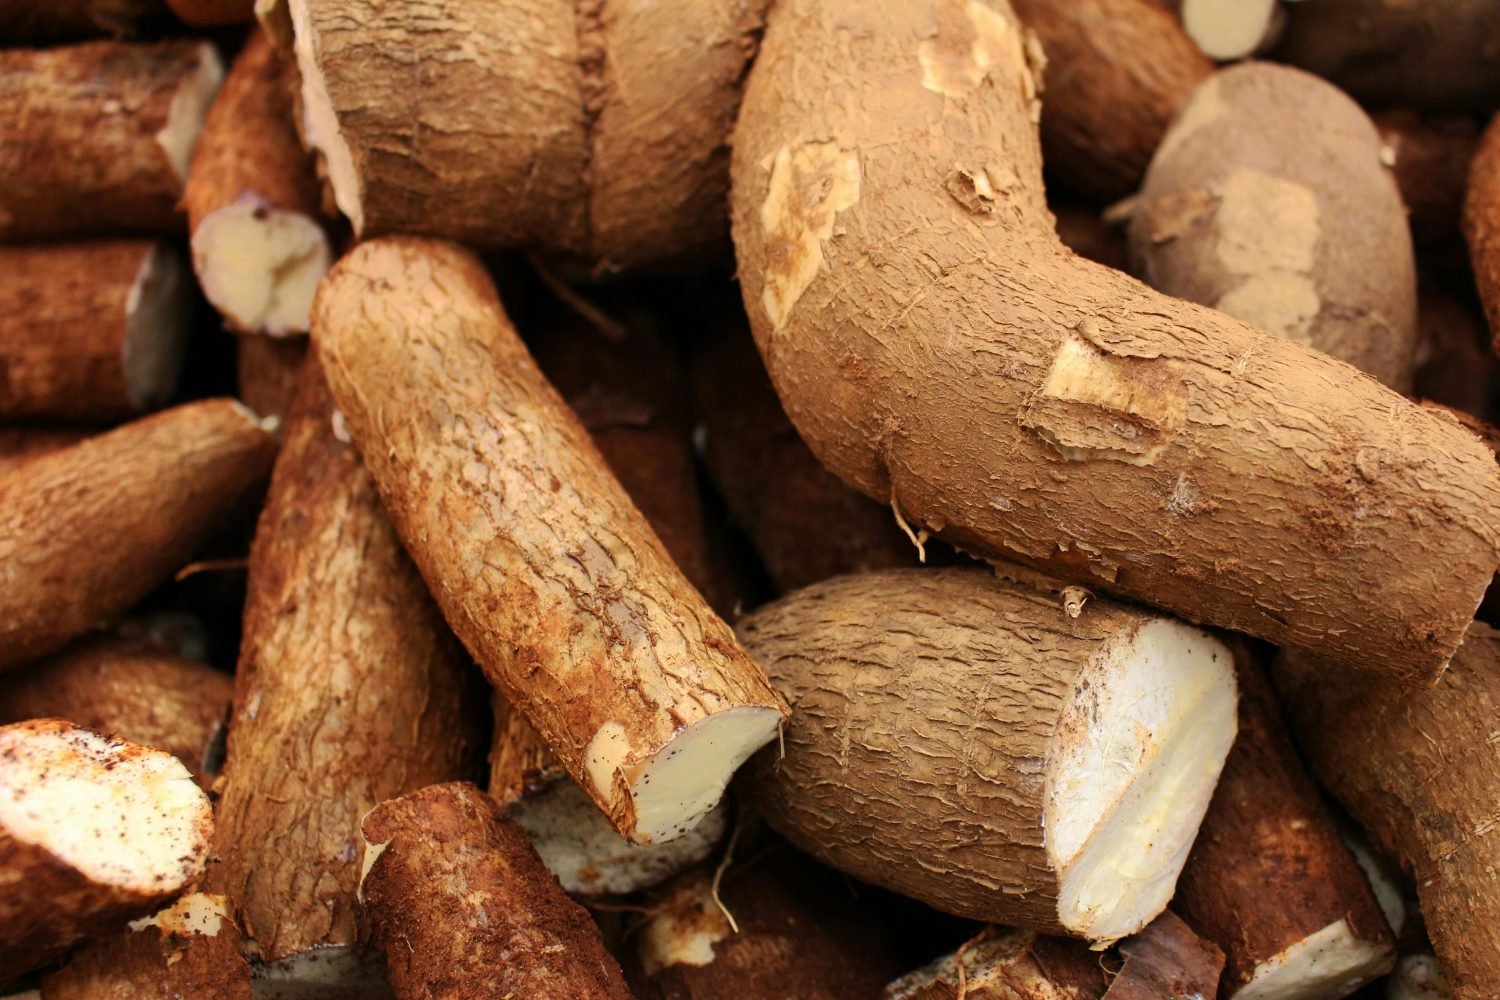
Cassava (Manihot esculenta)
Cassava is a tough, resilient root crop that thrives in hot, dry climates and nutrient-poor soil.
Benefits of Cassava:
Grows well in sandy, well-draining soil
Produces large, starchy tubers that can be boiled, fried, or made into flour
Fast-growing, reaching 2-3m tall in one season
Drought-tolerant once established
Leaves are edible when cooked
Chop-and-drop plant for mulch and soil improvement
Helps prevent soil erosion with its strong root system
Cassava is an excellent survival crop that helps build soil health and provides a reliable food source.
Mulching for the win!
If you’re gardening in sandy soil, these five plants to grow for mulch will help improve organic matter, retain moisture, and build long-term soil fertility. By growing multi-functional, fast-growing plants, you can create a thriving, resilient garden—even in harsh conditions.
Don’t forget to like and subscribe for more gardening tips! 🌱
Links included in this description might be affiliate links. If you purchase a product or service with the links that I provide I may receive a small commission. There is no additional charge to you! Thank you for supporting my blog so that I can continue to provide you with free content.
Are you growing any of these plants? Let me know in the comments! And if you found this helpful, share it with fellow gardeners.
Pigeon pea (Cajanus cajan) is a fast-growing, nitrogen-fixing shrub that thrives in poor soil conditions while providing multiple benefits to the garden. Whether you’re looking for a hardy pioneer plant, a nutritious food source, or an effective soil builder, pigeon pea is a must-have in any sustainable garden or food forest.
Are you struggling with poor sandy soil and crispy plants from not enough summer shade? Then keep reading because this easy-to-grow edible plant could be the answer!
Benefits of Growing Pigeon Pea in a Permaculture Garden
1. Pigeon Pea Improves Soil Health
Pigeon pea is an excellent nitrogen fixer, meaning it naturally enriches the soil by pulling nitrogen from the air and making it available to other plants. This is especially valuable in poor, sandy soils where organic matter is often lacking. Additionally, its deep taproot helps break up compacted soil, improving aeration and water retention. It is a great plant to grow in newly established gardens where soil quality is low.
2. Creates Dappled Shade
This shrub grows quickly and provides light, dappled shade that protects lower-growing plants from harsh sun exposure. This makes it an excellent companion plant for young fruit trees and vegetable crops that benefit from reduced heat stress.
3. Attracts Beneficial Insects & Pollinators
The bright yellow flowers of pigeon pea are highly attractive to bees, butterflies, and other beneficial insects. These pollinators help increase biodiversity in your garden and improve the yield of surrounding fruiting plants.
4. Nutritious & Versatile Edible Crop
Pigeon peas are a rich source of protein, carbohydrates, and fiber, making them a valuable addition to a self-sufficient diet. They can be eaten in various ways:
Fresh in salads
Steamed like edamame
Cooked in stews and curries
Made into burger patties
Dried and stored for long-term use
Not only are pigeon peas beneficial for human consumption, but they also make excellent high-protein animal feed.
5. Provides Abundant Biomass & Mulch
Pigeon pea produces a significant amount of organic material that can be cut back and used as mulch. This helps retain soil moisture, suppress weeds, and build healthy soil over time. Regular pruning encourages new growth and keeps the plant productive.
6. Windbreak & Habitat for Wildlife
This shrub can be grown as a hedge to provide wind protection for more delicate plants. It also creates shelter for small birds and insects, enhancing the overall ecosystem of your garden.
7. Pioneer Plant for New Gardens
Pigeon pea is an ideal “pioneer” species for establishing new gardens. This means it helps pave the way for establishing more valuable long-term crops. It offers:
Fast-growing shade
Nutrient-rich mulch
Green material for composting
Pollinator attraction
Wind protection
Thrives in poor soil
Drought tolerant
It is a short-lived perennial, typically lasting 4-5 years, making it perfect for supporting other plants in the early stages of a food forest or permaculture system. As your garden grows and your main fruit tree crops start to get established you can prune back and remove the Pigeon Pea to make room. With so much seed available you will be able to re-grow more plants in other areas of the garden.
How to Grow Pigeon Pea
Pigeon PeaPlanting & Soil Requirements
Thrives in well-draining soil, including poor, sandy soil
Pigeon Pea prefers full sun but can grow in semi-shade positions
Drought-tolerant once established
Grows well from seed planted directly in the ground
Doesn’t like frosts, but can be grown as an annual crop in cooler climates
Doesn’t like wet feet as this can cause the roots to rot. Plant on mounded soil to help improve drainage in wet areas.
Maintenance & Care
Minimal care is required once established
Benefits from regular pruning to encourage bushy growth and biomass production. It also helps with the ease of harvesting peas at a more manageable height.
Pigeon Pea can be interplanted with fruit trees, vegetables, or other nitrogen-demanding plants
Harvesting & Usage
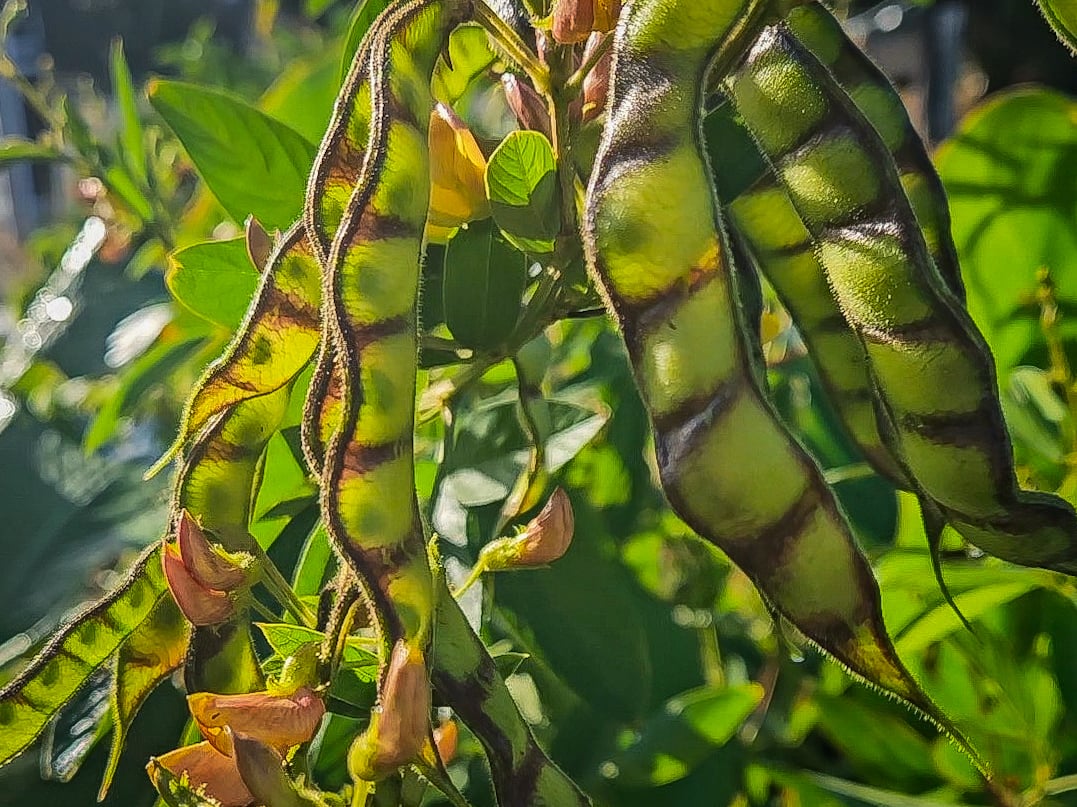
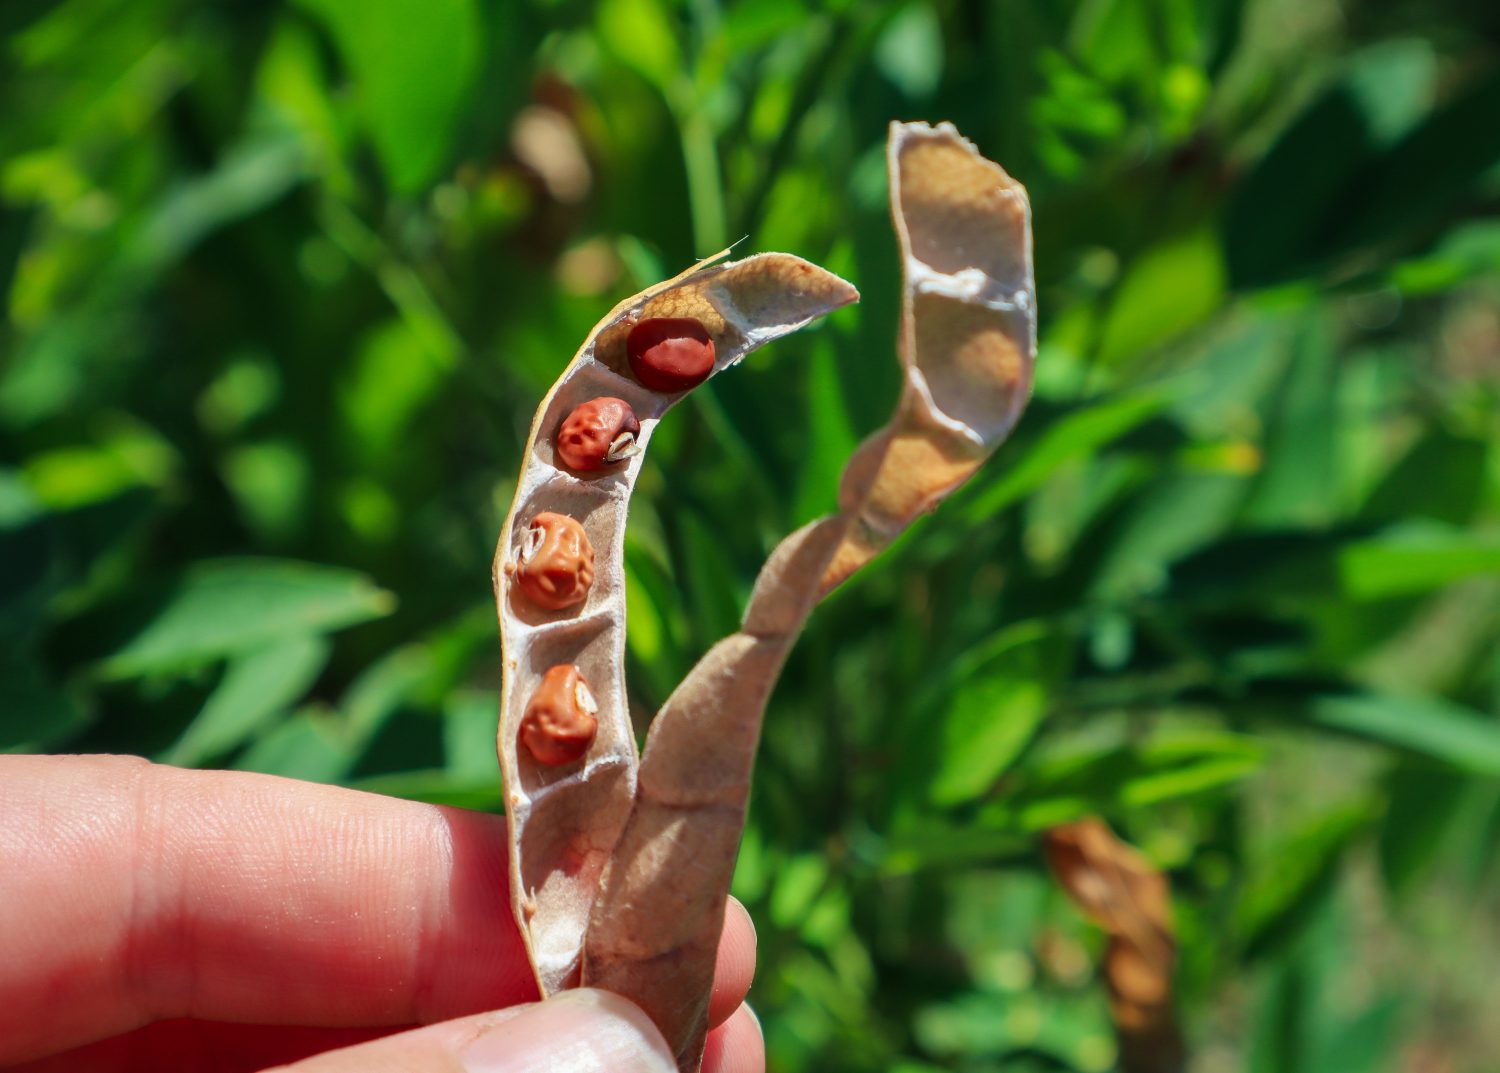
Harvest fresh peas when pods are still green
Leave pods to dry on the plant for long-term storage of dried peas
Regular pruning ensures continuous production and plant health
Pigeon Pea Permaculture
This pioneer plant is an invaluable addition to any permaculture garden, offering multiple benefits such as soil improvement, food production, pollinator support, and natural wind protection. Whether you’re starting a new garden or enhancing an existing one, this resilient shrub will help create a thriving, self-sustaining ecosystem.
Start growing Pigeon Pea today and enjoy its many rewards in your sustainable garden!
Do you have areas that get very hot, full sun, and nothing seems to survive? These 22 heat-tolerant edible plants to grow in HOT full-sun locations will help you grow productive edible gardens. I’ve been growing food here in Perth, Australia, for the last 10 years, and let me tell you, it was a big change and learning curve coming from the lush green of New Zealand.
Today, I’m sharing some plant ideas to plant in those super hot locations, but keep reading to the end because it’s not just about what you plant, but also when and how! Bonus tips on that, so you can turn your hot barren wasteland into productive edible gardens.
Click to WATCH 22 heat-tolerant edible plants
22 Heat-tolerant Edible Plants for Full Sun
1. Rosemary
Attracts bees 🐝 and has healing properties, and is great for skin and hair care. Flavour-enhancing culinary herb🌿 When I first moved here, I wondered why so many houses had Rosemary hedges out the front – and it’s because it thrives on neglect and our poor sandy soils. Rosemary is a great heat-tolerant addition to your edible garden. Try making your own Rosemary Salt.
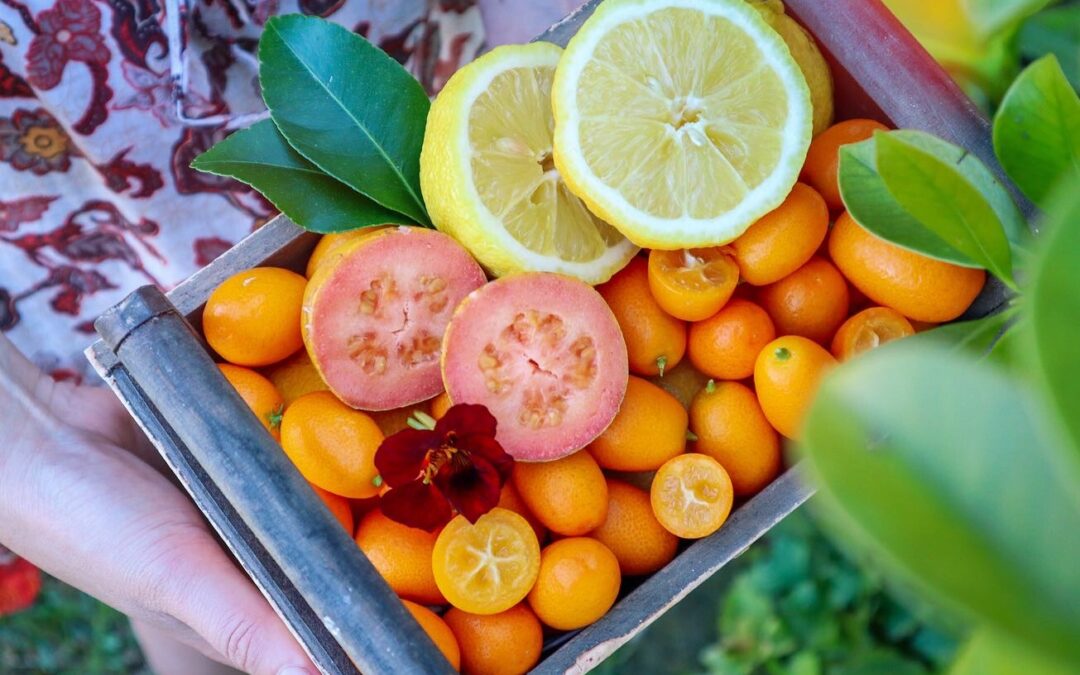
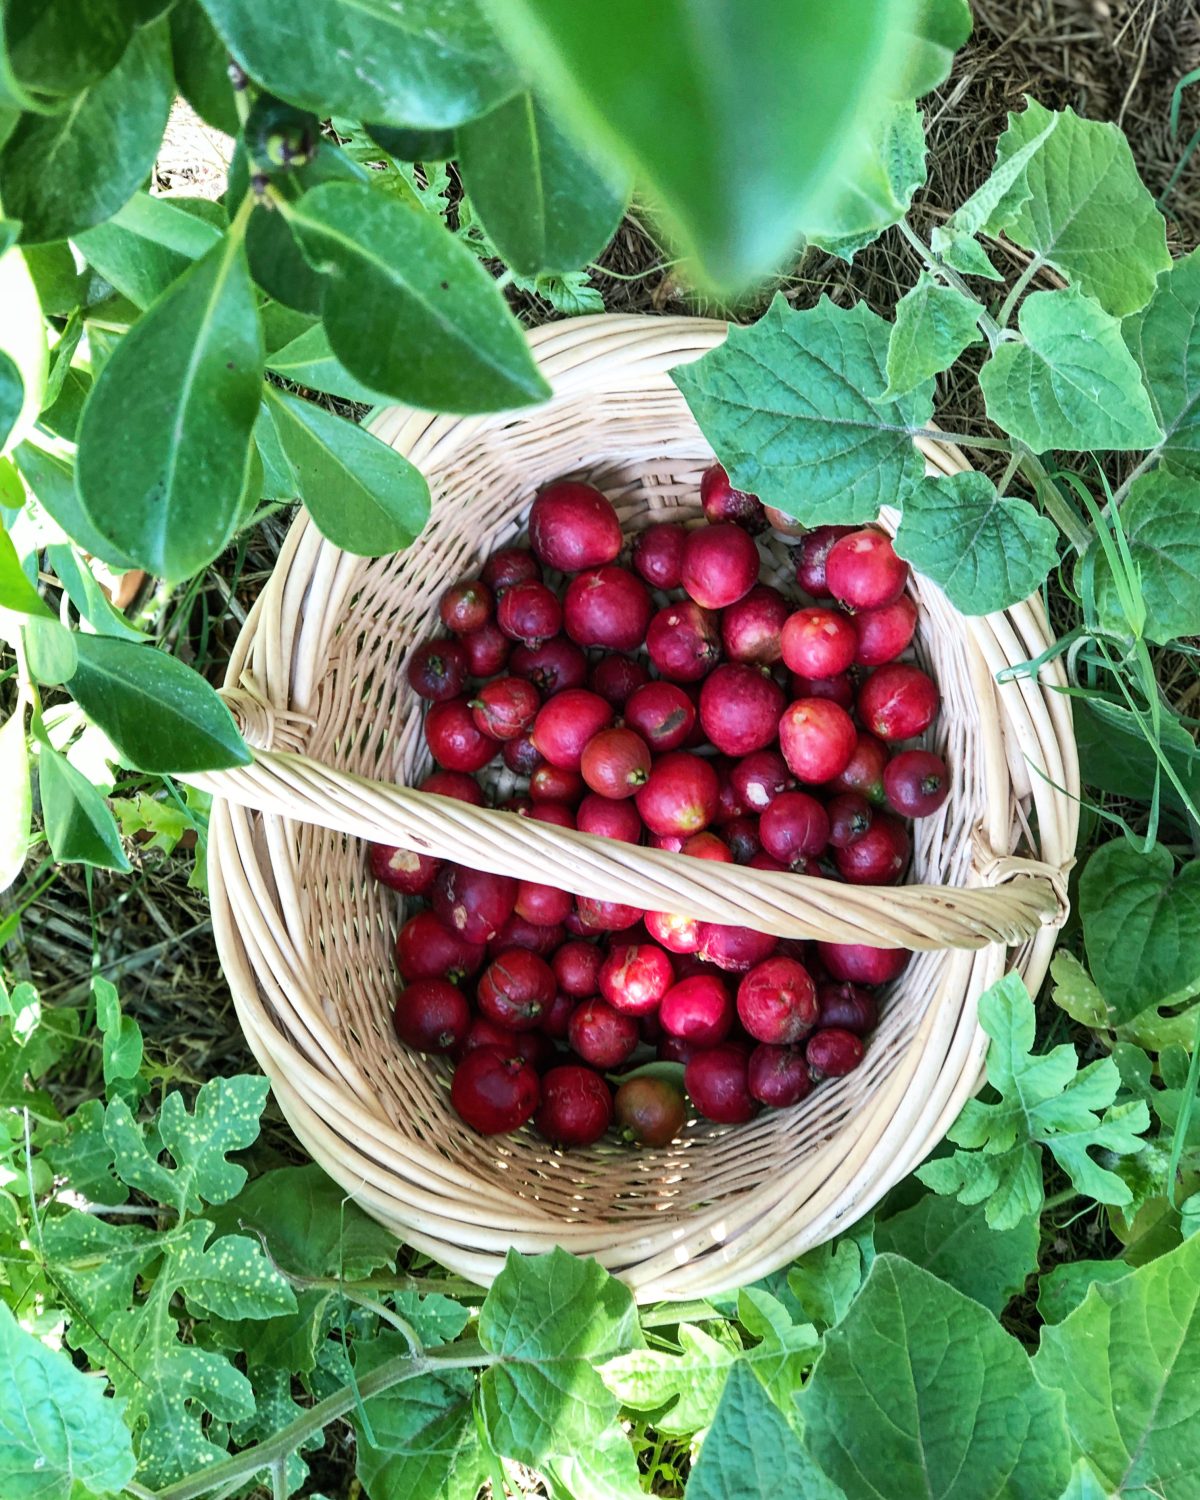
2. Guava – Strawberry & Tropical
Strawberry/cherry, lemon cherry, and tropical Hawaiian/Thai guavas are really hardy, low-maintenance fruit trees that produce bucketloads of fruit!
3. Mulberry
Another powerhouse perennial that survives on neglect – they grow super fast so you can use these as a nanny plant or a pioneer plant. If you have a barren hot area you could plant a Mulberry to get quick shade established and later on remove it or heavily prune if it gets too big. Mulberry also loses leaves in winter to let light in.
4. Lavender
Lavender is drought-tolerant – a great pollinator plant with many medicinal (calming and sleep) and culinary uses. In my garden (which will be different with climates and varieties) Lavender flowers at the same time as my Feijoas so I have it planted in between them to attract pollinators and increase my Feijoa harvests.
5. Feijoa / Pineapple Guava
If you have been following me on Instagram or subscribed to my YouTube, you will have guessed this plant would make the list 😂 Low maintenance, super hardy, and produces plenty of food! Feijoas do taste better when they get 50 chill hours a year so they aren’t optimally grown here in Perth, but they do grow well and are drought-tolerant. They are evergreen and super bushy, so they can be grown as an edible hedge. They are known to have fire-retardant qualities, which is very handy for hot, dry climates. If you are looking to purchase a Feijoa, choose a named variety (such as Duffy, White Goose, Mammoth, plus more) as these will perform better and produce fruit faster than generic seedling plants.
6. Passionfruit
Passionfruit is an edible vine that can be used to cover a fence, structure, or grown over an arbor to create shade. This can help cool your garden down and provide delicious fruit. Passionfruit flowers can also be used to make calming teas to aid in sleep and anxiety. NOTE: Avoid planting a grafted variety the grafts take over and become invasive, hard to get rid of, and don’t produce good fruit.
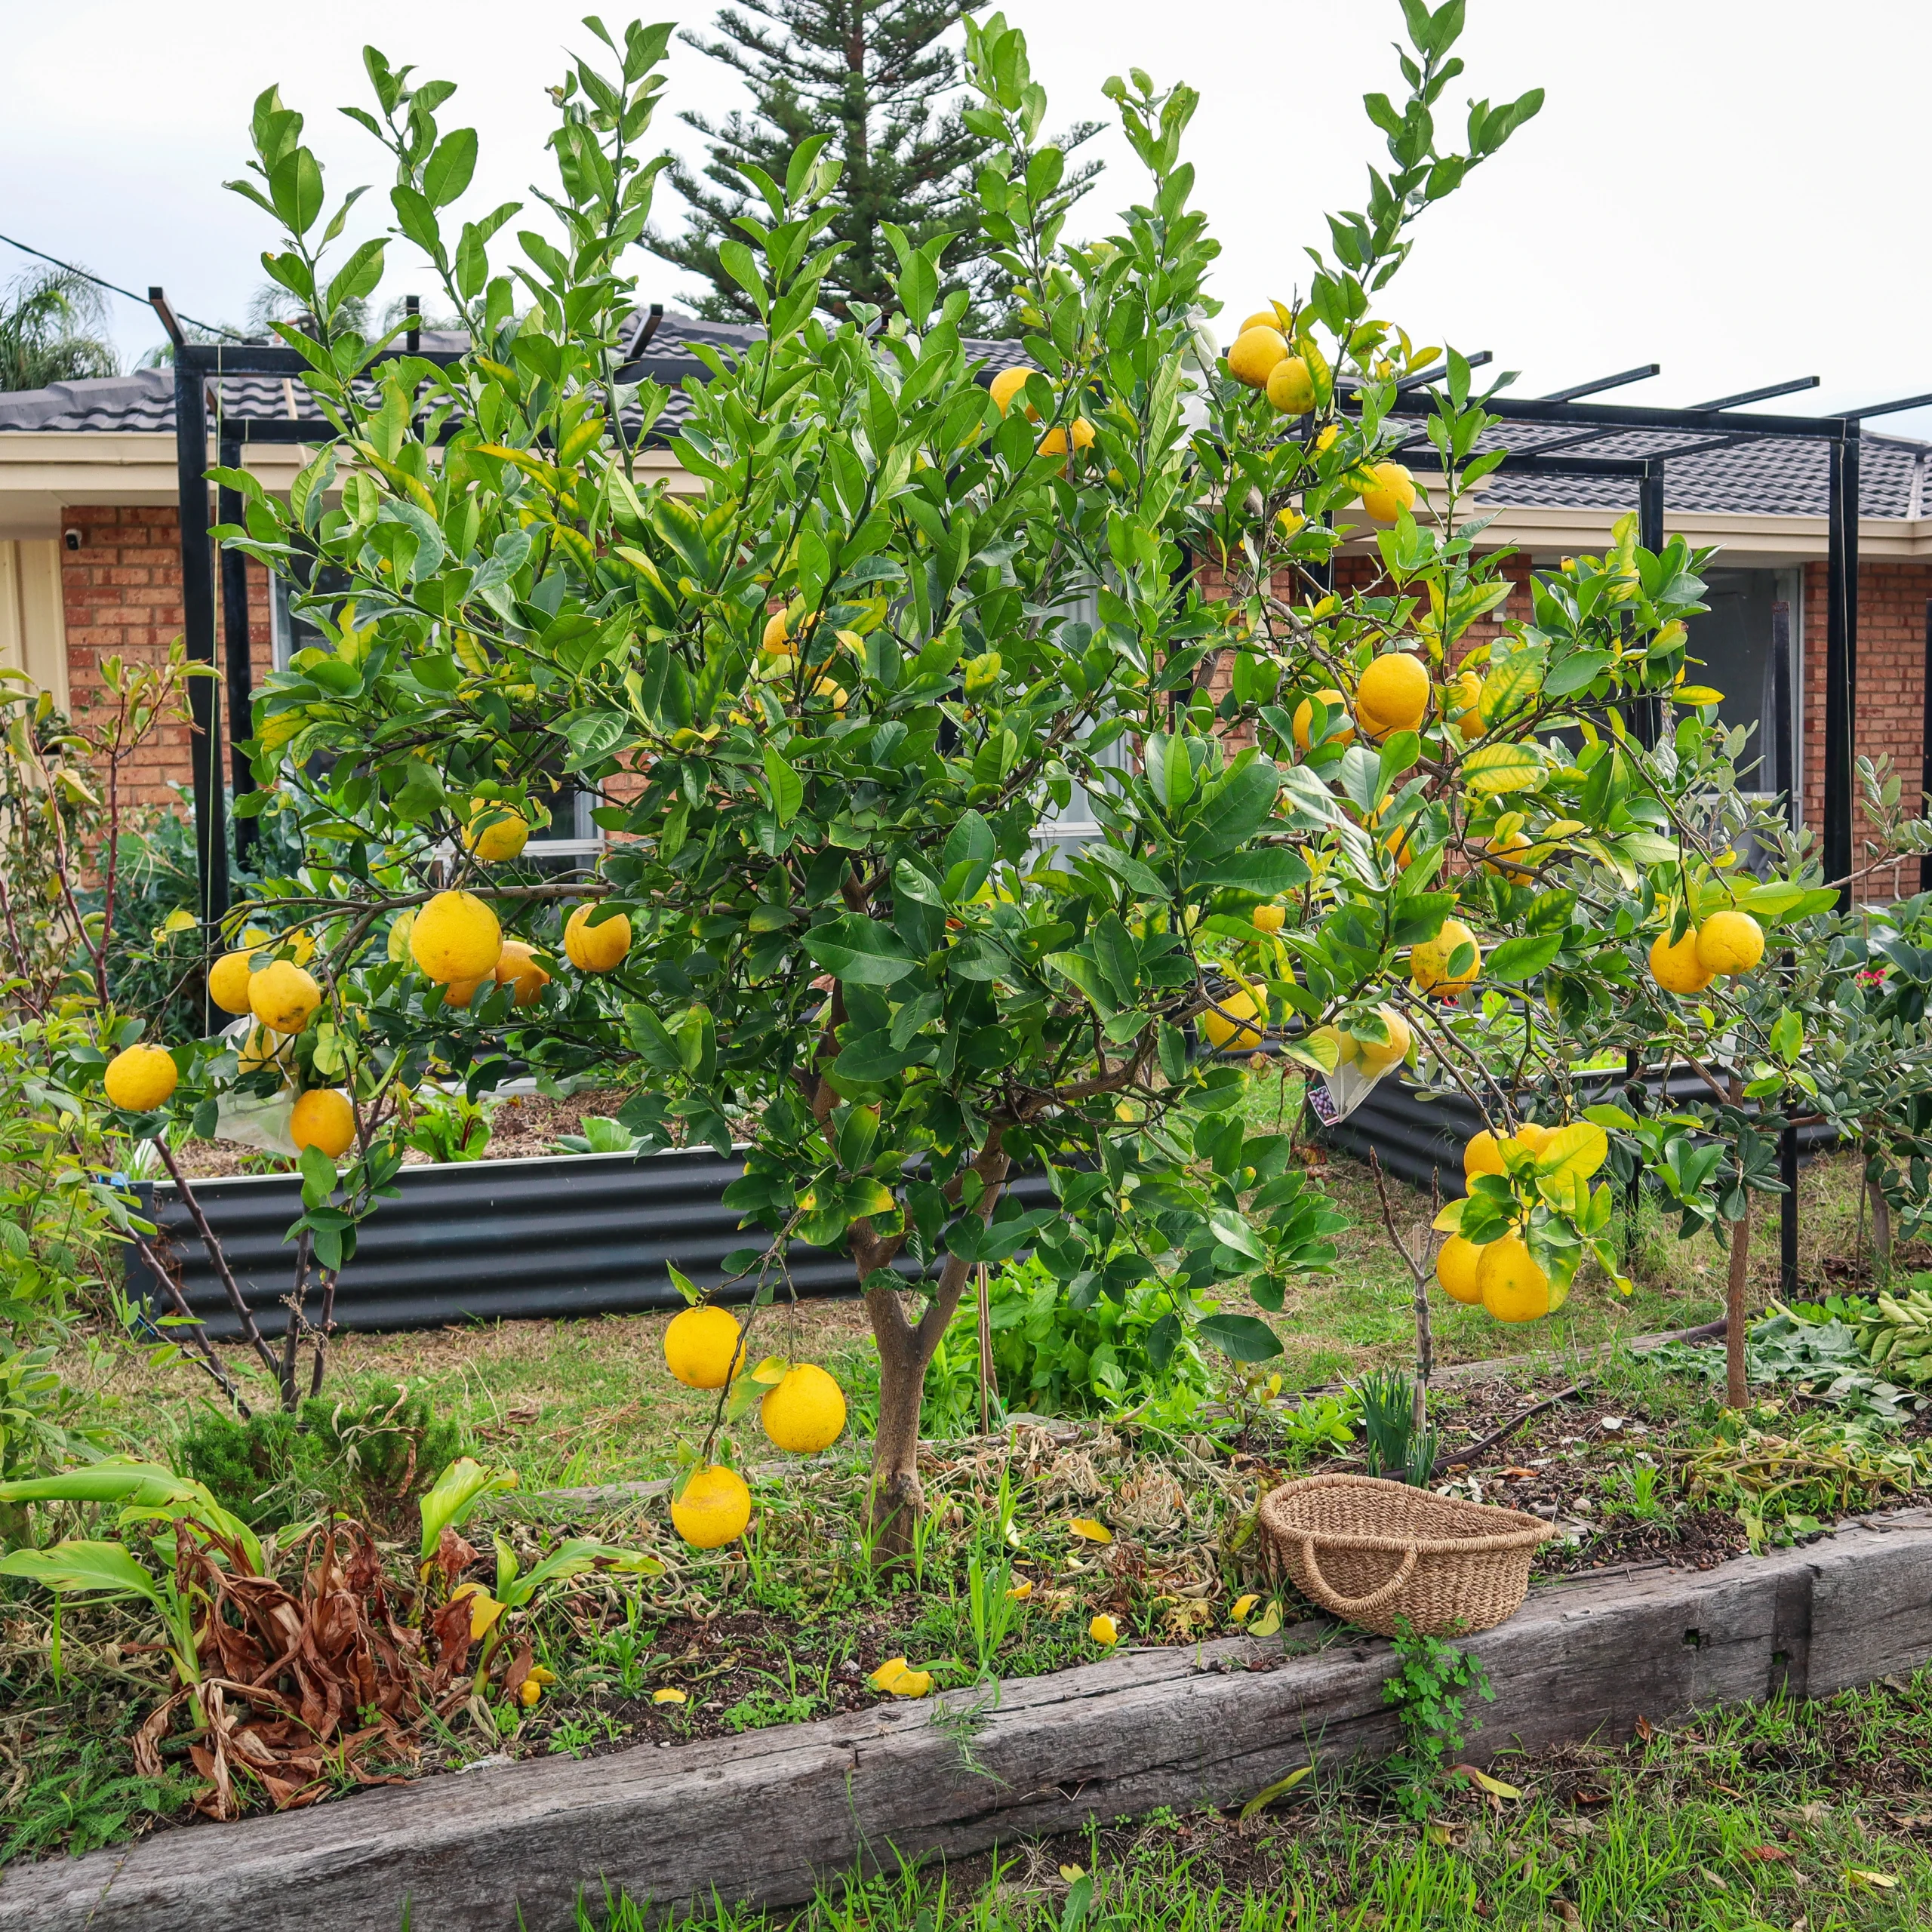
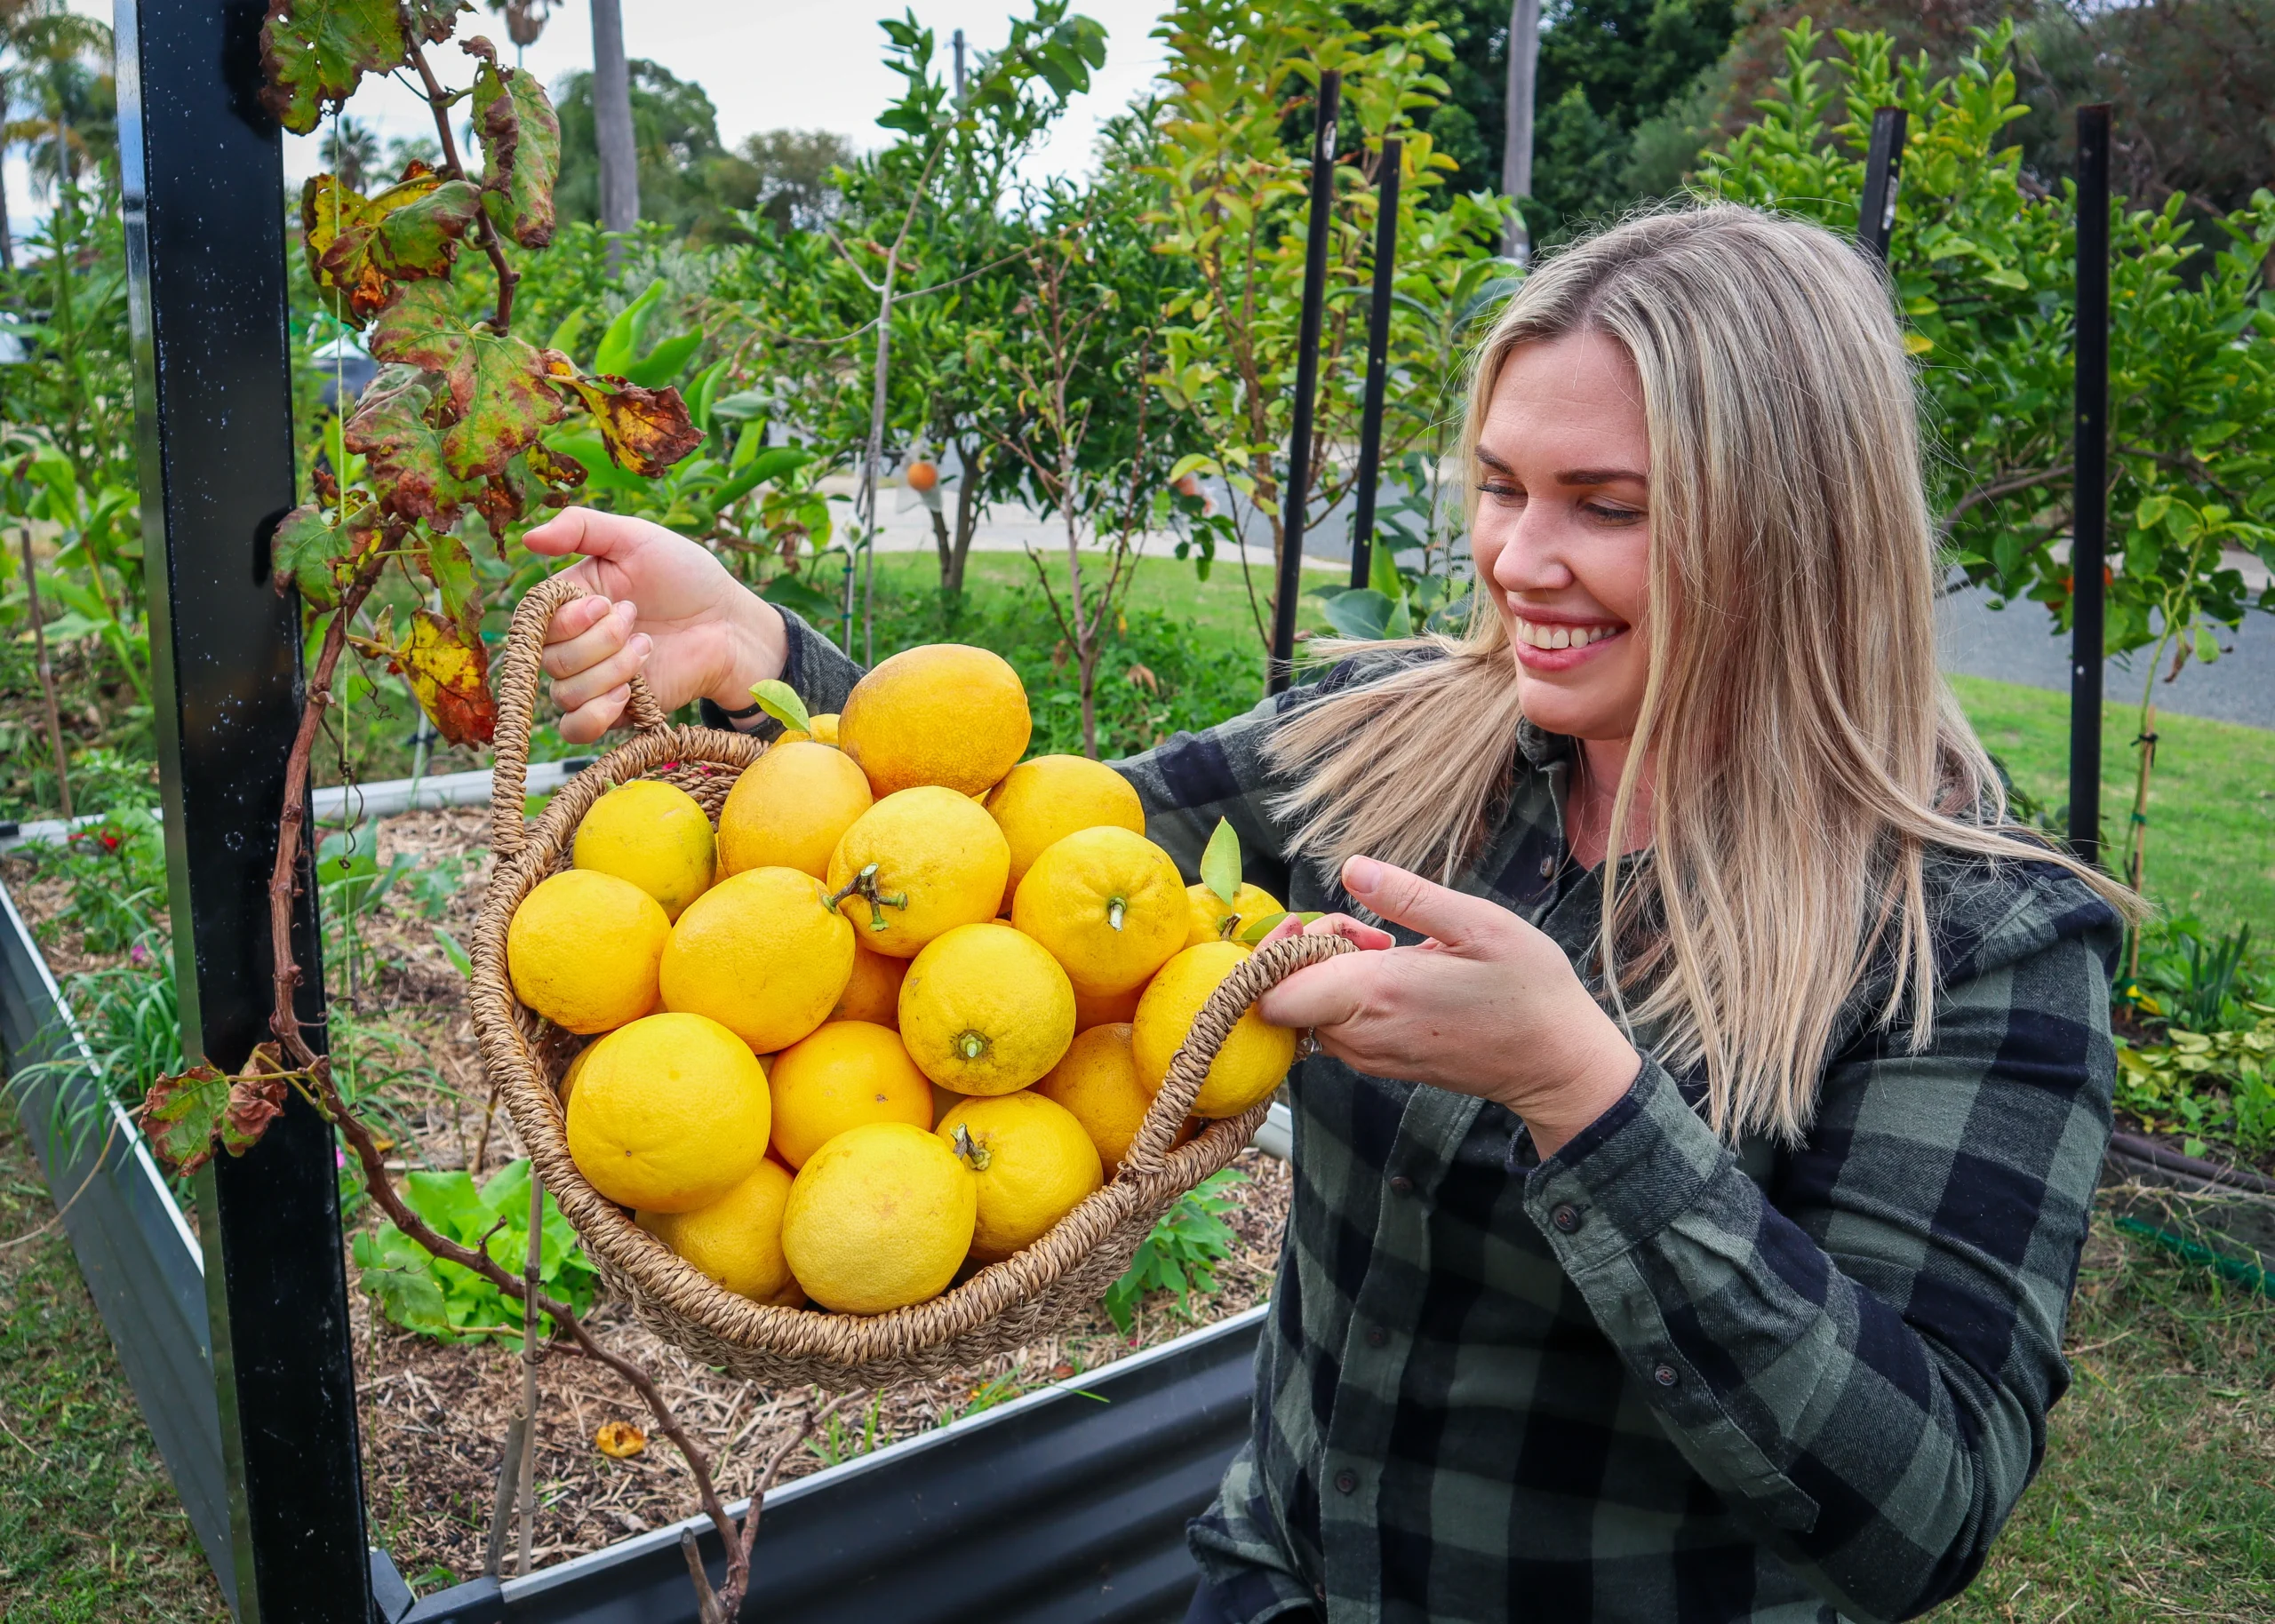
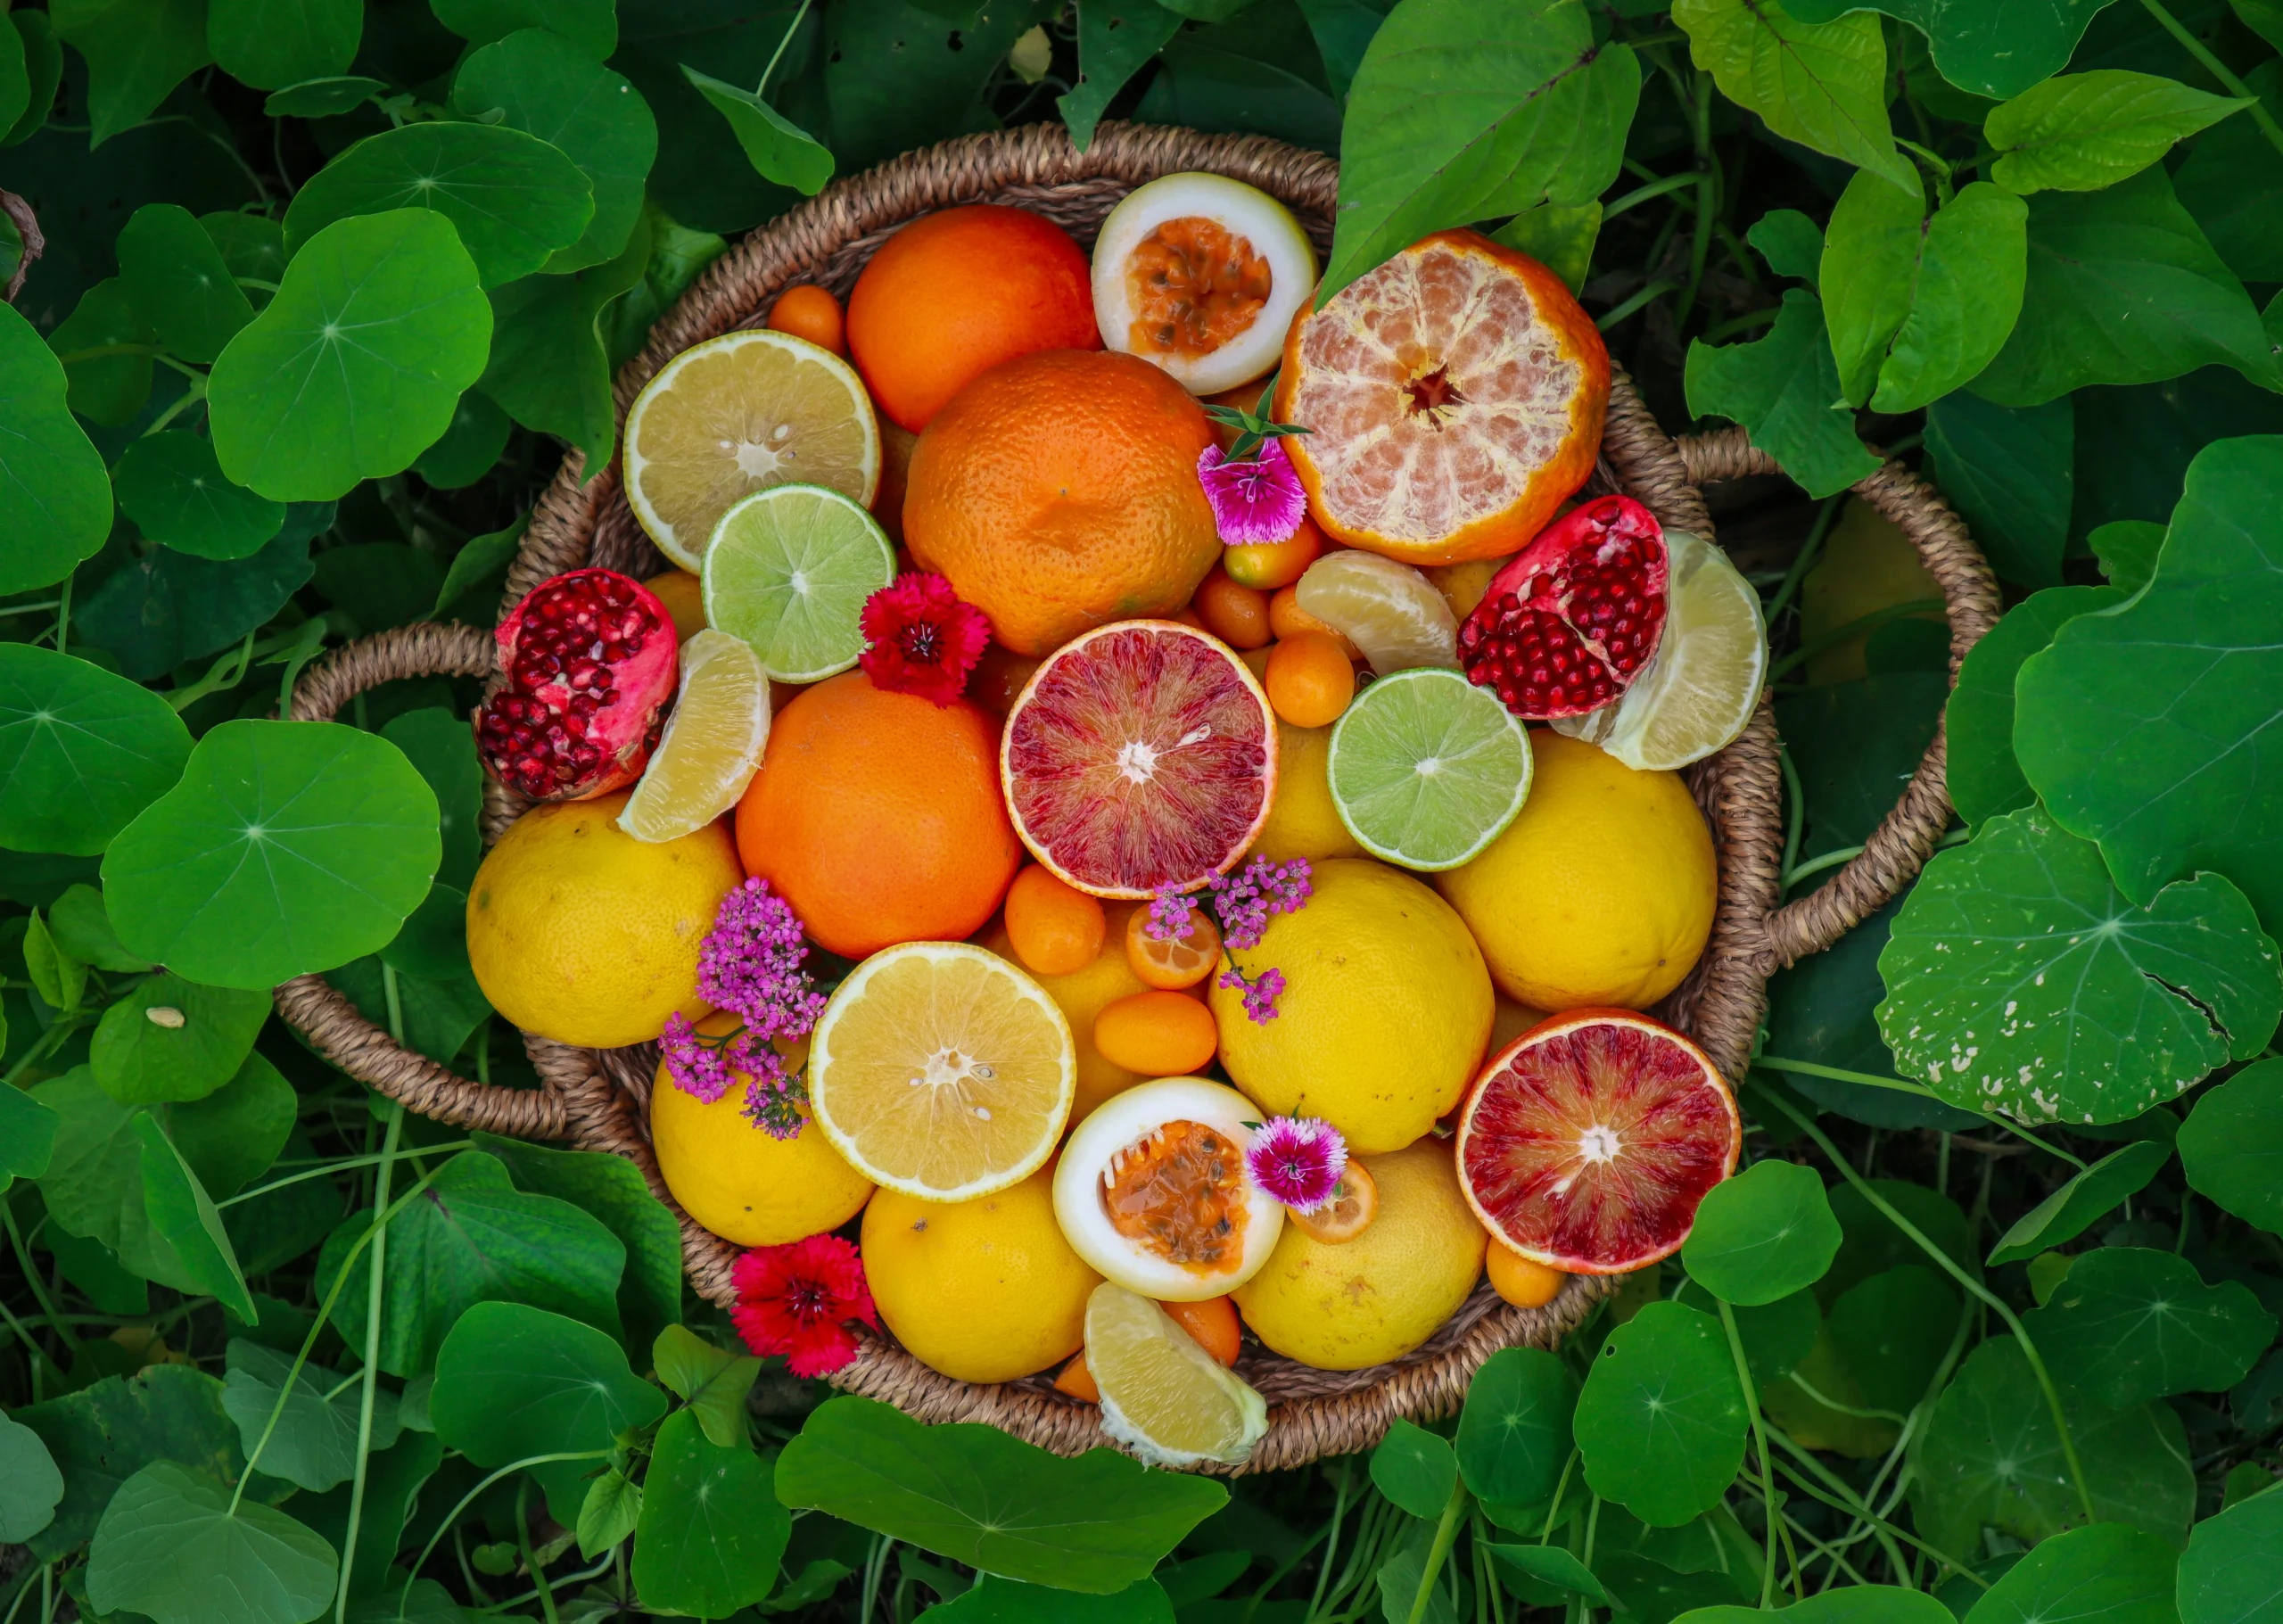
7. Citrus
Citrus like full sun and, once established, can thrive in hot environments. Avoid planting new trees before or during the hot summer so that they have time to get their roots established before the added stress of summer.
8. Lemon Verbena
A fragrant lemony scent that is similar to lemongrass. Lemon Verbena is great in teas, baking, and all the things! Lemon verbena is one of those plants that quietly becomes a favourite. Its leaves have a sweet, lemony fragrance—similar to lemongrass but softer—and the whole plant smells incredible when you brush past it. It’s perfect for teas, baking, syrups, and infused water,and it keeps its flavour really well when dried. I always keep a jar in the pantry for quick herbal tea blends. In the garden, lemon verbena is easy to grow in full sun and well-drained soil. It drops its leaves in winter (don’t worry, it’s normal!) and comes back quickly once the weather warms.
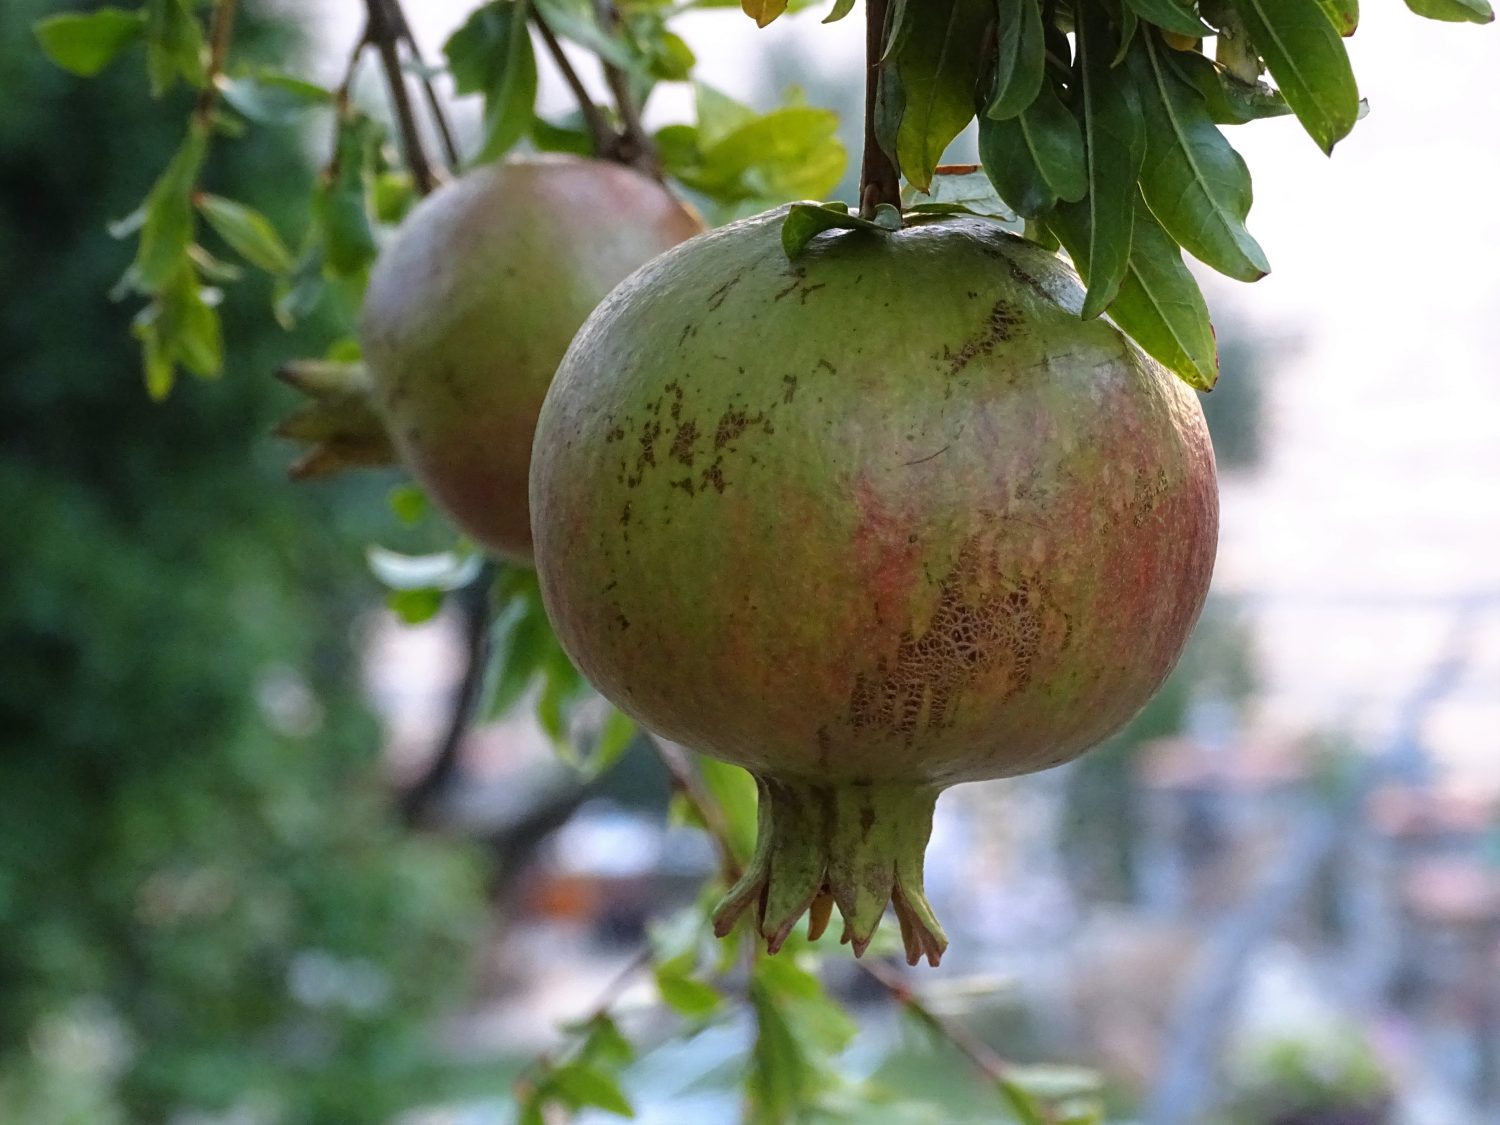
9. Pomegranate
Pomegranates are one of the best heat-tolerant fruit trees you can grow in a hot climate. They thrive in full sun, handle dry conditions like champions, and still reward you with glossy red fruit and bright, beautiful flowers. They’re incredibly low-maintenance, needing far less water than most fruit trees once established. Their deep roots make them drought-resilient, and they’re also naturally pest-resistant — perfect for gardens with harsh summers. If you’re building a resilient, water-wise garden, pomegranates are a must-have: tough, productive, and beautiful all year round.
10. Loquat
Loquats are incredibly hardy, fast-growing fruit trees that thrive in hot, dry climates. They handle poor soils, need very little care once established, and fruit heavily in late winter–spring when not much else is producing. Their sweet, tangy fruit is amazing fresh or made into sauces, and the large, glossy leaves give your garden a lush, tropical look with almost no effort. Loquats can be a pest plant because they grow so easily, and birds spread the seeds, so check with your local area.
11. Lilly Pilly
Lilly pillies are tough, water-wise Australian natives perfect for hedges, screens, or structure in hot climates. They handle heat, humidity, pests, and pruning exceptionally well. Many varieties produce edible pink or purple berries that can be made into jams or syrups. They’re also fantastic habitat plants for beneficial insects and birds. Part of the Syzygium genus is a great dense evergreen hedging plant with bright pink fruits. The fruits are edible and can be made into jams, sauces, and even sparking wine!
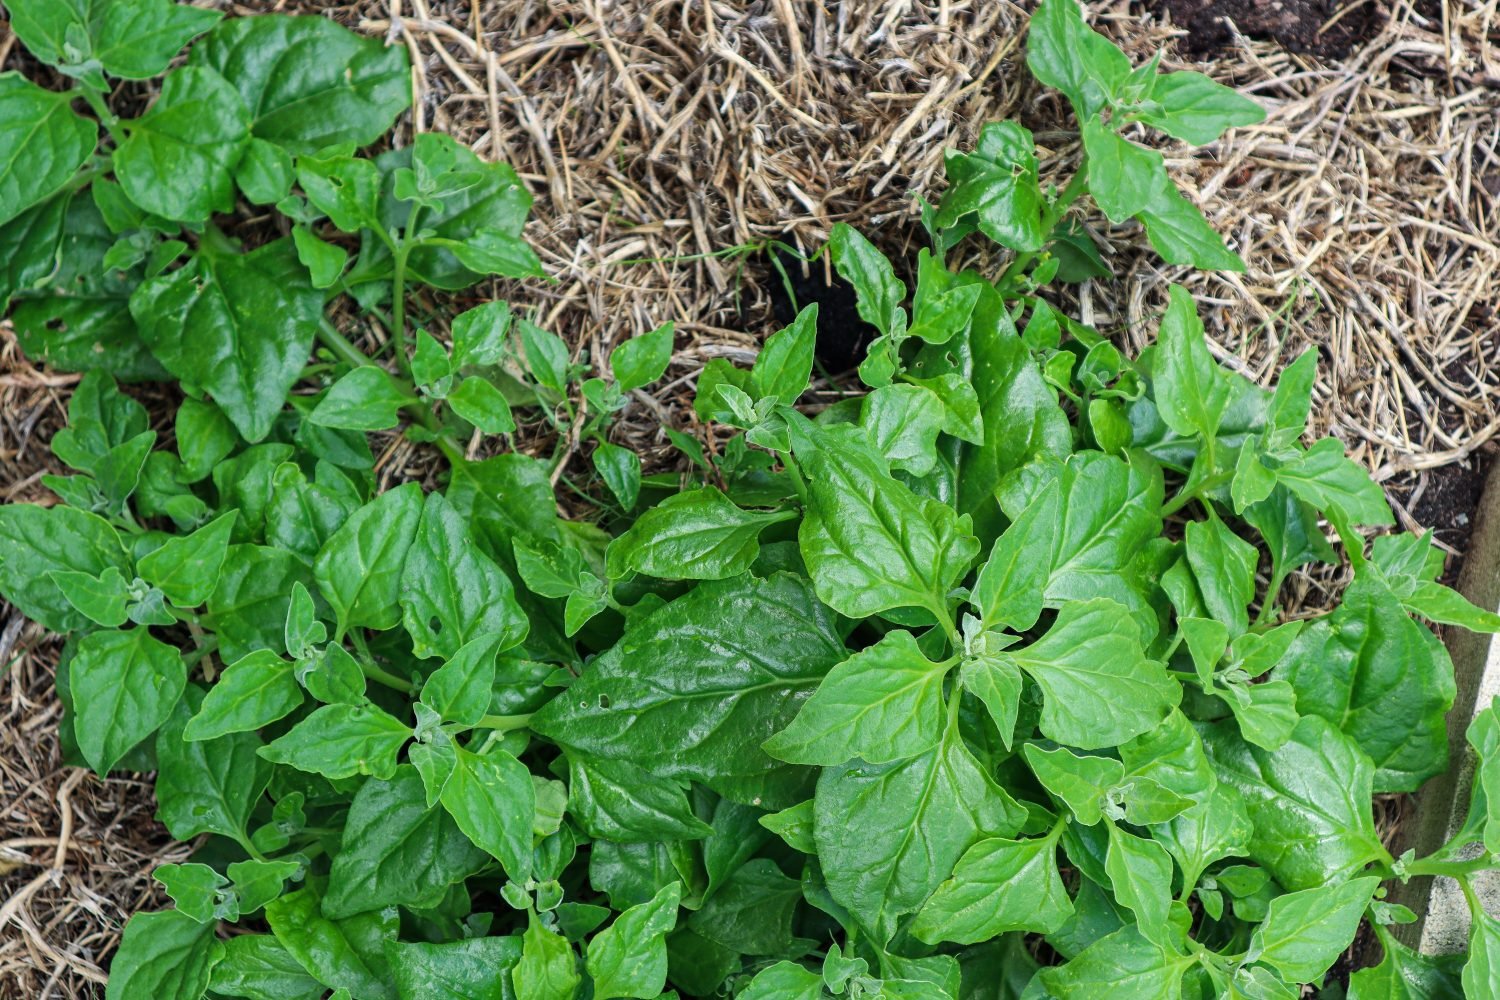
12. NZ Spinach / Warrigal Greens
NZ Spinach is one of the best heat-tolerant leafy greens for summer. It thrives when regular spinach collapses, spreading as a groundcover that shades and protects the soil. Harvest the tender tips regularly for stir-fries, and sautés. It’s low-maintenance, productive, and perfect for filling gaps in hot, sunny beds. Due to oxalates it does need to be cooked first.
13. Malabar Spinach
Malabar spinach is a vigorous climbing vine that absolutely loves the heat. Its fleshy, succulent leaves stay tender and productive even in scorching weather, and it grows beautifully over trellises to create summer shade. It’s ideal for warm climates but doesn’t tolerate frost, so give it a protected spot if your winters are cold.
14. Quince
Quince is a hardy, drought-tolerant fruit tree that thrives in hot conditions and poor soils. It produces large, fragrant yellow fruit perfect for making jams, jellies, pastes, and preserves. The tree itself is stunning with pretty spring flowers.
15. Zinnia
Zinnia is an edible flower that thrives in hot dry conditions. Zinnia has vibrant flowers in a huge range of colours. The great thing about Zinnia is that it produces nectar so it attracts a diverse range of pollinators to the garden such as bees, hoverflies, butterflies, and small birds. Zinnia is susceptible to powdery mildew so great for dry summers.
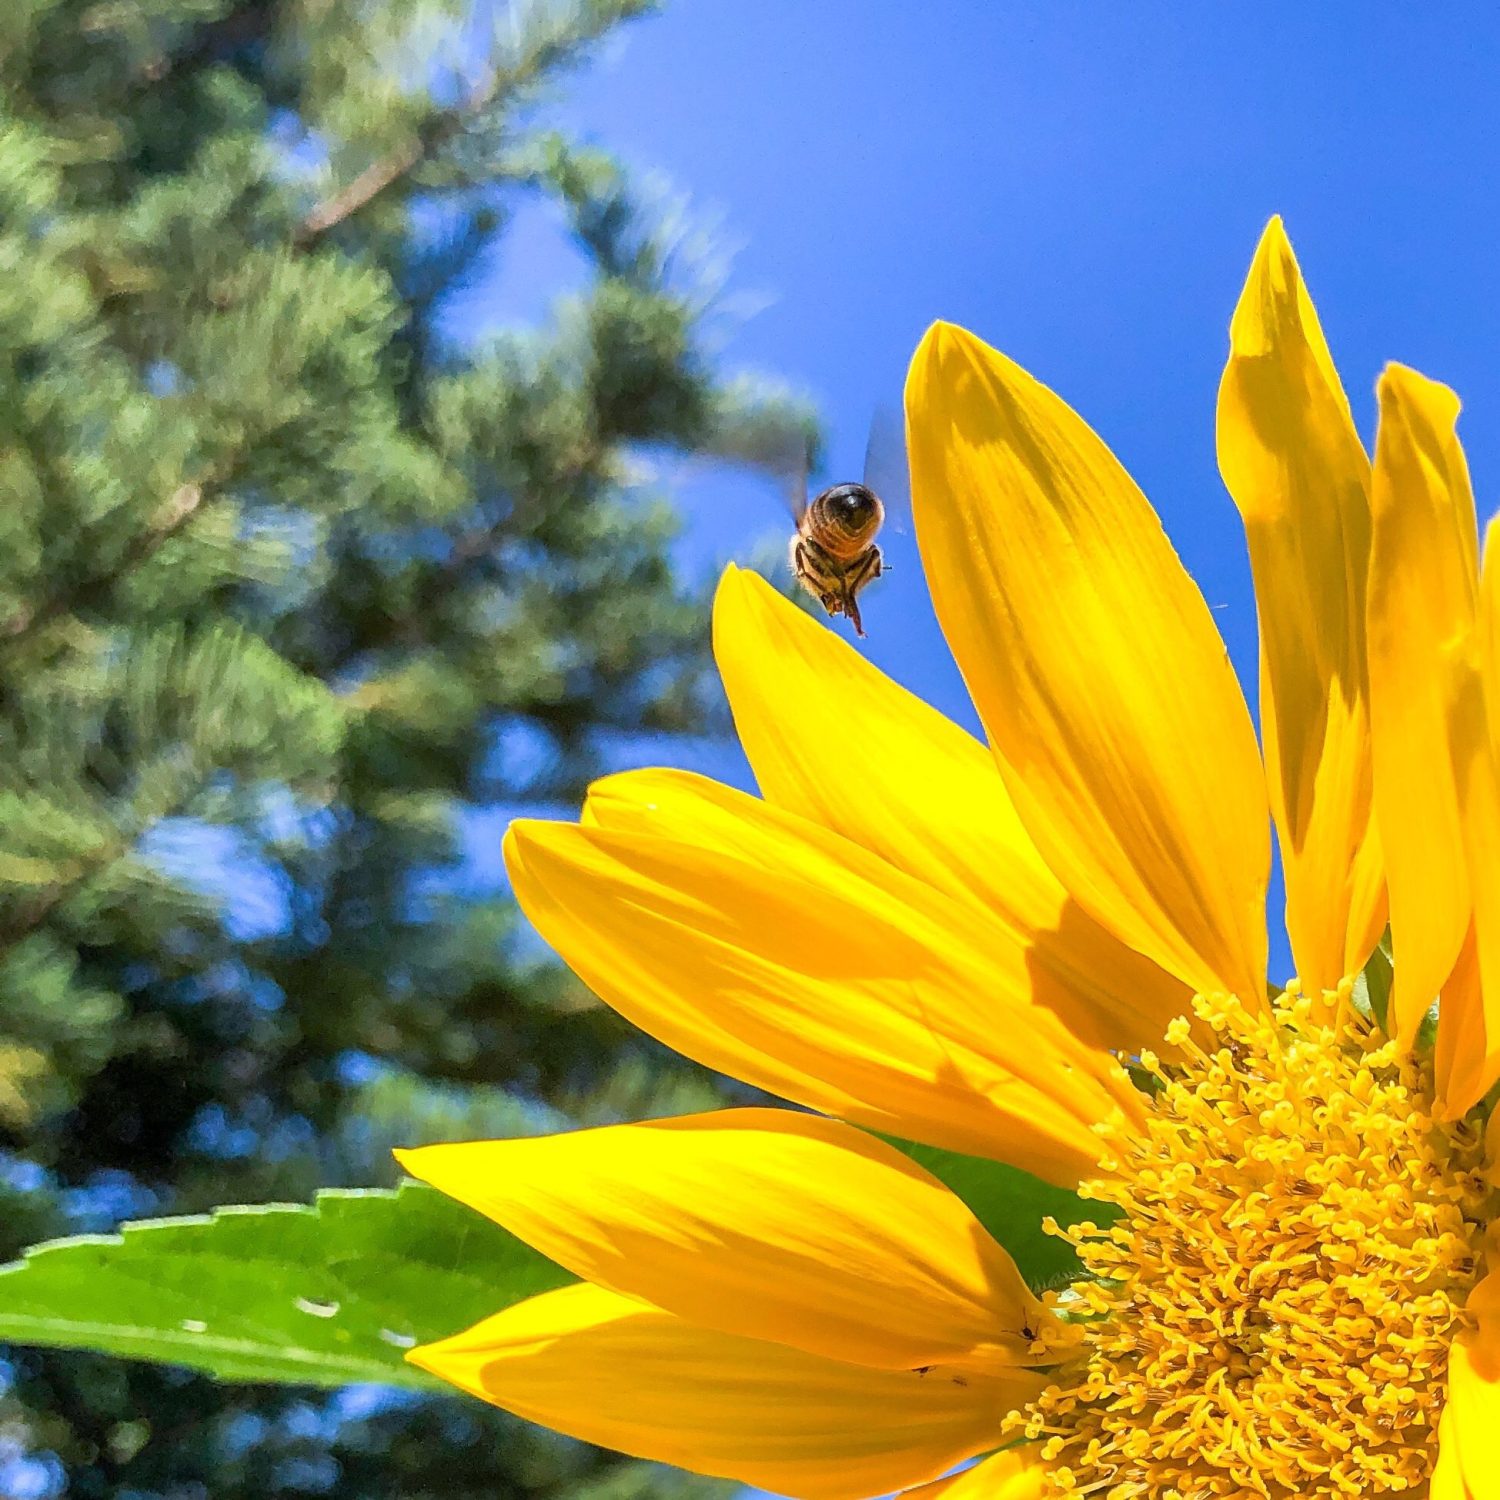
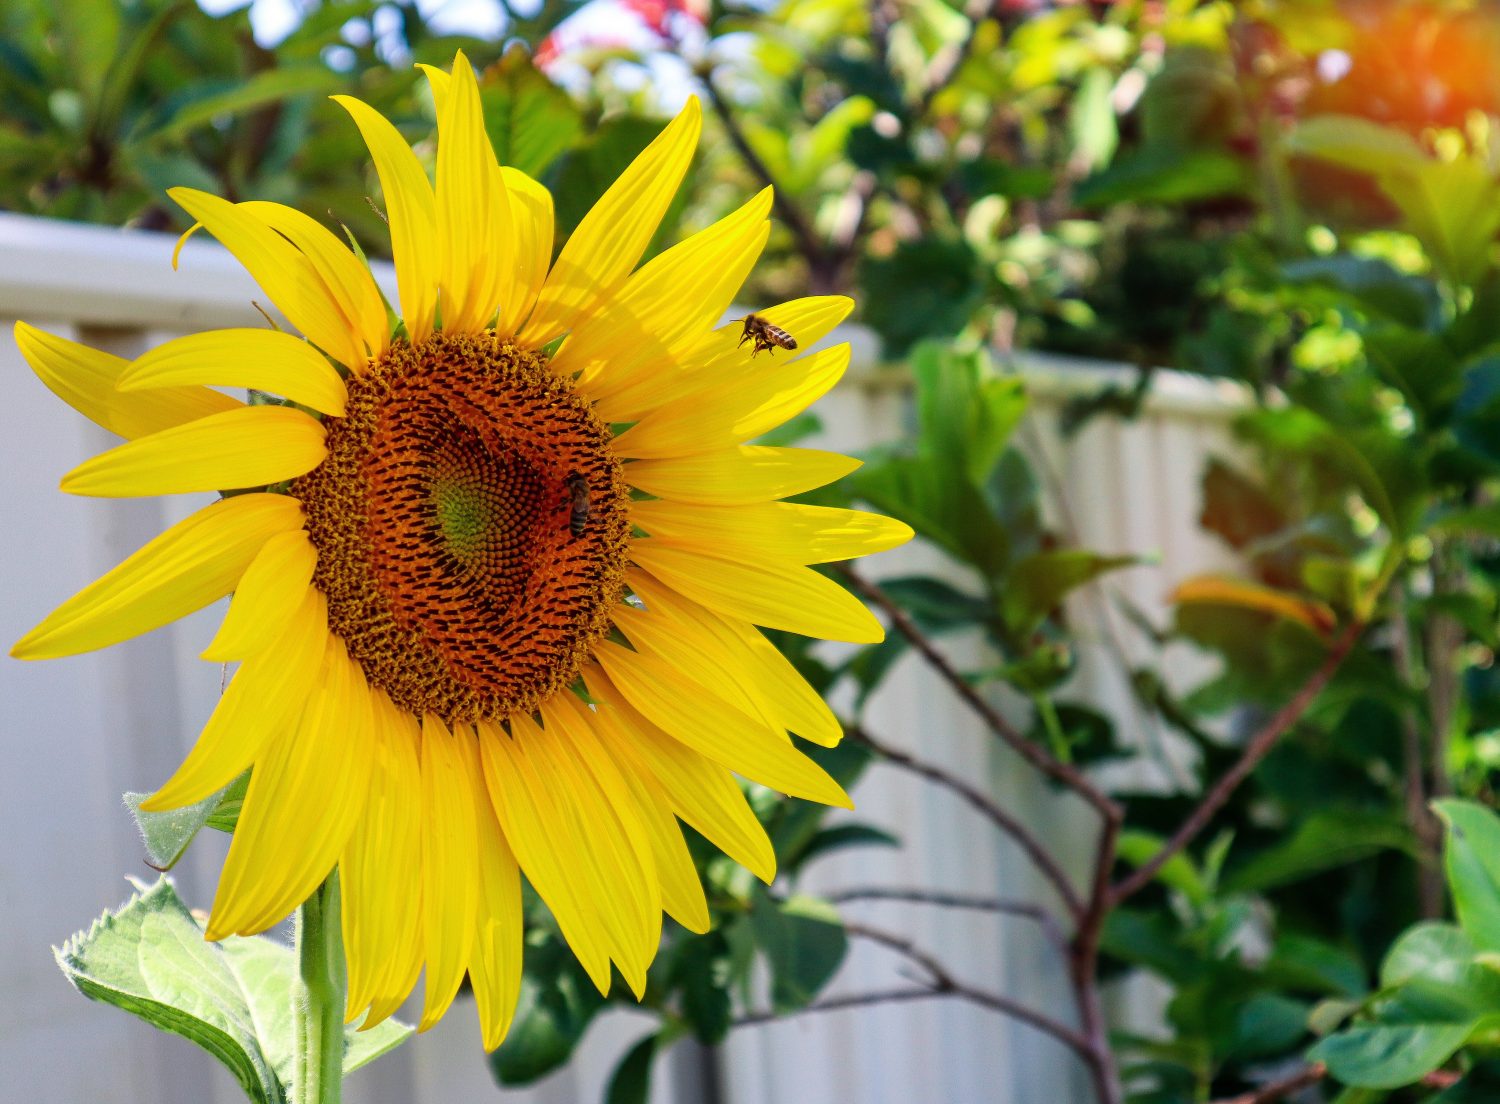
16. Sunflower
I love growing Sunflowers because they attract a huge amount of pollinators to the garden, and you can pretty much eat the whole plant! I use the petals fresh in a salad or press them to use on baking as garnishes. The seeds can be used on top of salads, to make oil, or to make spreads, and the leaves are also edible. Sunflower stems can even be made into flour! Sunflowers also help remove toxins from the soil, so they are a fantastic addition to a hot, full-sun garden.
17. Figs
Figs are one of the most reliable hot-climate fruit trees. They adore full sun, tolerate drought once established, and produce incredibly sweet fruit with almost no fuss. They grow well even in poor or sandy soil, making them ideal for Perth-style gardens. Prune them in winter to keep them compact and productive.
18. Olive
Olives are true Mediterranean survivors, heat-tolerant, drought-resilient, and long-lived. They thrive on tough love and poor soil, and they’re surprisingly productive even with minimal watering. Whether you grow them for fruit or as hardy ornamental structure, olives add beautiful silvery foliage and year-round resilience to hot-climate gardens.
19. Grapes
Grapes are great for growing over structures to provide shade to your garden and help other plants grow. Grapes are deciduous so they lose their leaves in winter to let light in and have full leaf coverage in summer to protect from the harsh midday sun. Grape plants have so many uses from fresh delicious table grapes to jams, preserves, and wine! grape leaves also have many uses in the kitchen.
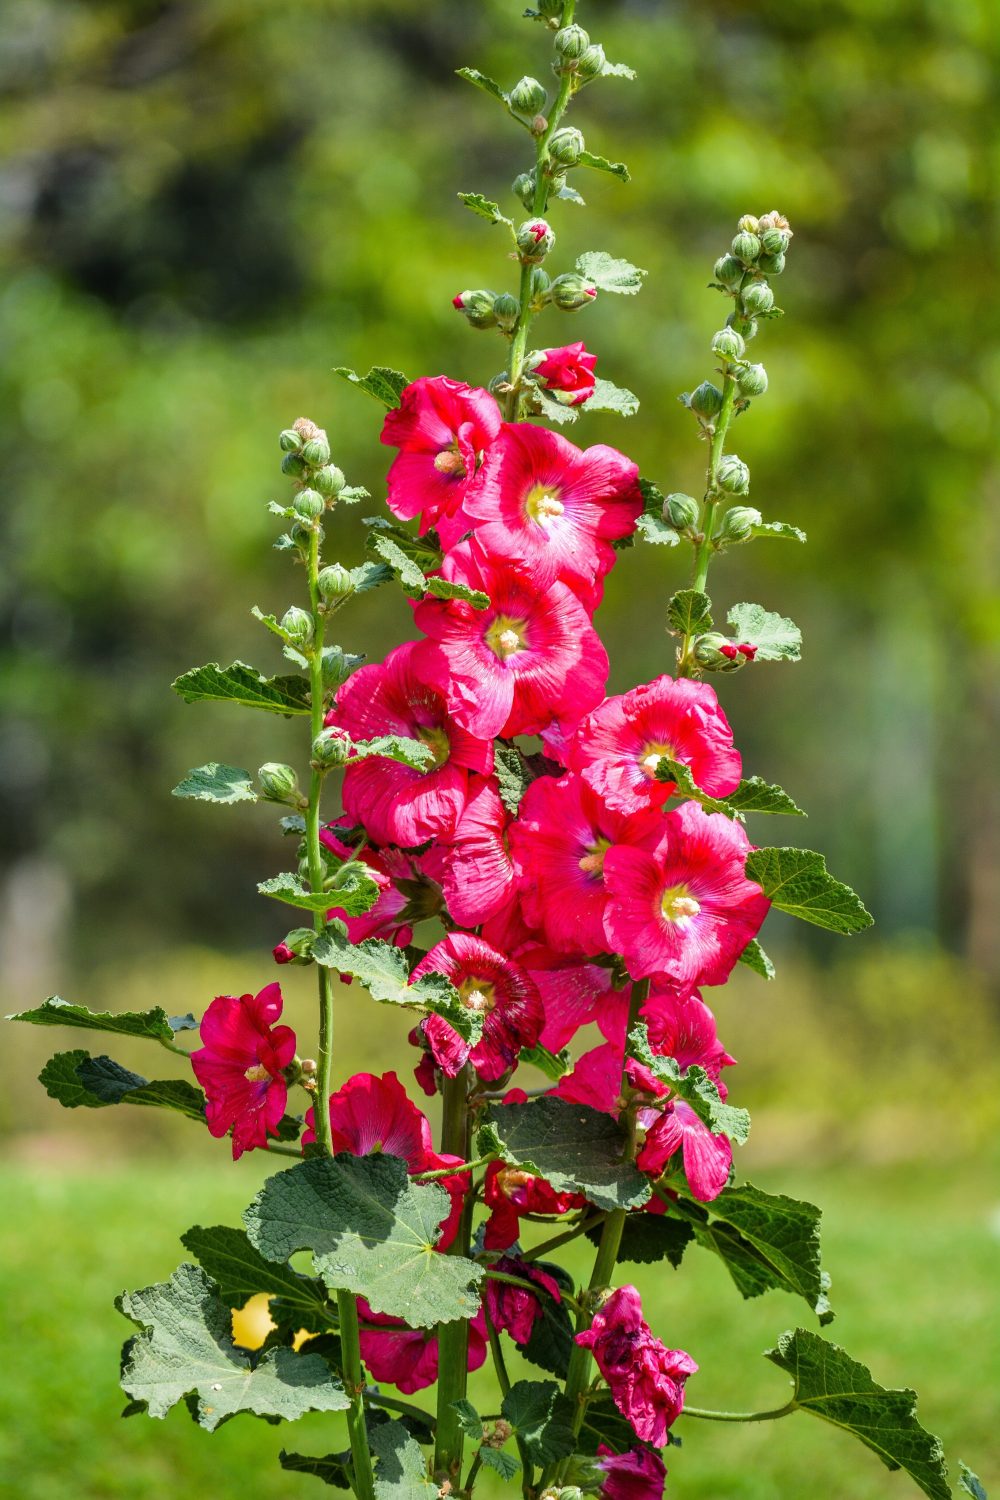
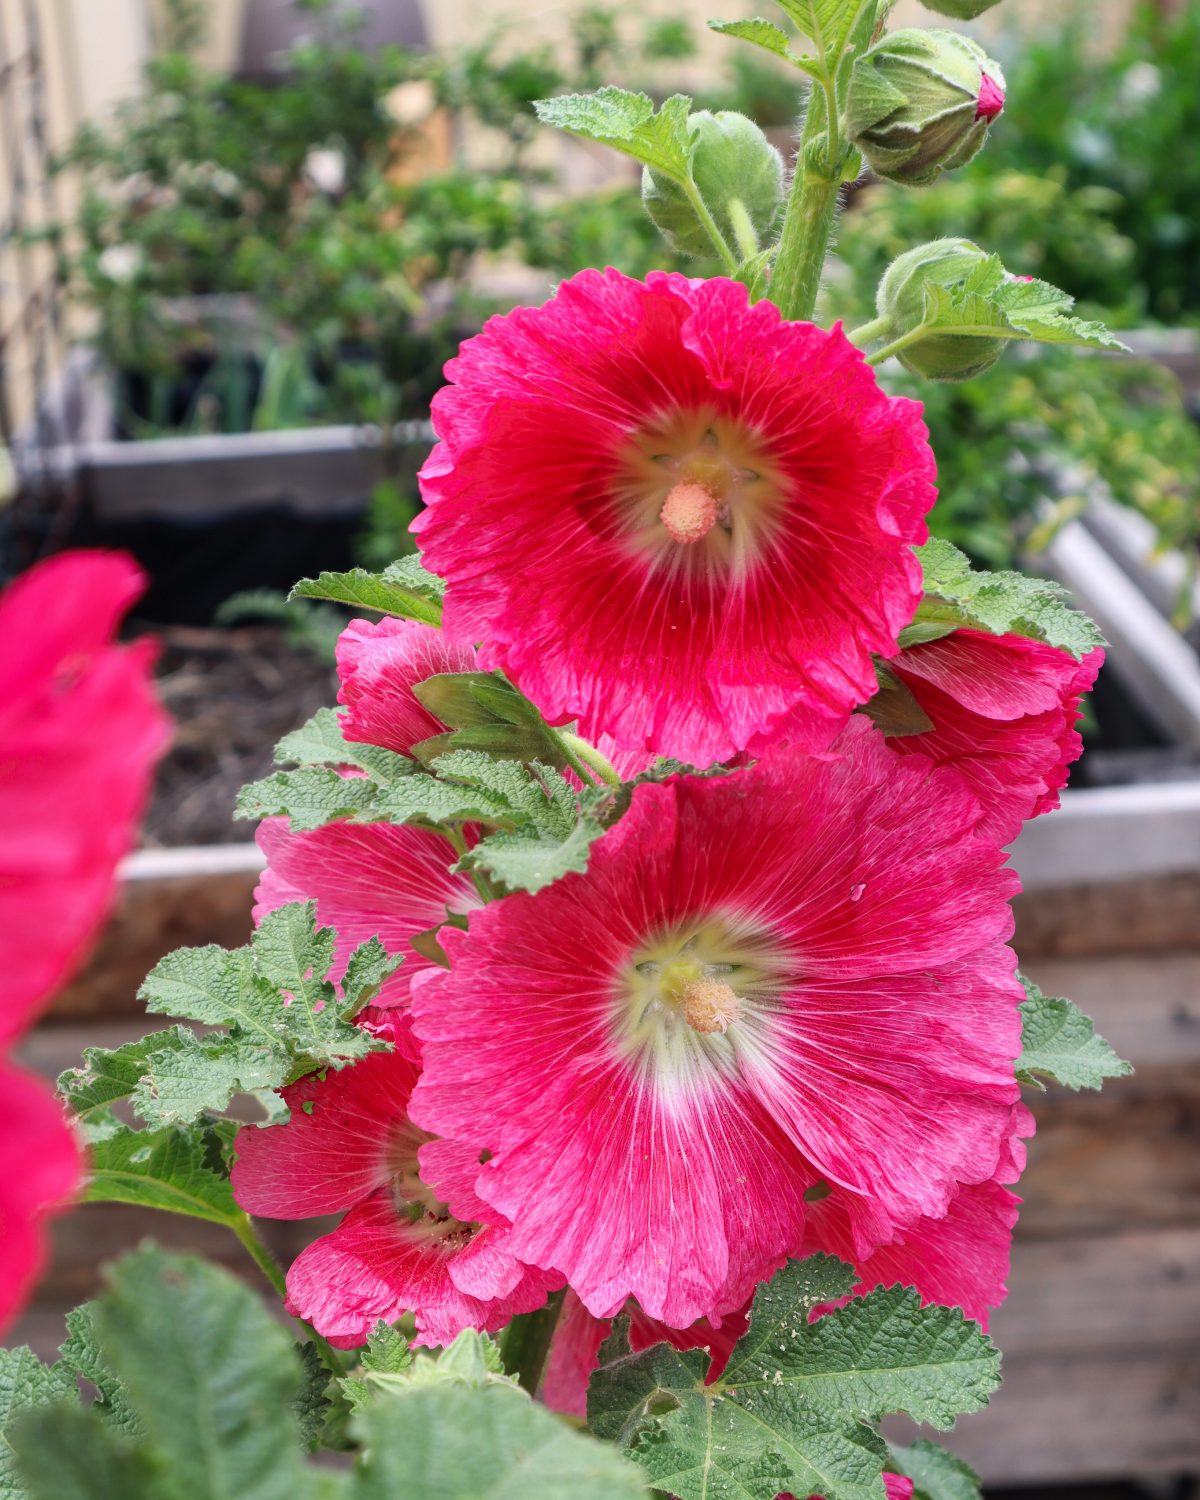
20. Hollyhock
Hollyhocks are edible flowers that can grow up to 10 feet tall! They attract 100 of pollinators to the garden, and their height acts as a flag inviting them in. The leaves are also edible and can be cooked to make wraps. Hollyhocks are an annual so they will need to be planted again each year but they are so worth it! They can be susceptible to powdery mildew.
21. Thyme
Thyme is a hardy herb that thrives in hot conditions. Thyme is very versatile in the kitchen and pairs well with tomato dishes, on pizza, and roast veggies. Thyme also produces masses of tiny white flowers that attract an array of beneficial insects and pollinators. Thyme creeps over the ground so it makes a great edible ground cover plant.
22. Macadamia Nut
Macadamia nut trees can take a long time to start producing (5-7 years) but are really hardy and nuts are great additions to a homestead to make flour and milk from.
8 Tips for Successfully Growing Heat-Tolerant Edible Plants
Many of these heat-tolerant plants listed are perennials, and the reason perennials are so good for hot environments is that they have established roots and have time to get used to their environment. Annuals such as lettuce and tomatoes are planted new and have shallow roots so are more vulnerable to overheating.
Below are some tips to help you get your plants established and thriving through hot periods.
Avoid planting in hot weather (always check the forecast)
Provide temporary protection,such as shade cloth or umbrellas, during hot periods.
Grow nanny plants or pioneer plants (quick-growing trees that provide dappled shade in summer eg: grapes, mulberry, and deciduous fruit trees)
Plant new trees in pots until after the summer heat has passed
Plant densely – allow other plants to protect and shade each other and the soil.
Grow Endless Fertiliser
Growing food in a hot climate doesn’t have to be a struggle. By choosing tough, heat-tolerant plants, layering your garden with support species, and working with your climate instead of against it, you can build a garden that stays productive all summer long.
If you want to take it even further, my new ebook Grow Your Own Natural Fertiliser shows you how to build healthier soil, boost resilience, and keep your garden thriving — even in extreme heat. It’s the perfect next step for creating a truly self-sustaining garden.
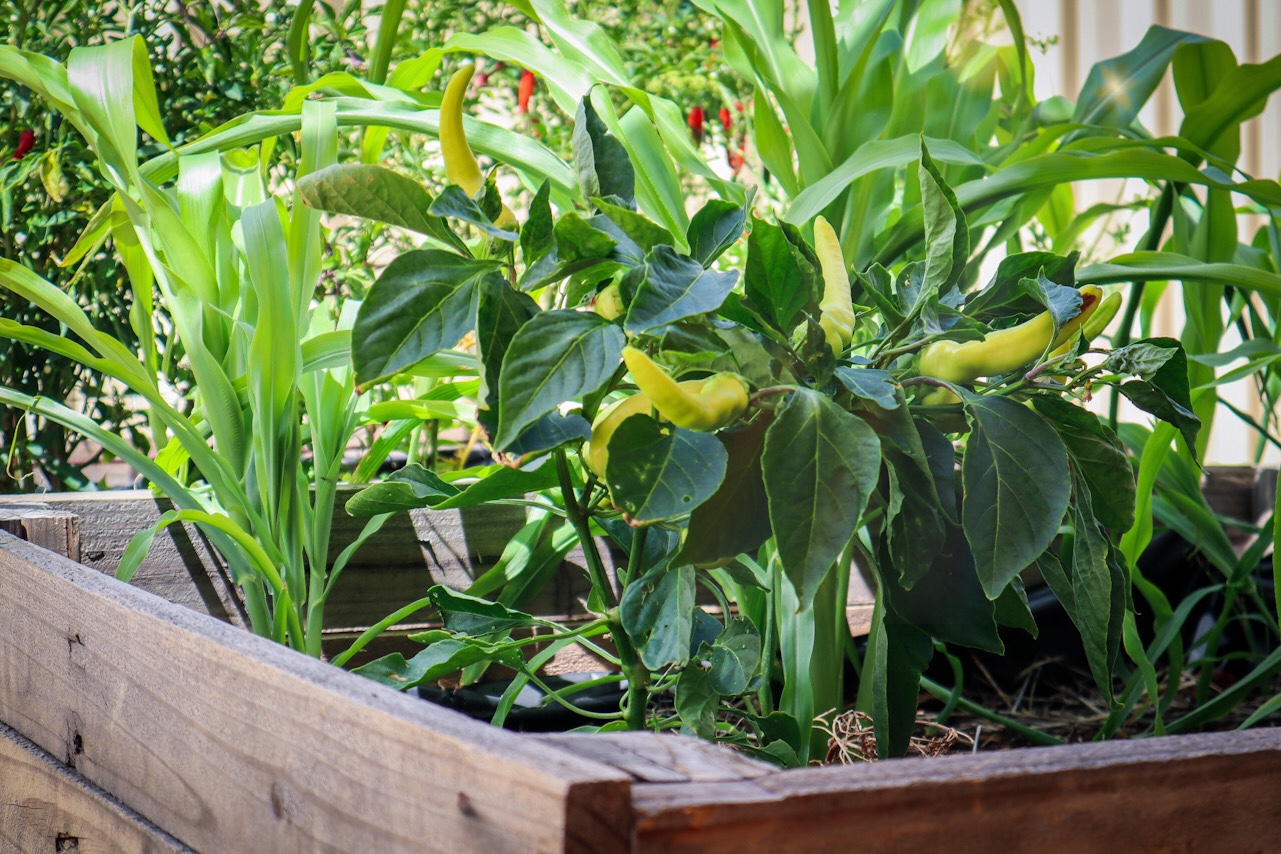
Easy steps on how to overwinter your chilli and capsicum plants to have mature plants and bigger harvests for next season. If you have grown chillies, peppers or capsicums over the summer months, you may be able to overwinter them to keep for the next season. Around this time of year, in Autumn, you will notice your chilli and capsicum plants start to die off, lose their leaves or stop producing full-sized fruit. Chilli or peppers are warm-loving plants and do not like the cooler days of autumn and winter. It is around this time that aphids and other bugs will arrive and attack your plants when they are in a vulnerable state. Rather than ripping them out and starting again next season, you can prepare to overwinter your plants.
What does “Overwintering” Mean?
“Overwintering” is a term used when you prepare your plants to keep them alive/ semi-dormant through winter, and then they will be able to be planted out during the warmer spring months. Some plants are classed as annuals because they die off in cool weather, and then you need to replant them in Spring and Summer. But if you overwinter them and keep them somewhere warm, you will be able to convert them into perennials and grow more food without spending any extra money next season.
Why do you Overwinter Chilli Plants?
There are some great benefits to overwintering your plants. They already have an established root system, and this means the plant will be able to start back up again when the conditions are right and will produce quicker and in more abundance than a new young plant. This means your second-year chilli or capsicum harvests will often be earlier and much more fruitful! Which is definitely something we want!
How to Overwinter Chilli Pepper plants?
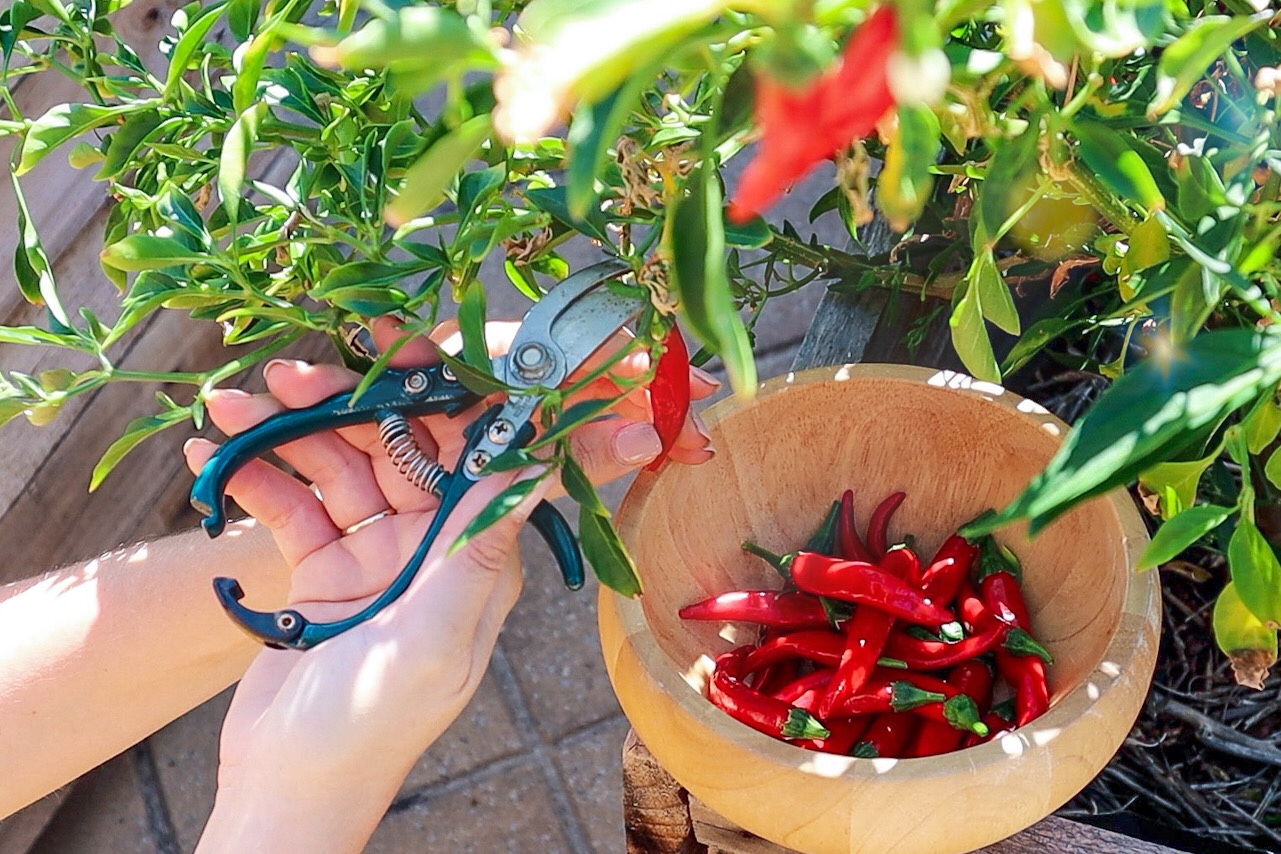
There are a few ways to overwinter your chilli and capsicum, and most of it comes down to how cold your climate is. Here in Perth, we get very little frost so I leave my plants where they are over winter. If you live in a colder climate where you get dramatic drops in temperature and frosts, then you will want to pot up your chilli and bring them into a warm spot in your patio, greenhouse or inside. I grow mine in my pallet planters, which, in winter, I move so they receive sun nearly all day. They are also in a sheltered spot close to the house and fence, so they seem to do well overwintering in situ.
The two chilli plants I have in this planter have been here for 2 or 3 seasons and produced so many chillies this summer!
To prepare them for winter:
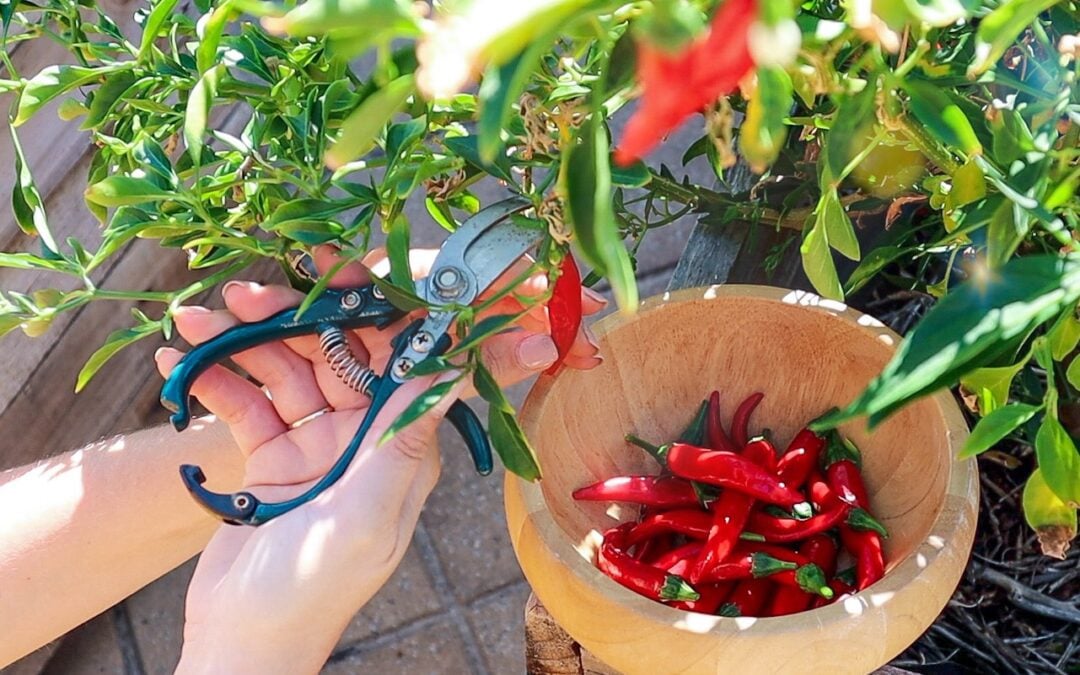
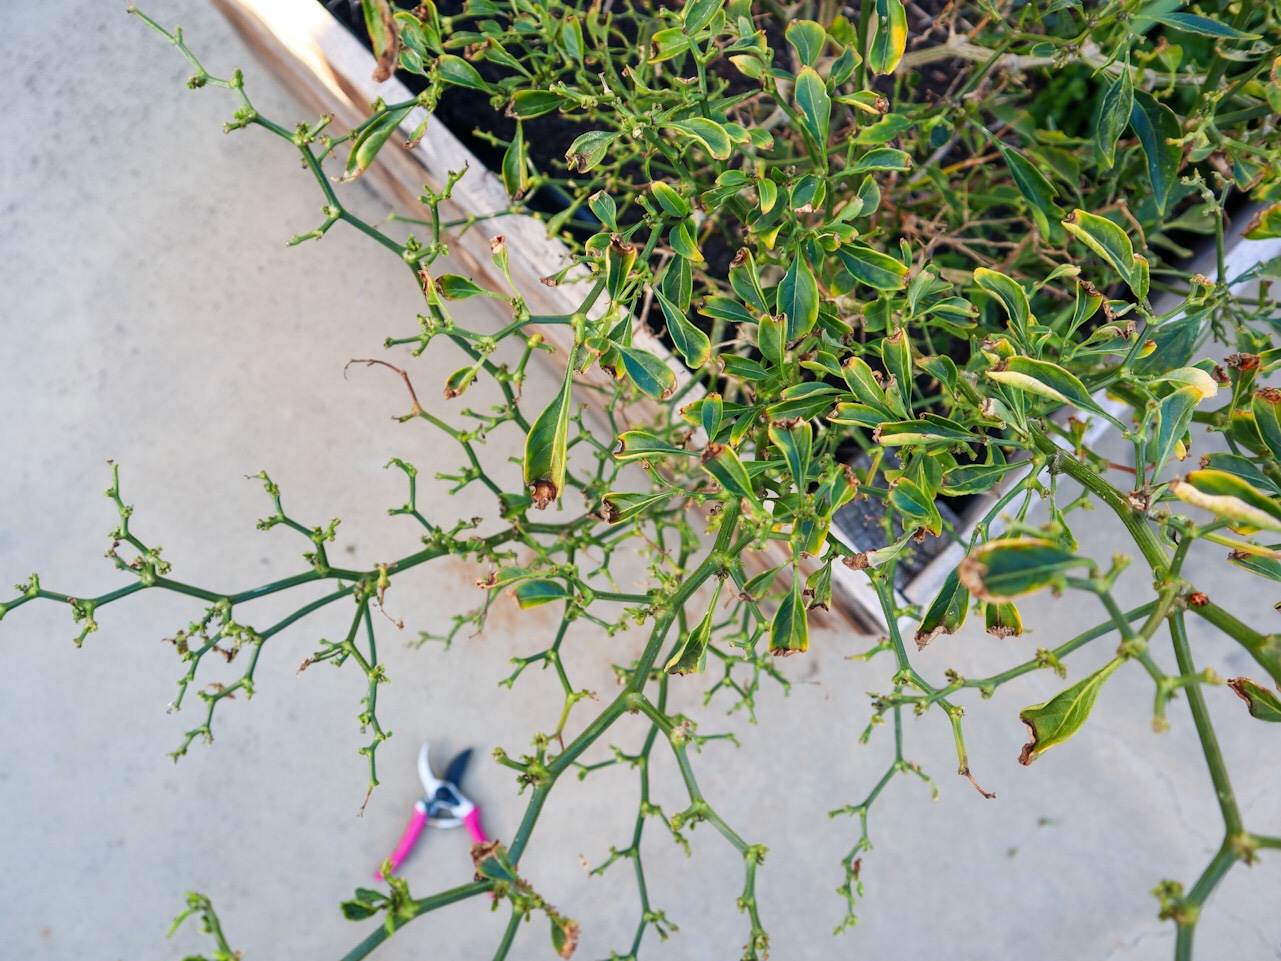
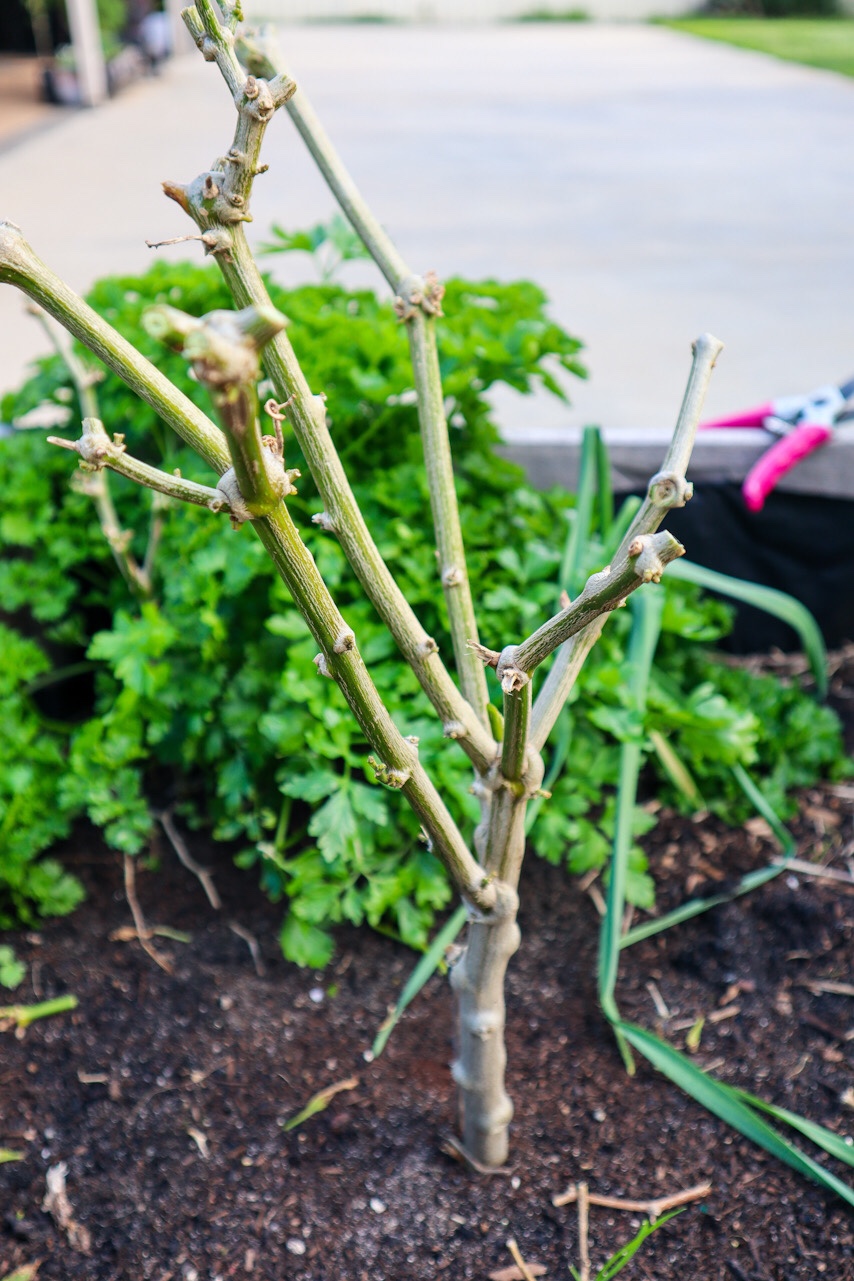
1. Prune Your Plants
I cut the plants back to around 50% or about 20 cm high. This can seem brutal, but it means the plant has fewer branches to feed and can concentrate its energy on staying alive. Make your cuts at “major intersections”. This is where multiple stems shoot out from one node.
2. Keep Them Frost Free
If you live in a colder climate that gets frosts, then carefully dig your plants out of the garden and plant them in a pot. Keep your potted chilli plant somewhere warm and sunny until the last frost has passed in Spring before planting them back out.
How to Prepare Overwintered Chilli Plants for Spring?
Once spring arrives and there are no more frosty days, plant the potted Chilli plants back into a warm, full sun location. Give the plants a good feed of organic seaweed fertiliser and they will shoot off lots of new growth. It won’t take long until they will have new growth and will start producing flowers and fruit.
If you have any questions on how to overwinter chilli pepper plants, leave me a comment below 🙂
Links included in this post might be affiliate links. If you purchase a product or service with the links that I provide I may receive a small commission. There is no additional charge to you! Thank you for supporting my blog so that I can continue to provide you with free content.
Composting is a great way to reduce waste, build soil and grow healthy thriving plants. Part of a naturally occurring cycle that feeds an ecosystem. Urban composting may mean smaller systems need to be used but they can still be very effective. I have a tumbler compost bin and now I have made a DIY worm tower to go in my Container Gardens. This tower is made from recycled PVC pipe we had left over and a recycled plant pot was used for the lid. The worms love it and so do my plants!
Urban Composting
You don’t need to have a large garden to start composting your veggie scraps at home. There are some great urban composting solutions including Tumbler Composts, Bokashi and Worm Farms. There is even an app called Share Waste that connects people to others that have composts in your local area. Whichever solution you choose it is a fantastic way to reduce your waste and stop it from going to landfill. Food scraps that end up in landfill do not break down in the correct environment so they produce methane emissions that contribute to our climate change crisis. The more scraps you can use up or put back into the earth the better!
How to Make a DIY Composting Worm Tower?
Using things you already have at home is a great way to recycle and get the most out of everything you use. Left over PVC pipes are great for turning into worm towers. The worms can go between the garden and the worm tower to feed and help break down the veggie scraps. This will in turn provide natural fertiliser for the plants to thrive. Creating a balanced and diverse ecosystem is so import for healthy gardens.
To make these I used a 6 inch PVC pipe and cut it down so that it was the height of my pallet plants.
We then drilled holes around the bottom half of the pipe approximately 10mm in diameter. Big enough for worms to fit through.
I then dug a hole in the centre of my pallet planter and buried the pipe with the holes at the bottom and covered the sides back up with soil. Try to bury as much of the pipe as you can as to reduce it’s exposure to the sun.
A lid is important to stop any flies, rats, mice or household pets from getting in and eating the scraps. It will also keep any smells away so your gardens don’t give off a bad odour. The lid we made from the bottom of a plastic garden pot we had spare. I tested out a few for size and chose on that fit tightly over the pipe. It needs to be secure so that the wind won’t blow it off or animals cant easily overturn it. If your pot has drainage holes in the bottom cover them up too.
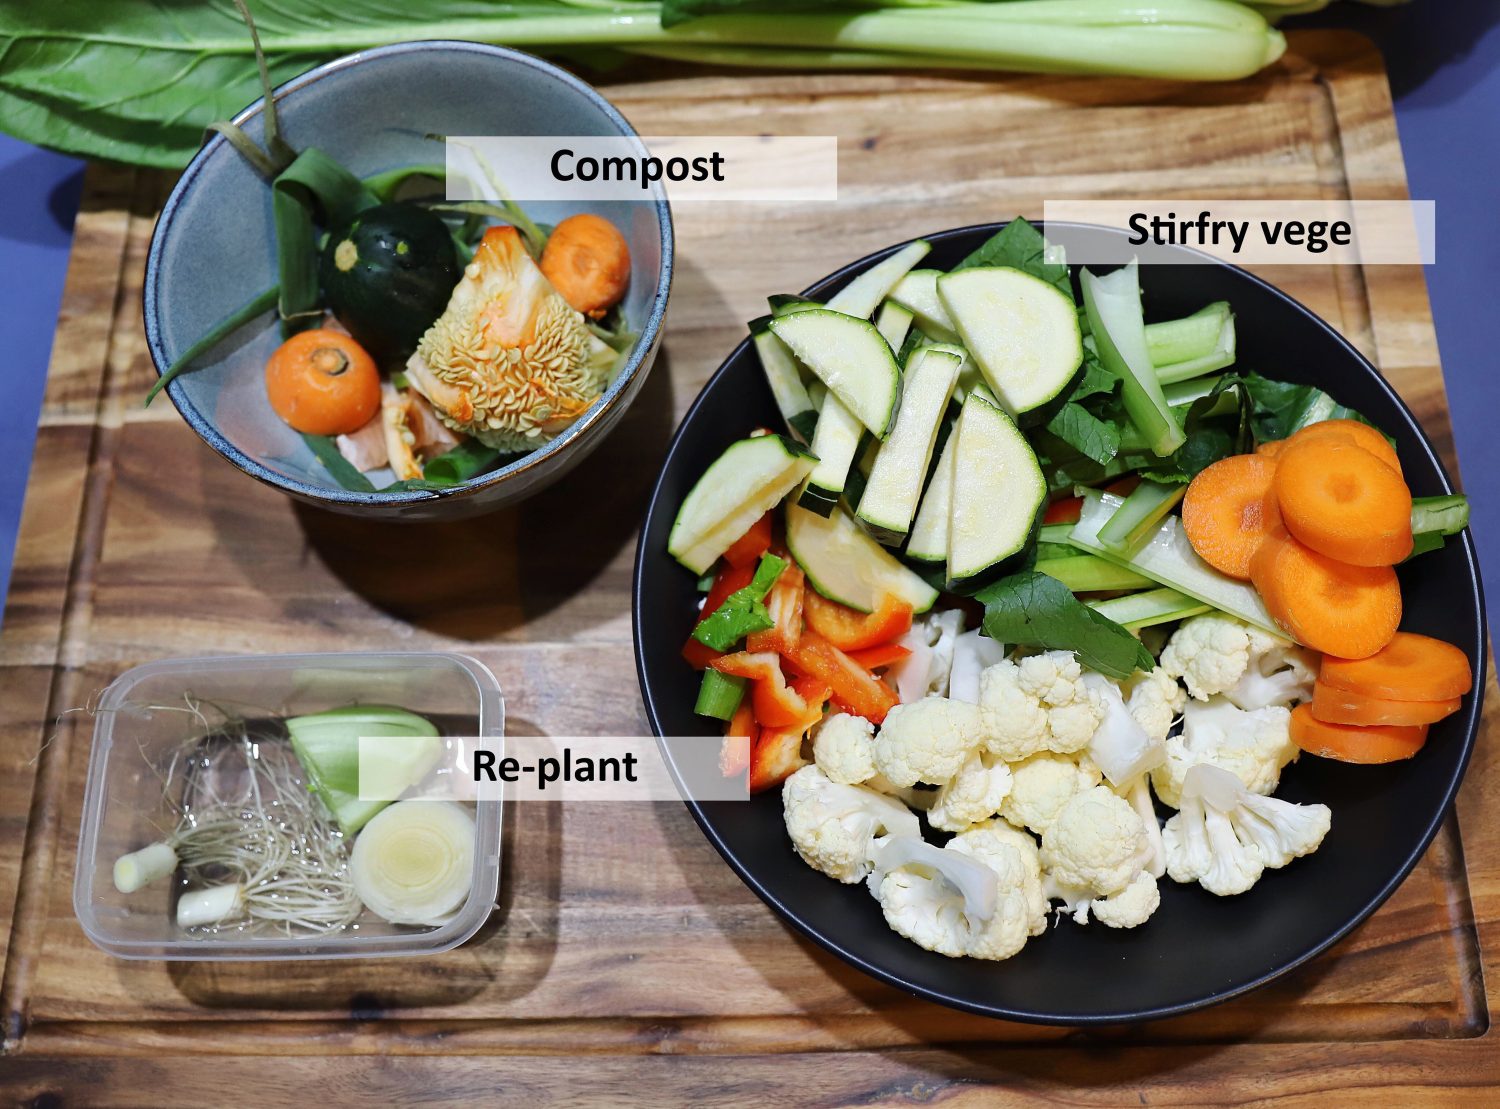
Once the pipe and lid are secured in place you can start adding your veggie scraps. Use only scraps that will break down relatively quickly and do not place any meat or dairy scraps. You can also add a sprinkle of soil on top of the layers to reduce odours if it is a concern.
IMPORTANT
Make sure your recycled materials are food safe and haven’t been used previously with any chemicals.
Healthy soil grows healthy vegetables!
Holly 🌱
MY GARDENING ESSENTIALS // Fertiliser spray gun: https://bit.ly/366nL1t Retractable Hose: https://bit.ly/2TSC0Bo More gardening tools: https://bit.ly/32IQmbD
DISCLAIMER: Links included in this description might be affiliate links. If you purchase a product or service with the links that I provide I may receive a small commission. There is no additional charge to you! Thank you for supporting my page so I can continue to provide you with free content!