Preserving herbs from your garden is a great way to make the most of their abundance and store them for the winter months when many herbs will not be growing. Herbs are a great way to add flavour to any dish and once you make your own dried mixed herbs you will never want to buy them ever again!
Click below to watch
In this video I share how I pick, dry and preserve my herbs for both a dried mixed herb blend and also to make tea blends.
Why Grow Herbs?
Herbs are the easiest thing to start growing because they are hardy and less susceptible to pests. They also do not require a lot of room to grow. So you can grow herbs in pots or containers if you do not have room for a garden. It is absolutely achievable and you never know where the journey will take you.
Grow Abundant Herbs
Nature provides so much abundance when we learn to see and utilise it. Sometimes cutting your plants can spark new growth and they will continue to flourish in new directions. Young new growth is much nicer to eat than the older woody growth too. Preserving your harvests also allows you to slow down and reconnect with where your food comes from. It just feels so right to go out to the garden and pick food that you know exactly what has gone into creating it. No chemicals, pesticides, or nasty sprays.
Basil is a warm climate herb and will start to die off as the temperatures decrease. So harvesting and storing basil will mean I will be able to have it available during winter. Basil also responds so well to being cut. Especially towards the end of the season as it starts going to flower. By cutting the tops off, it will grow out thicker and will also help prolong the life of the plant.
Take Cuttings for Gifts
My rosemary is growing a little wild and has even collapsed in the middle under the weight. So I am going to take some cutting to replant and also harvest a big bunch to dry and preserve. Taking cuttings to regrow will give me new plants to gift and trade. It is always good to have some on the go for last minute gifting.
When to Harvest Herbs?
The best time of day to harvest your herbs is first thing in the morning. This is when the plants are hydrated and full of life. As the day goes on they will lose moisture and not be as fresh and vibrant. Early in the morning, the bees are not yet active. As the sun comes up and the dew drys, the bees will be about in a hive of activity. So if you do pick later in the day just be slow and cautious not stress them out and avoid getting stung.
Take time to Slow Down
Spending time in the garden harvesting and caring for your plants allows so much time to observe and learn from your garden.
To slow down and reconnect. Giving your mind time to think. Some of my most creative ideas come when I can quiet the rest of the world. Harvesting also gives such a sense of pride. That you have grown all this delicious food is so special.
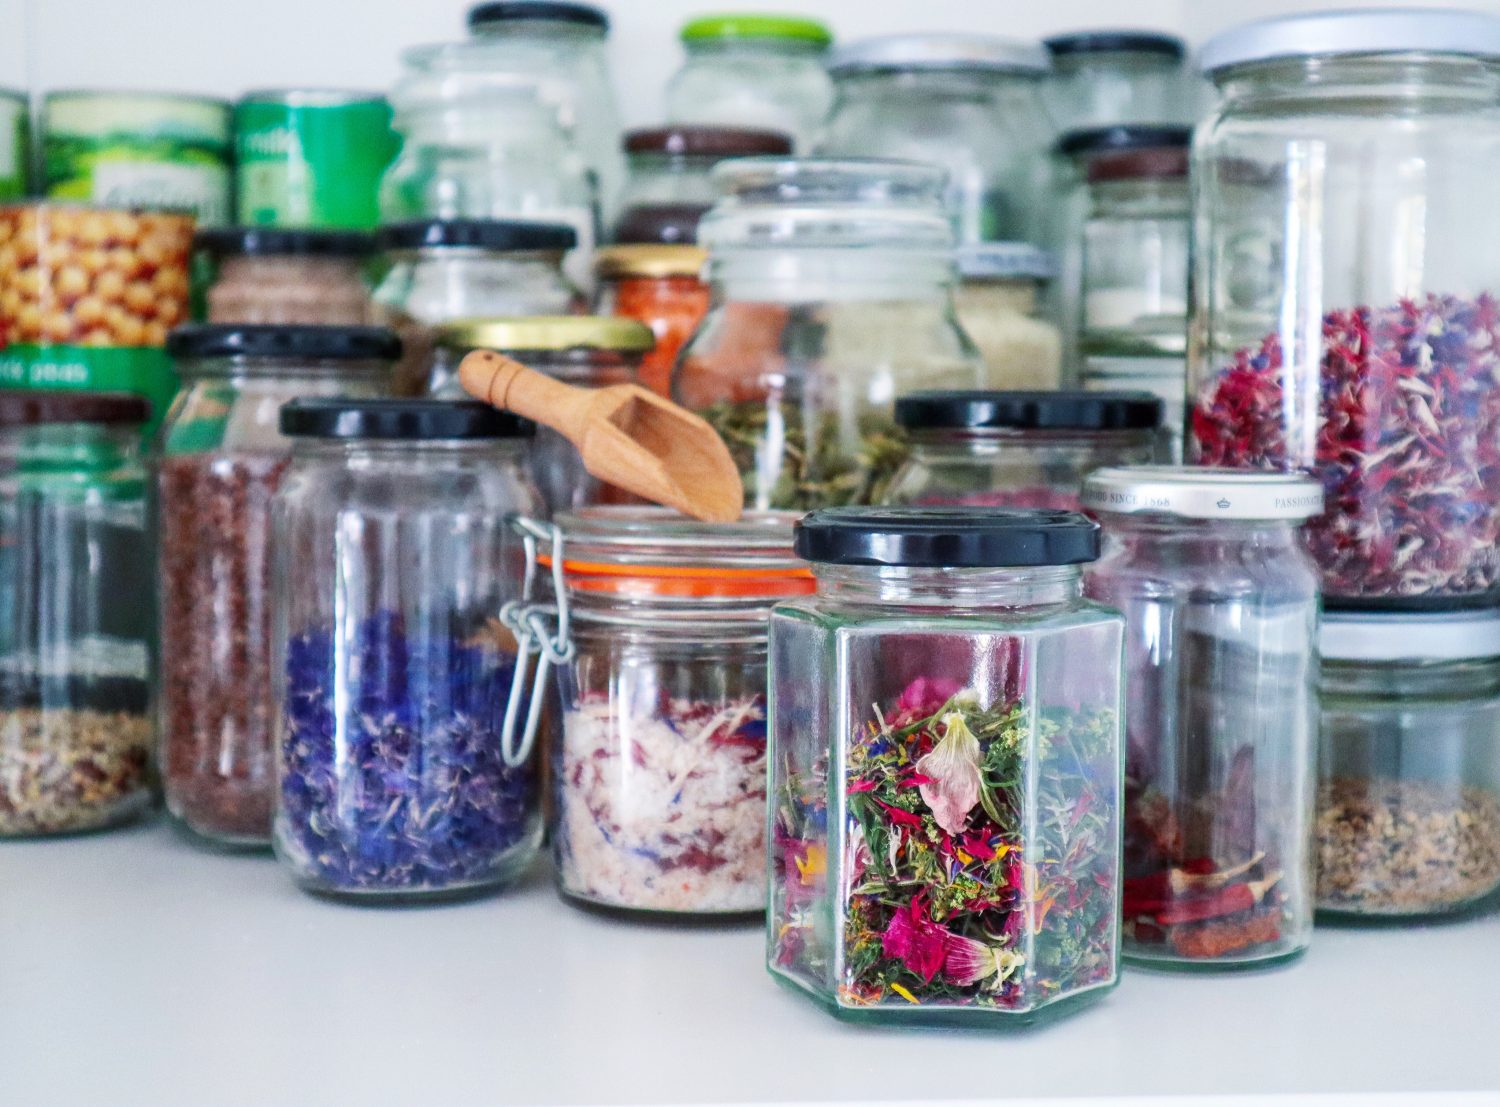
How to Preserve and Dry Herbs?
To preserve these herbs I first rinse them off in the sink. Next, I separate the stems and lay the leaves out on my dehydrator trays. I put a layer of brown baking paper to stop them from falling through the tray grid. I keep and reuse the brown baking paper for future dehydrating. I then pop them in the dehydrator on the lowest temperature setting. Between 20 and 30 degrees Celsius. You can also do this in the oven but just be aware it may take 5-8 hours to dry depending on the thickness of the herbs. So it is important you are home when using the oven. To air-dry your herbs, hang them upside down but make sure you have a dry and warm climate. If you live in an area with humidity I would avoid air-drying. You want the herbs to dry as fast as possible.
Dry the herbs until they feel crispy as you do not want any moisture still left in the leaves. If there is still moisture they may spoil or grow mould in the storage process.
Once they are completely dry you can pop them straight into clean, dry jars or storage containers. If you want to save room you can crush them up using a mortar and pestle. Mix some of your herbs together to make a mixed her blend ready for all your winter soups and meals.
Share and Inspire Others
These dried herbs also make great gifts. Taking gifts from your garden to friends and family is something that should become a regular ritual. They will so feel special and you will also feel joy and pride in sharing your homegrown produce. Sharing from the garden can also spark others to try to grow their own food too. You have no idea how many people can be inspired to make changes from your single action of sharing. It should be the way of the future. Because what we are doing in the world right now is not sustainable.
I hope you feel inspired to grow your own herbs at home and make your own dried mixed herbs. They are so easy to make and so vibrant and full of flavour. Nothing like the dull grey herbs you find at the supermarket.
If you have any questions leave me a comment below.
DISCLAIMER: Links included in this description might be affiliate links. If you purchase a product or service with the links that I provide I may receive a small commission. There is no additional charge for you! Thank you for supporting my page so I can continue to provide you with free content!
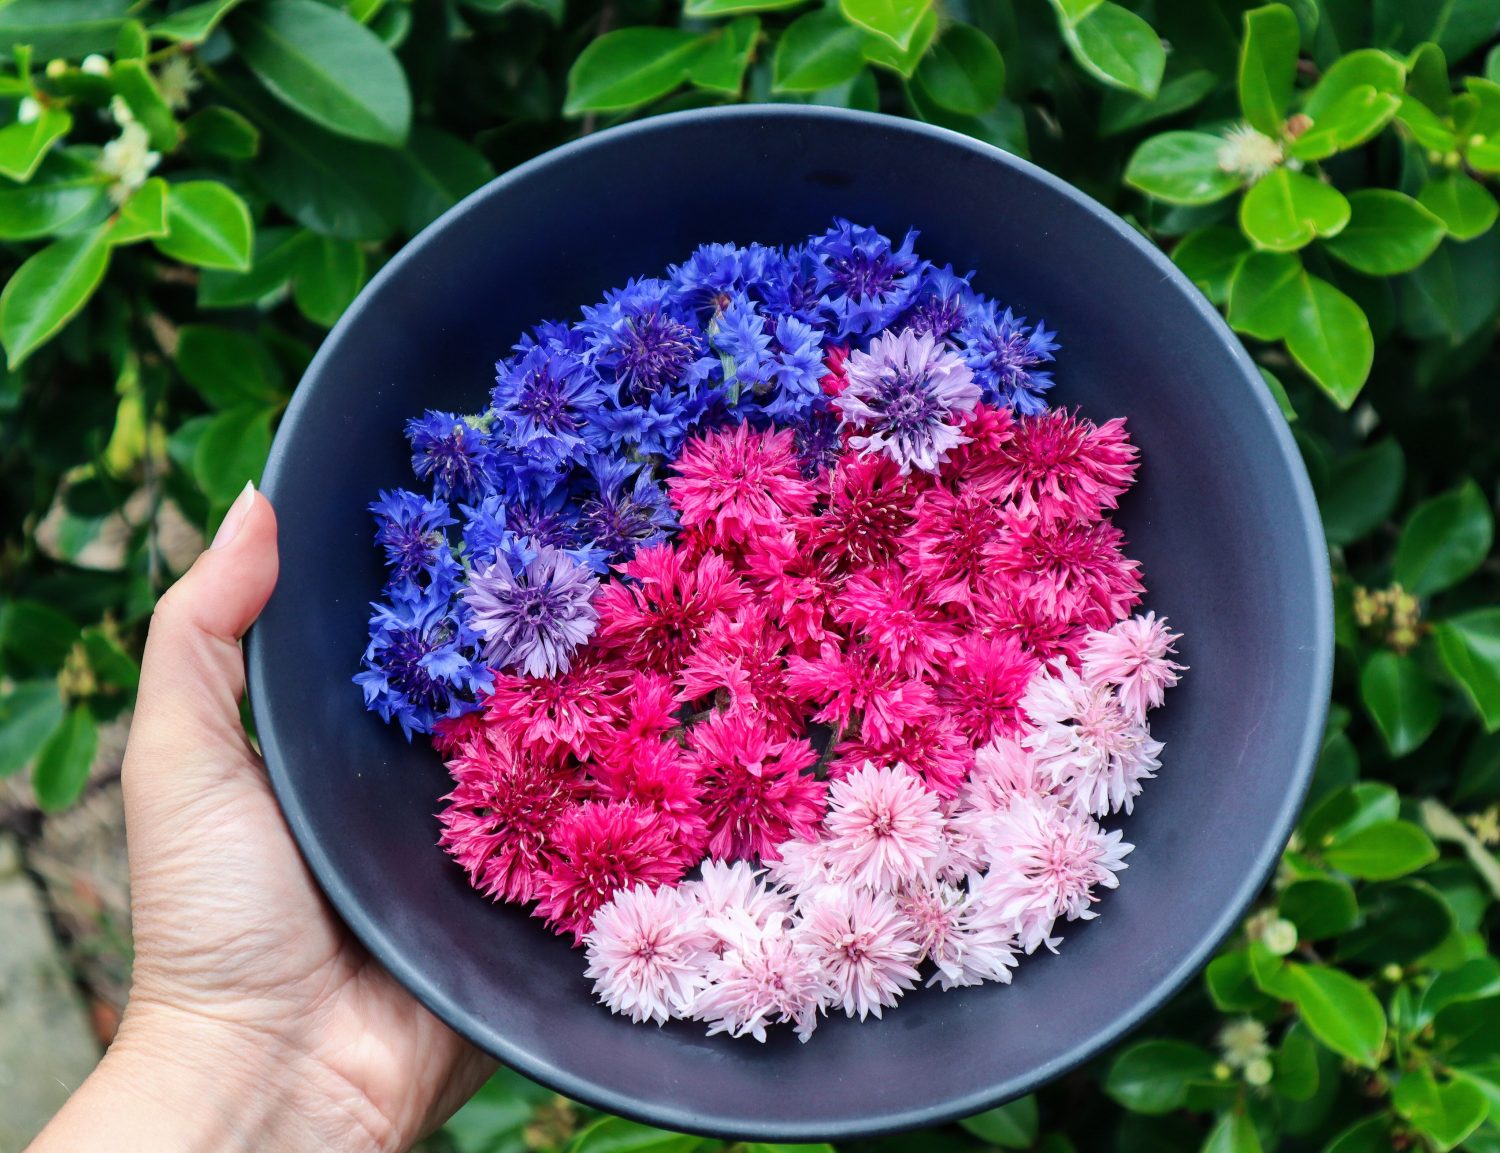
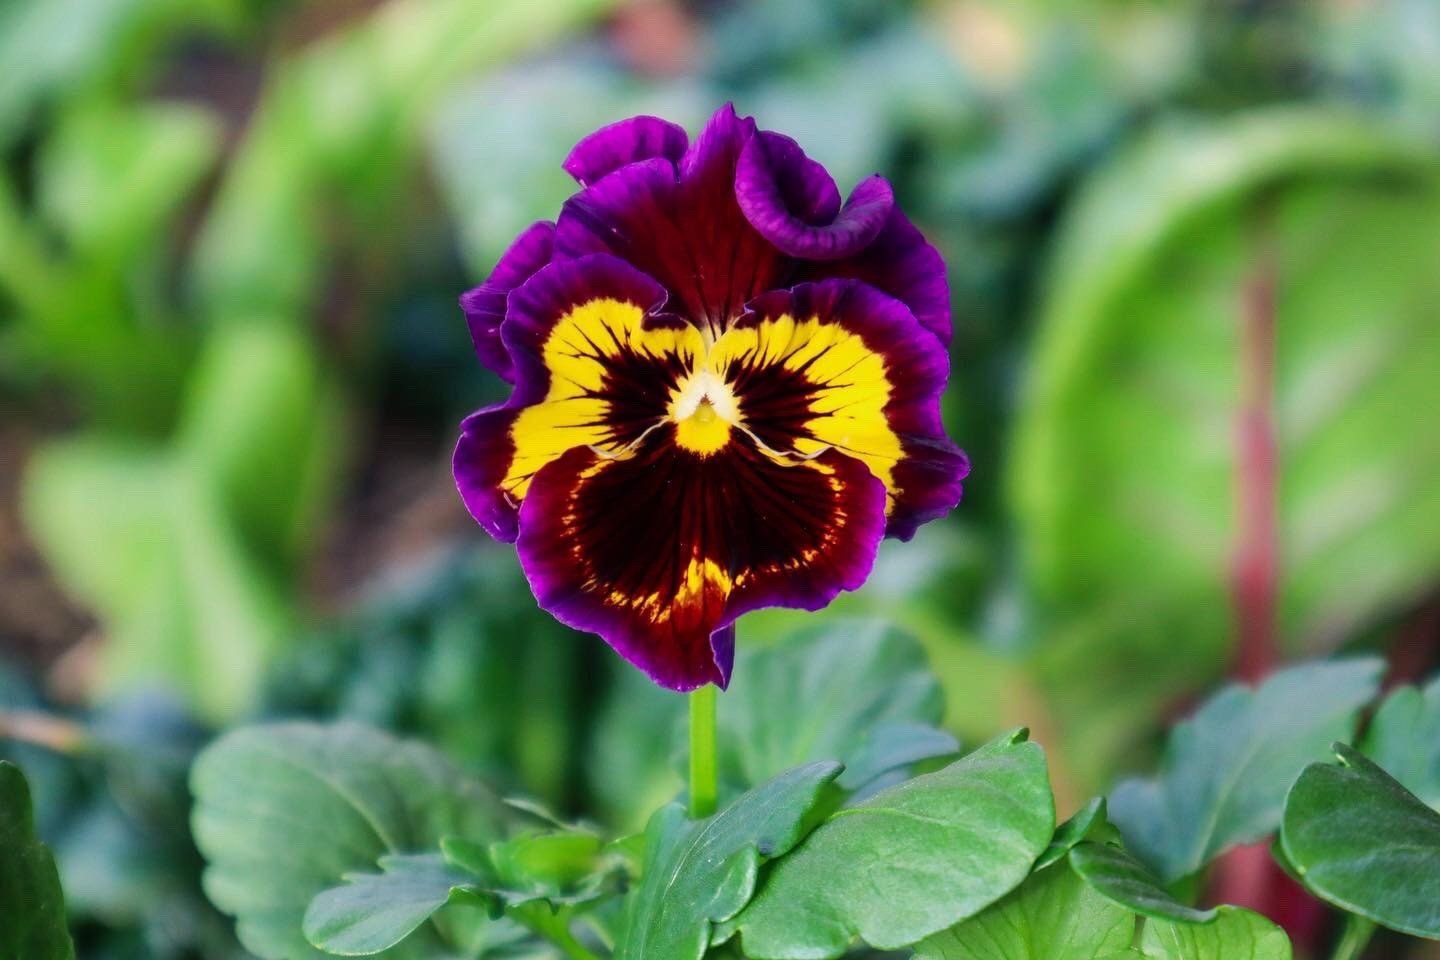
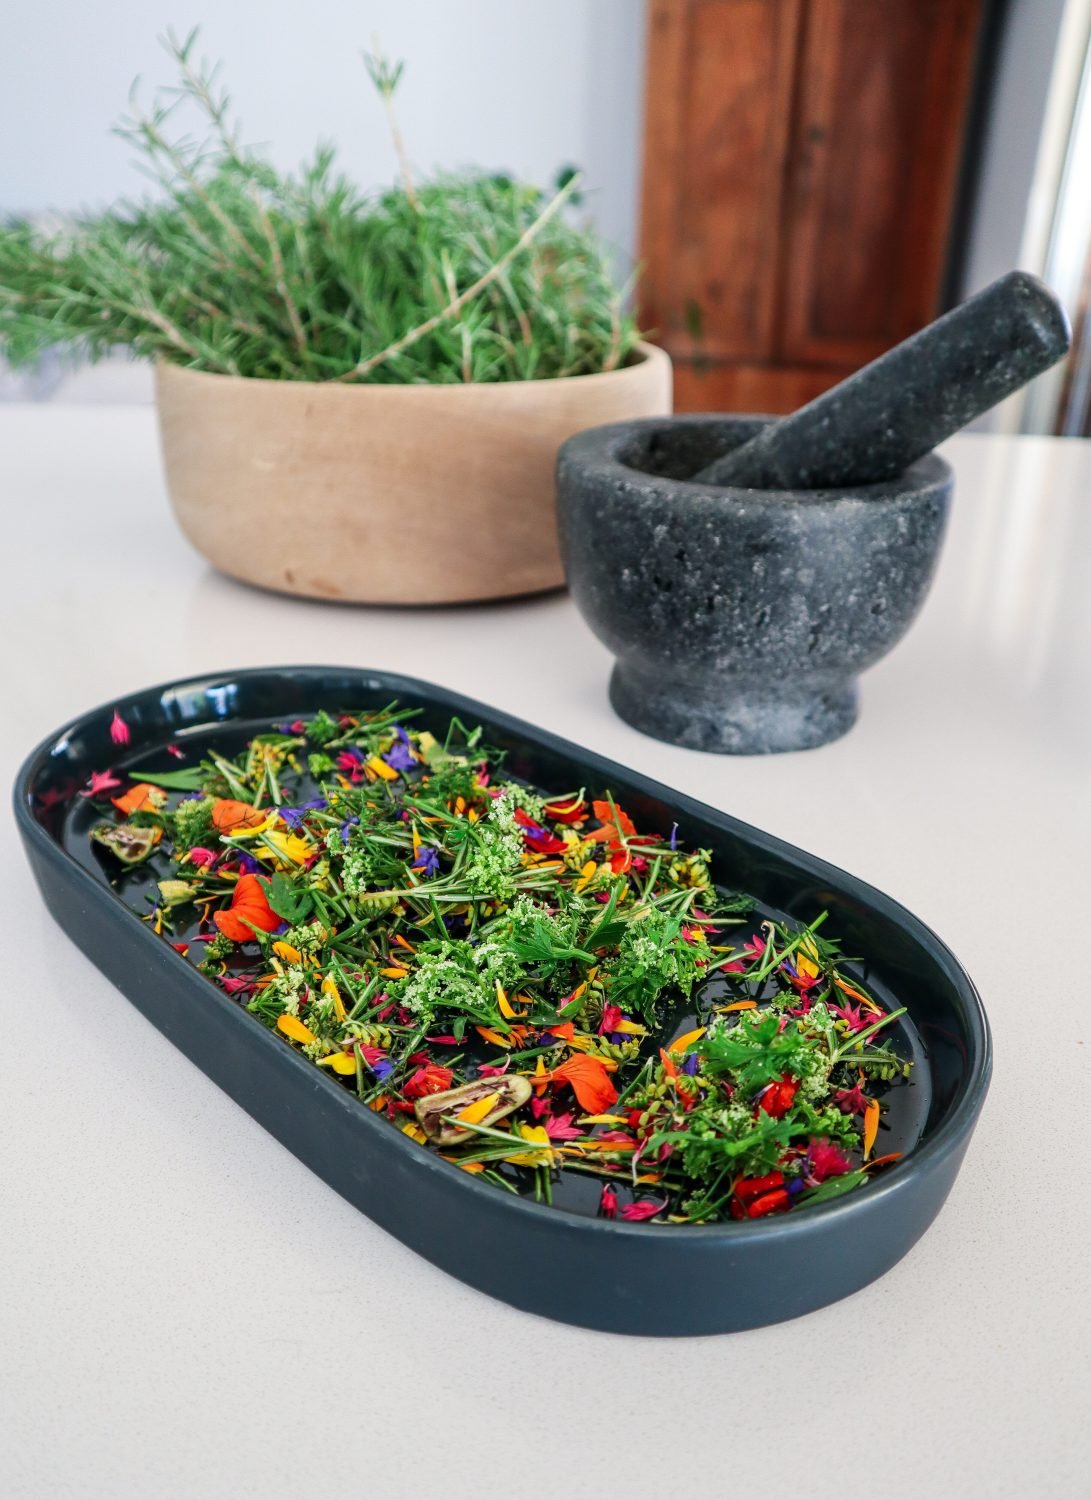
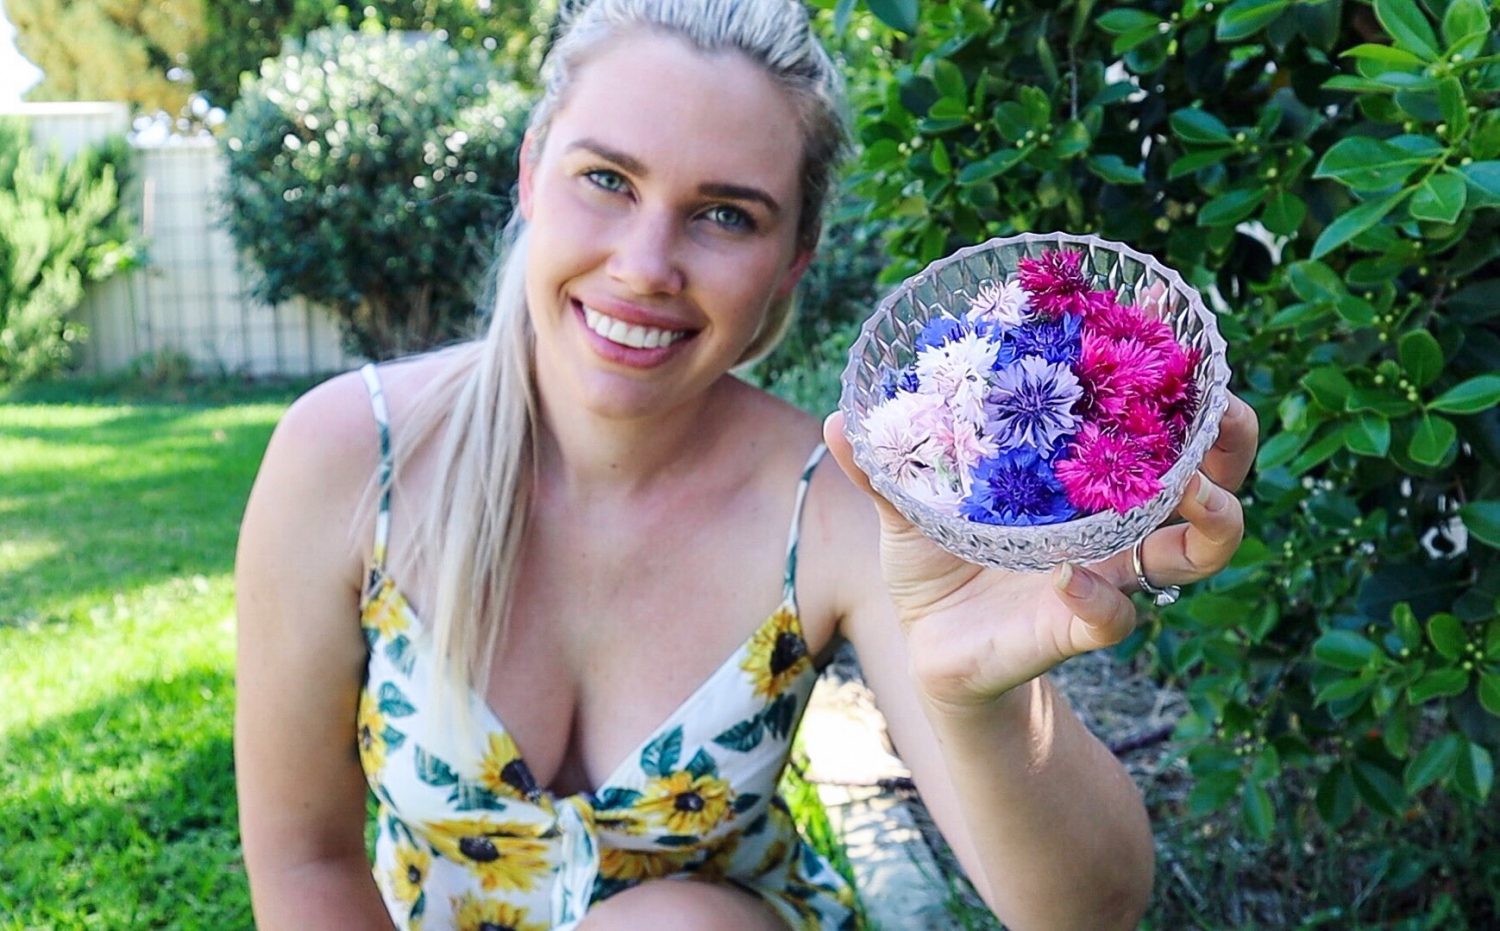
I grow a lot of edible flowers in my urban permaculture garden. That way, I not only have plenty of flowers for the bees, but also lots of beautiful edibles to brighten up any meal. Edible flowers have so many health benefits and valuable nutritional qualities. Flowers don’t often last long on the plant and a great way to preserve and harness their energy is to press or dry them. This way you can make infused oils, herbal teas and still have beautiful bright flowers to use throughout the year.
What Time of Day is Best to Pick Edible Flowers?
Pick your edible flowers in the morning but after the sun has come up. First thing in the morning the flowers will still be closed so wait until they fully open up. They will be at their best in the morning, full of life and well hydrated. Throughout the day they can lose moisture and become damaged by insects or wind. Make sure you select flowers that you know don’t have any chemicals or sprays on them. I only use flowers I have grown in my backyard as I can have more control over their surroundings.
Should you Dry the Whole Flower or just the Petals?
You can do both! If the flower has a thick base or bud I tend to remove the petals. Flowers such as Sunflower and Hibiscus, I usually remove the petals. The base will take a very long time to dry and most of the time will not be palatable/hard and bitter. Calendula has many healing properties in the base, leave this on if you are going to use it for infused oils and balms.
Air Drying Flowers Naturally
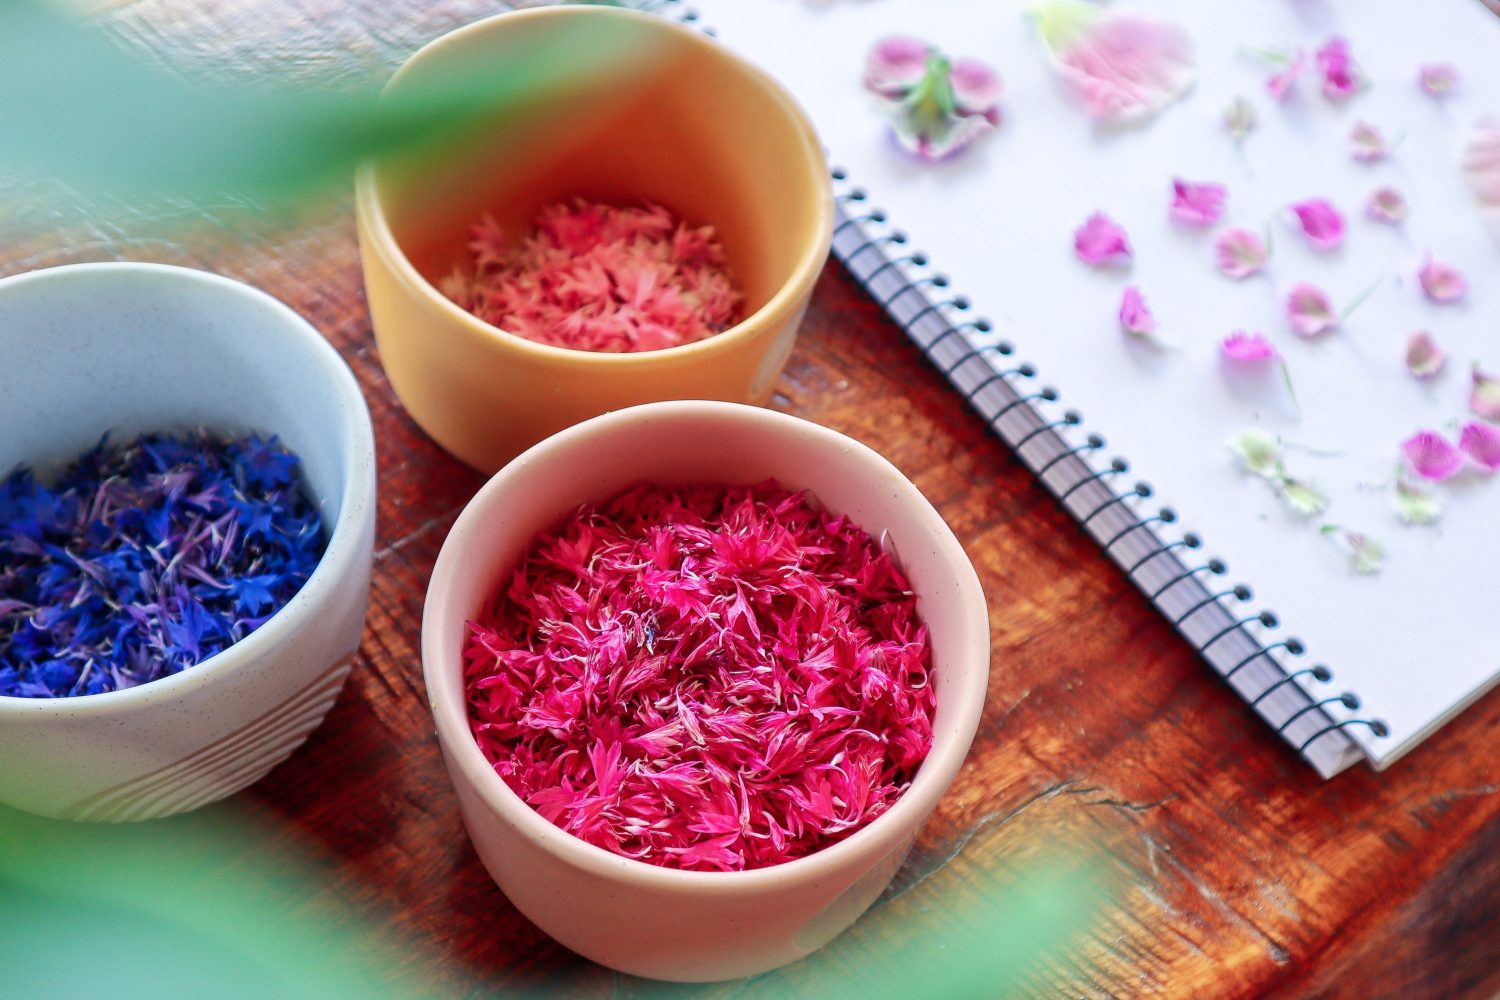
The main way that I preserve my edible flowers is to air dry them naturally. I keep a bowl or plate in my pantry and add petals and flowers to it regularly. Each time I go out to the garden to pick veggies, I will pick edible flowers as well. If I don’t use them fresh in my meals I will just pop them aside to dry. It is very hot and dry here in Perth, Australia during the summer, so they will dry within a couple of days. If you live in a humid or cool climate or it is winter, it would be best to oven-dry or use a dehydrator. You want to get the flowers as dry as possible with no moisture left. This is to prevent them from going mouldy or growing bacteria.
Oven drying flowers
Turn your oven on to 40-50degrees Celcius and spread your flowers out on a tray. If your flowers have thick buds or bases it will be best to separate them out and just dry the petals. This may take a while depending on the size and moisture levels of your flowers. It may take around 4-6 hours and gently turn and mix your flowers around during that time to help them dry evenly.
Drying flowers in the dehydrator
Lay your flowers out flat on a tray and turn your dehydrator on to 40-50 degrees Celcius. It will depend on the moisture levels and size of your flowers but it will take between 4-6 hours to dry. Make sure they are completely dry and they may sound crunchy to touch.
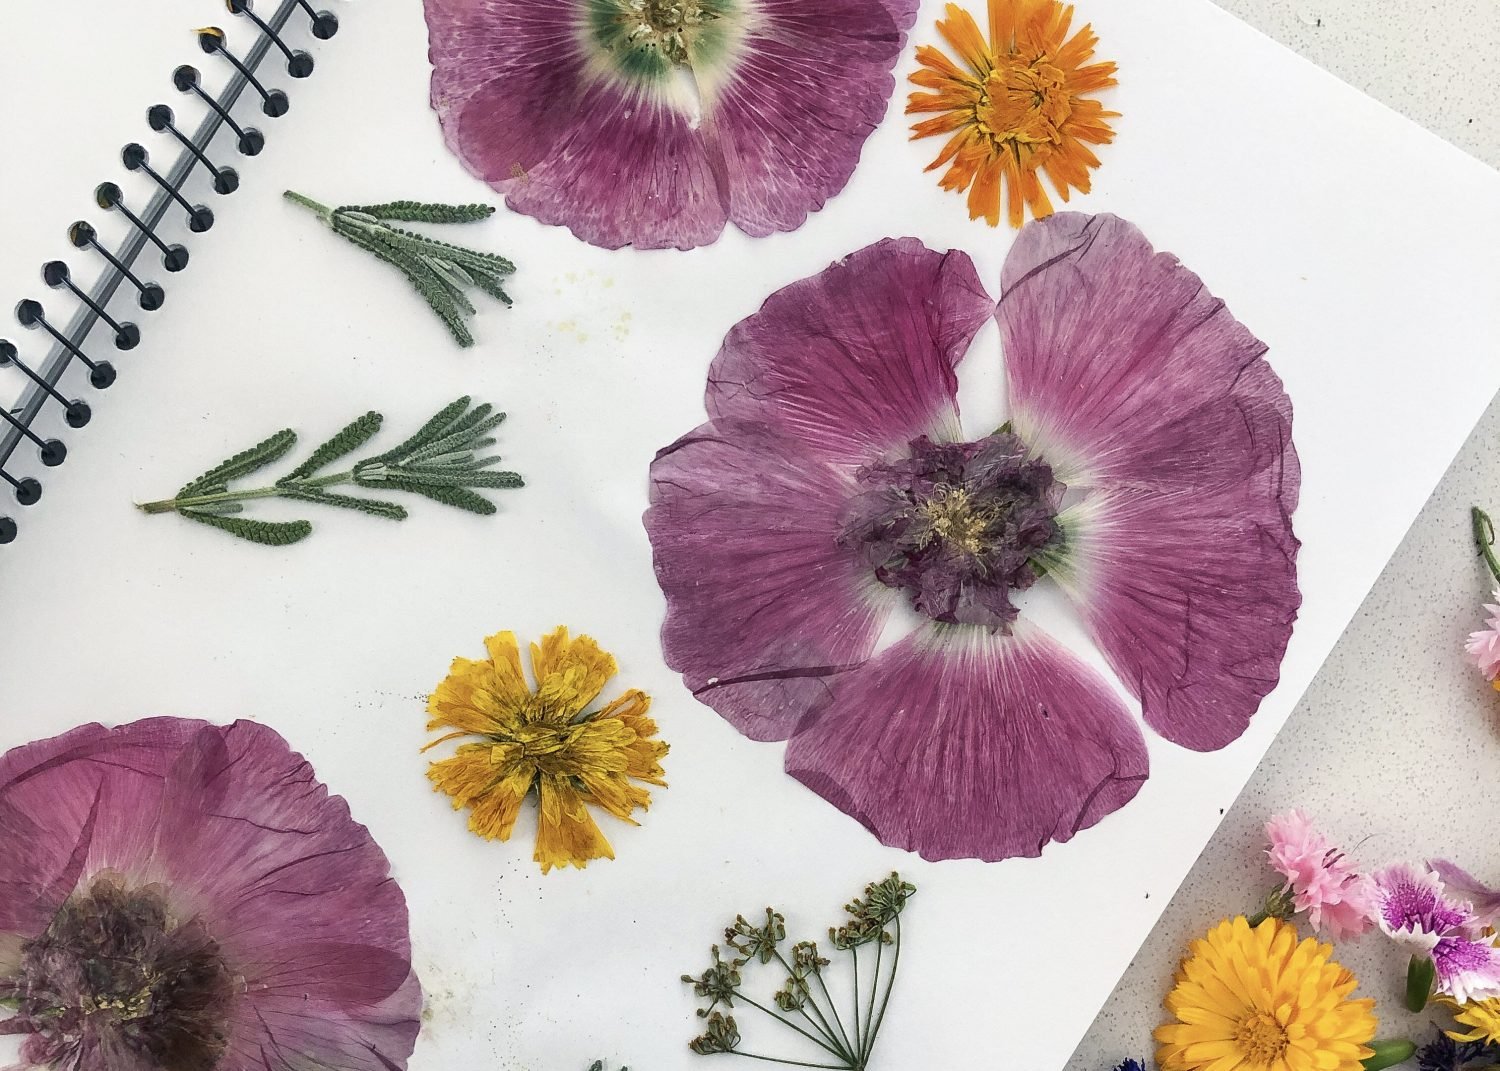
Pressing Edible Flowers
Another way I like to preserve my edible flowers is to press them. You can do this with any flower press or to press flowers without a flower press, simply place your flowers between sheets of paper or a notepad and stack some heavy books on top. Press whole flowers or petals but if the bud or base of the flower is quite thick, I would remove it and just press the petals. Pressing flowers will take a while to ensure that they are completely dry. Depending on your temperatures and climate it can take between 2-4 weeks to dry your edible flowers.
How to Store Edible Flowers
Once your flowers are completely dry you can store them in an airtight container out of sunlight. I keep all my air-dried flowers in jars in my pantry. My pressed flowers that I want to keep intact, I store in a glass container with a bit of paper towel. In dry conditions, these will last quite a while. I have some from a year ago that are still great.
How to use Dried Edible Flowers?
There are so many ways to use your dried flowers. Here are some of my favourite ways to use them.
MY GARDENING ESSENTIALS // Fertiliser spray gun: https://bit.ly/366nL1t Retractable Hose: https://bit.ly/2TSC0Bo More gardening tools: https://bit.ly/32IQmbD
DISCLAIMER: Links included in this description might be affiliate links. If you purchase a product or service with the links that I provide I may receive a small commission. There is no additional charge to you! Thank you for supporting my page so I can continue to provide you with free content!
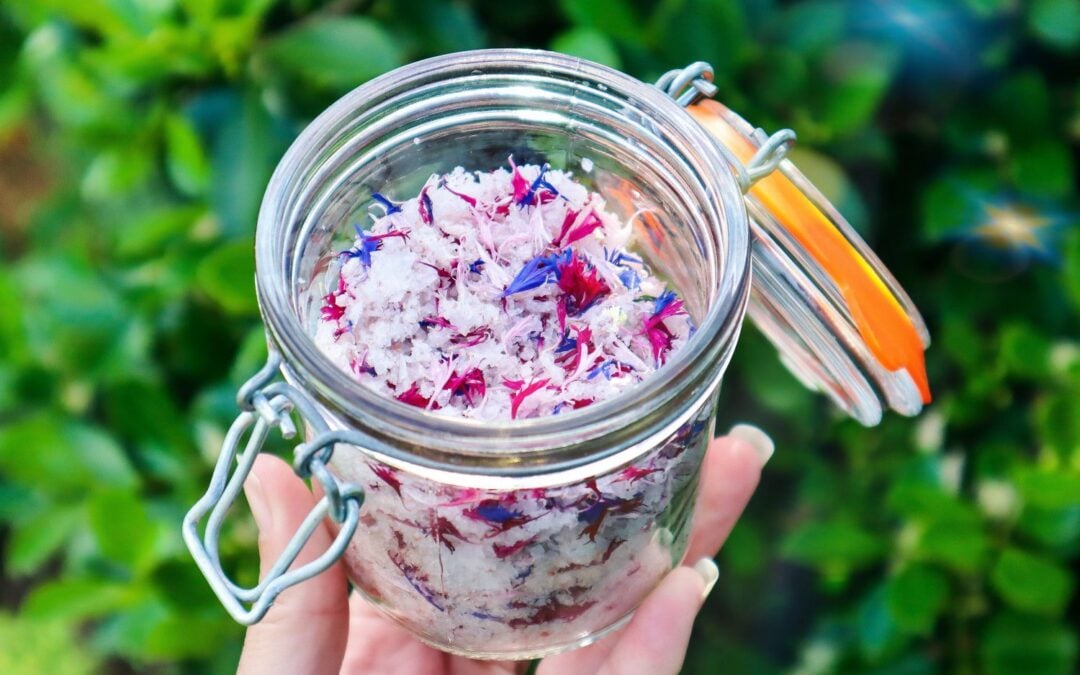
I jump at any chance to use edible flowers in my dishes and this edible flower fairy salt is one of my favourites! Edible flowers are a great, easy way to add wow factor to any dish. Cornflowers (Centaurea cyanus) are so vibrant and have been abundance in my garden this summer. This recipe helps preserve their stunning colours and I can use them on my dishes throughout the year.
Fairy salt would be a great way to get kids involved with garden to plate cooking. Foraging for edible flowers, drying them and making fairy salt.
Edible Flower Salt is so EASY with only two ingredients!
You could use any edible flowers for this but cornflowers are the perfect size and colour. They lose their colour when they are left to dry on the plant so I feel better about picking them.
Edible Flower Fairy Salt
Yield: 1/2 cup
Prep Time: 5 days
Additional Time: 2 minutes
Total Time: 5 days2 minutes
Ingredients
1/2 cup Salt Flakes
2 TBSP dried Cornflowers
Instructions
Pick cornflowers (Centaurea cyanus) and gently pull the petals from the bud. Lay them out flat on a plate. Leave them to dry completely for 5 days turning them regularly to release moisture. To speed up this process you could put them in the oven on low (40-50degrees Celcius) to dry.
Place salt flakes into an airtight jar. Mix through the dried cornflowers.
Serve on meals as a finishing salt.
Serving Suggestions
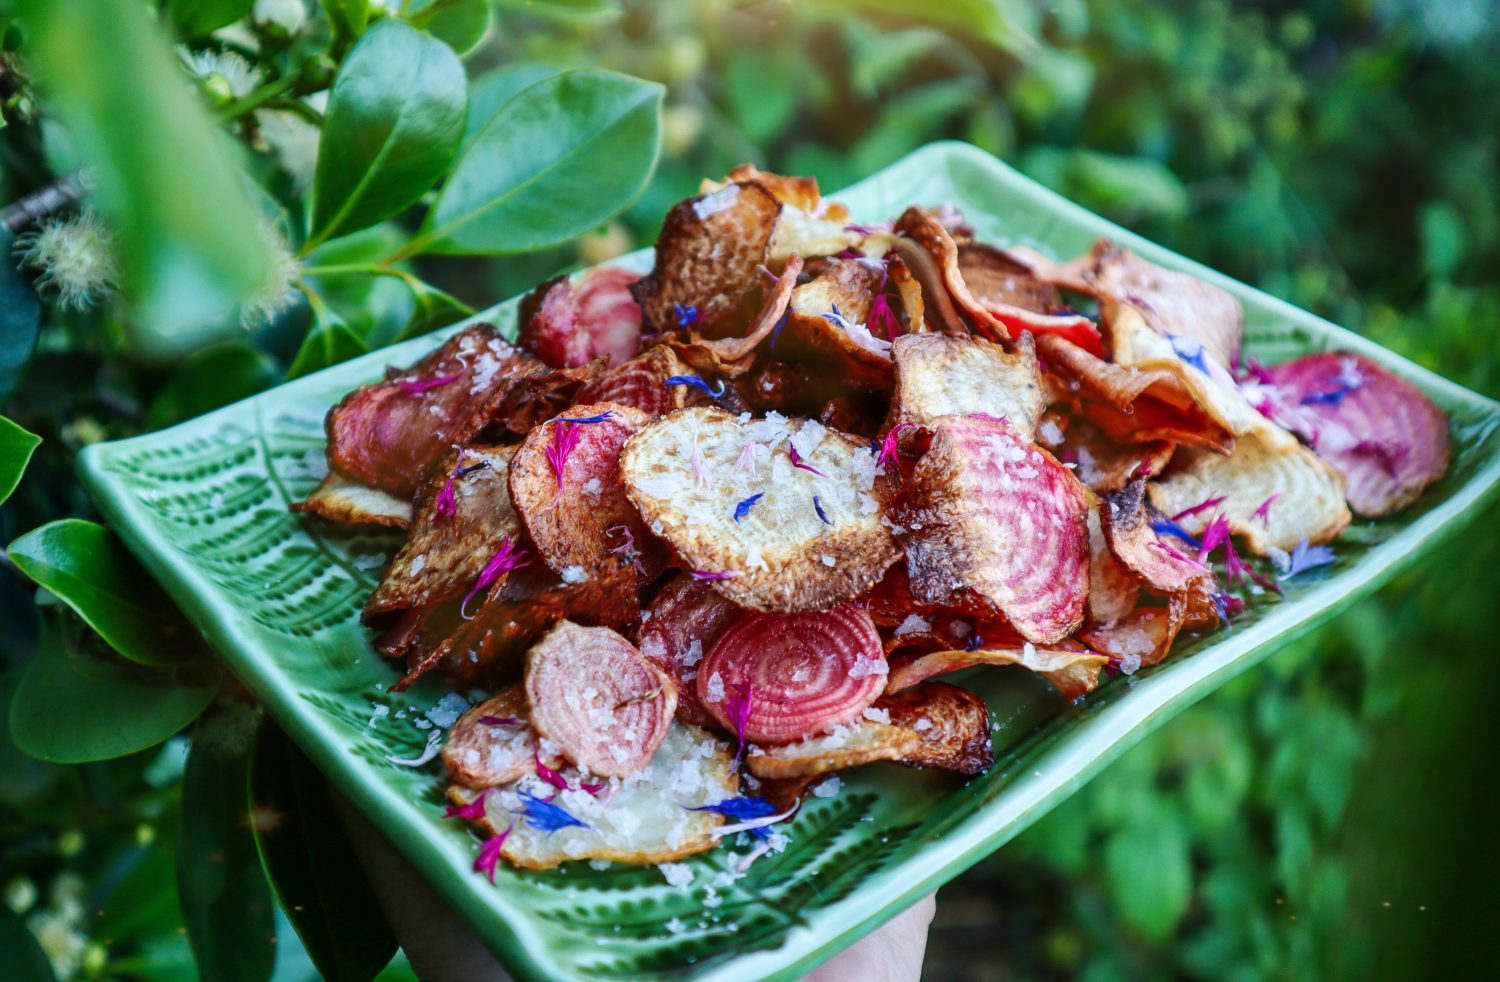
I have been using this edible flower salt to brighten up so many of my meals. Simple eggs on toast become a little more magical with a dusting of this flower salt. I also made some delicious salt and vinegar beetroot chips and this salt was the perfect addition.
Salt and Vinegar Beetroot Chips with Edible Flower Salt
DIY Gift Idea
I have also made up small jars as gifts to friends. A small simple gesture can go such a long way. I want to get in the habit of taking a small gift whenever I visit friends and family. Whether that is some preserved produce, cuttings, seedling or some saved seeds. You never know how much a spark of inspiration can cause a ripple effect in someone’s life.
Holly 🌱
WATCH Edible Flower Salt and Beet Chips Below
MY GARDENING ESSENTIALS // Fertiliser spray gun: https://bit.ly/366nL1t Retractable Hose: https://bit.ly/2TSC0Bo More gardening tools: https://bit.ly/32IQmbD
DISCLAIMER: Links included in this description might be affiliate links. If you purchase a product or service with the links that I provide I may receive a small commission. There is no additional charge to you! Thank you for supporting my page so I can continue to provide you with free content!
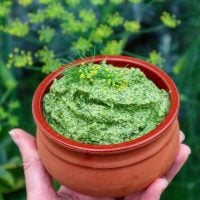
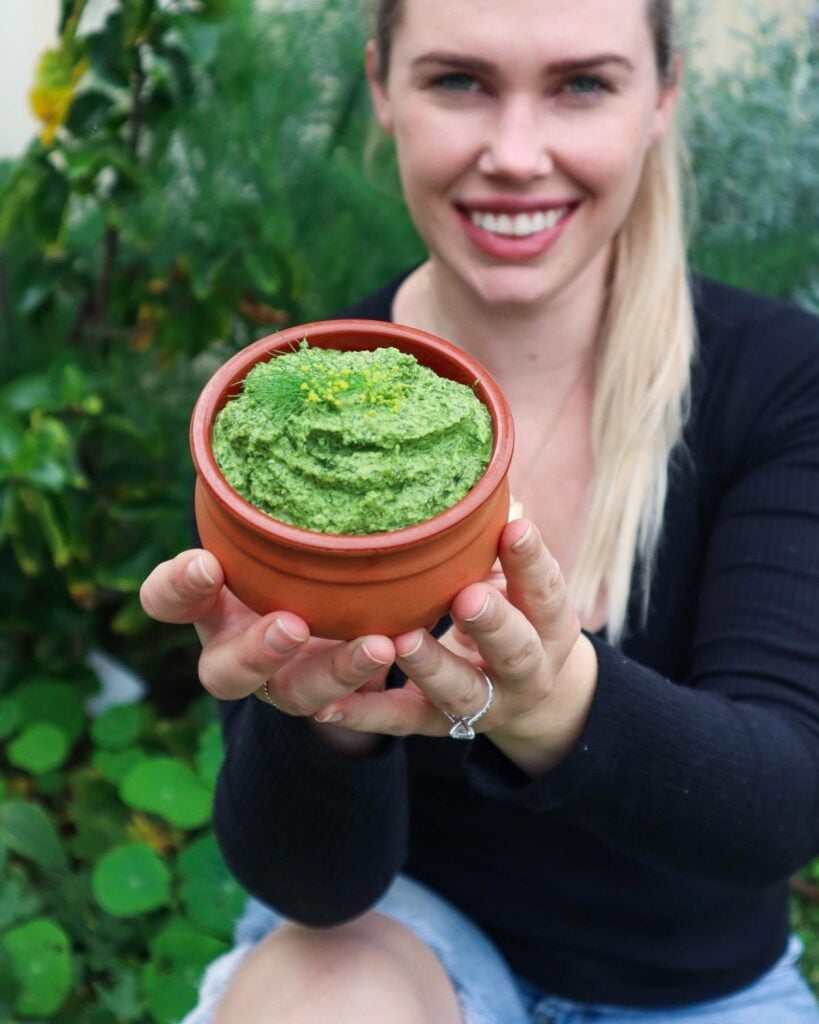
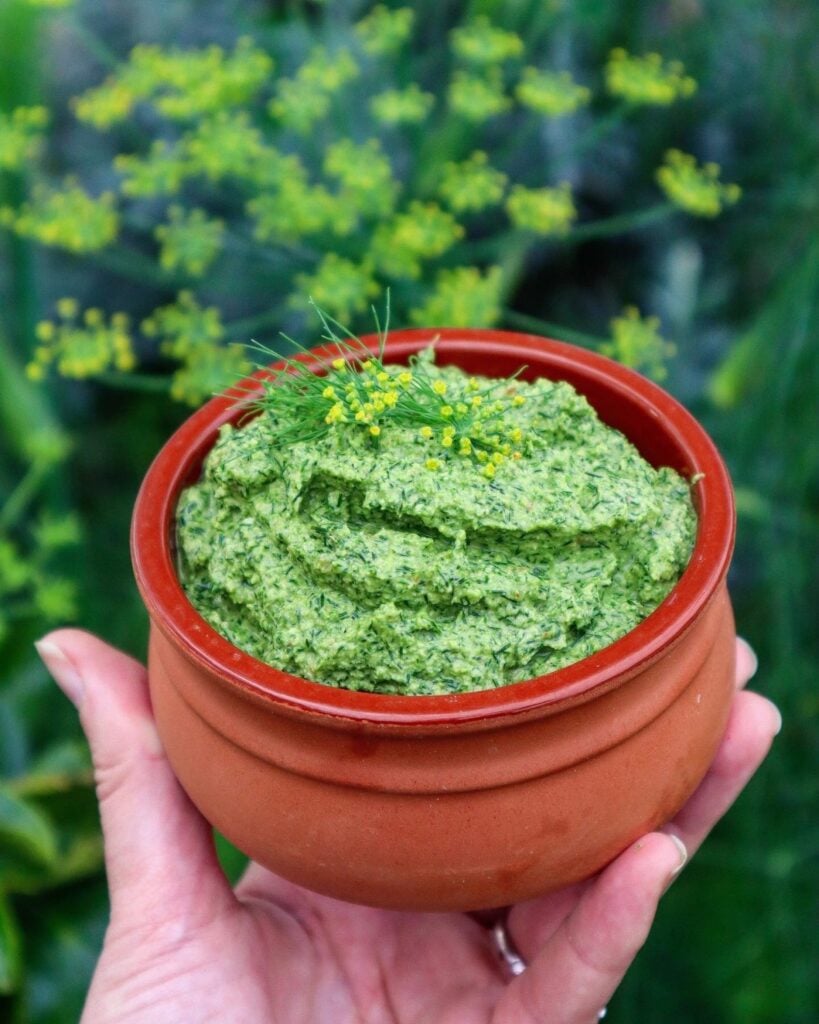
I made this delicious Fennel Front Pesto to use up the all the beautiful fresh fennel fronds I had. Super quick and easy to make! Are you growing fennel and not sure what to make with all those beautiful fennel fronds? I grew fennel for the first time this year so I had to start figuring out what to make with the abundance of greenery after harvesting the fennel.
I often will portion out my extra pesto into ice cubes and freeze them in a container to preserve for future meals. Pesto is great to have on hand in the freezer to add to sauces, soups, quick and easy pasta sauce and even just defrosted as a dip for a cheese platter. Fennel Frond Pesto adds a fresh herbaceous flavour and saves buying dip in plastic containers!
Fennel Frond Pesto
Yield: 2 cups
Prep Time: 10 minutes
Total Time: 10 minutes
Ingredients
1/2 cup Walnuts
1/4 cup Olive Oil
1/4 cup Distilled Water
2-3 cups Fennel Fronds
2 Garlic Cloves
2 tsp Fresh Lemon Juice
Sprinkle of Salt to Season
Instructions
Wash Fennel Fronds and remove hard woody centre stem.
Place all ingredients EXCEPT Walnuts in a Nutribullet or food processor. Blitz until combined and fronds have broken up into small pieces.
Add the Walnuts and blitz to combine. If the mixture looks a little thick or dry add in an extra dash of water or olive oil.
Taste and add extra salt if needed and ready to serve!
Notes
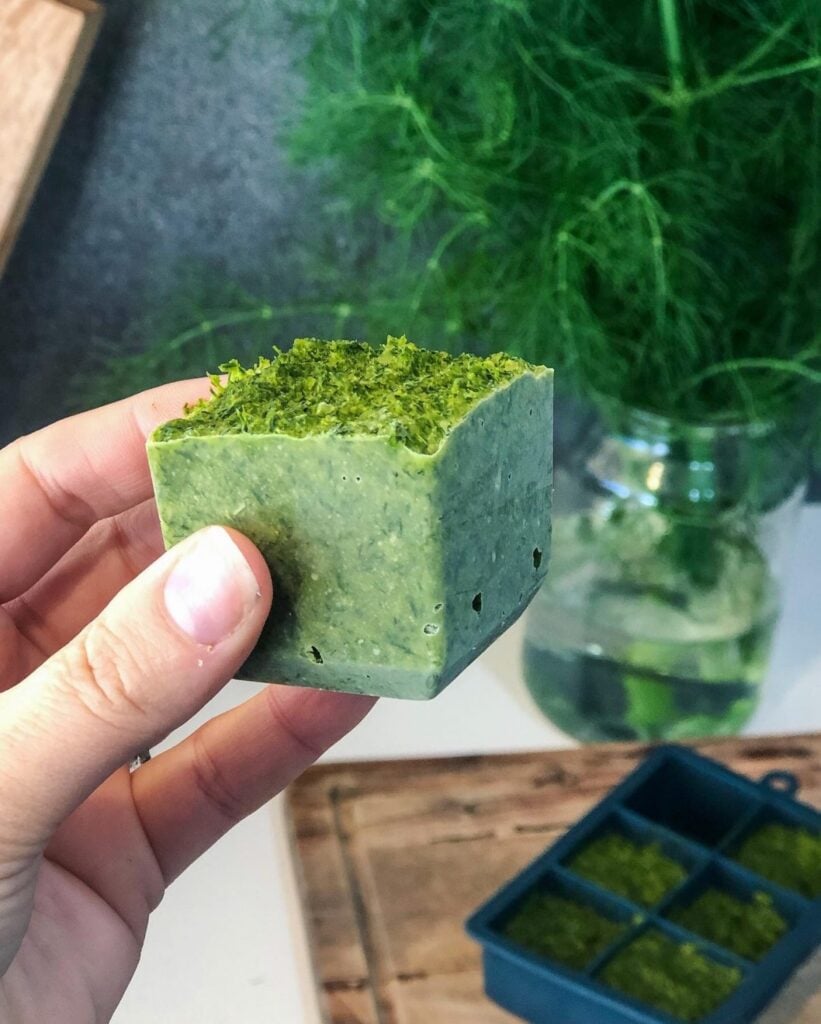
If you want to preserve divide the extra mixture into ice trays and freeze. I use large Ice trays. Then once it has frozen place in an airtight, freezer-proof container until you are ready to use.
I use a Nutribullet or stick blender as that is all I have. They work well but that is why I split the walnuts and greens up as it takes longer to blitz the greens.
Nutrition Information:
Yield: 4Serving Size: 1/4 cup Amount Per Serving:Calories: 64Total Fat: 5.4gCholesterol: 0mgSodium: 72.5mgCarbohydrates: 3.5gSugar: 0gProtein: 1.7g
More about Fennel
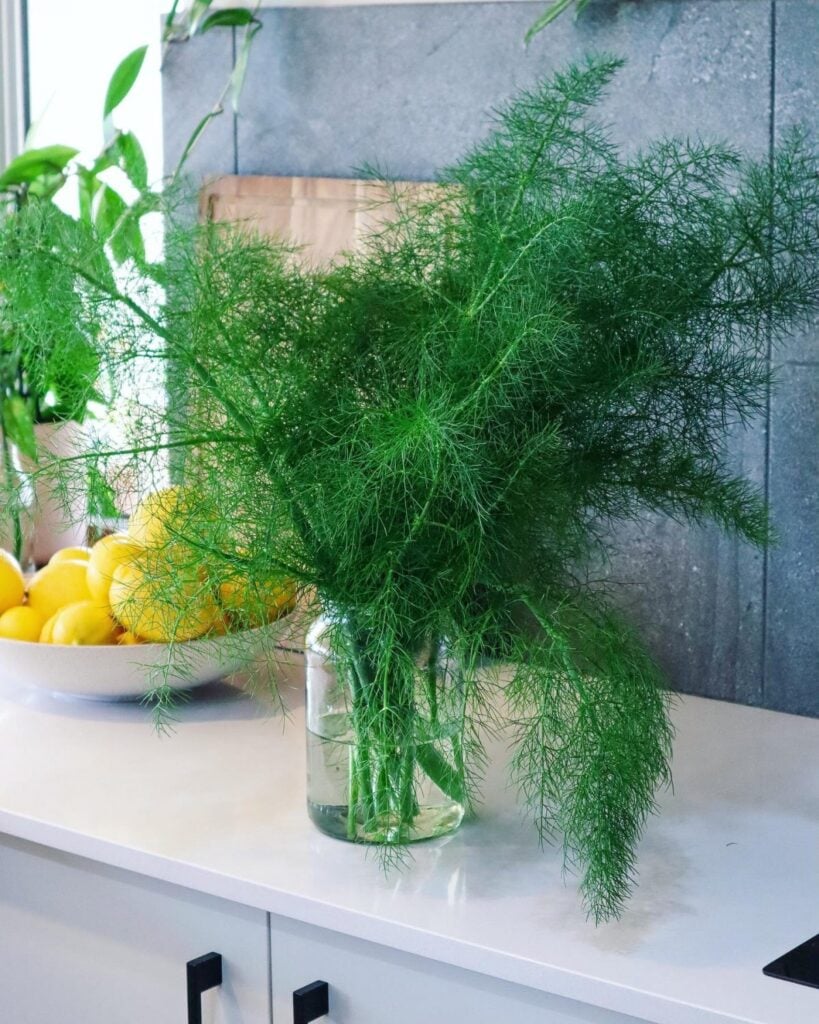
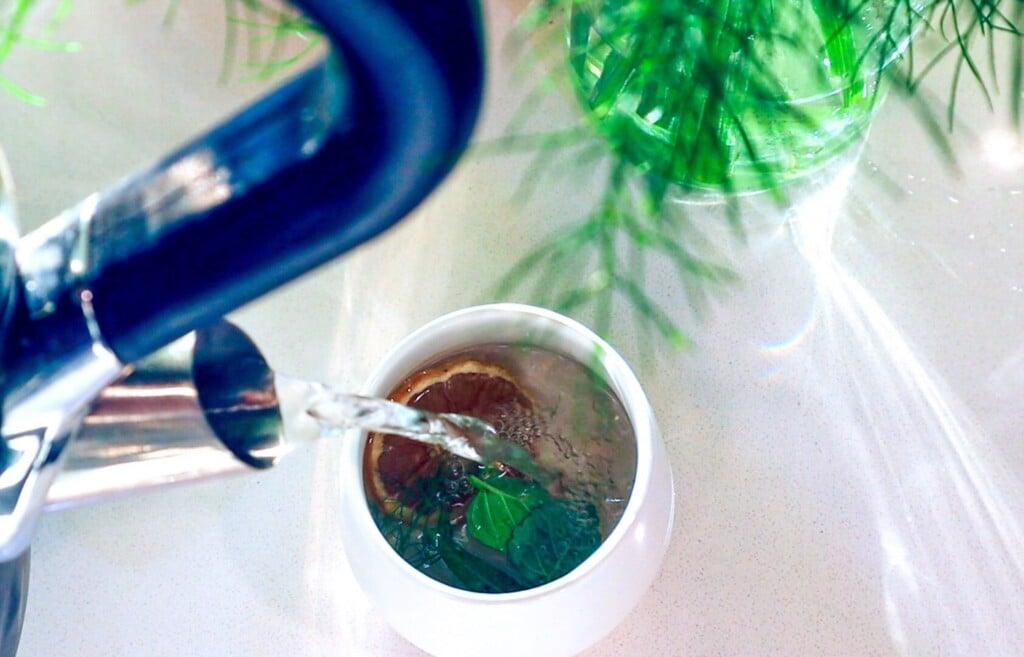
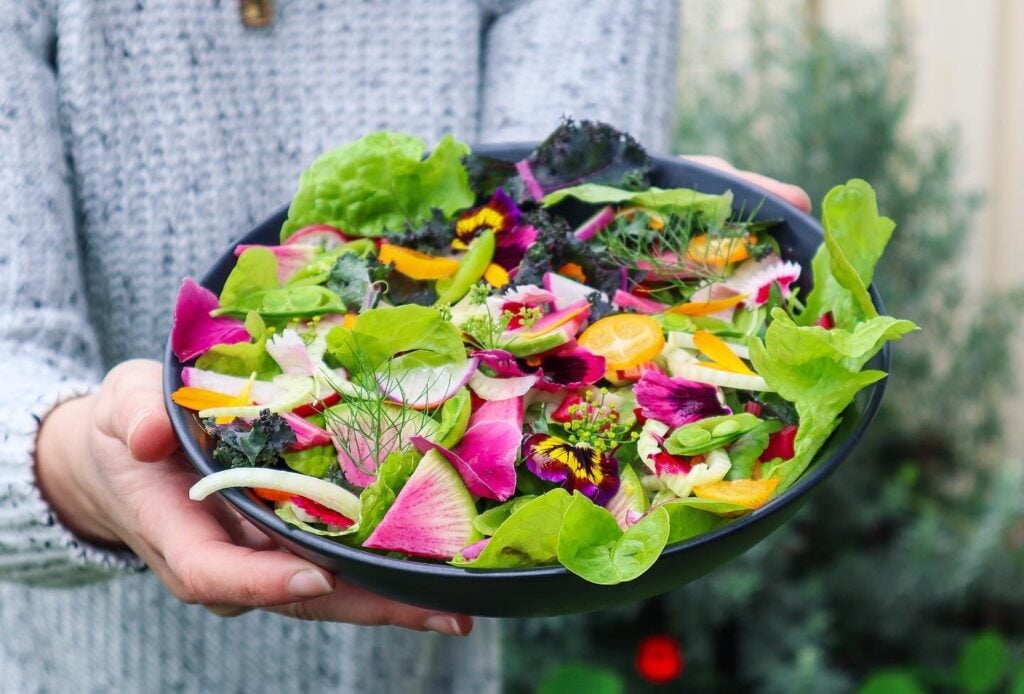
Fennel is such a great addition to your permaculture garden. The bulbs provide plenty of food which can be eaten fresh in a salad, roasted or pickled. The leaves are a great addition to salads, soups and teas. It also has beautiful yellow flowers that have a mild liquorice/ aniseed flavour and are an amazing edible flower as well as to attract pollinators to your garden. Their big bushy fronds make a great haven for beneficial insects and they look beautiful in vases as cut greenery and flowers. They self-seed very well so you will have fennel growing for many years to come with very little effort!
Fennel Salad with Kumquat, Watermelon Radish and edible flowers.
I am always learning new ways to use, cook and preserve everything I grow. I want to maximise my harvests and I am doing that by continuously expanding my knowledge and recipe base. Fennel Frond Pesto is now added to my list and I will continue to explore new ways to use all the parts of the fennel plant. Join me over on YouTube for weekly videos as I continue on my journey to live a more Sustainable Lifestyle.
I made this delicious Fennel Front Pesto by swapping out the greens from my garden pesto recipe. It is a super versatile recipe to use up any extra herbs and greens from your garden.
Watch my video below to find out more about my favourite edible flowers.
What do you use Fennel Fronds for? Leave a comment below 🌿
Holly 🌱
MY GARDENING ESSENTIALS // Fertiliser spray gun: https://bit.ly/366nL1t Retractable Hose: https://bit.ly/2TSC0Bo More gardening tools: https://bit.ly/32IQmbD
DISCLAIMER: Links included in this description might be affiliate links. If you purchase a product or service with the links that I provide I may receive a small commission. There is no additional charge to you! Thank you for supporting my page so I can continue to provide you with free content!
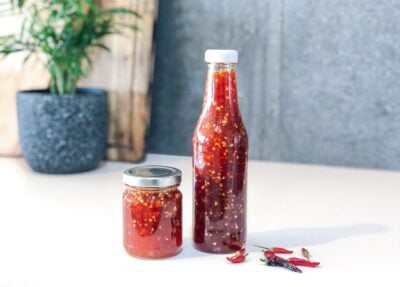
This easy Homemade Sweet Chilli Sauce is a fantastic way to use up a bunch of homegrown chillies. Growing Chillies is a great place to start for Beginner Gardeners or those with limited space, as they are easy to grow and can produce an abundance of chilli on one plant. Chilli plants like warm weather, but they can be grown throughout winter in a greenhouse or warm spot. I will cut back my chilli plants soon, place them in a warm area and let them go semi-dormant for the winter, which is called “overwintering”. That way come spring and summer, the plants are well established and will provide me with a decent crop.
This recipe can be adjusted to be as mild or hot as you like. You can use different chilli varieties, but obviously, the hotter the variety, the more your sweet chilli sauce will pack a punch! If you are concerned, I would remove and save the seeds from 3/4 of the chilli, and once it has cooked down a bit, taste and add more of the seeds to get the desired heat. I just went all-in with the seeds and used a hot Thai Chilli variety, so mine turned out quite hot, but I like that.
Easy Homemade Sweet Chilli Sauce
Yield: 500g
Prep Time: 10 minutes
Cook Time: 1 hour
Additional Time: 5 minutes
Total Time: 1 hour15 minutes
This easy Homemade Sweet Chilli Sauce is a fantastic way to use up a bunch of homegrown chillies. Growing Chillies is a great place to start for Beginner Gardeners or those with limited space as they are easy to grow and can produce an abundance of chilli on one plant.
This recipe can be adjusted to be as mild or hot as you like. You can use different chilli varieties but obviously, the hotter the variety the more your sweet chilli sauce will pack a punch! If you are concerned I would remove and save the seeds from 3/4 of the chilli and once it has cooked down a bit, taste and add more of the seeds to get the desired heat. I just went all-in with the seeds and used a hot Thai Chilli variety so mine turned out quite hot but I like that.
Ingredients
250 - 350g Chilli
8 Cloves Garlic
5 cm piece of Ginger
2 cups Sugar
2 cups White Vinegar
3 teaspoons Salt
Instructions
Wash chilli and cut off the green stems.
Roughly chop the Chilli, Garlic and Ginger and add to a mixing bowl or food processer.
Blitz the mixture into a rough paste using either a food processor or stick mixer. If using a stick mixer make sure you cover the bowl with a cloth to stop bits of chilli flying everywhere!
Add the blitzed chilli mixture to a pot and add Sugar, Vinegar and Salt.
Bring to the boil and then let it simmer on a low - medium heat until the mixture thickens (45min - 1hr).
The mixture will continue to thicken as it cools. Add a dash of water or extra vinegar if need be.
Heat oven to 130 degrees celsius and add your clean jars or bottles to sterilize for 15mins. Put the lids in a bowl of boiling water for 5 minutes.
Carefully pour the warm sauce mixture into your jars while they are still warm and secure the lids on.
Store in the fridge and use within 3-4 weeks*
* For long term storage place in smaller containers or jars and freeze or use canning methods for long term preservation.
Notes
If you want a mild sweet chilli sauce, remove 3/4 of the chilli seeds and set aside. Once the mixture has started to reduce, taste and add extra seeds as desired.
Serve with Sweet Potato Fries, as a Stirfry sauce, burger sauce or even add to noodles and vegetables for a deliciously tasty meal packed full of flavour.
If you have chilli plants that ripen at different times or a smaller amount to harvest, try freezing them whole until you have enough saved up to make the recipe. Other ways to preserve your chillies are to dry them out and keep them whole or try blitzing the dried chillies to make a chilli powder or flakes.
I hope you enjoy this easy homemade sweet chilli sauce!
Watch My Chilli Harvest and How to Make Sweet Chilli Sauce
DISCLAIMER: Links included in this description might be affiliate links. If you purchase a product or service with the links that I provide I may receive a small commission. There is no additional charge to you! Thank you for supporting my page so I can continue to provide you with free content!