From invasive root systems to aggressive self-seeding, I will share why urban gardeners should Avoid Planting these in the Ground. These 15 Fruit Trees & Edible Plants can take over your garden, damage nearby structures, or require constant maintenance. Planting fruit trees and edible plants in the ground might seem like the best way to grow them, but some plants can quickly become a headache in urban gardens!
If you have limited space or an urban garden, this will be important info to know BEFORE you plant these in the ground! In this post, I’ll explain why these plants are better suited for containers, raised beds, or controlled areas, helping you avoid common gardening mistakes.
Fig Trees
Figs are delicious and easy to grow, but their strong root systems can cause major problems. They have the potential to damage pavers, concrete, and even underground drains as they search for water. If planted in raised beds, they can take over the space, outcompeting other plants.
A better option? Grow figs in a pot. This allows them to focus on fruit production rather than excessive growth. You may find they fruit quicker and more prolifically in a pot when they focus more on fruit production than on establishing their size. If you have plenty of space, you can plant them in the ground—just keep them away from structures, driveways, and pipes.
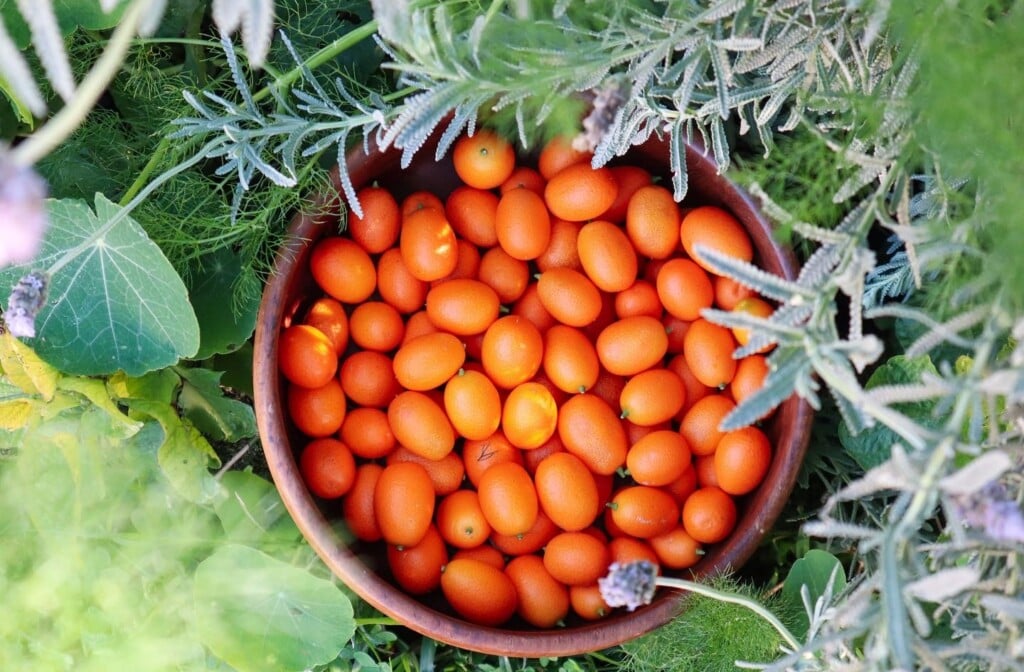
Kumquat Trees
Kumquats are a fun citrus tree, but for many gardeners, they end up being more ornamental than practical. While they produce masses of fruit, the small, tart fruits are best suited for jams, chutneys, or cocktails—not for everyday snacking.
A small potted tree will be much easier to manage and will give you great harvests to experiment with. Rather than a full-sized tree overloaded with fruit that becomes a chore to harvest.
Blackberry
Blackberries are known for their invasive growth habits. They send suckers underground, making them hard to contain, and if their stems bend over and touch the ground, they root and spread even further.
To keep them under control, grow blackberries in containers or install a deep garden edge to prevent runners from escaping. Otherwise, they can quickly take over your garden or spread into neighboring gardens or properties.
Blueberry
Blueberries thrive in acidic soil, which can be challenging to maintain in the ground. Without consistent soil pH, they may struggle to produce fruit.
Growing blueberries in pots allows you to control soil acidity, ensuring healthier plants and bigger harvests. Plus, container-grown blueberries take up less space and can be moved easily.
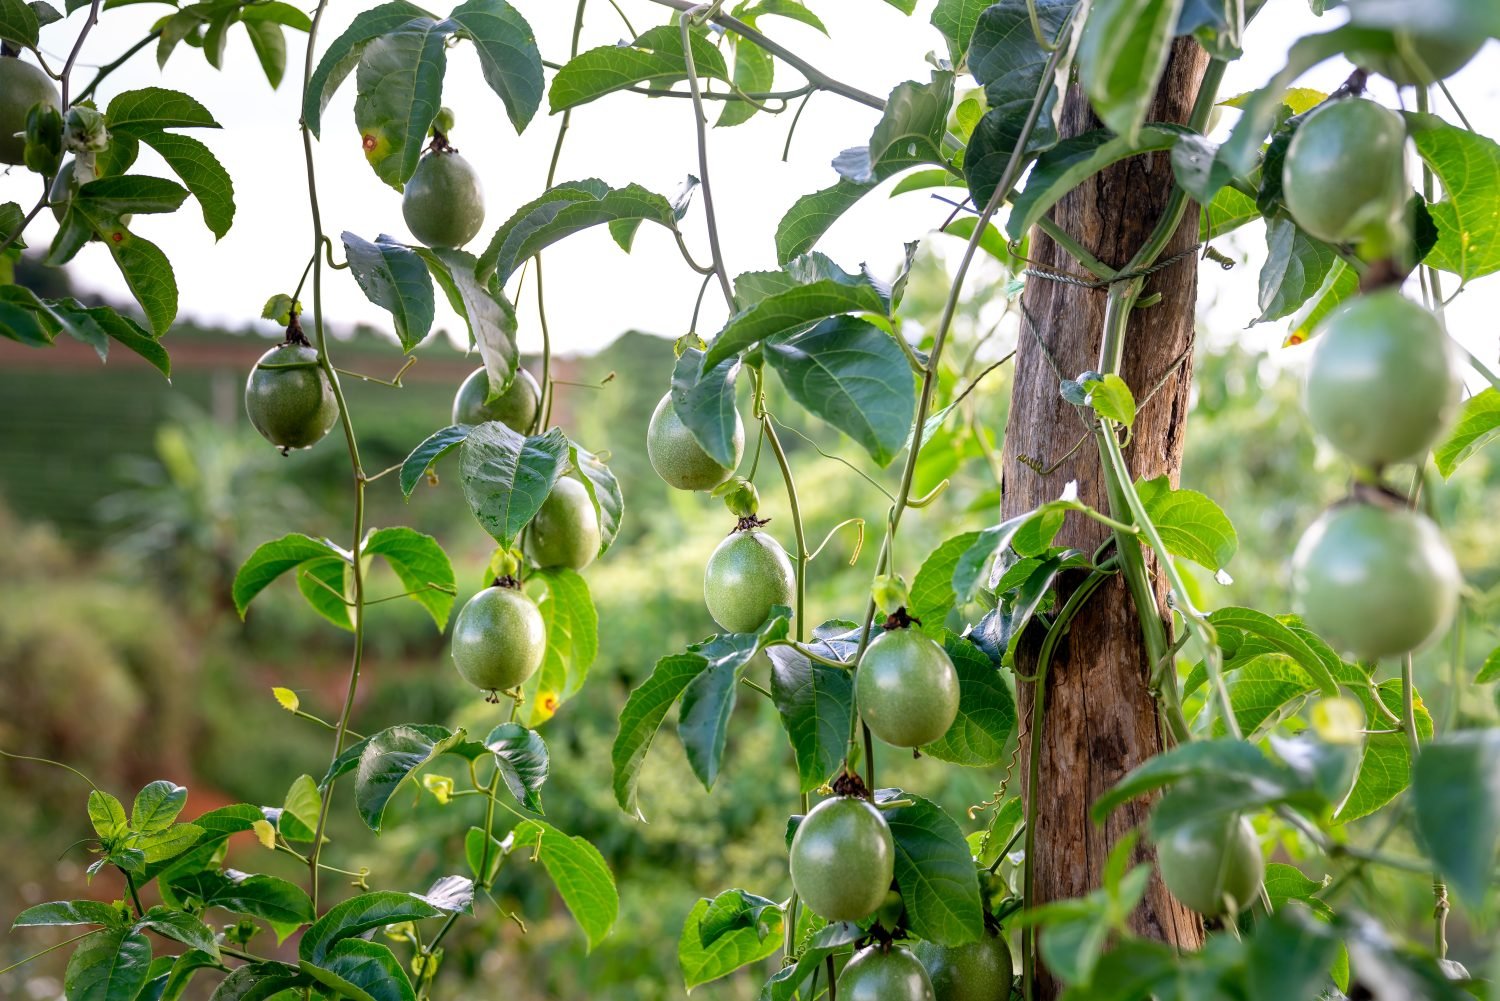
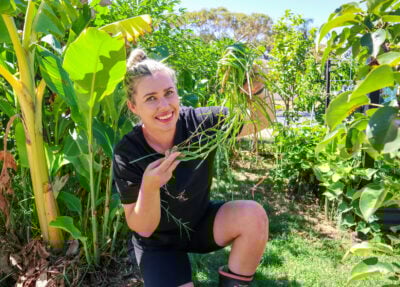
Grafted Passionfruit
Grafted passionfruit vines are notorious for causing problems in the garden, especially for beginner gardeners. The rootstock can take over, killing off the main plant and leaving behind a non-fruiting, invasive vine. The suckers can spread over 50 meters, making them extremely difficult to remove once established.
For a hassle-free option, grow non-grafted passionfruit vines to avoid rootstock takeover.
Mint
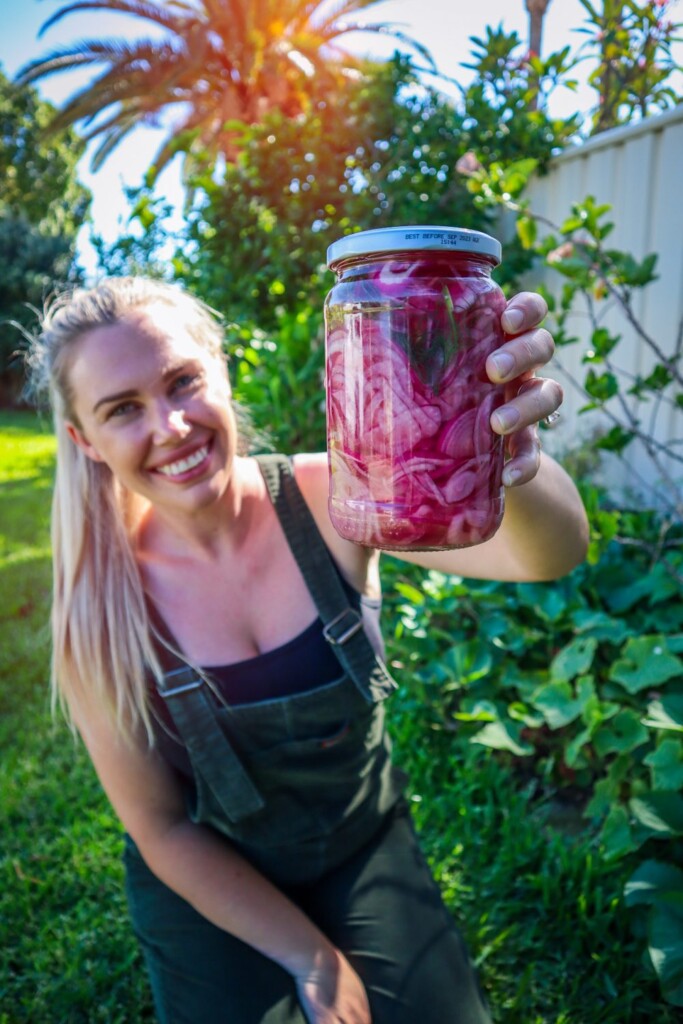
Mint is one of the worst plants for spreading aggressively. It sends out underground runners that allow it to jump containment and take over nearby garden beds. Even in pots, it can escape through drainage holes and establish itself in the soil.
Since a single plant can produce more than enough for home use, keep mint contained in a pot or raised bed to prevent it from becoming invasive.
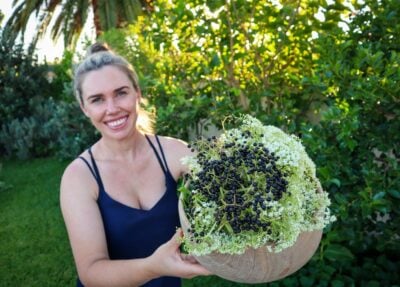
Elderberry
Elderberry bushes are great for their medicinal berries and flowers, but they send out suckers that make them difficult to control. Even if you try to remove them, they can keep coming back for years.
If you’re growing elderberries in a small space, consider pots or designated garden areas to manage their spread.
Goji Berry
Goji berries grow fast and aggressively, spreading through self-seeding and suckering. While they are packed with nutrients, they can quickly take over garden beds if not regularly pruned.
For better control, grow goji berries in a pot to keep them manageable.
Jerusalem Artichoke (Sunchoke)
Jerusalem artichokes send out underground tubers that spread rapidly and uncontrollably. Once established, they are nearly impossible to remove.
To prevent them from taking over, grow sunchokes in large containers or contained garden beds where they can be harvested easily.
Yarrow
Yarrow is a fantastic medicinal herb. It also attracts a lot of beneficial insects and pollinators to the garden. However, it has an aggressive spreading growth habit in the garden. It spreads throughrunners under theground that can invade neighboring properties and garden beds. Yarrow can be hard to get rid of once a patch is established.
If you want to grow Yarrow in an urban garden, try containers or root barriers to keep it in check.
Malabar Spinach
This fast-growing vine can take over trellises and nearby plants. It also self-seeds aggressively, meaning it will pop up all over your garden. It is also more ornamental than edible so you don’t need to have it regrowing everywhere.
For better management, grow it in containers or a dedicated trellis space.
Lemon Balm
Lemon balm is one of my FAVOURITE herbs. It is part of the mint family and spreads rapidly through self-seeding. Once established, it can take over veggie patches.
Keep it pruned to stop flowering and contained by growing it in pots rather than directly in the ground.
Choko (Chayote Vine)
Chayote vines are a great perennial vine but do grow extremely fast, climbing over fences, trees, and garden beds. They also regrow from tuberous roots, making them hard to remove once established.
To prevent it from taking over, grow choko in containers or on a dedicated trellis.
Loquat
Loquats are delicious, but birds spread their seeds, causing them to self-sow aggressively. These trees also grow large, shading out other plants and taking up valuable space.
If you plant a loquat tree, be prepared for regular pruning and fruit netting.
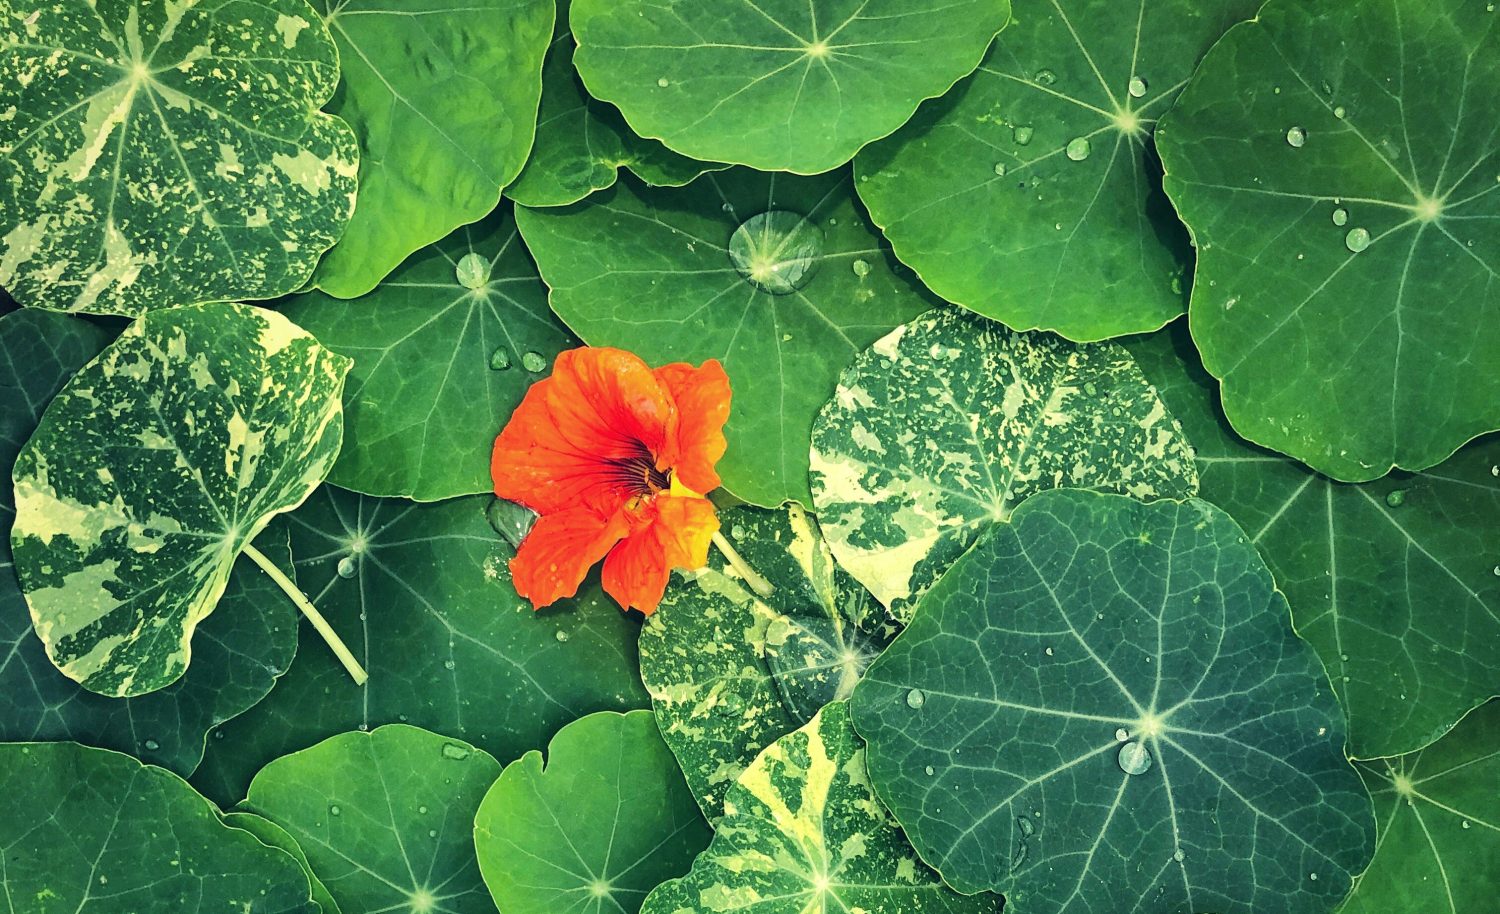
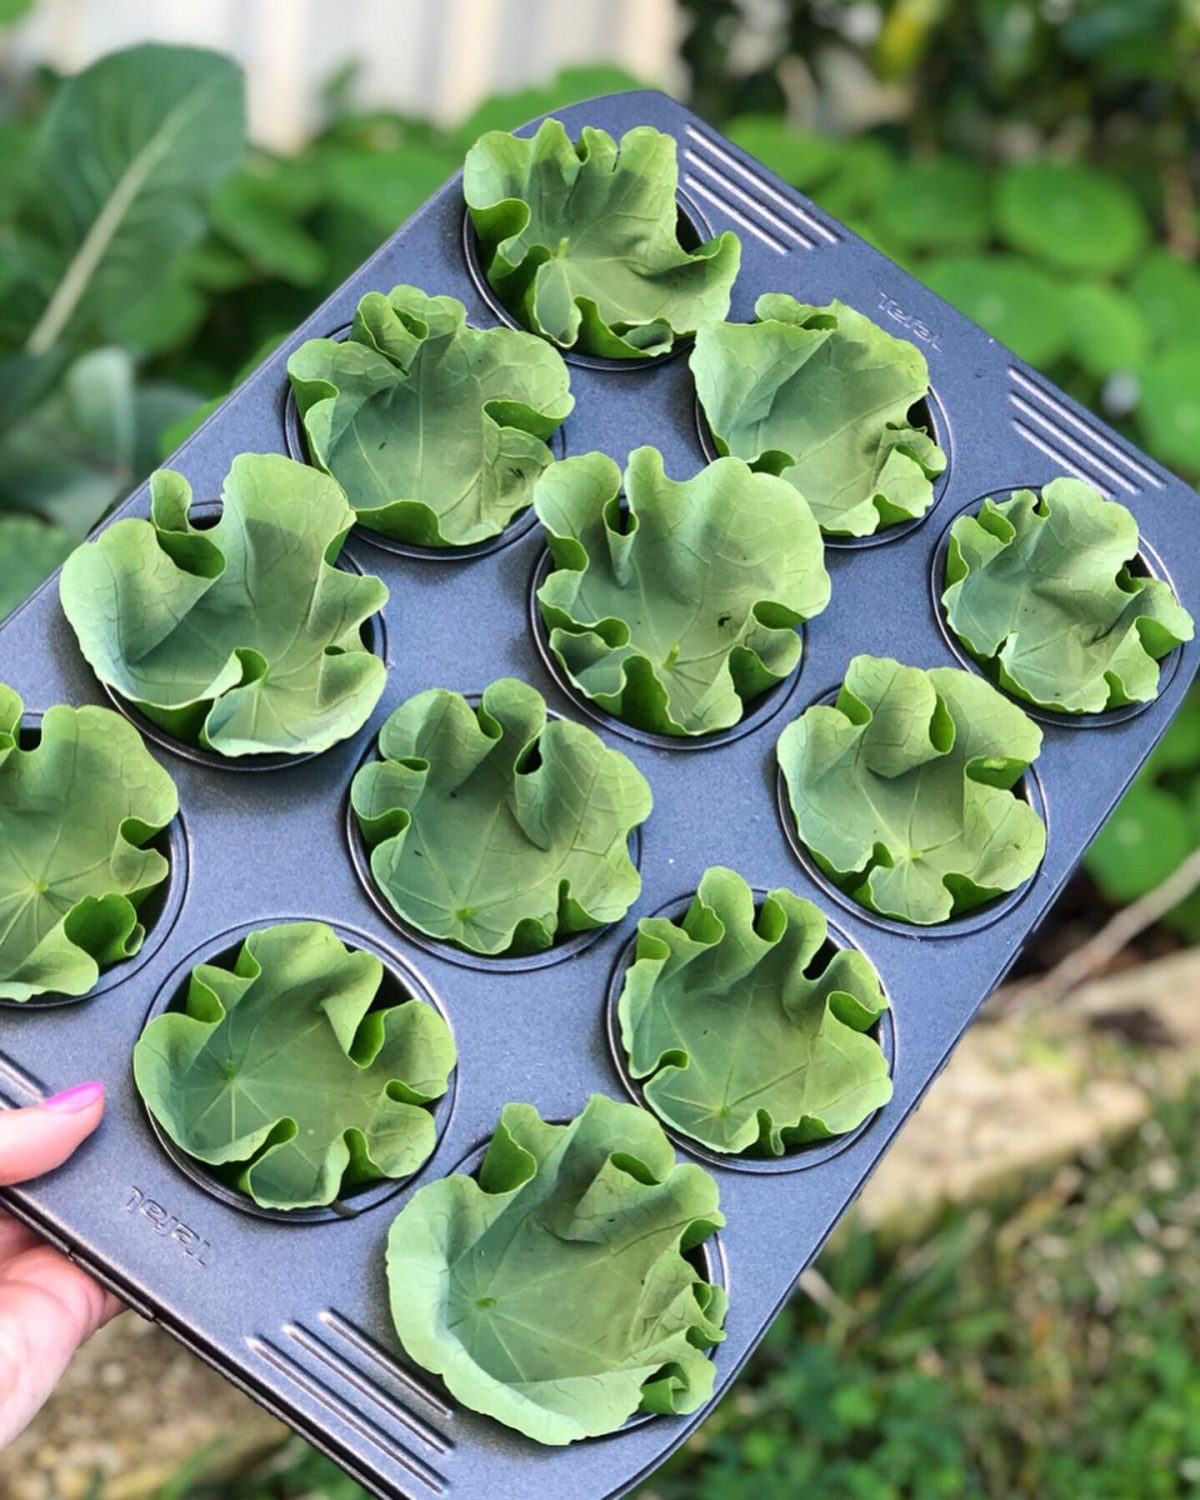
Nasturtium
While nasturtiums are great companion plants, they self-seed aggressively and can quickly take over garden beds. In warm climates, they may become invasive.
To keep them in check, grow nasturtiums in pots or confined spaces.
Where & How to Plant Instead:
1. Large Pots & Containers 🪴
Great for invasive trees like figs, bamboo, or mulberries.
Controls root spread and makes maintenance easier.
Use at least a 50L (13-gallon) pot with good drainage.
2. Raised Garden Beds 🌱
Ideal for shallow-rooted plants that need better soil structure.
Prevents aggressive roots from spreading into pathways or damaging pipes.
Use deep beds (40cm/16” or more) for trees like bananas or certain berry bushes.
3. Root Barrier Systems 🚧
Works well for trees with aggressive or spreading roots (e.g., willows, mulberries).
Install a thick plastic or metal barrier at least 60cm (24”) deep around the root zone.
4. Espalier Against a Fence or Trellis 🌿
Perfect for space-saving and controlling growth (e.g., citrus, apples, pears).
Improves air circulation and prevents disease.
Train branches horizontally along wires or a fence.
5. Food Forest or Dedicated Zone 🌳
Some trees, like guavas or loquats, spread but work well in food forests.
Plant in designated areas where spreading isn’t an issue.
Use companion planting to balance growth and improve soil health.
6. Grow Bags or Air-Pruning Pots 🛍️
Good for trees like figs or pomegranates that do well in restricted root spaces.
Promotes healthy root structure and prevents circling roots.
Use 40L+ fabric pots for long-term growth.
Planting in the ground
While these plants can all be great additions to your garden, planting them directly in the ground can lead to maintenance headaches and invasive growth. By growing them in containers or designated areas, you can still enjoy their benefits without the stress of keeping them under control.
Have you had trouble with any of these plants? Leave a comment below and share your experience! Don’t forget to subscribe to my YouTube channelfor more gardening tips. 🌱
Links included in this description might be affiliate links. If you purchase a product or service with the links that I provide I may receive a small commission. There is no additional charge to you! Thank you for supporting my blog so that I can continue to provide you with free content.
Gardening in sandy soil can be a challenge, especially in hot, dry climates. Sandy soil drains quickly, lacks nutrients, and struggles to retain moisture. However, by choosing the right plants, you can naturally improve soil health while also growing food. In this post, I’ll share five of the best plants to grow for mulch and improve sandy soil, all of which are fast-growing, drought-tolerant, and multi-functional. These plants help build organic matter, retain moisture, and create a thriving ecosystem in your garden.
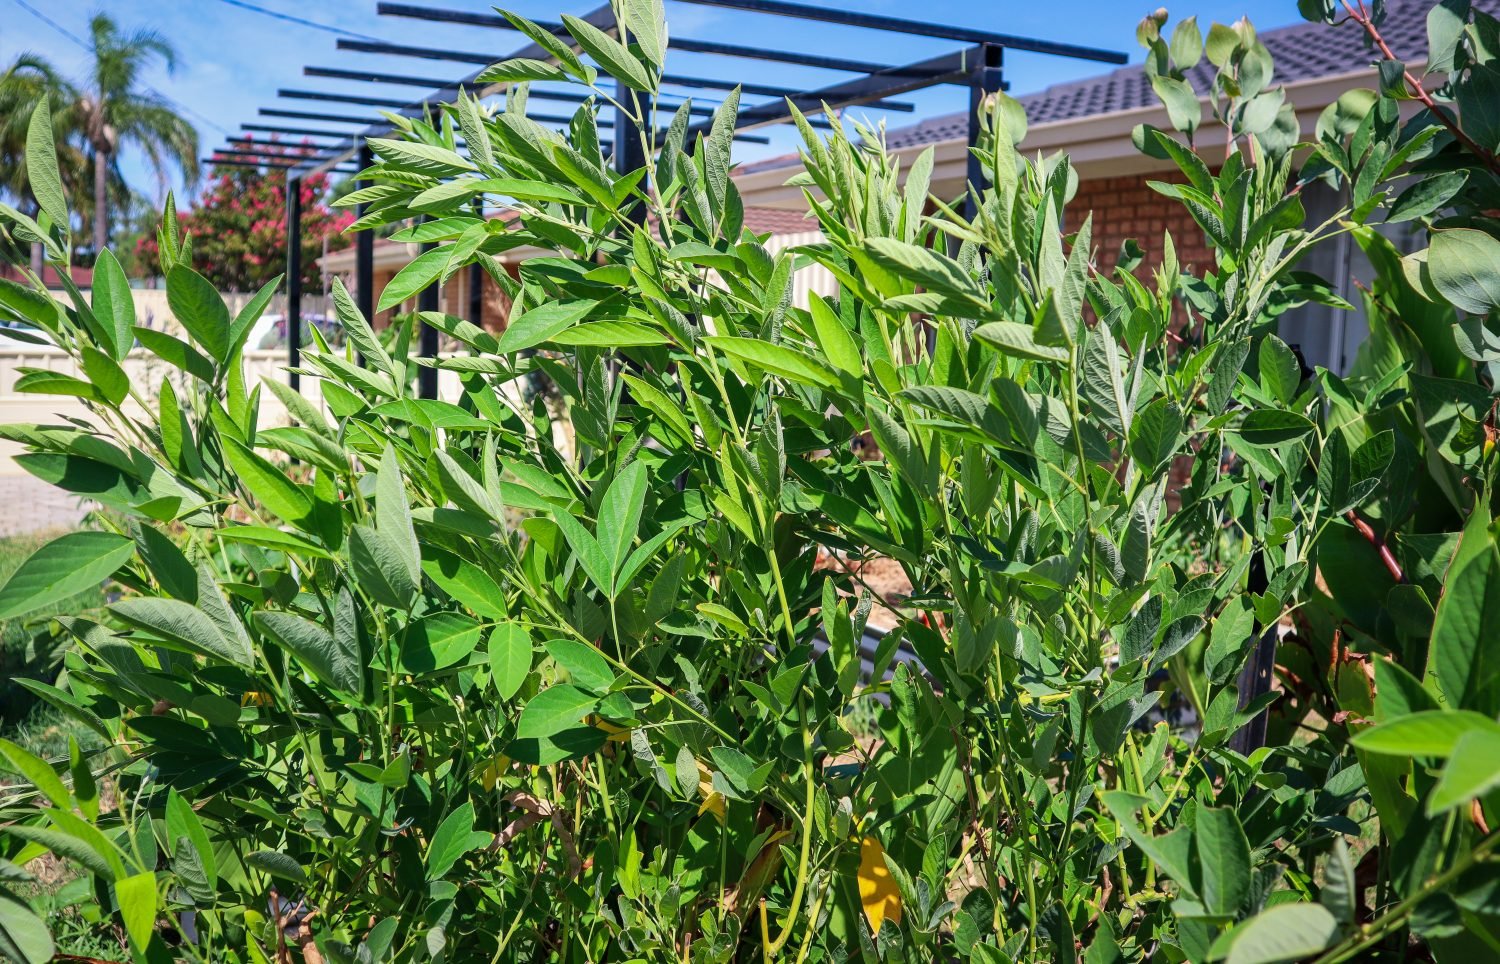
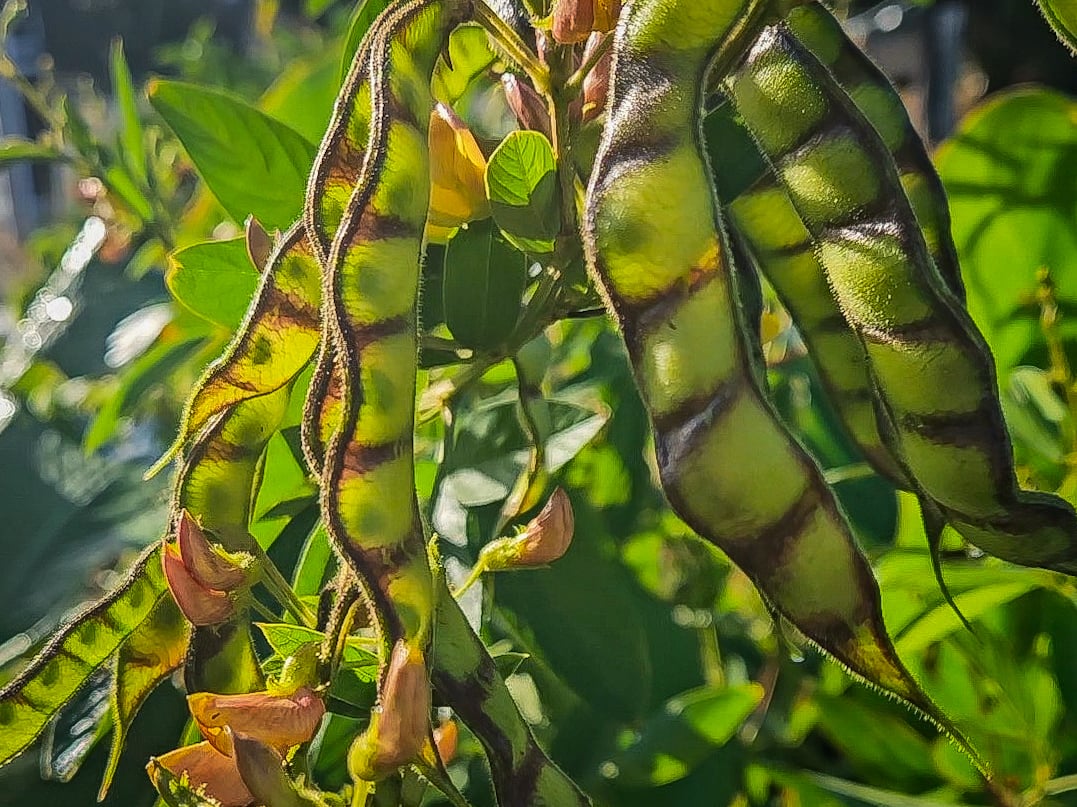
Pigeon pea is a nitrogen-fixing shrub that grows quickly and thrives in poor soil conditions. This makes it an excellent pioneer plant for mulching to improve sandy soil and support other plants in your garden.
Benefits of Pigeon Pea:
Fixes nitrogen, enriching the soil naturally
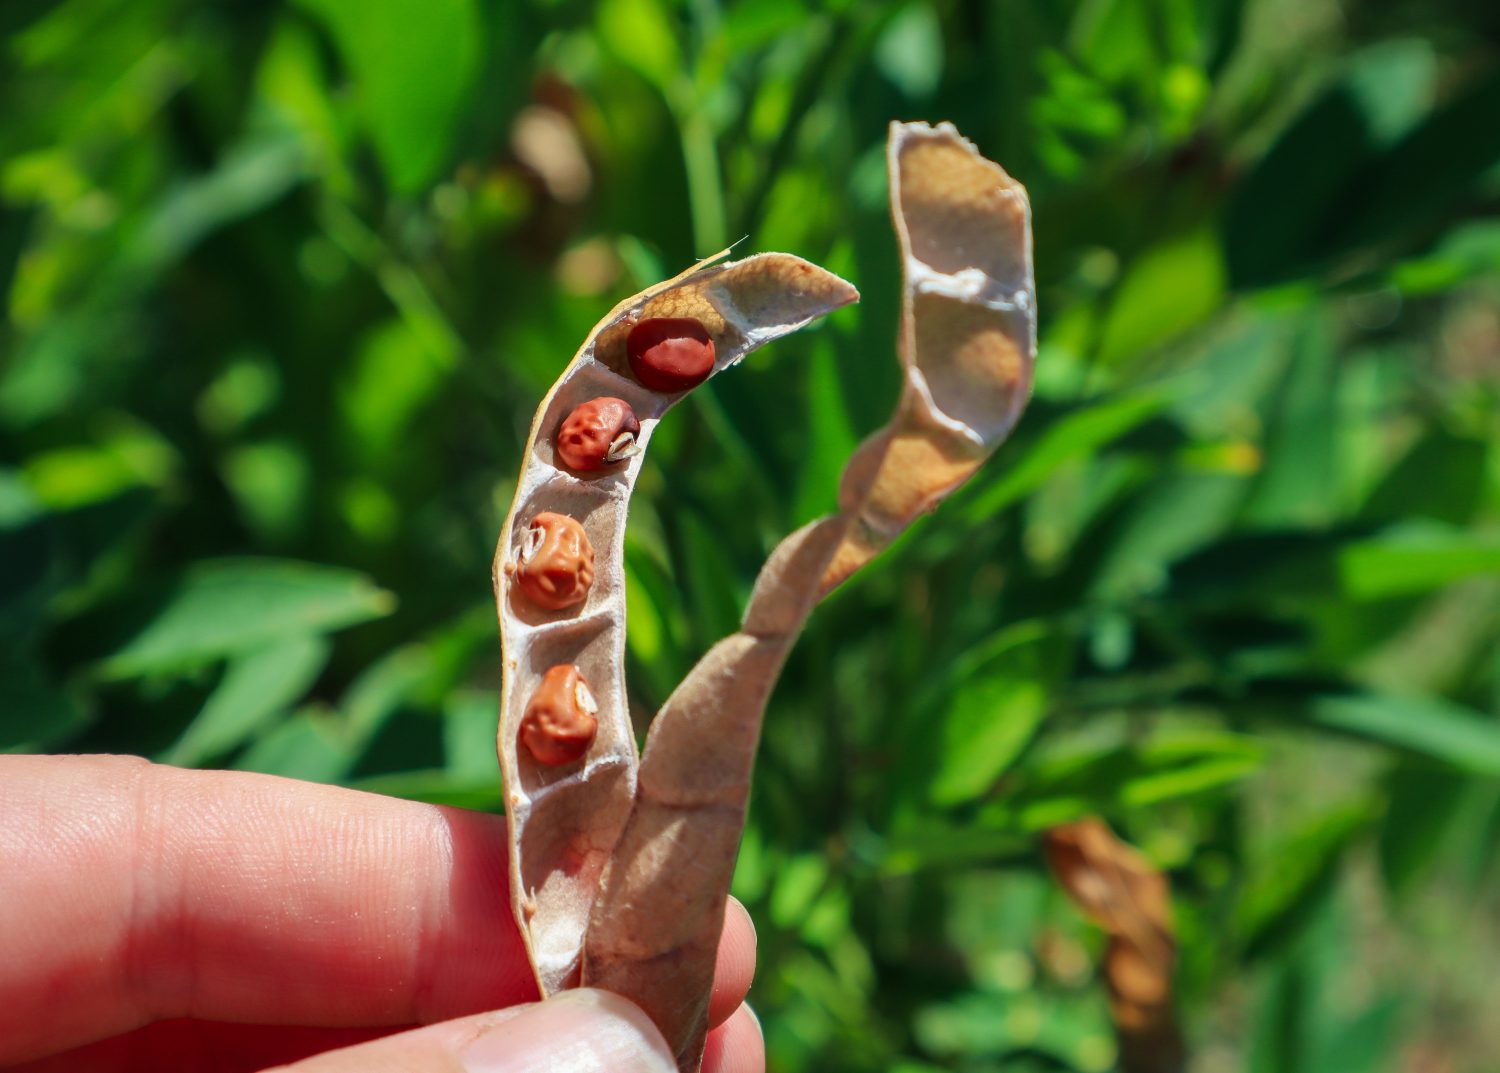
Produces edible, protein-rich peas
Attracts pollinators and beneficial insects
Provides dappled shade for smaller plants
Offers abundant biomass for mulch and soil improvement
Works as a windbreak and shelter for small birds and insects
Pigeon pea is a short-lived perennial (4-5 years) and can be used to establish a garden while building soil fertility.
Feijoa, also known as pineapple guava, is a hardy shrub that thrives in drought-prone and sandy soil conditions.
Benefits of Feijoa:
Tolerates drought and poor soil
Produces delicious, fragrant fruit
Provides dense foliage for wind protection
Low-maintenance and easy to grow
Can be used as a hedging plant to protect other crops
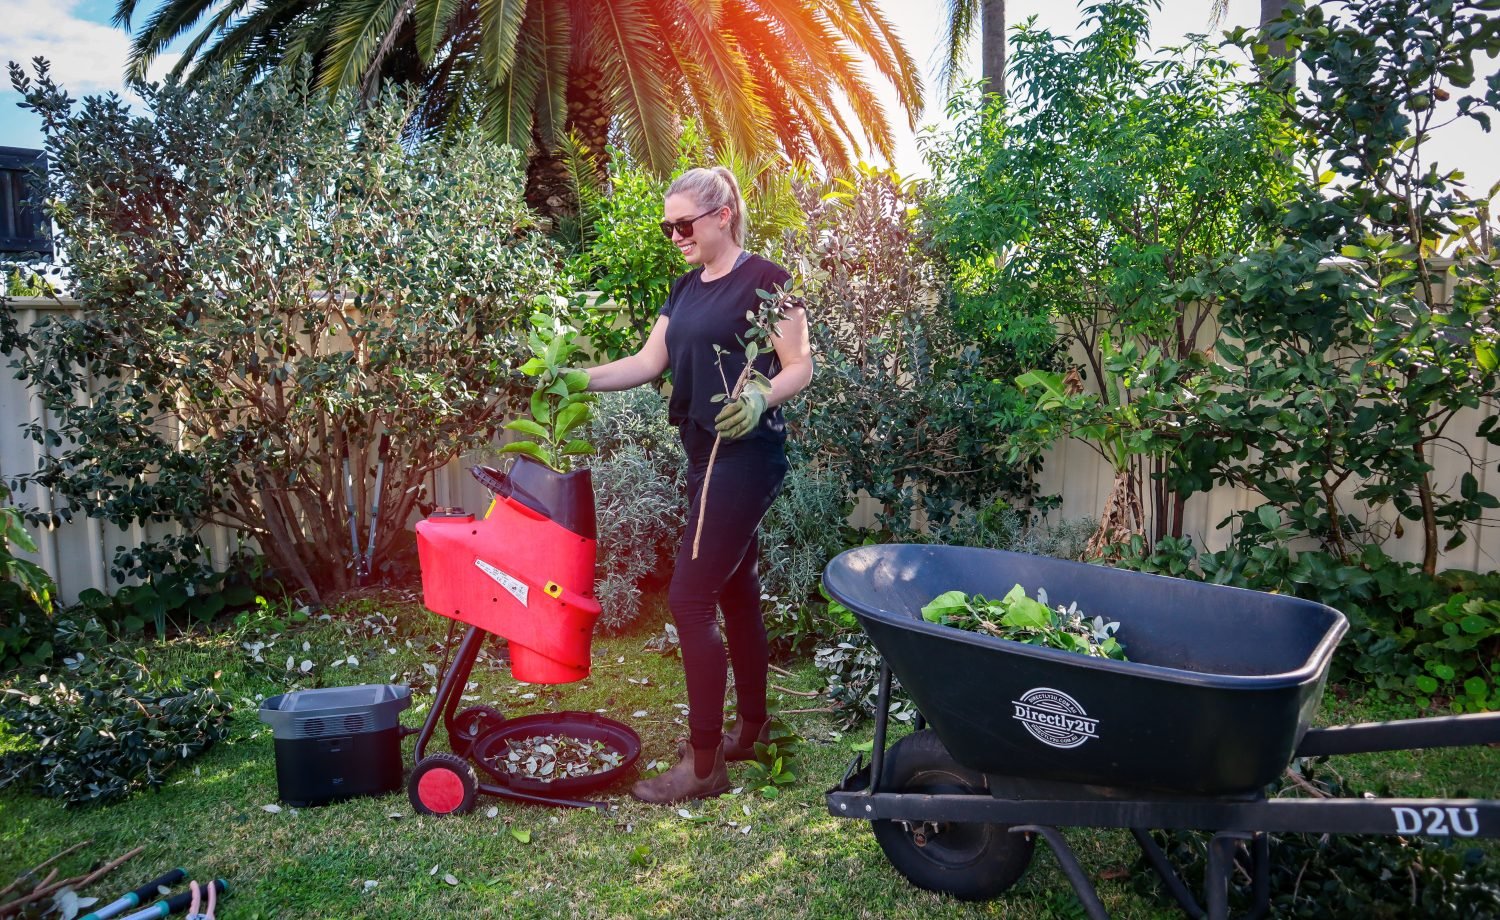
Feijoa is an excellent addition to sandy-soil gardens, offering both food and improved soil structure. They grow so much each year, which provides a consistent supply of green material to mulch. This is currently my top producer for mulch in the garden, and I use a mini mulcher with the Ecoflowbattery pack to give me cordless solar power anywhere in the garden.
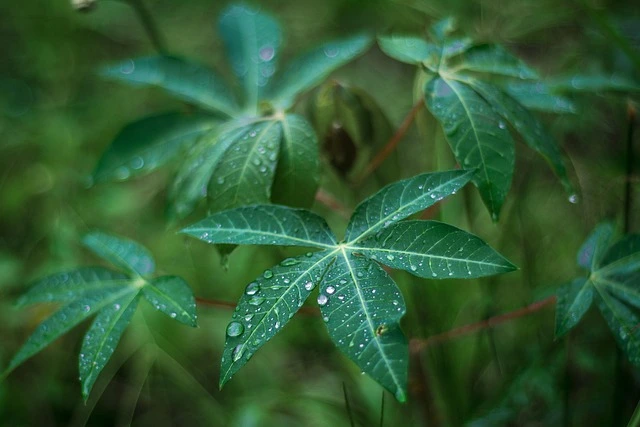
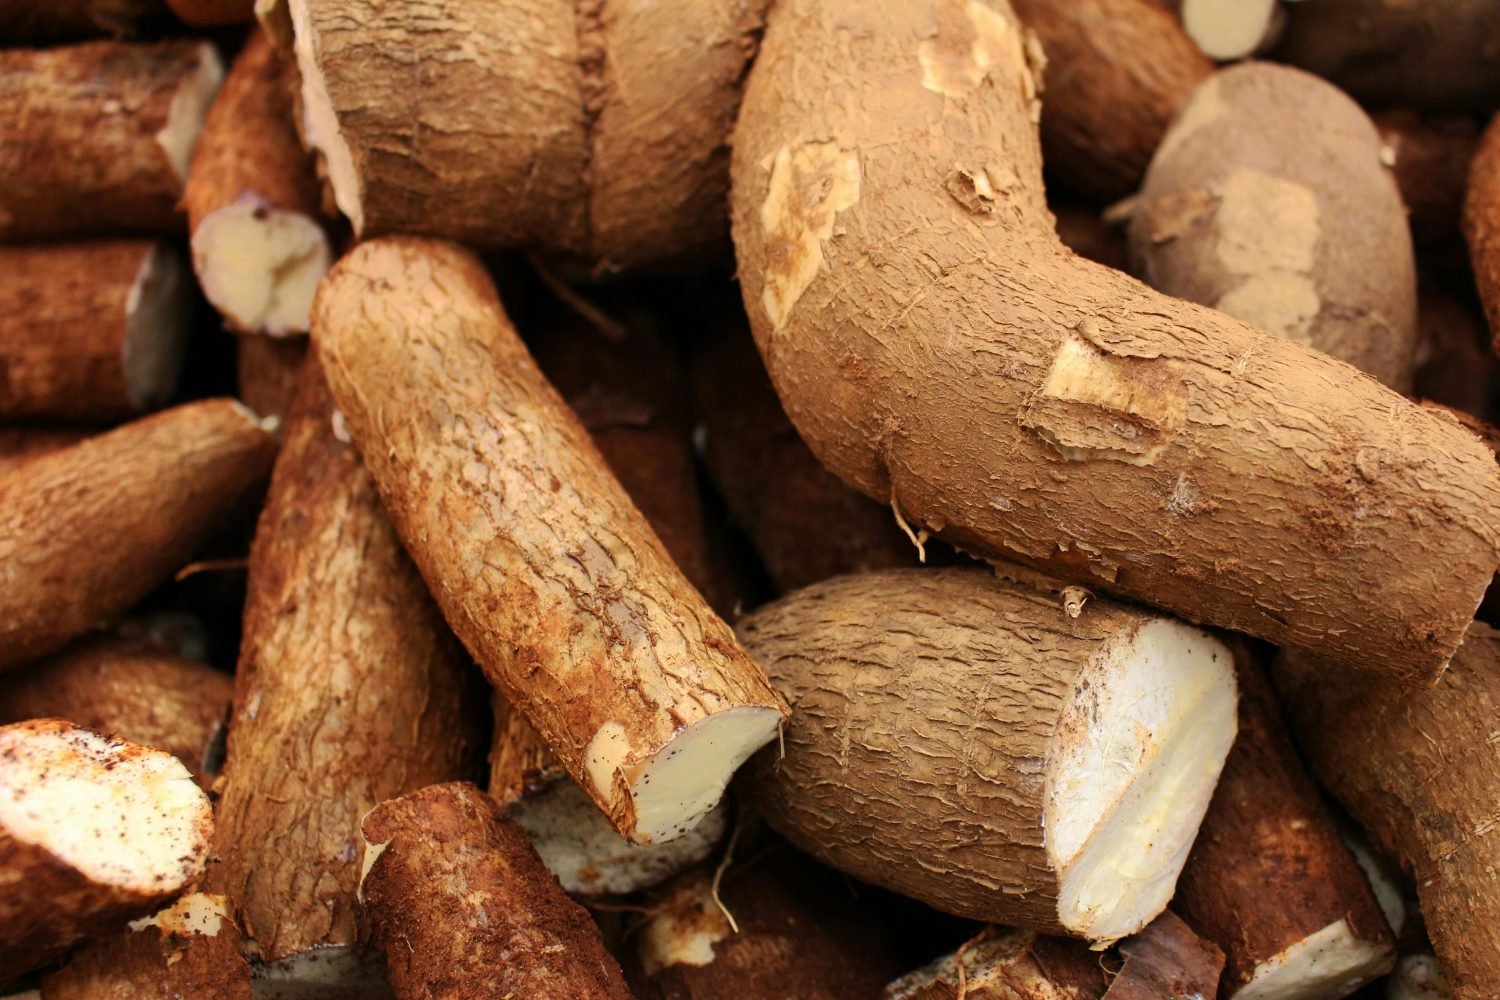
Cassava (Manihot esculenta)
Cassava is a tough, resilient root crop that thrives in hot, dry climates and nutrient-poor soil.
Benefits of Cassava:
Grows well in sandy, well-draining soil
Produces large, starchy tubers that can be boiled, fried, or made into flour
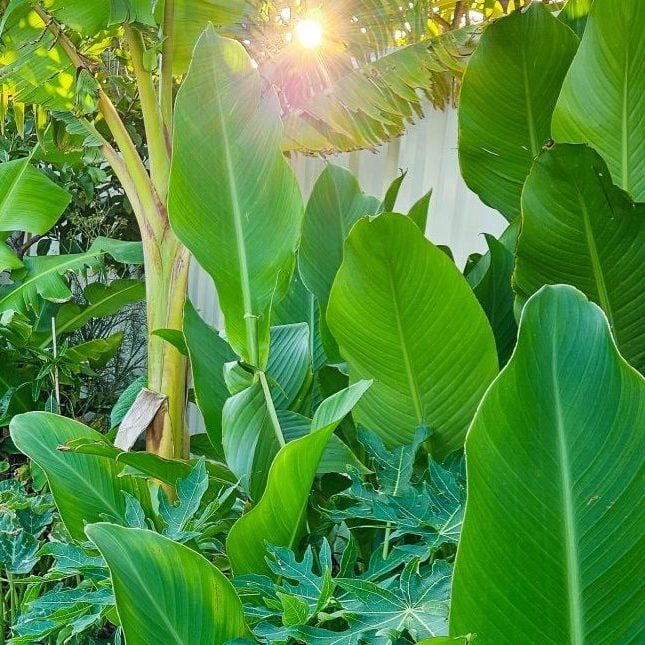
Fast-growing, reaching 2-3m tall in one season
Drought-tolerant once established
Leaves are edible when cooked
Chop-and-drop plant for mulch and soil improvement
Helps prevent soil erosion with its strong root system
Cassava is an excellent survival crop that helps build soil health and provides a reliable food source.
Mulching for the win!
If you’re gardening in sandy soil, these five plants to grow for mulch will help improve organic matter, retain moisture, and build long-term soil fertility. By growing multi-functional, fast-growing plants, you can create a thriving, resilient garden—even in harsh conditions.
Don’t forget to like and subscribe for more gardening tips! 🌱
Links included in this description might be affiliate links. If you purchase a product or service with the links that I provide I may receive a small commission. There is no additional charge to you! Thank you for supporting my blog so that I can continue to provide you with free content.
Are you growing any of these plants? Let me know in the comments! And if you found this helpful, share it with fellow gardeners.
Wildlife and beneficial insects are key to creating a sustainable self-sufficient garden. They help form part of a balanced ecosystem and creating a small wildlife pond in the garden is an incredible way to attract them. Wildlife ponds can be a transformative addition to any garden or outdoor space, offering many amazing benefits including beauty, tranquility, and increased pollination. Whether you have a sprawling backyard or a compact urban garden, a small DIY wildlife pond has the potential to create a thriving ecosystem, attract beneficial insects, and help your gardens grow an abundance of food.
Today I’m going to share the process of creating my own DIY wildlife pond including choosing a location, pond plants, and why I have chosen native Australian fish for the pond.
One of the key advantages of having a wildlife pond is the ability to attract beneficial insects. Many of these insects, such as ladybugs, lacewings, and hoverflies, are natural predators of garden pests. By providing them with a water source and a suitable habitat, you can encourage their presence and create a natural pest control system within your garden. No need for harmful chemical pesticides making your garden healthy, thriving, and sustainable.
Click to WATCH the transformation or continue reading below
Planning Your Wildlife Pond
1. Choose a location for your wildlife pond
The first step in creating your small wildlife pond is to find suitable location options. Look for an area that is relatively level and away from large trees or shrubs whose roots may interfere with excavation or cause water quality issues. Consider the overall layout of your garden and how the pond will fit into the existing landscape. Keep in mind that a wildlife pond can range in size from a small, shallow pond to a larger, more expansive water feature, so choose a location that suits the space you have available.
Important things to consider when choosing the location for your wildlife pond:
Sunlight – most pond plants will need 6-7 hours of sunlight per day. This is more important in spring and summer than in winter as many pond plants will slow or die down over winter anyway.
Shade – Shade is also important, especially during the hottest part of the day. Shade will help keep the pond cool, especially in summer and reduce the algae. Adding plants will help shade out the pond.
Water source – Having a water source or hose available nearby is important especially in summer if the pond water gets low or too hot.
Safety and access – Pets or young children – depending on the size of your pond you will want to consider access if you have young children or pets (my water-loving dog would jump in immediately!). It would be worth checking out your local council’s requirements for ponds.
Close proximity to gardens – If you are wanting to attract wildlife to your gardens to help with pollination and pest management then it would be a good idea to have it close to your veggie patch or gardens. Existing gardens will also create wildlife corridors for safe access to and from the pond.
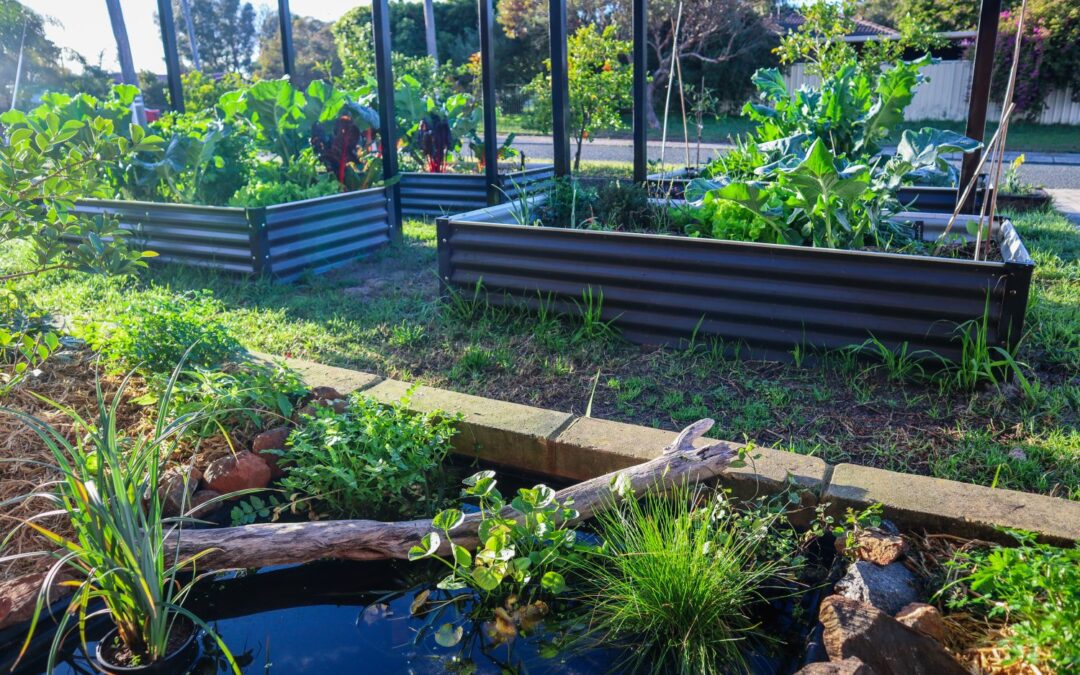
My pond location:
Front garden away from my water-loving dog
In an existing garden bed for a wildlife corridor
Outside my office window to enjoy the aesthetics and tranquility
The size and design of your wildlife pond could be determined by the space available or the structure you choose to use. Whether that is a prefabricated pond, pot or barrel pond, or full DIY pond with a pond liner.
I sourced a preformed poly pond that was roughly 1m x1m and 30cm deep. There is a huge range of preformed ponds available to fit a range of spaces. Baths, tubs, and tanks also make great DIY pond structures.
3. Filling and Balancing the Pond
Having a water source nearby is important to be able to top up or cool the pool down during the warmer months. Rainwater would be ideal to fill your pond but if like me, you only have access to mains or system water you will need to do a few extra steps to balance and remove the chlorine.
To condition the water you can either leave it to sit and gas off for 2-3 weeks or you can speed up the process by running an aeration pond pump in the water. The other way to condition the water is to purchase some water conditioning treatment. This is what I did and I also waited two weeks before adding in fish just to be sure and to allow natural bacteria to build up. I also added “splosht” which are small dissolving sachets of good bacteria to help keep the pond clean. The ones I used are made here in Western Australia so it is native bacteria. Speak to your local pond shop to see what will work best for your pond.
4. Introducing Plants to the Pond
Selecting plants for your pond is an exciting time! Firstly, it is important to determine what types of wildlife you would most like to attract to your pond. This will help you select plants to suit and reduce some of the overwhelm.
Frogs like lily pad like leaves and grasses or reeds to hide in.
Small birds like nectar-producing flowers and dense shrubs to hide in.
Ladybugs and beneficial insects like pollen-rich flowers such as herb flowers
Lizards like low-lying dense ground covers to easily hide in
Native wildlife often are attracted to native plants and flowers
Another thing to consider is whether you would like them to all be edible or a mix of both. I chose to plant edibles, natives, and herbs. A wide range of leaf types and plant heights/structures will help encourage a wider array of wildlife to your pond.
There are 4 main types of plants you may like to select for your pond:
Full Aquatic Plants: These grow completely submerged underwater such as Water lilies, and Vallis grass. They are great for deeper parts of the pond and can help oxygenate the water.
Filtration plants: These help keep the water clean and act as natural filtration. These are plants such as: Lebanese Cress, Water Mints, Gotu Kola, Pennywort, Watercress, Kang Kong. Most of these plants like to be partially submerged. I have mine propped up on bricks with 1 inch out of the water.
Marginal Plants: These are plants that can be planted around the edge of the pond or in shallow water. These are plants like: Fairy Lights, Blue Grass, Reeds, Bull Rush, Taro, Water Chestnuts, Mint, Queensland Arrowroot, Iris, Lebanese Cress, Watercress, Thalia, Papyrus, Society Garlic, Sweet Violet, and Moneywort.
Floating cover plants: These plants multiply quickly and cover the surface of the water. This can help regulate the pond temperature and shade out the pond. This can reduce algae and also offer food to many fish. Plants such as: Duckweed, Azolla, Frogbit and Hornwort.
Check out the video for a full tour of the plants I selected for this project.
5. Adding Natural Elements
Natural elements such as logs, rocks, and sticks offer surfaces for wildlife to rest on, cross over or hide under. It is important to make easy access in and out of the water. This will allow frogs, lizards, and bees the ability to get in and out. Shallow areas, ledges, ramps, and varying heights around the edge of the pond will help with this. It will also help your pond blend in and look more natural and integrated within the garden.
6. Adding Fish to the Pond
Adding fish to your pond can help with filtration and keep mosquito larvae in check. Understanding what type of wildlife you would ideally like to attract to your wildlife pond can help determine the type of fish for your pond. I am hoping to get frogs in my pond and many introduced fish such as goldfish or Koi may eat frogs’ eggs. This can be ok in a large pond with more space for frogs to hide and lay eggs. As I have a small pond and would like to encourage frogs, I have decided to go with West Australian Perch and White Cloud minnows that eat mosquito larvae but not the frogs eggs. They are also low maintenance and can handle ponds without pumps.
After purchasing the fish from the pond store, I let the bags sit in the pond water for 5 minutes to let the water in the bag adjust to the pond temperature. I then gently opened the bag and let the fish out. The Minnows dart about on the surface often but the Perch love to hide and I never see them! So that is something to consider.
7. Maintaining Your Wildlife Pond
It is important to regularly check on the pond, especially during the first year as things grow and temperatures change. Observing will allow you to see what types of wildlife are using the pond and what changes or additions you could make. Adding a small pump or water fountain will also help keep the pond cool and reduce algae. I do plan to add a solar pump and fountain eventually.
Scoop out dead leaves or excess algae
Top up water in summer if needed
Regular top-ups of “Splosht” good bacteria or similar
I decided to add solar lights to the pond as it is outside my office window and is nice to view during the evenings when I’m working late. I selected floating solar lights and also spotlights to point at feature plants. The fun thing about these lights is that I can change the colours and turn them on and off via a remote. The floating lights also offer more protection for the fish whilst the plants are established.
Just like the rest of your gardens your pond will change and develop over the seasons and the years. It will require some tweaking and editing as you go to find a good balance. There are so many amazing reasons to create a wildlife pond for your gardens.
By creating a wildlife pond, you are not only providing a habitat for a variety of natural life but also fostering diversity in your surroundings. These ponds act as sanctuaries for a wide array of wildlife, including frogs, lizards, birds, dragonflies, and beneficial insects such as bees and butterflies. These creatures play essential roles in pollination, pest control, and maintaining a balanced ecosystem.
Links included in this description might be affiliate links. If you purchase a product or service with the links that I provide I may receive a small commission. There is no additional charge to you! Thank you for supporting my blog so that I can continue to provide you with free content.
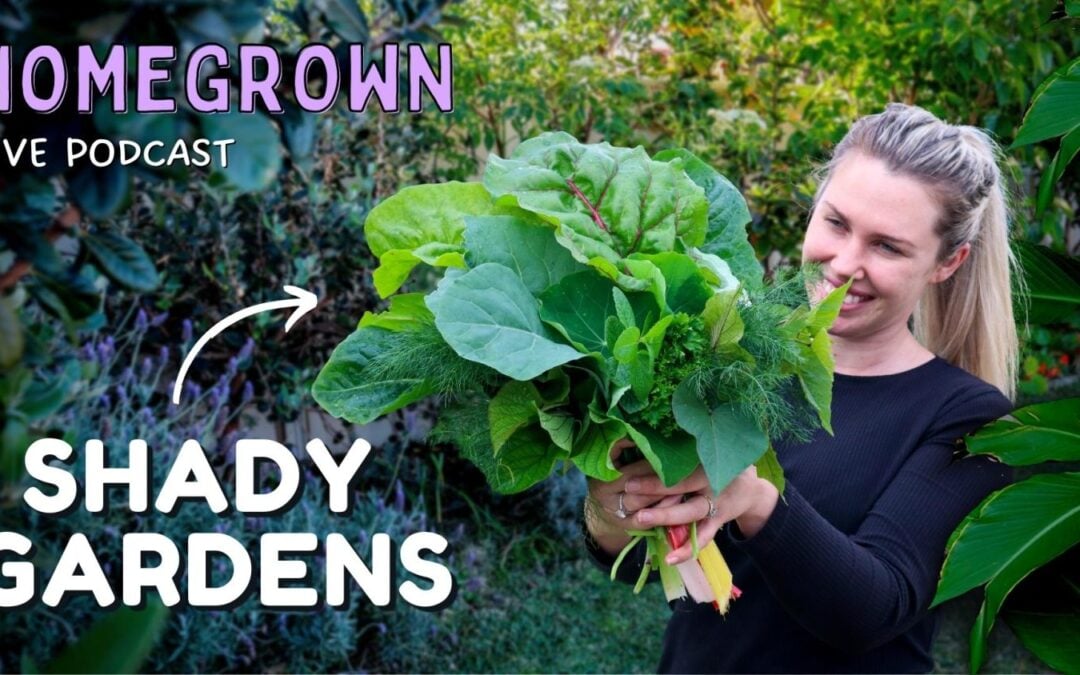
Our gardens will inevitably get shadier as mature trees start to grow. We will also get more shade in our gardens throughout the year during different seasons. In this episode of the Homegrown Podcast, we will discuss how to grow food if you have areas of shade in the garden. What to plant, how to maximise production and minimise disease.
Edible Climbing Vines help maximise growing space and double the amount of food in each garden bed or container. One thing that I think is so underrated is the ability to grow food up 👆 This list of edible climbers to grow in your garden will help you utilise vertical space and create shade and protection. These 10 edible climbing vines are perennials,which means they will produce more and more food each year without us having to replant them! There are so many incredible reasons you should be growing food vertically. Not only to maximise space but also to increase airflow to reduce rot or disease, strategic shade, or like me, to reduce some of the heat in my garden by covering my ugly fences!
Annuals vs Perennials 🌿
Annuals will allow you to still change up your garden beds each season and have the flexibility of space. Whereas perennials (which grow for longer than 2 years) will allow you to get a crop established and provide long-term protection, and produce more and more food each year.
Click to watch for bonus Planting Tips 👇
10 Perennial Edible Climbing Vines
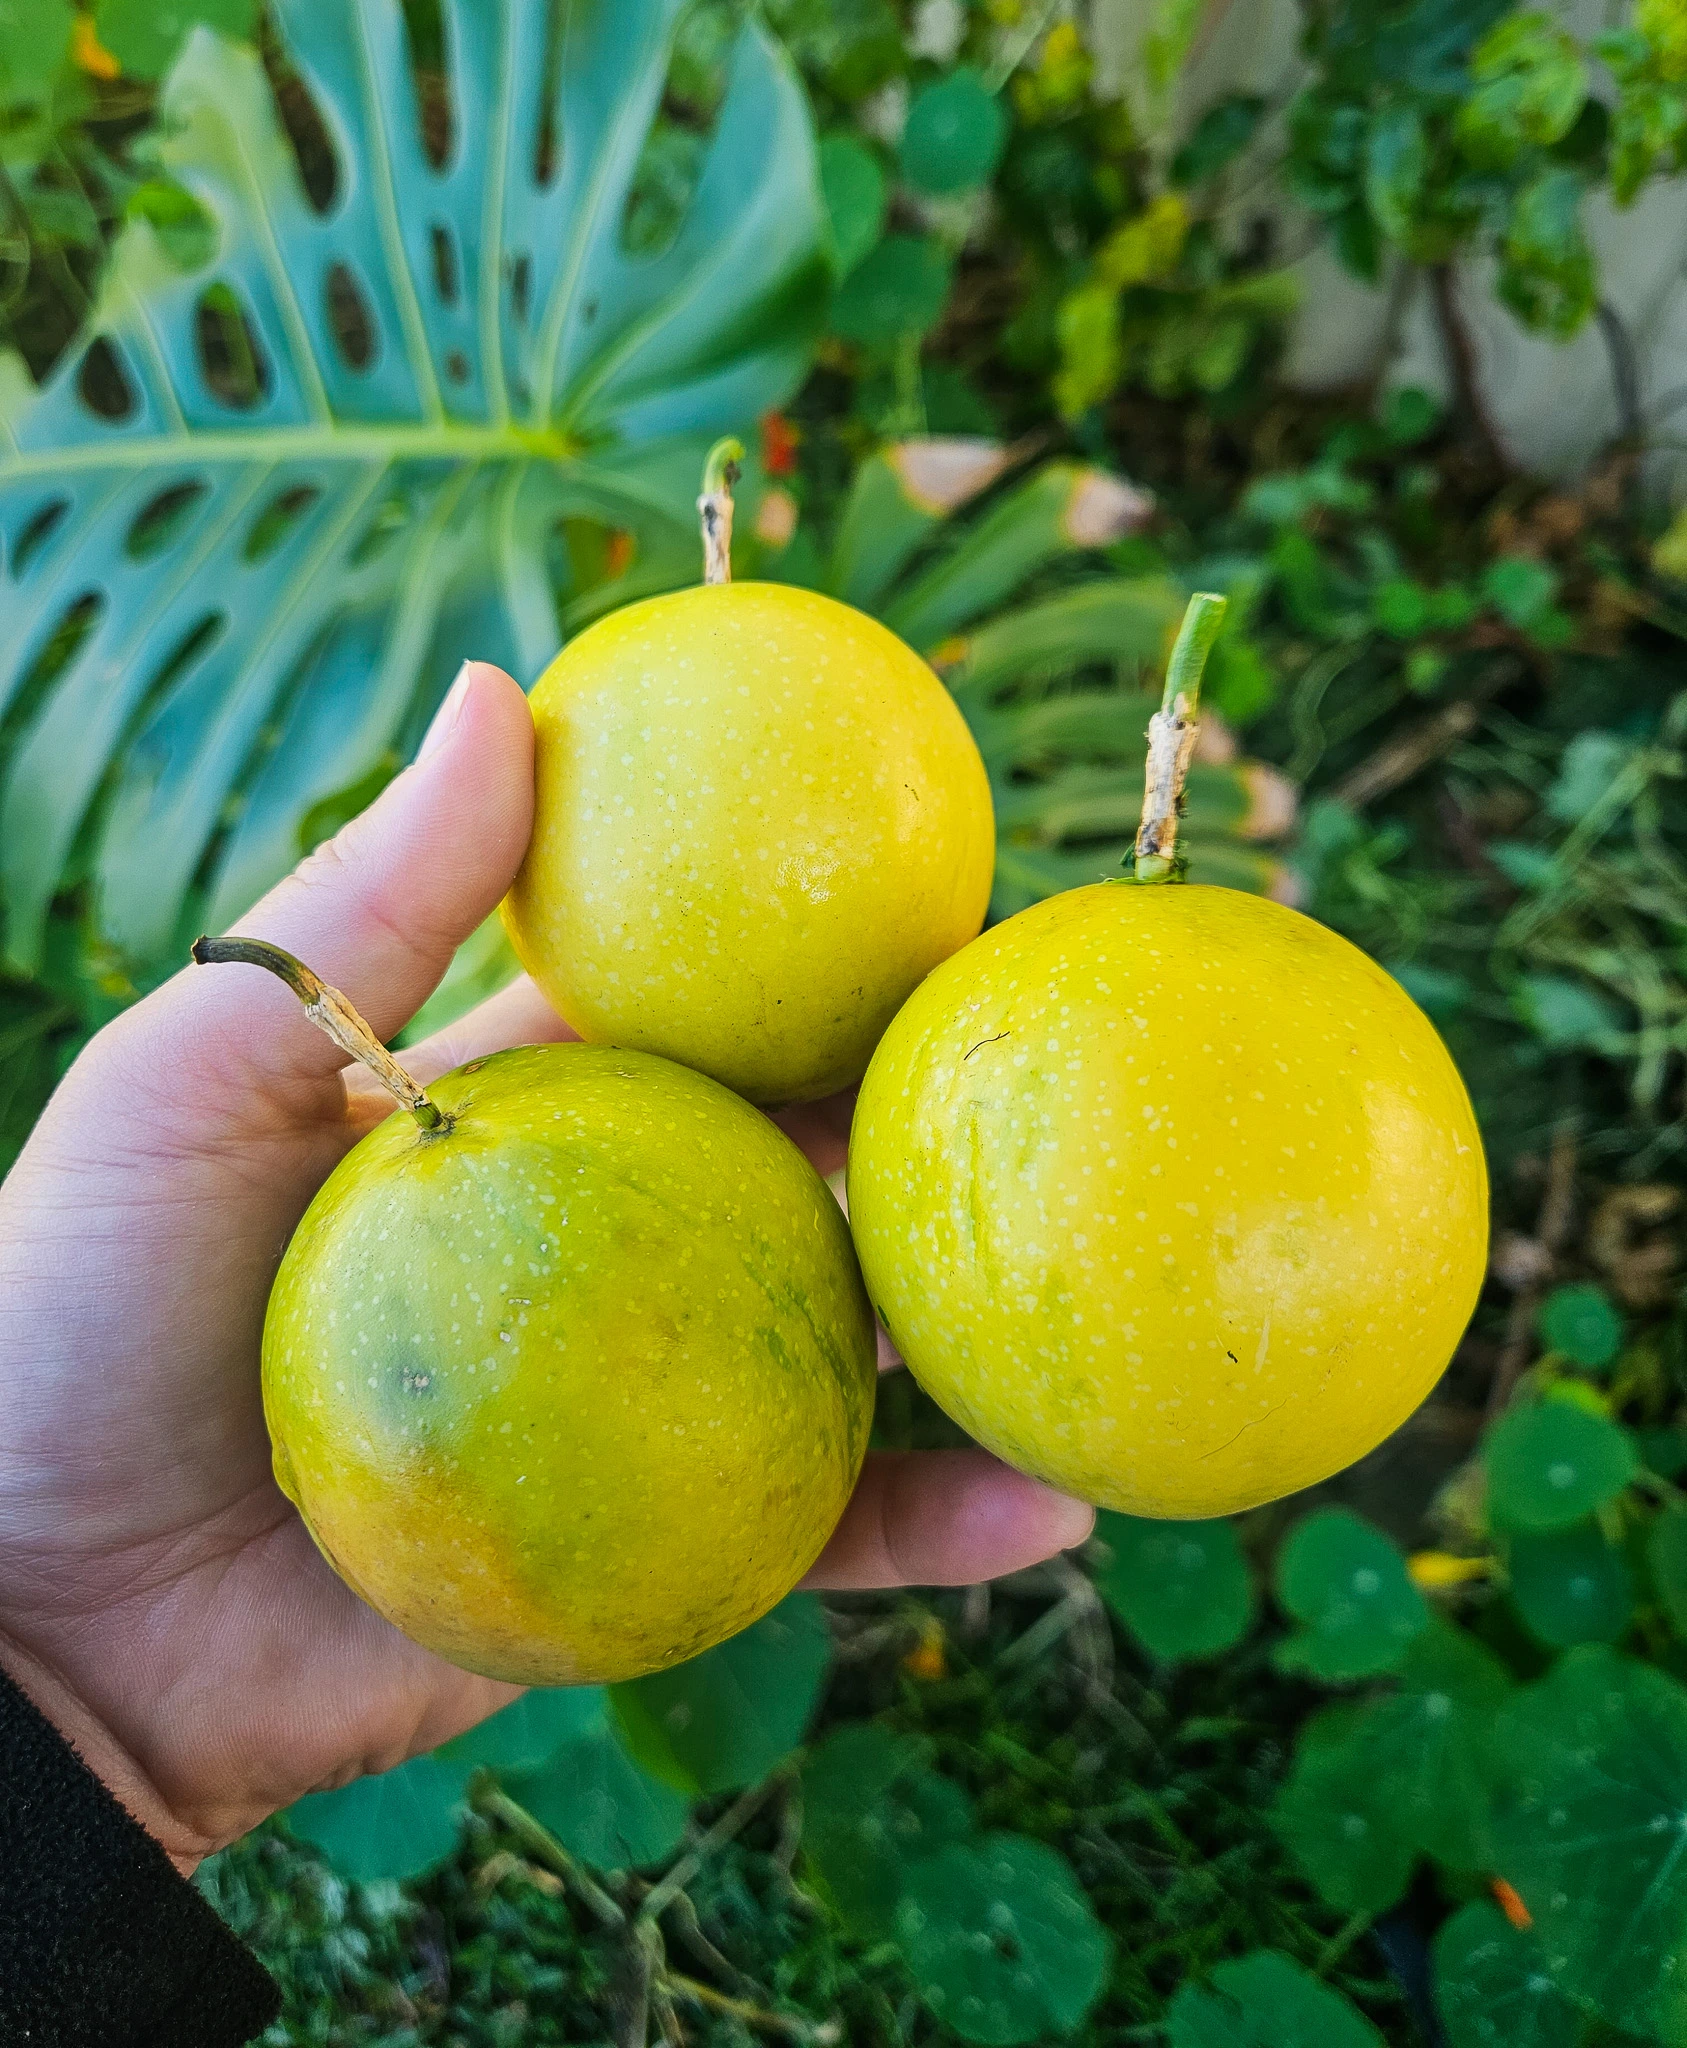
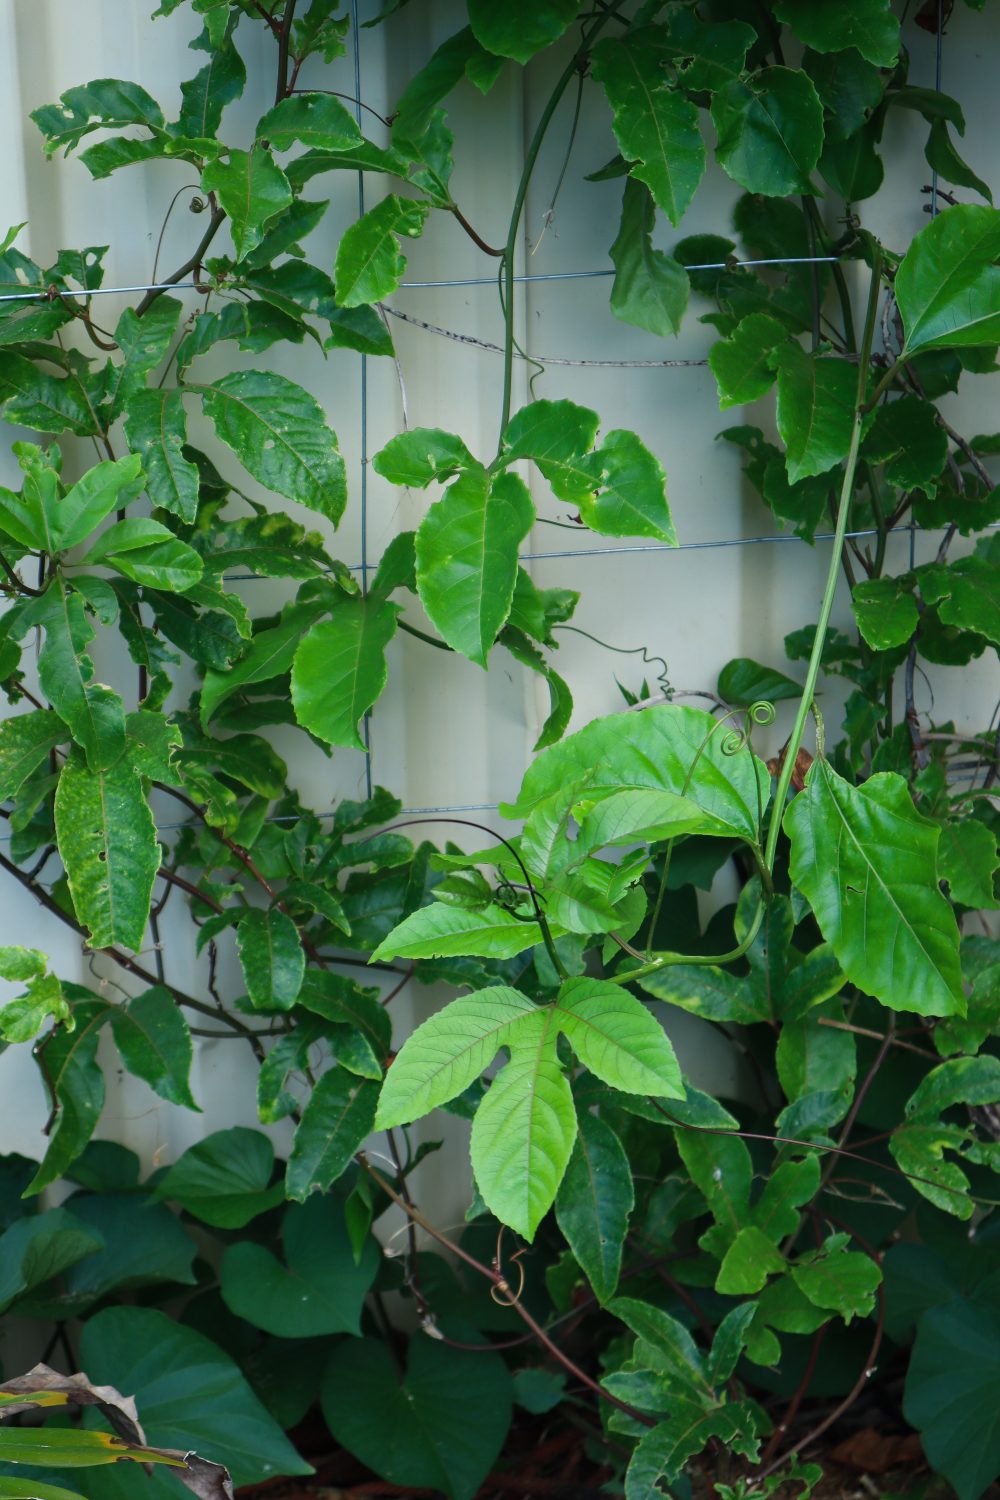
1. Passionfruit
Passionfruit is one of my favourite fruits to eat, and the main reason I am growing this edible climber in my garden. They are also evergreen, so it has leaves all year round to create shade and protection. Passionfruit have thick, lush leaves, so they work perfectly to cover fences or create screens to block out unsightly structures or areas. Watch the video above to see how to plant passionfruit from a store-bought fruit!
BONUS TIP: Purchase a passionfruit plant that is NOT grafted. Grafted passionfruit needs to be carefully maintained or the rootstock can quickly take over and become invasive with no fruit.
2. Choko /Chayote
Choko is a quick-growing, vining edible plant that can make great summer shade to protect your summer garden. They will often die back over winter but will pop up and regrow each spring. Any fruits left on the ground will also easily regrow. Choko are similar to a large zucchini or marrow and can be used as a substitute for potatoes or even apples to bulk up pie recipes.
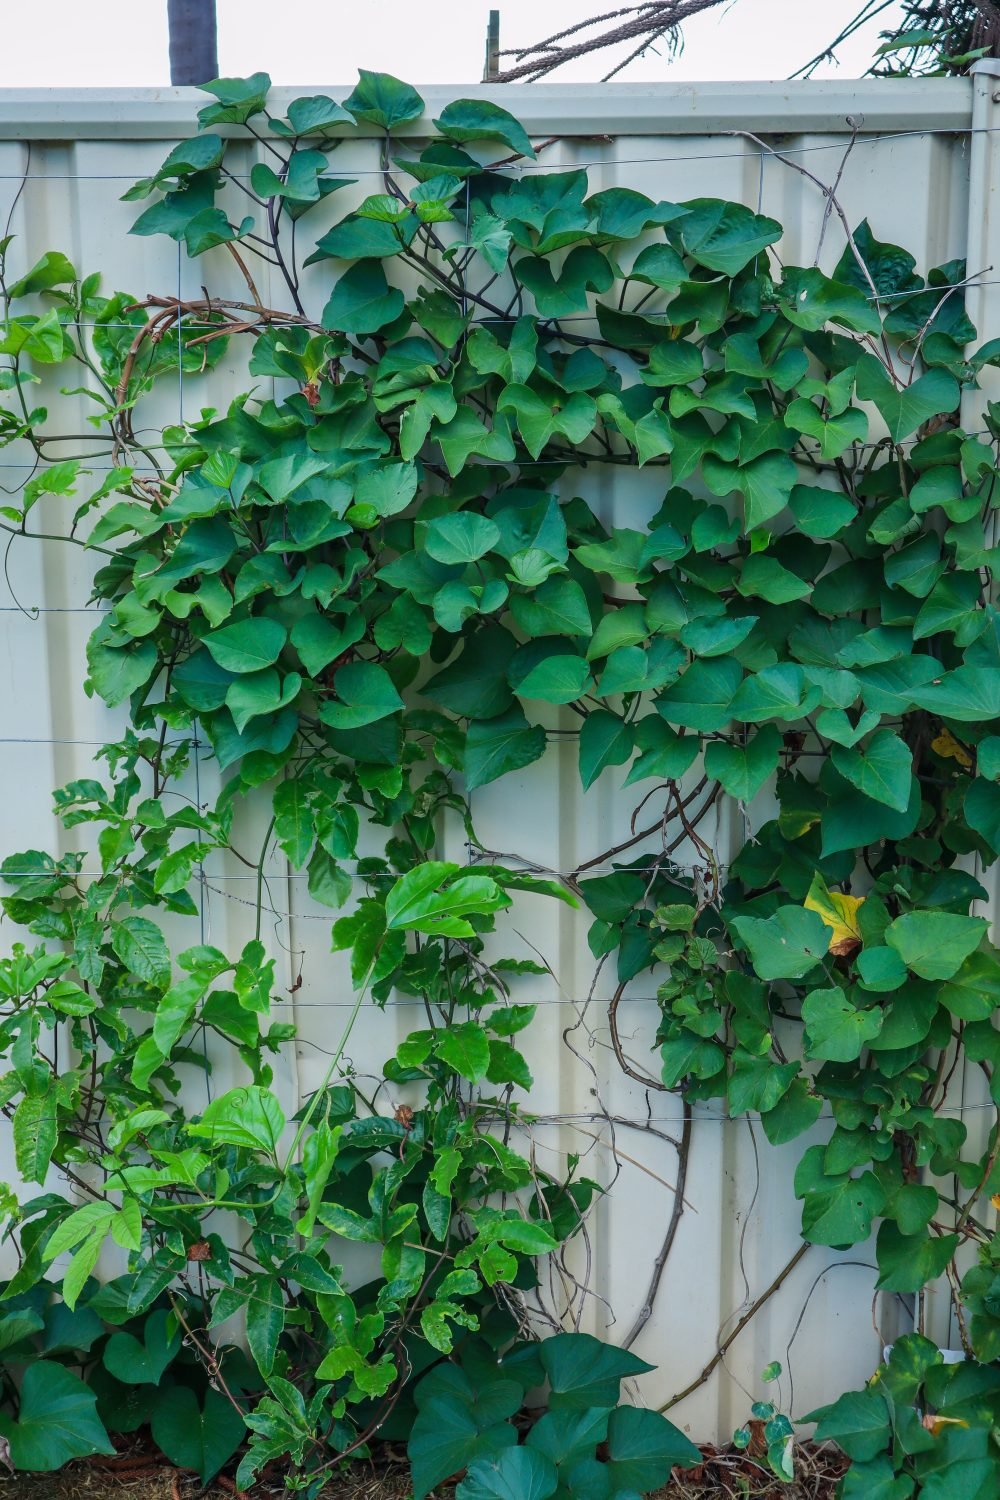
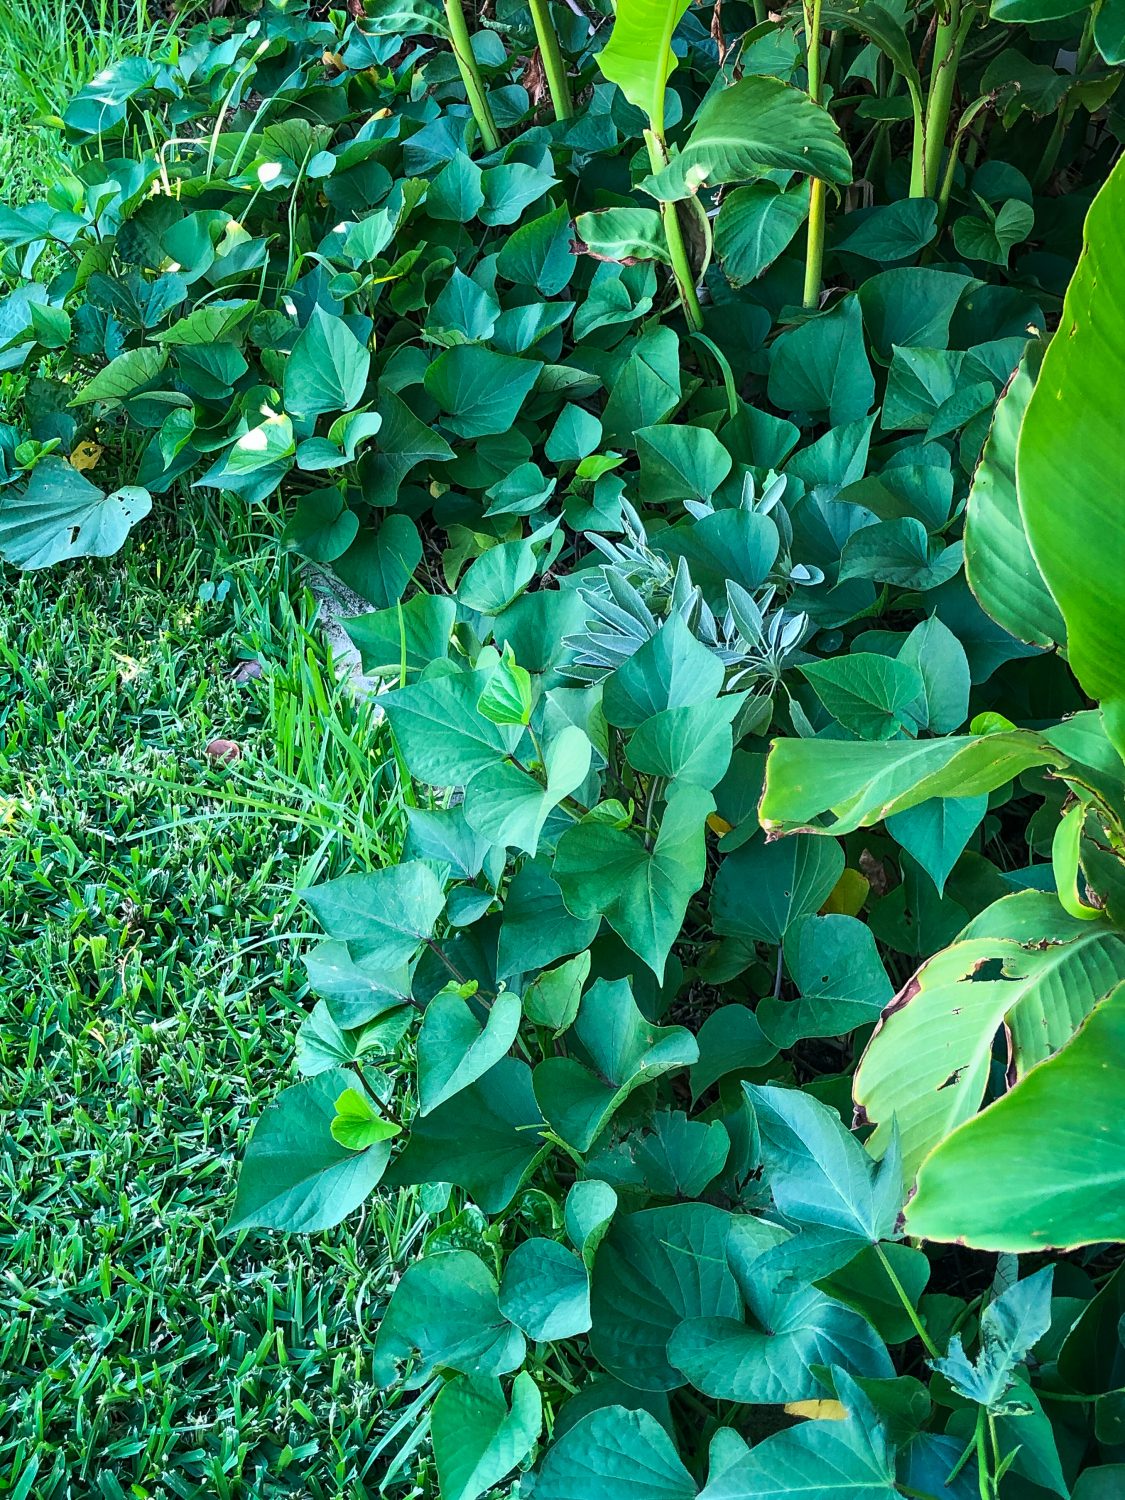
3. Sweet Potato
Growing Sweet Potatoes / Kūmara (Ipomoea batatas) in your home garden is a great step toward self-sufficiency. They are my favourite permaculture plants and are an easy crop to grow for beginner gardeners. It is important to grow plants that support and encourage other plants and beneficial insects in your garden. Creating a cohesive ecosystem that promotes the growth and success of your garden’s health and supports abundant harvests. Sweet potatoes send out runners and can easily be trained up a vertical trellis. Plus, many people do not know that the leaves of the sweet potato plant are also edible.
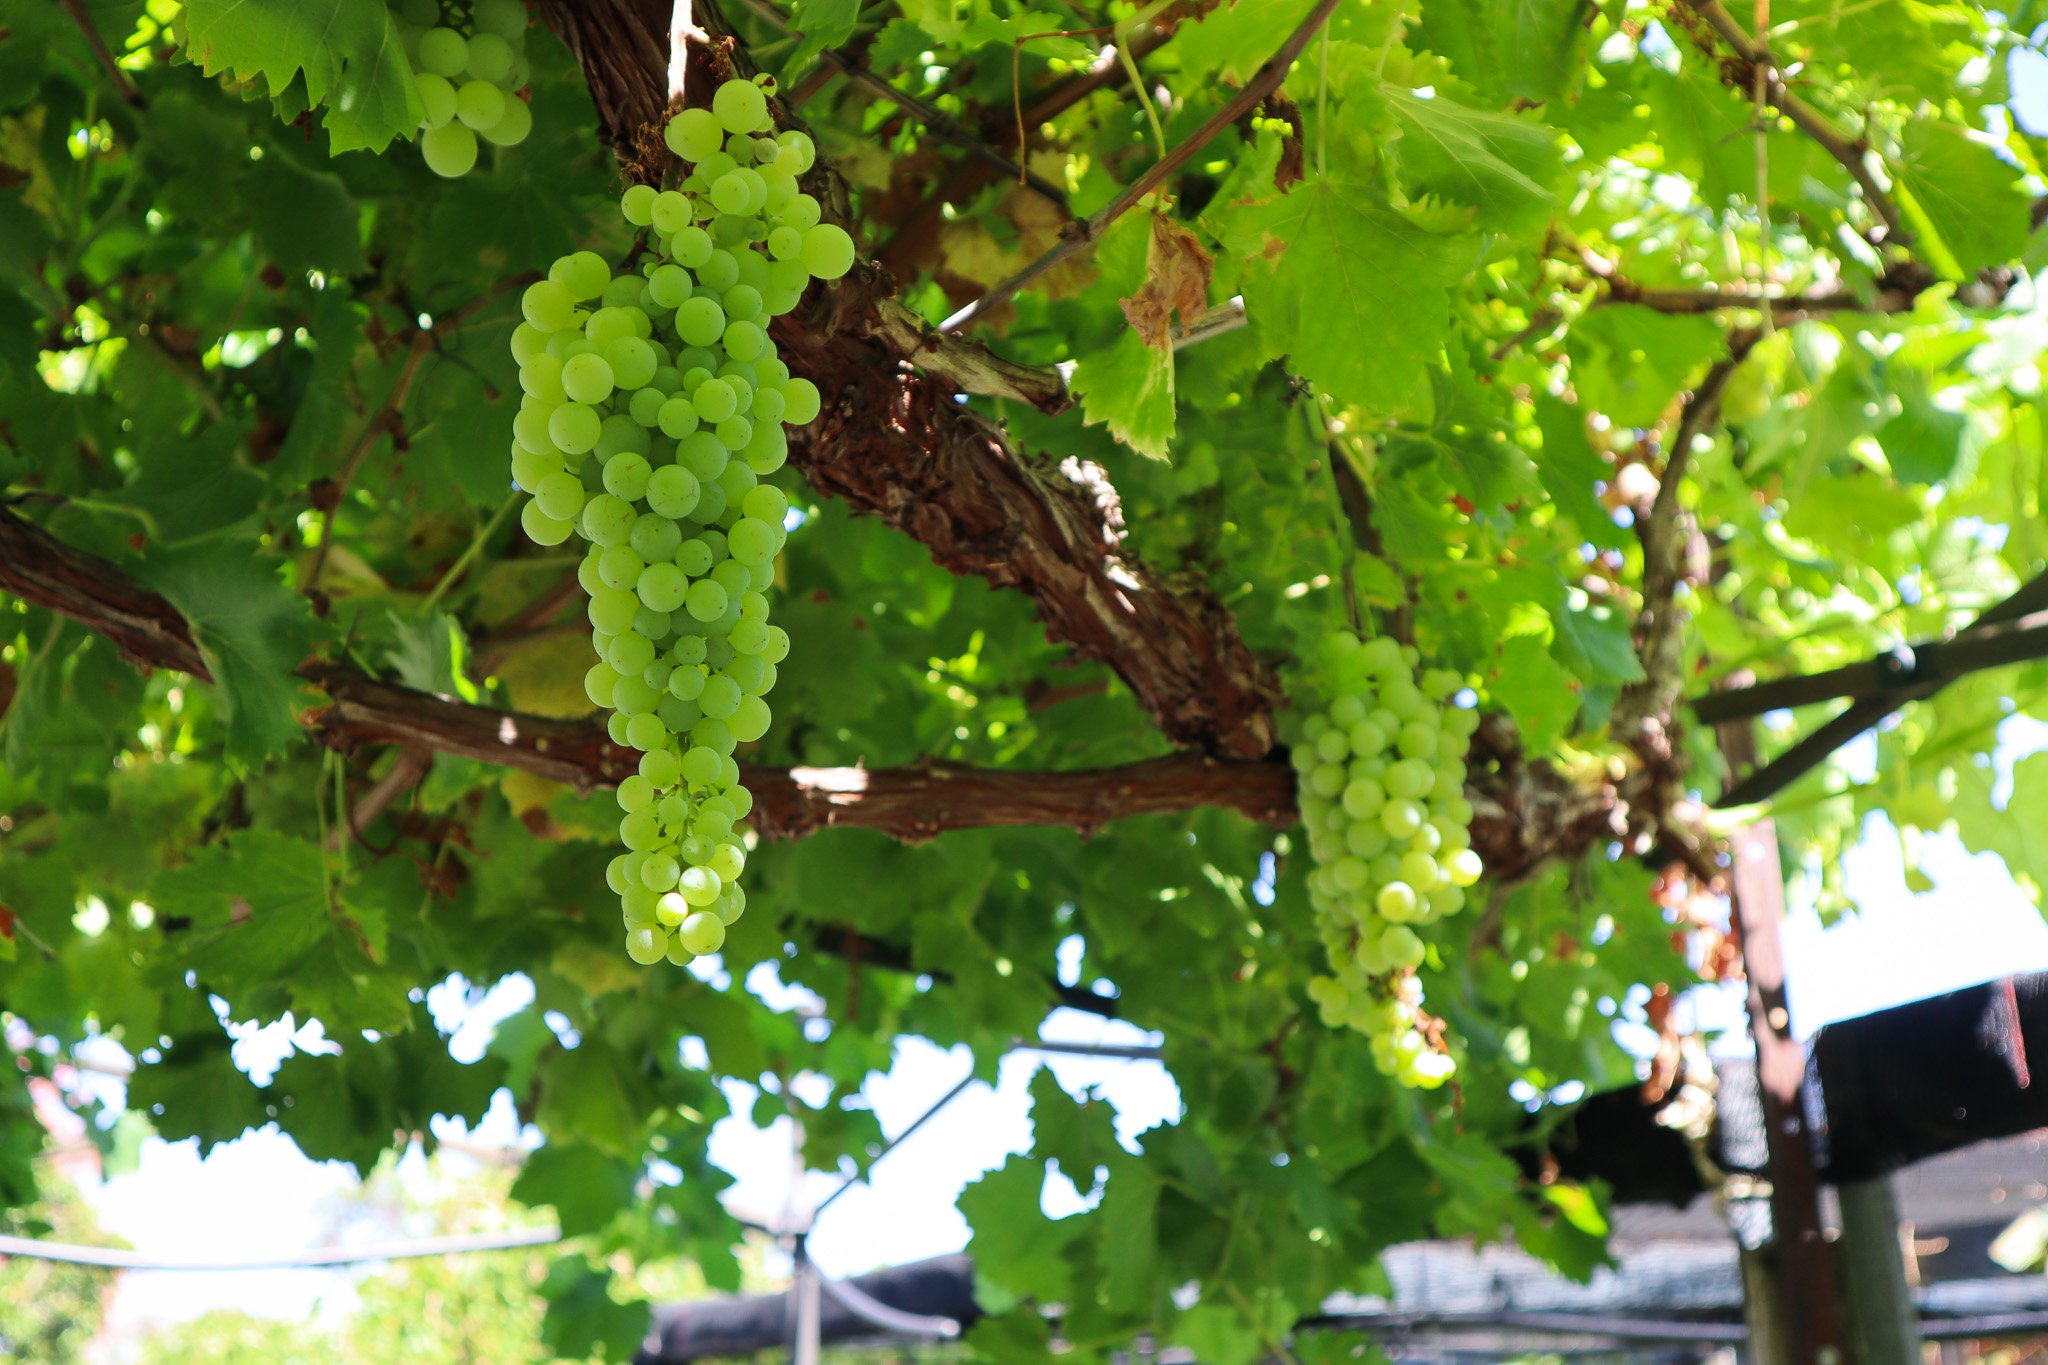
4. Grapes
The great thing about growing grapes as edible climbers is that they are deciduous. This means they lose their leaves in winter, so you can plant grapes strategically to provide shade in summer and let light through in winter!
5. Malabar Spinach
Malabar spinach is a fantastic edible climber for warm or tropical climates. It thrives in summer during warm weather when most other spinach and leafy greens die off. This can help fill the gaps in your seasonal harvests. Malabar spinach can be grown in pots or containers. It has succulent-like leaves, so it can handle hot weather, but it can be frost sensitive.
6. Butterfly Pea
If you love colour, then this edible climber will be perfect for you! With bright blue-purple flowers, the butterfly pea is a striking addition to an edible garden. The flowers can be used as a natural food colouring or infused in teas or cocktails. Plus, if you add acidity such as lemon juic,e the colour will transform to hot pink! Such a fun plant to grow.
7. Kiwifruit
Kiwifruit can be grown over structures to create great canopy shade. They are prolific producers and the fruit can be eaten fresh, frozen for smoothies, made into jams and even dehydrated for naturally sweet treats. You will need to have both a male and a female plant for pollination.
8. Kiwiberry
Kiwi berries have a similar taste to the kiwifruit, but are much smaller, around the same size as a grape. Kiwi berry vines grow really well in containers or urban gardens.
9. Nasturtium
Nasturtium is often known for its wild rambling nature but it can be trained vertically as an edible climber. The whole plant is edible, including the leaves, flowers and seed pods. Nasturtium has a strong peppery taste and can be used in salads, flavoured salts, pickles and many other recipes. Here in Perth, my Nasturtium dies down in summer but will pop up and regrow by itself in Autumn/winter.
10. Scarlett Runner Bean
Scarlet runner beans are also known as the 7-year bean because they pop up and regrow each year (for about 6-7 years). Beans are a great addition to an edible garden and can easily be cooked or frozen to preserve.
Annual Climbing Vines 🌿
Annual climbers are also great because they don’t need dedicated space, so you can grow, harvest and remove them to grow something different each season! Having a mix of annuals and perennials will help you grow more food all year round. Annual climbers can be plants such as Cucumber, Squash, Tomatoes, Pumpkin, and Melons.
Fruits that Grow on Vines
Want to grow more fruit without taking up extra ground space? Climbing fruits are a great way to grow more varieties without taking up more garden space! Check out these 17 fruits that grow on vines to get more fruiting plants in your garden.
Do you have big dreams and sustainable homestead goals to grow food and create your dream self-sufficient lifestyle but it feels so far off? You may be renting or in an apartment. Today, I’m going to share 10 actionable steps to help you achieve your sustainable homestead goals no matter how far away they feel. This is the path I have been on and I think this may help or inspire you too.
Are you ready? because your dream life starts now!
Click to watch the video 👇
I was listening to a podcast the other day and they were talking about you are where you are for a reason and that is because you still have more to learn. If I got /my big break and had 100s or 1000s of people flocking to join my garden-to-plate membership would I cope? the answer is probably not! My systems have been built on a small scale and I still have lots more work to do before reaching that level (goals!). Hopefully one day I will be able to help 100s and 1000s of people grow food so I’m continuously working on improving my systems.
The same with getting your dream homestead, if you suddenly found yourself dropped in the middle of an off-grid property would you know exactly what to do? Would you know how to improve your soil, plant trees, care for animals, or afford a house, infrastructure, and the bills that come along with it? or would it be an overwhelming chaotic mess?
There are so many small steps you can start taking today and these are the 10 stages I have been working through to bring my dreams to life. so hopefully they help and inspire you too!
10 ACTIONABLE STEPS to start your Sustainable Homestead Goals now
1. What are your goals?
Write them down. Where do you want to live? What lifestyle do you want to achieve? How do you want your days to look?
The great thing about having clear goals is that decisions along the way become easier (great for people like me that struggle with decision-making!) Does this align with my goals or not? Start at the end and work backward. Will this change along the way? Probably but at least it will give you a direction to start working towards and not be stuck doing nothing.
2. Make a vision board
I like to do this every year and I use Canva and put together a collage type of document. I then have mine as my screen savers on my phone and computer for constant reminders but you could just print out some images and put them on the fridge or the wall. I am a real visual person so this works for me.
3. Pay off debts
Ditch after pay and all that. Don’t buy things you don’t need with money you don’t have. That has always been part of my mentality so I have never financed furniture or anything like that…Hence why my house looks a little bare 😅 I prioritize money in other ways.
One of the hardest things I did was prioritize paying off my student loan. It took me a few years and I set up automatic payments to come out after each pay. If I was still buying coffees and let’s be honest probably plants…then I would increase my repayments a bit because I obviously still had disposable income. ..and repeat. As a student, I knew how to live off the minimum. Lifestyle creep is inevitable but if your dreams are big and solid you can do it!
Hard now and easy later!
Something I found so useful was the debtfree charts. You can choose a relevant one and divide the amount into sections. Each time you pay one down you can highlight it. For a visual person like me, this worked a treat. I just wanted to pay one more line . These also work great for savings too.
4. Start savings
Once you have your debts out of the way start saving. You know what you are capable of paying after paying off your debts so switch to a savings mode. Don’t get into the continuous reward stage. Remind yourself of the goals you are working towards.
5. Start growing food
This can be started from day one. You don’t need all the gear or all the nice raised garden beds, that will come. Start with what you have. Keep an eye on marketplace there are so many free pots and random things that you will be able to turn into gardens. Both my compost bins were free and I even got a free fruit tree recently.
If you dream of creating these thriving edible gardens that produce a whole lot of food then the only way there is through it. There’s no quick fix. you have so much to learn and you will learn faster by doing.
So get seeds in the soil and start growing.
6. Learn learn learn
We are so lucky to have incredible resources at our fingertips. Watch YouTube, listen to podcasts, invest in the skills you want to have, and visit community gardens. Learn to love the process because continuous learning is so important!
7. Take action
Take what you have learned and put it into practice. Grow cuttings, and plant fruit trees in pots, if you plan to have a homestead in the same state then you can be growing your future plants and trees in containers to eventually take with you. Or even sell at a higher price to add to your savings.
8. Surround yourself with Like-minded People and Communities.
This is a great way to stay motivated and learn so much. Not just about how to grow food or raise chickens but just about their outlook on life and values. People are so generous with their time and resources. Offer to help someone in their garden, this is a great way to learn and you may even receive cuttings or seeds from special plants.
9. Start working on Financing the Dream.
We all need to make money its just part of the world we live in. Does your current job and career align with the sustainable homestead goals or lifestyle you are working towards? It may do, you may already love your job but it also more than likely does not. Start a side business or grow your hobby with the direct intention of it becoming your career. Keep coming back to that lifestyle you set out in stage 1. If you want to have time to go on adventures or spend days in the garden then make sure what your working towards actually allows for that.
Do you dream of starting a flower farm? What can you do now? Start social media and grow a following. It’s free and it’s a real actionable step toward that goal. If you need some ideas check out this video on 100 ways to make an income from your property. I guarantee if one of those things excites you, there is an actionable step you can take today to make progress.
10. Re-evaluate and check in with yourself.
This is really the stage I am at now. I have been working on the last 9 steps for the last 10 years and it’s important to make sure my sustainable homestead goals and visions are still aligned. Don’t be afraid to pivot. Maybe after growing food or doing cut flowers your are unsure if that really fits anymore. For me, annuals just aren’t really it ( I LOVE PERENNIALS) and I’m actually unsure about all the 100s of animals I initially wanted. Animals are a lot of work and commitment I kind of want the freedom to come and go more often.
My dream is still real and I would love to have land to rewild and have my dream homestead but lots of things have changed. I also want to be able to travel and explore more. So I’m creating new visions that I can’t wait to share with you along the way.
Sometimes it will be really tough. But find joy in the journey, IN THE INBETWEEN, the learning!. and absolutely celebrate the small wins! because they are aligned to stage 1 so they will all add up to be something incredible.
DISCLAIMER: Links included in this description might be affiliate links. If you purchase a product or service with the links that I provide I may receive a small commission. There is no additional charge to you! Thank you for supporting my website so I can continue to provide you with free content each week!
CREATING EXTRA INCOME FOR YOUR HOMESTEAD
Online surveys: https://bit.ly/3Bg0XNr
Ebook templates: https://bit.ly/2UfOXsr
Email lists: https://bit.ly/3VNXRbT
Photography editing: https://bit.ly/3cPfXW8
Create an online community: https://bit.ly/3W6s8mv
Do you want to learn how to GROW, COOK & PRESERVE your own food naturally and sustainably?
Join in monthly Workshops and Challenges, Plant of the Month features, and Garden to Plate Recipes, with a fun and supportive community to live a more sustainable lifestyle.