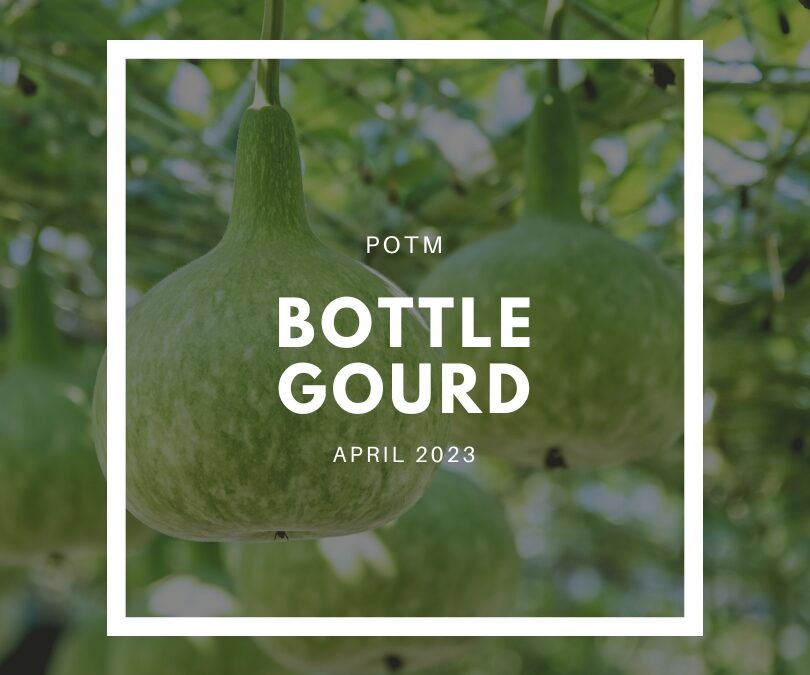
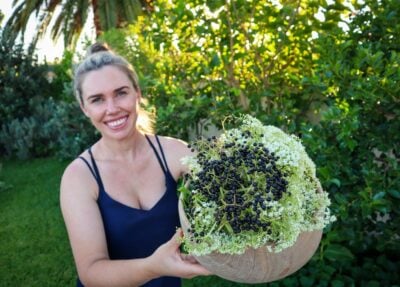
Explore how to grow Bottle Gourd in your garden and how to preserve the harvest! Bottle Gourds are an abundant climbing plant that produces a range of different-sized and shaped fruits depending on the variety. Not only do they produce a huge amount of food, but they can also be dried to use as bowls, cups, bottles, and other vessels or containers.
So far this season, each vine has produced over 30kg of food with the potential for much more! Once you know how to grow and use bottle gourd, it may just become one of the most-used vegetables in your garden.
Help train the vines up structures. Prune older leaves to improve airflow. Hand pollinate when possible.
FERTILISE
Feed with compost teas and keep well mulched.
PESTS
Rats, aphids, snails.
HARVEST
Harvest when large and still green for eating or leave to dry out for bottles.
REPRODUCE
Grows easily from seed.
Why Grow Bottle Gourd?
Here are some of the many reasons to grow Bottle Gourds
Easy to grow
One plant provides an abundance!
Climbing vine – vertical gardening
Cover or create shade for the garden
Versatile crop
Make bowls or vessels
Base crop to make many dishes
Grows well in containers
Popular Bottle Gourd Varieties
Gourds come in many different shapes.
New Guinea Bean – Lagenaria siceraria – Italian heiloom. Popular in India where it grows easily. Large pale green tube-like gourds that can grow over 1m if left. Harvest at 40cm for eating. creamy white flesh simular to Zucchini.
Birdhouse Gourd – Lagenaria siceraria – Round bowl-shaped gourds with a narrow neck that can be used green as a zucchini substitute or left to dry and make into bowls and hanging bird feeders.
Round Bottle Gourd –Lagenaria siceraria – Large round bottle gourds that are perfect for making bowls. Can be eaten when young and green.
Mini bottle Gourd –Lagenaria siceraria – Popular for crafts. Round on the bottom then a skinny center with another bowl at the top similar to an hourglass shape.
Cucuzza Squash – Lagenaria siceraria– Slim elongated pale yellow-green gourd. Can be used as a Zucchini substitute.
Speckled Swan or Gooseneck Gourd –Lagenaria siceraria – Dark green with light speckles. Bowl-shaped base with a curved neck to look like a swan. Very decorative gourds.
When to Plant Bottle Gourd?
Gourds love warm weather! Plant your seedlings out into the garden after your last frost when the weather is starting to warm up. Seeds can be started indoors until it is warm enough to go into the garden.
Top Tips on How to Grow Bottle Gourd
Choose a sunny spot with 6-8 hours of sunlight or dappled part shade.
Plant seeds directly in the garden or in seed trays first.
Ensure you have a decent-sized trellis or arbor for them to grow up. Bottle gourds are vigorous growers similar to a pumpkin. It is best to train them up off the ground. Pergola-type structures or tunnels work best so that the bottle gourds can hang down.
Keep new plants well watered, especially during summer
Prune older leaves off that are starting to go brown or damaged to allow more airflow. Bottle gourds, like pumpkins, can get powdery mildew in wet or humid weather.
Hand pollinate to ensure successful harvests. I have found that even with bees about hand-pollinating is often necessary. Remove the petals from the male flower (which has no baby fruit on it) and dust the female flowers with pollen (they have baby fruit at the base of the flower)
How to Care and Maintain Bottle Gourd
Bottle Gourd plants will grow quickly in late summer and may need help to be trained or directed in the right direction to remain on the trellis. Hand-pollinate for added success. Remove powdery mildew leaves.
Pests / Disease
Rats may eat the fruit. Slugs and snails can be an issue when the plants are still small.
How/ When to HarvestBottle Gourd?
Bottle gourds can be harvested at many stages. While the skin is still soft and can be easily scratched, they are best for eating.
To get a continuous crop harvest regularly, so the plant has more energy to keep producing. Near the end of summer, when the plant slows dow,n you can leave the gourds on the vine to dry and go brown for crafts and vessels.
ReproducingBottle Gourd
Bottle Gourds grow easily from seed.
Allow the gourd to mature on the plant (until it stops getting bigger and starts to get harder skin or go brown and dry). Cut the gourd open and scoop out the seeds. Separate from the flesh and allow to dry completely on a plate. Pop in a container or brown paper bag, label and date, then store in a coo,l dark location until next spring.
Ways to Cook and Use Bottle Gourd
Bottle Gourd can be used fresh, dried, or frozen. Bottle gourd is used in a similar way to Zucchini. Peel the outer skin off using a vegetable peeler. If the gourd has started to go hard on the outside, you may need to use a knife to slice the outer skin. Remove the center pith and seeds.
Bottle gourd has very little flavour and makes a great vegetable to use as a filler or to carry flavours via dressings and marinades. Bottle gourd is a great way to thicken up smoothies.
Bottle Gourd can be frozen to use in soups, curries, or smoothies. Dehydrated strips using a vegetable peeler or zoodle maker can be dried and used as an alternative to pasta.
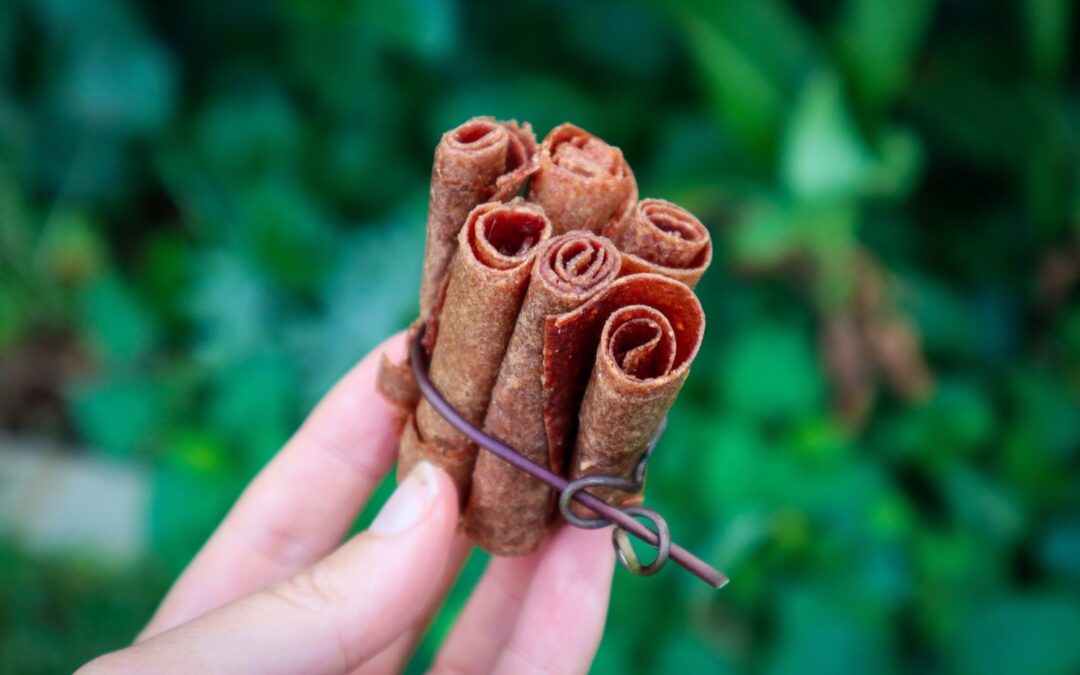
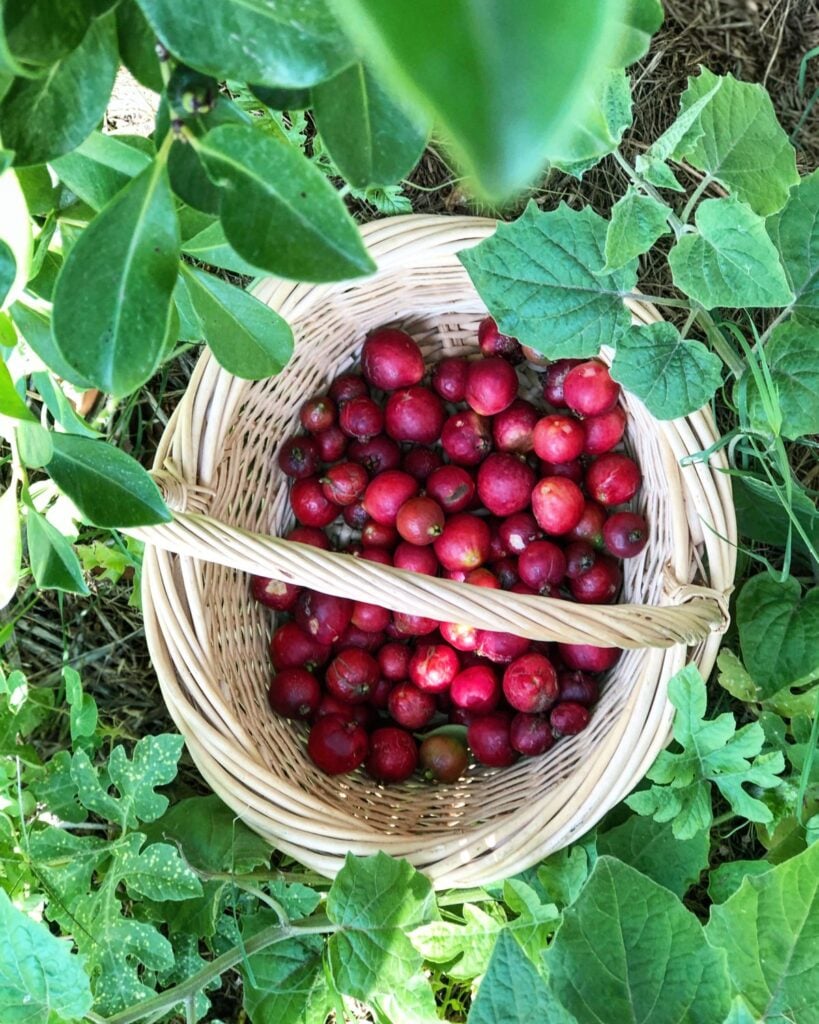
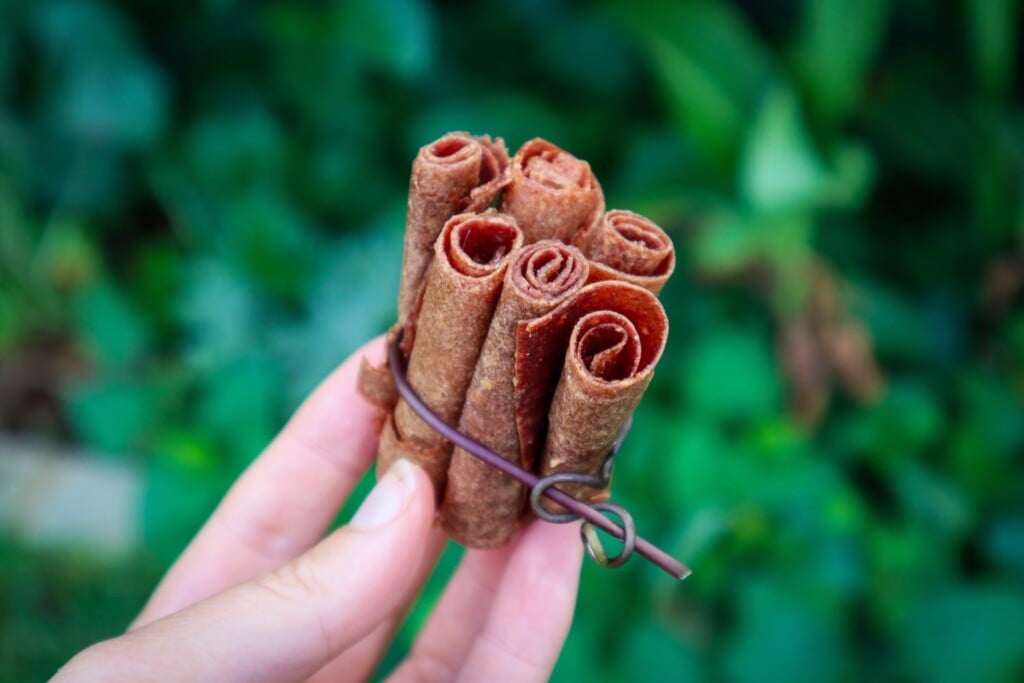
If you are growing Strawberry Guava you will almost certainly experience huge bowls of fruit after a few years. They ripen quickly and new fruits are ready each day during summer or autumn. These can be eaten fresh or extras frozen to collect a bulk amount to preserve. This fruit leather is sweet and delicious and a great way to preserve and enjoy your guava harvests without the hard seeds.
Naturally sweet and delicious garden-to-plate snacks.
Strawberry Guava and Apple Fruit Leather
Prep Time: 20 minutes
Cook Time: 6 hours
Total Time: 6 hours20 minutes
Sweet and tangy this fruit leather is a great way to enjoy your bumper crops without the hard seeds.
Ingredients
3 Cups (or large hand fulls) of Strawberry Guava (fresh or frozen)
2 Apples
1 tsp fresh lemon Juice
1 TBSP Honey or raw sugar (optional)
Instructions
Wash and cut the ends of the guavas (the pronged part). Place the guava in a blender and the ends in a jar to make a scraps vinegar (see below recipe) or add to the compost.
Wash, peel, and core apples (peels can go in the scraps jar too). Slice the apples and cook in a saucepan with a splash of water until soft.
Blend the guava, apple, lemon juice, and honey until you get a smooth consistency with no chunks - there will still be seeds.
Using a mesh strainer pass the mixture through a sieve to separate out the seeds. This is best done in small batches. Push down and mix around until the mixture comes out the bottom and the seeds are left behind. It seems hard at first but only takes about 10 minutes to complete. Remove the seeds (add to scraps jar or compost).
Taste and add more sweetener or lemon juice (if too sweet).
Using the fruit leather plastic tray of your dehydrator (or wax-free baking paper and tray) spread the mixture out to form one flat layer. Try to get it as even as possible.
Dehydrate until dry and only slightly sticky approx 6 hours at 60 degrees Celsius. Can take up to 10 or 12 with high moisture or thicker trays.
Remove and slice into long strips while still warm then roll up in wax-free baking paper to form roll-ups.
Store in an air-tight jar for 1-2 weeks or store in the fridge for 1 month.
Notes
Any fruit can be used for this. If they are firm fruit like apple or stonefruit, cook down first until soft or try Mango raw, so yum!
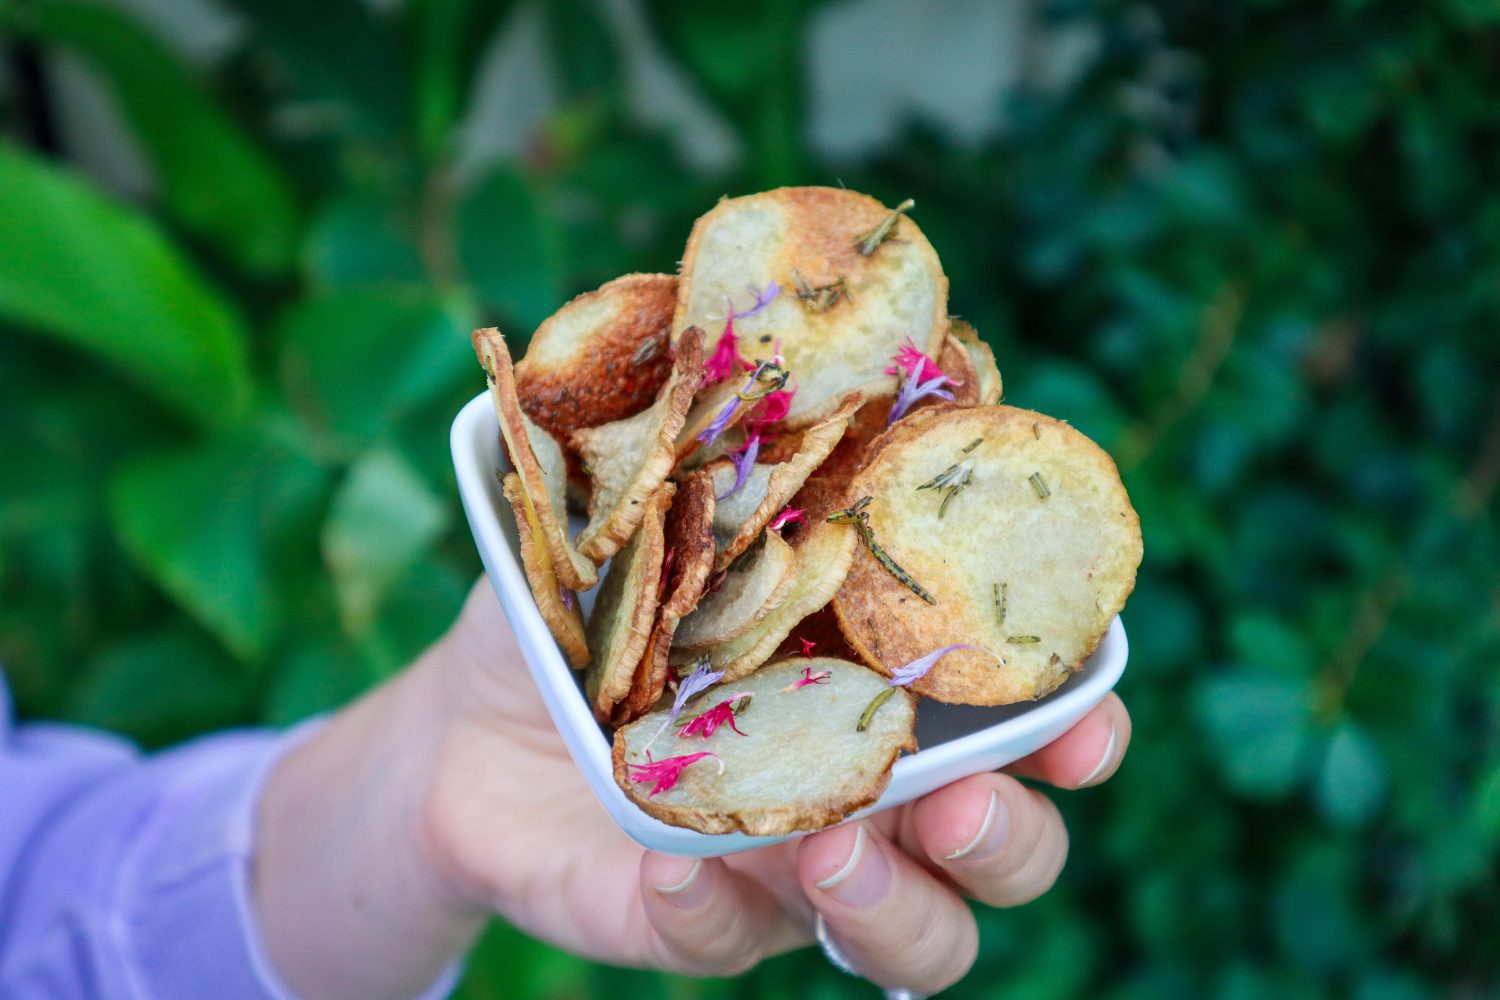
Extra crunchy chips using the Queensland Arrowroot or Canna Edulis. This is a beautiful tropical plant that can be used as a perennial substitute for potatoes. It creates a fantastic middle layer in a food forest-style garden and has lush green leaves and grows rhizomes under the ground. Both the young shoots and the rhizomes are edible.
Crispy Queensland Arrowroot Chips
Prep Time: 15 minutes
Cook Time: 10 minutes
Total Time: 25 minutes
Crunchy and delicious snacks made using the perennial Queensland Arrowroot. Quick and easy to make.
Ingredients
2 young Queensland Arrowroot Rhizomes*
1 Sprig Rosemary
Sea Salt
1 TBSP Olive Oil
Instructions
Wash and peel the Queensland arrowroot and quickly submerge it in water. Using a mandoline (or hand cut) evenly slice into thin slices then quickly submerge in cold water.
Allow to sit in cold water for 5 minutes then change the water and sit again for a further 5 minutes repeat if necessary until the water remains clear (it will be murky brownish the first time).
Preheat oven to 200 degrees fan bake.
Remove the chips from the water and pat dry. Drizzle over olive oil and season with salt and chopped rosemary.
Oil a baking tray and add chips.
Bake for 5 minutes then turn over and bake until slightly golden and crispy. Remove and place on a tray to cool (they will get a little crispier as they cool).
Enjoy!
Notes
Choose young Rhizomes that only have small shoots starting. Older ones will be more bitter. Gently pull and separate from the main older rhizome.
The Queensland arrowroot oxidizes quickly and goes brown. Keeping it in water helps reduce this.
For extra flavour try soaking in a mix of vinegar and sugar for salt and vinegar chips!
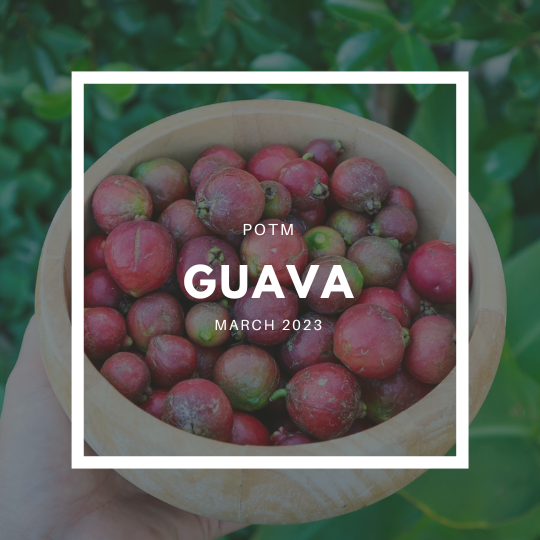
Learn how to grow Guava and what to make with their abundant crops in this guide. Guavas are beautiful ornamental trees that produce delicious, tropical-tasting fruit. There are many different varieties that all have their own unique flavour. Guava trees are prolific producers and can be a great addition to your homestead. Guava trees can also be grown in pots very successfully.
Sow seeds in spring- autumn. Plant trees in Spring or Autumn.
SOIL
Free-draining compost.
LOCATION
Full sun – part shade.
CARE
Prune to maintain size after fruiting has finished in Autumn.
FERTILISE
Feed with compost teas and keep well mulched.
PESTS
Rats, birds, fruit flies, bats.
HARVEST
Harvest regularly. Fruit will drop from the plant when ripeor come off easily in your hand.
REPRODUCE
Grows easily from seed. Seeds can be saved from ripe fruit. Cuttings can be taken.
Why Grow Guava?
Here are some of the many reasons to growGuava
Easy to grow
One plant provides an abundance
Lush evergreen leaves
Cover or screening
Shade protection
Immune booster
High Vitamin A and C
High antioxidants
Folate
Popular Guava Varietiesto Grow
Guavas come in many different types a few key types, depending on your location, are:
Strawberry / Cherry Guava – Psidium cattleianum – Popular small red guava – prolific. Taste is sweet with hints of strawberry and a little tart and bitter. Dense coverage of small shiny evergreen leaves.
Lemon Guava – Psidium cattleianum – Small yellow guava similar to the strawberry but with sweet slight lemon flavours. Dense coverage of small shiny evergreen leaves.
Hawaiian Guava –Psidium guajava – Large tropical-tasting fruit with bright pink centre and yellowish outside when ripe. Large matte leaves that can be used for tea.
Ruby Supreme –Psidium guajava – Popular selection of hawaiina guava. Large tropical-tasting fruit with bright pink centre and yellowish outside when ripe. Large matte leaves that can be used for tea.
Indian Guava – Psidium guajava– Large crunchy guava with green skin and white flesh. Large matte leaves that can be used for tea.
Mexican cream –Psidium guajava – Medium yellow guava with light creamy flesh. Large matte leaves.
Purple Malaysian Guava –Psidium guajava – Deep crimson red-purple leaves. Pink flowers and the fruit have striking purple flesh.
When to PlantGuava?
It is best to plant new Guava plants is in Spring to Autumn so they have time to get established before winter. Avoid planting during the peak of summer as this can stress new plants out.
Top Tips onHow to GrowGuava?
Choose a sunny spot with 6-8 hours of sunlight or dappled part shade.
Dig a hole twice the size of the current pot. Prepare the soil with free-draining compost.
Small trees may need a sturdy stake to support them.
Keep new plants well watered, especially during summer
Keep the base weed-free and well-mulched. Pull mulch away from the trunk to avoid rotting.
Prune in Autumn after they fruit to maintain size.
Plants will grow quickly and can be pruned in late Autumn after fruiting has finished. Young trees may produce more fruit than they can hold if branches look under stress you may need to thin fruits off before branches snap. Fruits are susceptible to fruit fly. Net the tree or individual fruits after the flowers have finished and turned into small fruit. Strawberry guavas ripen quickly, and regular harvesting can reduce fruit fly.
Some trees will get damaged by frost and lose their leaves. Plant in warm protected areas of your garden.
Pests / Disease
Rats and birds love the sweet fruit. Exclusion nets or bags may help or harvest regularly. Fruit fly and guava moth are a common problem. Ensure you net your fruit trees just as the fruit is setting to avoid worms in your fruit 😬
How and When to Harvest Guava
Guavas will ripen around late summer – autumn. Each variety will vary, and strawberry guava will often put on multiple crops.
Guavas will change colour and come off easily in your hand when ready.
Guavas can be eaten when they are still crunchy, or allow them to soften for a more creamy texture.
Reproducing Guava plants
Guava can be grown from both cuttings and seeds. Easy to grow from seeds but may be slightly different to the original plant. I have had plenty of success with seed-grown plants, though.
Save seeds from mature well ripe fruit. Rinse off the flesh and soak in a jar of water for 24 hours. Plant seeds in quality compost and potting mix and keep warm and well-watered until they sprout.
Take 15cm cuttings from semi-hardwood. Remove the bottom half of the leaves and the top shoot. Place in moist soil to root. Keep in the shade to prevent cutting and drying out.
Tips for Cooking and Using Guava
Guava can be used fresh or frozen.
Guava pairs well with: Citrus, Strawberry, Lime, Watermelon, Papaya, Peach, Pineapple, Mango, Melon, Coconut, Kiwifruit, Pear, Chilli, Mint, Ginger, Apple
Guava can be frozen to use in larger batches as you wait for more to ripen. Make jams, jelly, chutney, or preserves in syrup. This Apple and Guava fruit leather is a must-try!
I am so excited to announce the launch of my brand new live show and podcast – Homegrown with Sustainable Holly. Homegrown the live show is a live podcast for those who want to grow food at home and live a more sustainable lifestyle.
Welcome to the edible gardening Podcast x Livestream where you can listen, ask questions, or watch live and be a part of an interactive gardening show. Together we will sow seeds, discuss what’s happening in the garden, make plans, and track goals to grow more food at home naturally and sustainably.
Homegrown is hosted by Holly an Edible Gardener, YouTuber, and Photographer creating a more sustainable life in the suburbs of Perth, Australia. Join us Wednesdays at 5pm AWST – live on YouTube and grow your own nourishing homegrown food!
Be sure to subscribe to get updates on when new episodes go live! And if you found some inspiration from the show I would love it if you could give me a rating and review. This helps me grow the show and be able to get lots more exciting guests.
Why is it a live show?
Live streaming allows us to have real, raw and unedited conversations about growing food at home and also behind the scenes of growing a business from the garden it’s going to be an evolving show but we are starting right here in my kitchen. I’m so excited to have you along for the journey and to see where we can go next with this live cast. I already have some incredible inspirational guests that are crazy enough to put their hands up to join us here in future episodes.
And just a forewarning whether you are watching is live on YouTube or listening to the podcast after the fact i just want to put it out there that this is a live show so there may at times real life background noise like my dog Tama barking at someone driving down “his” street or people turning up, neighbors on power tool. I mean who knows what is going to happen but its all part of the adventure right?
How can I get involved?
Join for the livestream over on YouTube on Wednesays and get involved! Join in the live chat, ask questions and make suggestions for future episodes. To keep the flow of the show for those that are listening to it after recording, i will answer questions at the end. So pop any questions you have in the livechat and write a Q at the start so i can see them clearly from the comments and stick around to the end and i will feature some of your questions!
Want to be a Guest on the show? Send me a quick message with a little info about your garden and we will take it from there!
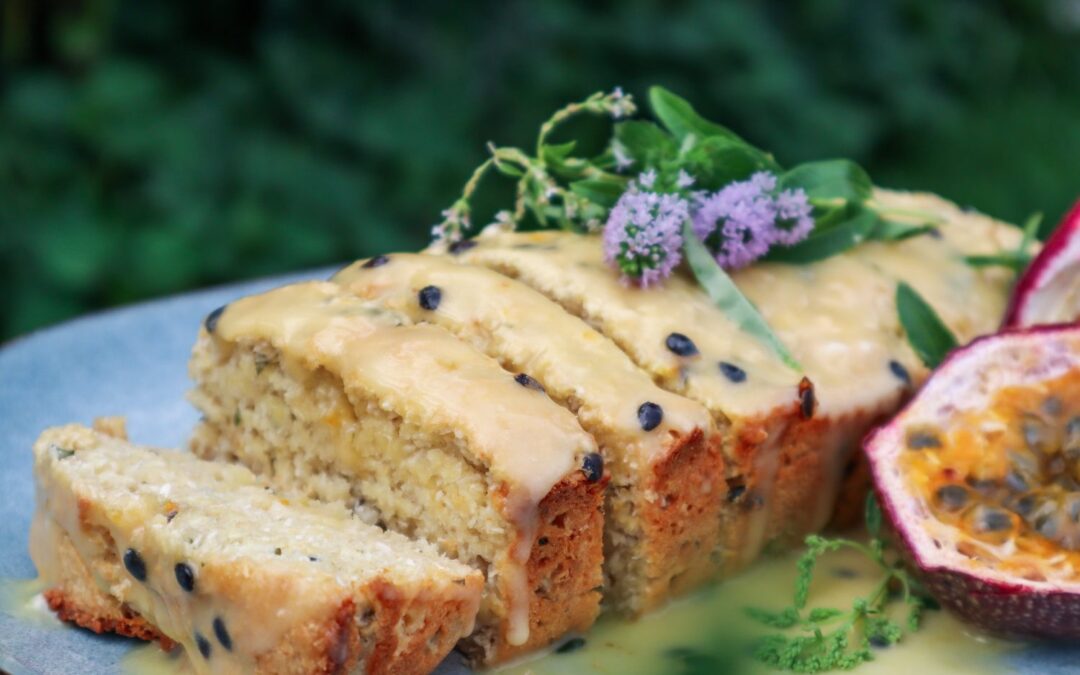
This coconut and lemon verbena loaf is so easy to make. Whip up a loaf or two for a Sunday Afternoon tea and sit back and enjoy your garden. Crunchy and chewy on the outside and soft in the middle. Lemon Verbena has a fragrant lemony flavour and pairs deliciously well with coconut and passionfruit.
Coconut and Lemon Verbena Loaf with Passionfruit
Prep Time: 10 minutes
Cook Time: 25 minutes
Additional Time: 15 minutes
Total Time: 50 minutes
This is the perfect loaf to spend Sunday afternoon in the garden.
Ingredients
1 cup desicated coconut
1.5 cups self raising flour
1 cup milk
1/4 cup raw Sugar
2 TBSP Honey
1 tsp vanilla essence
2 TBSP chopped fresh Lemon Verbena leaves
Icing
1 cup icing sugar
2 TBSP Passionfruit pulp
1 tsp lemon juice
Instructions
Preheat oven. to 180 degrees Celsius.
Add all ingredients to a mixing bowl and mix until just combined (as little as possible).
Add mix to a greased loaf tin.
Bake for 25 minutes or until a skewer comes out clean.
Allow to cool.
Mix icing ingredients and drizzle over. Or serve by itself with butter.
For a low-sugar option, skip the icing and serve with fresh passionfruit and greek yogurt.
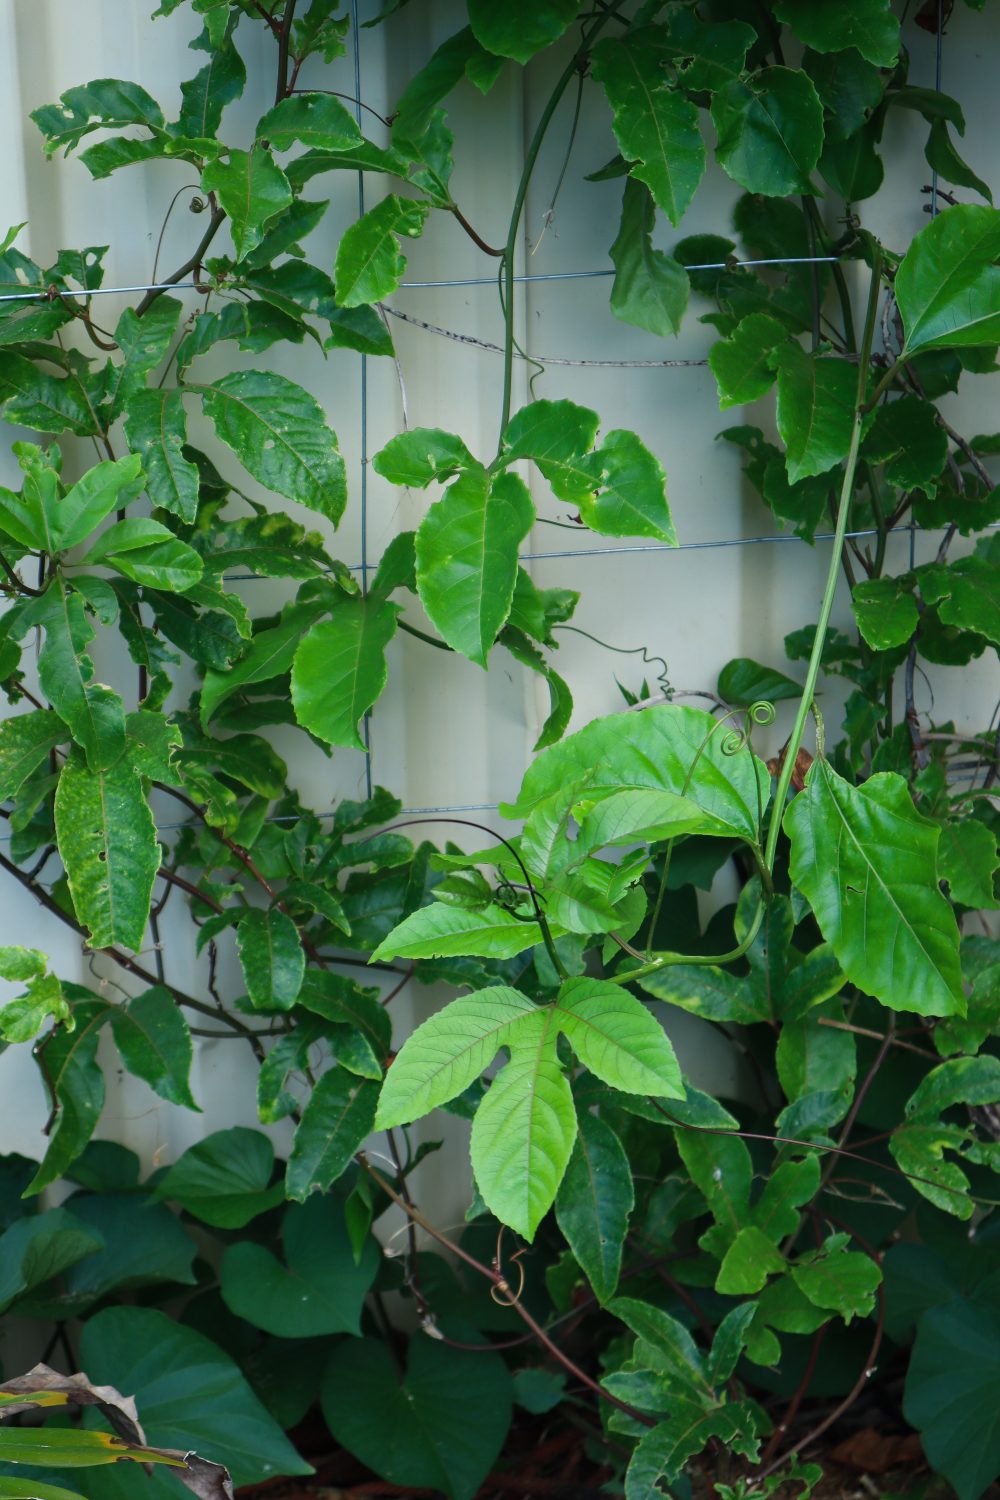
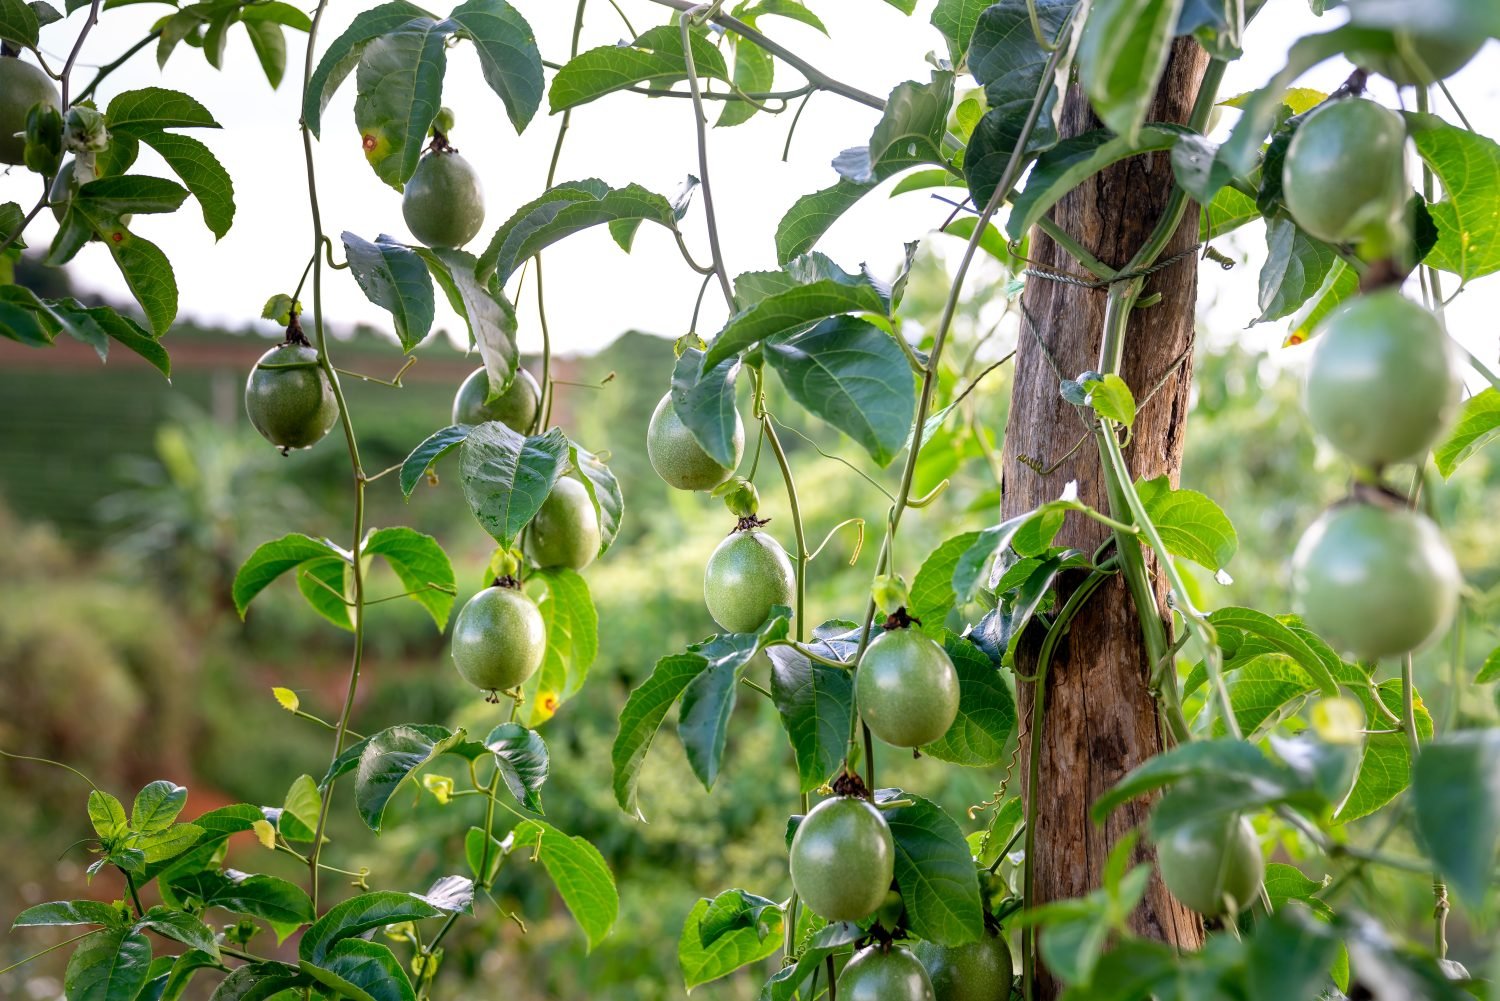
Passionfruit are a prolific edible climber that produces delicious tasting fruit. Semi-deciduous and have a thick layer of lush green leaves over the warmer months. Passionfruit have a sweet and sometimes tart tropical flavour depending on their ripeness.
Like many edible plants, they come in a huge range of varieties! They are hardy and easy to grow in even hot dry climates. There are a few important things to know before choosing a variety that will be best for your garden. Read more below.
Full-part sun. Protect from harsh midday sun in summer.
CARE
Regular water and feeding. Training new shoots.
FERTILISE
Heavy feeders. Compost teas or added compost.
PESTS
Snails, slaters, rats, mice.
HARVEST
Harvest regularly. Fruit will drop from the plant when ripe.
REPRODUCE
Allow to go overripe and save seeds.
Why Grow Passionfruit?
Here are some of the many reasons to growPassionfruit
Easy to grow
One plant provides an abundance
Lush evergreen leaves
Cover or screening
Shade protection
Immune booster
High Vitamin A and C
High antioxidants
Attracts Butterflies to flowers
Important Information
Many Passionfruit are sold grafted which means they are two types of passionfruit merged together. The rootstock often used in Australia is extremely invasive and can cause issues for many years to come. I recommend avoiding grafted passionfruit at all costs. Check carefully before purchasing. Not all passionfruit flowers and leaves are edible – the blue passionfruit flowers from the rootstock are not edible. Check you do not have a rootstock variety that has taken over!
WATCH below for more info on grafted passionfruit.
Popular Passionfruit Varieties
Passionfruit come in many different types a few key types are:
Note: some types of Banana Passionfruit are classified as an invasive weed in some countries including New Zealand.
Sunshine Special – Passiflora edulis – Popular purple passionfruit for Perth Gardens. Heavy fruiter and no invasive suckers.
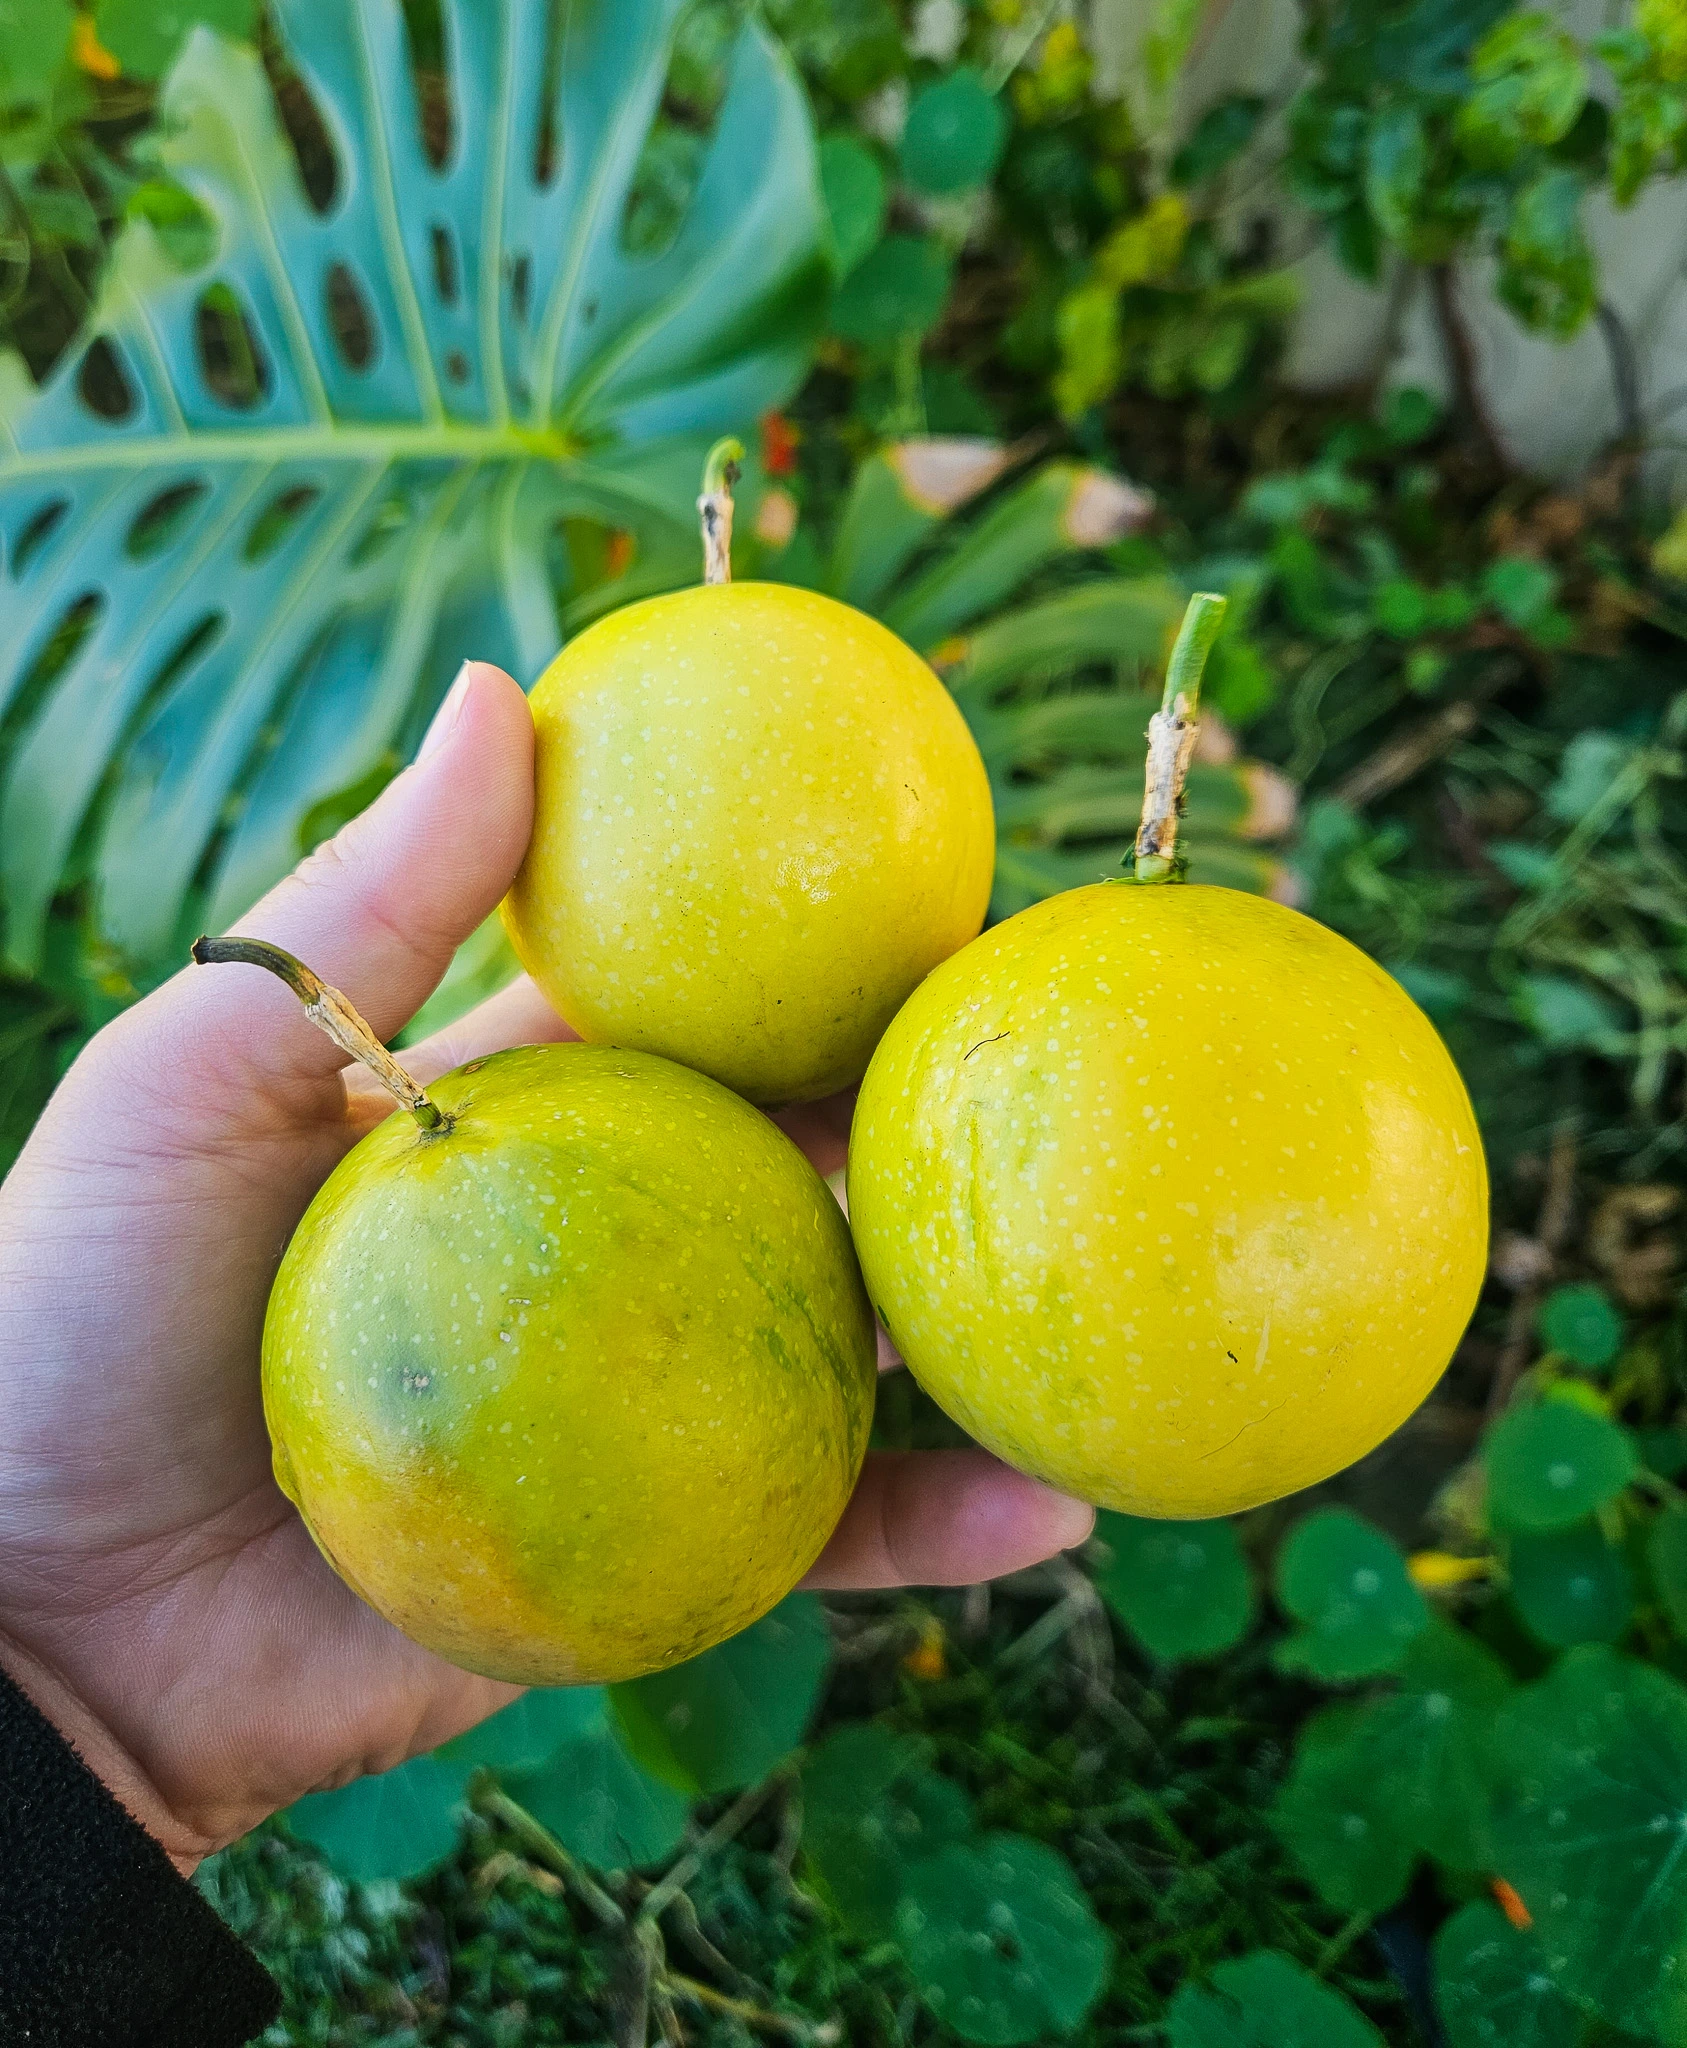
Panama Gold – Passiflora flavicarpa – Popular tropical passionfruit with yellow skins. Allow to fully ripen and drop before harvesting. Fast-growing and more frost/cold tolerant than many.
Black Nugget –Passiflora edulis – Popular purple-black fruit. Harvest late summer to winter.
Panama – Passiflora edulis – Large red/burgundy fruit with sweet gold flesh.
Banana Passionfruit – Passiflora mollissima – Long yellow fruit with sweet pulp. frost hardy. Light pink flowers. Can be invasive.
When to Plant
It is best to plant new Passionfruit plants in Spring so they have time to get established before winter.
How to Grow
Choose a sunny spot with 6-8 hours of sunlight
Prepare the soil with free-draining compost
Keep well watered, especially during summer
Fertilise in Spring and benefits from high Potassium
Prune in Autumn after fruit – Passionfruit fruit more on new growth.
Fertilize with compost or all round fertilizer after pruning
Care/ Maintenance
Keep plants well watered. Train and direct new shoots regularly to keep under control. If you are growing a grafted variety, check and remove any suckers or side shoots from below the graft – weekly.
Passionfruit do not like soggy or wet ground – if you receive a lot of rain it is best to grow passionfruit on mounds to allow water to run off and prevent root rot.
Pests / Disease
Check for slugs, slatters and snails when the plants are young. Barriers may need to be put around the main stem. Ripe fruit are popular with Rats and Possums. Harvest regularly and you may need to net some fruit to ensure you get a harvest.
How/ When to Harvest
Passionfruit will usually start fruiting by the start of their 1st year – may be longer in cold climates.
Passionfruit drop from the vine when they are fully ripe. They can be picked earlier if you like fruit with a little more tart flavour. Choose deep-coloured fruit.
Passionfruit varieties will fruit at different times of the year but many are ripe during late Summer – Winter.
Reproducing
Passionfruit can be grown from both cuttings and seeds.
Save seeds from mature well ripe fruit. Rinse off the flesh and soak in a jar of water for 24 hours. Plant seeds in quality compost nd potting mix and keep warm and well watered until they sprout. Transplant to a larget pot once they have 4-5 leaves.
Take 20cm cuttings from semi-hardwood. Remove the bottom half of the leaves and place in a jar of water or moist soil to root.
Edible Climbing Vines help maximise growing space and double the amount of food in each garden bed or container. One thing that I think is so underrated is the ability to grow food up 👆 This list of edible climbers to grow in your garden will help you utilise vertical space and create shade and protection. These 10 edible climbing vines are perennials,which means they will produce more and more food each year without us having to replant them! There are so many incredible reasons you should be growing food vertically. Not only to maximise space but also to increase airflow to reduce rot or disease, strategic shade, or like me, to reduce some of the heat in my garden by covering my ugly fences!
Annuals vs Perennials 🌿
Annuals will allow you to still change up your garden beds each season and have the flexibility of space. Whereas perennials (which grow for longer than 2 years) will allow you to get a crop established and provide long-term protection, and produce more and more food each year.
Click to watch for bonus Planting Tips 👇
10 Perennial Edible Climbing Vines
1. Passionfruit
Passionfruit is one of my favourite fruits to eat, and the main reason I am growing this edible climber in my garden. They are also evergreen, so it has leaves all year round to create shade and protection. Passionfruit have thick, lush leaves, so they work perfectly to cover fences or create screens to block out unsightly structures or areas. Watch the video above to see how to plant passionfruit from a store-bought fruit!
BONUS TIP: Purchase a passionfruit plant that is NOT grafted. Grafted passionfruit needs to be carefully maintained or the rootstock can quickly take over and become invasive with no fruit.
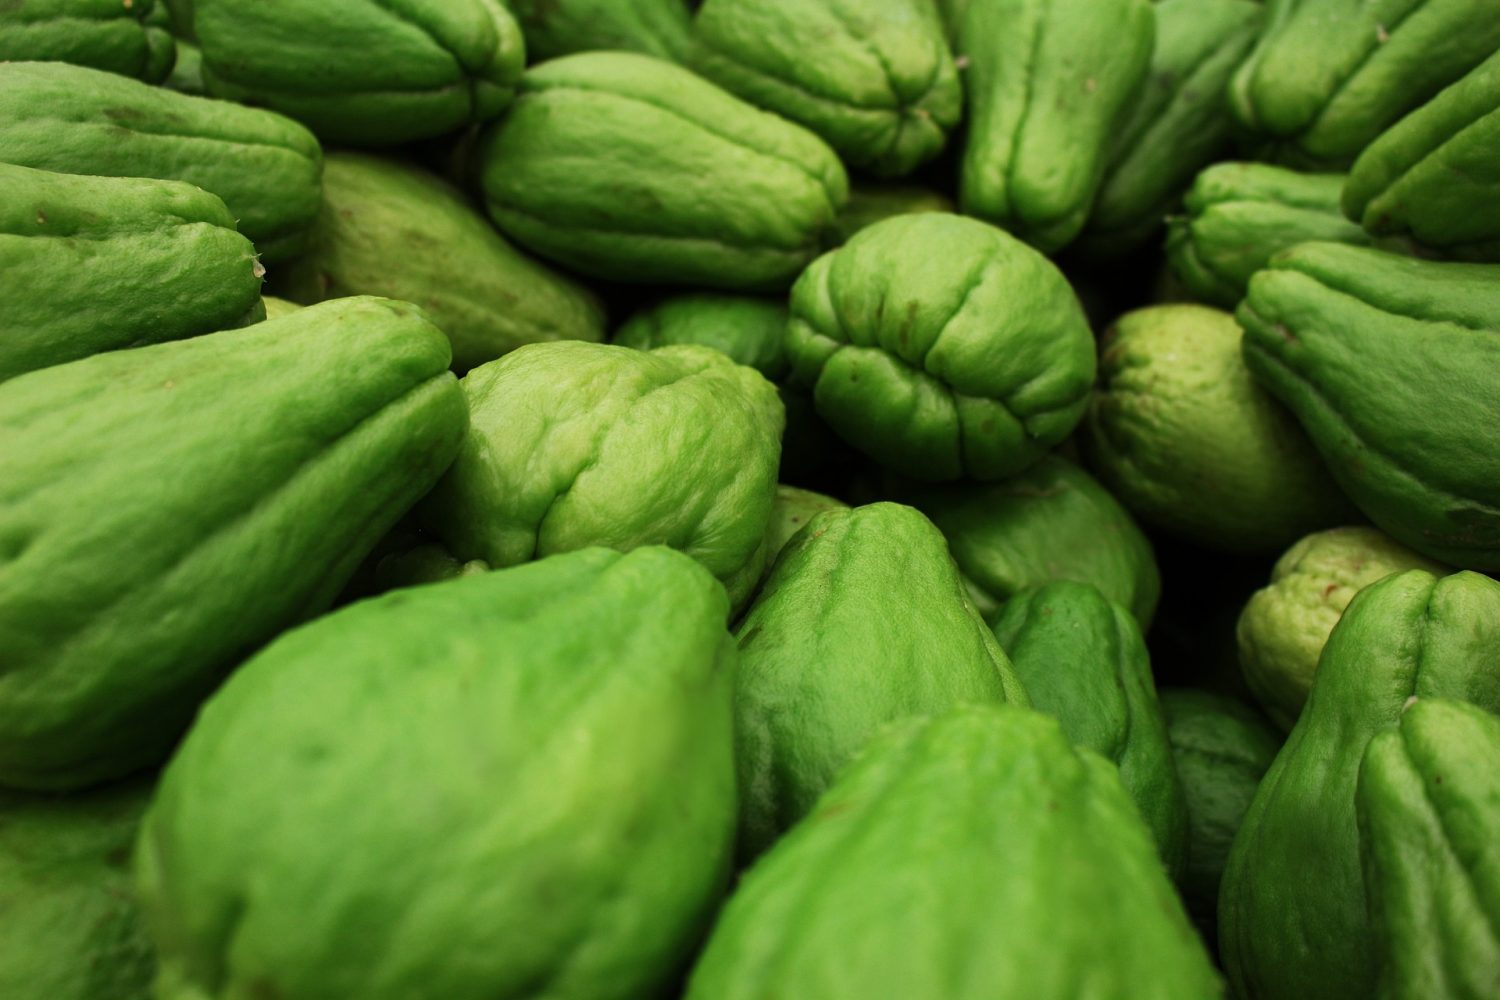
2. Choko /Chayote
Choko is a quick-growing, vining edible plant that can make great summer shade to protect your summer garden. They will often die back over winter but will pop up and regrow each spring. Any fruits left on the ground will also easily regrow. Choko are similar to a large zucchini or marrow and can be used as a substitute for potatoes or even apples to bulk up pie recipes.
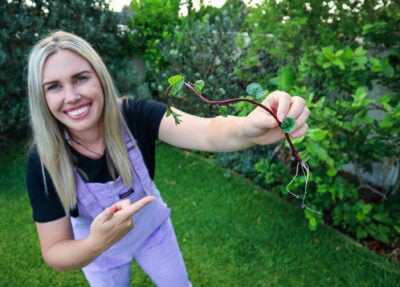
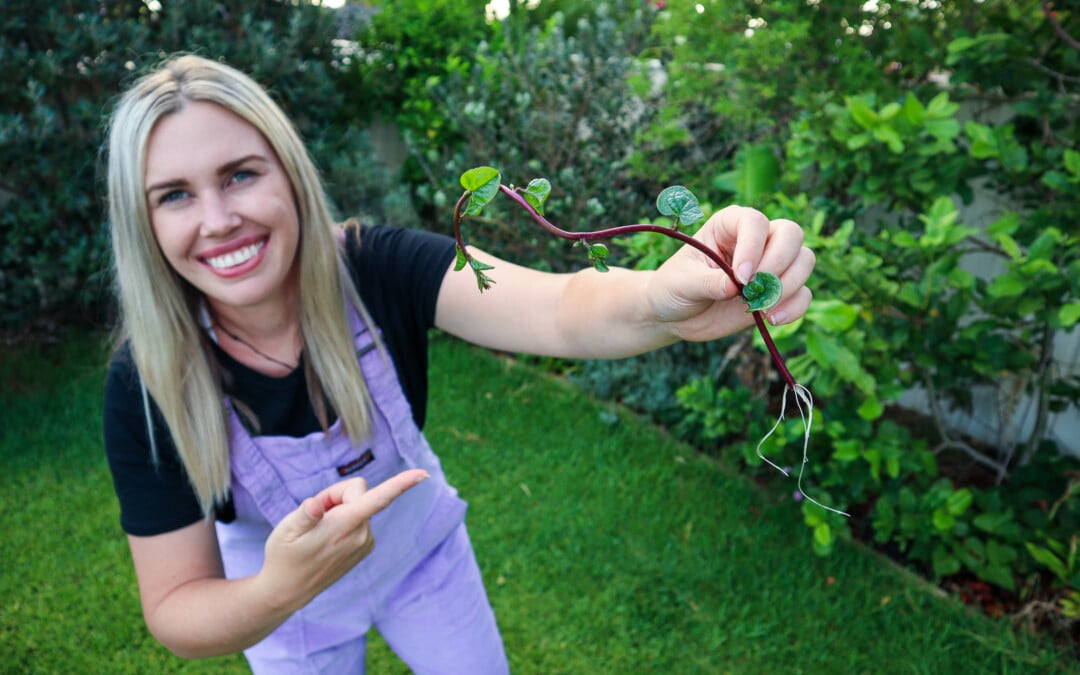
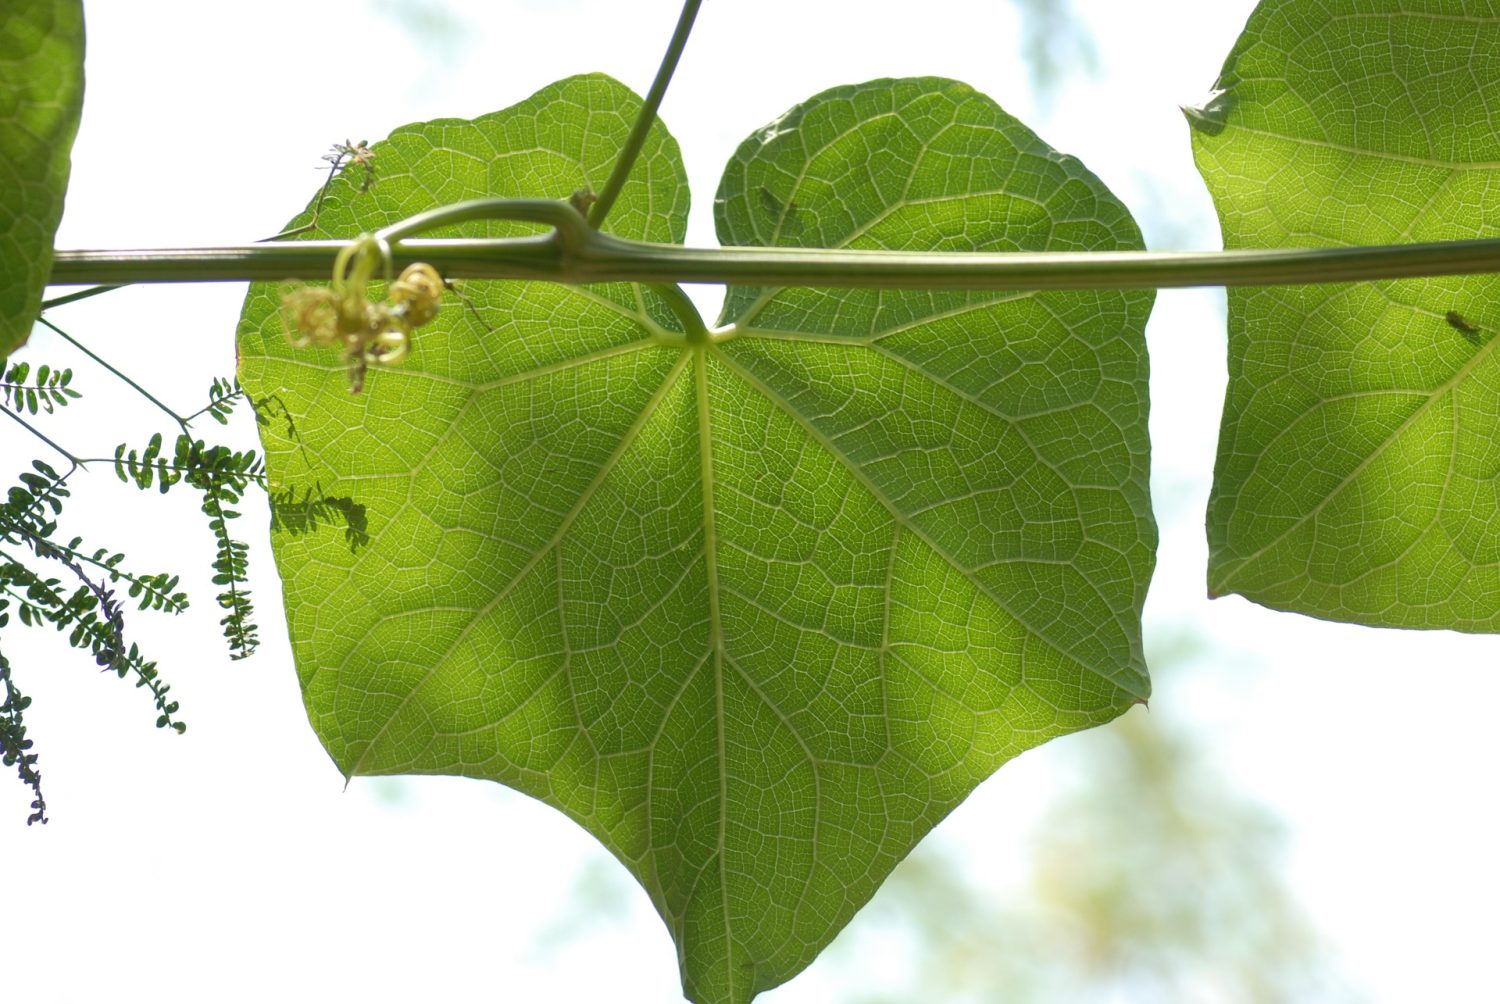
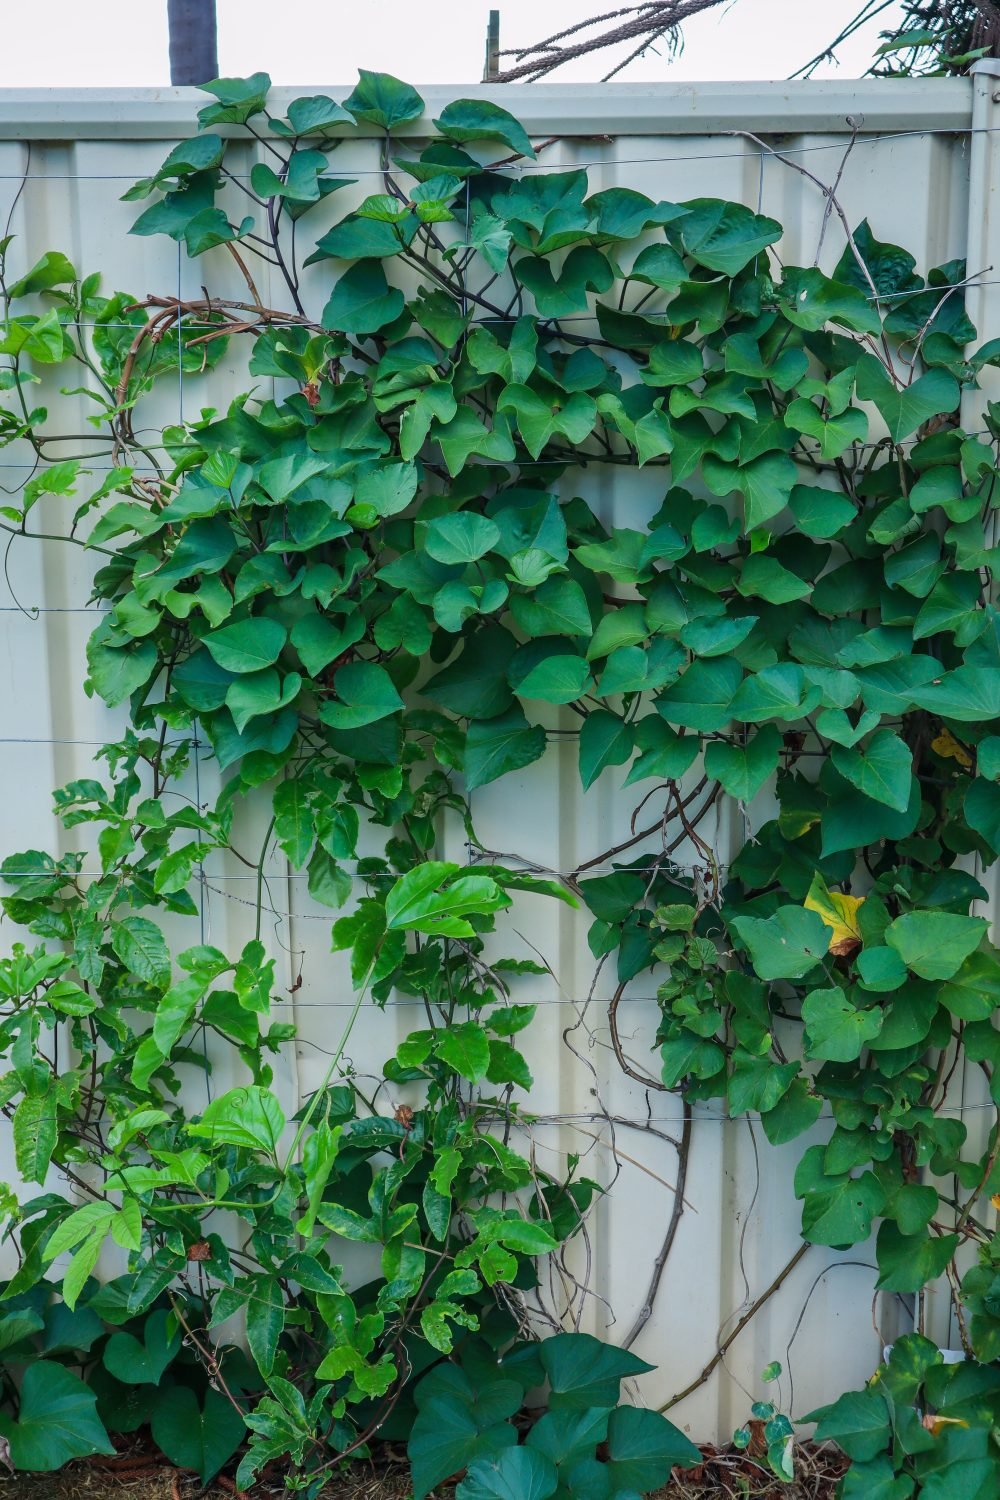
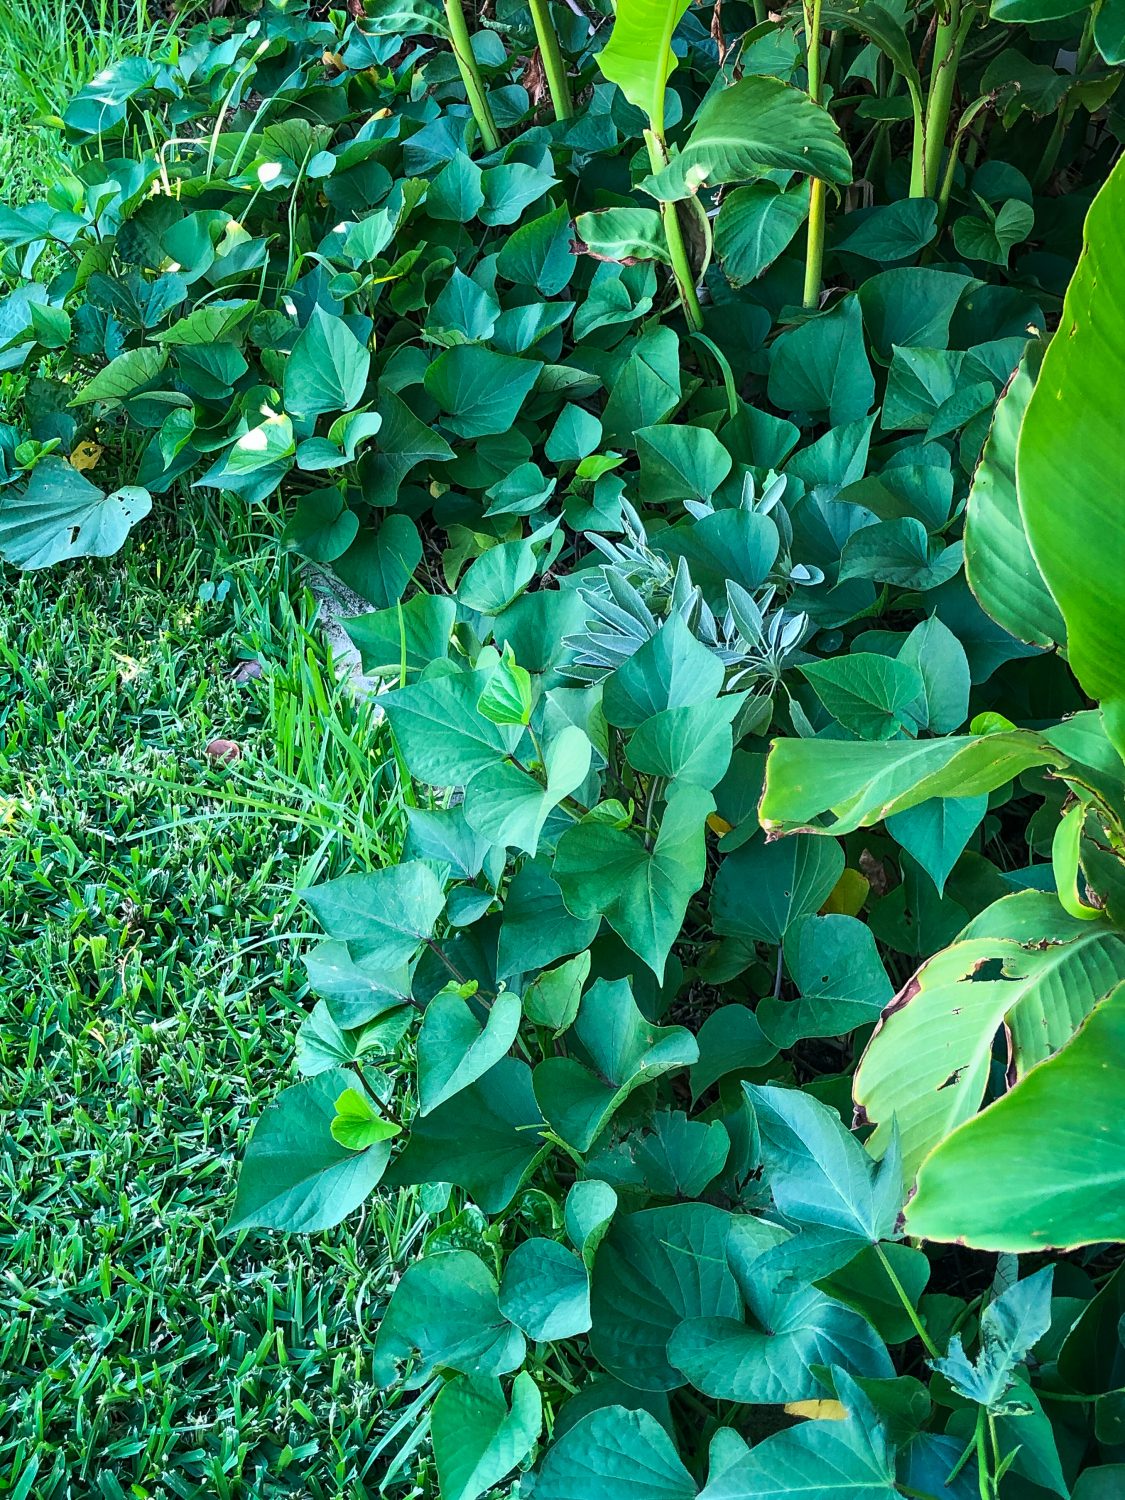
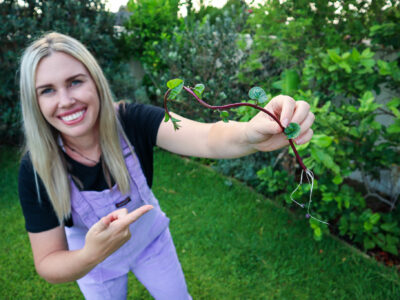
3. Sweet Potato
Growing Sweet Potatoes / Kūmara (Ipomoea batatas) in your home garden is a great step toward self-sufficiency. They are my favourite permaculture plants and are an easy crop to grow for beginner gardeners. It is important to grow plants that support and encourage other plants and beneficial insects in your garden. Creating a cohesive ecosystem that promotes the growth and success of your garden’s health and supports abundant harvests. Sweet potatoes send out runners and can easily be trained up a vertical trellis. Plus, many people do not know that the leaves of the sweet potato plant are also edible.
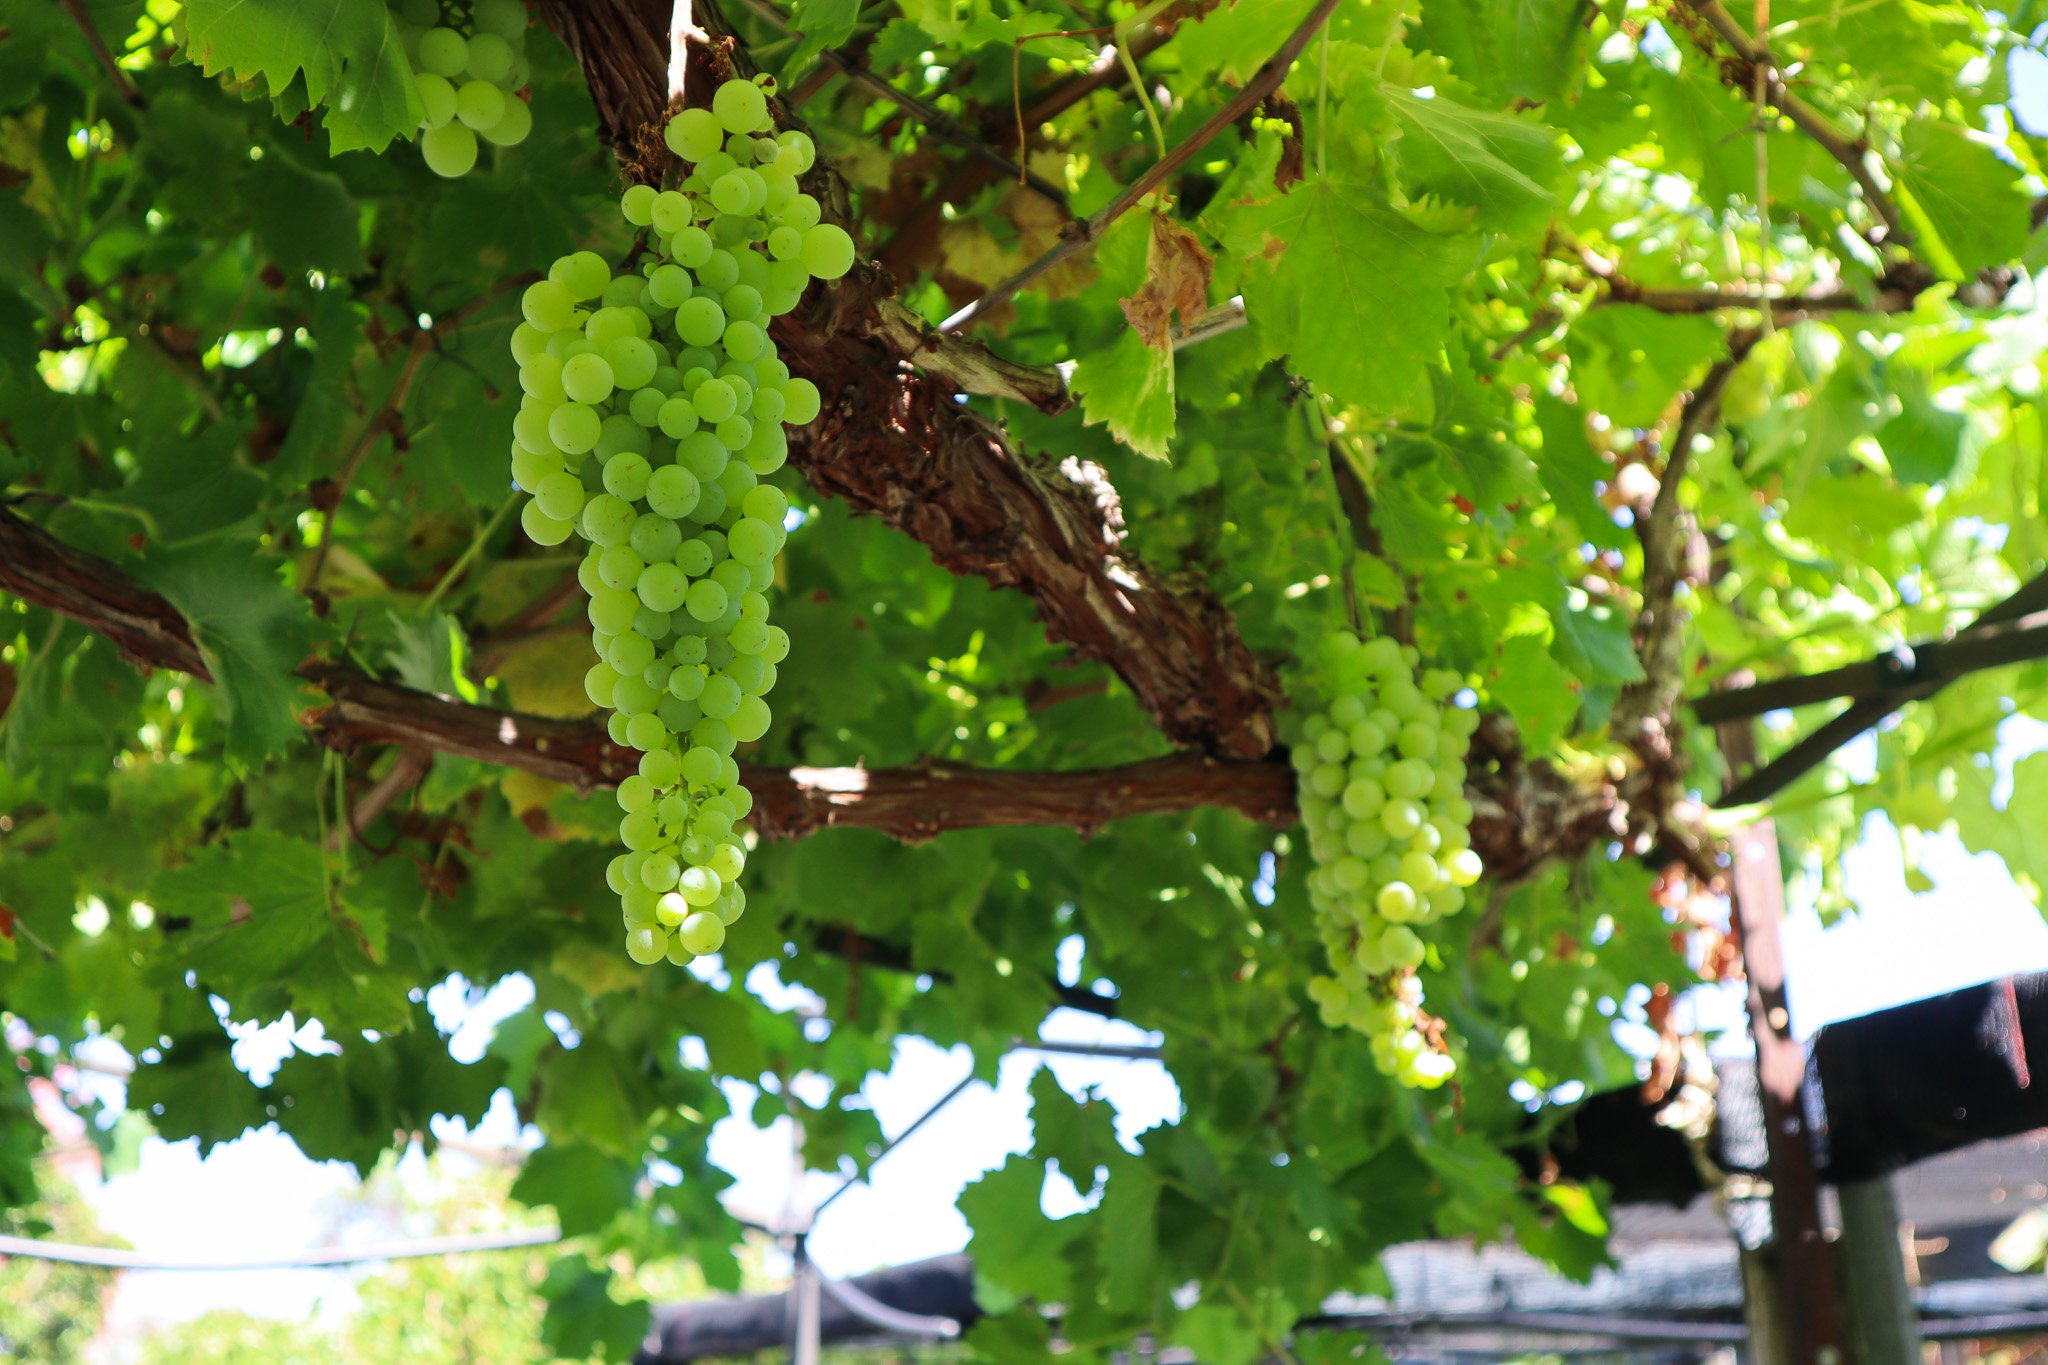
4. Grapes
The great thing about growing grapes as edible climbers is that they are deciduous. This means they lose their leaves in winter, so you can plant grapes strategically to provide shade in summer and let light through in winter!
5. Malabar Spinach
Malabar spinach is a fantastic edible climber for warm or tropical climates. It thrives in summer during warm weather when most other spinach and leafy greens die off. This can help fill the gaps in your seasonal harvests. Malabar spinach can be grown in pots or containers. It has succulent-like leaves, so it can handle hot weather, but it can be frost sensitive.
6. Butterfly Pea
If you love colour, then this edible climber will be perfect for you! With bright blue-purple flowers, the butterfly pea is a striking addition to an edible garden. The flowers can be used as a natural food colouring or infused in teas or cocktails. Plus, if you add acidity such as lemon juic,e the colour will transform to hot pink! Such a fun plant to grow.
7. Kiwifruit
Kiwifruit can be grown over structures to create great canopy shade. They are prolific producers and the fruit can be eaten fresh, frozen for smoothies, made into jams and even dehydrated for naturally sweet treats. You will need to have both a male and a female plant for pollination.
8. Kiwiberry
Kiwi berries have a similar taste to the kiwifruit, but are much smaller, around the same size as a grape. Kiwi berry vines grow really well in containers or urban gardens.
9. Nasturtium
Nasturtium is often known for its wild rambling nature but it can be trained vertically as an edible climber. The whole plant is edible, including the leaves, flowers and seed pods. Nasturtium has a strong peppery taste and can be used in salads, flavoured salts, pickles and many other recipes. Here in Perth, my Nasturtium dies down in summer but will pop up and regrow by itself in Autumn/winter.
10. Scarlett Runner Bean
Scarlet runner beans are also known as the 7-year bean because they pop up and regrow each year (for about 6-7 years). Beans are a great addition to an edible garden and can easily be cooked or frozen to preserve.
Annual Climbing Vines 🌿
Annual climbers are also great because they don’t need dedicated space, so you can grow, harvest and remove them to grow something different each season! Having a mix of annuals and perennials will help you grow more food all year round. Annual climbers can be plants such as Cucumber, Squash, Tomatoes, Pumpkin, and Melons.
Fruits that Grow on Vines
Want to grow more fruit without taking up extra ground space? Climbing fruits are a great way to grow more varieties without taking up more garden space! Check out these 17 fruits that grow on vines to get more fruiting plants in your garden.
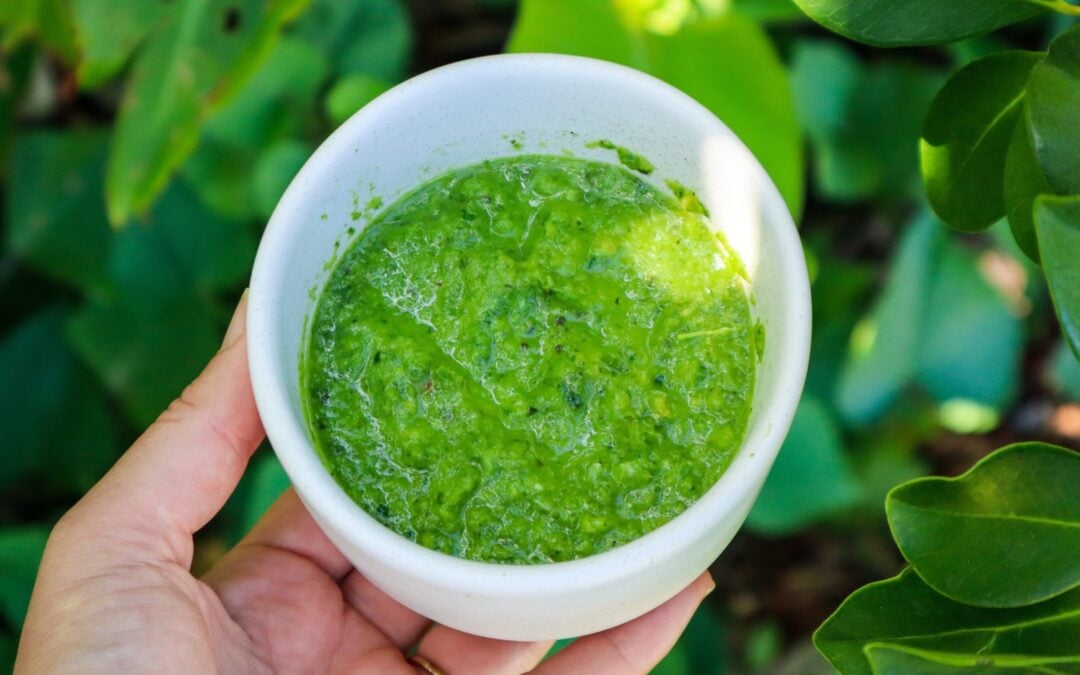
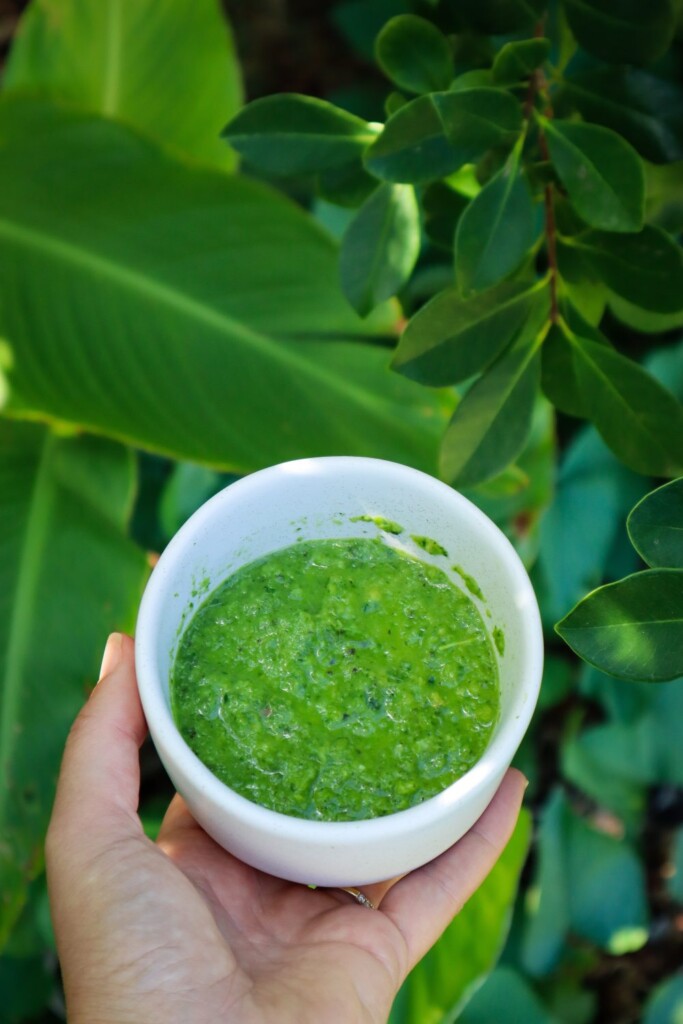
Making your own homemade green curry paste is so easy! You will never want to buy it again after you get the perfect blend. It will need adjusting to your heat tolerance, but mine is quite low, so you can always build on it from there. Using fresh herbs and ingredients from your garden takes this vibrant green curry paste to the next level! Extra curry paste can be frozen for a future quick and easy garden-to-plate meal.
See the bottom of the page for how to turn this green curry paste into a delicious meal.
Garden-to-Plate is flavour-packed!
If you grow your own herbs and chillies, this recipe is a fantastic way to use up extra harvests. Here’s a look at a few of the key ingredients and how they contribute to your garden and kitchen:
Green chillies: Long cayenne or similar varieties are perfect for this. They’re productive, easy to grow in pots, and can be frozen or dried for later use.
Lemon balm or lemongrass: Lemon balm is a wonderful lemony herb that grows like a weed. It’s a great lemongrass substitute and adds a bright citrus note.
Basil: Thai basil is traditional, but any sweet basil works. It’s easy to grow and makes this paste extra aromatic.
Spring onion: Grows well in containers or in-ground. The green tops add a mellow onion flavour.
Ginger and garlic: While not always garden-grown, both are staples in many food gardens and can be preserved or grown in pots in warm climates.
This paste also works beautifully as a marinade for grilled veggies or protein or as a punchy flavour boost in soups and noodle dishes.
Swaps & Substitutions
Lemon balm vs. lemongrass: Lemon balm is great if lemongrass isn’t available, but either works well.
Chillies: Use what you have! Bird’s eye chillies for more heat, jalapeños or milder green varieties if you prefer it gentle.
Herbs: Try coriander or mint for a different twist.
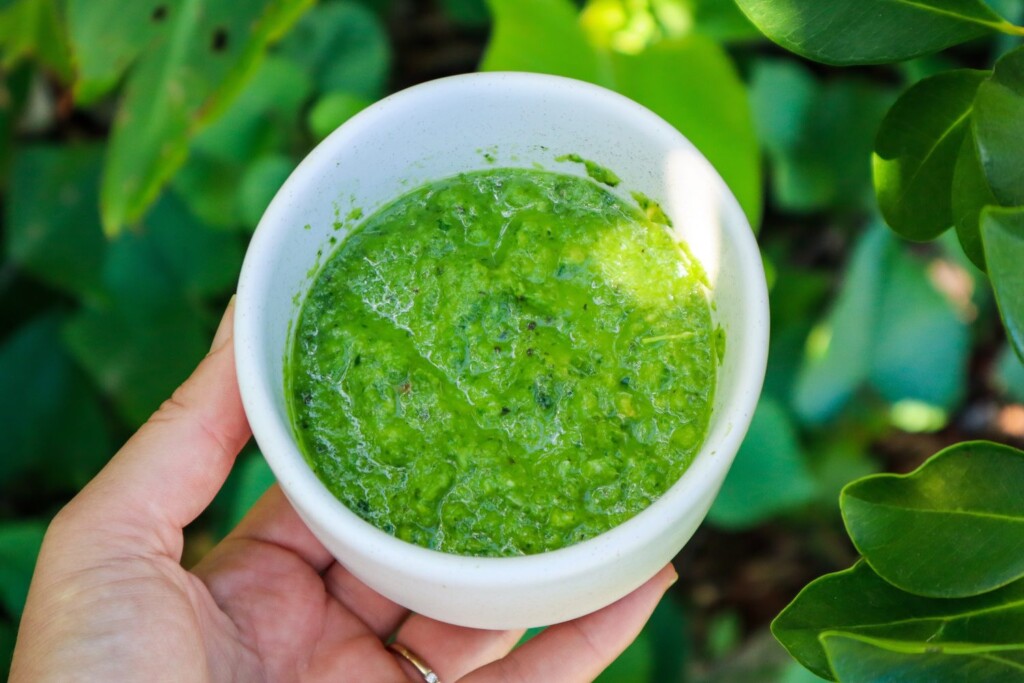
Green Curry Paste
Yield: 1-2
Fresh and vibrant green curry paste to make a delicious garden-to-plate meal from scratch!
Ingredients
6 Green Chillies (long cayenne) - see notes
1 Spring onion
3 Garlic cloves
10 cm piece of fresh ginger
1 lime
1/2 cup lemon balm (or 1 stalk lemon grass)
1/4 cup fresh basil
1 tsp Raw sugar
1/2 tsp Sea Salt
Instructions
Cut the ends of the green chillies and remove the seeds (this is optional. Keep to the side if you want to add extra heat) and slice and add to a blender or mortar and pestle.
Peel the ginger using the back of a spoon and slice it into small pieces.
Zest the lime and add the zest and juice to the mix.
Dice and chop all other ingredients and add everything to the mix.
Blitz or pound until a paste-like consistency. You may need to add a splash of water if it is not mixing.
Use immediately or freeze for future use.
Notes
Green Cayenne are on the mild side. If you are using hotter chillies use less or more to your heat preference. I also remove the seeds because I like it mild. Keep the seeds to the side and add extra during the cook if you want to increase the heat.
Other herbs and greens can be added such as parsley or corriander
Tips for Storing and PreservingGreen Curry Paste
Fridge: Store in a sealed jar for 5–7 days.
Freezer: Freeze in tablespoon-sized portions in ice cube trays, then transfer to a container or zip-lock bag for up to 3 months.
Pro tip: Label your frozen curry cubes so you know what’s what when digging through the freezer later!
How to make a Green Curry with the Homemade Paste
To turn your green curry paste into a delicious garden-to-plate meal follow these steps.
In a deep pan or Wok, brown onions in 1TSBP Olive Oil.
Add your protein of choice and brown off.
Add the green curry paste and stir to combine for 1 minute
Add 400ml of Coconut cream.
Stir and taste. Add extra sugar or salt if needed. Salt helps bring out more flavor. Sugar can ease some of the spice.
Add chopped greens and veggies such as Zucchini, Capsicum, Carrot, Snow Peas, Beans, and Chard.
Cook until protein is cooked through and veggies are softened but still have a bit of crunch.
Roasted Sweet Potato rounds are also delicious on top of a green curry!
Homemade green curry paste is a game-changer—flavourful, fresh, and full of your garden’s best. Whether you grow a few herbs on your balcony or have a thriving backyard veggie patch, this recipe is a wonderful way to make the most of your harvests.
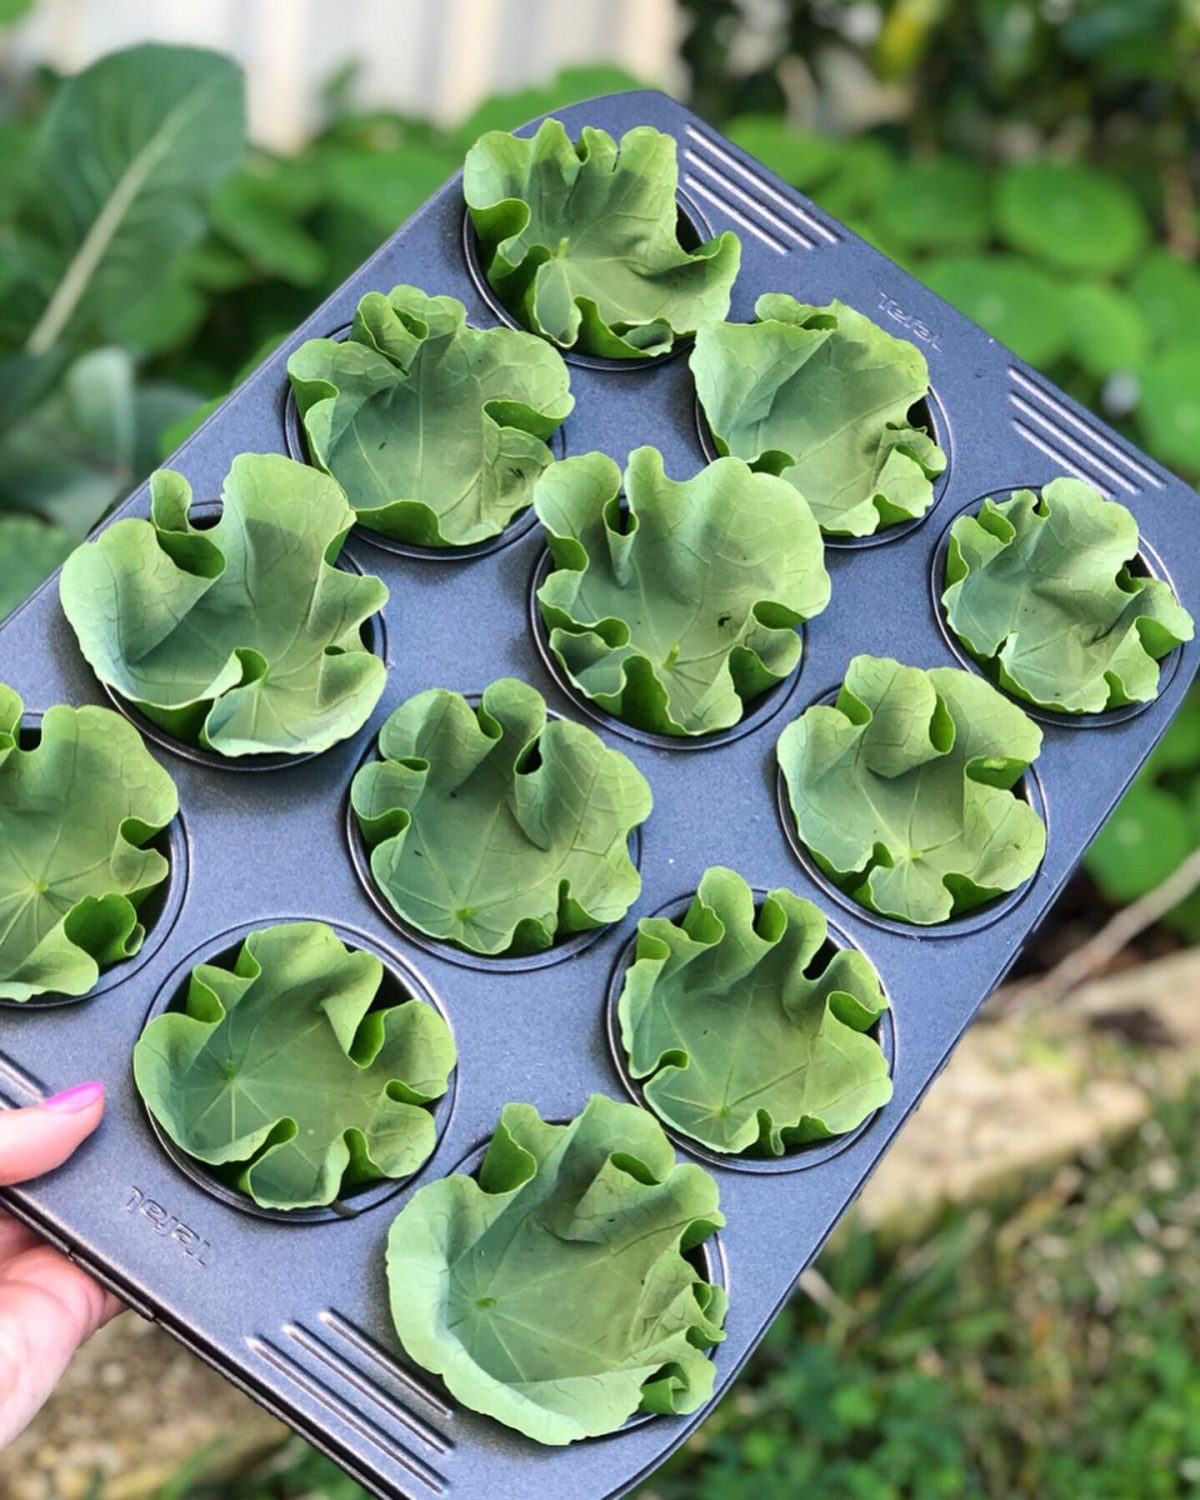
If you’re looking for a delicious, nutrient-packed way to use sweet potato leaves, this sweet and spicy greens recipe is the perfect choice. They are not only edible but also highly nutritious, making them a fantastic addition to your homegrown meals.
During the warmer months, when sweet potato vines are growing abundantly, their tender leaves make an excellent spinach substitute. Pairing them with chillies, which also thrive in the heat, creates a flavorful and seasonal dish straight from your garden.
In this recipe, we’ll sauté fresh sweet potato leaves with a blend of sweet and spicy ingredients, making it a perfect side dish or a hearty topping for rice, noodles, or even grilled meats.
Why Eat Sweet Potato Leaves?
Many people don’t realize that sweet potato leaves are 100% edible and packed with vitamins A, C, and K, as well as iron, calcium, and fiber. Unlike regular potato leaves (which are toxic), sweet potato leaves are safe to eat and have a mild, slightly sweet taste with a soft, spinach-like texture when cooked.
Some benefits include:
✅ Nutrient-dense – High in antioxidants, vitamins, and minerals ✅ Easy to grow – Thrives in hot weather, requiring minimal care ✅ Great for permaculture gardens – Offers dual-purpose harvests (leaves and tubers) ✅ Versatile – Can be stir-fried, steamed, added to soups, or blended into smoothies
Instructions
1. Prepare the leaves
Pick and wash the leaves thoroughly (see notes for tips).
Pat dry and remove any tough stems.
2. Chop the aromatics
Finely slice the onion, garlic, and chilli.
If you prefer a milder spice level, remove the chilli seeds before slicing.
3. Mix the sauce
In a small bowl, combine the soy sauce, honey, and other sauce ingredients.
Stir well to ensure all flavors are blended.
4.Stir-fry the greens
Heat a large wok or frying pan over medium-high heat.
Add the greens and ¾ of the sauce mixture.
Stir-fry until the greens have wilted but remain vibrant.
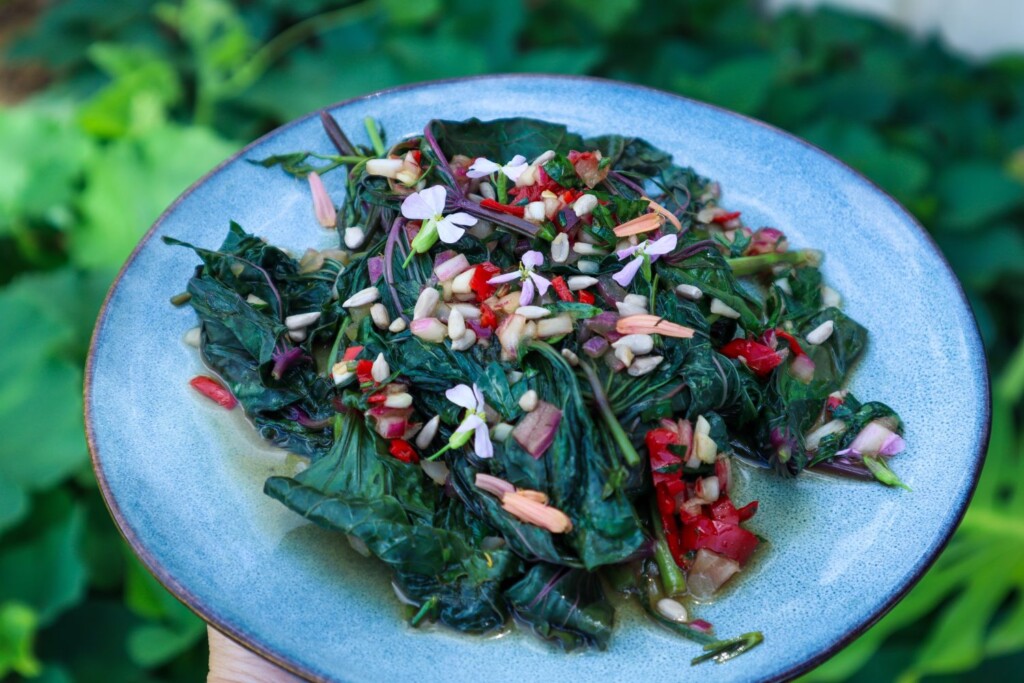
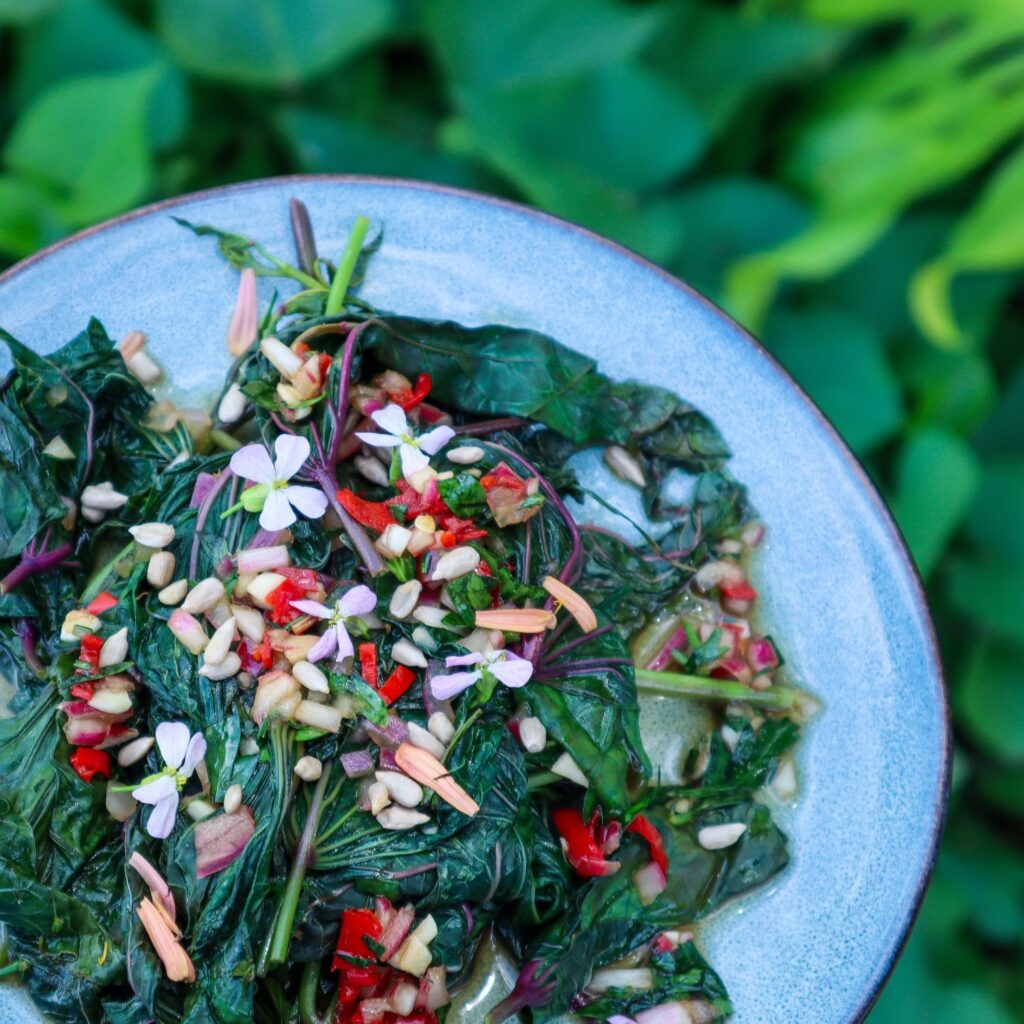
5.Serve and garnish
Transfer to a serving dish and drizzle with the remaining sauce.
Sprinkle with sunflower seeds and garnish with edible flowers if desired.
Serve immediately and enjoy!
Sweet and Spicy Sweet Potato Leaves
Yield: 2-4
Prep Time: 10 minutes
Cook Time: 2 minutes
Total Time: 2 minutes
Chilli and sweet potato greens are both thriving in the warmer months. This sweet and spicy side dish is a great way to combine the two.
Ingredients
Greens
4-6 cups Sweet Potato Greens
1 TSBP Sunflower Seeds
Sweet and Spicy Sauce
2 garlic cloves
1-2 red cayenne chillies (or your favourite)
1/4 cup chopped parsley
1 tsp Olive oil
1 TSP Red wine vinegar
1 TSP Maple syrup (or honey)
1 TSP Tamari (or soy sauce)
1 /4 cup finely chopped red onion
Instructions
Pick and wash your sweet potato greens well (see notes)
Finely slice Onion, Garlic and Chilli. Remove the chilli seeds if you don't want it too spicy (I prefer no seeds).
Add the rest of the sauce ingredients together and mix well.
Heat a large wok or frying pan on medium-high heat.
Add sweet potato greens and 3/4 of the sauce mix and stir-fry until the greens have wilted.
Place on a side dish and top with the remaining sauce along with Sunflower seeds and flowers to serve. Serve immediately.
Notes
Sweet Potato Greens excrete a white milky substance when picked. This can cause allergies to sensitive skin. Rinse well.
Sweet potato leaves will wilt to less than 1/4 the original size just like spinach does.
Choose young sweet potato leaves and shoots - the newest 4-5 leaves.
Add and swap for other greens such as spinach or chard.
Make it as mild or as spicy as you like by adding in or removing the seeds.
Recipe Variations & Substitutions
🌿 No sweet potato leaves? Substitute with spinach, kale, chard, or amaranth leaves. 🌿 Prefer it milder? Reduce the chillies or swap for sweet bell peppers. 🌿 Add protein by tossing in tofu, shrimp, or shredded chicken. 🌿 Make it heartier by serving over rice or mixing with noodles.
Tips & Substitutions
Handling the Leaves – When picked, sweet potato greens release a white, milky sap, which may cause irritation for sensitive skin. If you have skin allergies, wear gloves when handling or wash your hands immediately after.
Wilt Factor – Like spinach, sweet potato leaves shrink significantly when cooked, reducing to less than 1/4 of their original size. Keep this in mind and adjust your portion size accordingly.
Best Leaves to Use – For the most tender and flavorful greens, choose the youngest 4-5 leaves at the tip of each vine. Mature leaves can be tougher and slightly bitter.
Swap & Customize – Feel free to mix in or replace the leaves with spinach, chard, or other leafy greens from your garden.
Control the Spice – Make this dish as mild or fieryas you like by adjusting the amount of chillies or removing the seedsfor a milder flavor.
Sweet Potato Leaves
They are an underrated garden gem, offering incredible health benefits and a delicious, versatile flavor. If you grow sweet potatoes, don’t let the lush green vines go to waste—try this sweet and spicy stir-fry for a quick, nutritious meal! I also add them to any soups, curries, and stirfries for extra greens.
Have you ever cooked with them? Let me know in the comments 👇