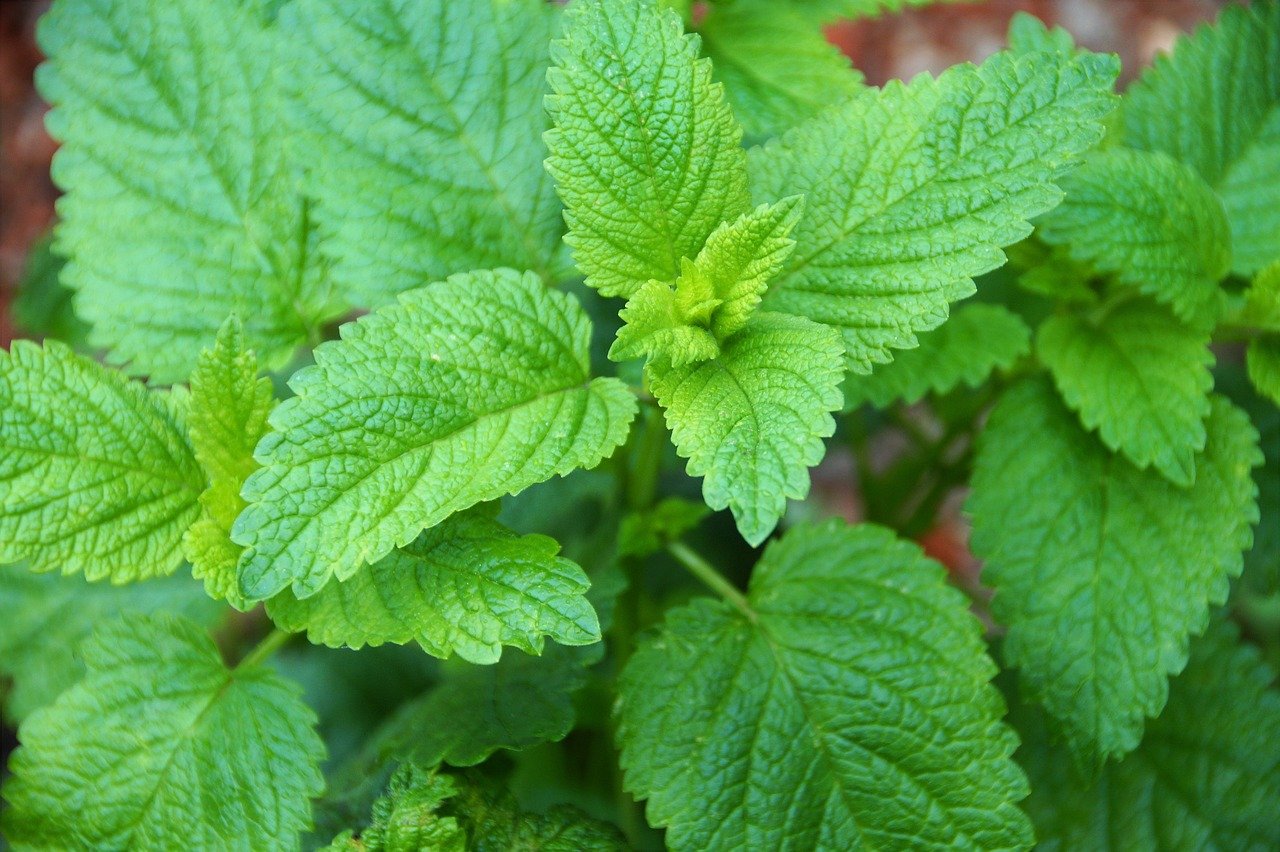
Lemon Balm (Melissa officinalis) is a perennial herb with fragrant lemon-scented leaves. Lemon balm is part of the Mint family and is known for having weed-like growth and self-seeds easily. With hundreds of small white flowers, the lemon balm is a powerful bee attractant. It has toothed edges and slightly hairy leaves with a lemony scent.
Lemon balm-like many herbs, has been traditionally used to aid in an array of health conditions. With calming and relaxing properties as well as anti-viral and anti-bacterial qualities, lemon balm is a great addition to a kitchen garden.
Springafter the last frost.Can be grown all year round in many climates.
SOIL
Fertile, moist, well-drained soil. Will grow in most soil types.
LOCATION
Full sun – Dappled or shaded position.
CARE
Regular watering – is a thirsty plant.
FERTILISE
Easy to grow and doesn’t need much help.
PESTS
Snails, slaters, and aphids.
HARVEST
Harvest regularly to keep contained.
REPRODUCE
Grows easily from cuttingsor save seeds after flowering.
Why Grow Lemon Balm?
There are many reasons to grow Lemon Balm and it is so easy to grow!
Here are some of the many reasons to grow Lemon Balm
Easy to grow
Fragrant lemon scent and flavour
Grows well in containers
Low maintenance
Pollinator plant
Relaxant
Antiviral
Aids in Cold sores
Great for teas
Salad dressings
Cut and come again harvest
Pest resistant
Reduce stress and anxiety
When to Plant Lemon Balm
Lemon balm grows well most of the year. New plants should be planted after the last frost. If planting in summer, keep well watered.
How to Grow Lemon Balm
Choose a sunny spot with dappled or part shade in the heat of summer.
Prepare the soil with rich compost
Direct sow seeds or plant in seed trays first.
1 plant is plenty.
Can benefit from protection during the heat of summer.
Care/ Maintenance
Lemon balm, like Mint is a thirsty plant. Keep well watered and have a drip tray for pots. Cut back the plant after it has finished flowering to promote new growth.
Once the plant is well-established, harvest sprigs as needed.
Use clean, sharp kitchen scissors to cut your harvest, or just pick with your hands to prevent the spreading of diseases.
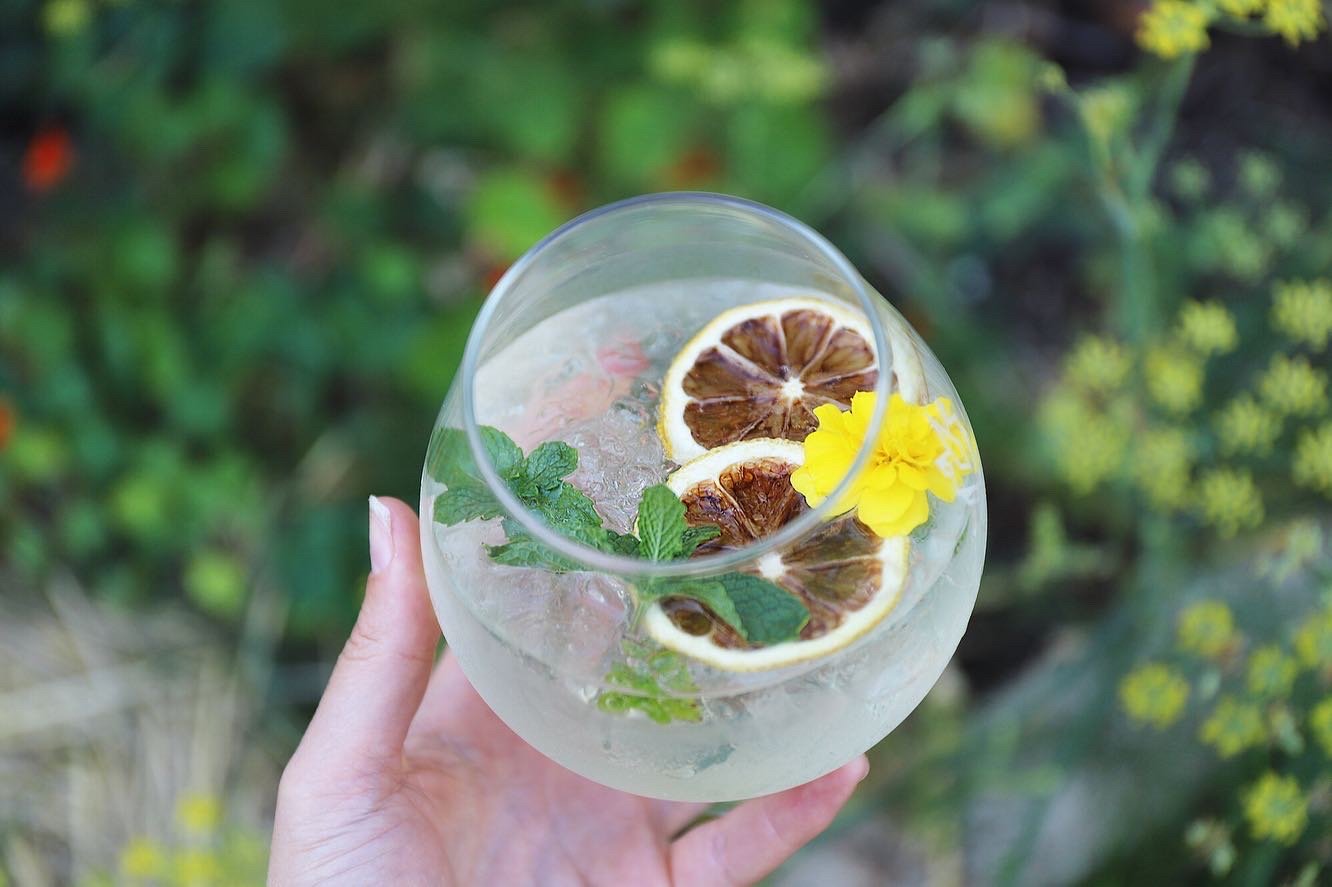
Cut and come again crop that will regrow quickly. I often harvest and use in cold drinks or teas every other day.
Reproducing
Take cuttings and allow to root in a jar of water. Refresh the water every few days. Seeds can also be saved and will flower with white flowers on the stem. Once the seeds form and turn brown, collect them and dry them further. Keep in a dark, cool and dry environment.
Cooking and Using Lemon Balm
Lemon balm is best used fresh. Dried leaves lose their scent and flavour.
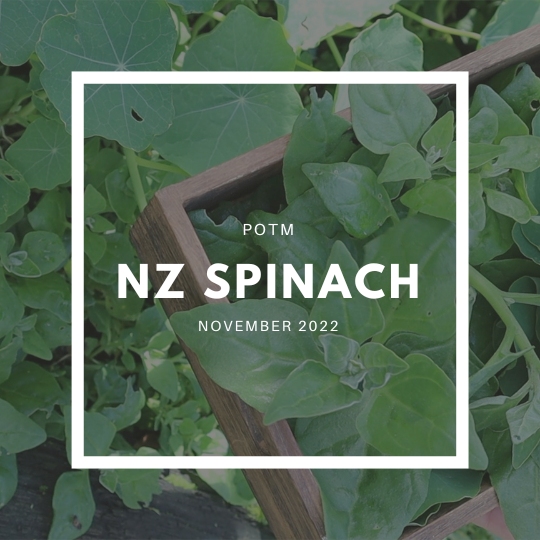
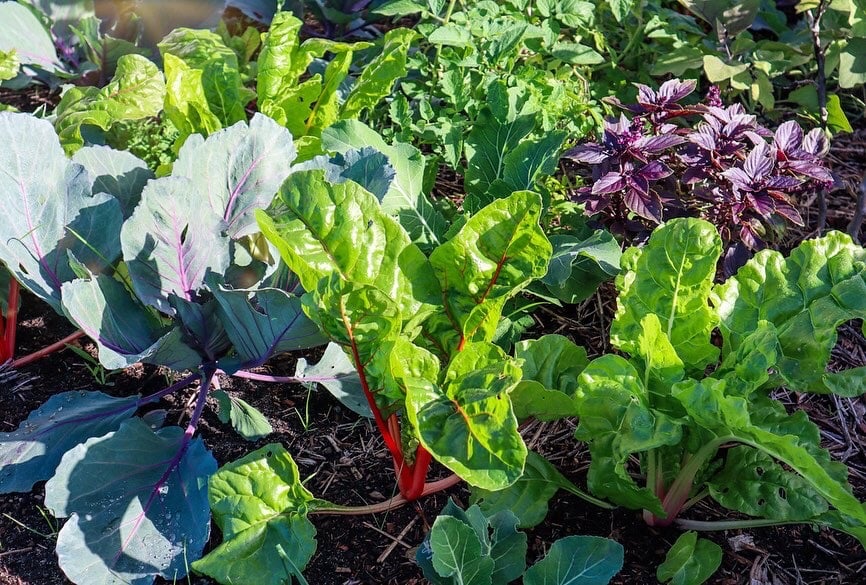
NZ Spinach (Tetragonia tetragonioides) also known in Australia as Warrigal greens is a perennial green with beautiful lush leaves. Although not part of the Spinach family, NZ Spinach is used as a spinach substitute. The great thing about this edible plant is that, unlike many spinach varieties, it thrives in warm weather! It has thicker more succulent style leaves perfect for warm climates or coastal sea spray.
NZ spinach grows as a thick edible ground cover and will cover and protect the soil in just a few short weeks. Thus, providing an abundance of leafy greens to eat!
Springafter the last frost.Can be grown all year round in many climates.
SOIL
Fertile, moist, well-drained soil. Plenty of compost.pH 6.8-7
LOCATION
Full sun – Dappled or shaded position.
CARE
Regular watering.
FERTILISE
Compost teas or liquid fertilisers.
PESTS
Slug and snail.
HARVEST
Harvest regularly to keep contained.
REPRODUCE
Grows easily from cuttings
Why Grow NZ Spinach?
There are many reasons to grow NZ spinach and it is so easy to grow!
Here are some of the many reasons to grow NZ Spinach
Easy to grow
Abundant producer!
Handles hot climates
Low maintenance
Edible ground cover
Antioxidants
High in vitamins A, C,B1,B2
Protects soil
Cut and come again harvest
Suppress weeds
Pest resistant
Handles coastal environments
When to Plant NZ Spinach
NZ Spinach is a hardy perennial but thrives in warm weather. It does not tolerate frosts so it may be grown as an annual in climates that receive cold frosty winters. Sow in Spring after your last frost. It is a vigorous grower so make sure you have space for it or it will overtake small plants. Great for a food forest-style garden or low-maintenance corners.
How to Grow NZ Spinach
Choose a sunny spot with dappled or part shade in the heat of summer.
Prepare the soil with rich compost
Direct sow seeds or plant in seed trays first. Can benefit from soaking the seeds in water overnight first.
1-2 plants per person is plenty!
Plant seedlings on small mounds to keep them well drained.
Care/ Maintenance
Protection from the harsh summer sun can help the flavour of NZ Spinach and reduce bitterness. Keep well watered in warm temperatures.
Once the plant is well established with approx 1m sprawl you can start harvesting stems at 3-4 inch pieces. This will help contain the plant and also promote new fresh growth which tastes the best!
Use clean, sharp kitchen scissors to cut your harvest.
At the end of summer, it can be a good idea to back old growth and use as mulch.
Cut and come again crop that will regrow quickly. I often harvest and use in meals every other day.
Reproducing
Take cuttings and allow to root in a jar of water. Refresh the water every few days. Seeds can also be saved and will flower with tiny yellow flowers on the stem. Once the seeds form and turn brown, collect them and dry them further. Keep in a dark, cool and dry environment.
Cooking and Using NZ Spinach
NZ Spinach like many leafy greens contains high oxalates so it is best to blanch greens first. Blanch greens in simmering hot water for 2mins and then plunge them into ice-cold water to keep them vibrant and fresh. Or simply cook or stir-fry. Young leaves can be eaten raw in small amounts. NZ Spinach is great to cook/blanch and freezes for future use. Or try fermented greens.
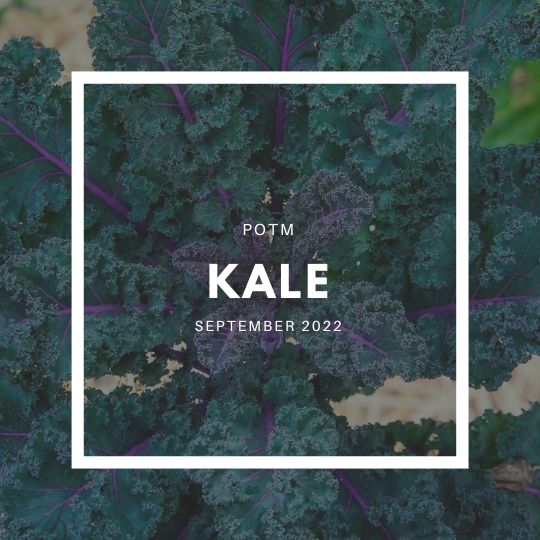
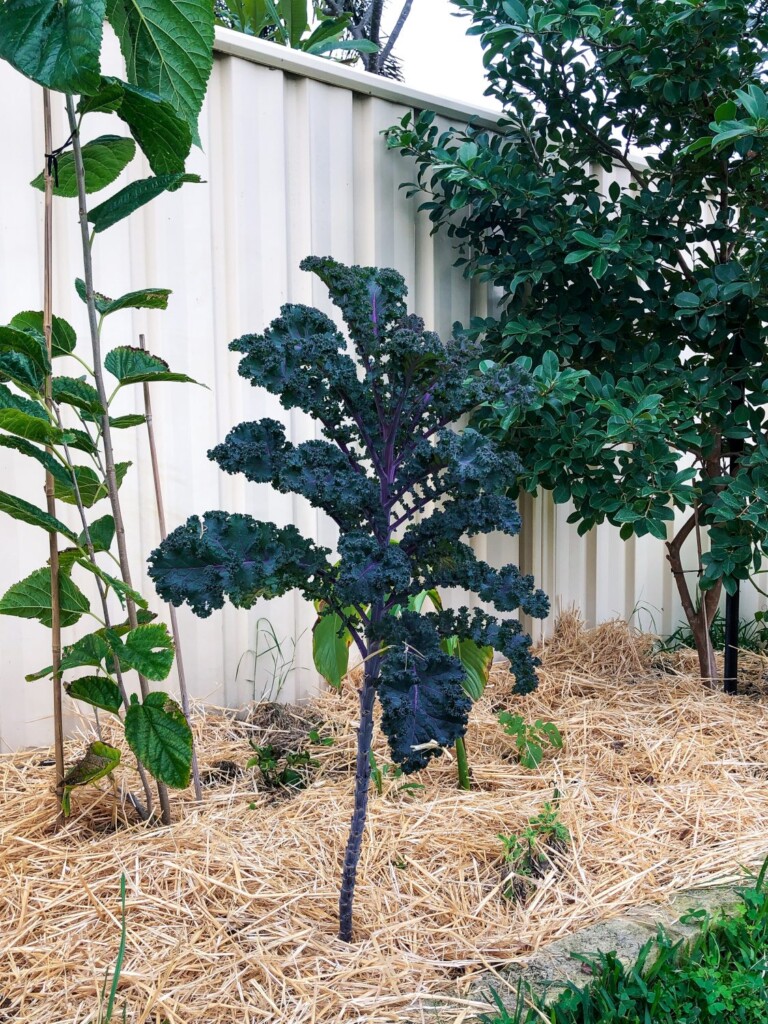
Kale (Brassica oleracea) is a member of the Cabbage family and produces an abundance of leafy greens. The great thing about Kale is that it grows vigorously and is much more pest-resistant than cabbages. Kale is packed with nutrients and antioxidants and can be used raw or cooked similar to lettuce or spinach.
Benefits from regular compost and natural fertilizers.
PESTS
Slaters, slugs, aphids, snails, and green caterpillars/ cabbage moth.
HARVEST
Harvest the outer leaves as the plant grows or cut the mature plant off and allow new growth to form.
REPRODUCE
Kale is Bi-annual so seeds usually form in the summer or second season.
Why Grow Kale?
Kale is a fantastic crop for beginner gardeners or those wanting a low-maintenance edible garden. Kale is hardy and grows well in many different conditions.
Here are some of the many reasons to grow Kale:
Easy to grow
Versatile produce
Low maintenance
Bulk up salads
Nutritious smoothies
Less susceptible to pests
Visual Aesthetics
Supports Immune health
Rich in Vitamin C,K,E
Can be eaten raw or cooked
Popular Kale Varieties
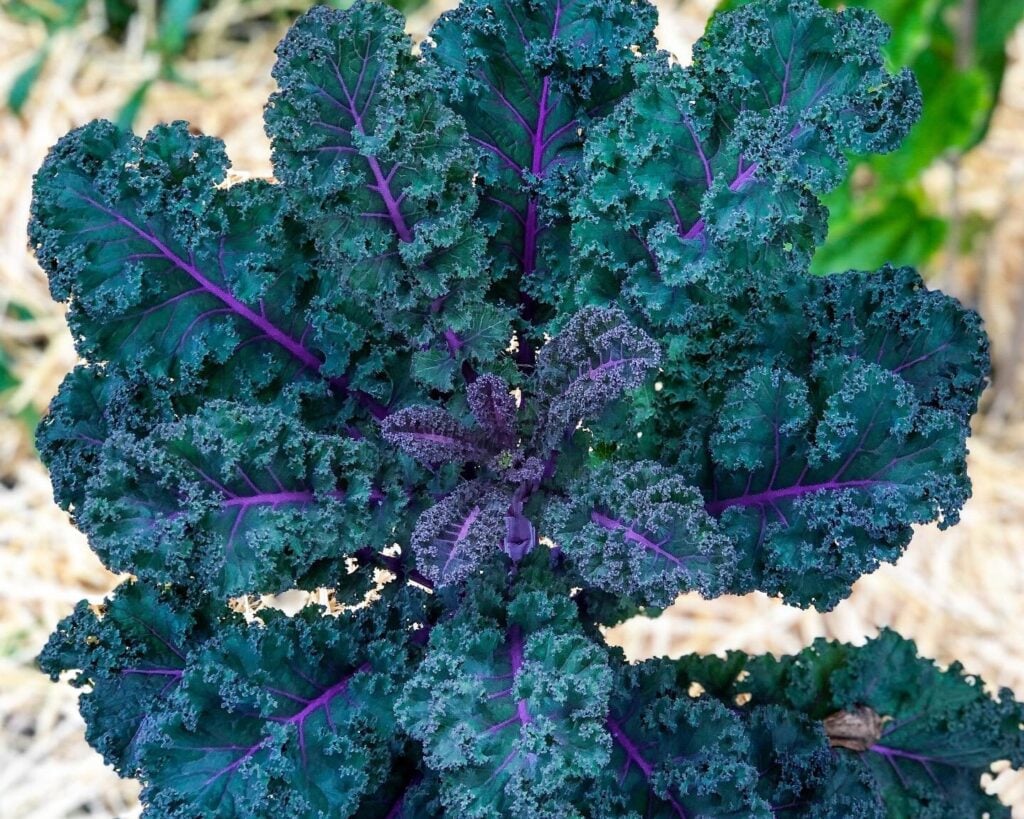
‘Tuscan / Tuscano’ – Heirloom variety. Produces long dark green, palm-like leaves. Popular for flavour and texture.
‘Red Russian’ – Silvery green curly leaves with striking purple veins. Young leaves are good raw and older leaves are better cooked. Great for microgreens.
‘Siberian‘ – Green curly leaves. Mild sweet flavour. Hardy and prolific.
‘Scarlet‘ – Bright purple frilly leaves. Colour deepens with cool weather. Nutritious and ornamental.
When to Plant Kale
Kale is best planted from the end of Summer to Spring. Flavour improves with cool weather. In summer plants can get covered in aphids and caterpillars and the flavour is less palatable.
How to Grow Kale
Plant seeds into seed trays first (young kale is popular with pests) and transplant them in a sunny location once they have 4-5 leaves.
Dig in compost and composted manure to feed the soil.
Kale has shallow roots so add mulch to keep retain moisture and regulate temperature.
Care/ Maintenance
Keep Kale well-watered and keep an eye out for pests.
Pests / Disease
Slugs and snails may eat young seedlings. Older plants can suffer from aphids and green caterpillars, especially in warmer months. Use natural pest management.
How/ When to Harvest
The best time to harvest your Kale is during the coldest months. This is when the flavour is at its best! Harvest a few of the bottom leaves off each plant to allow continuous growth. Towards the end of winter/ early spring, you can cut the Kale plants off just leaving the stalk in the ground. This will reshoot multiple side shoots for a new harvest into Spring.
Reproducing
Kale is biennial so it will go to flower and produce seeds in its second season/ year or if the weather gets too warm. If your Kale does go to flower, wait until the flowers turn into seed pods and once they start to dry and turn brown they can be harvested. Keep the seed pods somewhere warm and dry until they have completely dried out. Pop open the seed pods to reveal the small Kale seeds. Keep your seeds in a dry, dark cool location.
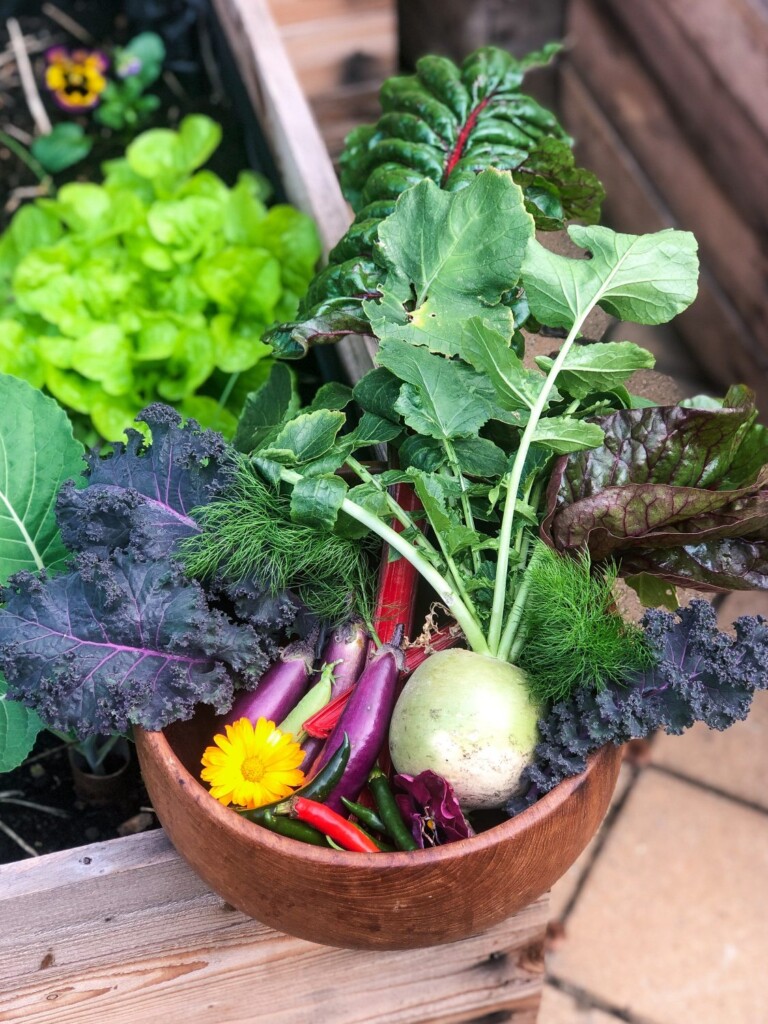
Cooking and Using Kale
Kale can be eaten raw or cooked.
Kale pairs well with: Garlic, onion, chilli, apple, lemon, potato, beetroot, sweet potato, cauliflower, cabbage, tomato, mustard, honey, radish
Kale ideas:
Salads
Smoothies
Quiche
Pie
Curry
Pastries
Stirfry
Pesto
Preserving the Harvest
Kale can be easily preserved to use throughout the year.
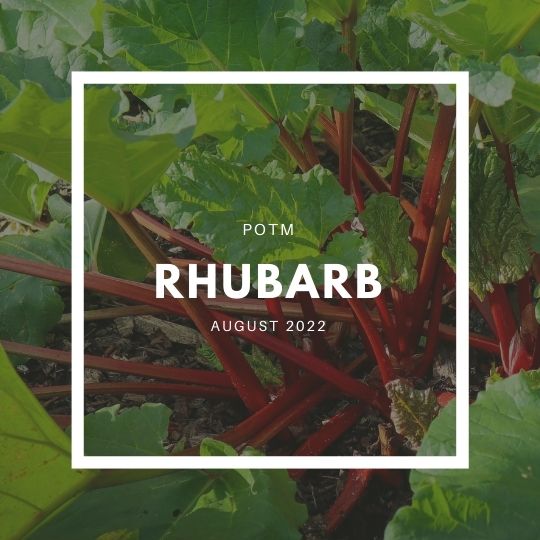
Rhubarb (Rhubarb rharbarmarum) is a long-living herbaceous perennial. Rhubarb is a hardy cold tolerant plant and many varieties have beautiful red stems to bring colour and aesthetics to your garden. Older heritage varieties can be saved for 100s of years and passed down through generations.
Rhubarb stems are the edible part of the plant and the leaves are poisonous. It is easy to grow and is often left alone by pests so it makes the perfect addition to a low-maintenance section of the garden.
Benefits from regular compost and natural fertilizers.
PESTS
Slaters, slugs, aphids, snails, and green caterpillars.
HARVEST
Harvest once established (1 year at least). Pull outer stalks rather than cutting.
REPRODUCE
Rhubarb can be split from the crown to reproduce. Seeds can also be collected from mature plants.
Why Grow Rhubarb?
Rhubarb is an edible that is easy to grow and looks beautiful and ornamental in the garden.
Here are some of the many reasons to grow Rhubarb:
Easy to grow
Delicious for baking
Low maintenance
Jams and preserves
Cold tolerant
Less susceptible to pests
Visual Aesthetics
Anti-inflammatory
High in vitamin K
Leaves can be used to make natural insecticides.
Popular Rhubarb Varieties
‘Victoria’ – Oldest heirloom variety. Produces large pinkish-red stalks.
‘Winter wonders’ – Stems are green in summer and red in winter. Cold tolerant that produces after many other varieties have gone dormant.
‘Ever Red‘ – Year-round producing. Stalks remain red all year round.
‘Wandin Red‘ – Hardy year-round producing rhubarb with red stalks.
‘Next Generation‘ – Hybrid with bright red stalks. Easy to grow all year round.
When to Plant Rhubarb
Rhubarb is best planted from Autumn to Spring. Plants can go dormant during winter in very cold locations.
How to Grow Rhubarb
Choose a sunny location that will be available as a long-term home for the Rhubarb. Rhubarb will need a bit of space so choose a location that is roughly 1m per plant although you can plant multiple plants a little closer. Rhubarb can overshadow surrounding plants.
Dig in compost and composted manure to feed the soil.
Plant roots or seedlings at least 0.5m apart as the leaves will grow large. If planting from a root ball ensure the eye or parts where the leaves will come out from is just above the surface.
Add mulch to keep retain moisture.
Care/ Maintenance
For abundant harvests, you can feed Rhubarb every 2-3 weeks with liquid fertilizer over Spring and Summer. Rhubarb may go dormant over winter so you can stop feeding and stop harvesting. Mature Rhubarb plants may send up large flowers on a stalk. These suck all the plant energy and as Rhubarb is easily propagated from splitting the plant the seeds are not really necessary. Rhubarb seeds will not grow true to type so the results may be varied. It is recommended to cut the flower off as you see it forming (unless you want to try and save the seeds).
The best time to harvest Rhubarb is once the plants are mature enough to support their growth and can handle having stems removed. This is usually best to wait 1 year after planting. Remove one or two outer stalks from each plant. Hold the stalk near the base and gently pull and twist to remove the stalk. Do not cut the stalks as the small remaining piece may rot and cause disease to the plant. Remove the leaves as just the stalk is edible.
Reproducing
Wait until the plants are mature and have many stalkings forming from the main crown. It is best to split the plants every 3-4 years to reset and renew the plant. Split your Rhubarb in early Spring before the new growth has started. Dig up the whole plant and using a clean, sharp knife cut the main root ball into sections. Ensure each section has at least one bud or point where new leaves will form from. Place the root sections back in the soil to regrow new plants.
Cooking and Using Rhubarb
Rhubarb stalks can be eaten raw or used in baking.
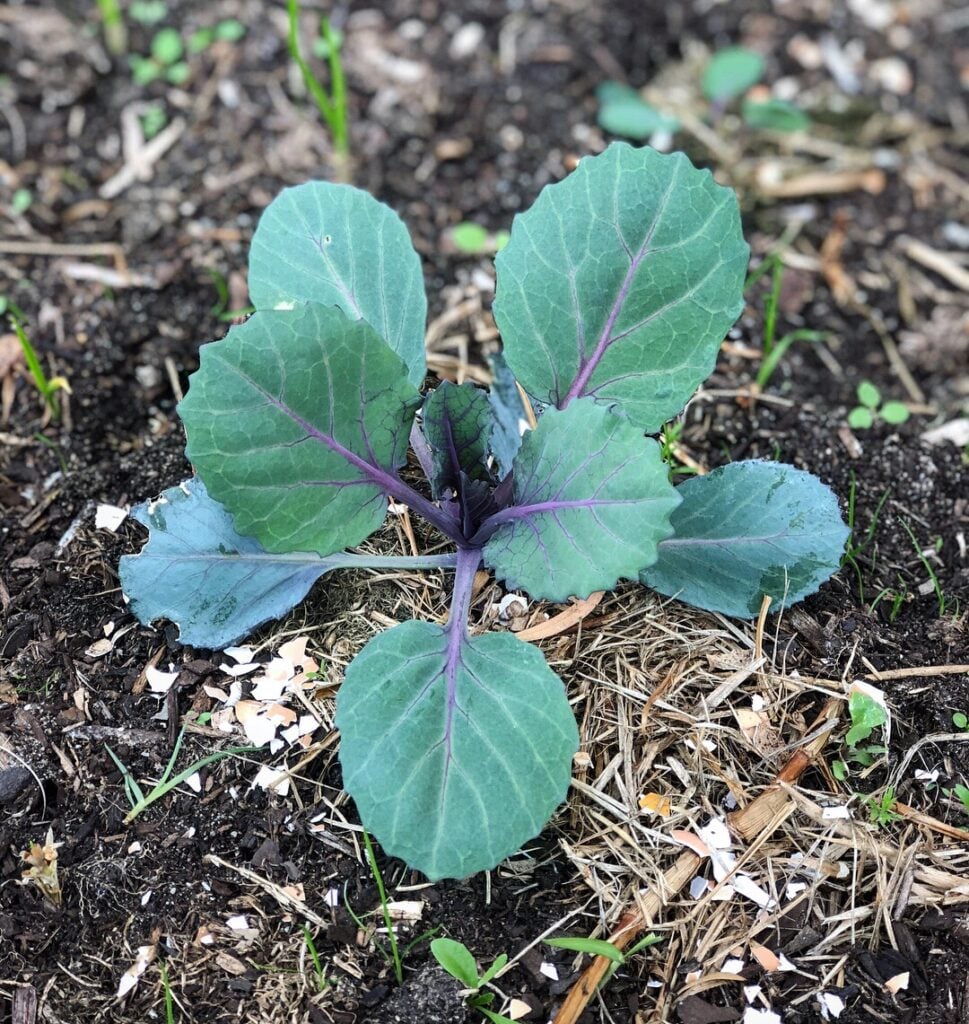
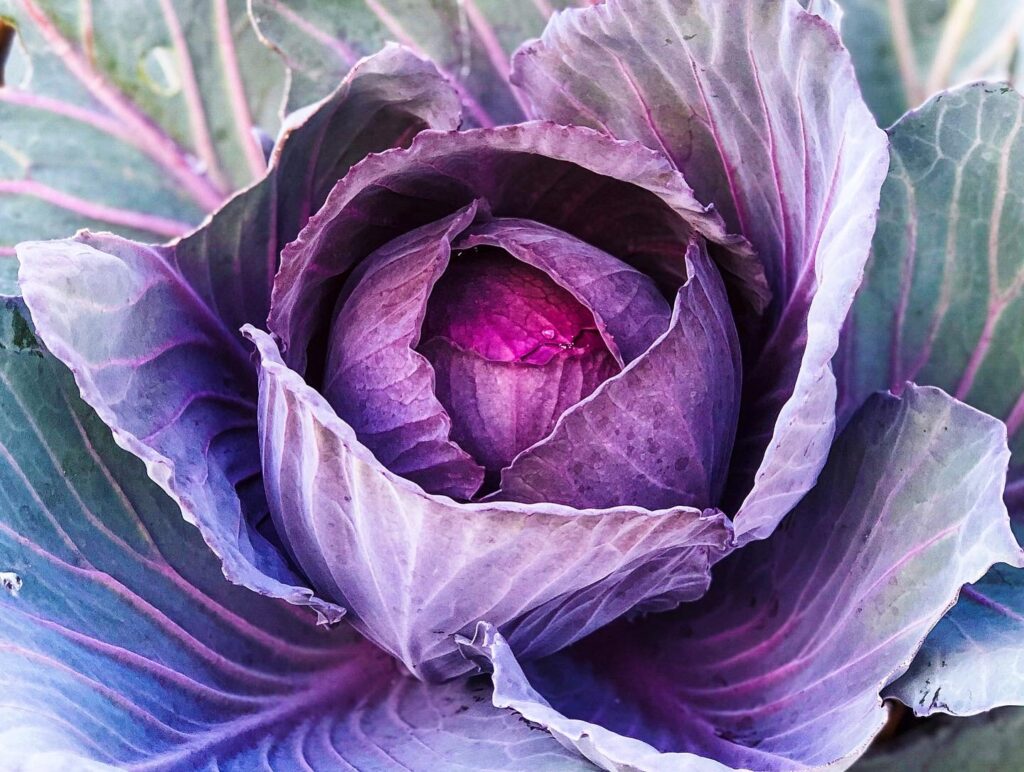
Cabbage (Brassica oleracea) is a classic staple winter veggie that provides your homestead with a hearty base crop to build many dishes.
Cabbage is a great supporting veggie BUT it can also be the star of the show! Learning to grow, cook and preserve cabbage will go a long way to supporting your ability to become more self-sufficient. Cabbage is low-calorie but packed with vitamins, antioxidants, and nutrients.
Feed with compost and with liquid seaweed fertiliser.
PESTS
Slaters, slugs, snails, green caterpillars.
HARVEST
When heads are firm. Cut with a sharp knife.
REPRODUCE
Seeds can be saved in the second year of growth. See below.
Why Grow Cabbage?
Cabbage is a great crop to grow to feed the family and they look beautiful and ornamental in the garden.
Here are some of the many reasons to grow Cabbage:
Easy to grow
Low maintenance
Produce a lot of food
Can be used raw or cooked.
Rich in vitamin C, K, B12
High in anti-oxidants
High in fibre
Nutrient-dense
Can be used as a food colouring
Promote cardiovascular health
Popular Cabbage Varieties
‘Mini’ – Small green cabbage great for urban gardens. Slow blot. 18 weeks to harvest. 1.3kg size.
‘Early Jersey Wakefield’ – Tight cone-shaped green cabbage. Space-saving for urban gardens. Harvest small or allow to 2-3kg size.
‘Brunswick‘ – German heirloom green cabbage. Late season crop. Large 3kg Cabbage.
‘Red Drumhead‘ -Heirloom red cabbage with beautiful purple leaves. Large 3kg+ size. Caterpillar resistant so good for warmer months.
‘Red Express’ – Compact small red cabbage. Quick to grow and will produce an early harvest.
‘Savoy‘ –Green cabbage with distinctive curly texture. Mild flavour. Rich in vitamins.
When to Plant Cabbage
Cabbage is mainly grown in the colder seasons of Autumn and winter but some varieties can be grown in the warmer months to allow for a full year of cabbage harvests. Plant seeds at the start of Autumn.
How to Grow Cabbage
Choose a sunny location.
Prepare compost-rich soil ( pH 7.5 preferred)
Direct sow or plant your seeds in seed trays.
Plant seeds or seedlings 40cm apart
Protect young seedlings from slugs and snails but adding a ring of crushed eggshells
Add mulch to keep retain moisture
Care/ Maintenance
Cabbage are heavy feeders and can benefit from a liquid fertilizer every 2-3 weeks
Regular watering
Pests / Disease
Slugs and snails may eat young seedlings. Use natural pest management. Green caterpillars from the white butterflies are usually the main culprits. Especially during warmer months of the year. In some cases, exclusion nets over your cabbage plants or entire patch may be the best option.
How/ When to Harvest
When the cabbages form a tight ball and look about the right size to harvest (check the variety to how big you can expect them to grow) Use a sharp knife to slice the cabbage stem at the base. Remove some of the old outer leaves and rinse well checking for bugs and poop.
Reproducing
Cabbage plants are biannual meaning they will produce seeds in their second season. This means saving seeds from cabbage can be quite time consuming and will take up space in your patch. Cabbages grown in warm months will also attract a lot of white butterflies to your veggie patch. Most of the time it is easier and more effective to purchase cabbage seeds. If you would like to try to save your own – leave a few cabbages without harvesting them for a year to produce flowers and then seeds. Once the seed pods start to dry on the plant, pick and dry further inside. Separate out the seeds from the seed pods and store them.
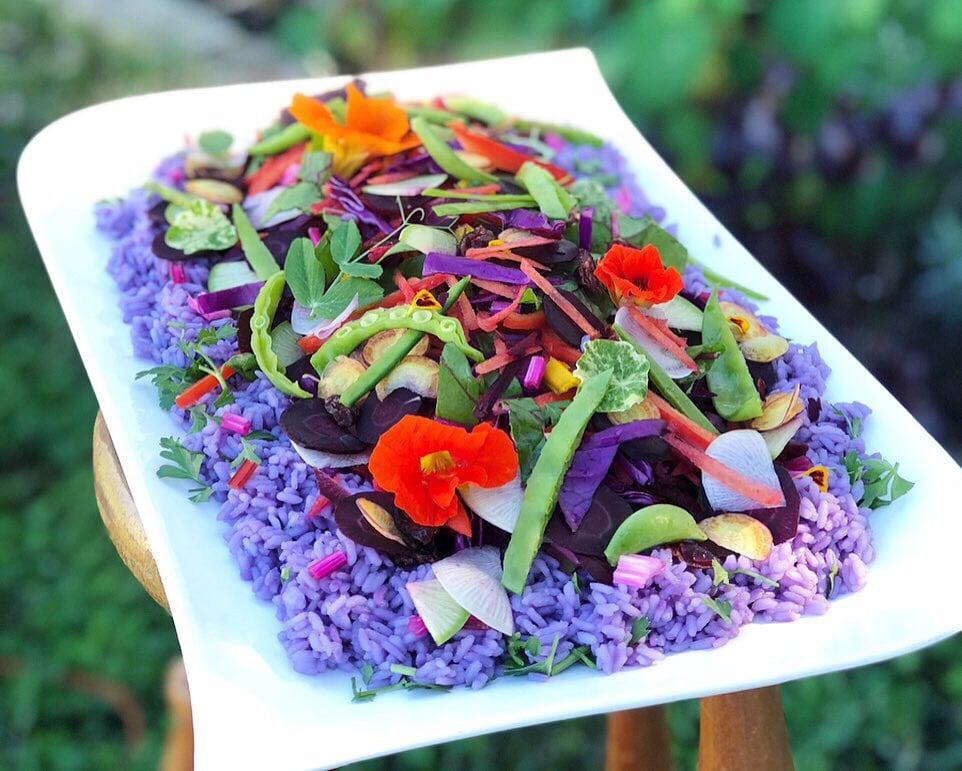
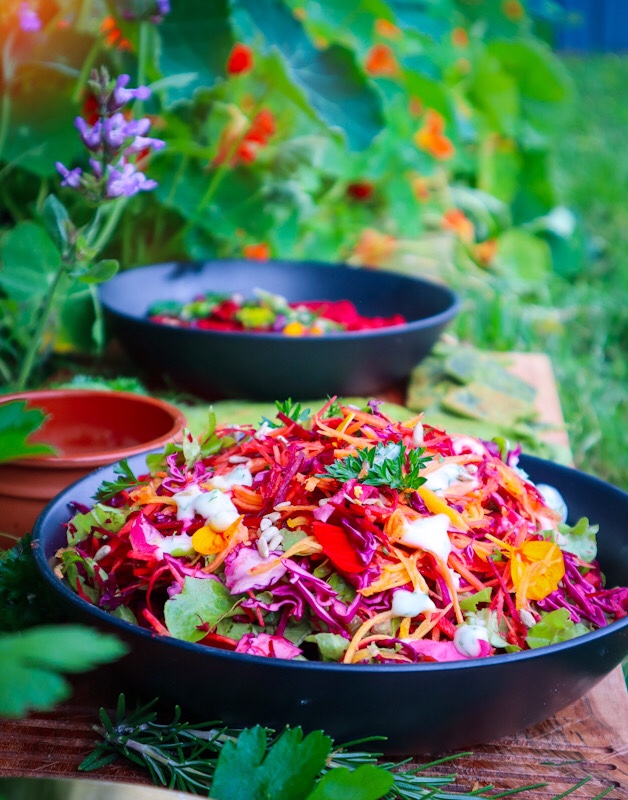
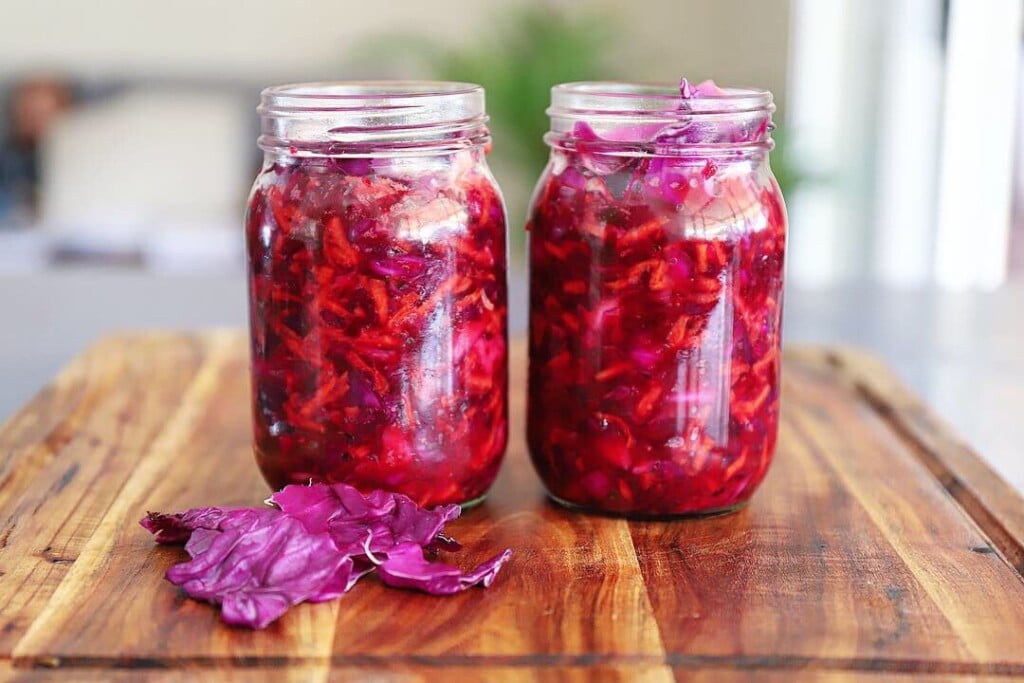
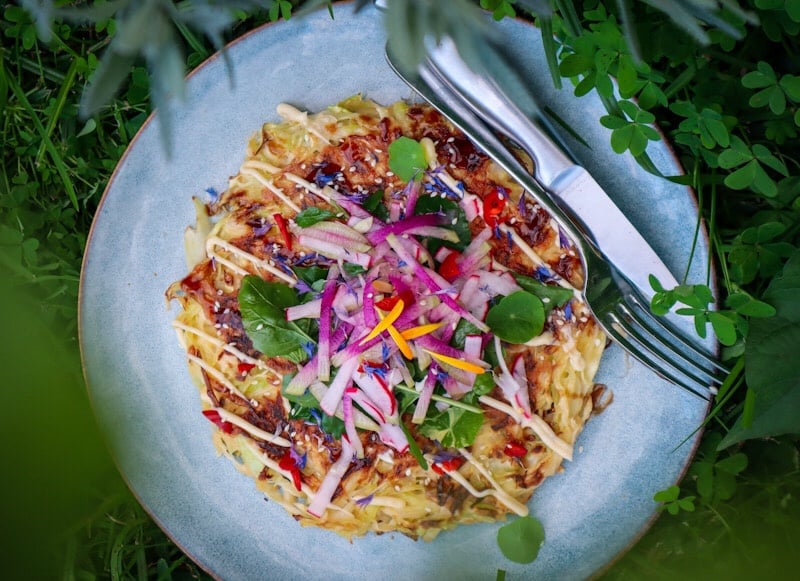
Cooking and Using Cabbage
Cabbage is a versatile veggie that can be used raw, cooked, roasted and pickled.