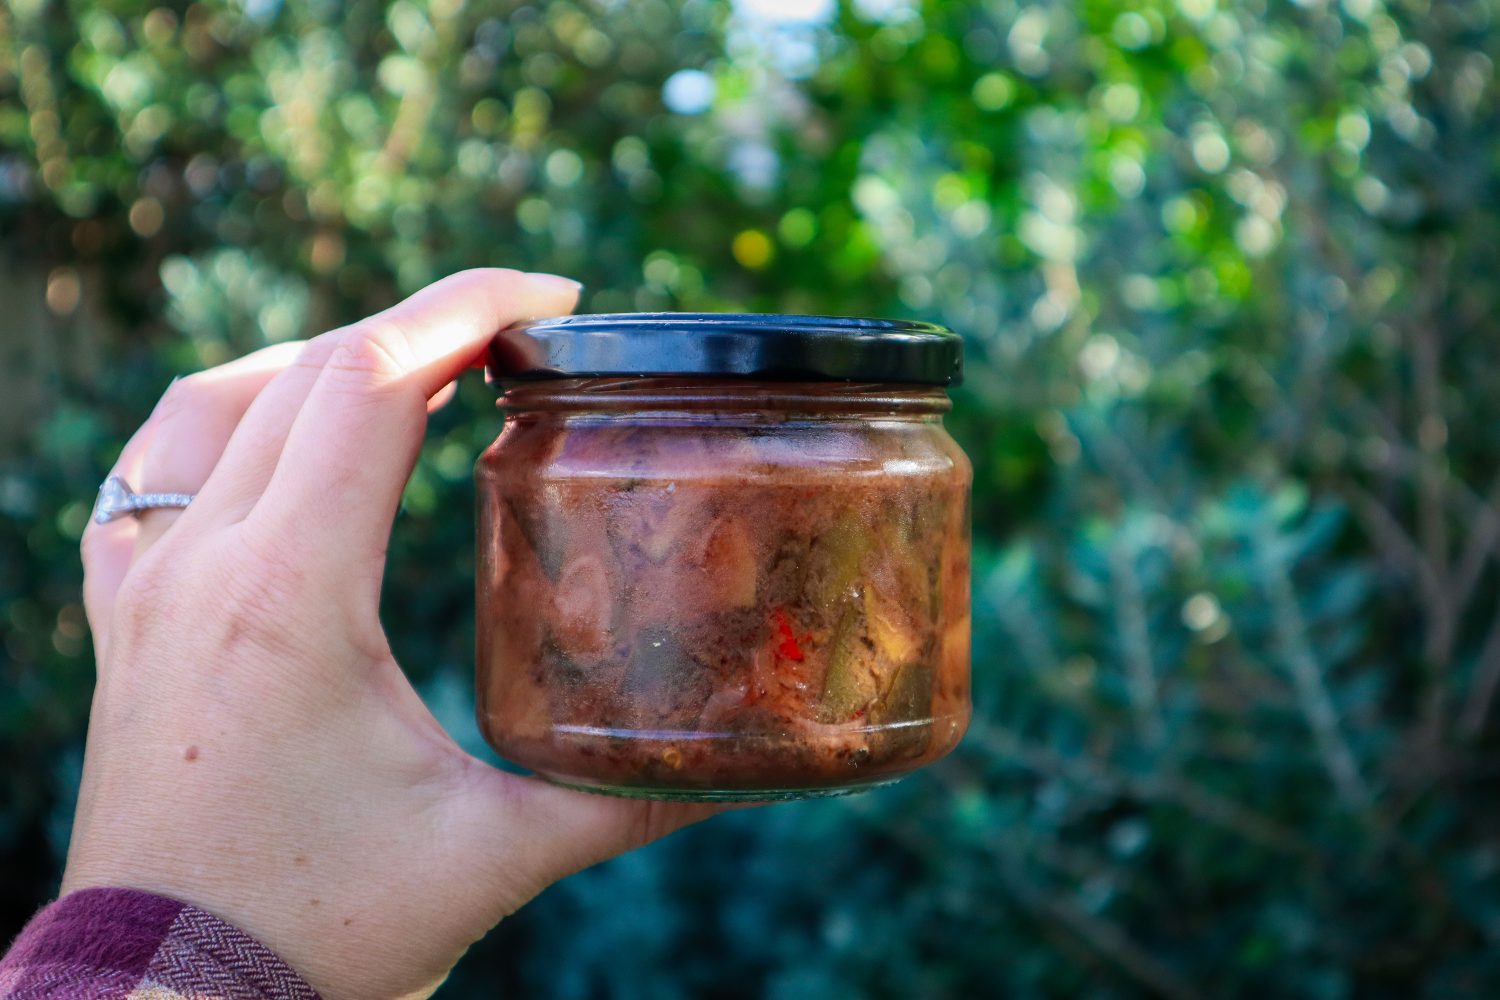
This a delicious zero-waste recipe to use up your excess Feijoa skins and get the most out of your harvest. Feijoas ripen quickly, within a few weeks, and it can be hard to keep up! This Feijoa skin chutney is a delicious way to enjoy your harvests and makes a great gift! Enjoy on a cheese platter or add flavour to a sandwich.
The Best Way to Use Feijoa Skins
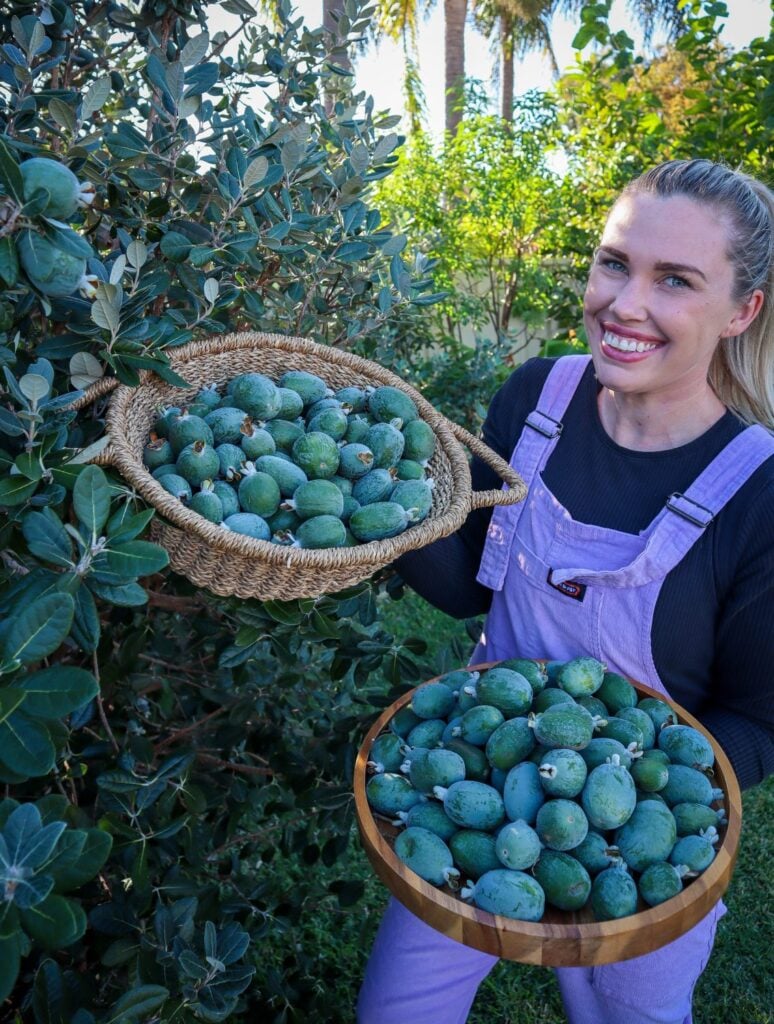
Feijoa season is short but abundant, leaving many gardeners and Feijoa/ Pineapple Guava lovers wondering what to do with the excess fruit. Instead of letting the skins go to waste, why not turn them into a delicious Feijoa Skin Chutney? This simple recipe transforms feijoa peels into a flavorful condiment that pairs beautifully with cheese, meats, and sandwiches.
Using Feijoa skins reduces food waste and ensures you get the most out of your harvest. This chutney is packed with bold flavors, balancing the natural tartness of feijoa skins with warm spices and sweetness. Plus, it makes a wonderful homemade gift for friends and family!
Why Use Feijoa Skins?
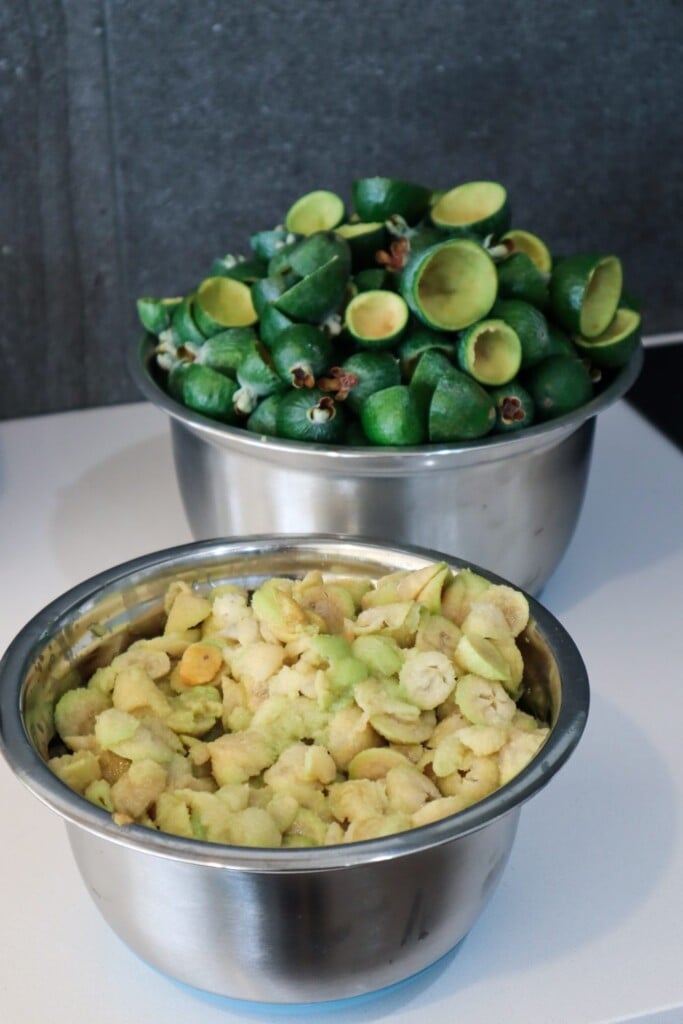
Most people scoop out the feijoa flesh and discard the skins, but the skins are packed with flavor and nutrients. I love eating them whole, which gives a balance of sweet and sour flavour! But… with huge harvests, it’s time to get creative!
The skins have a slightly bitter and aromatic taste, which blends beautifully with the spices and vinegar in this chutney.
By using the skins, you can: – Reduce food waste and maximize your harvest – Enjoy a unique flavor that’s different from regular feijoa chutney – Create a versatile condiment for both sweet and savory dishes
What You’ll Need to Make Feijoa Skin Chutney
This recipe uses simple pantry staples to bring out the best flavors in feijoa skins. Here’s what you’ll need:
Feijoa skins – Washed and chopped
Onions – For a rich, savory base
Apple cider & red wine vinegar – Adds tang and preserves the chutney
Raw sugar – Balances the tartness
Cumin Seeds – Warm spices for depth of flavor
Chili (optional) – For a little kick
Feijoa Skin Chutney
Prep Time: 15 minutes
Cook Time: 2 hours
Total Time: 2 hours15 minutes
Sweet chutney is perfect for cheese platters or to add flavour to sandwiches. Great zero-waste recipe to use up left over Feijoa skins.
Ingredients
3 cups feijoa skins chopped
1/2 cup red wine vinegar
1/2 cup apple cider vinegar
2 onions
2 green or red cayenne chilli (mild-medium spice)
1 cup raw sugar
1 1/2 tsp salt
1 tsp cumin seeds
Instructions
Remove the hard flower ends of the feijoas skins and slice the skins into strips (roughly 1cm wide).
Remove chilli seeds (or leave them in if you like it spicey!). Slice into pieces.
Peel (discard skins) and dice onion.
Place all ingredients in a pot or saucepan and lightly simmer for 1-2 hours until thickened and brown.
Sterilise jars by washing and adding them to the oven upside down at 120 degrees celsius for 15mins. Place lids in a bowl and add boiled water.
Spoon hot chutney into hot jars, clean rims and secure lids.
Notes
Once opened use within 1 week and keep refrigerated.
You can add Feijoa flesh as well as skins but this would increase the sweetness so use less sugar.
Ways to Enjoy Feijoa Skin Chutney
This chutney is incredibly versatile! Try these serving ideas:
On a cheese platter – A perfect match for sharp cheddar or creamy brie
In sandwiches or wraps – Adds a sweet and spicy kick
With grilled meats – Delicious as a glaze or dipping sauce
As a homemade gift – A thoughtful and unique present
Storage Tips & Shelf Life
Store chutney in sterilized jars for up to 6 months in a cool, dark place.
Once opened, keep in the fridge and use within 2–3 weeks.
The flavors will develop over time, so let it sit for a few weeks before enjoying for the best taste!
A Delicious Way to Reduce Food Waste
Making Feijoa Skin Chutney is one of the best ways to make the most of your feijoa harvest. It’s a simple, delicious, and sustainable recipe that transforms leftovers into a gourmet treat. Give it a try this feijoa season, and enjoy a homemade condiment that’s bursting with flavor!
What do you make with your excess feijoas? Let me know in the comments! 🌿
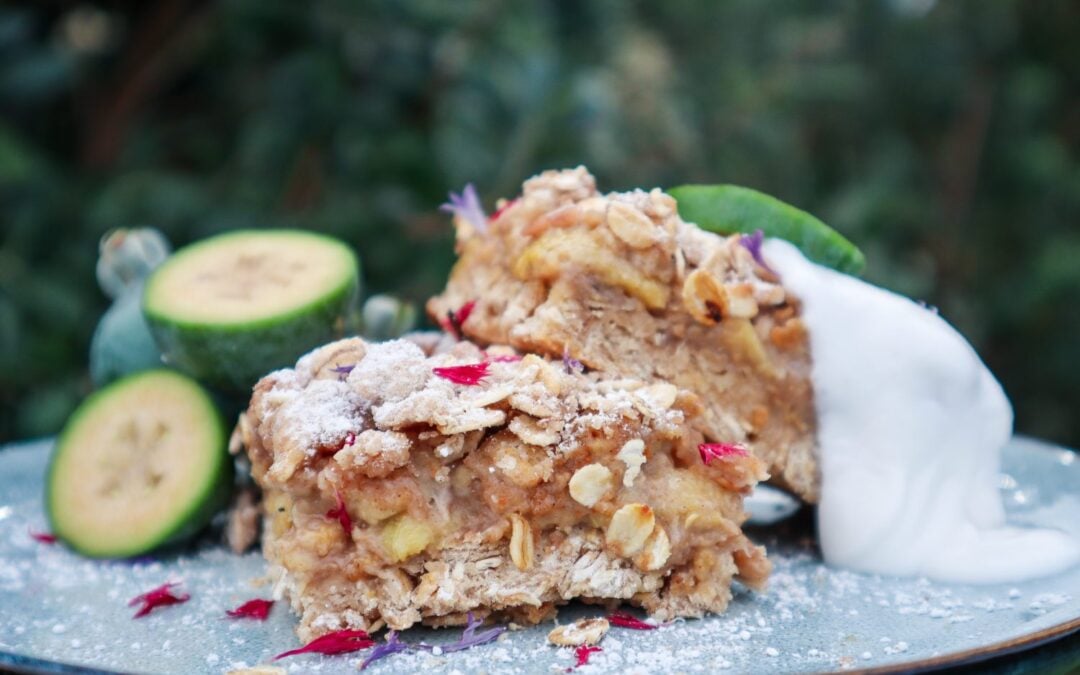
Feijoas or pineapple guavas come in thick in fast over the Autumn month. Their sweet, perfumey flavour is delicious and eaten fresh but once the trees are established you will have a hard time keeping up with them! This Feijoa crumble is delicious and not too sweet. Serve with ice cream yogurt or custard. Feijoas can be frozen to make this throughout the year or switch out the feijoas with other fruit such as apples, apricot, or plum.
Feijoa Crumble Slice
Prep Time: 20 minutes
Cook Time: 35 minutes
Total Time: 55 minutes
Feijoa crumble slice is delicious served warm with icecream, yoghurt, or a sweet treat for packed lunches.
Ingredients
Crumble
2 cups flour
1 1/2 cup rolled oats
1/2 cup shredded or desiccated coconut
1/2 teaspoon baking powder
1 /2 teaspoon cinnamon
1/8 teaspoon salt
1/4 cup yoghurt
1/3 cup maple syrup
1 teaspoon vanilla extract
80g Butter
Filling
3 cups Feijoa flesh (scooped out of the skin)
1 TBSP Raw sugar (or honey)
1 TBSP Flour
1 tsp Lemon Juice
1/2 tsp Cinnamon
Instructions
Preheat oven to 180 degrees Celsius.
Scoop out the flesh of the Feijoa (or thaw out previously frozen ones).
Add Crumble ingredients to a bowl and lightly mix into a crumble.
Grease or line a 20cm baking dish and press 2/3rds of the mixture in to form a base.
Bake for 15 minutes or until edges turn golden.
Mix filling ingredients together and pour over the base.
Evenly spread the remaining crumble on top and bake for a further 20-30 minutes until golden.
Enjoy!
Notes
Feijoas can be mixed with finely sliced apple if you do not have enough.
Swap out the Feijoas for whatever fruit you have in season such as Strawberry, Plum, Apricot
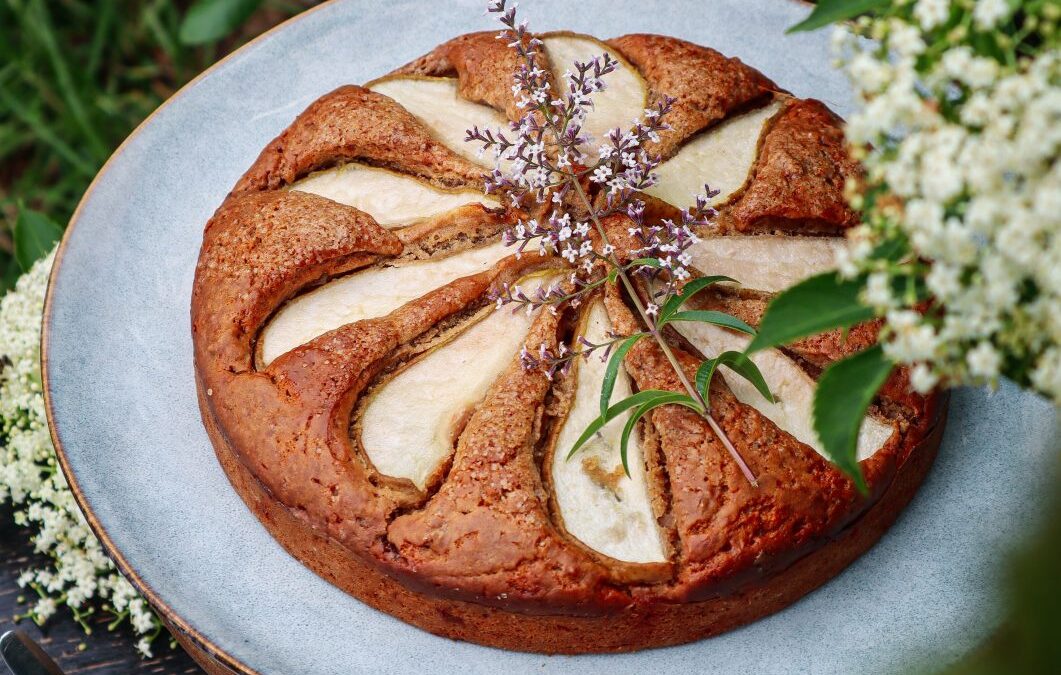
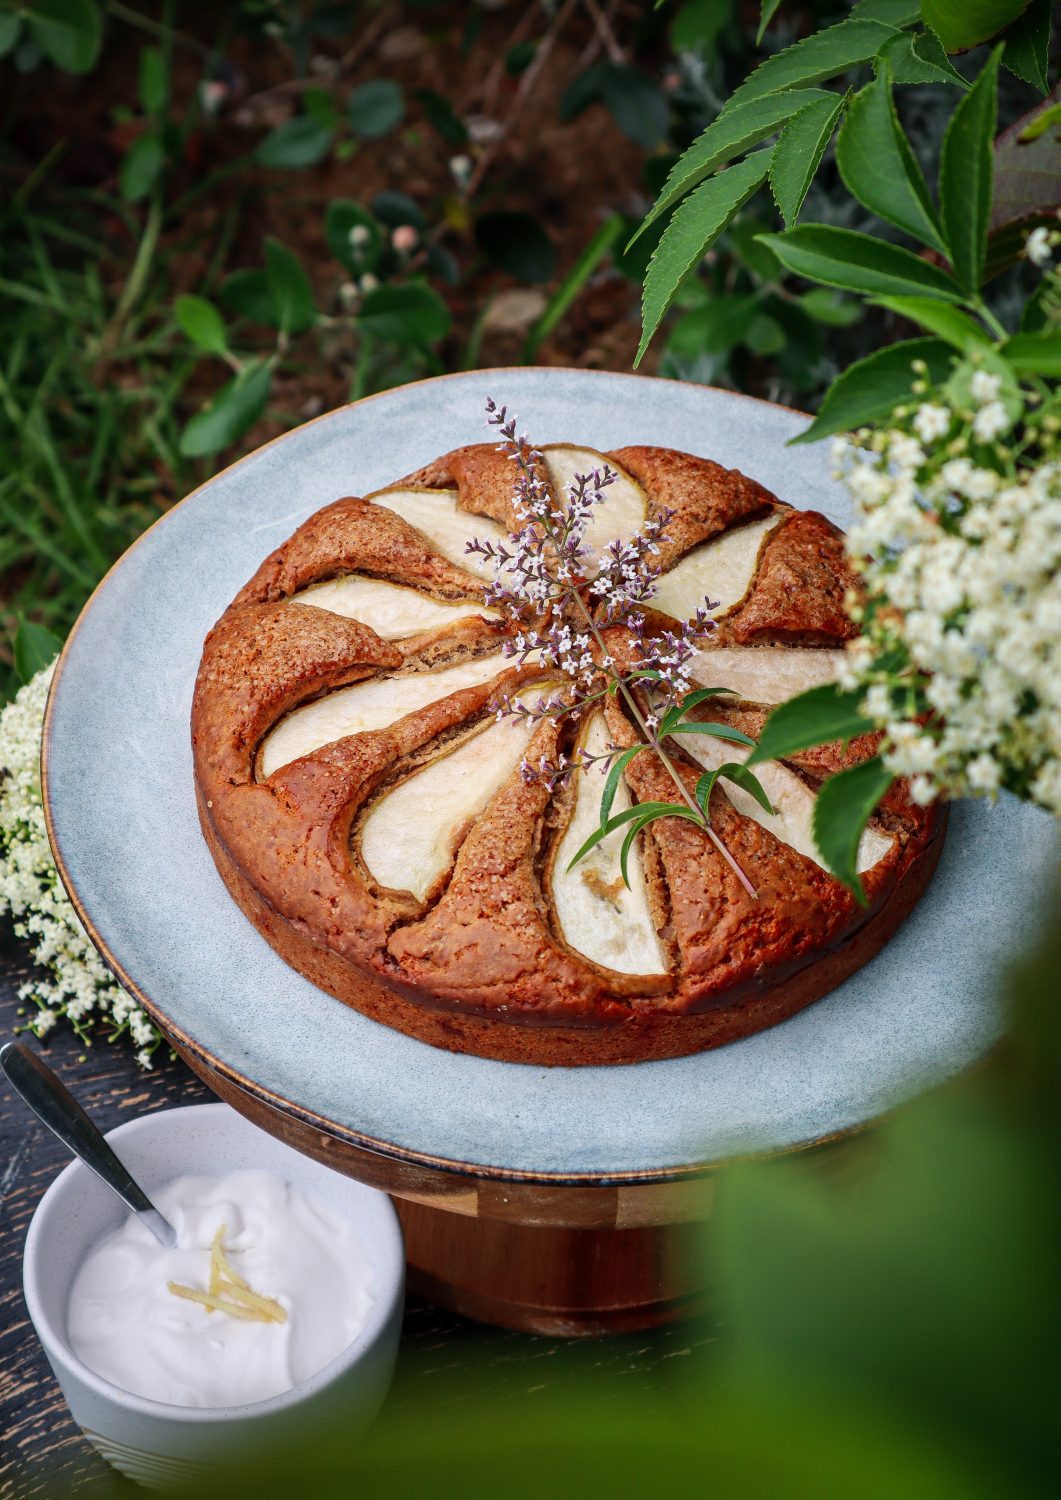
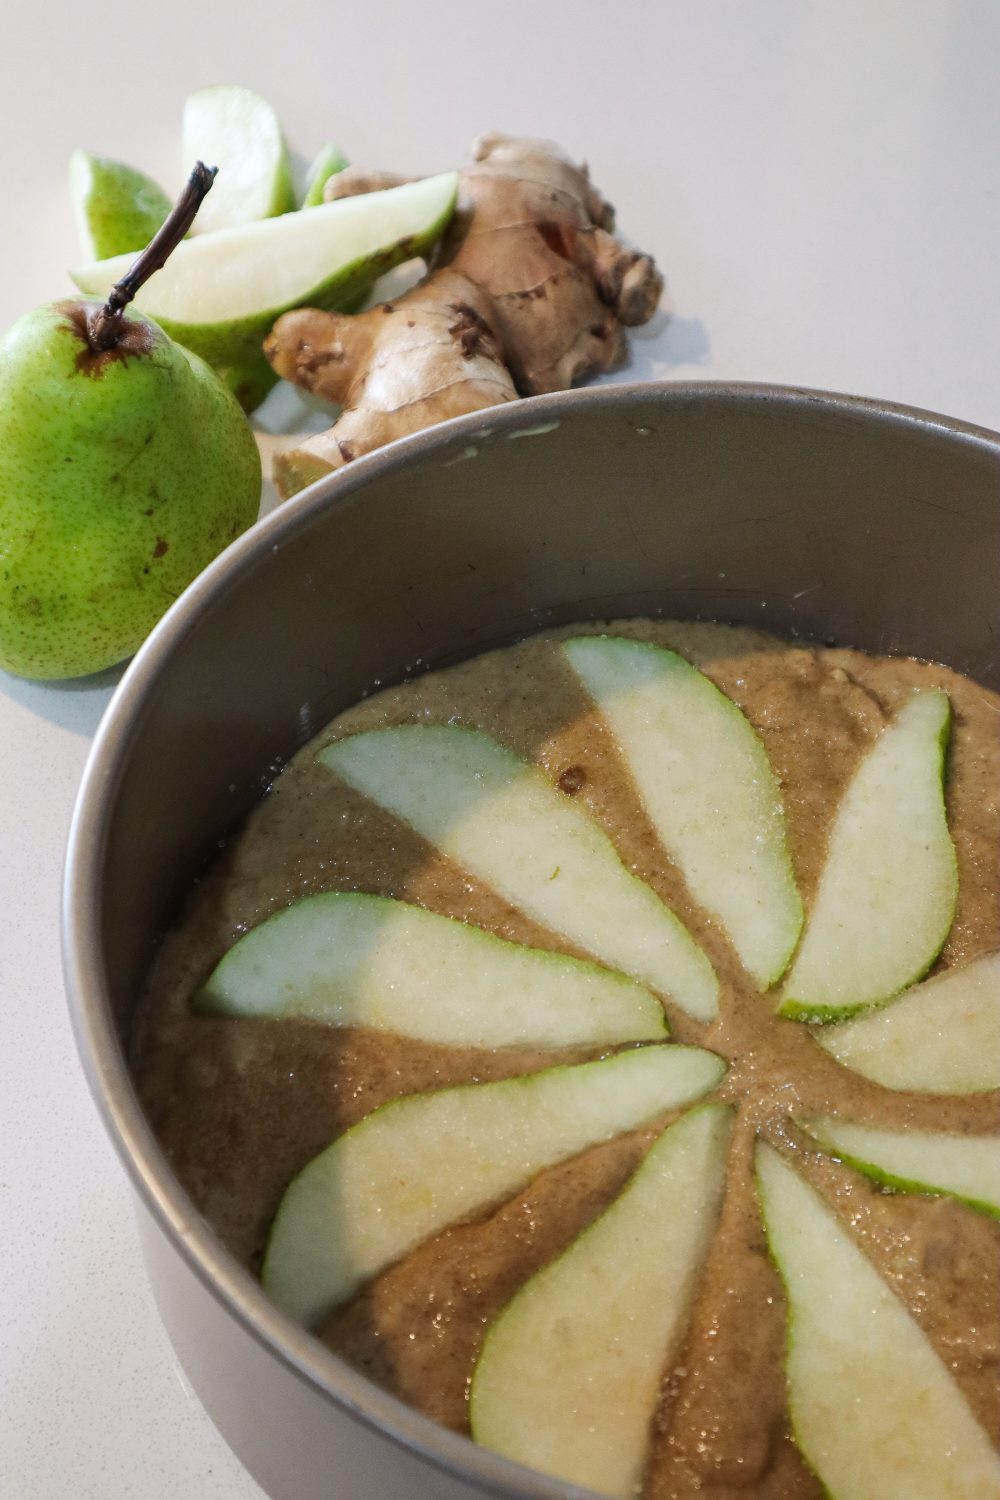
Ginger and Pear is a match made in heaven. This spiced ginger and pear tea cake is the perfect way to refuel after knocking out some tasks in the garden. Enjoy whilst sitting out in the garden with a cup of tea or coffee. If you love the warm, comforting flavors of ginger and pear, this Spiced Ginger and Pear Tea Cake is the perfect bake for you. This moist and fragrant cake combines fresh, juicy pears with the bold spice of ginger, making it a delightful treat for afternoon tea, cozy gatherings, or as a simple homemade dessert. Whether you’re an experienced baker or just starting out, this easy-to-follow recipe will quickly become a favorite in your kitchen.
Delicious Garden to Plate
Bursting with Flavor – The combination of fresh pears, fresh ginger, cinnamon, and honey creates a perfectly spiced cake that’s both aromatic and delicious.
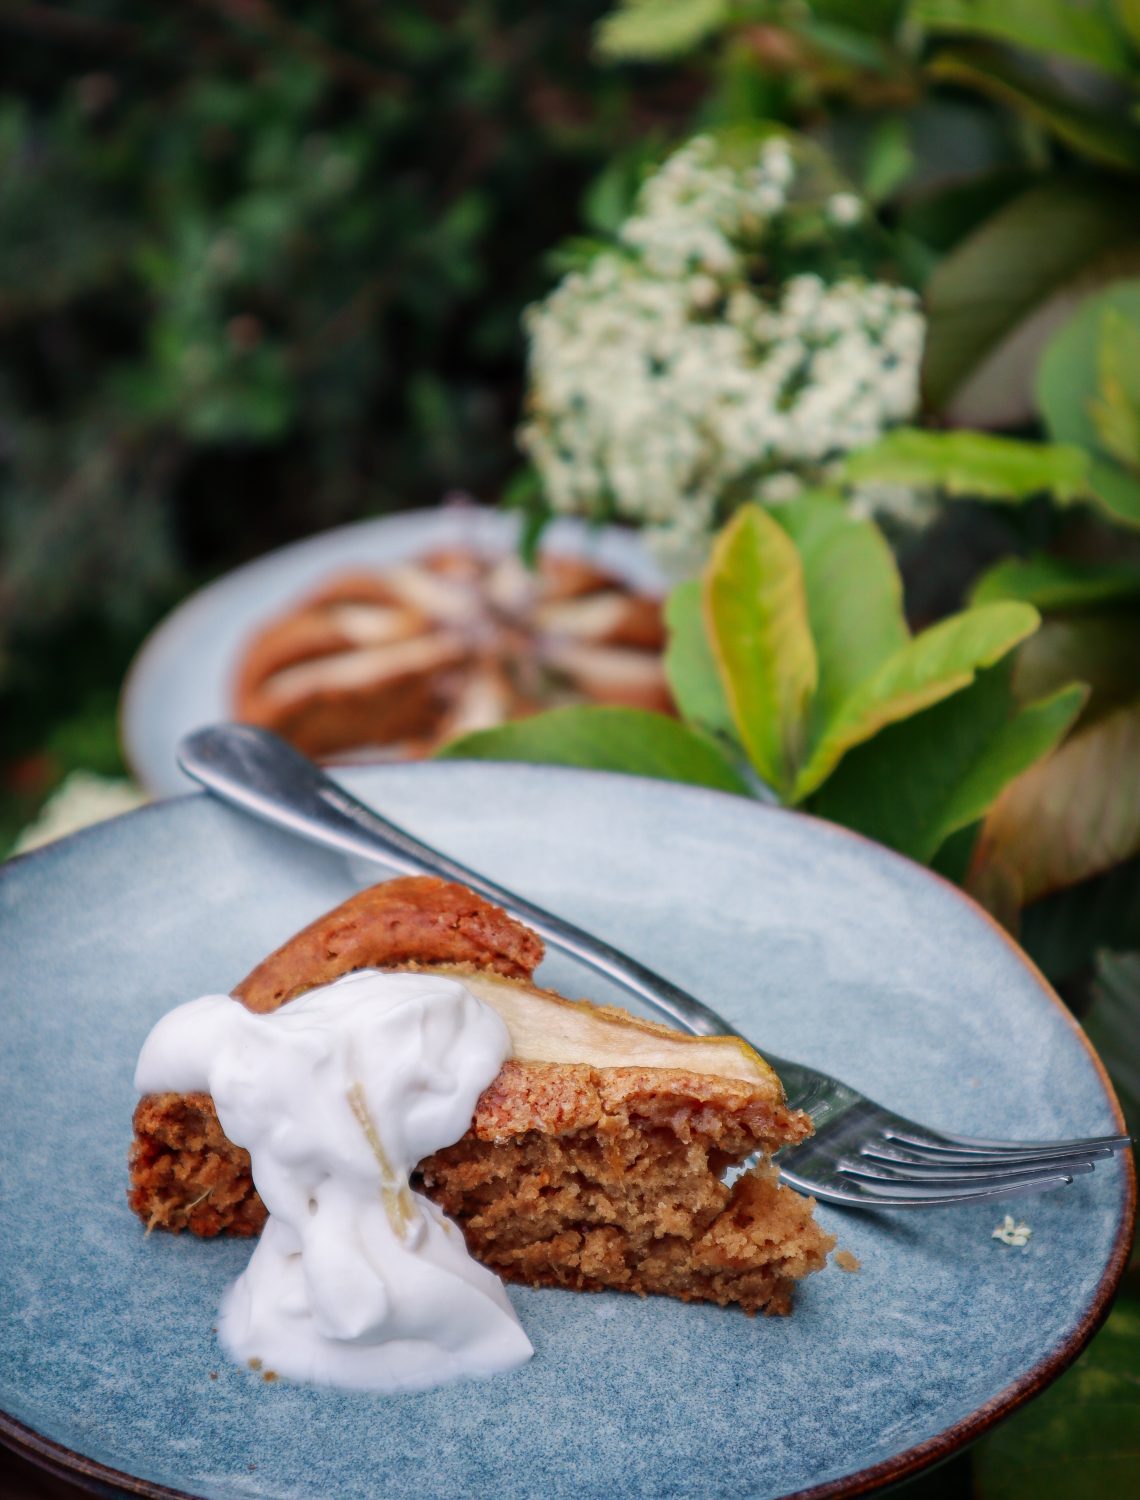
Moist and Tender Texture – Thanks to the natural juiciness of the pears and creamy yoghurt, this cake stays wonderfully soft and moist.
Simple Ingredients – You probably already have most of these pantry staples at home, making it an easy go-to bake.
Perfect for Any Occasion – Enjoy a slice with a cup of tea, serve it as a weekend brunch treat, or bring it to your next gathering.
Tips for the Best Spiced Ginger and Pear Tea Cake
Use ripe but firm pears for the best texture and flavor.
Grate 1/4 tsp fresh ginger into yogurt or cream to serve for an extra kick
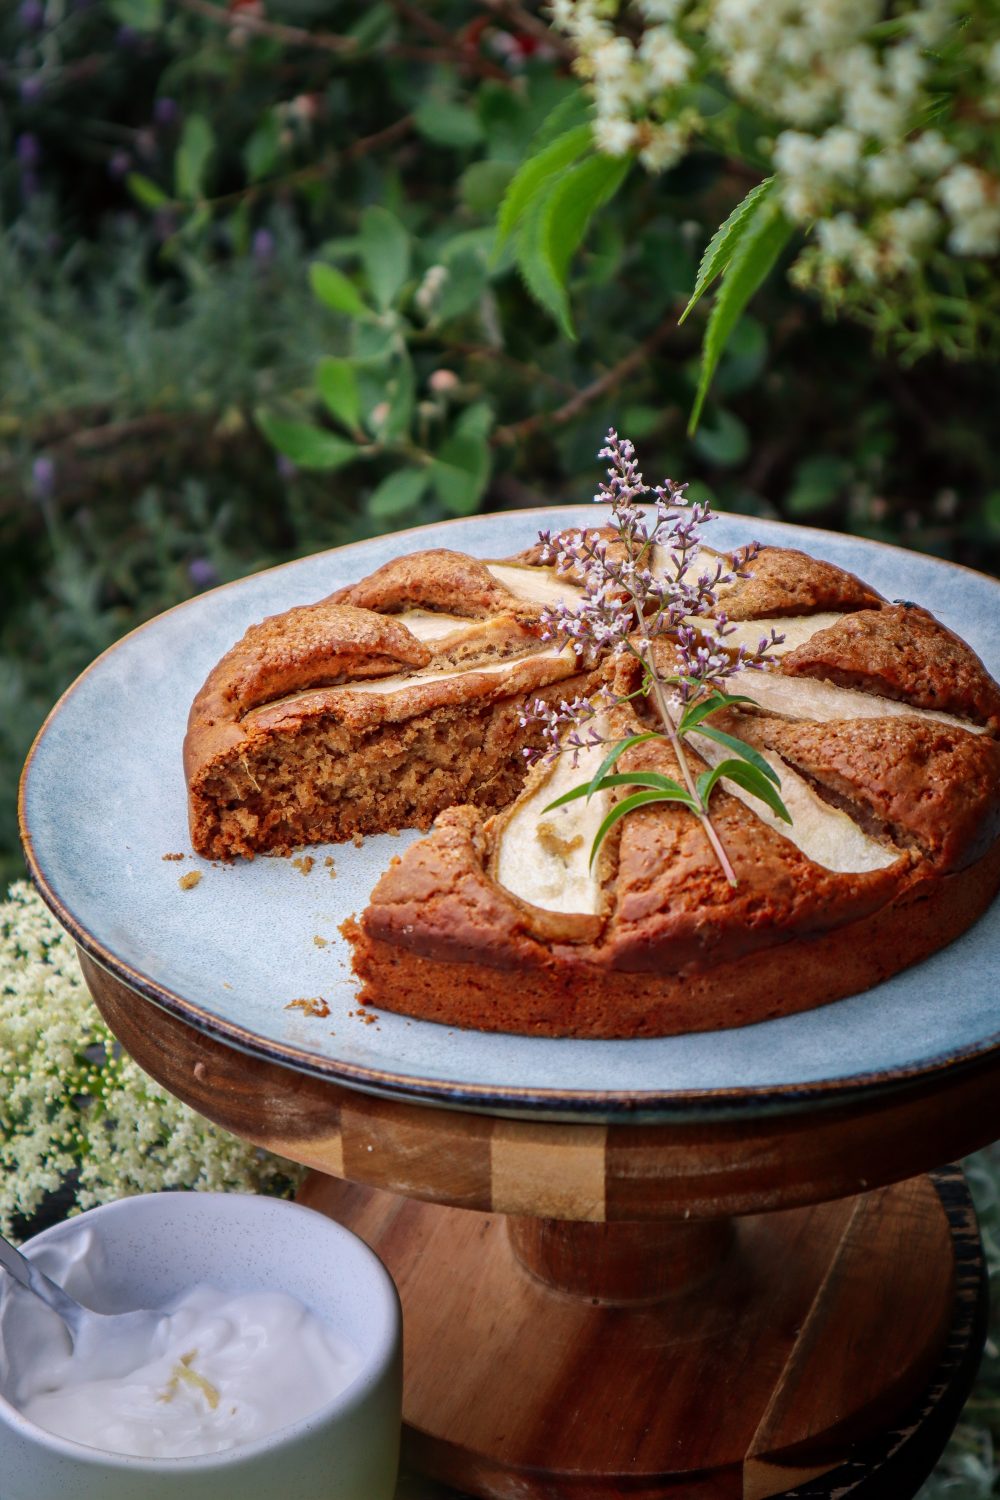
This cake is naturally sweet, lightly spiced, and absolutely delicious. If you’re looking for a cozy, homemade treat that highlights seasonal produce, give this Spiced Ginger and Pear Tea Cake a try!
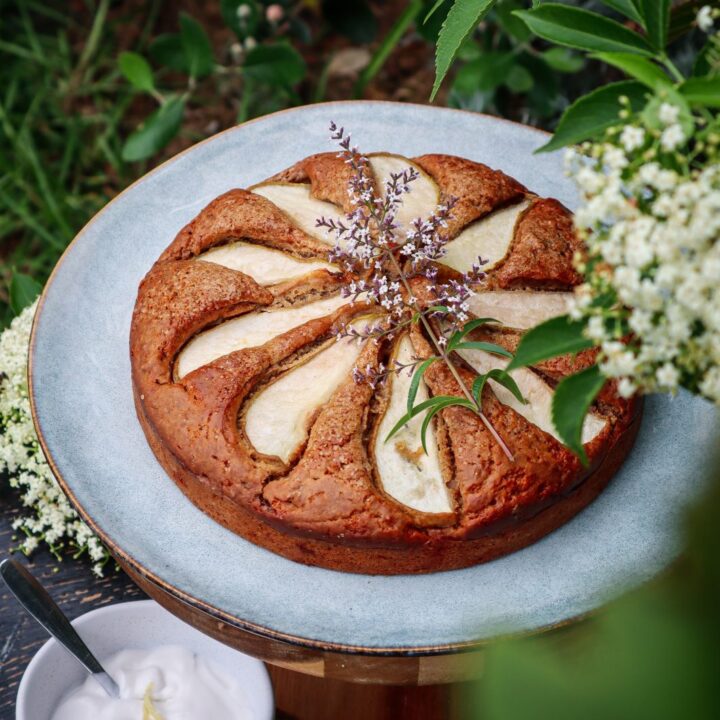
Spiced Ginger and Pear Tea Cake
Sugar and spice this tea cake is so nice! The perfect morning or afternoon tea treat to be enjoyed with a tea or coffee in the garden.
Ingredients
1 1/4 cups plain flour
1/2 cup coconut yoghurt*
1/3 cup olive oil
1 tsp baking powder
½ tsp baking soda
2 tsp freshly grated ginger
3/4 cup brown sugar
2 TBSP honey
1/2 tsp mixed spice*
1/2 tsp cinnamon
1 tsp ground ginger
1/3 cup milk
1 tsp apple cider vinegar or lemon juice
1 medium pear
1 TBSP raw sugar to sprinkle over the top
Instructions
Preheat oven to 180 degrees Celcius.
Mix all dry ingredients in a large mixing bowl.
Mix wet ingredients including grated ginger in a separate bowl.
Wash and slice pears into slices lengthways. About 0.5cm - 1cm thick. (Thinner if you want them soft, thicker if you like them to still have some bite). Peel if you like but I don't bother.
Grease a 15-20cm cake tin.
Make a well in the center of the dry ingredients and gently mix the wet ingredients in until just combined. Don't over-mix.
Pour cake batter into the cake tin and level out to form a flat top. Place the pear slices in and gently push into the mixture. Sprinkle the TBSP of sugar on top.
Bake for 30- 45mins or until the cake skewer comes out clean.
Allow to cool and serve with extra yogurt or cream.
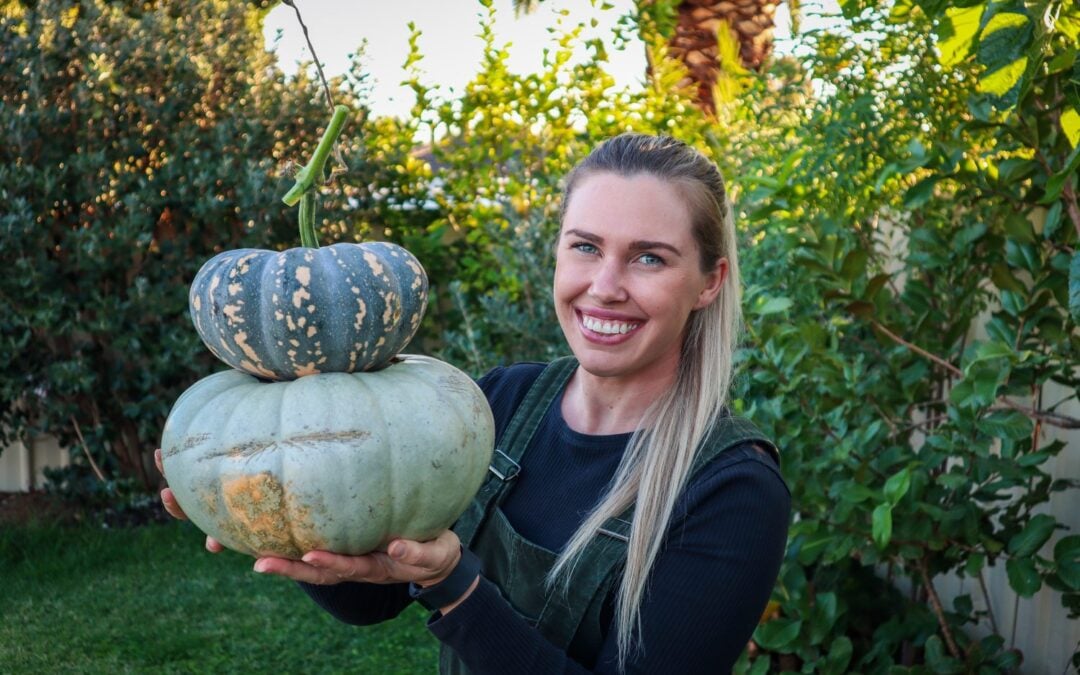
Pumpkins are a great base crop to grow and can provide you with a large amount of food. Pumpkins come with their very own packaging and can be stored as they are for 3-8 months if they are prepared and stored correctly. Having a supply of pumpkins in the pantry can supplement your meals throughout the year. Different varieties of pumpkins will store for varying amounts of time. This is usually due to the toughness and thickness of the skin. If you want to grow pumpkins for storage choose a variety that has longer storage qualities. Varieties such as Jarradale, Queensland Blue, and Blue Hubbard have great storage qualities.
STEP 1: HARVESTING
The first step to preparing your pumpkins for storage is to harvest them correctly. Follow the tips below.
Harvest the Pumpkins once they reach maturity to ensure the skin is as hard as it can be.
Pumpkins are ready to be picked when the closest curly tendril to the stem is brown and going dry. The vines will be starting to die off slightly. The pumpkins should be slightly hollow when you knock on them and have hard skins.
Use sharp secateurs and cut the stem as close to the vine as you can. This ensures you don’t damage the pumpkin and creates a handle to carry them with.
STEP 2: CLEANING
Wash the excess soil off and ensure the pumpkins are clean. Use a mix of 1:1 vinegar and water to wipe them down and remove any bacteria.
While washing the pumpkins check for any damage or areas that pierce the skin such as holes, or scratches. These won’t store well so it would be best to start using these first.
STEP 3: CURING
Curing allows the pumpkin skins to dry and harden before storage.
To cure the pumpkins place them somewhere sunny and sheltered for 1-2 weeks. This can be outside if there are no frosts or rain otherwise a sunny porch or deck will do. Just be careful if you have rats or other critters around.
Ensure they are spaced out and not stacked on top of each other.
STEP 4: STORAGE
Once the pumpkins are cured choose a dark cool location to store them. 10-16 degrees Celcius.
Pumpkins may leak sticky residue from the bottom flower or stem so don’t be alarmed. Also, consider this when choosing a location to store.
Ideally place them on cardboard, wood, or plywood. Do NOT store them on carpet, lino, or concrete as this will promote bacteria and moisture.
Allow space between the pumpkins and do not stack them to allow airflow.
Roll the pumpkins over and check the cardboard for mold regularly.
Delicious Roast Radish and Carrot Salad with Radish Top Chimichurri dressing for a low waste recipe to get the most your of your harvest. Roast Radish is just something else! They are sweet, juicy, and delicious additions to a roast veggie salad. Radish are a quick crop to grow and can fill up gaps in your garden beds to get maximum production out of each space. There are so many delicious ways to use Radish and this salad is a wholesome and easy way to eat Garden to Plate.
Roast Radish and Carrot Salad
Prep Time: 15 minutes
Cook Time: 40 minutes
Total Time: 55 minutes
Wholesome and delicious roast veggie salad using root to tip.
Ingredients
8-10 Radish
6-8 Fresh Baby Carrots
3 cups chopped Greens (combination of what is available) Spinach, Kale, Sweet Potato Leaves, Chard
Olive oil to drizzle
Salt Flakes or Seas Salt
Chilli Flakes or fresh Red Chilli
Chimichurri Dressing - See Recipe card below
Instructions
Wash the radish and carrots and remove the tops. Set aside for the Chimichurri Sauce.
Cut the larger carrots in half-length ways. The small or thinner ones can remain whole. So that all the carrots are of a similar thickness.
Cut the larger Radish in half and leave any small ones whole so that they are all roughly the same thickness. Optional - add scores with a knife 1/3 the way through the radish. This allows for the dressing to soak in later.
Add the Carrots and Radish to a roasting dish, drizzle in olive oil, sprinkle with salt, and cook for 35mins or until slightly brown. I like my roast veggies a little crisp still. Cook for 45 minutes if you want softer roast veggies.
Whilst the veggies are roasting prepare the Chimichurri Green Sauce - Recipe card below. Use the Radish and carrot tops in place of parsley.
Remove the roast veggies from the oven whilst you prepare the rest of the salad.
In a large saucepan add 1/4 cup water and 3 cups of chopped greens. You can also use any leftover radish and carrot tops not needed in the dressing as part of your greens. Toss and allow to wilt then remove from the heat. Drain and add to a serving bowl. Drizzle over 2-3 TBSP of the green sauce liquid and toss to mix through the greens.
Add the Radish and carrots on top of the greens. Spoon and drizzle over the remainder of the green sauce.
Add fresh red chilli or chilli flakes, salt and edible flowers to garnish and serve.
Notes
Edible flowers I used - Sweet violets, fennel flowers, dried purple and blue cornflowers.
Chimichurri Dressing using Radish Tops
This recipe below can be adapted to make using the leftover radish and carrot tops. Swap out the parsley and fennel fronds or use a mix of both.
Chimichurri Dressing
Prep Time: 10 minutes
Total Time: 10 minutes
This vibrant green dressing is packed full of flavour and is a delicious way to add a fresh zing to your meals.
Ingredients
1 cup Parsley*
1 1/2 TBSP lemon juice
1 TBSP Red Wine Vinegar
1/4 cup Olive Oil
1/2 cup Fennel Fronds*
1 tsp Sugar
2-3 Garlic Cloves
Sea salt flakes to season
Fresh Red Chilli or 1/4 tsp chilli flakes
Instructions
Add Parsley, Lemon juice, Vinegar, Sugar, Fennel Fronts, and Garlic to a mixer or mortar and pestle. I prefer a mortar and pestle as I like it chunky and not to blended. Blitz or crush to combine and make a green sauce.
Then gradually add oil to combine. Add Chilli flakes and a pinch of Sea Salt Flakes. Taste and balance with more salt if needed.
Drizzle over the green sauce. Garnish with sliced red chilli, fennel fronts, and edible flowers.
Notes
* Swap Parsley or Fennel fronds for Radish tops, Carrot tops, Corriander, or a mix.
There may be a little extra sauce than needed so you can keep it in the refrigerator to use within a few days or freeze it in ice cubes to use in cooking.