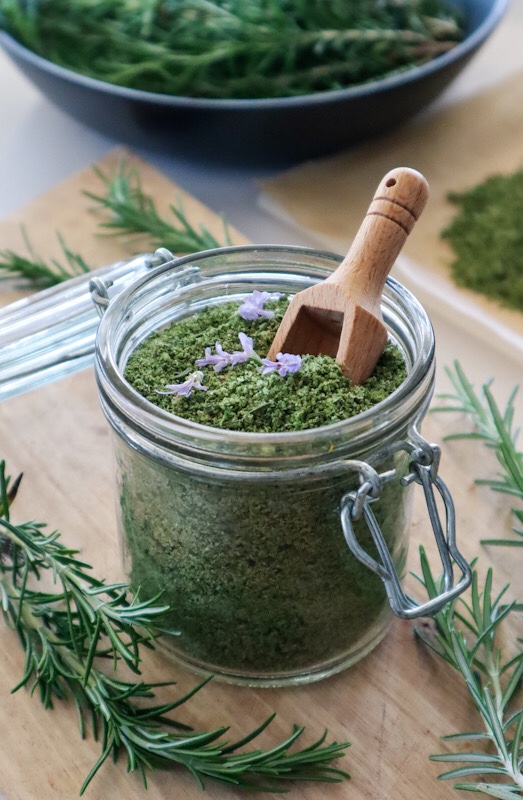
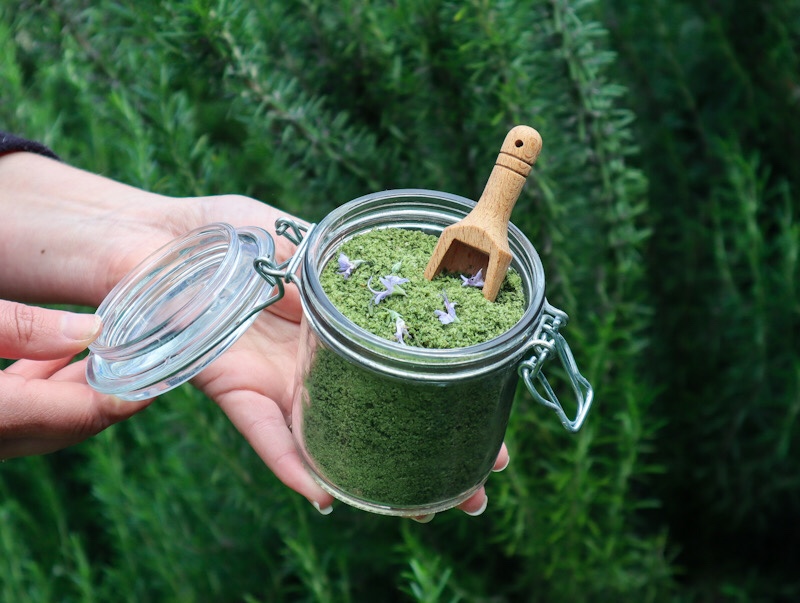
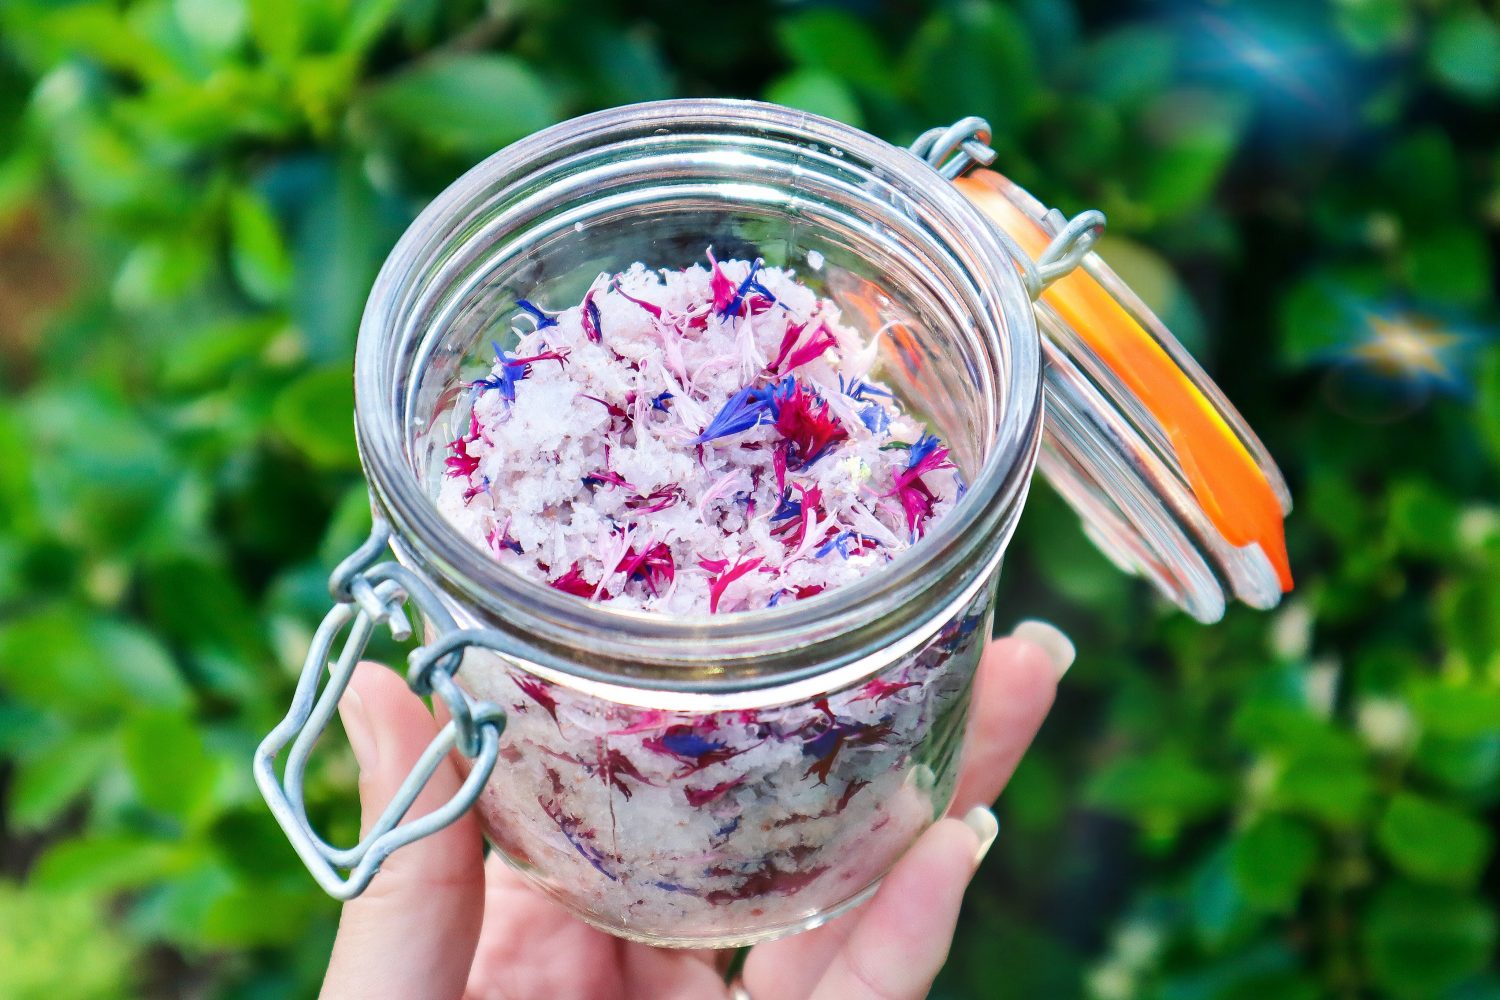
Rosemary and herb salt is a quick and easy way to preserve your homegrown herbs to use throughout the year. Herb finishing salts add so much flavour to meals in a quick and convenient way. Try Rosemary and herb salt on your roast vegetables for a delicious boost of flavour. Get the recipe below 👇
Why Make Rosemary Herb Salt?
Making your own herb salt is a great way to reduce waste and extend your harvest. If your rosemary, thyme, or sage plants are growing abundantly, herb salt is a simple preservation method that retains flavour for months. It also allows you to create custom seasoning blends tailored to your taste.
Plus, it makes a beautiful, homemade gift for Mother’s Day, Christmas, or to share with friends and family—perfect for birthdays or festive seasons.
Benefits of Rosemary in the Garden?
Rosemary is such a versatile herb and works well with both sweet and savoury dishes. It has a fragrant, pine-like aroma. Rosemary offers so many beneficial relationships within your garden. Rosemary is a hardy, drought-tolerant, ever-green perennial herb. A fantastic staple to have to grow in any edible garden. Rosemary also has many healing properties, so it is a handy plant to have near the house or in a kitchen garden.
Rosemary is more than just a tasty kitchen herb—it’s a powerhouse plant in the garden too. It’s hardy, drought-tolerant, and thrives in full sun, making it ideal for warm and dry climates. Rosemary:
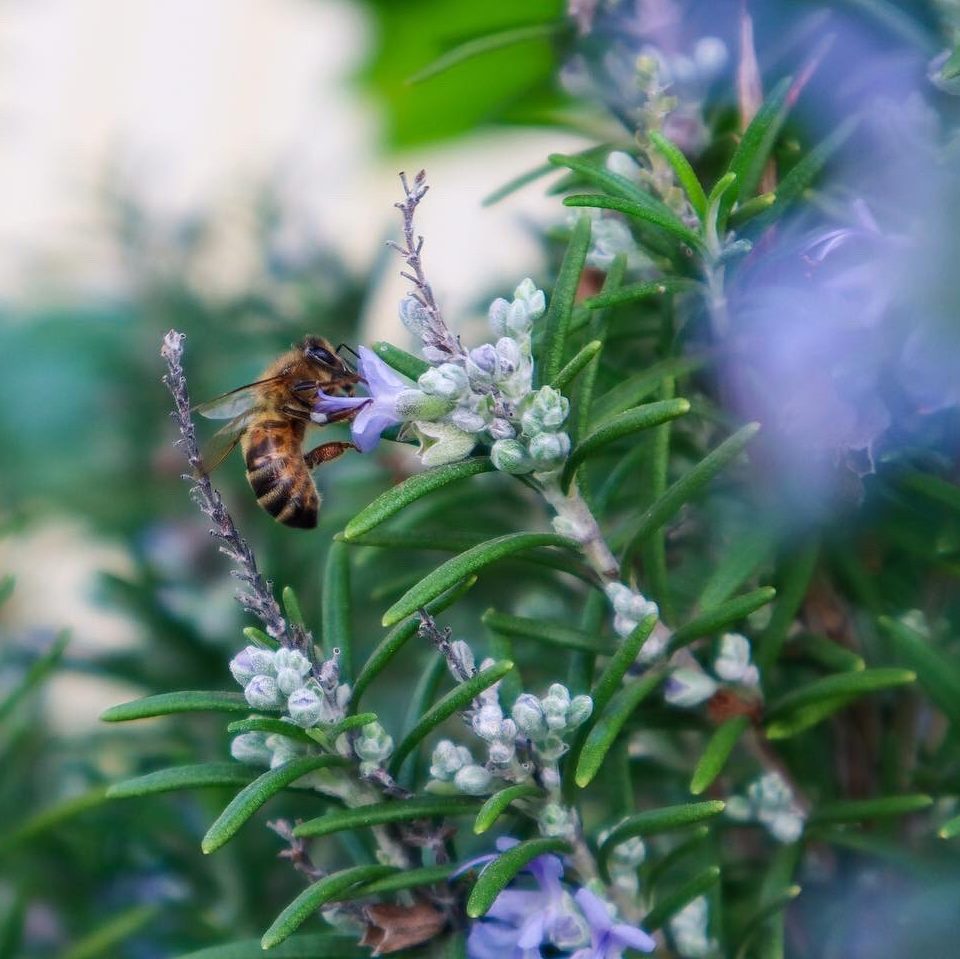
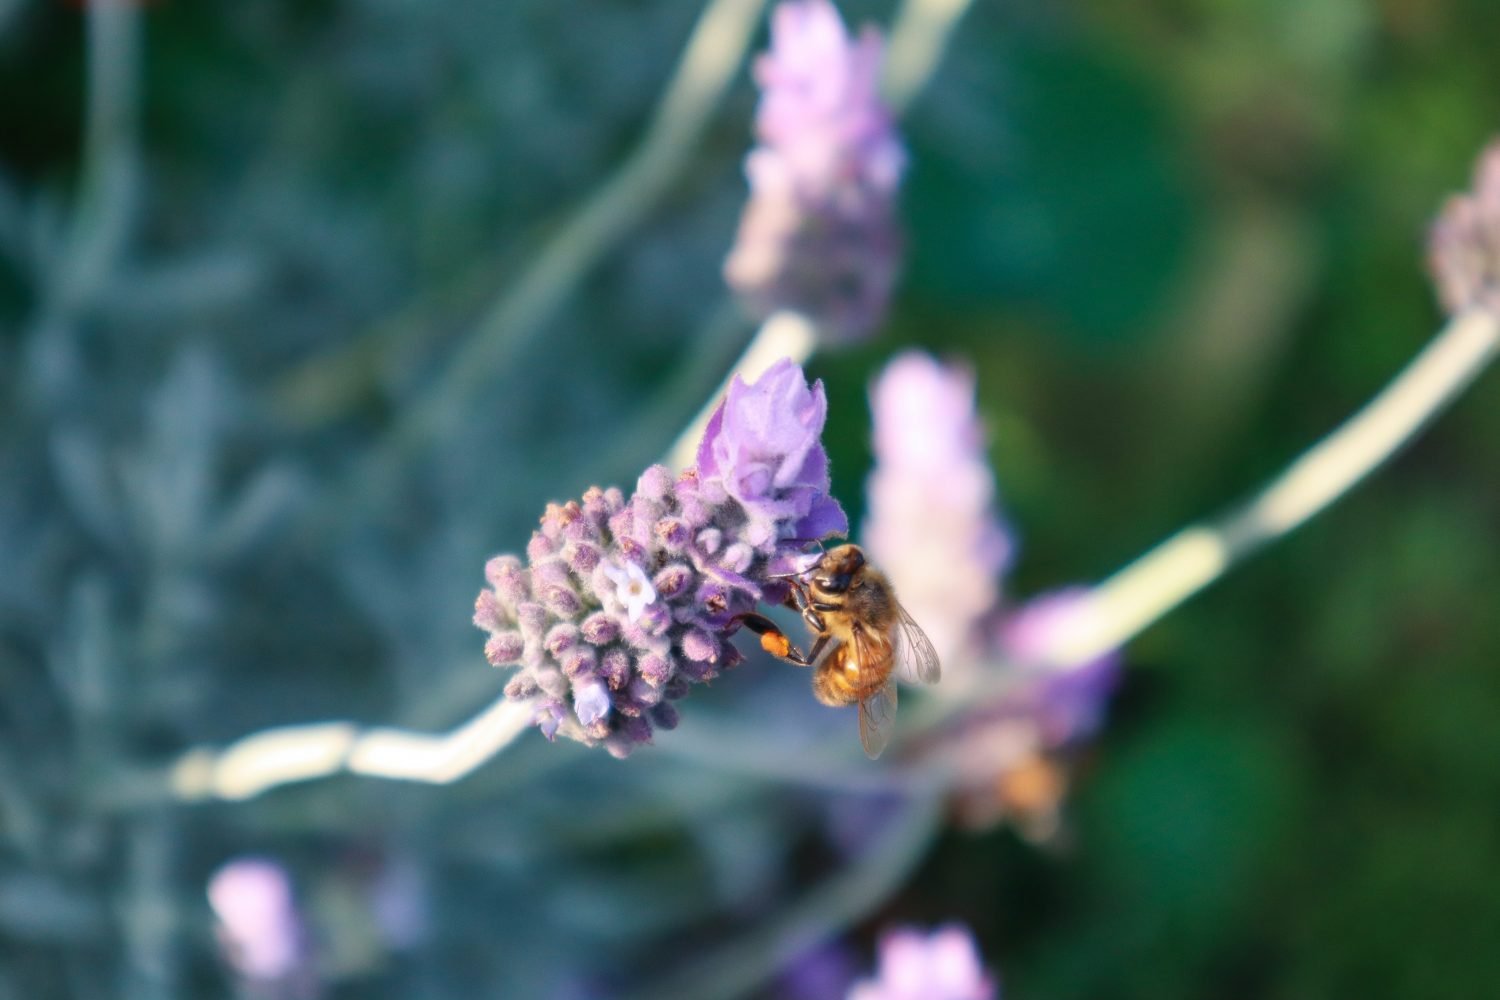
Attracts pollinators like bees when in flower
Repels some common pests due to its strong aroma
Helps create structure and evergreen interest in your edible garden
Can be grown in pots or in the ground
Drought-tolerant and easy to grow
Its resilience and low-maintenance nature make it a go-to for beginner gardeners and seasoned growers alike.
When is the Best Time to Harvest Herbs?
The best time of day to harvest your herbs is first thing in the morning. This is when the plants are hydrated and full of life. As the day goes on, they will lose moisture and not be as fresh and vibrant. Early in the morning, the bees are not yet active. As the sun comes up and the dew drys, the bees will be about in a hive of activity. So, if you do pick later in the day, just be cautious, not stress them out and avoid getting stung.
Add to a mixer and blitz until breadcrumb consistency (or leave chunky if you would like too)
Add in salt and blitz quickly to combine.
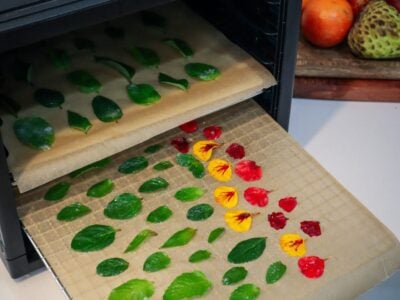
Spread on to parchment and dry in the oven or dehydrator at 45 degrees celsius until dry. Stir through after one hour to loosen up the mix and allow it to dry faster. The length of time will depend on the water content of the herbs (approx 2 hours). The mixture will go a lighter green colour.
Once dry add to a clean airtight jar.
Notes
The colour may fade over time
Try herbs such as Thyme, Mint, Sage, Chilli, Oregano
How to Use Herb Salt in Cooking
Use your rosemary herb salt:
As a seasoning rub for roasted meats or veggies
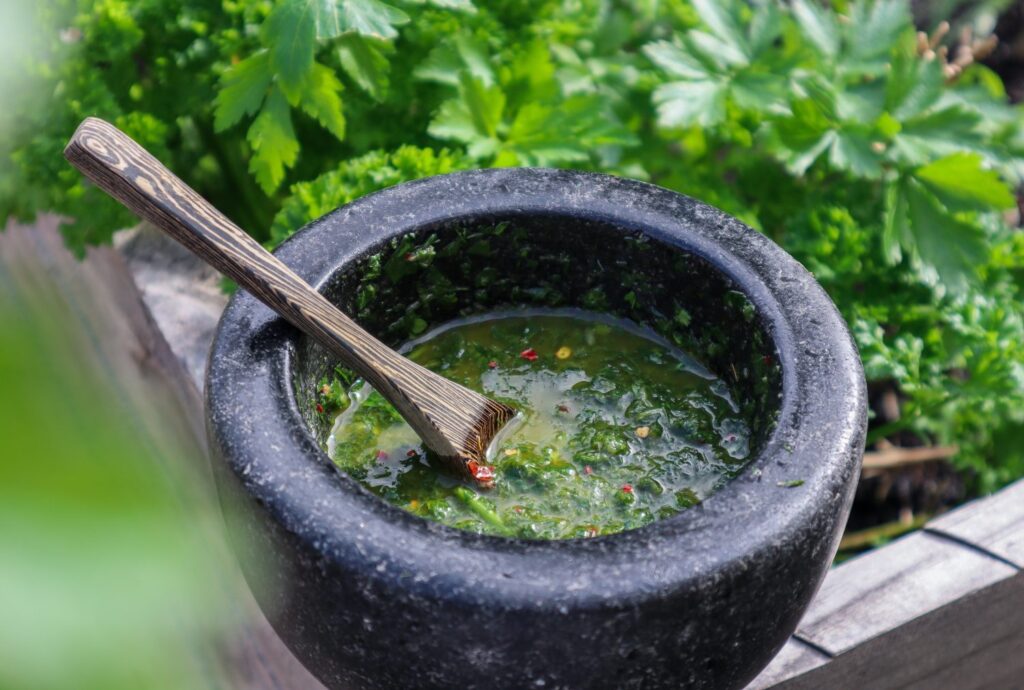
Mixed into olive oil for dipping bread
Sprinkled over focaccia before baking
Stirred into soups or stews for an added depth of flavour
On scrambled eggs, grilled halloumi, or oven-baked potatoes
Just remember—herb salt is more concentrated than regular salt, so you often need less of it when seasoning.
Want More Garden Tips and Recipes?
There has never been a better time to learn how to grow healthy, organic food at home. Take back control of your food systems and start the journey to live a more sustainable lifestyle. Say goodbye to nasty chemicals and wax-coated fruit and feed your body with real, nourishing, homegrown food. Subscribe to our FREE weekly newsletter below.
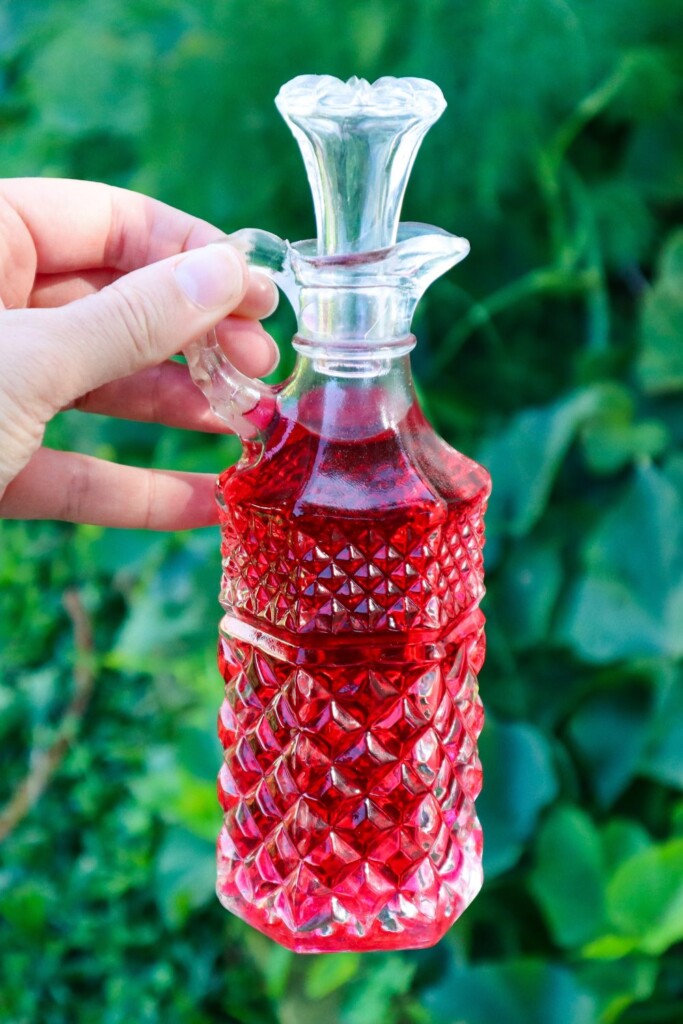
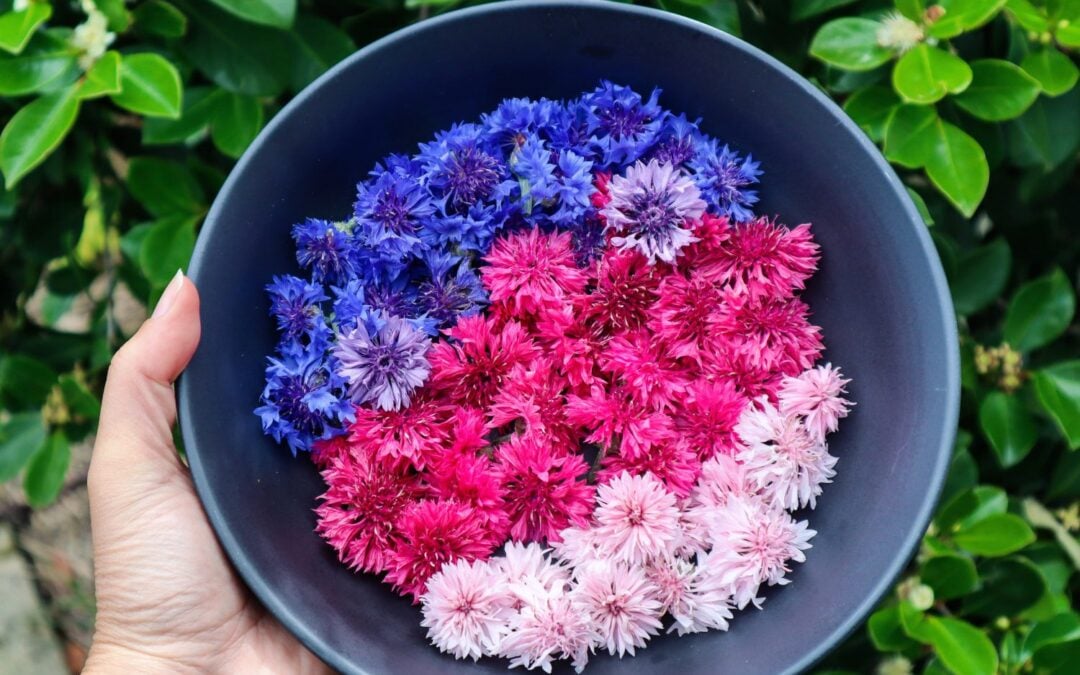
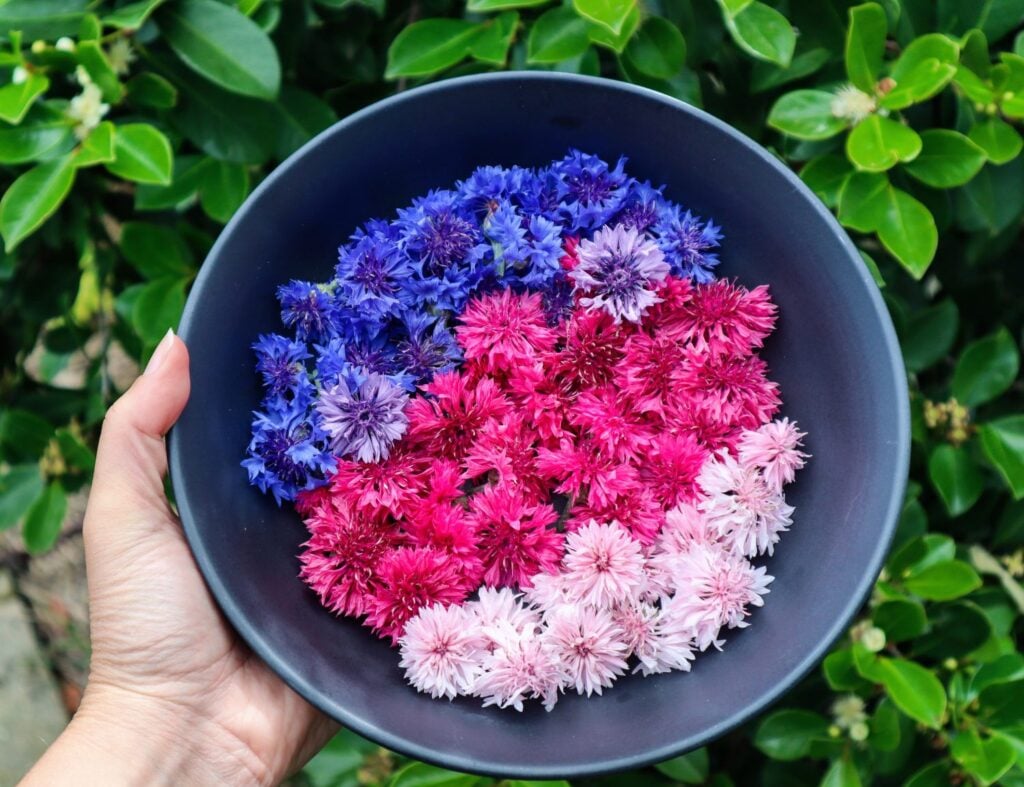
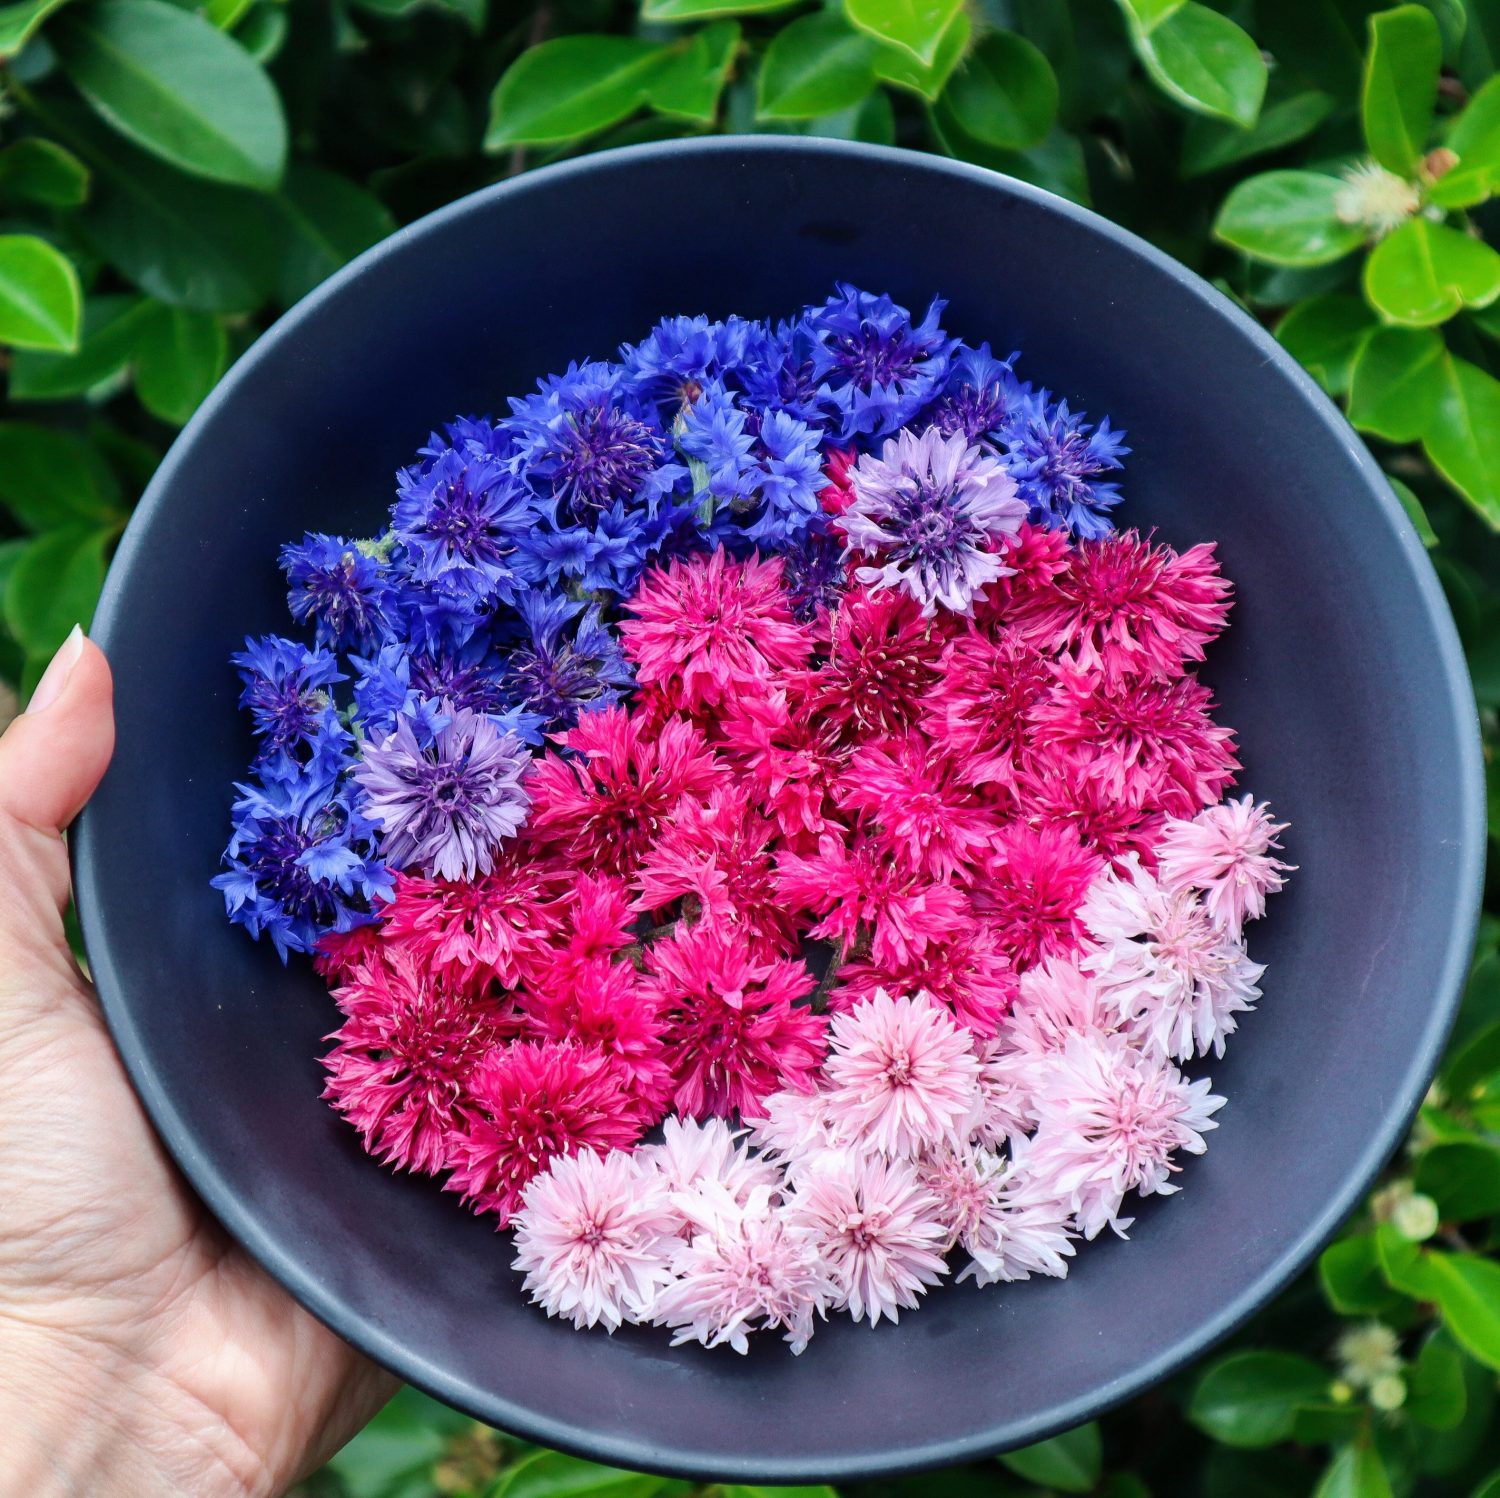
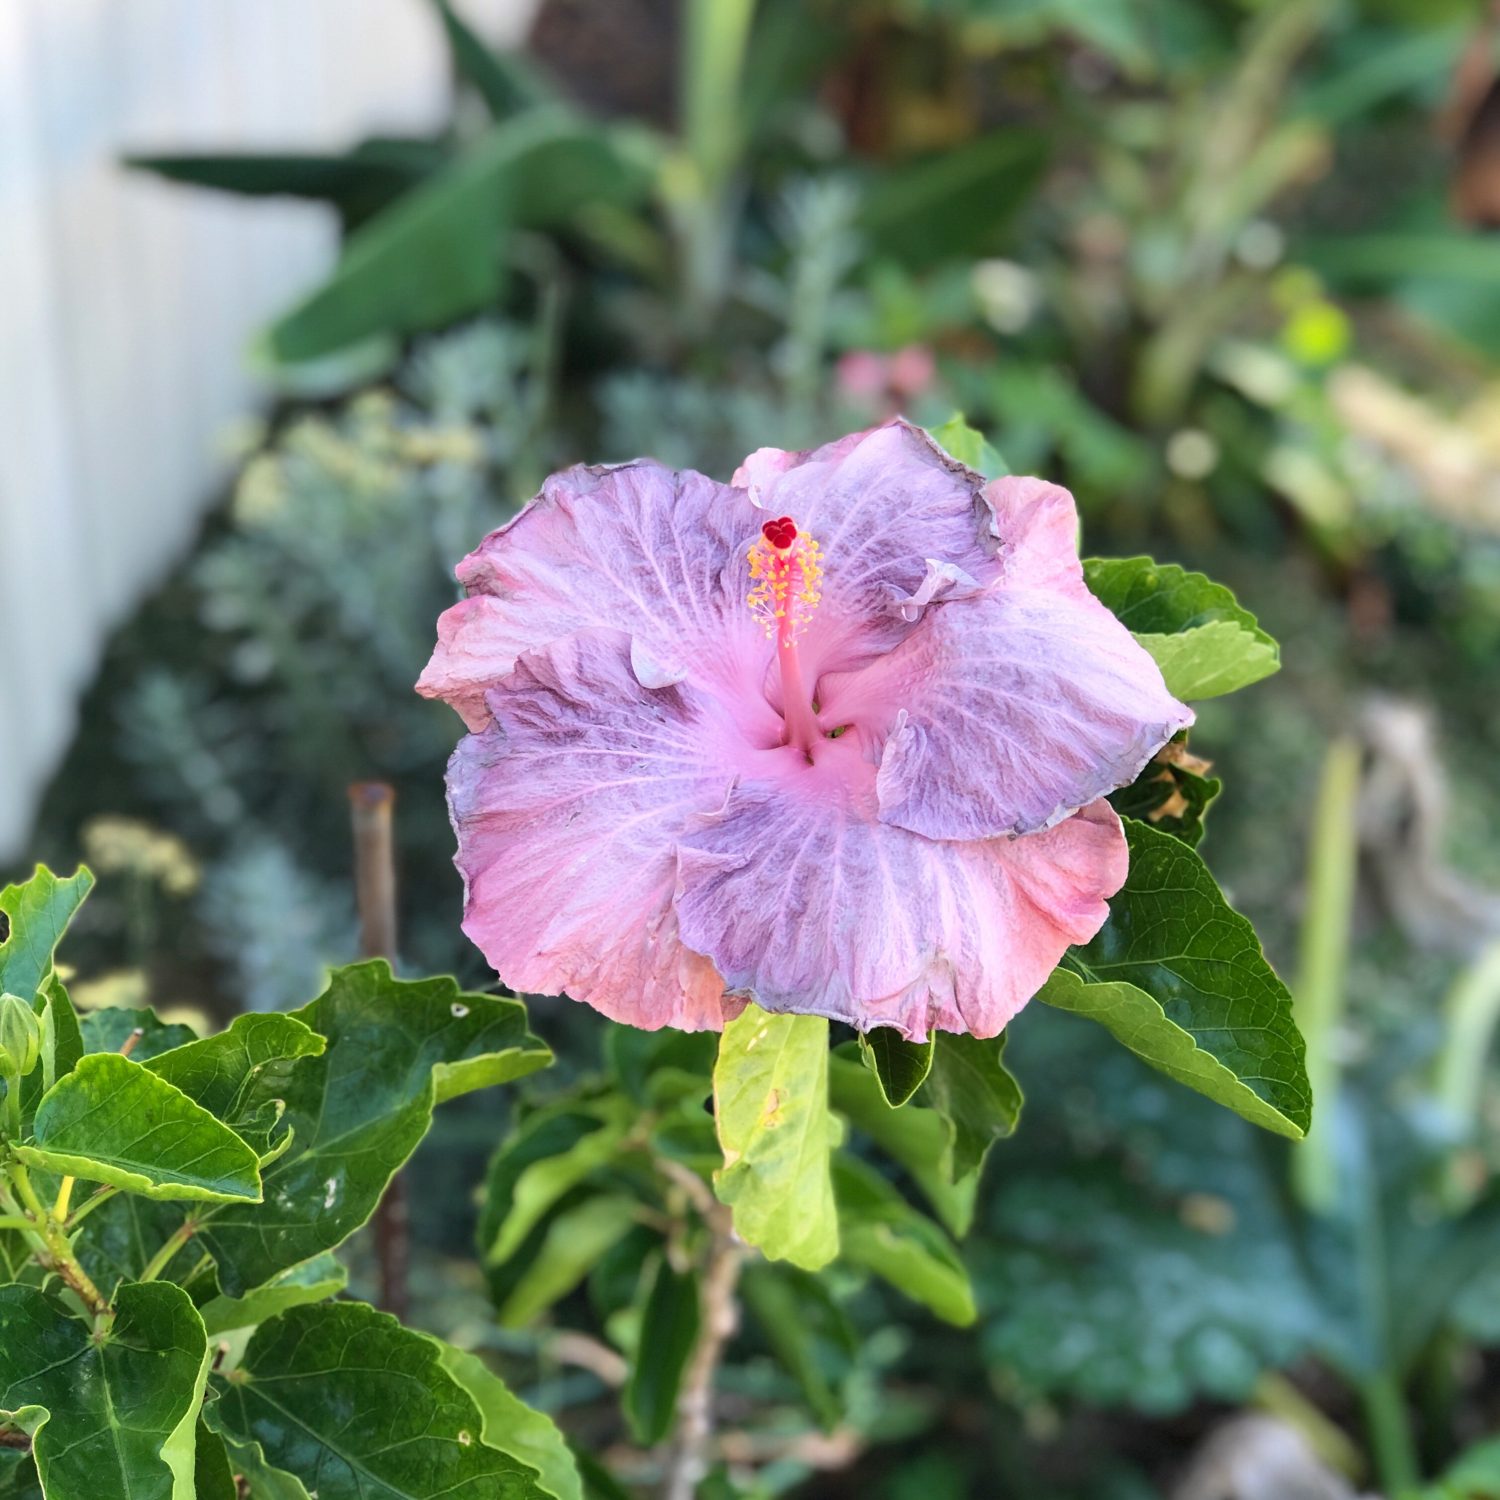
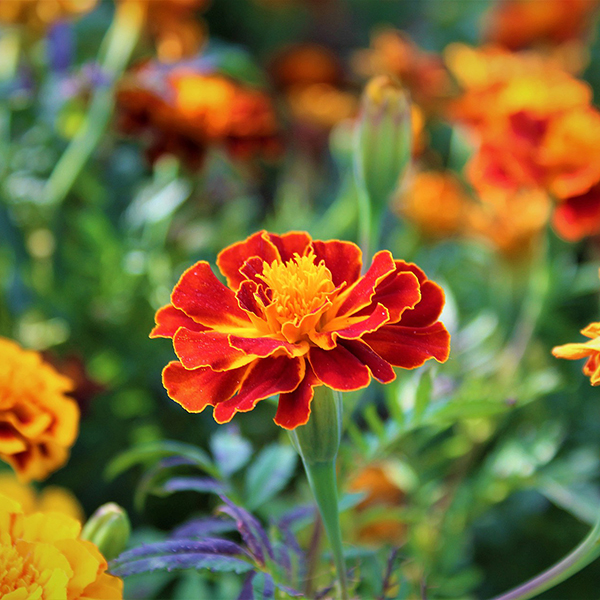
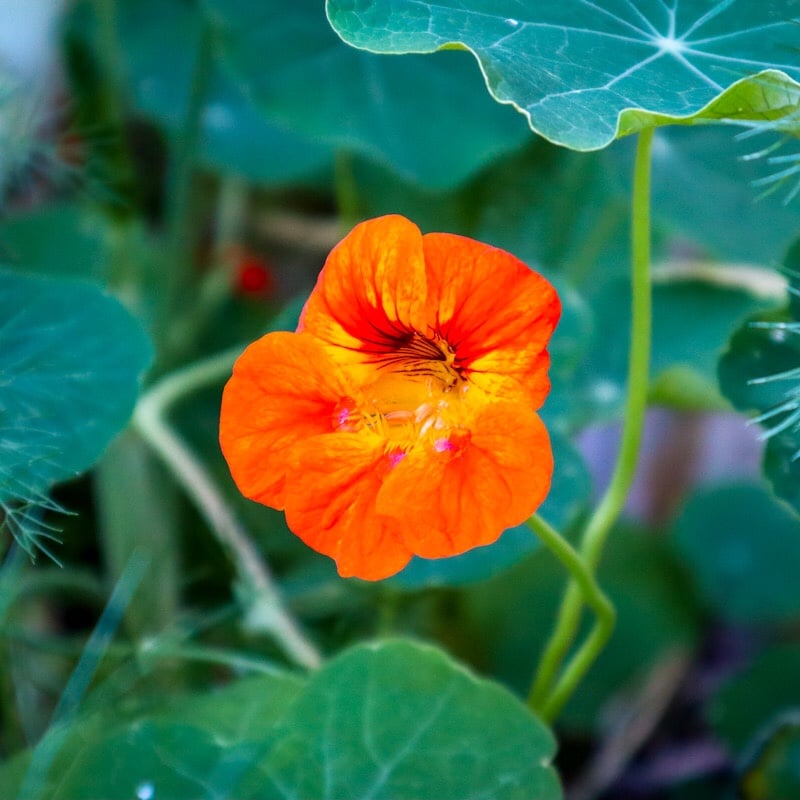
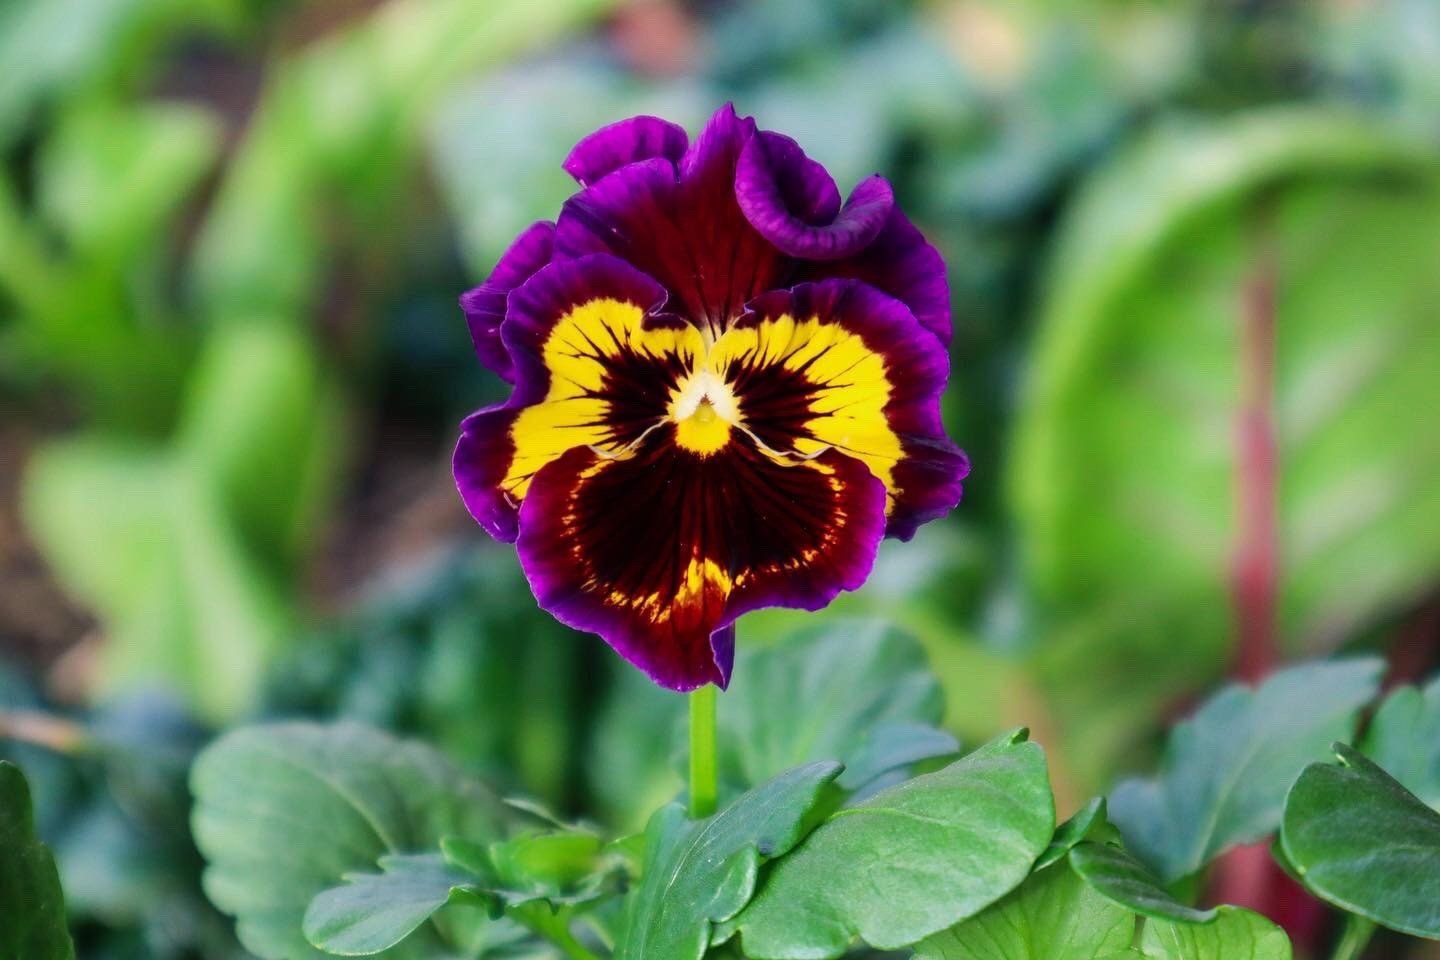
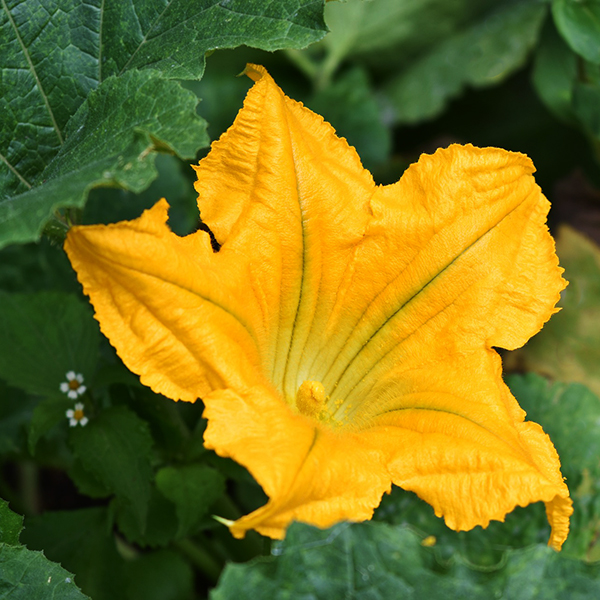
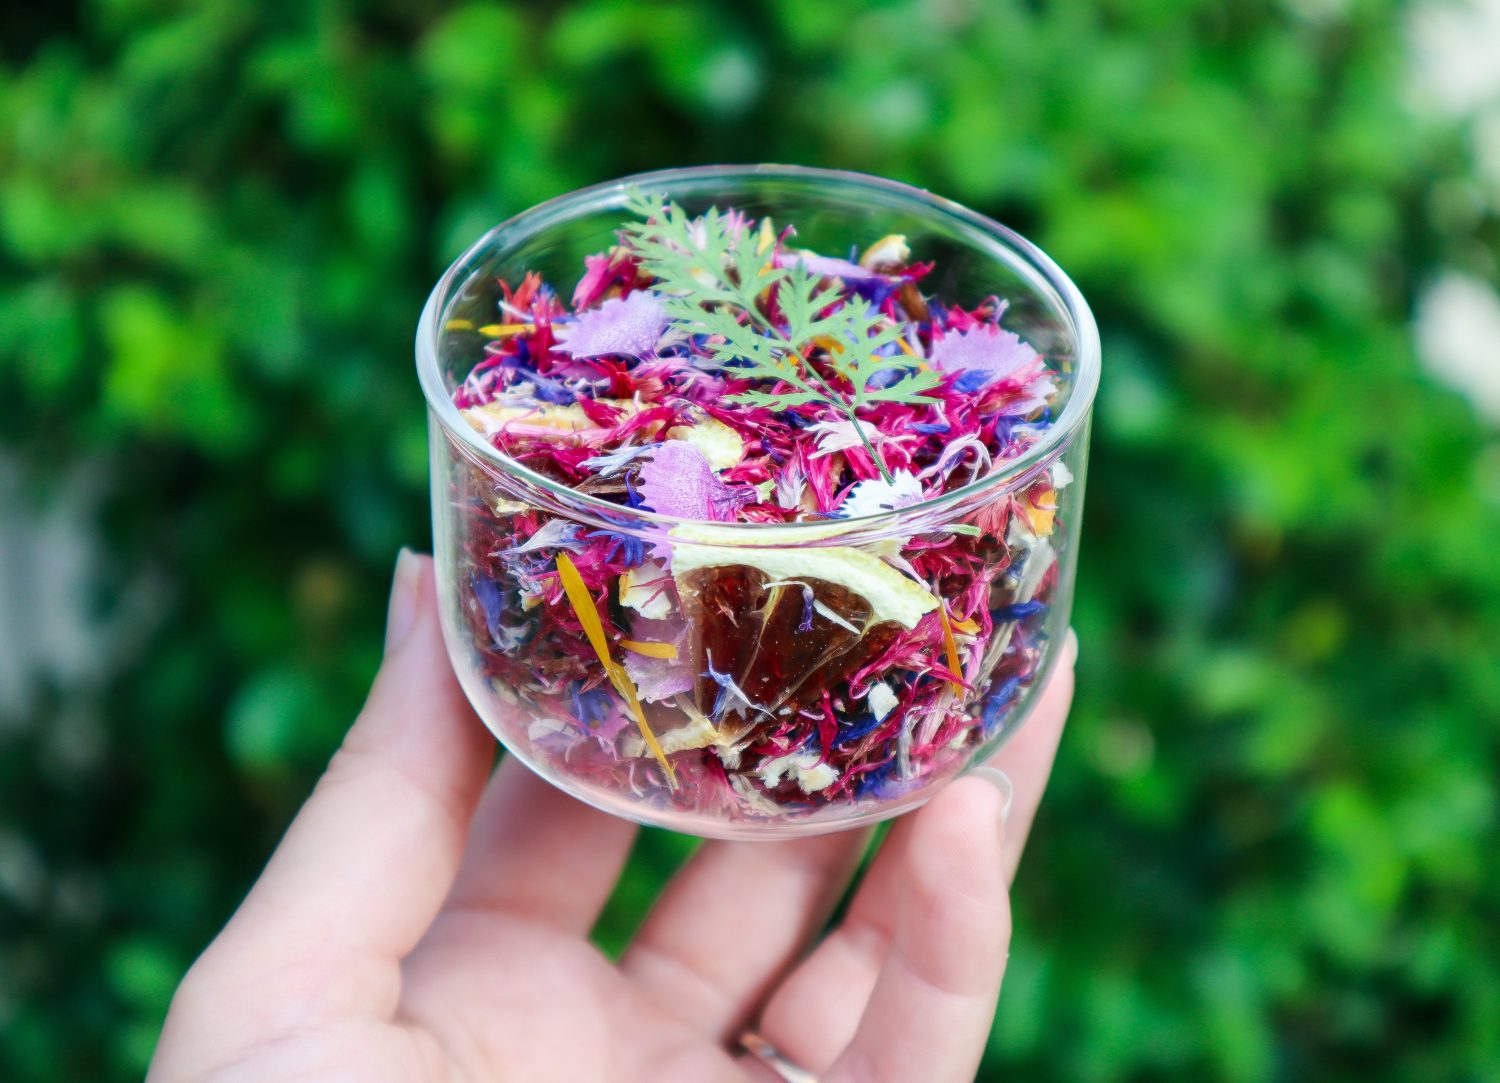
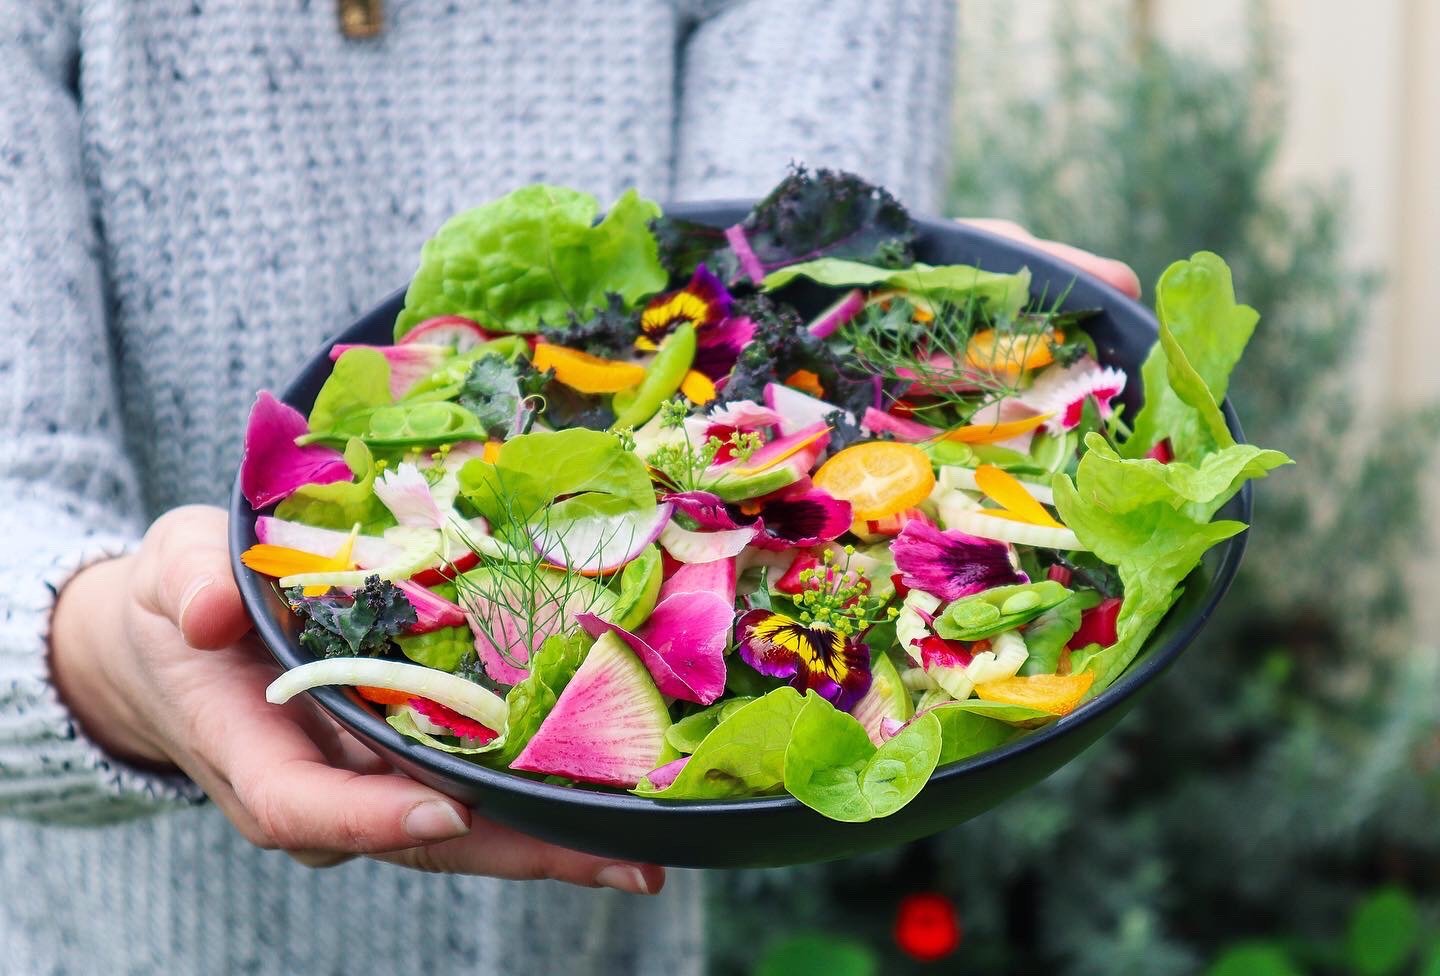
Edible flowers offer so many beneficial relationships within a home garden. When creating a sustainable permaculture garden, everything should have multiple functions and uses. The more the better! Edible flowers not only look beautiful, but they also aid in pollination, provide food and habitat to beneficial insects for pest management, add diversity to the soil and provide food, and in some cases, offer medicinal qualities for us.
Without adequate pollination, crops may be smaller, less abundant or may not produce at all. So, it is important that we attract pollinators to our gardens to increase yields along with the quality of produce.
Note: not all flowers are edible. Make sure you identify them correctly. Do not eat flowers from florists or areas unknown, as they may have been sprayed with pesticides. The safest option is to grow your own.
Pick your edible flowers in the morning but after the sun has come up. First thing in the morning the flowers will still be closed, so wait until they fully open up. They will be at their best in the morning, full of life and well-hydrated. If you are serving them fresh, pick your edible flowers as close to serving time as possible. Otherwise, place stems in a jar of water or keep in a moistened towel somewhere cool.
Choosing a new fruit tree is exciting, daunting, and at times, overwhelming with possibilities! I am adding another fruit tree to my garden and I would love to share that process with you. Plus, some tips to help you select the best fruit tree for your garden.
Click Below to Watch
Growing Fruit Trees at Home
Fruit trees can be grown and incorporated into many home garden designs to create abundant, fresh food. Fruit trees can even be grown in pots or containers for urban gardens. There really is so many ways to grow your own delicious fruit at home, no matter the size of your garden.
Tips to Choose a New Fruit Tree
Below are some tips or things to consider when you are looking to buy a new fruit tree. Take down a few notes and this will help you eliminate or come up with a clear idea to speak with your local fruit tree nurseries.
Analyse theSun and Shade – is there a specific spot you are looking to fill or are you limited with where you can plant a fruit tree? If this is the case, just do a quick analysis of the conditions. Does it get full sun? are there large trees? or buildings that will shade it during winter? The sun tracks lower in the sky during Autumn and Winter and this means more shadows will be cast across your garden. This can have a huge impact on the growth of your tree.
Learn from my mistakes! I once planted a lime in an area that only gets full sun during the middle of summer. It never grew well and when I moved it to a full sun location, it has took off and is loaded with limes! Citrus like 6+ hours of sunlight a day. So noting down the sun and shade will help you pick a fruit tree that will thrive.
Wind – Does your property get strong winds? If so, what direction do they typically go? This can be very helpful to note down. Some fruit trees do not cope well with strong winds. Papaya, Tamarillo and Banana do not like strong winds. Especially while they are young and delicate. It may mean you need to plant a wind shelter or position your fruit tree in an area that receives less wind. Creating temporary barriers may also be a great solution to protect the tree while it is young and vulnerable.
Temperatures – Take note of your maximum and minimum temperatures. This can be a factor in whether or not you will be able to grow a particular fruit tree or if it will perform below average because of it. Do you receive snow? Frosts? These are important to note down and you may be able to find this information out on local weather reports. Feijoa or “Pineapple Guava” like to have at least 50 chill hours per year to produce good quality crops. Here in Perth, Australia, we can grow Feijoa, but they don’t taste quite as good ( in my opinion). This is also the case with extremely high temperatures, some fruit trees will not perform well. Sometimes, this can be managed with microclimates. Microclimates are areas in your garden that that have unique qualities. For example – next to a metal fence may be warmer, or a shady area with a pond may be cooler with more humidity. This can help you tailor and customise the surrounding to better suit your fruit tree.
Root systems – Take note if you have any concrete, pavers, a pool or plumbing nearby. Some fruit trees have huge root systems that can crack concrete or damage pools. If that is a factor then note that down. There are plenty of trees that have shallow or small root systems or you can plant in containers or pots.
Height Restrictions – would it matter if the fruit tree grew too tall? Fruit trees can be pruned to keep manageable but if you have restrictions such as neighbouring buildings, power lines, roof, eves or fences, it may be worth choosing a shorter variety grafted on dwarf root stock. This will mean the maximum height will be a lot shorter and you will not need to prune and maintain it as often.
How much time do you have to Care and Maintain the Fruit Tree? – Some fruit trees will require a lot more care and maintenance to actually get a good harvest from. Stone fruit for example, will often need to be netted to prevent fruit flies, bats or birds from decimating your crop. If you are wanting a low maintenance fruit tree then there are plenty of options available. Speak to your local fruit tree nursery to see what low maintenance fruit trees thrive in your local area.
What other Fruit Trees do you have? I have a lot of citrus already, so I want to get something different for my next fruit tree.
Have you tried that Fruit before? Once you have an understanding of your specific climate and have a few key points noted down on sun, shade, wind and surroundings, the next thing is to taste some fruit! You don’t want to spend money, allocate space and time, to grow something that you don’t actually like! This can seem obvious, but is often overlooked with the excitement of new fruit trees. Some fruit will be hard to find as there are many types of fruit that don’t travel well and cannot be sold commercially. These can often be found at local growers markets or on local gardening pages. Imagine waiting four or five years for your tree to fruit and then hate the fruit..that would be so annoying!
Observe & Interact – take time to slow down and observe your garden.
What Next? Choose a New Fruit Tree!
Now that you have a little more of an understanding of your climate and restrictions, it’s time to start looking for a new fruit tree! Taking the time to stop and observe, will help you select a fruit tree that will not only thrive in your location, but, that you will also LOVE to eat! Visit your local fruit tree nurseries or fruit tree specialists for valuable local knowledge. They may even be able to order in rare varieties. Local community groups also offer a wealth of knowledge.
In this video I try some tropical fruit to decide whether or not I want to purchase those fruit trees.
What fruit tree do you want to plant next? Let me know in the comments.
10 ways to become more self-sufficient right now! Start small but start today. These 10 steps to becoming more self-sufficient are things that you can easily start implementing in your life right now. Build layers of knowledge and experience to create a life that is not only more self-sufficient, but is also sustainable. Slow and steady solutions are what will make this lifestyle change last long term. I know, it is so exciting! and we want to do all the things, but, get the basics right from the start and it will flow and be easy.
Click to watch 10 ways to become more Self-sufficient
1. Grow your own food
Growing your own food is a great step towards living a more self-sufficient lifestyle and it doesn’t have to be overwhelming. Start small but start today. Whether that means, converting part of your garden to edibles, planting a herb garden, starting a veggie patch, or planting a fruit tree.
Herbs are a great place to start for beginners because they are easy to grow and incorporate into your daily meals. Herbs are also quite pest-resistant and can tolerate a range of growing conditions. Herbs can be grown in pots and even indoors on a sunny windowsill.
You don’t need to be self-sufficient in everything but you can be self-sufficient in something. Take a look at what you buy regularly eg: salad mixes and plant that. Each season you can continue to expand and work your way up to providing more and more of your household’s fruit and vegetables.
Planting a fruit tree is also a great step towards self-sufficiency. Even if you have a small space or you are in a rental, you can still plant a fruit tree in a pot. That way when it does come time for you to move to a bigger location, you can take your established fruit tree with you. Fruit trees can take a while to start producing, so establishing trees in pots can allow you to get abundant harvest without waiting until you have more space.
So grab some seeds, get them in the soil and start growing your own food on your journey to become more self-sufficient.
2. Compost Scraps
Composting turns your scraps into organic, nutrient-rich soil that is going to help you grow a lot more plants. As well as reducing waste, composting will save you buying lots more soil and compost, because you will be able to produce your own soil at home using what you already have.
Composting your waste helps close the loop and make your gardening more sustainable.
You can purchase compost bins or tumblers at most of your local garden or hardware stores. You may even be able to pick one up cheap or free on marketplace or local buy and sell pages.
3. Learn to Cook Garden to Plate
This is another important one, and I think second to growing food, it is so important to learn how to cook. Even if you are a great cook, it is very different cooking from your garden. You need to get creative and come up with new ways to use and maximize the veggies you grow. Most cooks will be used to incorporating a lot of packaged products into their cooking and to be more self-reliant, you need to get creative.
Whether you use Zucchini as pasta, or Rainbow Chard as wraps, or Cauliflower as a pizza base, there are so many ways to get the most out of everything that you grow. That way, you can create more meals from the garden, and rely less on the shops! Saving you a lot of money. Because, we all know that when you pop to the shops for a couple of things… you end up with 3 bags full.
It takes lots of practice and is a skill to continually work on. Learning to cook with vegetables in lots of interesting ways will help you to become more self-reliant and build up your self-sufficiency. Having lots of recipes and ideas will help you to create exciting and wholesome meals so that you can sustain the lifestyle long term.
Garden to plate cooking is something I am incredibly passionate about, and the main reason I started my online membership. This is where I share my recipes with creative ways to use your harvest from root to shoot! I try to keep them simple, easy and of course delicious! If that is something you’re interested in Click Here to find out more.
4. Preserve Extra Food
Make hay while the sun shines as my dad always used to say! When you grow an abundance of produce in the garden, learn ways to preserve that to use throughout the year. That way you can still create balanced and wholesome meals all year round.
You don’t need a big garden to start doing this. People are often giving away lemons or extra fruit they can’t eat. So utilize this and learn how to preserve them. You can always trade a big bag of fruit for a finished jar of jam, chutney, dehydrated fruit or sauce. Utilize what’s in season. If you see in-season fruit and vegetables that are really cheap or have bulk buying options, buy them and test out some ways to preserve them. That way, you will be building knowledge and experience for when you are growing your own! Plus your pantry will be full for the rest of the year.
5. Learn to Take Cuttings
Growing food from cuttings will boost your garden’s level of sustainability. This is the best way to level up and grow more food for less. You can make an endless amount of trees and plants when you learn how to take cuttings. I have an ebook on cuttings if you want to learn the basics and I go through the easiest plants to grow from cuttings. This guide will show you some easy and quick ways to grow a tonne of food. You’ll be eyeing off your friends’ gardens in no time.
Saving seeds can go a long way towards creating a sustainable lifestyle. Seeds have the power to grow an endless supply of food if they are continuously saved. Saving your own seeds will not only provide you with a sustainable food source but it will also save you money in replenishing your seeds each year.
Each vegetable you grow has the potential to grow an endless amount if you learn how to save seeds. Save seeds from heirloom or open-pollinated varieties to ensure the next generation will be “true to type”.
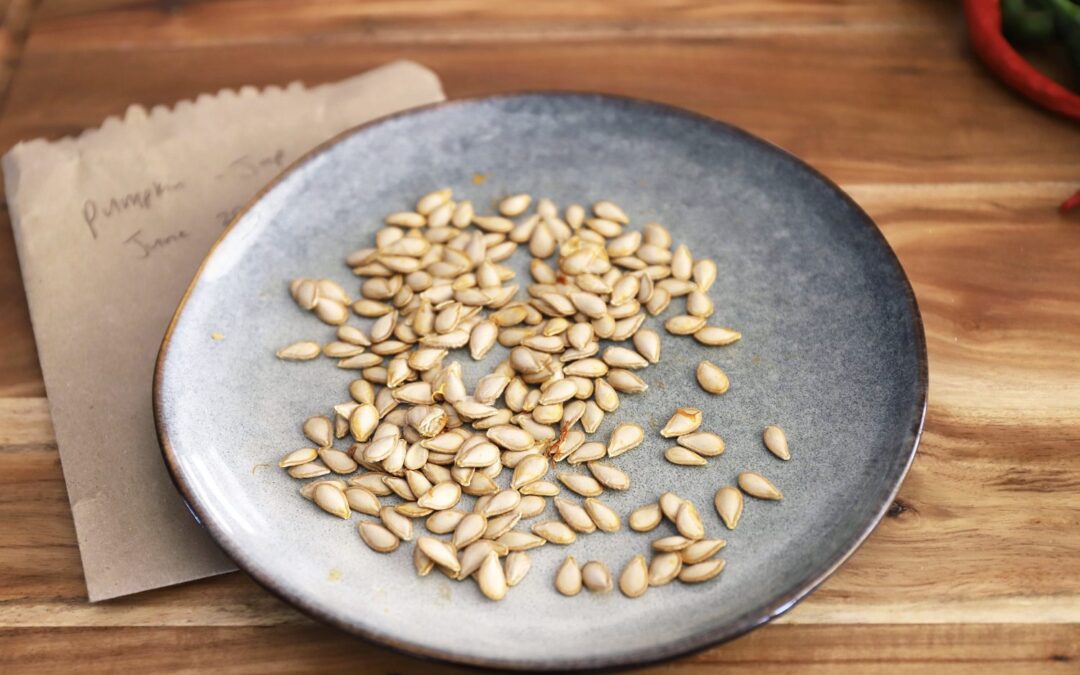
You can even try saving seeds from vegetables you have purchased. Pumpkins and squash are the easiest ones to try! Clean off the flesh and let them dry out on a plate. then keep them in a brown paper bag or somewhere cool, dark, and dry, and then pop them in the soil in spring. You can try this with others such as Passionfruit, capsicum or tomatoes. It is best to choose organic heirloom varieties from your local farmers markets as many store bought vegetables are hybrids. Both can work for a bit of fun a bit of fun.
Saving your seeds is a great step towards self-sufficiency and when a world crisis happens, (hello 2020) the seed shelves are empty. People became more aware that they are relying on others to provide for them. Having your own seeds will mean you will have more resilience and can be more self-reliant.
7. Swap and Trade
Get into a habit of swapping and trading items rather than purchasing new. Use your new found skills of propagating and saving seeds to trade with others for more plants. Or if you have extra produce, try hosting a swap meet and encourage your friends or local community to get involved. This can be a great way to recycle your unwanted items and get useful items in return. Swap meets can be great for extra seeds, produce, cuttings, houseplants, books, furniture or clothing.
8. Learn about Edible plants
There are so many edible plants around you every day and you may not even know it. Learning to identify plants and what parts are edible will hugely increase your food sources and self-sufficiency. This means you will be able to get the most out of everything growing in your garden! There are so many native plants and even weeds that are edible. Continue to build knowledge by learning to identify plants.
9. Harness Natural Resources
Every day nature is providing us with so much energy that is often ignored. Harness the sun, rain, and wind to use to your advantage.
Dry your washing
Capture water for your gardens
Dehydrate herbs, flowers, and food using the sun
Create power with solar panels
You can even make solar ovens
Put your pot plants outside when it rains
10. Up-cycle and Re-use
Use what you have. Get creative. Train your mind to come up with new ways, rather than slipping into the consumer mindset. Try to forage sticks for Tomato stakes and make your own trellis or up-cycle cups and crates for pots. Whatever it is you need, think about other ways that you could achieve the same outcome.
It can seem hard at first, but over time, you will start switching your mindset to up-cycle rather than consume and it will become so much easier. This will save you a lot of money and reduce the number of things you have lying around that get used on rare occasions.
I hope you found some inspiration and tip to get stuck in and started today. Let me know in the comments what you are going to start with to become more Self-sufficient right now!
Holly 🌱
MY GARDENING ESSENTIALS //
Garden Bag: https://bit.ly/3t5zc6h
Pink Secateurs: https://bit.ly/3qytl6s
Fertiliser spray gun: https://bit.ly/366nL1t
Retractable Hose: https://bit.ly/2TSC0Bo
More gardening tools: https://bit.ly/32IQmbD
DISCLAIMER: Links included in this description might be affiliate links. If you purchase a product or service with the links that I provide I may receive a small commission. There is no additional charge to you! Thank you for supporting my page so I can continue to provide you with free content!
Saving seeds can go a long way towards creating a sustainable lifestyle. Seeds have the power to grow an endless supply of food if they are continuously saved. Saving your own seeds will not only provide you with a sustainable food source but will also save you money in replenishing your seeds each year.
Saving your seeds is a great step towards self-sufficiency and when a world crisis happens, (hello 2020) the seed shelves are empty. People become more aware that they are relying on others to provide for them. Having your own seeds will mean you will have more resilience and can be more self-reliant.
Saving seeds from your best vegetables will help you develop your own SUPER plants! Selecting for pest resilience, size, strength, taste or timing, means you can grow more plants with those desired traits.
You will also get seeds and vegetables that are acclimatised to your exact growing conditions. They have adapted to their surroundings and will thrive! If you are already growing these vegetables you may as well save the seeds!
Can you save any seeds?
Heirloom or open-pollinated seeds are the best to save. These are varieties have been passed down for generations and have been bred “true to type”. This means they haven’t been cross-pollinated so they will produce the same or very similar vegetables each time they are planted.
Hybrid seeds have been cross-pollinated with two different varieties to get the 3rd outcome. The seeds saved from these can have extremely varied results, that can often be less desirable.
Over the years many heirloom seed varieties have been lost forever as more and more hybrid seeds are produced by large corporations that control the market. Saving your own heirloom seeds can help keep those varieties alive for future generations.
Saving seeds from the best-performing vegetables in your garden is such a valuable skill to have. It means you will have direct access to high-performing vegetables that you know and love.
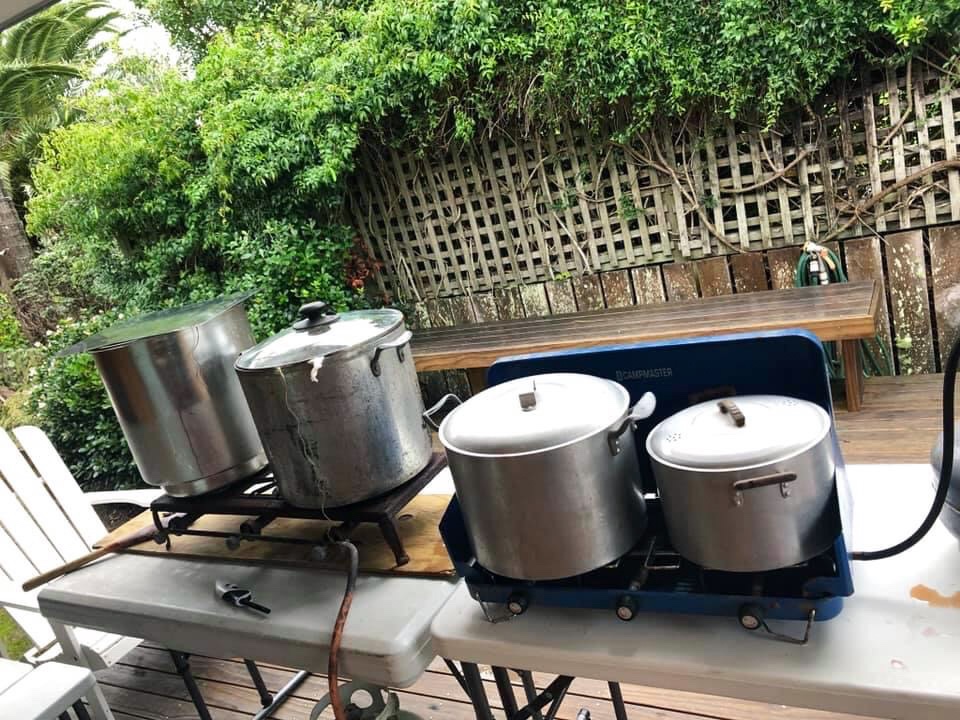
Our family have tomato seeds that have been passed down from our grandpa and they produce the most incredible tomatoes for making sauce! Each year we grow the tomatoes and come together to make a big batch of tomato sauce. It is a fun, family tradition.
Annuals, Biennials, and Perennials
Not all plants go to seed in the first season. Annuals are often most of your common seasonal vegetables such as lettuce, tomatoes, watermelon, pumpkin, beans, peas and cucumbers. These produce seeds at the end of each crop or are in the ripe fruit. This means you can save the seeds from these each year. By choosing the best fruit and vegetables to save seeds from, each year your plants will get better depending on the desired traits you have selected for eg: biggest fruit, best flavour, most pest resistant.
Biennials will only go to seed in their second season and you will need to keep them growing throughout winter. This can mean you need to transplant them to a greenhouse if your winters are too cold. Biennials can be a little trickier to save seeds from. They also take up a lot of space whilst not producing much food while you wait for the seeds. These are many of the root vegetables and vegetables such as beetroot, carrot, onions, cabbage, kale, rainbow chard, and cauliflower.
Perennials are even trickier again as they are plants that regrow by themselves every year such as asparagus. It is often easier to transplant perennials by splitting the plant and transplanting than saving seeds.
Cross-Pollinating Varieties
When deciding to save seeds from your heirloom vegetables make sure that they are not getting cross-pollinated. Pollination can happen from insects or even wind for some varieties. So it is best to keep varieties of the same vegetable separate and in different corners of the garden. Another great way to protect and avoid cross-pollination is to stagger your planting. So if you want to plant two different types of tomatoes then plant them so that the first variety has finished flowering before the second one starts. This will just help ensure you get true-to-type seeds and know exactly what tomatoes you will have to plant the next year.
If you are growing multiple varieties at the same time, they may cross-pollinated but you can still save the seeds as this process will be good practice. If you plant those seeds out it will be a bit of an experiment to see what will regrow.
That doesn’t mean you can’t have some fun and try to cross-pollinate each season and see what happens.
Wait Until They’re Mature
Many fruit and vegetable seeds are only viable once they become over-ripe. This means you may miss out on getting to eat them. To save the seeds from vegetables you want to leave them on the plant until they are either dry or with fruit such as tomato and cucumbers they should be so over-ripe that they are starting to rot or go way past eating quality. This is how they naturally produce seeds in the wild.
Plants such as lettuce, celery, chard and radish will send off flowers once they get ripe and then these flowers will turn to seed pods. You will want to wait until the seed pods start to go brown and dry before harvesting for seeds.
Selecting Plants to Save Seeds From
This is an important step to make sure you save the best seeds! It can also be one of the hardest steps to commit to, as you will often have to forfeit eating that top-performing vegetable. If you see the perfect cucumber or tomato growing during the season, you will have to let it go overripe and bad before saving the seeds. This can often be disheartening, but just remember you will have even better crops in the years to follow!
Selecting “the best” vegetables to save seeds from is completely up to you. You may select for the biggest fruit, best tasting, plants that produce a lot, early fruiting, cold-hardy, disease-resistant, colour, or pest resistant.
How to Save Seeds?
There are two main ways to save seeds depending on the plants.
1 . Wait for the flowers to turn to seed or the seed pods to dry on the plant (beans, peas, flowers, radish, parsley, fennel). Once dry, pick and allow them to dry even further. Seed heads such as flowers can be hung upside down with the seeds heads secured in a paper bag. Once they are completely dry, you can shake off the seeds into the bag.
For seed pods such as beans, peas, and radish, once they are completely dry, you can remove the seeds from the pods and place them in a jar or brown paper bag. This can be quite time-consuming, especially with smaller seed pods.
2. Let fruit or vegetables go overripe on the plant to mature the seeds. They may change colour or start to break down ( tomatoes, cucumber, eggplant, chilli, capsicum, squash).
Once they are overripe, pick them and cut them open to reveal the seeds. Clean off the flesh and dry.
FermentFleshy Fruit Seeds
When saving seeds from fleshy fruits such as cucumbers, melons, or tomatoes, it can be hard to separate out the slimy layer surrounding the seed. This layer is to protect the seed when it is ingested by animals, birds, or from soil bacteria, and allows the seed to make it safely to the next season.
In nature, the fruit will rot on the plant producing mature seeds, then fall to the ground and the slimy film will protect the seed while the soil bacteria and microbes start breaking it down. Then, by the time the soil has warmed up again the following season, the seed will be ready to burst into life! This is why your volunteer tomatoes that grow from the compost are so hardy and fast-growing! They have been processed correctly.
We can mimic nature by squeezing the fresh fleshy seeds into a jar of filtered water to ferment (will be stinky) for a few days. Leave a lid loosely on the top of the jar and you will notice a white film starting to cover the surface. This is the lacto-fermenting process.
The viable seeds will be at the bottom of the jar and the bad seeds will float. Once the film covers the top of the surface you can separate off the bad seeds, rinse your seeds, dry them, and store them.
The easiest way to do this, is to dry them on a paper towel and when they are completely dry fold it up and place them in a brown paper bag or jar to store.
Is Fermenting Necessary?
No, you can simply rinse your seeds and dry them out. The fermenting phase helps eliminate the bad seeds, remove the protective layer and kill off some of the seed-borne diseases.
Dry the Seeds Completely
You want to make sure your seeds are completely dry before storing them. Lay them flat on a tray, moving them around every day or so until they are dry. Thicker seeds such as pumpkin may take a week or so to fully dry. Remove as much of the extra plant matter as possible (seed pods, petals, protective layers).
Storing the Seeds
Store your seeds somewhere cool, dark, and dry. I like to keep my seeds in brown paper bags, envelopes or recycled vitamin/pill canisters. Make sure you label them well with the name and/or desired trait (early tomatoes, best-tasting pumpkins, etc) and put the date.
Store your seeds in the coolest room or area of your house. Seeds can also be kept in the fridge in airtight containers.
How Long will Saved Seeds Last?
It is best to plant your seeds and resave each year or two, but if they have been stored correctly, some seeds may last over 10 years. Saving seeds and gifting them to friends and family, will mean you will be able to keep heirloom varieties available for generations to come.
If in doubt don’t throw them out! Old seeds can still be sown, you may just get less successful germination.
Saving seeds and figuring out how to save seeds from each plant can be tricky. Let me know if you have any questions about saving your seeds. This guide may also come in handy to determine whether plants are annual or biennial and how they are pollinated.
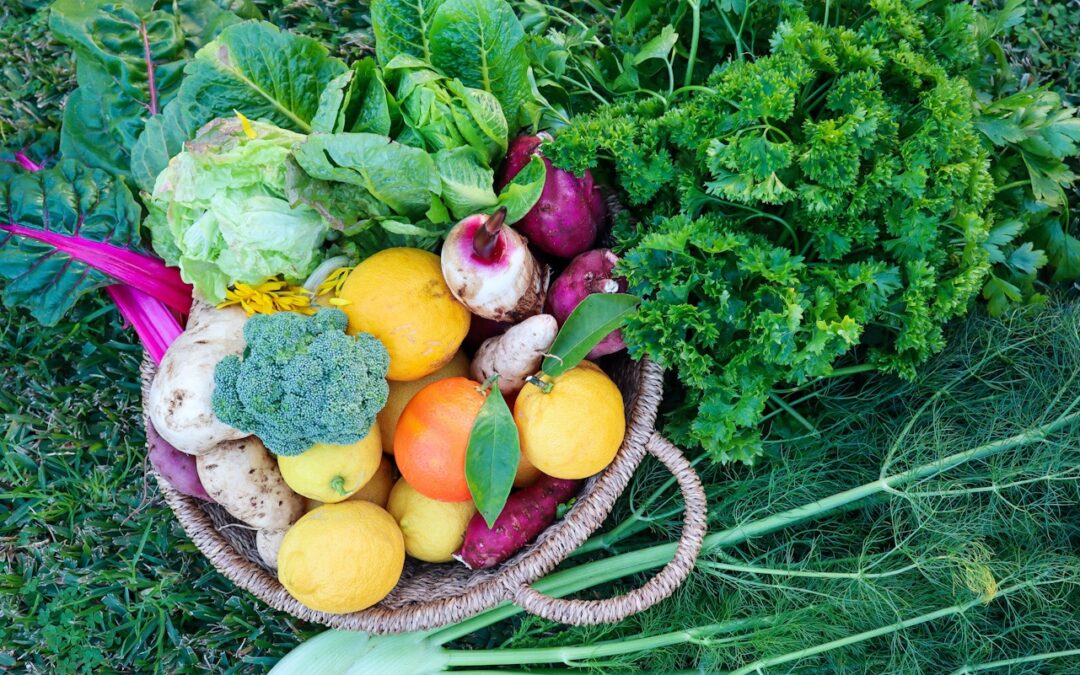
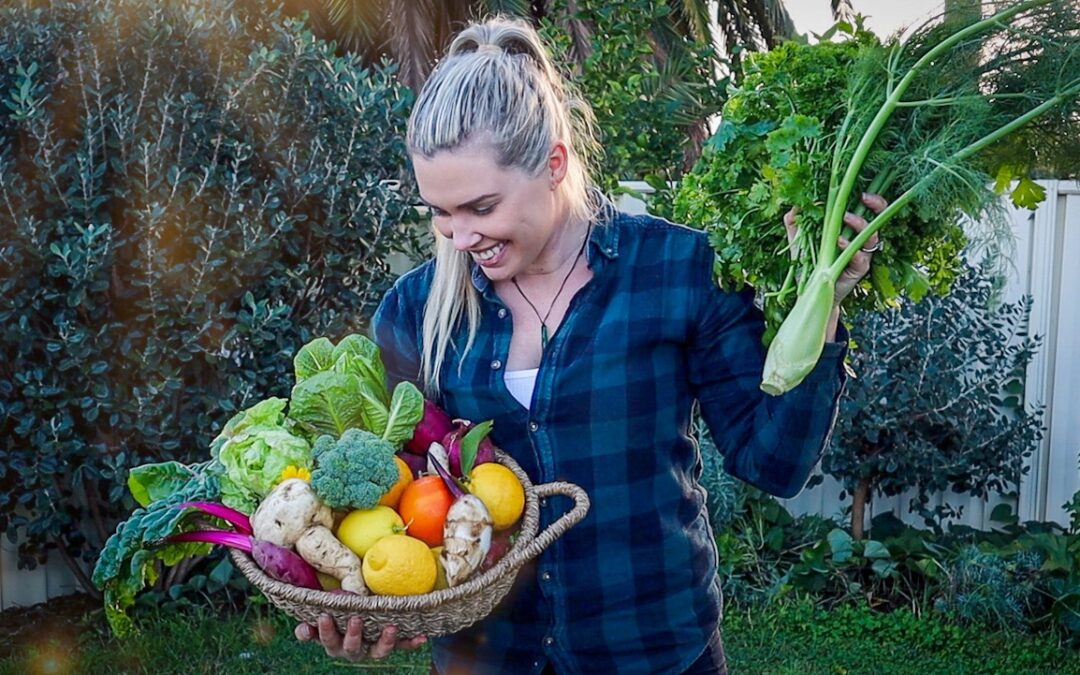
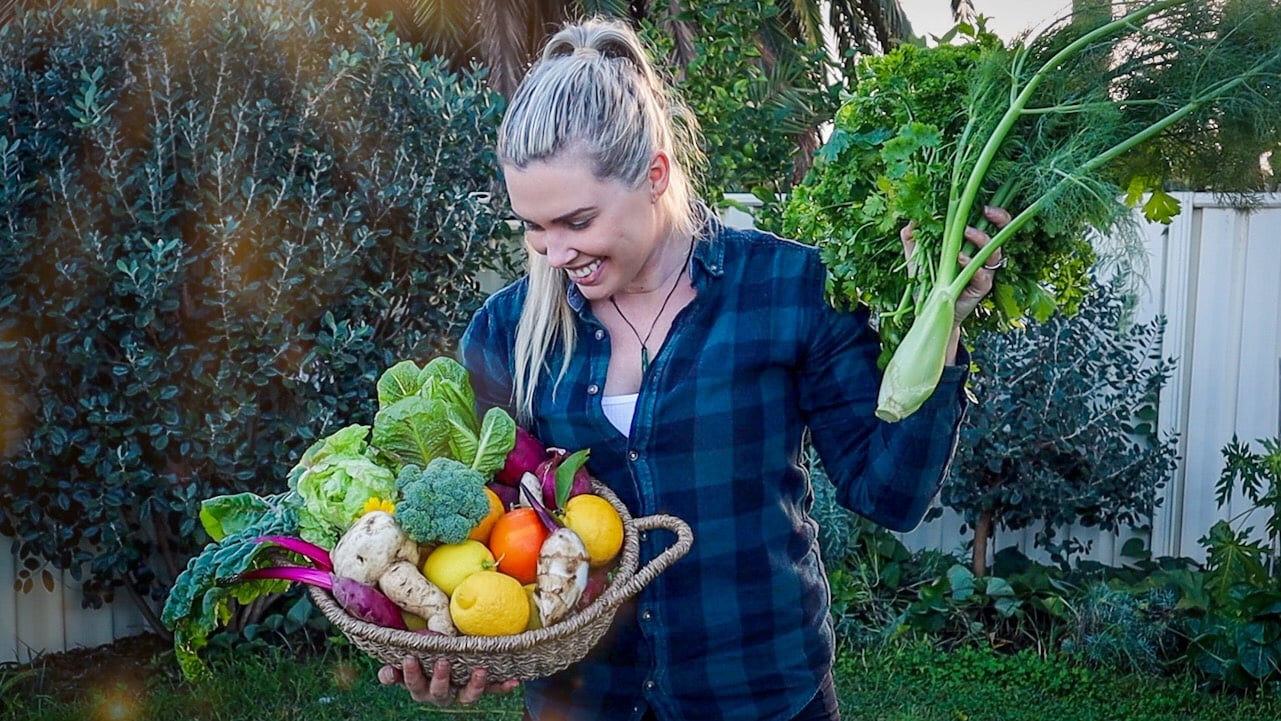
Welcome to my garden in July. It is the middle of winter here in Perth, Australia and although the temperatures have been quite mild, we have been getting a whole lot of rain! Today we take a look around my sustainable permaculture garden to see what we can find to harvest! I will also go through what I am going to make or preserve with what I pick.
It has been non-stop raining for two weeks with more rain forecast. Two days of fine weather finally arrived and I managed to get out and see what was ready. Heavy rains can cause some issues when your fruit and veggies are starting to ripen. Extra water can cause them to split open and then bugs can get in and I want to make sure I harvest as much as I can.
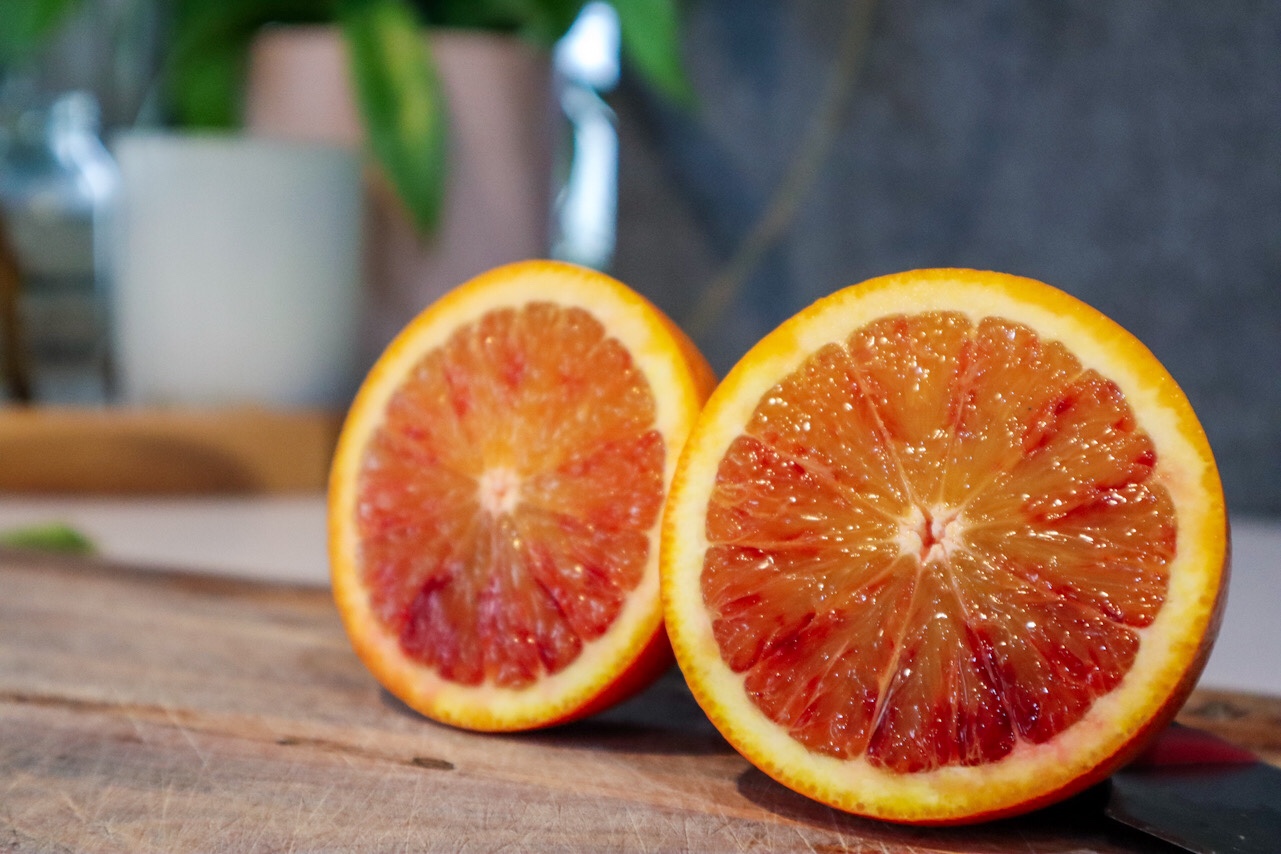
Citrus are ripening over winter and I have quite a few young trees. Citrus grow really well here in Perth, as they can handle our hot dry summers. Citrus trees are also a little more pest resilient than many other fruit trees. So, I have quite a few varieties – Lemon, Blood Orange, Lemonade, Lime, Finger Lime, Kumquat, and Mandarin.
Click to Watch my July Harvest
Sustainable Permaculture Garden Harvest
Just for fun I decided to weigh out my produce. Listed below is how much I harvested.
Lemons || 2.078kg
Blood Orange || 683g
Arrowroot || 170g
Lemonade || 682g
Broccoli || 93g
Parsley || 477g
Lettuce || 300g
Rainbow Chard || 127g
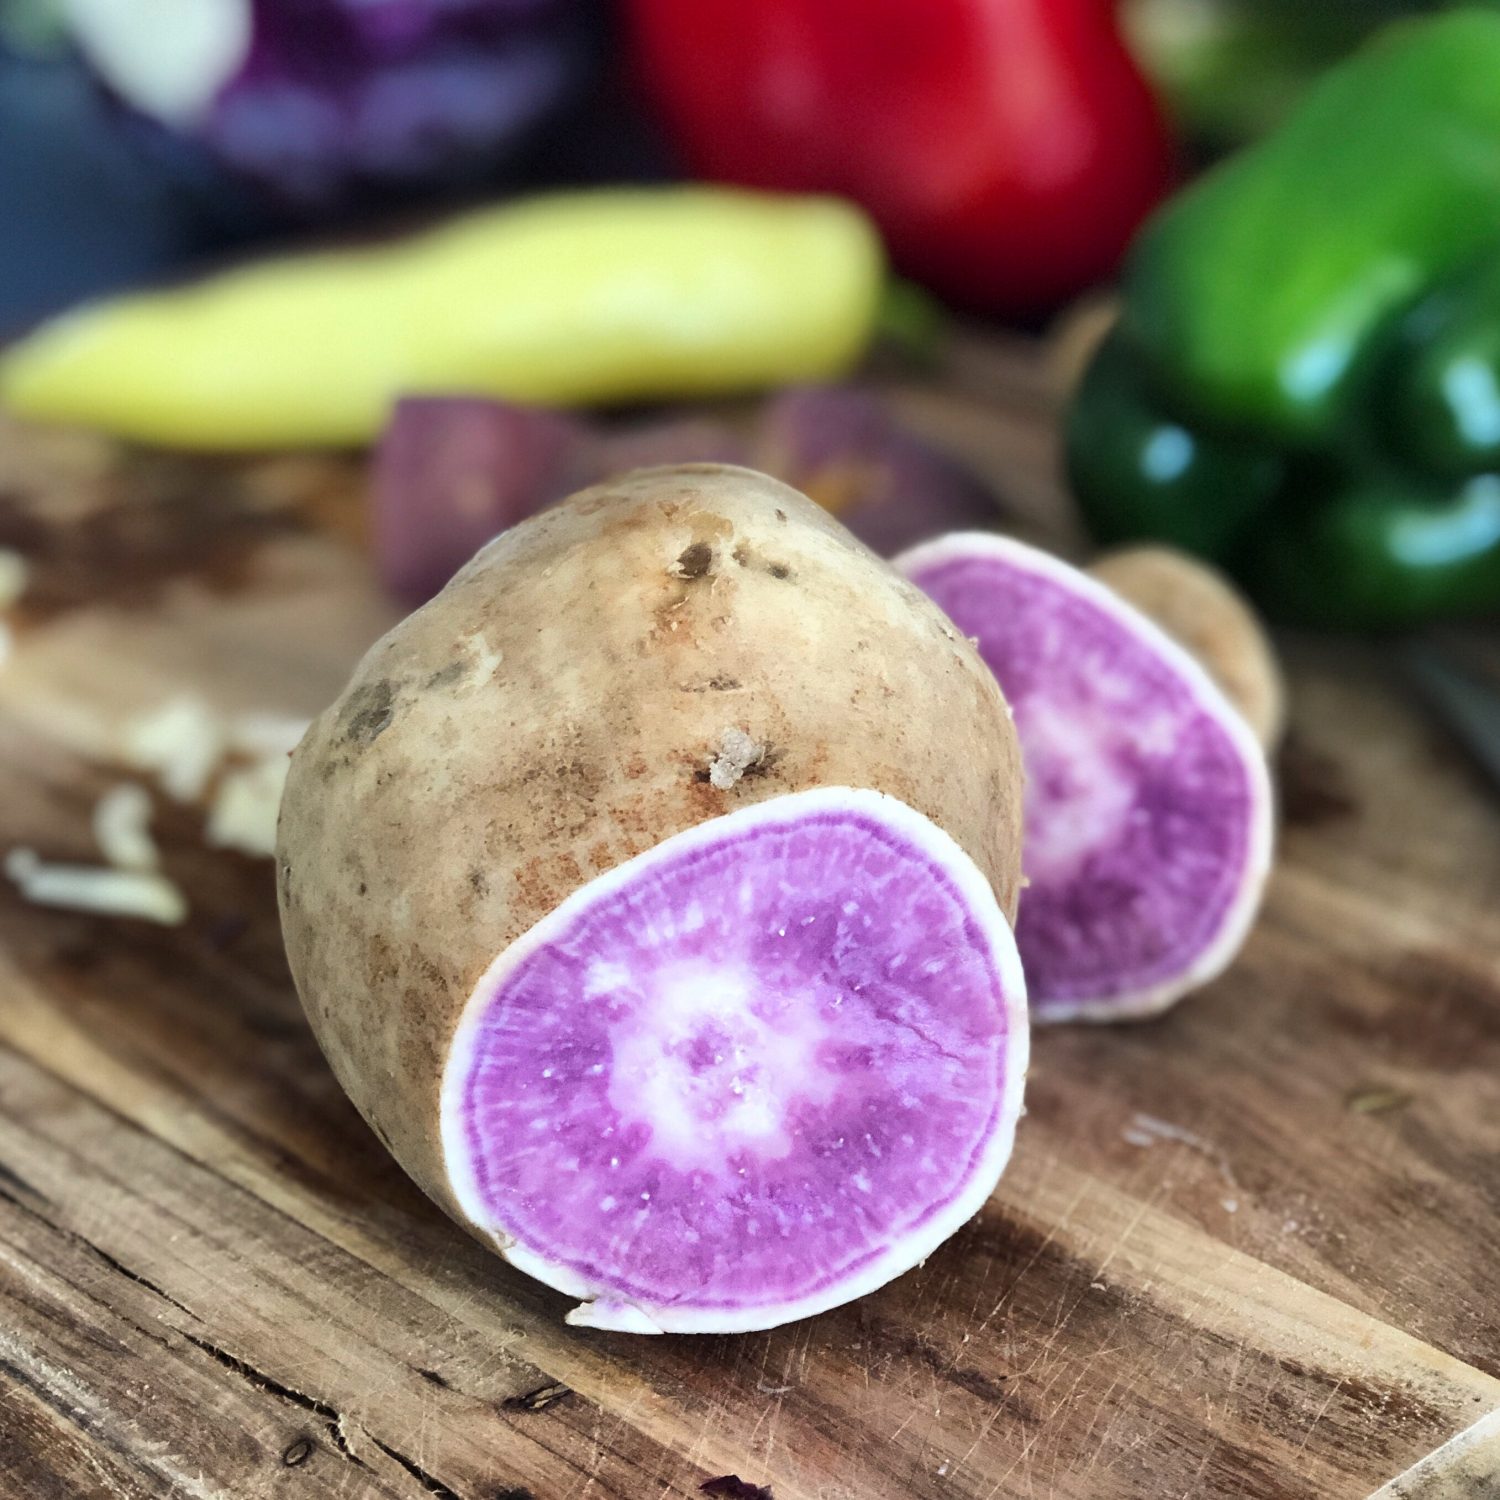
Purple Sweet Potato || 1.251kg
Hawaiian Sweet Potato || 667g
Fennel || 506g
TOTAL: 6.578kg
Harvest Gallery
Most of my Citrus trees are still young and this is the first harvest of fruit. What I love about fruit trees, is that they continue to grow more and more fruit each year. Fruit trees are powerhouses in abundance and such a valuable food source for any sustainable permaculture garden.
Join me on YouTube for new gardening videos every week – Click to subscribe
DISCLAIMER: Links included in this description might be affiliate links. If you purchase a product or service with the links that I provide I may receive a small commission. There is no additional charge to you! Thank you for supporting my page so I can continue to provide you with free content!