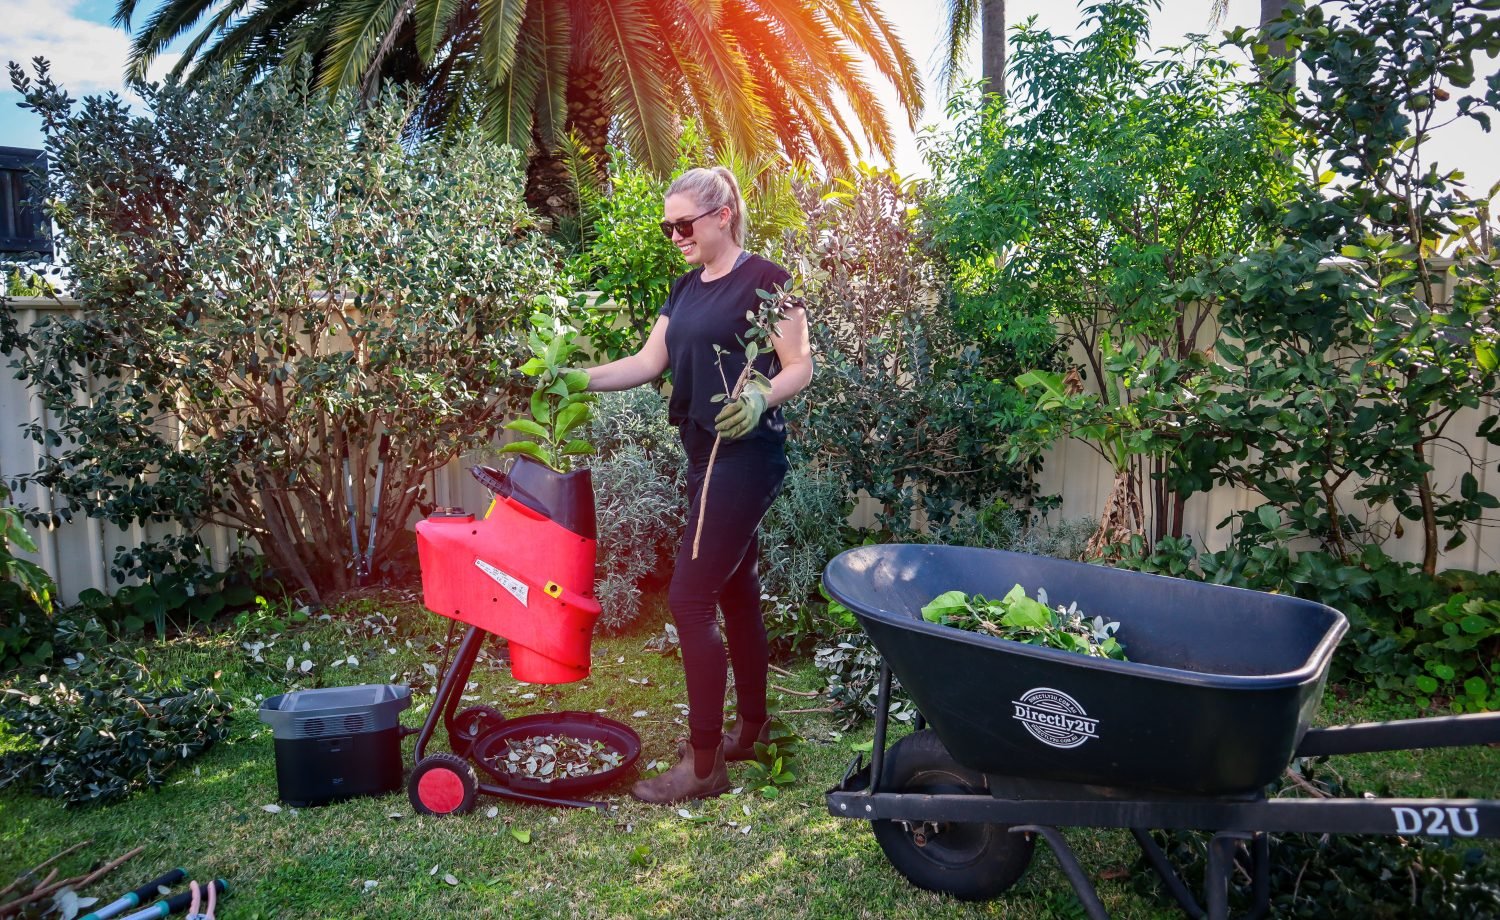
As a Kiwi living in Perth, Feijoas (also called pineapple guavas here in Australia) are a must-grow in my garden! One of the easiest fruit trees to grow in a home garden, but...
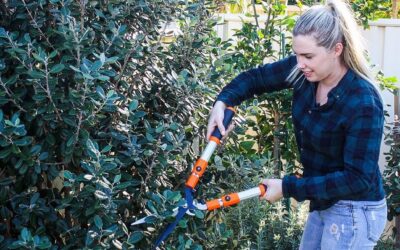
When to Prune Feijoa Trees to Reduce Size and Maximise Fruit Crops
read more