From invasive root systems to aggressive self-seeding, I will share why urban gardeners should Avoid Planting these in the Ground. These 15 Fruit Trees & Edible Plants can take over your garden, damage nearby structures, or require constant maintenance. Planting fruit trees and edible plants in the ground might seem like the best way to grow them, but some plants can quickly become a headache in urban gardens!
If you have limited space or an urban garden, this will be important info to know BEFORE you plant these in the ground! In this post, I’ll explain why these plants are better suited for containers, raised beds, or controlled areas, helping you avoid common gardening mistakes.
Fig Trees
Figs are delicious and easy to grow, but their strong root systems can cause major problems. They have the potential to damage pavers, concrete, and even underground drains as they search for water. If planted in raised beds, they can take over the space, outcompeting other plants.
A better option? Grow figs in a pot. This allows them to focus on fruit production rather than excessive growth. You may find they fruit quicker and more prolifically in a pot when they focus more on fruit production than on establishing their size. If you have plenty of space, you can plant them in the ground—just keep them away from structures, driveways, and pipes.
Kumquat Trees
Kumquats are a fun citrus tree, but for many gardeners, they end up being more ornamental than practical. While they produce masses of fruit, the small, tart fruits are best suited for jams, chutneys, or cocktails—not for everyday snacking.
A small potted tree will be much easier to manage and will give you great harvests to experiment with. Rather than a full-sized tree overloaded with fruit that becomes a chore to harvest.
Blackberry
Blackberries are known for their invasive growth habits. They send suckers underground, making them hard to contain, and if their stems bend over and touch the ground, they root and spread even further.
To keep them under control, grow blackberries in containers or install a deep garden edge to prevent runners from escaping. Otherwise, they can quickly take over your garden or spread into neighboring gardens or properties.
Blueberry
Blueberries thrive in acidic soil, which can be challenging to maintain in the ground. Without consistent soil pH, they may struggle to produce fruit.
Growing blueberries in pots allows you to control soil acidity, ensuring healthier plants and bigger harvests. Plus, container-grown blueberries take up less space and can be moved easily.
Grafted Passionfruit
Grafted passionfruit vines are notorious for causing problems in the garden, especially for beginner gardeners. The rootstock can take over, killing off the main plant and leaving behind a non-fruiting, invasive vine. The suckers can spread over 50 meters, making them extremely difficult to remove once established.
For a hassle-free option, grow non-grafted passionfruit vines to avoid rootstock takeover.
Mint
Mint is one of the worst plants for spreading aggressively. It sends out underground runners that allow it to jump containment and take over nearby garden beds. Even in pots, it can escape through drainage holes and establish itself in the soil.
Since a single plant can produce more than enough for home use, keep mint contained in a pot or raised bed to prevent it from becoming invasive.
Elderberry
Elderberry bushes are great for their medicinal berries and flowers, but they send out suckers that make them difficult to control. Even if you try to remove them, they can keep coming back for years.
If you’re growing elderberries in a small space, consider pots or designated garden areas to manage their spread.
Goji Berry
Goji berries grow fast and aggressively, spreading through self-seeding and suckering. While they are packed with nutrients, they can quickly take over garden beds if not regularly pruned.
For better control, grow goji berries in a pot to keep them manageable.
Jerusalem Artichoke (Sunchoke)
Jerusalem artichokes send out underground tubers that spread rapidly and uncontrollably. Once established, they are nearly impossible to remove.
To prevent them from taking over, grow sunchokes in large containers or contained garden beds where they can be harvested easily.
Yarrow
Yarrow is a fantastic medicinal herb. It also attracts a lot of beneficial insects and pollinators to the garden. However, it has an aggressive spreading growth habit in the garden. It spreads throughrunners under theground that can invade neighboring properties and garden beds. Yarrow can be hard to get rid of once a patch is established.
If you want to grow Yarrow in an urban garden, try containers or root barriers to keep it in check.
Malabar Spinach
This fast-growing vine can take over trellises and nearby plants. It also self-seeds aggressively, meaning it will pop up all over your garden. It is also more ornamental than edible so you don’t need to have it regrowing everywhere.
For better management, grow it in containers or a dedicated trellis space.
Lemon Balm
Lemon balm is one of my FAVOURITE herbs. It is part of the mint family and spreads rapidly through self-seeding. Once established, it can take over veggie patches.
Keep it pruned to stop flowering and contained by growing it in pots rather than directly in the ground.
Choko (Chayote Vine)
Chayote vines are a great perennial vine but do grow extremely fast, climbing over fences, trees, and garden beds. They also regrow from tuberous roots, making them hard to remove once established.
To prevent it from taking over, grow choko in containers or on a dedicated trellis.
Loquat
Loquats are delicious, but birds spread their seeds, causing them to self-sow aggressively. These trees also grow large, shading out other plants and taking up valuable space.
If you plant a loquat tree, be prepared for regular pruning and fruit netting.
Nasturtium
While nasturtiums are great companion plants, they self-seed aggressively and can quickly take over garden beds. In warm climates, they may become invasive.
To keep them in check, grow nasturtiums in pots or confined spaces.
Where & How to Plant Instead:
1. Large Pots & Containers 🪴
Great for invasive trees like figs, bamboo, or mulberries.
Controls root spread and makes maintenance easier.
Use at least a 50L (13-gallon) pot with good drainage.
2. Raised Garden Beds 🌱
Ideal for shallow-rooted plants that need better soil structure.
Prevents aggressive roots from spreading into pathways or damaging pipes.
Use deep beds (40cm/16” or more) for trees like bananas or certain berry bushes.
3. Root Barrier Systems 🚧
Works well for trees with aggressive or spreading roots (e.g., willows, mulberries).
Install a thick plastic or metal barrier at least 60cm (24”) deep around the root zone.
4. Espalier Against a Fence or Trellis 🌿
Perfect for space-saving and controlling growth (e.g., citrus, apples, pears).
Improves air circulation and prevents disease.
Train branches horizontally along wires or a fence.
5. Food Forest or Dedicated Zone 🌳
Some trees, like guavas or loquats, spread but work well in food forests.
Plant in designated areas where spreading isn’t an issue.
Use companion planting to balance growth and improve soil health.
6. Grow Bags or Air-Pruning Pots 🛍️
Good for trees like figs or pomegranates that do well in restricted root spaces.
Promotes healthy root structure and prevents circling roots.
Use 40L+ fabric pots for long-term growth.
Planting in the ground
While these plants can all be great additions to your garden, planting them directly in the ground can lead to maintenance headaches and invasive growth. By growing them in containers or designated areas, you can still enjoy their benefits without the stress of keeping them under control.
Have you had trouble with any of these plants? Leave a comment below and share your experience! Don’t forget to subscribe to my YouTube channelfor more gardening tips. 🌱
Links included in this description might be affiliate links. If you purchase a product or service with the links that I provide I may receive a small commission. There is no additional charge to you! Thank you for supporting my blog so that I can continue to provide you with free content.
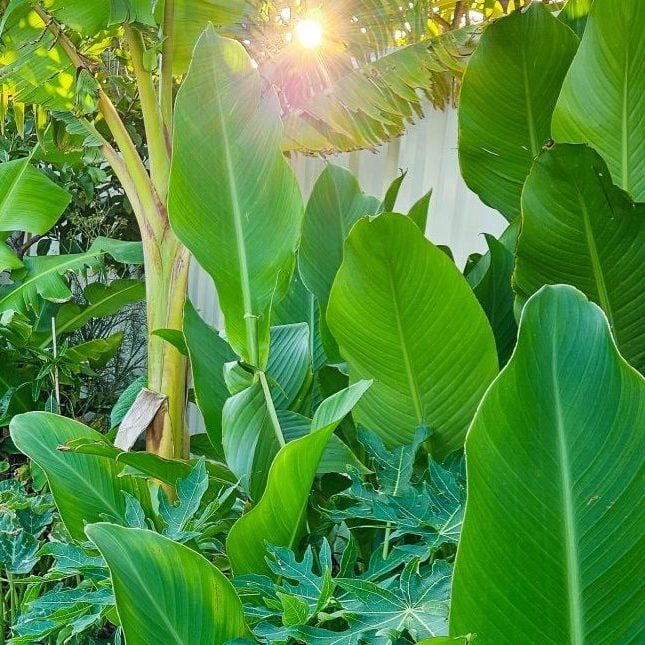
Gardening in sandy soil can be a challenge, especially in hot, dry climates. Sandy soil drains quickly, lacks nutrients, and struggles to retain moisture. However, by choosing the right plants, you can naturally improve soil health while also growing food. In this post, I’ll share five of the best plants to grow for mulch and improve sandy soil, all of which are fast-growing, drought-tolerant, and multi-functional. These plants help build organic matter, retain moisture, and create a thriving ecosystem in your garden.
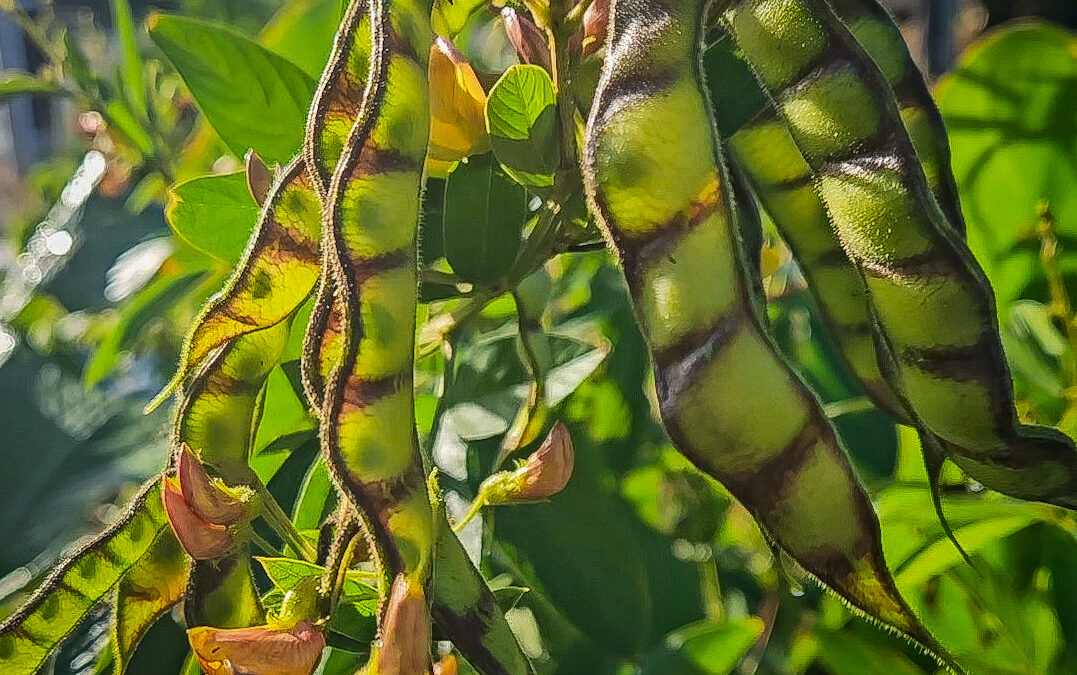
Pigeon pea is a nitrogen-fixing shrub that grows quickly and thrives in poor soil conditions. This makes it an excellent pioneer plant for mulching to improve sandy soil and support other plants in your garden.
Benefits of Pigeon Pea:
Fixes nitrogen, enriching the soil naturally
Produces edible, protein-rich peas
Attracts pollinators and beneficial insects
Provides dappled shade for smaller plants
Offers abundant biomass for mulch and soil improvement
Works as a windbreak and shelter for small birds and insects
Pigeon pea is a short-lived perennial (4-5 years) and can be used to establish a garden while building soil fertility.
Feijoa, also known as pineapple guava, is a hardy shrub that thrives in drought-prone and sandy soil conditions.
Benefits of Feijoa:
Tolerates drought and poor soil
Produces delicious, fragrant fruit
Provides dense foliage for wind protection
Low-maintenance and easy to grow
Can be used as a hedging plant to protect other crops
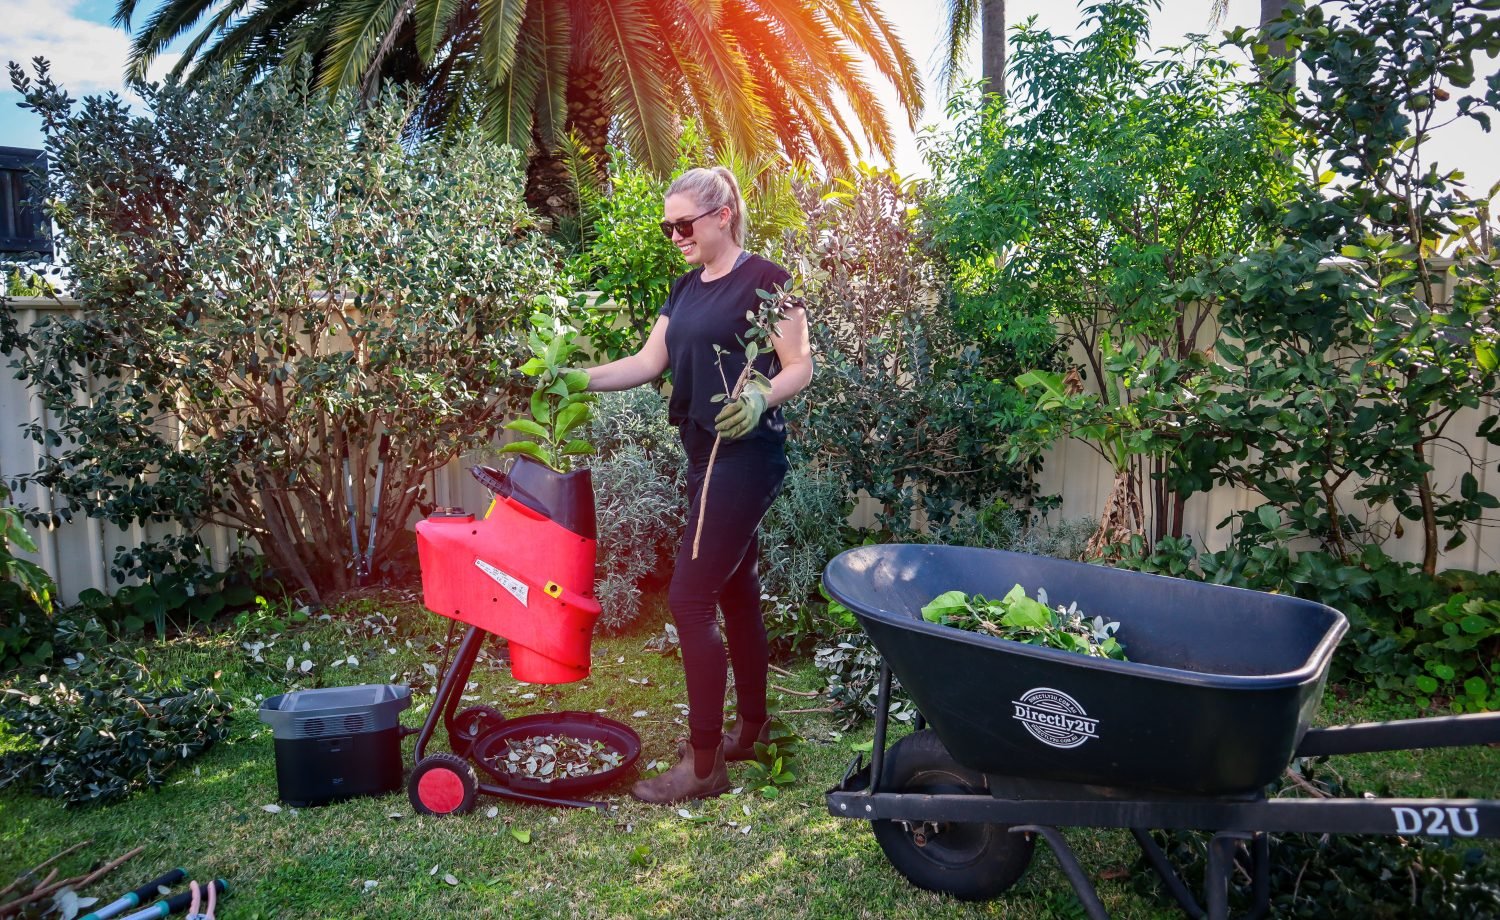
Feijoa is an excellent addition to sandy-soil gardens, offering both food and improved soil structure. They grow so much each year, which provides a consistent supply of green material to mulch. This is currently my top producer for mulch in the garden, and I use a mini mulcher with the Ecoflowbattery pack to give me cordless solar power anywhere in the garden.
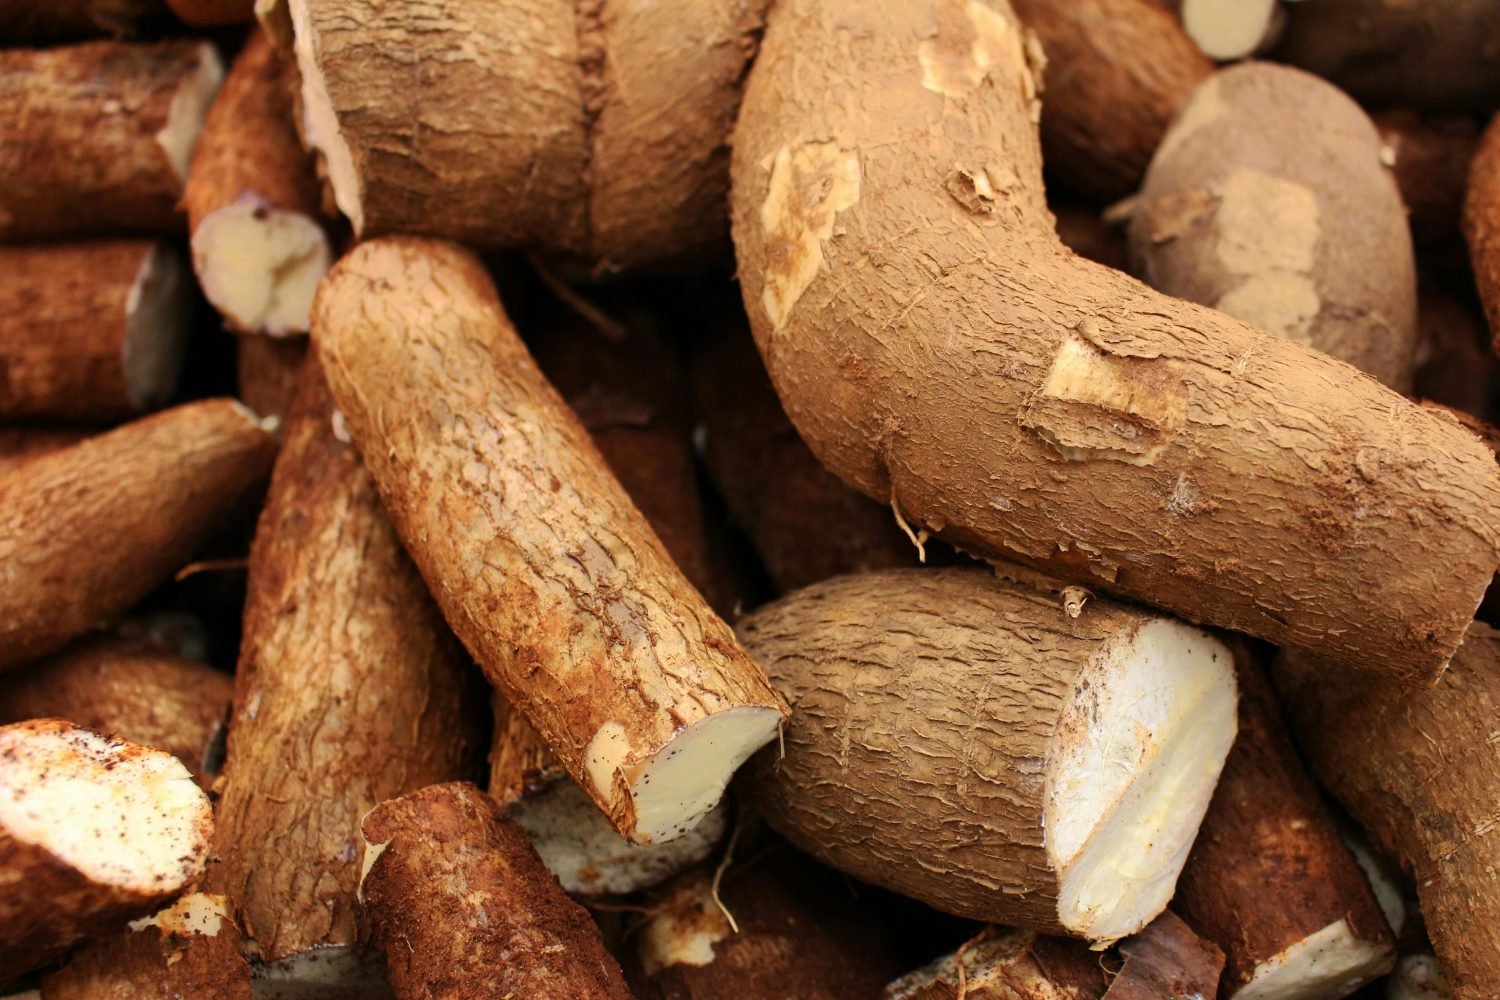
Cassava (Manihot esculenta)
Cassava is a tough, resilient root crop that thrives in hot, dry climates and nutrient-poor soil.
Benefits of Cassava:
Grows well in sandy, well-draining soil
Produces large, starchy tubers that can be boiled, fried, or made into flour
Fast-growing, reaching 2-3m tall in one season
Drought-tolerant once established
Leaves are edible when cooked
Chop-and-drop plant for mulch and soil improvement
Helps prevent soil erosion with its strong root system
Cassava is an excellent survival crop that helps build soil health and provides a reliable food source.
Mulching for the win!
If you’re gardening in sandy soil, these five plants to grow for mulch will help improve organic matter, retain moisture, and build long-term soil fertility. By growing multi-functional, fast-growing plants, you can create a thriving, resilient garden—even in harsh conditions.
Don’t forget to like and subscribe for more gardening tips! 🌱
Links included in this description might be affiliate links. If you purchase a product or service with the links that I provide I may receive a small commission. There is no additional charge to you! Thank you for supporting my blog so that I can continue to provide you with free content.
Are you growing any of these plants? Let me know in the comments! And if you found this helpful, share it with fellow gardeners.
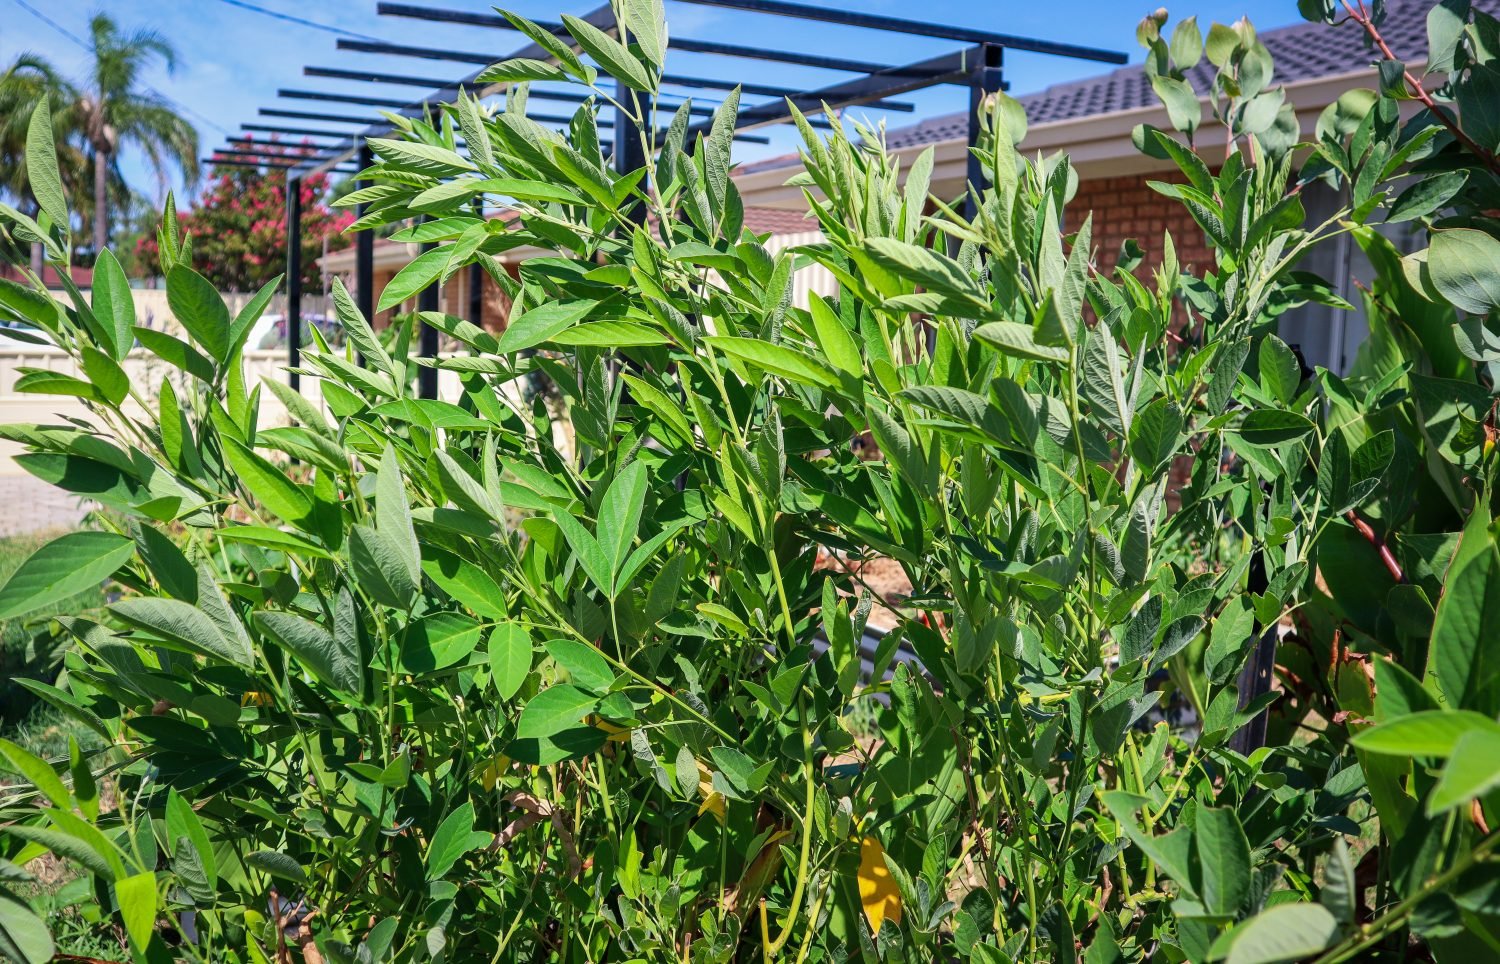
Pigeon pea (Cajanus cajan) is a fast-growing, nitrogen-fixing shrub that thrives in poor soil conditions while providing multiple benefits to the garden. Whether you’re looking for a hardy pioneer plant, a nutritious food source, or an effective soil builder, pigeon pea is a must-have in any sustainable garden or food forest.
Are you struggling with poor sandy soil and crispy plants from not enough summer shade? Then keep reading because this easy-to-grow edible plant could be the answer!
Benefits of Growing Pigeon Pea in a Permaculture Garden
1. Pigeon Pea Improves Soil Health
Pigeon pea is an excellent nitrogen fixer, meaning it naturally enriches the soil by pulling nitrogen from the air and making it available to other plants. This is especially valuable in poor, sandy soils where organic matter is often lacking. Additionally, its deep taproot helps break up compacted soil, improving aeration and water retention. It is a great plant to grow in newly established gardens where soil quality is low.
2. Creates Dappled Shade
This shrub grows quickly and provides light, dappled shade that protects lower-growing plants from harsh sun exposure. This makes it an excellent companion plant for young fruit trees and vegetable crops that benefit from reduced heat stress.
3. Attracts Beneficial Insects & Pollinators
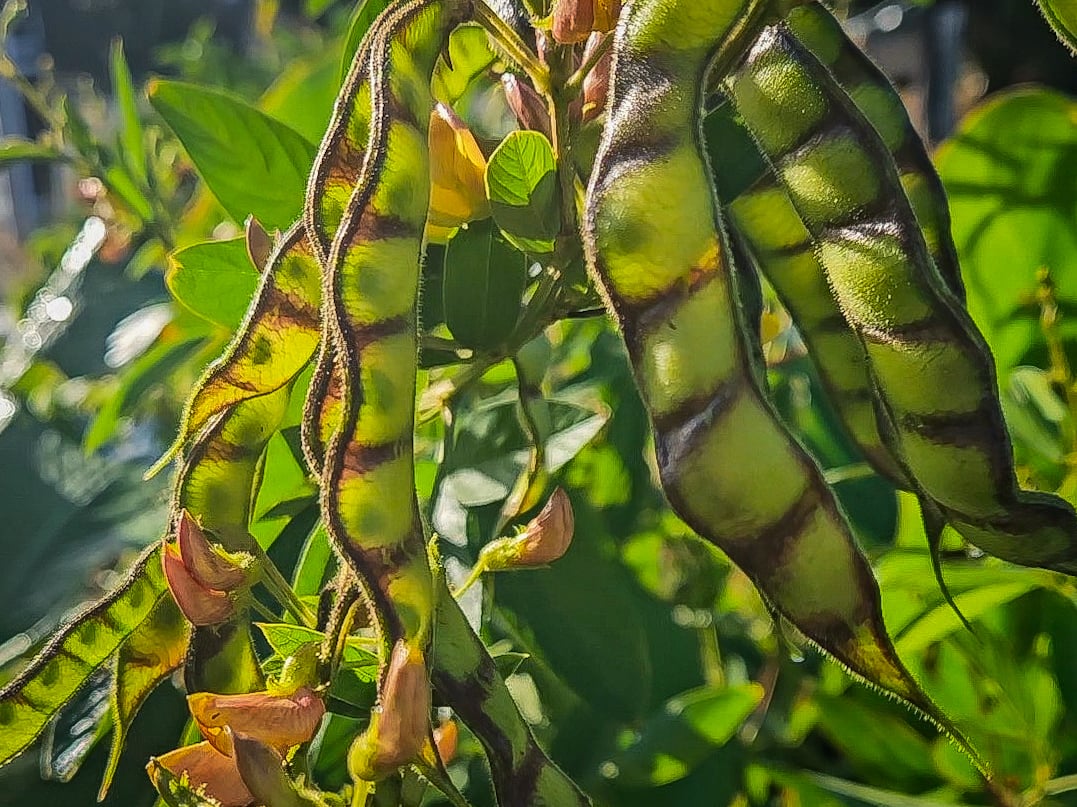
The bright yellow flowers of pigeon pea are highly attractive to bees, butterflies, and other beneficial insects. These pollinators help increase biodiversity in your garden and improve the yield of surrounding fruiting plants.
4. Nutritious & Versatile Edible Crop
Pigeon peas are a rich source of protein, carbohydrates, and fiber, making them a valuable addition to a self-sufficient diet. They can be eaten in various ways:
Fresh in salads
Steamed like edamame
Cooked in stews and curries
Made into burger patties
Dried and stored for long-term use
Not only are pigeon peas beneficial for human consumption, but they also make excellent high-protein animal feed.
5. Provides Abundant Biomass & Mulch
Pigeon pea produces a significant amount of organic material that can be cut back and used as mulch. This helps retain soil moisture, suppress weeds, and build healthy soil over time. Regular pruning encourages new growth and keeps the plant productive.
6. Windbreak & Habitat for Wildlife
This shrub can be grown as a hedge to provide wind protection for more delicate plants. It also creates shelter for small birds and insects, enhancing the overall ecosystem of your garden.
7. Pioneer Plant for New Gardens
Pigeon pea is an ideal “pioneer” species for establishing new gardens. This means it helps pave the way for establishing more valuable long-term crops. It offers:
Fast-growing shade
Nutrient-rich mulch
Green material for composting
Pollinator attraction
Wind protection
Thrives in poor soil
Drought tolerant
It is a short-lived perennial, typically lasting 4-5 years, making it perfect for supporting other plants in the early stages of a food forest or permaculture system. As your garden grows and your main fruit tree crops start to get established you can prune back and remove the Pigeon Pea to make room. With so much seed available you will be able to re-grow more plants in other areas of the garden.
How to Grow Pigeon Pea
Pigeon PeaPlanting & Soil Requirements
Thrives in well-draining soil, including poor, sandy soil
Pigeon Pea prefers full sun but can grow in semi-shade positions
Drought-tolerant once established
Grows well from seed planted directly in the ground
Doesn’t like frosts, but can be grown as an annual crop in cooler climates
Doesn’t like wet feet as this can cause the roots to rot. Plant on mounded soil to help improve drainage in wet areas.
Maintenance & Care
Minimal care is required once established
Benefits from regular pruning to encourage bushy growth and biomass production. It also helps with the ease of harvesting peas at a more manageable height.
Pigeon Pea can be interplanted with fruit trees, vegetables, or other nitrogen-demanding plants
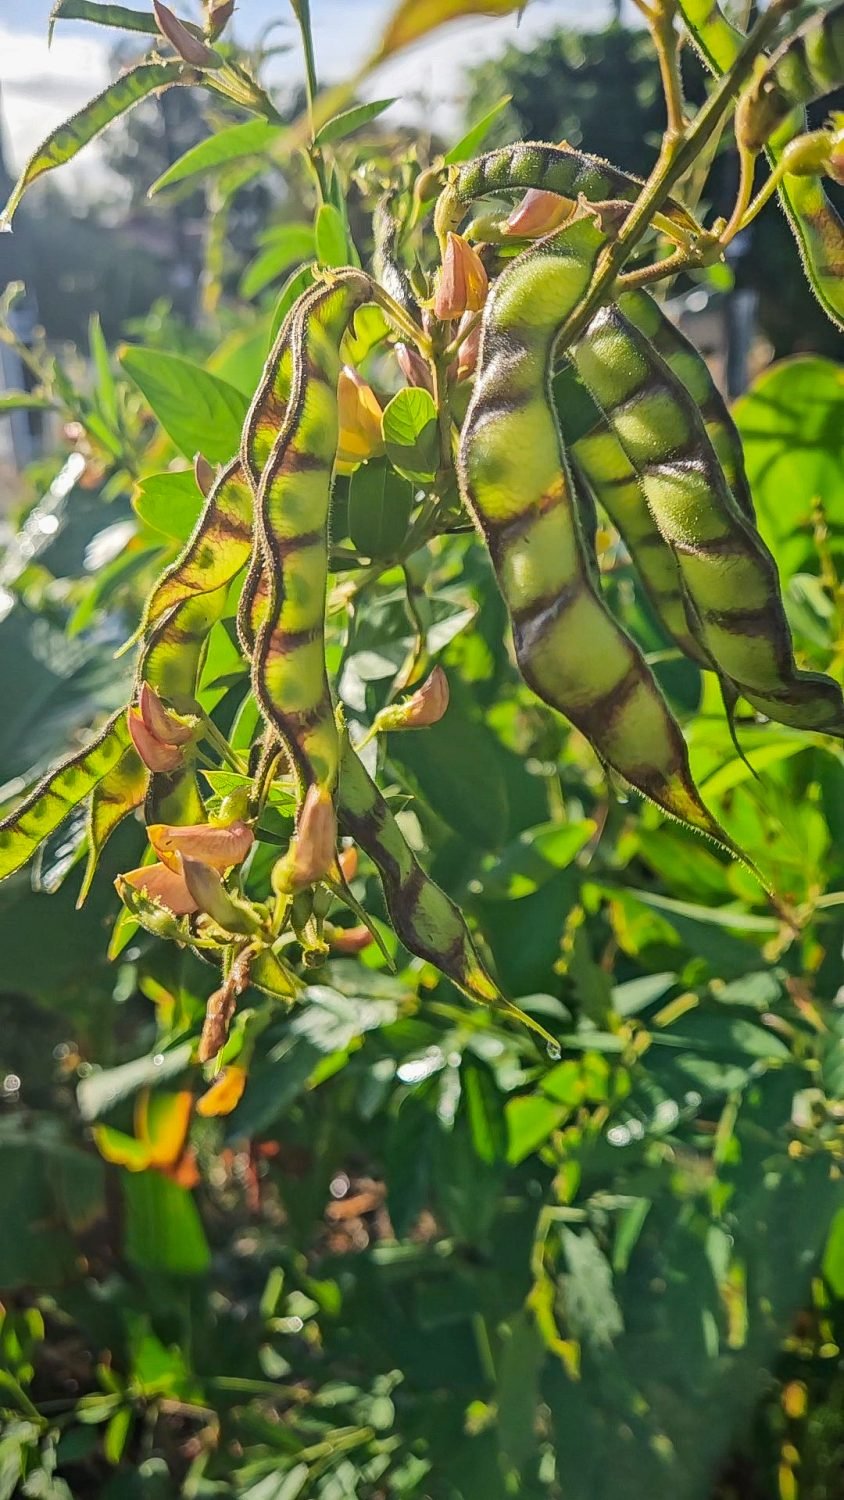
Harvesting & Usage
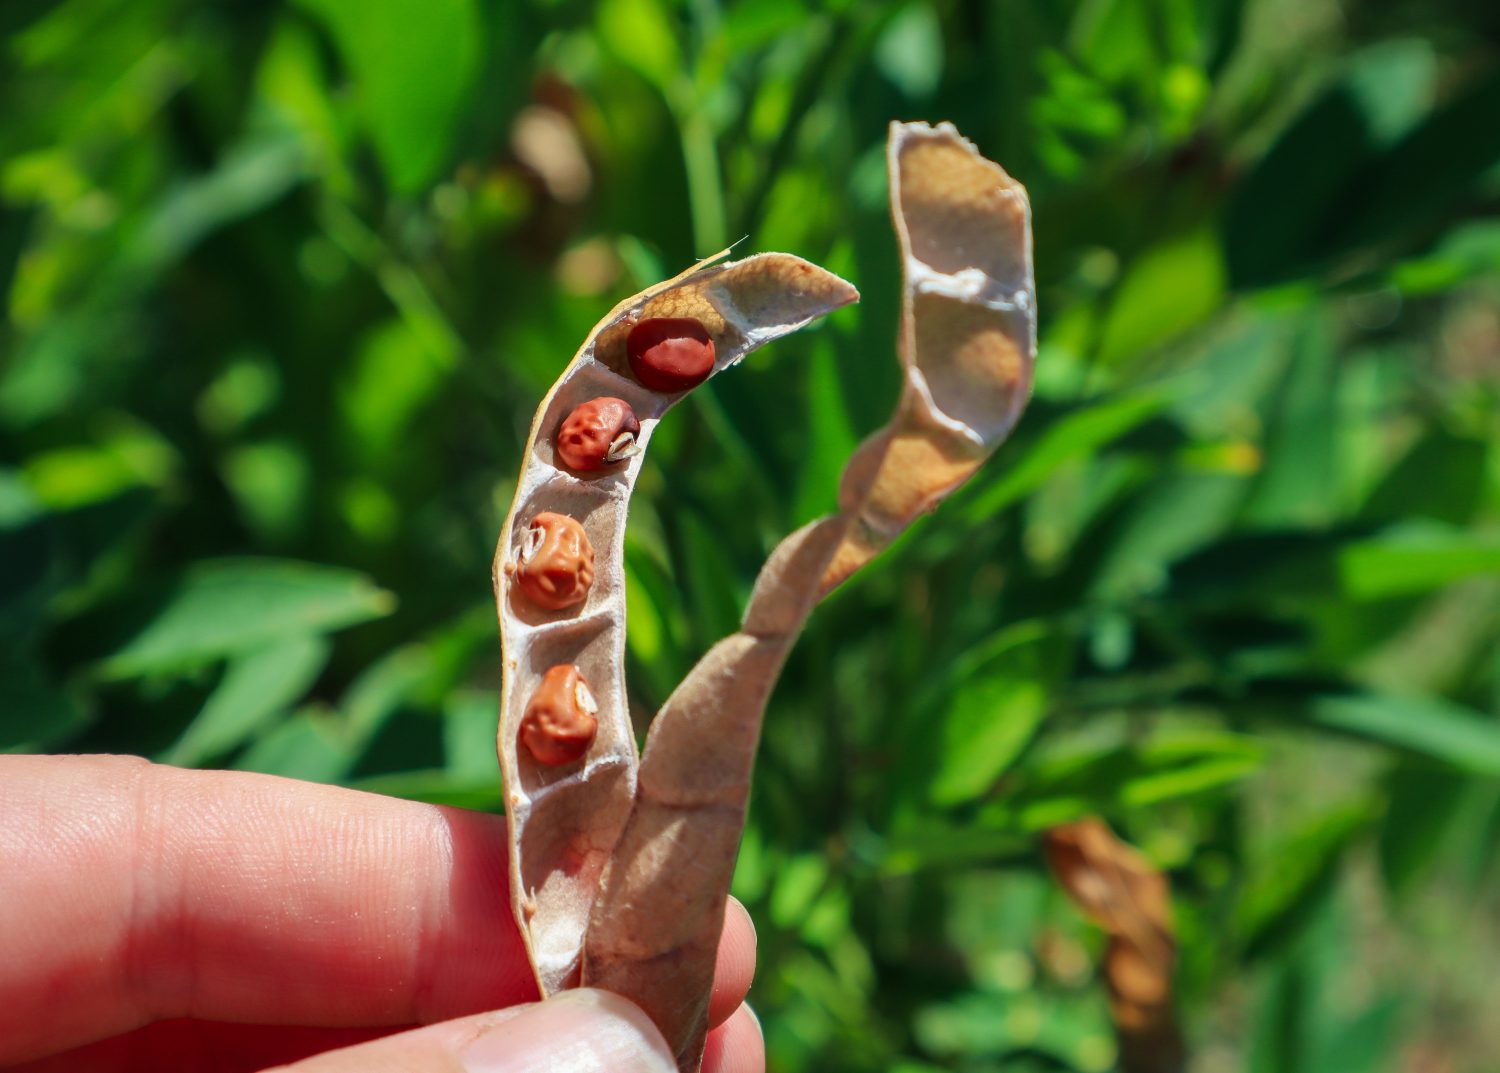
Harvest fresh peas when pods are still green
Leave pods to dry on the plant for long-term storage of dried peas
Regular pruning ensures continuous production and plant health
Pigeon Pea Permaculture
This pioneer plant is an invaluable addition to any permaculture garden, offering multiple benefits such as soil improvement, food production, pollinator support, and natural wind protection. Whether you’re starting a new garden or enhancing an existing one, this resilient shrub will help create a thriving, self-sustaining ecosystem.
Start growing Pigeon Pea today and enjoy its many rewards in your sustainable garden!
Add a little bit of flair to your desserts, baked treats, or cocktails with these sparkly, sweet candied mint leaves. They’re beautiful, easy to make, and add a delicate crunch with a refreshing minty finish. Perfect for when you want something a little special to top a cake, tart, pavlova, or even a fancy iced drink.
Mint on its own can sometimes be a little overpowering, but candying softens that intense bite while preserving all the aromatic freshness. The sugar balances the strength of the mint, leaving you with a light, sweet leaf that melts in your mouth and looks stunning as a garnish.
How to Make Candied Mint Leaves
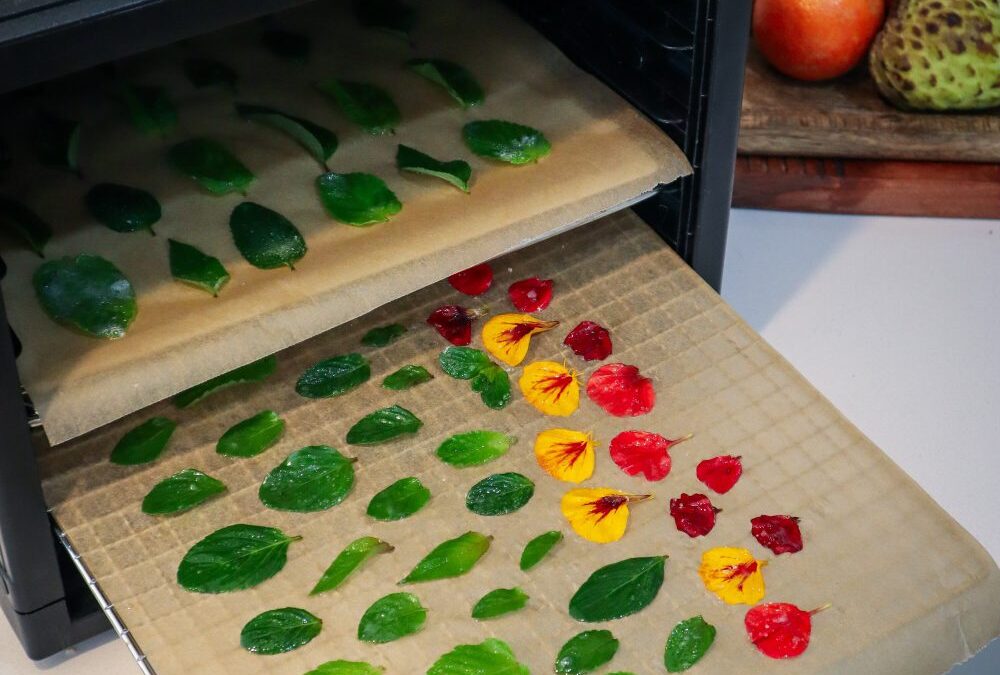
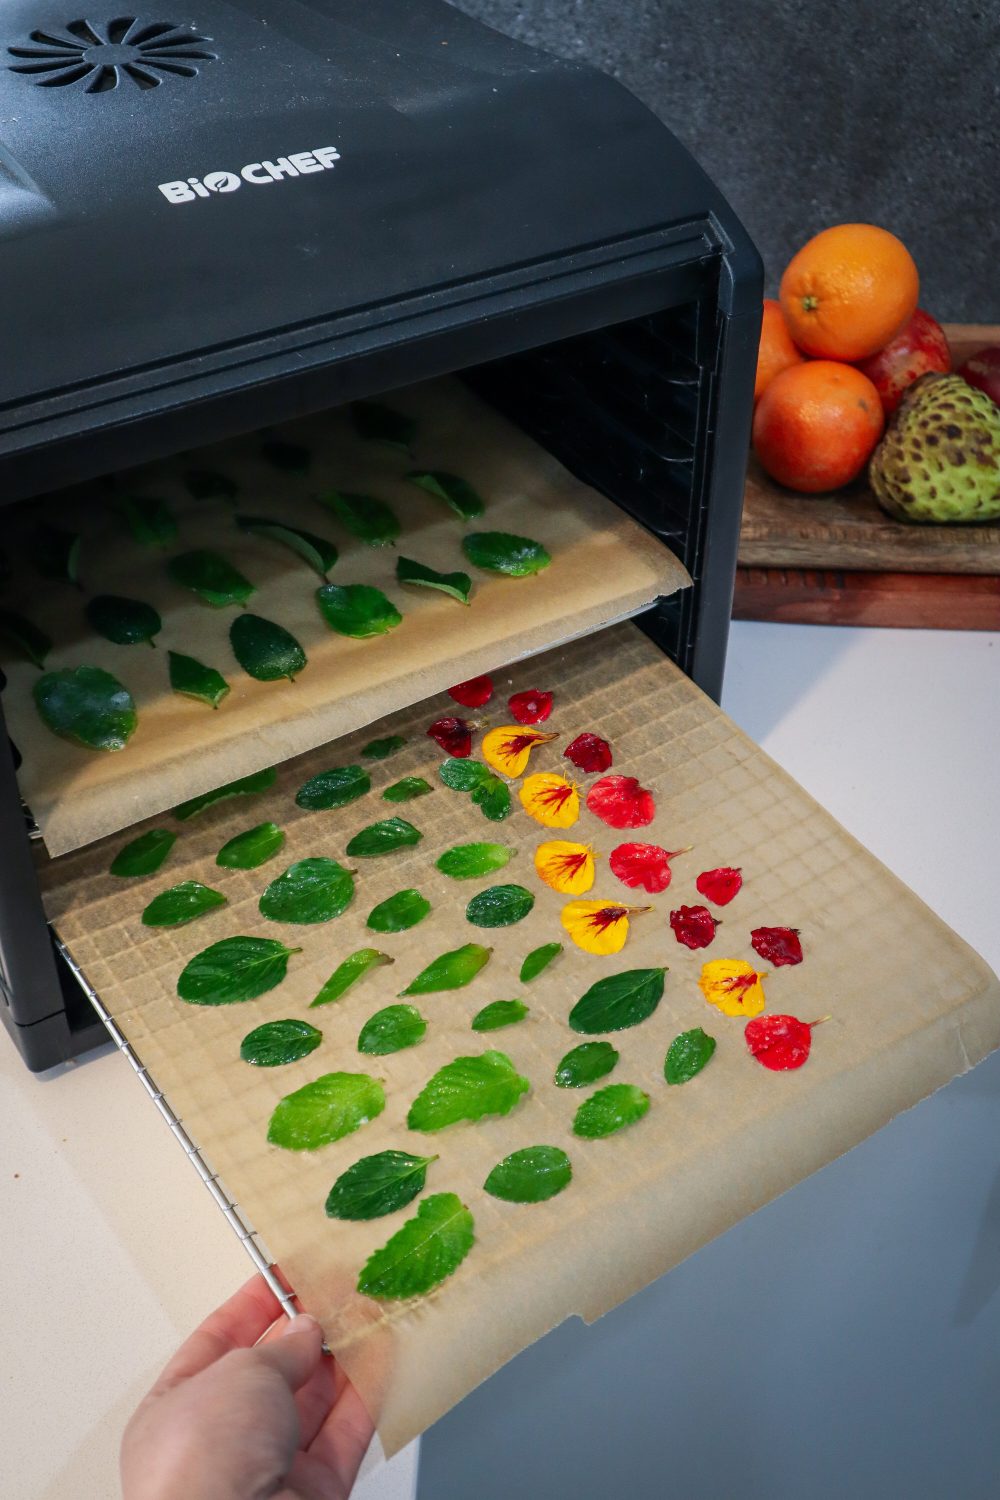
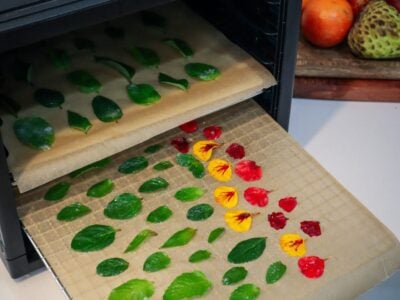
All you need are a few fresh mint leaves, some egg white (or aquafaba for a vegan version), and a sprinkle of caster sugar. Simply coat each leaf in a bit of frothy egg white, dust with sugar on both sides, and let them dry for several hours until crisp. I like to leave mine on baking paper in a switched-off dehydrator or a warm, dry spot in the kitchen. They’re best made the night before and can be stored in an airtight container for a day or two.
Candied mint leaves are a great way to use up any extra mint growing in the garden, especially when it starts to take over. You can also try this method with other edible leaves like lemon balm or even tiny herb leaves for a twist.
They’re not just decorative—they’re delicious! Whether you’re topping an avocado chocolate tart, dressing up a fruit salad, or adding charm to a summer cocktail, these little leaves add a handmade, whimsical touch that’s sure to impress.
Candied Mint Leaves
Prep Time: 10 minutes
Additional Time: 6 hours
Total Time: 6 hours10 minutes
Sweet and minty these candied mint leaves are a delicious addition to decorate baking or cocktails.
Ingredients
10 + Mint leaves*
1 Egg White or Aquafaba (chickpea water)
Caster Sugar
Instructions
Whisk egg white until frothy.
Prepare a tray with baking paper.
Lightly coat the mint leaves in egg white by dipping them in and wiping off excess on the edge of the bowl.
Sprinkle both sides with sugar and place on the baking paper tray.
Allow to rest at room temperature for 6 hours + or overnight. I stored them in my dehydrator (switched off) to keep any bugs off.
Store in an airtight container and use within a day or two.
Notes
* Try with edible flowers or other herbs such as pineapple sage
Garden to Plate Magic
Candied mint leaves are a simple yet elegant way to elevate your homemade treats. With just a few ingredients and a bit of drying time, you can transform humble garden mint into a beautiful garnish that looks impressive and tastes delicious. Whether you’re making them for a special occasion or just to enjoy some creative time in the kitchen, they’re a fun way to celebrate what’s growing in your garden.
Links included in this post might be affiliate links. If you purchase a product or service with the links that I provide I may receive a small commission. There is no additional charge to you! Thank you for supporting my blog so that I can continue to provide you with free content.
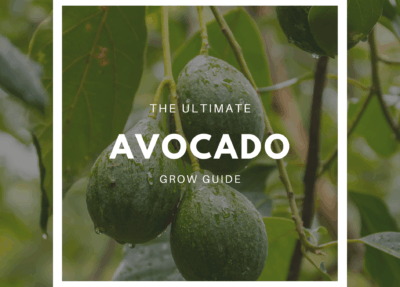
Learn how to grow Avocado (Persea americana) at home and what to make with your abundant avocado crops! Avocado is a popular fruit that can be a little tricky to grow. Choosing the right variety for your climate and getting some key care points right should have you picking homegrown avocados for years to come!
Avocados can be used as evergreen shade trees or grown in pots for urban areas. Avocado trees can reach heights of 12+ meters if they are not pruned. Smaller dwarf trees will reach maximum heights of around 4 meters, but can also be pruned to keep them smaller.
Avocados are best grown from grafted trees. Growing an Avocado from seed can take anywhere from 4 to 13 years or longer to get fruit. Even then, you have no idea what the fruit will be like, as it will not be identical to the plant the seed came from. Grafted trees have mature fruiting stems grafted onto allow the tree to bear fruit within a year or two.
Free-draining compost-rich soil.Mounded above ground in clay soil.
LOCATION
Full sun – part. 6-8 hours.Can benefit from afternoon shade.
CARE
Keep weed-free and well-mulched.Protect from wind and hot afternoon sun when young.
FERTILISE
Feed with compost and mulch.
PESTS
Excess water and fungal diseases are the most common cause. Rats may eat the fruit.
HARVEST
Fruit takes about 1 year on the tree to ripen. Skin goes dull and some may drop from the tree.
REPRODUCE
Can be grown by seed but may take 10+ years to fruit. Mature wood grafted from fruiting-age trees is best.
Why Grow Your Own Avocado?
Here are some of the many reasons to grow Avocados.
Evergreen shade-giving tree
Perennial crops
It can be expensive to buy!
Can be used in sweet and savoury dishes
Prolific producer
Long harvests
High in vitamin E and folate
High in fibre
Substitute for butter
Popular Avocado Varieties to Grow
Avocados come in A and B varieties. Each type flowers has male and female at different times of the day. Having both an A and a B-type Avocado will mean you will get more avocados due to an increase in pollination. Most avocados will be self-fertile, but having a second will increase the amount you get. Dwarf or semi-dwarf avocados will grow to be smaller trees, but unlike other dwarf fruit trees, they will still be up to 4m high. Keeping them pruned can maintain their size.
Type (A) Varieties
Hass – Popular small dark-skinned avocado. Most commonly found in stores due to its tough skin for transport. Small fruit, a great producer.
Reed – Large green round fruit 200-800 grams. Mild and buttery flavour. The tree tends to grow upright rather than outwards.
Choquette – Large green round fruit weighing over 1kg! Creamy, rich flesh. A cross between a Guatemalan and a West Indian type.
Semi Dwarf
Lamb Hass – Large dark-skinned avocado. Semi-dwarf tree growing 3-4 metres. Late-season fruits.
Pinkerton – Medium-sized green-skinned fruit. Semi-dwarf tree growing 3-4 metres. High oil content.
Wurtz – Medium-sized green pear-shaped fruit. Semi-dwarf tree growing 3-4 metres. Weeping branches that hang downward.
Type (B) Varieties
Shepard – Popular commercial variety. Green skin and yellow firm flesh. Smaller tree size 6-8 metres.
Bacon – Most cold-tolerant variety (may survive -5 degrees). Large pear-shaped fruit with green skin.
Fuerte – Small – medium-sized green fruit. Thin skin and buttery flesh. Produces both normal-sized and mini seedless avocados called “cukes”. Crops more biannually (every second season). Vigorous spreading tree.
Zutano – Pear-shaped fruit with green glossy skin. Low oil content and can be quite watery.
Sharwill – Medium-sized oval fruit with green skin. Rich flavour and small seeds. Frost sensitive.
Linda – Large fruit with dark purple skin. Fruits from 400-1100g each. Thick skin that is easy to peel.
TOP TIPS TO GROW AVOCADO
Choose a sunny location
Shelter from the wind or able to create shelter
Prepare the soil with plenty of compost
Free draining is key!
Avocados hate clay soils – mound up above the ground rather than planting down in a hole
Do not disturb roots when removing from the pot!
Protect from the hot afternoon sun
Keep grass and weeds away from the base
Keep weed-free and well-mulched
When to PlantAvocados
Avocados don’t like the cold or the extreme heat, so avoid planting them in winter or summer. Choose a day when the weather will be mild for a few consecutive days.
How to Grow an Avocado
Choose a sunny location with 6-8 hours of sunlight.
Choose a location that can be protected from winds (shade cloth can help)
Dig a hole and prepare the soil with compost. Mix compost and sandy soil together. For clay soils, backfill with compost and sandy soil, and create a mound above the ground.
Carefully remove the Avocado carefully by cutting the bag or gently easing it from the pot. Try not to disturb roots when possible.
Gently push soil against the root ball and push down with your hands to remove air pockets.
Add a stake to help secure the tree, but do not push it through the root ball.
Add mulch as wide as you can approx 1m but pull back from the trunk so it does not touch (this can cause collar rot)
Add a shelter of shade cloth to the side that gets wind and afternoon hot sun.
Paint any exposed stems with water-based white paint (nontoxic) at a ratio of about 50% paint and 50% water. This acts as sunscreen, which is important for Perth summers!
Care/ Maintenance
Avocados like plenty of food, regular top-ups with compost and mulch are important. The biggest issue with Avocados is too much water, sun or wind.
Feeding
Feed with compost or composted manure at the end of winter, before spring, and end of summer.
Watering
Deep water, especially in summer. Push your finger into the soil to the second knuckle; if it comes out dry, water well. If the soil on your finger sticks and is mois,t leave it be.
Harvesting
Avocados, like many fruit trees, should be prevented from fruiting for the first 1-3 years. Wait until the flowers sprout on long stems, then remove them. Once you start letting your Avocado fruit, it will take 1 year from when the fruit sets until it is ready to harvest. Some Avocados stay green when they are ready and ripen off the tree, so here are a few ways to tell if they are ready to pick.
Skin turns from glossy to dull
Stem lightens
It’s within the varieties’ “mature fruit months” (research for your variety and area)
Pick one and let it ripen on the bench for a week or two. If it is delicious and buttery, you can harvest more. If it shrivels and goes black, it is not ready and try again in 2-3 weeks.
Fruit starts falling on the ground.
Pruning
The Avocado tree can grow to be a huge 10 m+ tree if left unpruned. Once your tree reaches 2m or your desired height, you can start pruning it. Be selective and try to remove branches whilst still allowing shade to the other parts of the tree. Try not to remove the bottom “skirt branches” as these protect the stem from being burnt. If once you prune the tree, there are areas of stem exposed, paint with white water-based paint (50:50 water mixed) to add protection.
Pests / Disease
Avocados mainly succumb to bacterial diseases due to excess water. Don’t water the leaves when possible and allow good drainage for the roots.
Reproducing
Seeds from the Avocados can be grown and will produce a new variety. Seed-grown Avocados can take 10+ years to actually fruit, and you never know what the fruit will be like. The best way to reproduce is to grow an Avocado from seed and then graft onto it from a tree that is already fruiting and mature. But also, if you have the room, there is no reason not to try seed-grown as you may end up with an exciting new variety.
Cooking and Using
Avocado is a powerhouse in the kitchen and can be used in a wide array of ways.