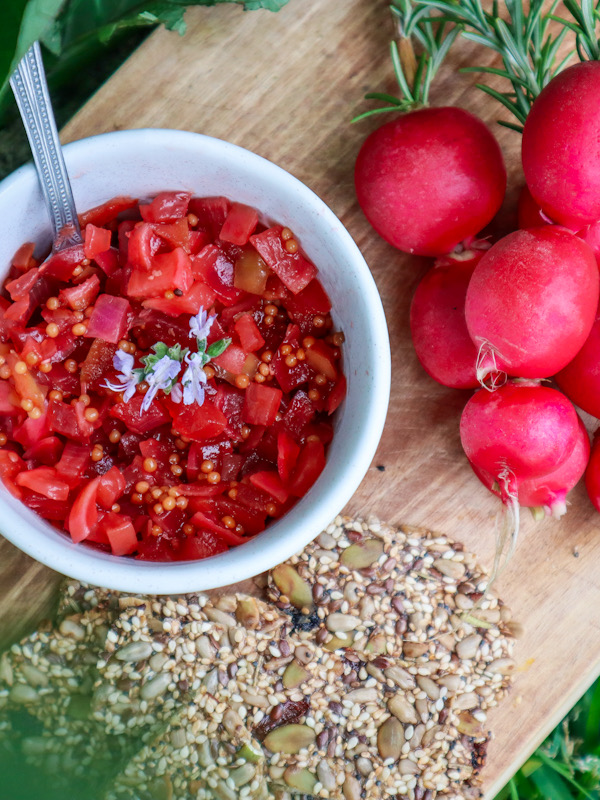
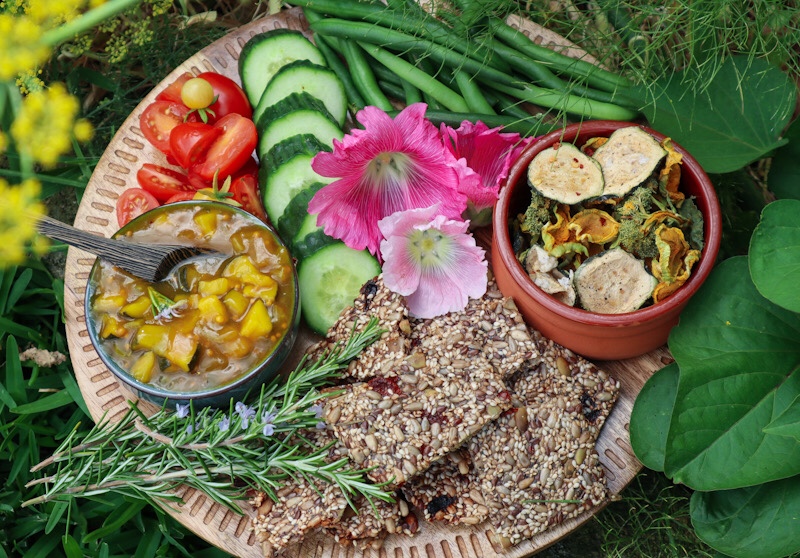
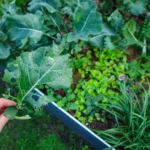
This Radish and Apple Relish is a delicious addition to any garden platter. Served with crackers and a slice of cheese this relish is sure to impress! Radish are easy to grow and you can plant them in between your other vegetables.
Radish and Apple Relish
Yield: 2 cups
Prep Time: 10 minutes
Cook Time: 1 hour30 minutes
Total Time: 1 hour40 minutes
Vibrant and delicious radish relish to add flavour to a platter or BBQ meal.
Ingredients
1 Apple (1 cup diced)
1 Red Onion (1 cup diced)
8 Radish (2 cups diced)
1/2 Cup Apple Cider Vinegar*
1/2 Cup White Vinegar*
1/4 Cup raw Sugar
1TBS Coconut Sugar
1 tsp Salt
1 pinch dried Chilli Flakes
1 crushed Clove Garlic
1 1/2 TBSP Mustard Seeds
Instructions
Wash Radish and remove the greens
Place the radish, apple, and onion into a food processor to cut into small pieces or finely dice using a knife.
Add the cut vegetables to a saucepan with the vinegar, salt, sugar, chill flakes, and crushed garlic.
Simmer until cooked and liquid has reduced (1.5 hours).
Sterilize a jar using boiling water or in an oven at 120 degrees for 15 minutes. place the hot relish mix into the hot jar. Secure the lid and allow to come to room temperature before placing it in the fridge.
Notes
*Use 5% vinegar for the correct level of acidity. You can use both White and Apple Cider as per the recipe or swap to just use the one type if you prefer.
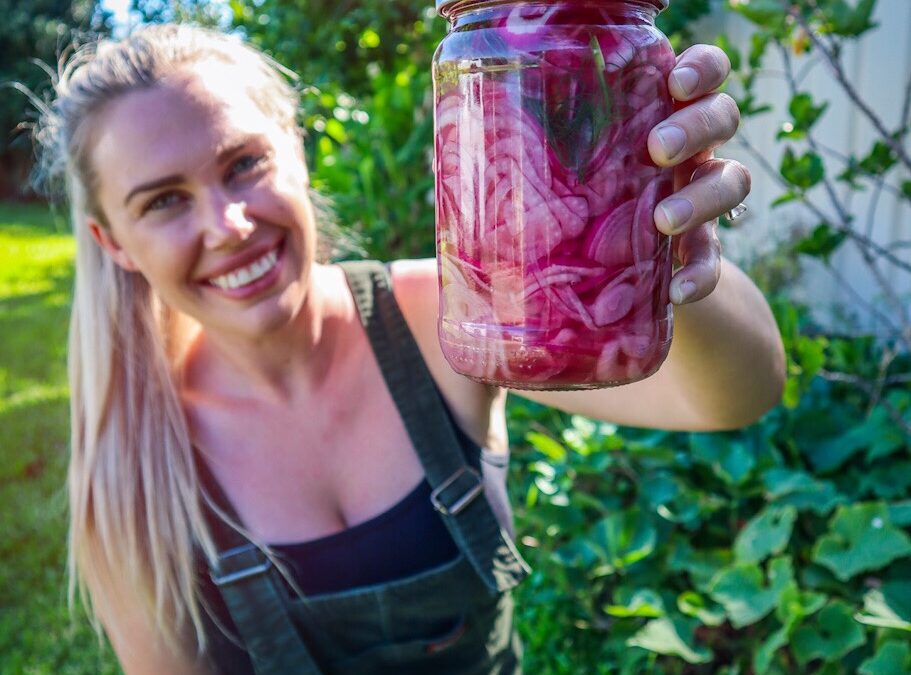
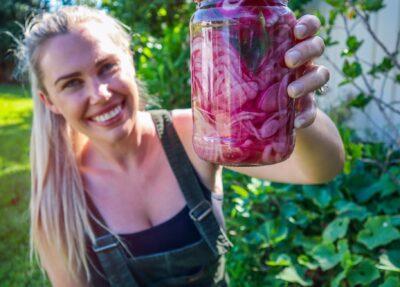
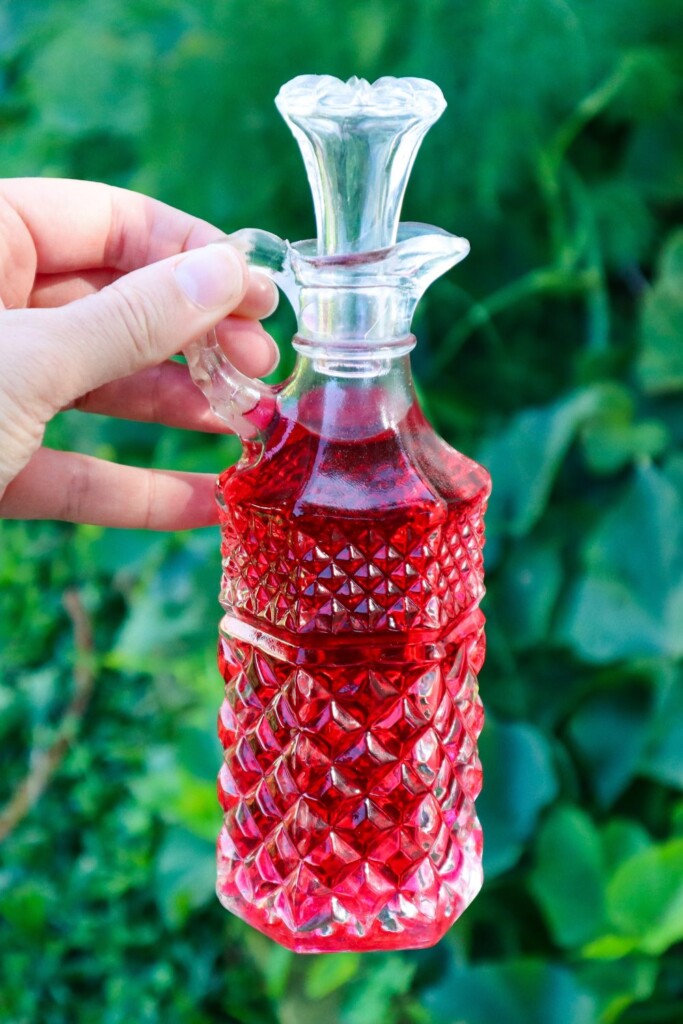
This simple homemade pickled red onion recipe is so easy and delicious! I can easily demolish a jar of pickled red onions in a week. They just get better and better as they continue to pickle and infuse. You can eat these pickled red onions on absolutely anything!! And I mean anything…avocado on toast, salads, stir-fries, tacos, noodles, cheese, and crackers, or in sandwiches. They also make beautiful, delicious garden-to-table gifts for your friends and family.
What You Will Need:
3 medium red onions, thinly sliced
¼ cup apple cider vinegar
¼ cup white vinegar
1 ½ tbsp raw sugar*
1 ½ tsp salt
1 cup water
½ tsp chilli flakes (optional, for heat)
The Benefits of Homemade Pickled Red Onions
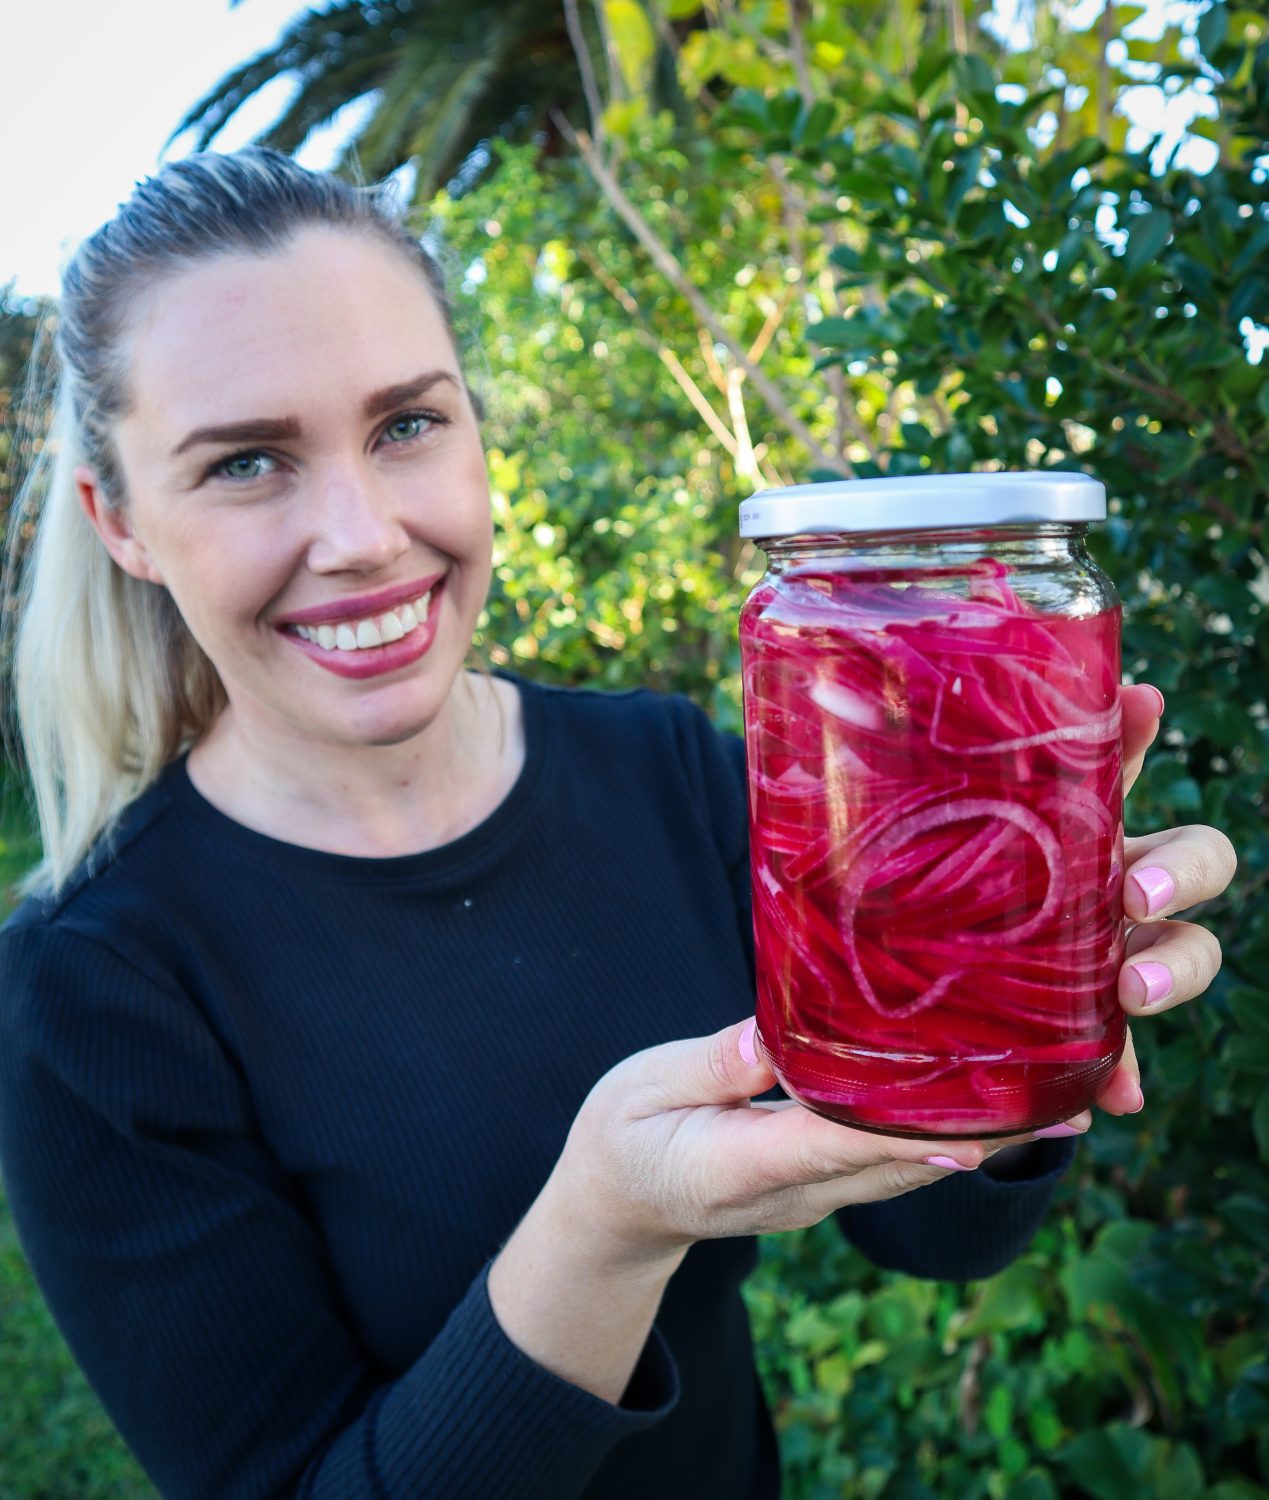
Making homemade pickled red onions means you control everything from the ingredients to the flavour. No preservatives, no artificial colours, just simple pantry staples and fresh onions. I like mine on the sweeter side, but if you like yours spicy, then add more chilli. Plus, the flavour is far better than store-bought. I find store-bought (I’ve tried a lot of brands!) are weak and dull, and not to mention expensive! Not these! They are packed full of flavour and go a vibrant all natural hot pink colour.
Simple Pickled Red Onions
Prep Time: 10 minutes
Cook Time: 2 minutes
Total Time: 12 minutes
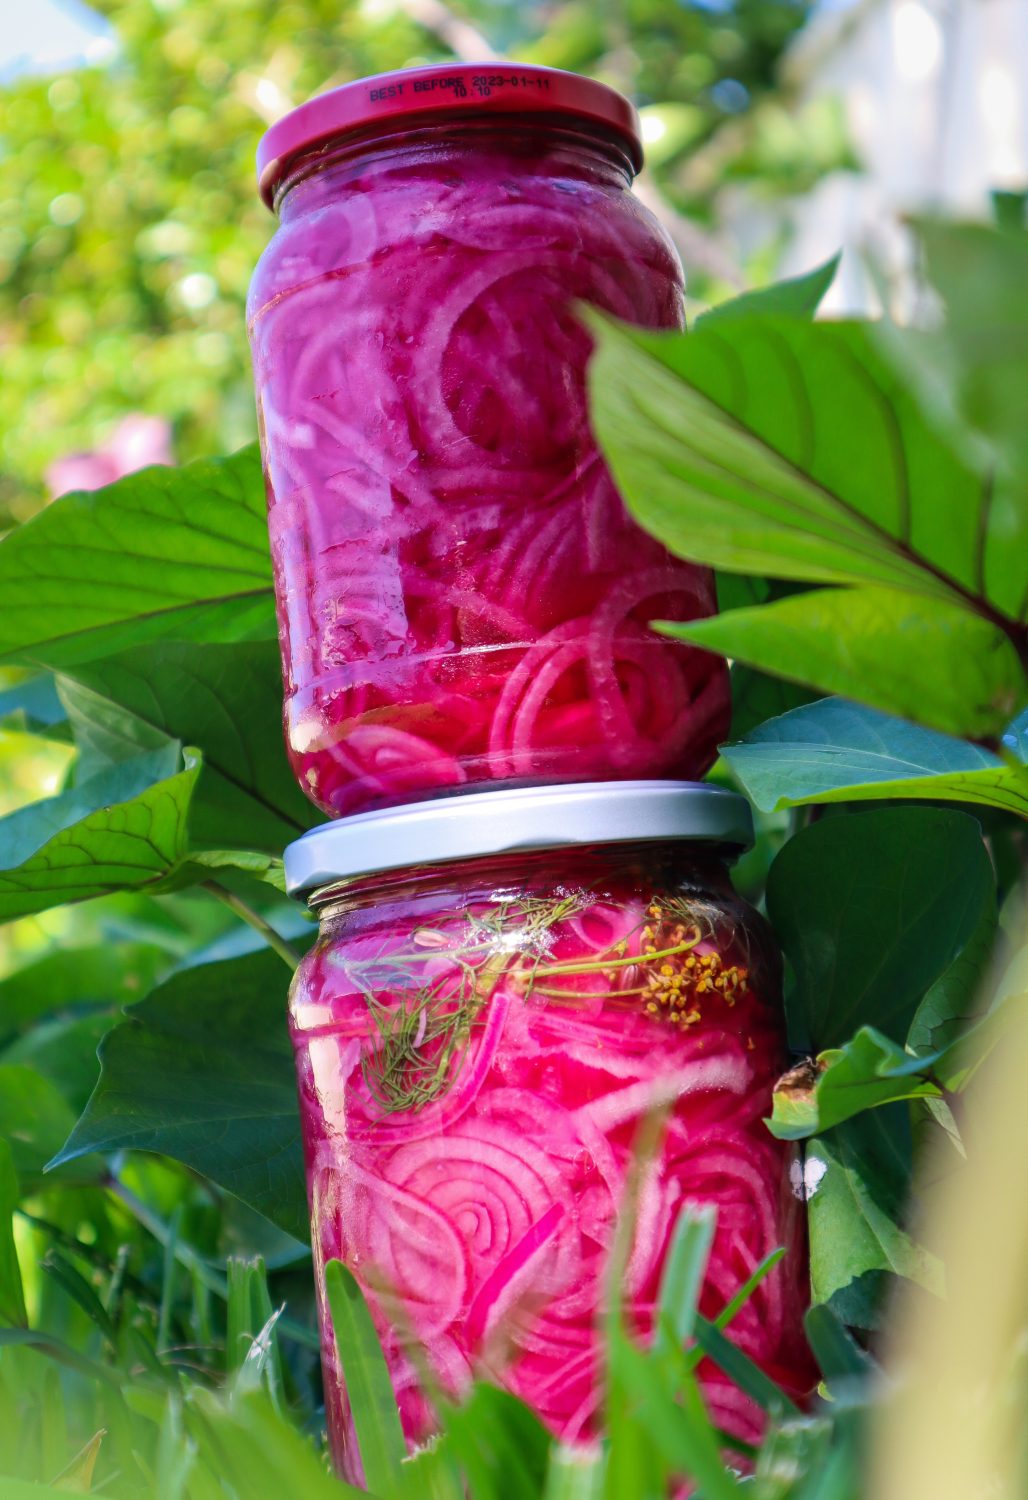
Quick and easy pickled red onions add flavour to any meal. Add your seasonal garden herbs such as Fennel, Dill or Chilli to boost the flavours.
Ingredients
3 Red Onions
1/4 cup Apple Cider Vinegar
1/4 cup White Vinegar
1 1/2 TBSP Raw Sugar*
1 1/2 tsp Salt
1 cup Water
1/2 tsp Chilli flakes (optional)
Instructions
Finely slice the red onions - using a mandoline is the easiest option.
Cram as many red Onions into a clean sterilised jar.
In a saucepan add the vinegar, sugar, and salt and stir until the sugar has dissolved and the mix starts to simmer.
Add any extra flavours to the jar such as chilli, fennel flowers, fennel fronds, fennel seeds, mustard seeds, or peppercorns ( 1tsp per jar).
Pour over the liquid and secure the lid.
Allow cooling for one hour and place in the fridge.
Notes
To sterlise the jars place in a hot dishwasher run or wash and heat in the oven for 10-15 minutes at 110 degrees Celsius.
You can swap and use just one type of vinegar if you prefer.
*Swap to honey (1 1/2 TBSP)
Add herbs or spices for extra flavour
Use within 3 weeks.
Homemade is best!
Homemade pickled red onions taste so much better, and they are so quick to make. I prepare a batch on Sundays, and it usually is gone within the week! Enjoy these Simple Pickled Red Onions on your morning breakfast toast with avocado (my favourite way) and egg, or in burgers, wraps, salads, and more! It’s such a versatile addition to your garden-to-plate meals!
Customise Your Homemade Pickled Red Onions
One of the best things about homemade pickled red onions is how easy they are to adapt. Add herbs like thyme, fennel flowers or dill for a fresh twist, or try slices of jalapeño or ginger for an extra kick. You can even swap in red wine vinegar for a bold colour. Once you start experimenting, you’ll find a version that suits your taste perfectly.
Want more Garden Tips?
🌱 Want a Thriving Garden? Get exclusive gardening tips, seasonal advice, and delicious homegrown recipes delivered straight to your inbox every Tuesday! Stay updated on new plants, garden projects, and more.Sign up now and grow with us! 🌿✨
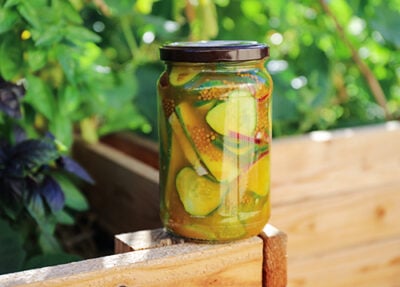
Make the most of your abundant Cucumber harvest with these delicious, quick, and easy refrigerator pickles. Turmeric has anti-inflammatory properties and the Apple Cider Vinegar has anti-microbial properties and anti-oxidants. These quick pickles are great for adding to sandwiches, salads, burgers, and of course a cheese platter!
Quick Sweet & Sour Turmeric Pickles
Yield: 2 jars
Prep Time: 10 minutes
Cook Time: 3 minutes
Additional Time: 2 days
Total Time: 2 days13 minutes
Sweet and sour Refridgerator pickles are so quick and easy to make!
Ingredients
2-3 Medium Cucumbers or two jars of whole small pickling Cucumbers
1 cup Apple Cider Vinegar
1 cup Water
1 TBSP Mustard Seeds
2 TBSP Sugar
1 tsp Salt
1 tsp ground Turmeric powder
Instructions
Sterilise your jars by heating them in the oven face down at 120degrees Celsius or in the dishwasher on high heat. Sterilise the lids in a bowl by pouring boiling water on them.
In a saucepan add your vinegar, water, sugar, turmeric, salt, and mustard seeds (*optional chili flakes see notes) and bring to a simmer.
Slice your Cucumbers into spears or round slices and place them in the clean jar.
Pour over your pickling liquid and secure the lid. Carefully place the jar upside down to cool. This helps create a secure seal.
Once the jars are close to room temperature, turn them up the right way and add them to the refrigerator.
They will be ready to eat after 48 hours and use within a month or two.
Notes
Add sliced Red Onion, Dill, or Chilli flakes to your cucumber pickles for extra flavour.
This recipe also works with Zucchini in replace of Cucumbers too.
Zucchini are one of my favourite vegetables to grow because of their ease to grow and abundant harvests. They are such generous plants! The best thing about growing an abundance is that you can preserve the excess to use throughout the year. Harvesting and preserving your own Zucchini will allow you to build your self-sufficiency.
This Zucchini recipe is easy to make and you can adjust it to suit your harvest. Zucchini relish is a great addition to sandwiches or add it to a platter with all your delicious homegrown produce and homemade crackers. Zucchini pickle also makes great gifts! Sharing your delicious homegrown produce can help inspire others to grow their own too. Then you can swap and trade and support your friends and family.
Easy Zucchini Relish
Yield: 3 cups
Prep Time: 12 hours
Cook Time: 20 minutes
Total Time: 12 hours20 minutes
Ingredients
1 1/4 cup Apple Cider Vinegar
1 cup Raw Sugar
1/2 tsp ground Tumeric
1/2 tsp dried Chilli flakes ( or more to your taste)
2 tsp dried Mustard Seeds
1 TBS Salt
3-4 medium Zucchini
1 medium- large Onion
3 tsp Cornflour
Instructions
Wash and dice your Zucchini and Onion into small cubes. Place in an airtight container and sprinkle with salt. Mix in well, place on the lid, and add to the refrigerator for 12-24 hours to release the water.
Remove the Zucchini and onion mix from the fridge and strain off the excess liquid.
In a saucepan add the Vinegar, Sugar, Tumeric, Chilli, and Mustard Seeds. Bring to a simmer and stir for 2 minutes. Then add the Zucchini.
Allow to cook down slightly for 15-20 minutes, stirring regularly.
Remove a TBSP or so of the liquid and mix with the cornflour to make a paste. Return this back into the saucepan to thicken the Relish.
Sterilize your jars by either running through a hot dishwasher or in the oven at 110degrees for 15minutes. Sterilize the lids in boiling water.
Pour your zucchini mix into the hot jars and secure the lid. Place the jars upside down to cool. This helps them seal. Once the jars have cooled down, place them in the refrigerator. Enjoy!!
For long-term storage only cook the zucchini mix for 10minutes then add to jars. Process the jars in a boiling water bath for 10minutes.
Notes
For added colour and flavour you can also add Capsicum into the mix.
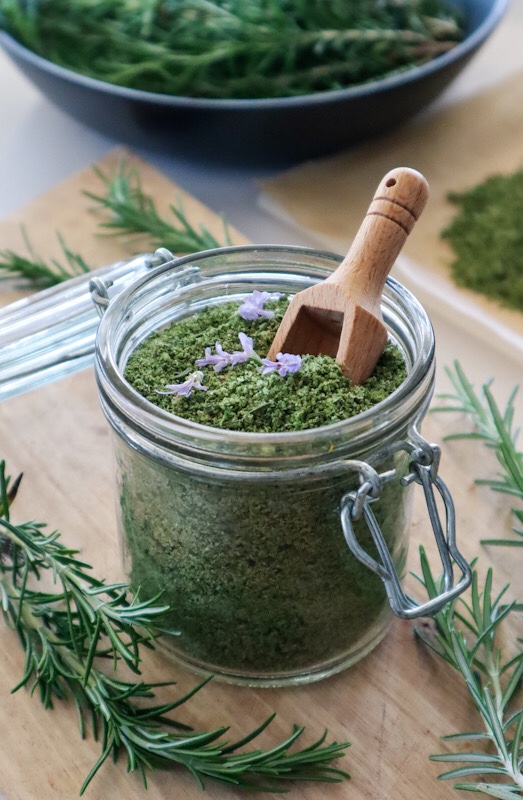
Rosemary and herb salt is a quick and easy way to preserve your homegrown herbs to use throughout the year. Herb finishing salts add so much flavour to meals in a quick and convenient way. Try Rosemary and herb salt on your roast vegetables for a delicious boost of flavour. Get the recipe below 👇
Why Make Rosemary Herb Salt?
Making your own herb salt is a great way to reduce waste and extend your harvest. If your rosemary, thyme, or sage plants are growing abundantly, herb salt is a simple preservation method that retains flavour for months. It also allows you to create custom seasoning blends tailored to your taste.
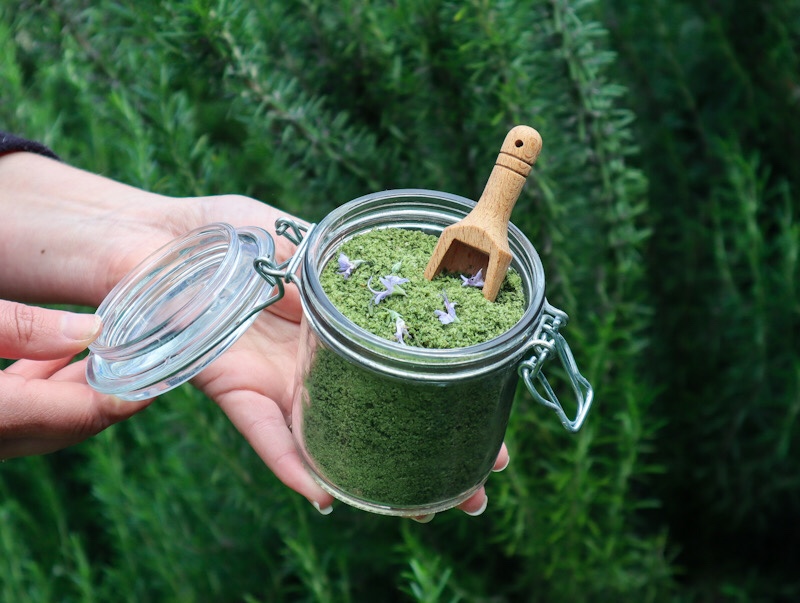
Plus, it makes a beautiful, homemade gift for Mother’s Day, Christmas, or to share with friends and family—perfect for birthdays or festive seasons.
Benefits of Rosemary in the Garden?
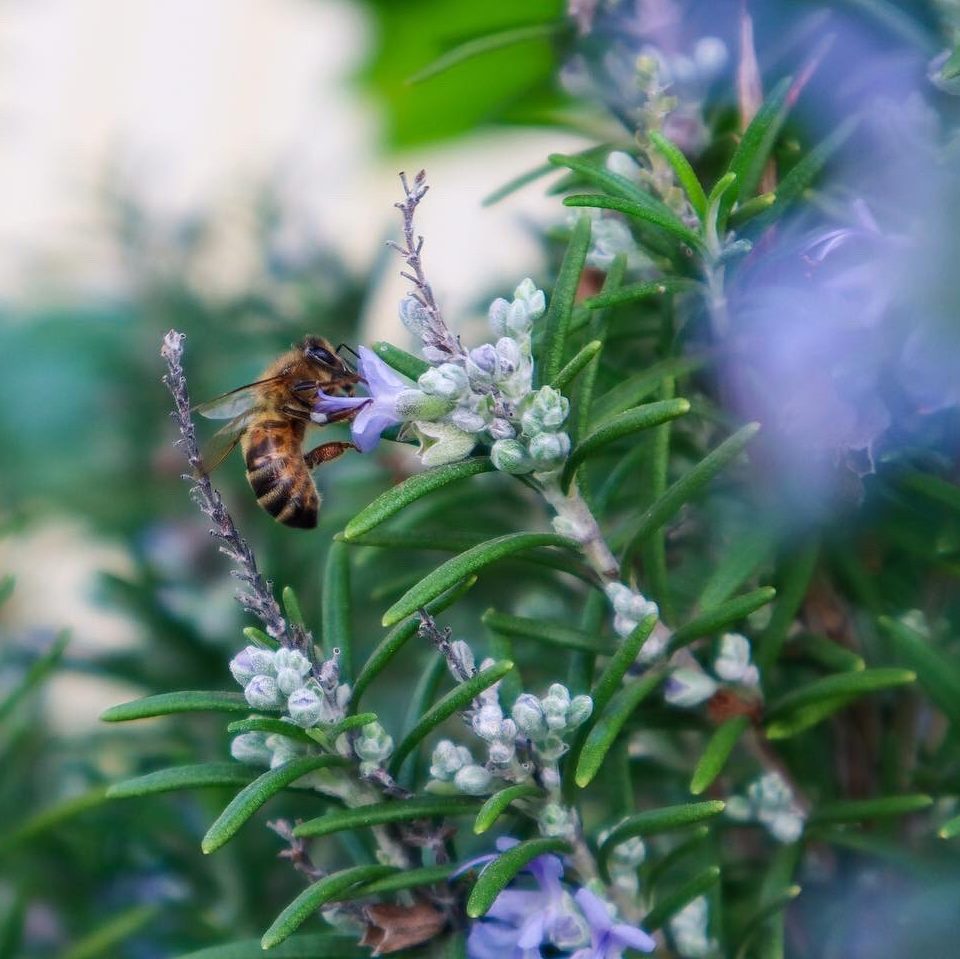
Rosemary is such a versatile herb and works well with both sweet and savoury dishes. It has a fragrant, pine-like aroma. Rosemary offers so many beneficial relationships within your garden. Rosemary is a hardy, drought-tolerant, ever-green perennial herb. A fantastic staple to have to grow in any edible garden. Rosemary also has many healing properties, so it is a handy plant to have near the house or in a kitchen garden.
Rosemary is more than just a tasty kitchen herb—it’s a powerhouse plant in the garden too. It’s hardy, drought-tolerant, and thrives in full sun, making it ideal for warm and dry climates. Rosemary:
Attracts pollinators like bees when in flower
Repels some common pests due to its strong aroma
Helps create structure and evergreen interest in your edible garden
Can be grown in pots or in the ground
Drought-tolerant and easy to grow
Its resilience and low-maintenance nature make it a go-to for beginner gardeners and seasoned growers alike.
When is the Best Time to Harvest Herbs?
The best time of day to harvest your herbs is first thing in the morning. This is when the plants are hydrated and full of life. As the day goes on, they will lose moisture and not be as fresh and vibrant. Early in the morning, the bees are not yet active. As the sun comes up and the dew drys, the bees will be about in a hive of activity. So, if you do pick later in the day, just be cautious, not stress them out and avoid getting stung.
Add to a mixer and blitz until breadcrumb consistency (or leave chunky if you would like too)
Add in salt and blitz quickly to combine.
Spread on to parchment and dry in the oven or dehydrator at 45 degrees celsius until dry. Stir through after one hour to loosen up the mix and allow it to dry faster. The length of time will depend on the water content of the herbs (approx 2 hours). The mixture will go a lighter green colour.
Once dry add to a clean airtight jar.
Notes
The colour may fade over time
Try herbs such as Thyme, Mint, Sage, Chilli, Oregano
How to Use Herb Salt in Cooking
Use your rosemary herb salt:
As a seasoning rub for roasted meats or veggies
Mixed into olive oil for dipping bread
Sprinkled over focaccia before baking
Stirred into soups or stews for an added depth of flavour
On scrambled eggs, grilled halloumi, or oven-baked potatoes
Just remember—herb salt is more concentrated than regular salt, so you often need less of it when seasoning.
Want More Garden Tips and Recipes?
There has never been a better time to learn how to grow healthy, organic food at home. Take back control of your food systems and start the journey to live a more sustainable lifestyle. Say goodbye to nasty chemicals and wax-coated fruit and feed your body with real, nourishing, homegrown food. Subscribe to our FREE weekly newsletter below.