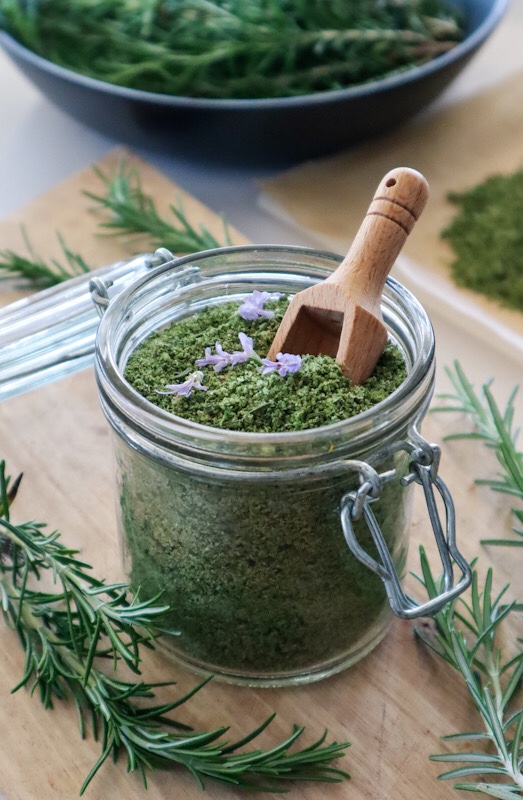
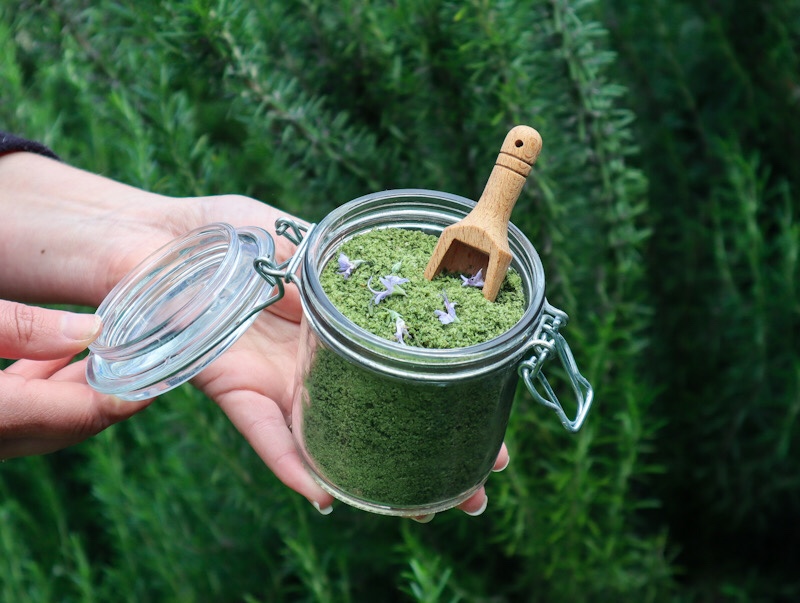
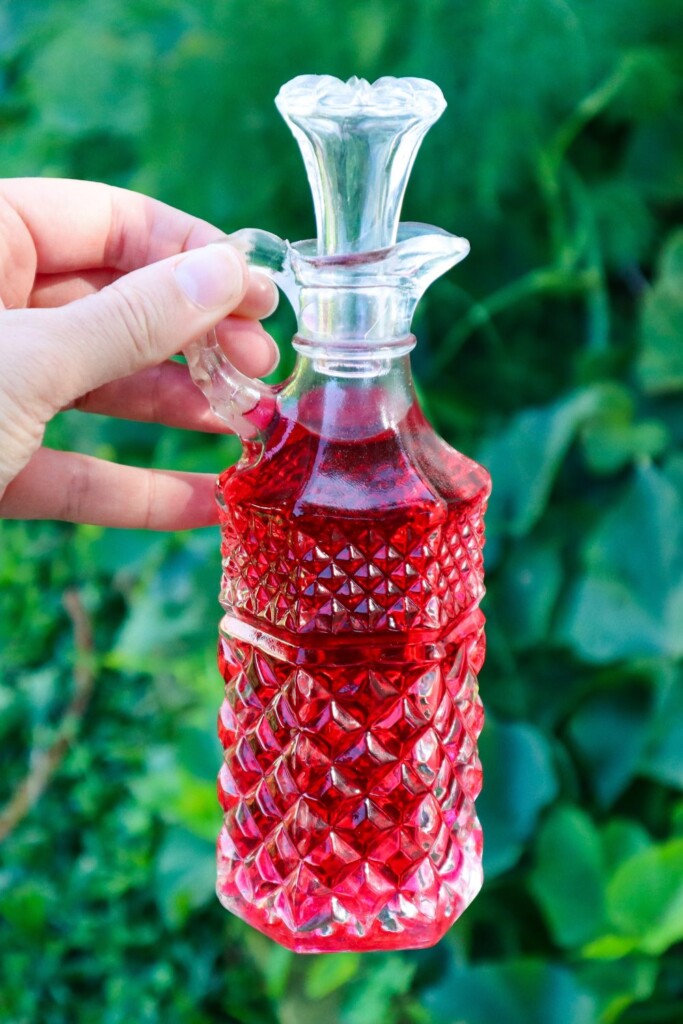
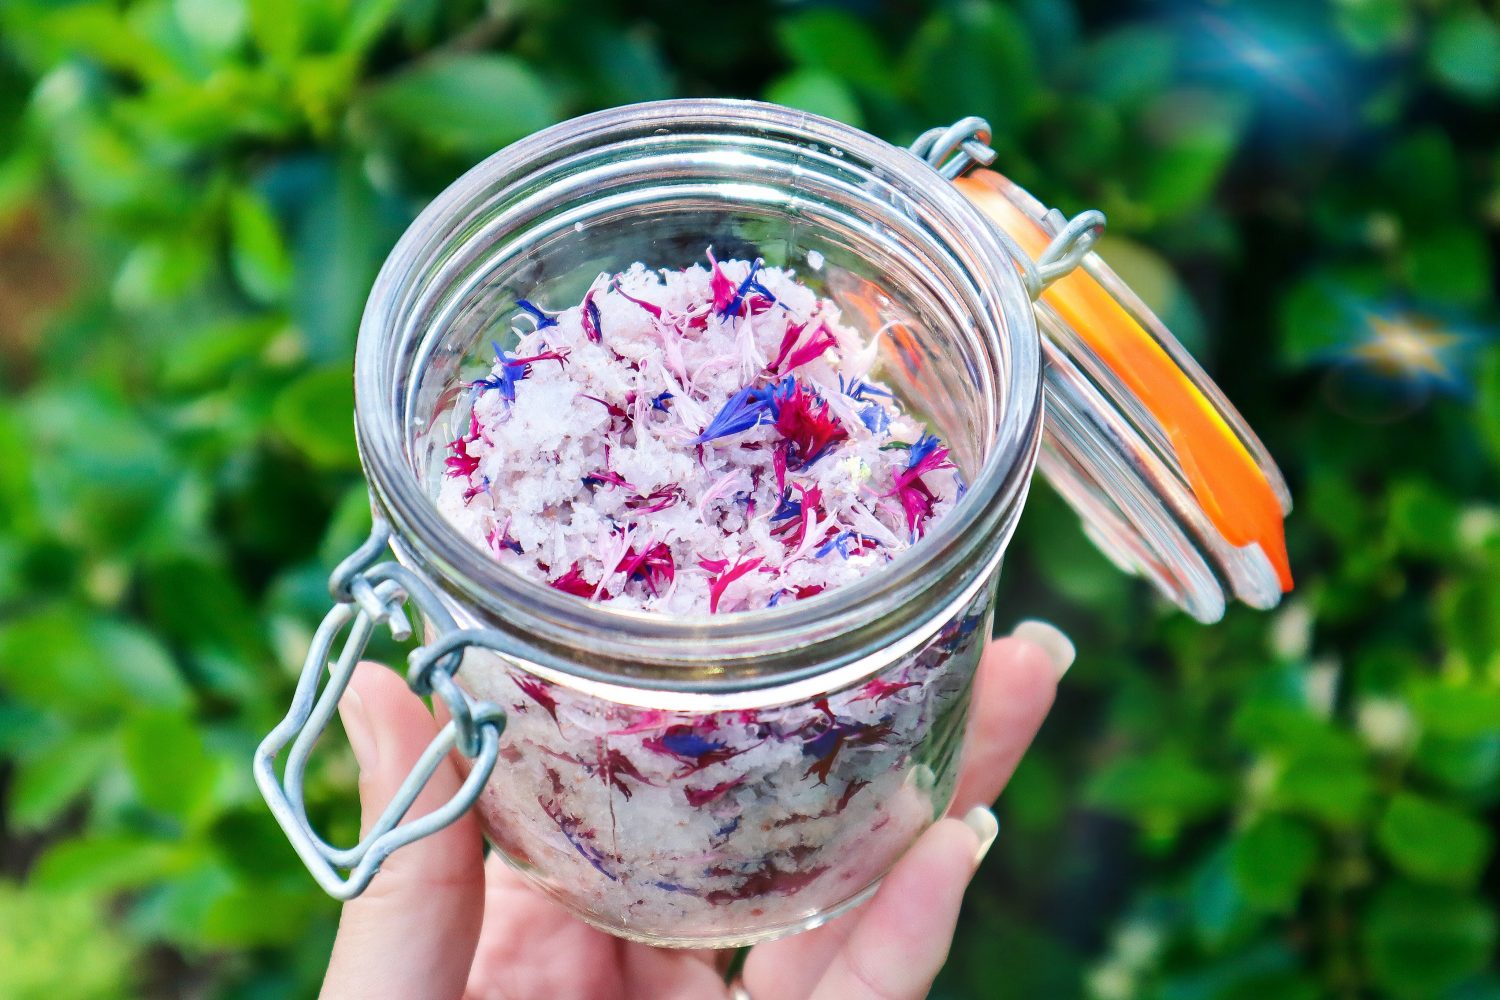
Rosemary and herb salt is a quick and easy way to preserve your homegrown herbs to use throughout the year. Herb finishing salts add so much flavour to meals in a quick and convenient way. Try Rosemary and herb salt on your roast vegetables for a delicious boost of flavour. Get the recipe below 👇
Why Make Rosemary Herb Salt?
Making your own herb salt is a great way to reduce waste and extend your harvest. If your rosemary, thyme, or sage plants are growing abundantly, herb salt is a simple preservation method that retains flavour for months. It also allows you to create custom seasoning blends tailored to your taste.
Plus, it makes a beautiful, homemade gift for Mother’s Day, Christmas, or to share with friends and family—perfect for birthdays or festive seasons.
Benefits of Rosemary in the Garden?
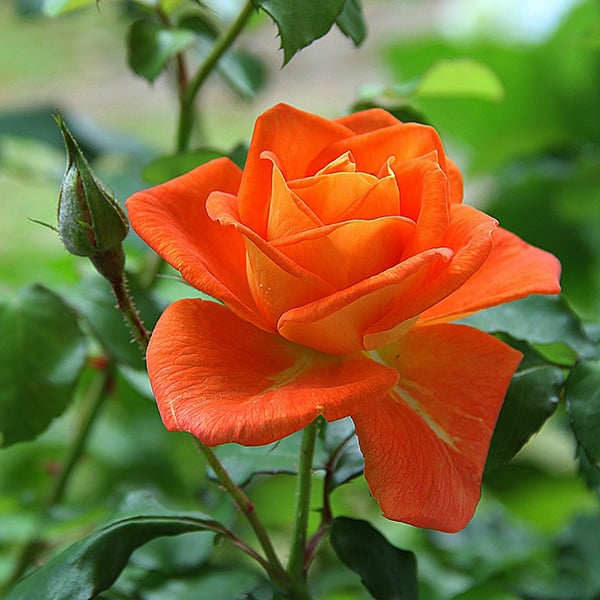
Rosemary is such a versatile herb and works well with both sweet and savoury dishes. It has a fragrant, pine-like aroma. Rosemary offers so many beneficial relationships within your garden. Rosemary is a hardy, drought-tolerant, ever-green perennial herb. A fantastic staple to have to grow in any edible garden. Rosemary also has many healing properties, so it is a handy plant to have near the house or in a kitchen garden.
Rosemary is more than just a tasty kitchen herb—it’s a powerhouse plant in the garden too. It’s hardy, drought-tolerant, and thrives in full sun, making it ideal for warm and dry climates. Rosemary:
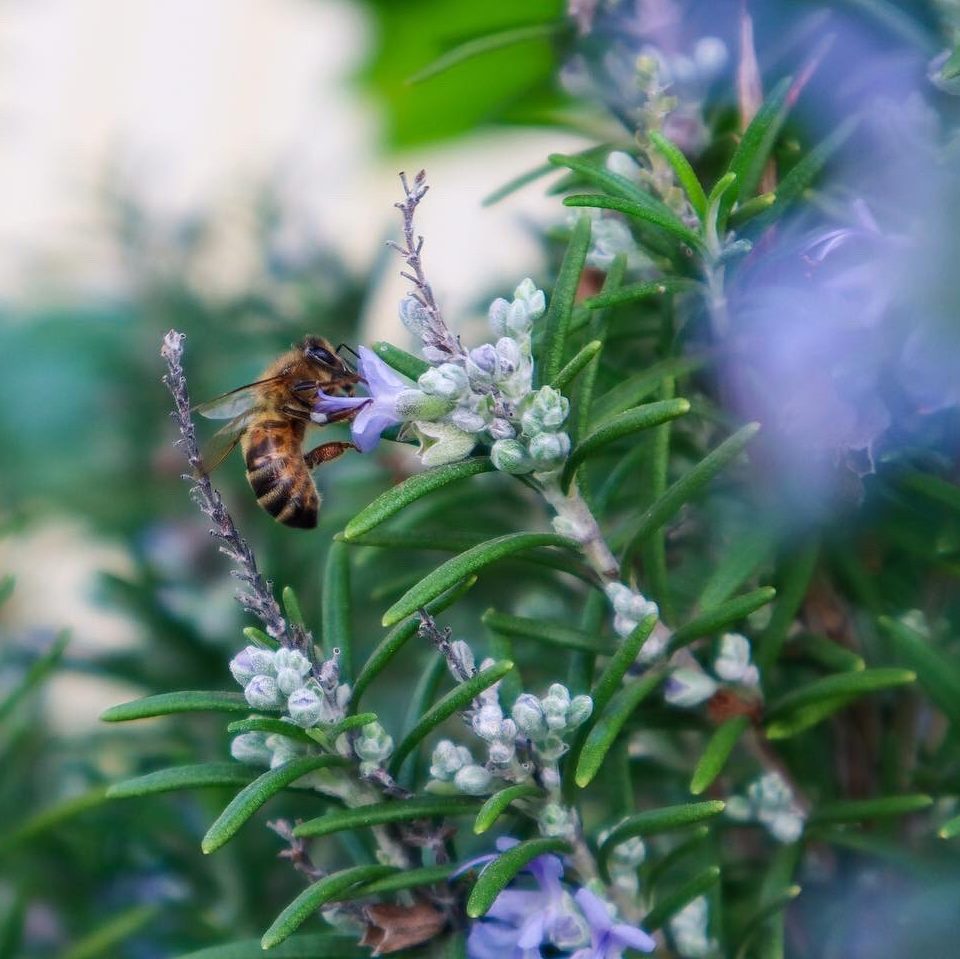
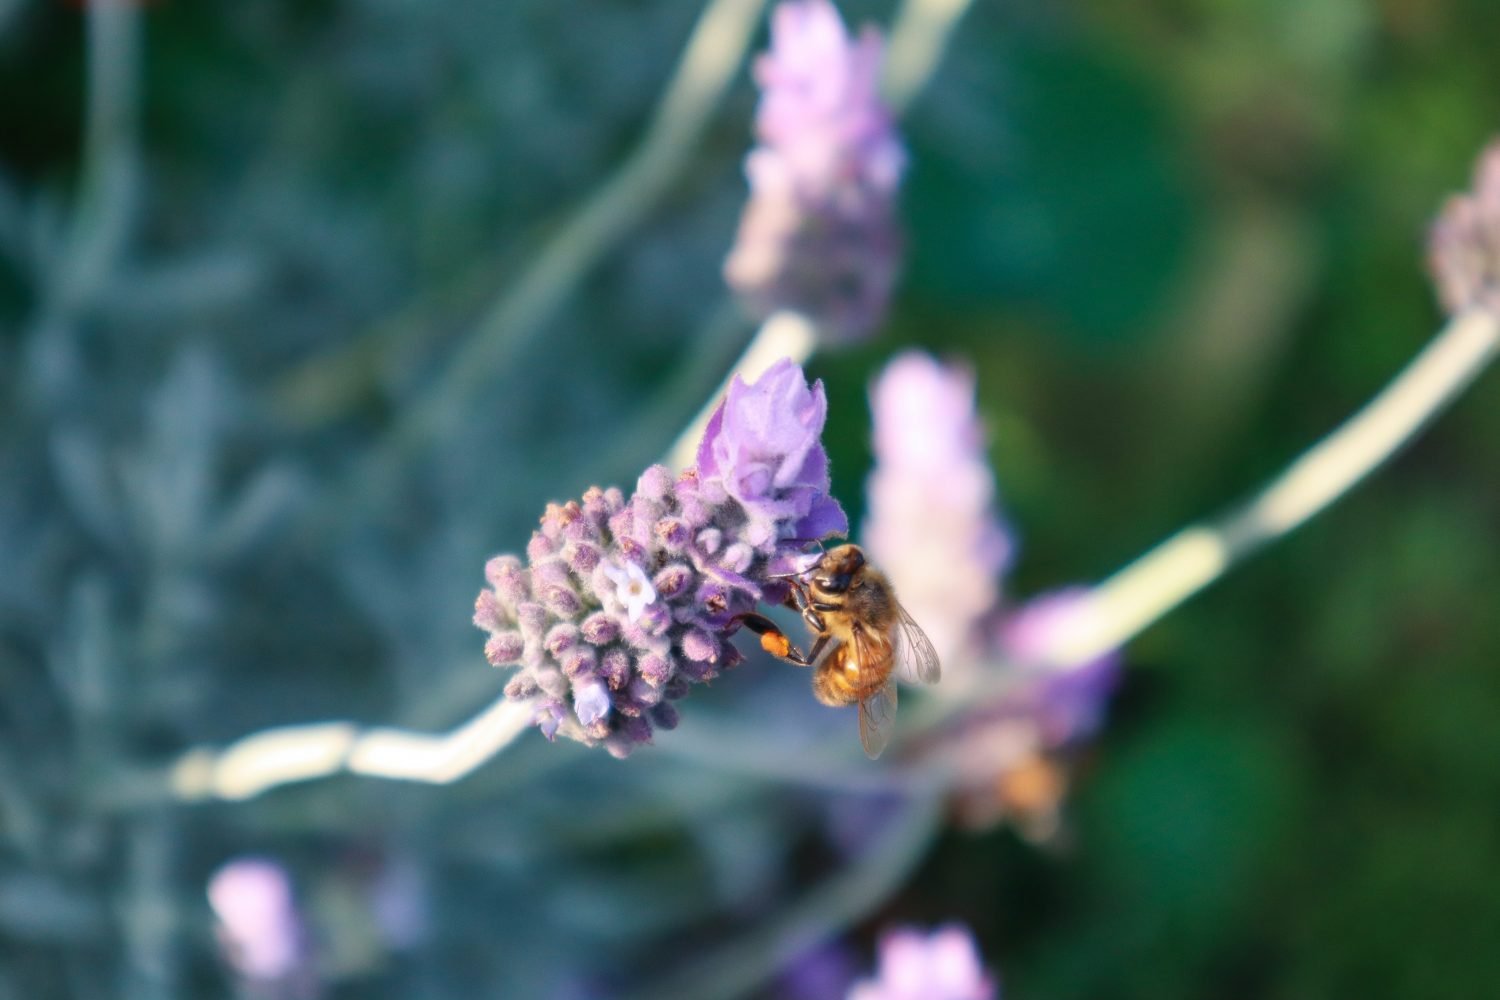
Attracts pollinators like bees when in flower
Repels some common pests due to its strong aroma
Helps create structure and evergreen interest in your edible garden
Can be grown in pots or in the ground
Drought-tolerant and easy to grow
Its resilience and low-maintenance nature make it a go-to for beginner gardeners and seasoned growers alike.
When is the Best Time to Harvest Herbs?
The best time of day to harvest your herbs is first thing in the morning. This is when the plants are hydrated and full of life. As the day goes on, they will lose moisture and not be as fresh and vibrant. Early in the morning, the bees are not yet active. As the sun comes up and the dew drys, the bees will be about in a hive of activity. So, if you do pick later in the day, just be cautious, not stress them out and avoid getting stung.
Add to a mixer and blitz until breadcrumb consistency (or leave chunky if you would like too)
Add in salt and blitz quickly to combine.
Spread on to parchment and dry in the oven or dehydrator at 45 degrees celsius until dry. Stir through after one hour to loosen up the mix and allow it to dry faster. The length of time will depend on the water content of the herbs (approx 2 hours). The mixture will go a lighter green colour.
Once dry add to a clean airtight jar.
Notes
The colour may fade over time
Try herbs such as Thyme, Mint, Sage, Chilli, Oregano
How to Use Herb Salt in Cooking
Use your rosemary herb salt:
As a seasoning rub for roasted meats or veggies
Mixed into olive oil for dipping bread
Sprinkled over focaccia before baking
Stirred into soups or stews for an added depth of flavour
On scrambled eggs, grilled halloumi, or oven-baked potatoes
Just remember—herb salt is more concentrated than regular salt, so you often need less of it when seasoning.
Want More Garden Tips and Recipes?
There has never been a better time to learn how to grow healthy, organic food at home. Take back control of your food systems and start the journey to live a more sustainable lifestyle. Say goodbye to nasty chemicals and wax-coated fruit and feed your body with real, nourishing, homegrown food. Subscribe to our FREE weekly newsletter below.
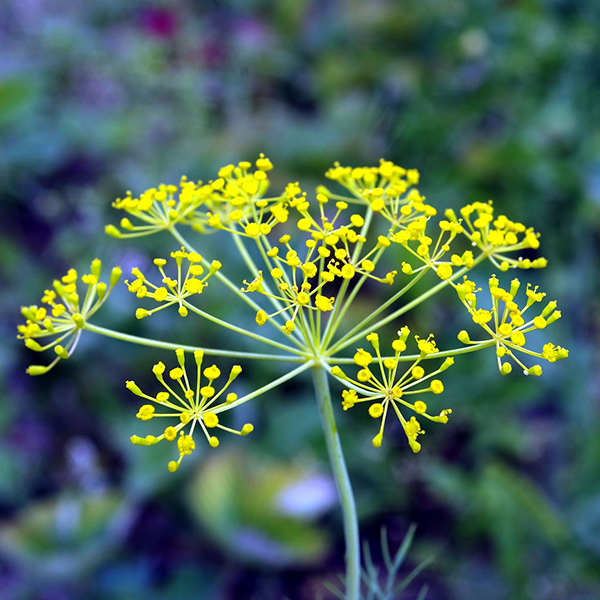
Rosemary (Rosmarinus officinalis) is a fragrant perennial herb. Rosemary is a hardy, drought tolerant shrub and can also be used as an ornamental due to its evergreen foliage and purple or white edible flowers. Rosemary is a great herb to plant on your journey to sustainability, as it has a large list of beneficial uses for the garden, home, kitchen, plus many medicinal qualities. When Rosemary flowers it will attract an abundance of beneficial pollinators to increase your gardens production.
Full sun 6-8 hours per day. Cold climates -move it to a warmer spot in winter.
CARE
Water at base – dont over water. Keep well mulched. Prune early Spring to encourage new growth.
FERTILISE
Spring and Autumn with seaweed solution or an organic slow release fertilizer.
PESTS
Aphids, white fly, scale, mealybugs. Mildew in humid climates.
HARVEST
Anytime of the year.
REPRODUCE
Cuttings are the easiest and quickest way to reproduce.
Why Grow Rosemary?
Rosemary offers so many beneficial relationships within your garden. Rosemary is a hardy, drought tolerant, ever green perennial herb. A fantastic staple to have growing in any edible garden. Rosemary also has many healing properties, so it is a handy plant to have near the house or in a kitchen garden.
Here are some of the many reasons to grow Rosemary:
Low maintenance
Drought tolerant
Pest resistant
Attracts Pollinators
Creates diversity in the garden
Evergreen herbs
Edible flowers and leaves
Adds flavour to your meals
Great for skin care and healing
Anti-inflammatory properties
Boosts mental clarity and focus
Improves digestion
Aids in hair growth
Calming and therapeutic qualities
Popular Rosemary Varieties
‘Arp Rosemary’– Large sturdy shrub. Purple -blue flowers. Grows 1.5m high and 1m wide. Cold hardy. Popular for skewers.
‘Gorza’ – Tall upright shrub. Leaves are twice as big as other varieties. Large light purple flowers. Popular with Chefs. Can handle humid locations.
‘Salem’ – Medium sized upright shrub originating from Auckland, New Zealand. Deep Blue Flowers. Grows 1.5m tall and 1m wide. Popular for hedging.
‘Pink Remembrance – Small-Medium sized shrub. Light pink flowers. Grows 1m tall to 80cm wide. Can handle cold climates, wind, salt and dry soils. Popular for pots or cottage gardens.
‘Huntingdon Carpet’ – Low lying or cascading Rosemary. Bright blue flowers. Grow 30-60cm tall. Popular for rock walls or pots.
‘Tuscan Blue’ – Tall upright plant. Light blue-purple flowers. Grows 1.5m tall x 1.5m wide. Popular topiary or hedge. Can handle coastal environments.
‘Blue Lagoon’ – Compact trailing/ cascading plant. Deep blue- purple flowers speckled with white. Grows 1m tall to 1m wide. Popular for rock walls. Can handle coastal environments.
‘Golden Rain’ – The most densely compact variety. Leaves turn a golden colour during winter then back to green in summer. Light blue flowers. Grows 60-90cm high and wide.
‘White Flowering’ – Short dark green, needle shaped leaves. Curved branching form. White flowers give the appearance of snow fall.
How to Grow Rosemary
Rosemary likes a full sun location, with approximately 6-8 hours of sunlight. Rosemary is a hardy, drought tolerant plant that grows well in poor soils. Rosemary doesn’t like having wet feet, so free-draining soil is important. In humid areas, select a variety such as the ‘Gorza’. Before planting, add in a layer of compost and mulch around the base after planting.
When to Plant Rosemary
Plant Rosemary in Spring after the last frost has past.
Care/ Maintenance
Rosemary can get root rot if it gets too much water, so ensure the soil has had time to dry out between watering. Feed with liquid seaweed or plant fertiliser every few months for improved results. Pruning Rosemary regularly will help keep it compact and fresh. Older branches tend to go woody and sparse over time. Prune after it has finished flowering and remove no more than 1/3 of the plant at a time. You can then use your trimmings to make new plants!
Pests / Disease
Rosemary is a hardy plant but it can suffer from a few pests and diseases from time to time. In humid areas Rosemary can get powdery mildew and root rot. To prevent this, water only at the base and not the leaves. Let the soil dry out before watering and ensure the soil is free-draining. Prune to allow good airflow. Aphids, white fly, scale and mealy bugs may also effect your Rosemary. It is best to catch these pests early and you may be able to blast them off with the hose or try a natural spray such as chilli and garlic. A mix of natural dish detergent and water can also help remove them.
How/ When to Harvest
Harvest and use your Rosemary all year round. Use sharp secateurs to allow new growth to form easily.
Reproducing
Rosemary is very easy to reproduce from cuttings. Choose a semi-hard wood section (not the soft new growth and not the thick hard stems – somewhere in the middle. You can cut that portion down). Cut lengths of 10-15cm and strip the bottom half of the leaves off. Then either place in a jar of water to sprout roots or place directly in a pot of soil. Ensure the pot is kept well watered while they sprout roots.
Cooking and Using Rosemary
Rosemary is such a versatile herb and works well with both sweet and savoury dishes. Rosemary has a pungent, pine like aroma.
Rosemary can be preserved by drying see preserving herbs. The great thing about drying Rosemary, is that it reduces in size dramatically. So a massive basket of Rosemary can be condensed into a single jar. It can also be blitz with salt to make delicious Rosemary finishing salt. This is an easy way to add extra flavour to your dishes. Rosemary can also be added to oils and vinegars to infuse.
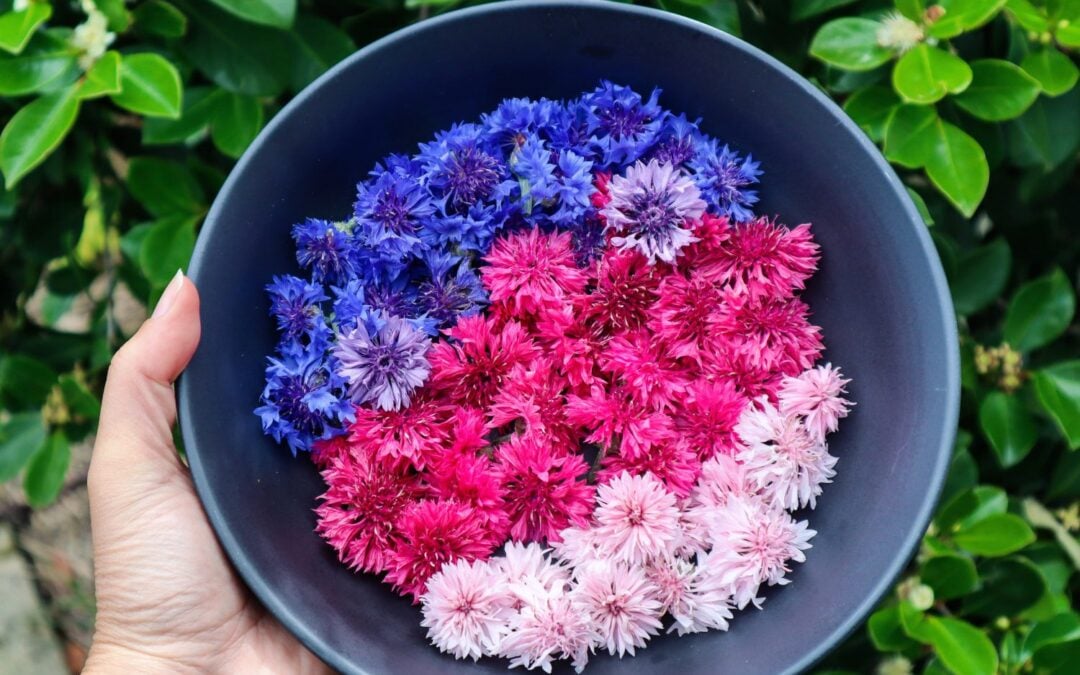
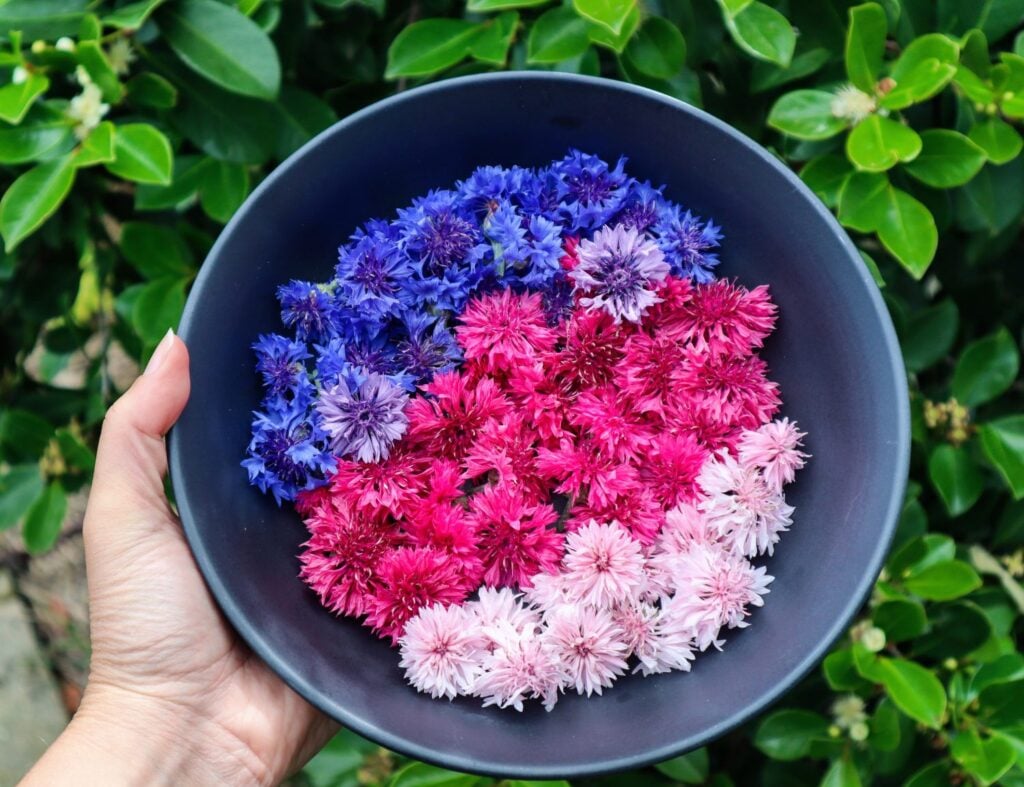
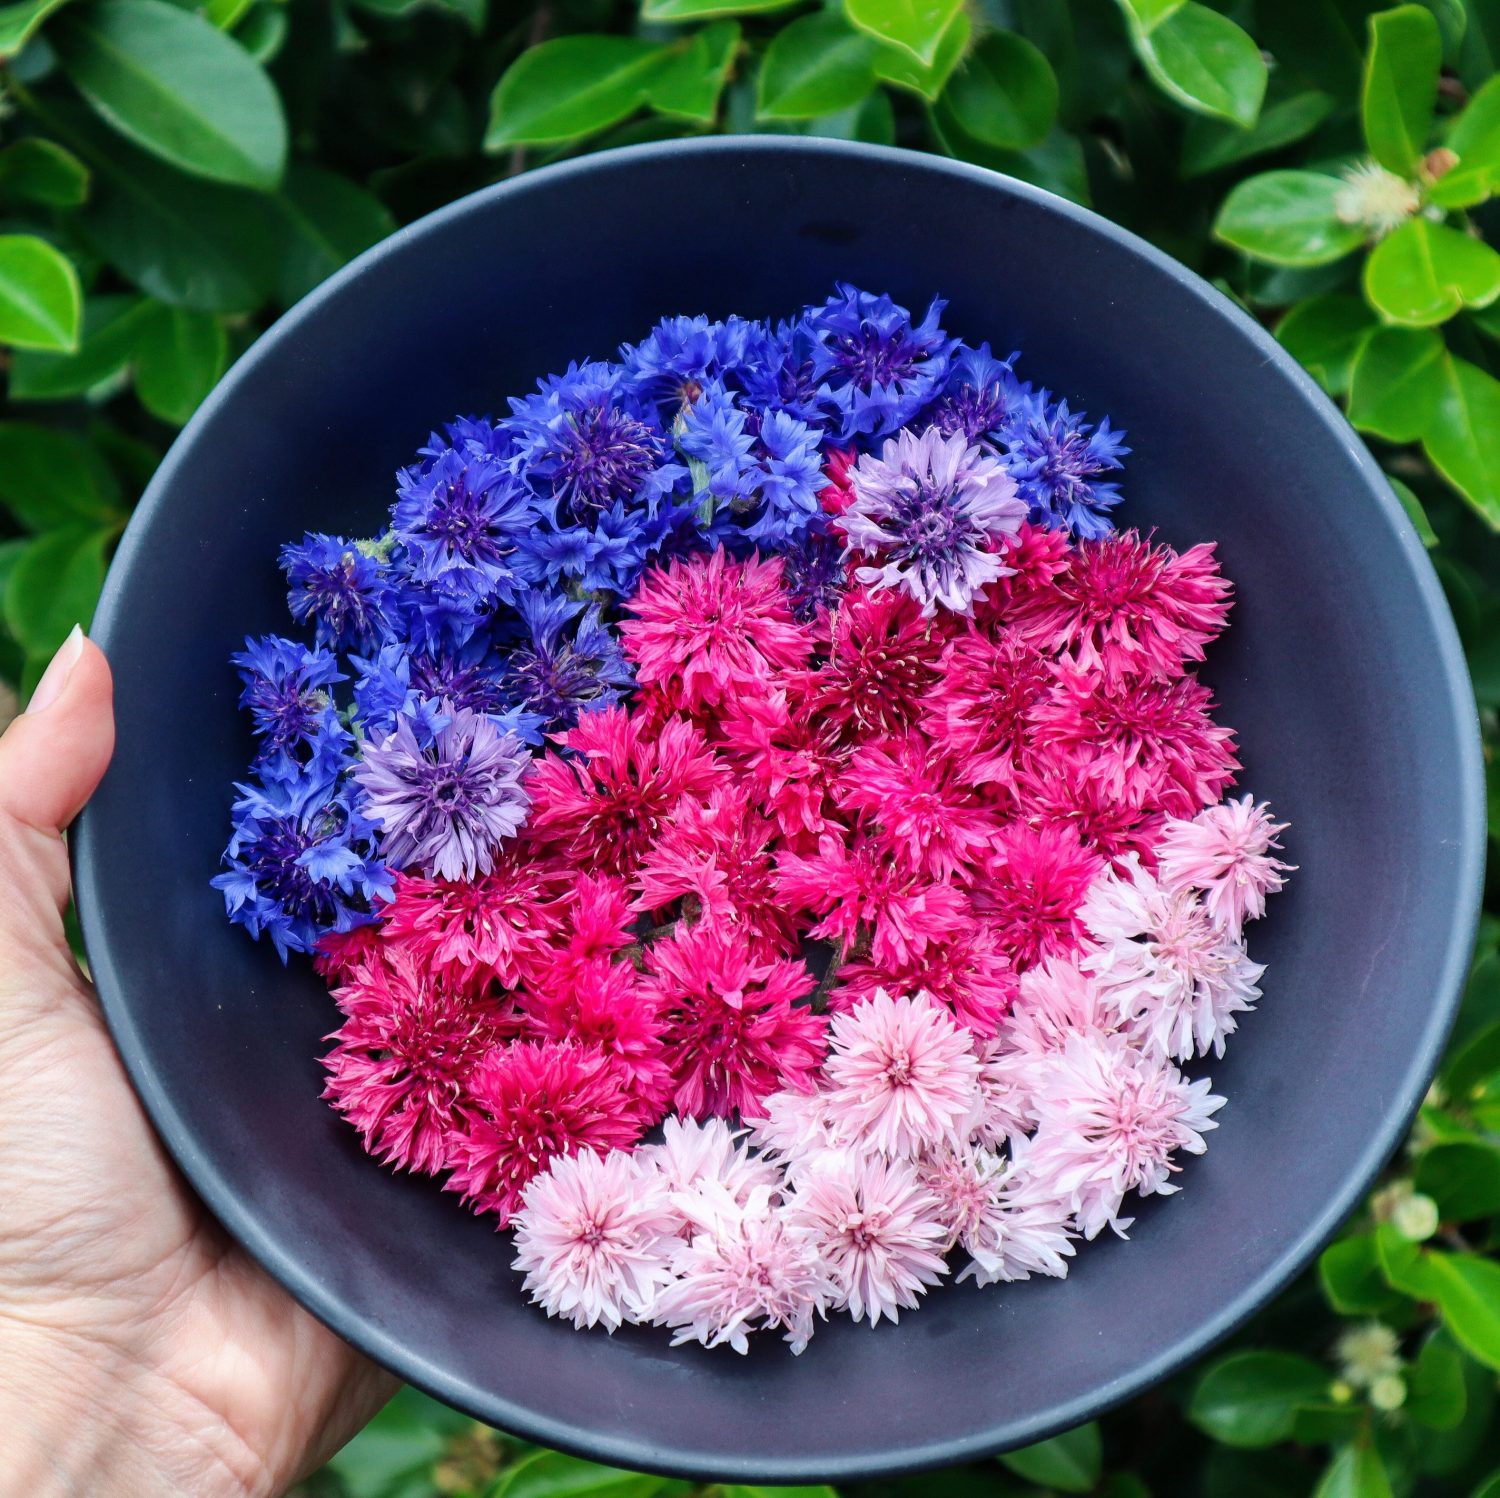
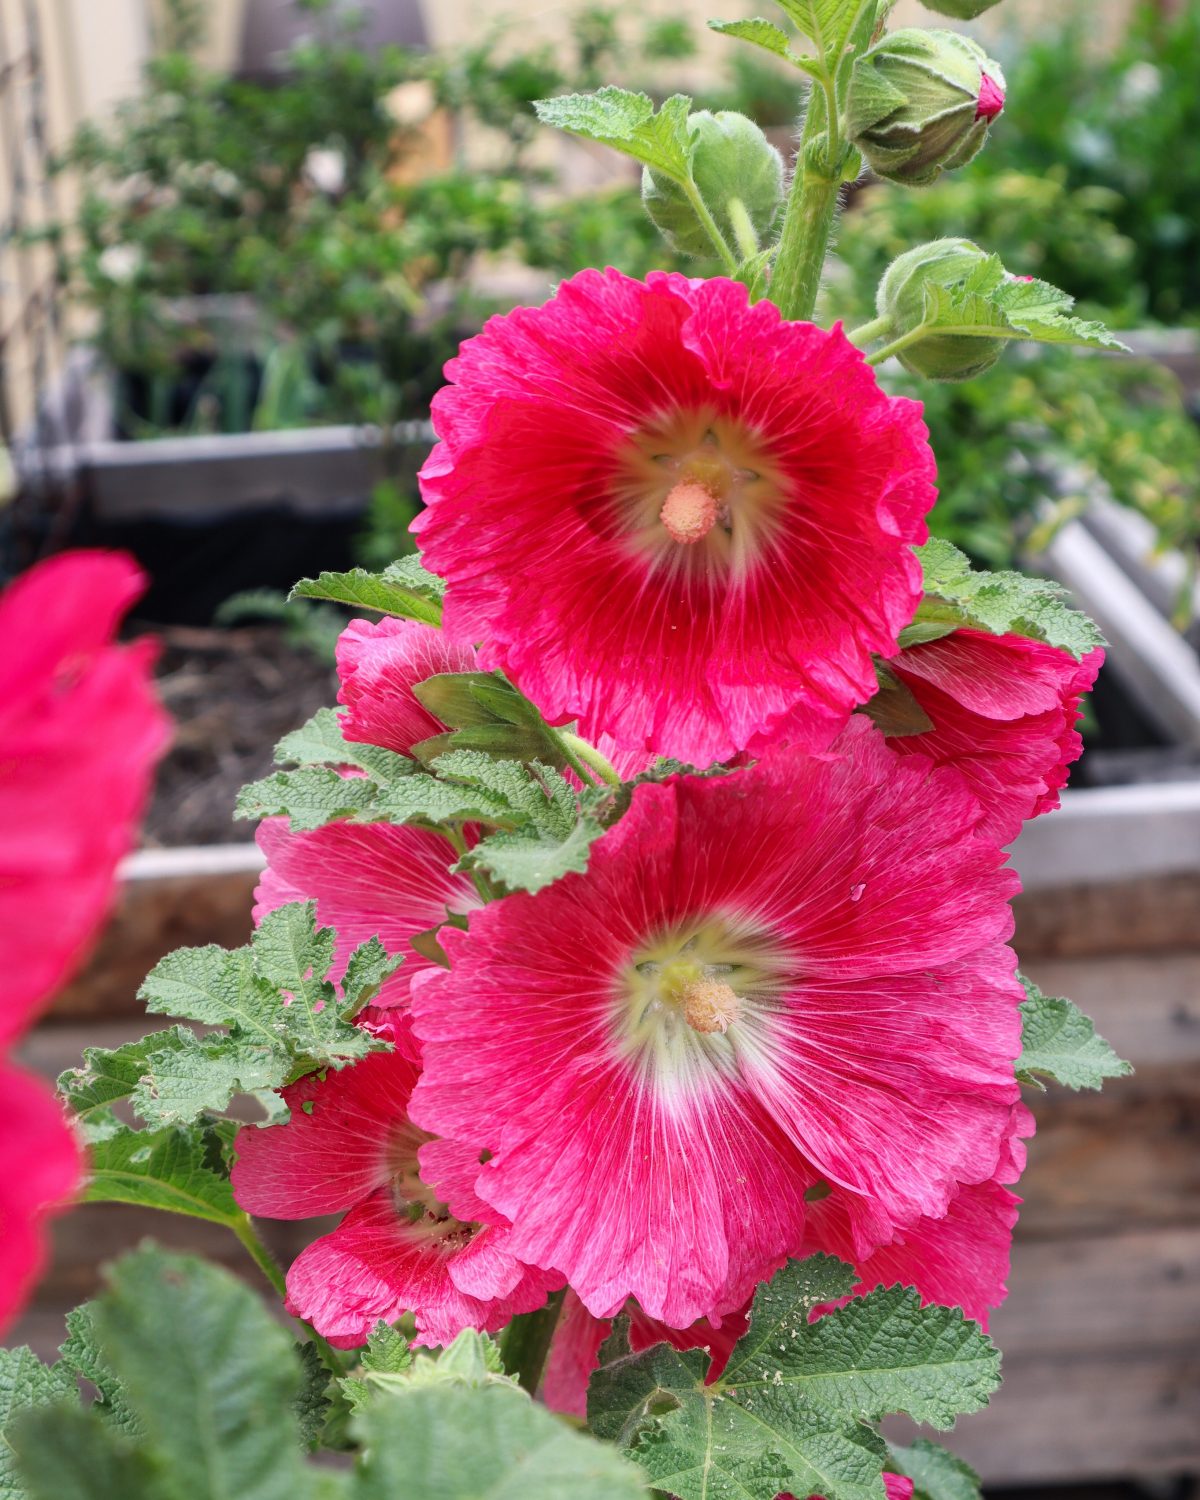
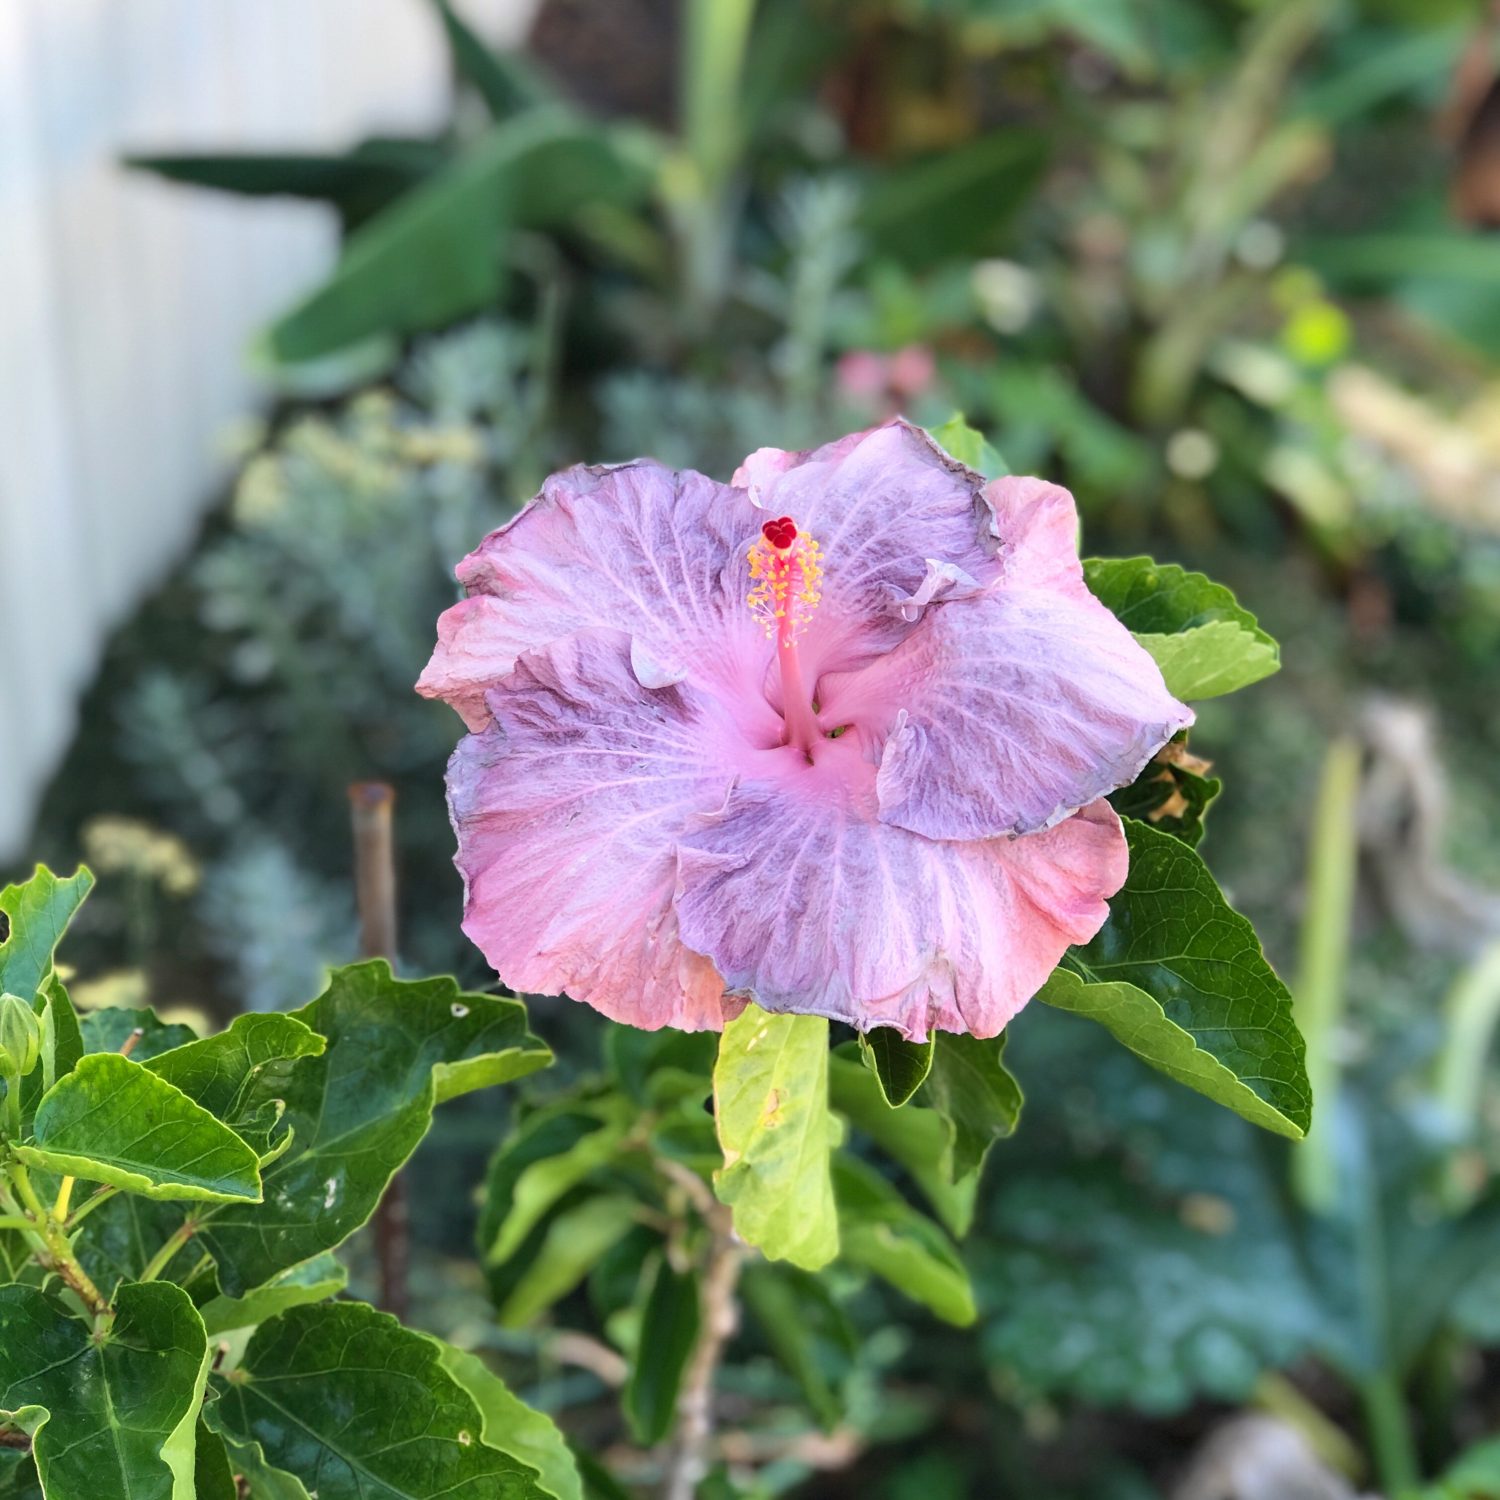
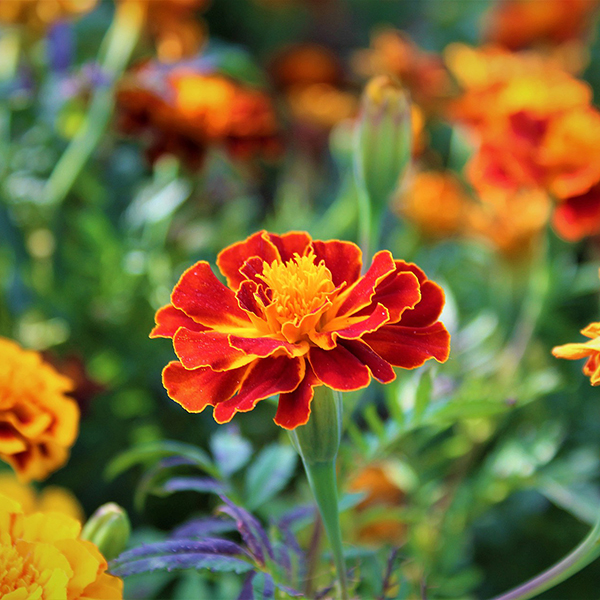
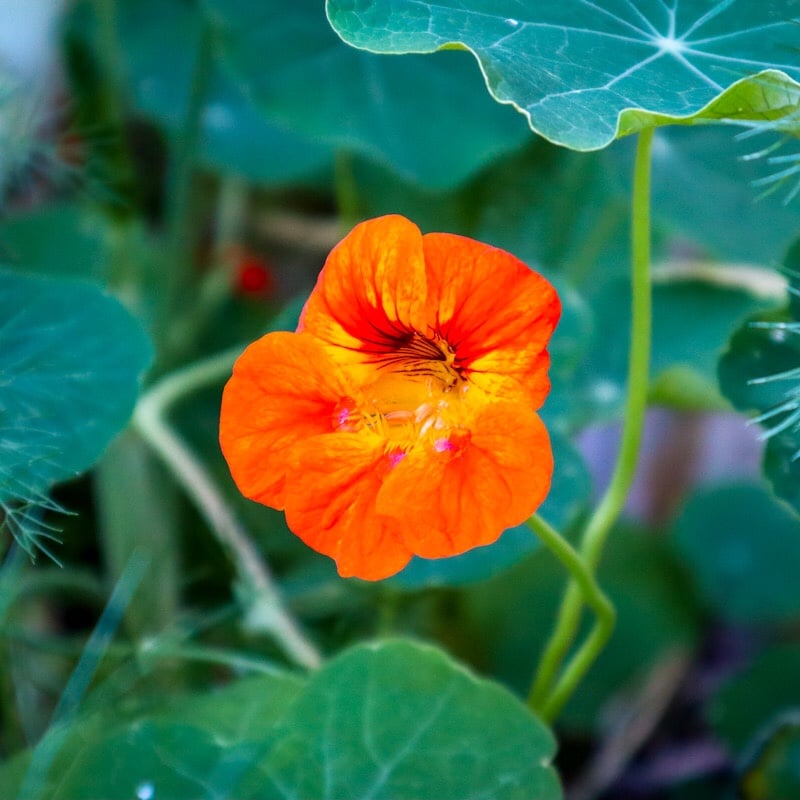
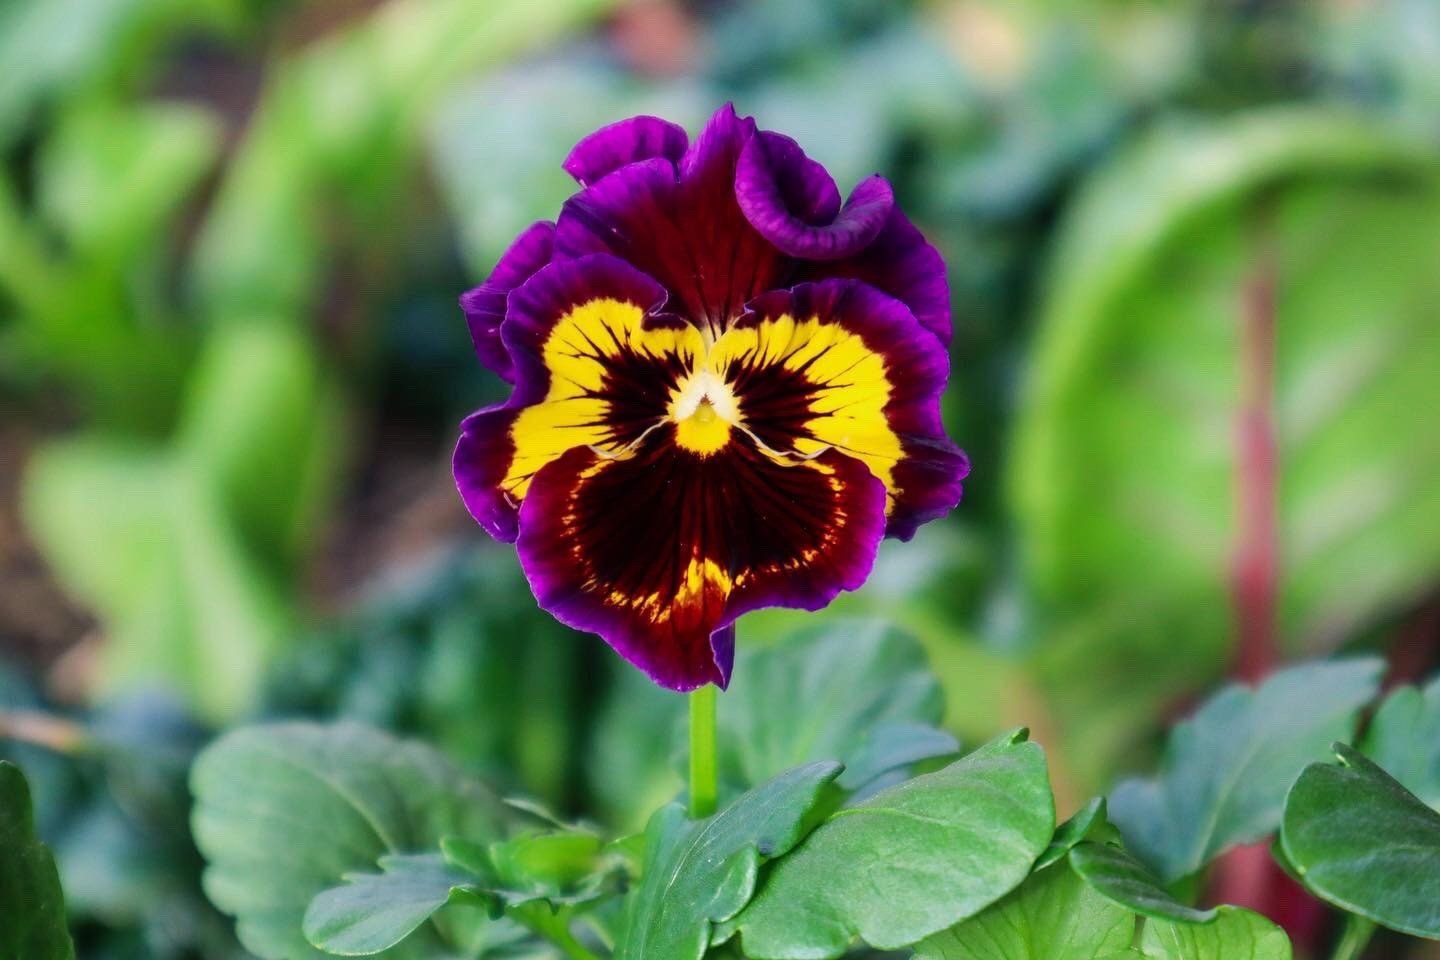
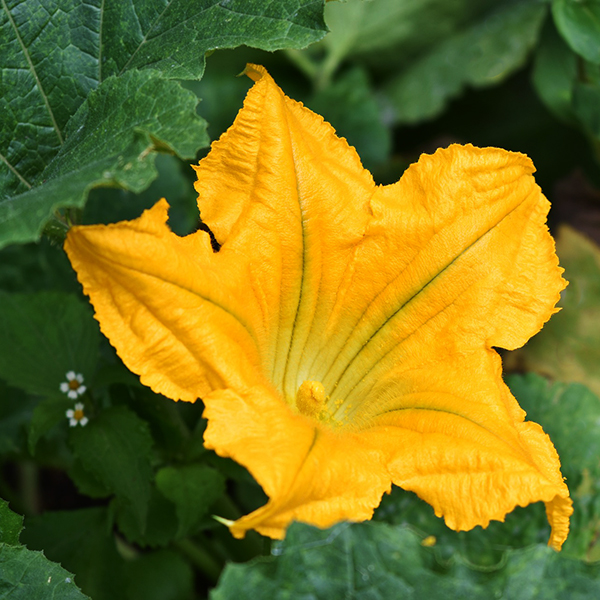
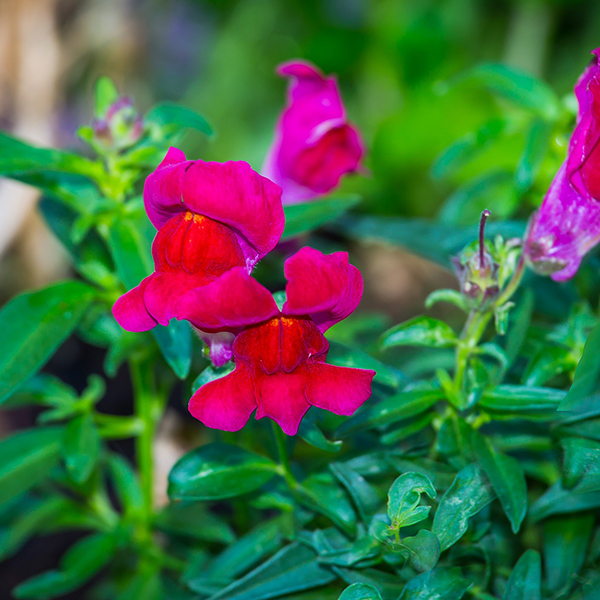
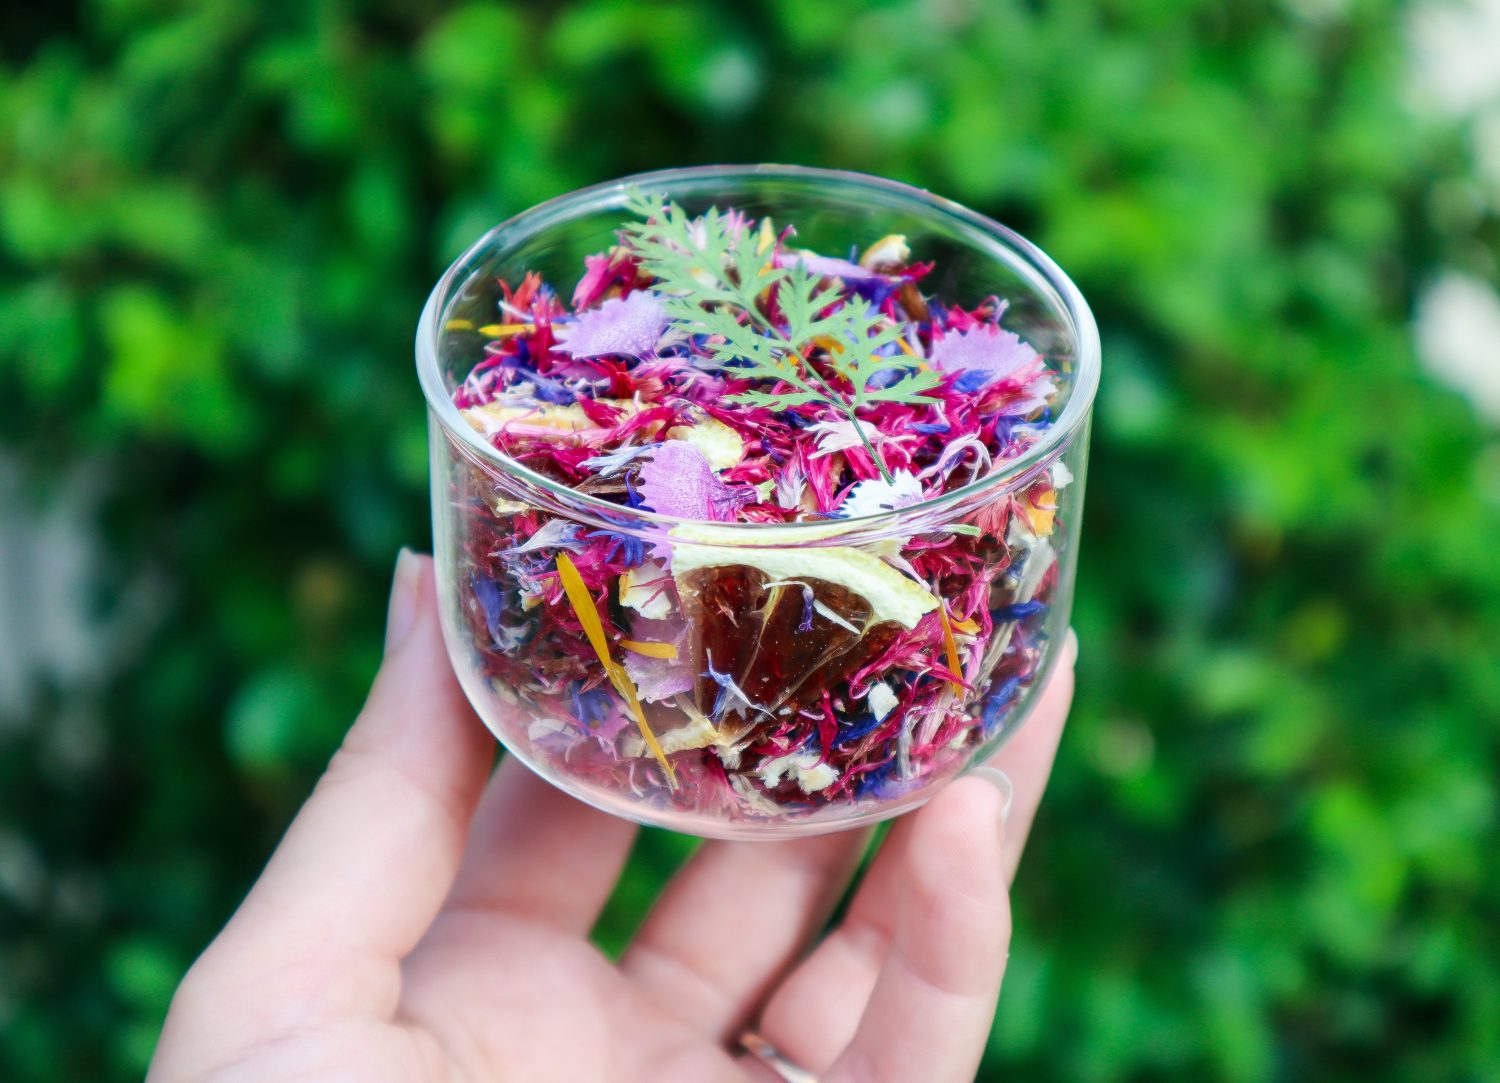
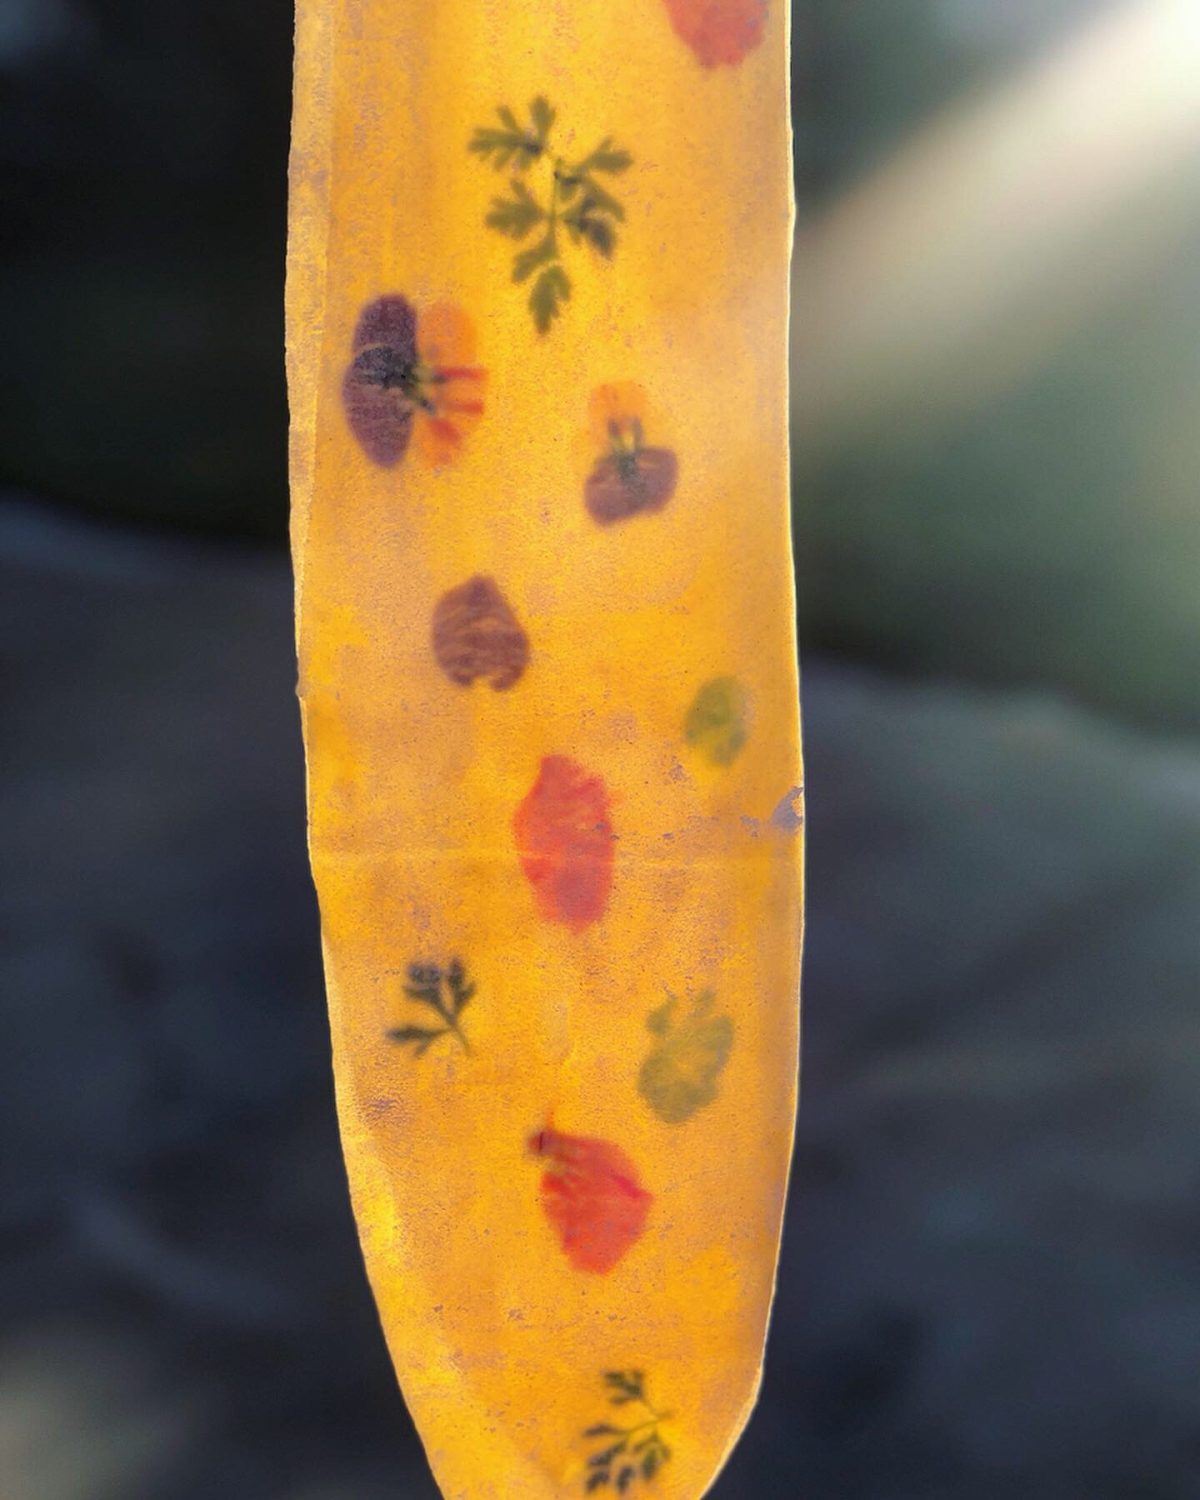
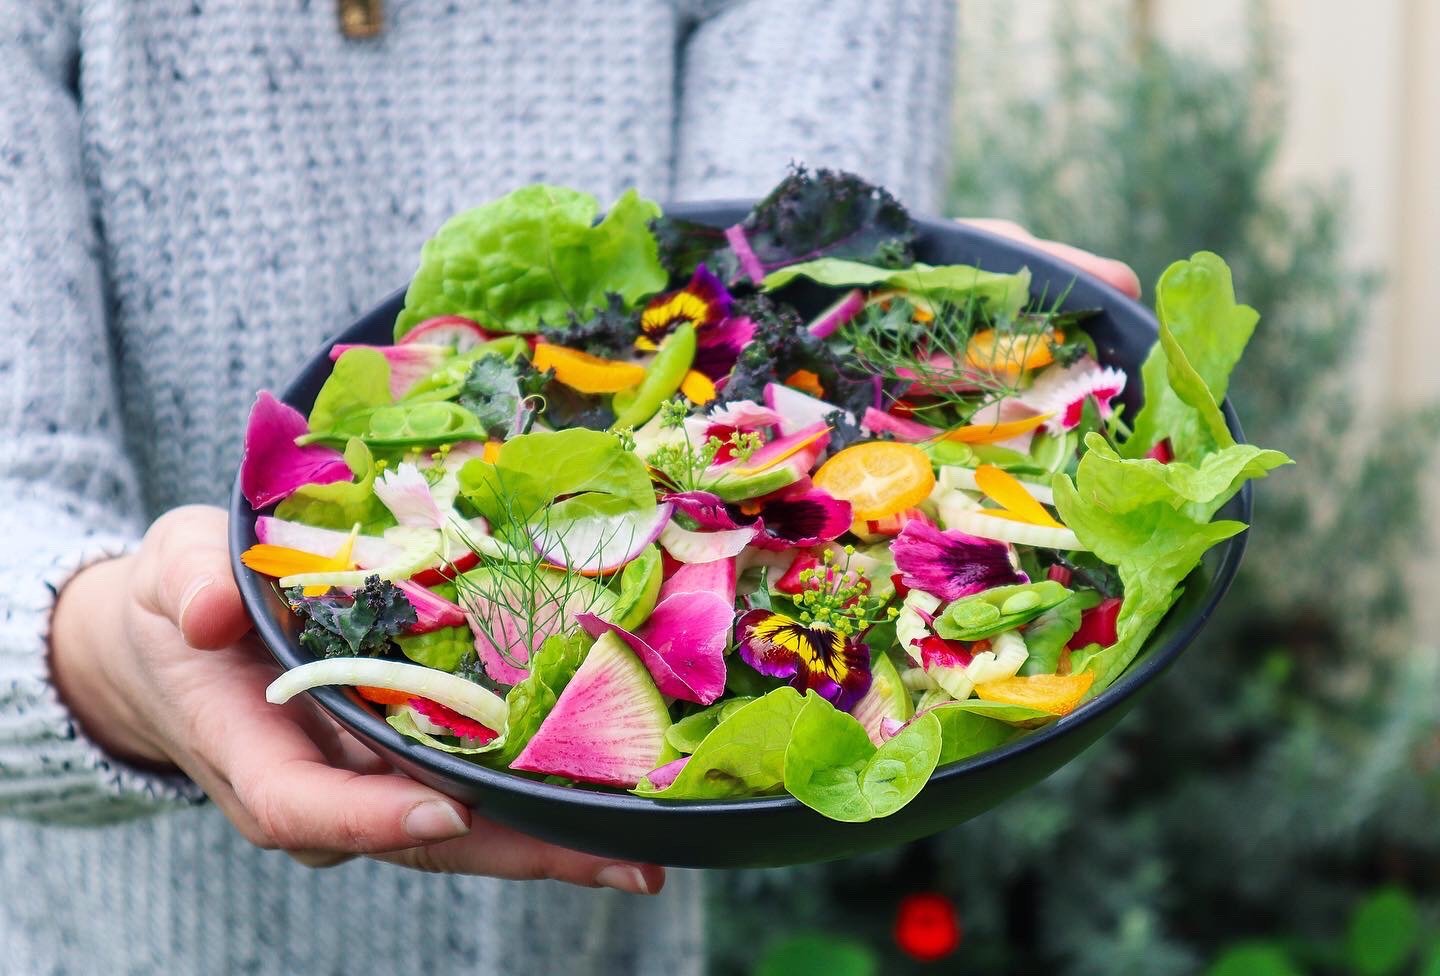
Edible flowers offer so many beneficial relationships within a home garden. When creating a sustainable permaculture garden, everything should have multiple functions and uses. The more the better! Edible flowers not only look beautiful, but they also aid in pollination, provide food and habitat to beneficial insects for pest management, add diversity to the soil and provide food, and in some cases, offer medicinal qualities for us.
Without adequate pollination, crops may be smaller, less abundant or may not produce at all. So, it is important that we attract pollinators to our gardens to increase yields along with the quality of produce.
Note: not all flowers are edible. Make sure you identify them correctly. Do not eat flowers from florists or areas unknown, as they may have been sprayed with pesticides. The safest option is to grow your own.
Pick your edible flowers in the morning but after the sun has come up. First thing in the morning the flowers will still be closed, so wait until they fully open up. They will be at their best in the morning, full of life and well-hydrated. If you are serving them fresh, pick your edible flowers as close to serving time as possible. Otherwise, place stems in a jar of water or keep in a moistened towel somewhere cool.
Preserving herbs from your garden is a great way to make the most of their abundance and store them for the winter months when many herbs will not be growing. Herbs are a great way to add flavour to any dish and once you make your own dried mixed herbs you will never want to buy them ever again!
Click below to watch
In this video I share how I pick, dry and preserve my herbs for both a dried mixed herb blend and also to make tea blends.
Why Grow Herbs?
Herbs are the easiest thing to start growing because they are hardy and less susceptible to pests. They also do not require a lot of room to grow. So you can grow herbs in pots or containers if you do not have room for a garden. It is absolutely achievable and you never know where the journey will take you.
Grow Abundant Herbs
Nature provides so much abundance when we learn to see and utilise it. Sometimes cutting your plants can spark new growth and they will continue to flourish in new directions. Young new growth is much nicer to eat than the older woody growth too. Preserving your harvests also allows you to slow down and reconnect with where your food comes from. It just feels so right to go out to the garden and pick food that you know exactly what has gone into creating it. No chemicals, pesticides, or nasty sprays.
Basil is a warm climate herb and will start to die off as the temperatures decrease. So harvesting and storing basil will mean I will be able to have it available during winter. Basil also responds so well to being cut. Especially towards the end of the season as it starts going to flower. By cutting the tops off, it will grow out thicker and will also help prolong the life of the plant.
Take Cuttings for Gifts
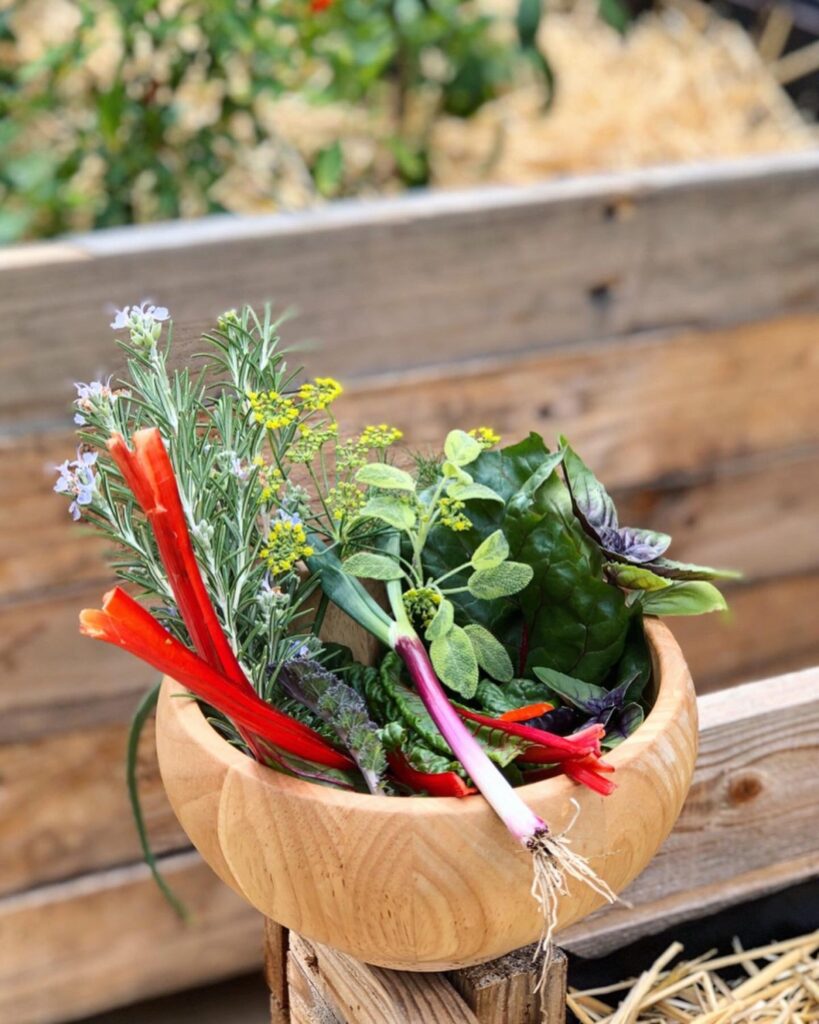
My rosemary is growing a little wild and has even collapsed in the middle under the weight. So I am going to take some cutting to replant and also harvest a big bunch to dry and preserve. Taking cuttings to regrow will give me new plants to gift and trade. It is always good to have some on the go for last minute gifting.
When to Harvest Herbs?
The best time of day to harvest your herbs is first thing in the morning. This is when the plants are hydrated and full of life. As the day goes on they will lose moisture and not be as fresh and vibrant. Early in the morning, the bees are not yet active. As the sun comes up and the dew drys, the bees will be about in a hive of activity. So if you do pick later in the day just be slow and cautious not stress them out and avoid getting stung.
Take time to Slow Down
Spending time in the garden harvesting and caring for your plants allows so much time to observe and learn from your garden.
To slow down and reconnect. Giving your mind time to think. Some of my most creative ideas come when I can quiet the rest of the world. Harvesting also gives such a sense of pride. That you have grown all this delicious food is so special.
How to Preserve and Dry Herbs?
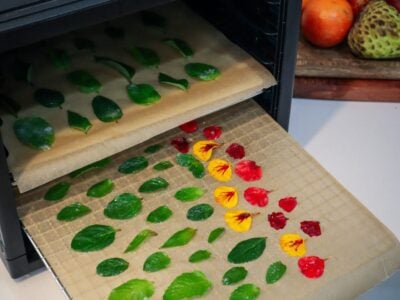
To preserve these herbs I first rinse them off in the sink. Next, I separate the stems and lay the leaves out on my dehydrator trays. I put a layer of brown baking paper to stop them from falling through the tray grid. I keep and reuse the brown baking paper for future dehydrating. I then pop them in the dehydrator on the lowest temperature setting. Between 20 and 30 degrees Celsius. You can also do this in the oven but just be aware it may take 5-8 hours to dry depending on the thickness of the herbs. So it is important you are home when using the oven. To air-dry your herbs, hang them upside down but make sure you have a dry and warm climate. If you live in an area with humidity I would avoid air-drying. You want the herbs to dry as fast as possible.
Dry the herbs until they feel crispy as you do not want any moisture still left in the leaves. If there is still moisture they may spoil or grow mould in the storage process.
Once they are completely dry you can pop them straight into clean, dry jars or storage containers. If you want to save room you can crush them up using a mortar and pestle. Mix some of your herbs together to make a mixed her blend ready for all your winter soups and meals.
Share and Inspire Others
These dried herbs also make great gifts. Taking gifts from your garden to friends and family is something that should become a regular ritual. They will so feel special and you will also feel joy and pride in sharing your homegrown produce. Sharing from the garden can also spark others to try to grow their own food too. You have no idea how many people can be inspired to make changes from your single action of sharing. It should be the way of the future. Because what we are doing in the world right now is not sustainable.
I hope you feel inspired to grow your own herbs at home and make your own dried mixed herbs. They are so easy to make and so vibrant and full of flavour. Nothing like the dull grey herbs you find at the supermarket.
If you have any questions leave me a comment below.
DISCLAIMER: Links included in this description might be affiliate links. If you purchase a product or service with the links that I provide I may receive a small commission. There is no additional charge for you! Thank you for supporting my page so I can continue to provide you with free content!
Focaccia bread is so easy to make and I use a basic bread recipe that I also use for pizza bases. With heaps of basil still in my garden, I thought I would make some delicious herb focaccia. You can use any herbs and greens you have in your garden for this Focaccia Bread recipe and get creative with the topping design!
Bread Ingredients – makes 2 focaccia
1 tsp Sugar
2 1/4 tsp Active Dried Yeast
4 cups Flour
1 1/2 cups lukewarm water
1 tsp salt
1 TBS olive Oil
Topping ingredients
2 cups of herbs ( I used 70% basil, chives, sage, dill, nasturtium leaves)
4 Chillis
4 Cloves Garlic
1/2 tsp rock salt
2-3 TBS Olive Oil
1 small Red Onion
1 small Red Bunching Onion or spring onion
Baby Rainbow Chard
Dill flowers
Rosemary
Method
To make the bread combine water, sugar and yeast in a jug or bowl. Whisk to mix and set aside for 10mins.
In a large bowl mix flour, salt and Olive oil and then add yeast mix. Stir and form a dough. Add extra flour or water if needed.
Cover and leave somewhere warm for 1-2 hours to rise.
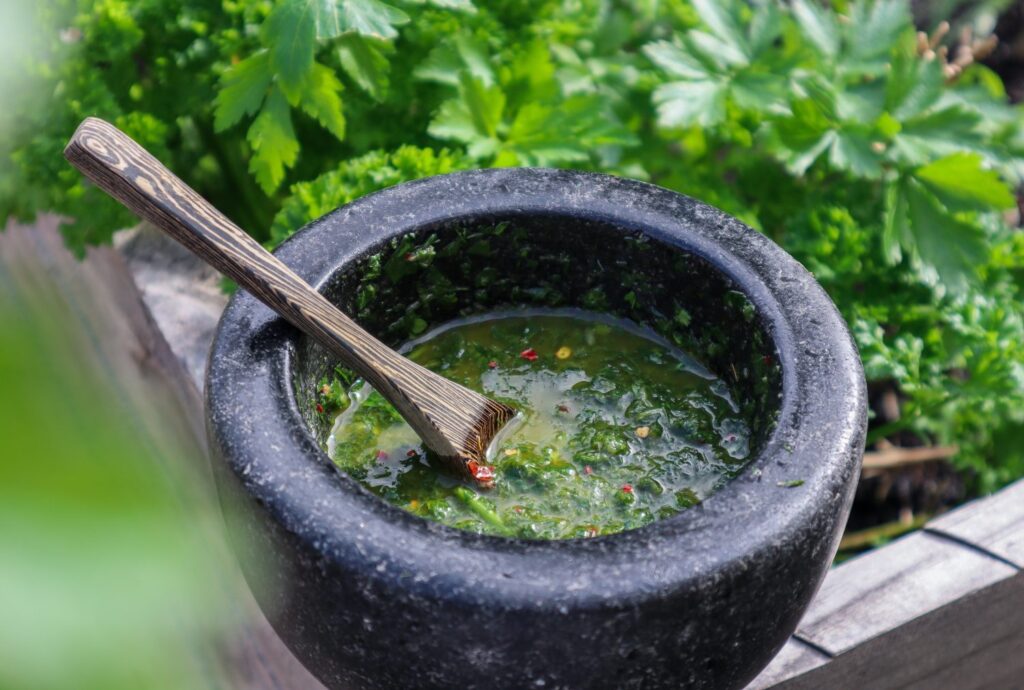
Whilst waiting for the dough start making your herb mix. Finely chop garlic, herbs and chilli (remove seeds if you don’t like too much heat and place in a pestle and mortar. Add rock salt and 1 TBSP Olive oil. Grind to a paste. If you don’t have a pestle and mortar just chop finely and crush in a bowl using the end of a rolling pin or similar.
Add the remaining 2 TBS of oil and stir to combine.
Finely slice rings of red onion. I use the thin fitting on my mandoline. Place in a bowl and add your baby greens, then drizzle with oil.
Cut your spring onion or bunching onion down the middle lengthways.
Once the dough has doubled in size, place on a floured bench and split in half. Roll each half out to form your focaccia. Place on a greased oven tray.
Using the end of a chopstick or teaspoon handle, make small indents into the dough so that the flavour can get right in. Brush on your oily herb mix and then place on your extra toppings as desired. Red onion, spring onion, rosemary, extra herbs or chilli, baby greens.
Add an extra drizzle of olive oil and cover with a tea towel. Let them rise again somewhere warm for about 10mins.
Heat oven to 170degrees celsius and cook for 25mins or until slightly golden.
Top with fresh herbs and serve. Delicious by themselves but amazing with chutney. I had extra herb oil left so I added more herbs/ chilli and made a green curry to eat with my bread and it was so good together!!
Other topping suggestions: Feta, olives, cheese, sundried tomatoes, caramelised onion… the options are endless for Focaccia Bread toppings!
Get creative and make your Focaccia bread your own piece of art. Be sure to tag me so I can see your amazing creations!
Holly 🌱
MY GARDENING ESSENTIALS // Fertiliser spray gun: https://bit.ly/366nL1t Retractable Hose: https://bit.ly/2TSC0Bo More gardening tools: https://bit.ly/32IQmbD
DISCLAIMER: Links included in this description might be affiliate links. If you purchase a product or service with the links that I provide I may receive a small commission. There is no additional charge to you! Thank you for supporting my page so I can continue to provide you with free content!