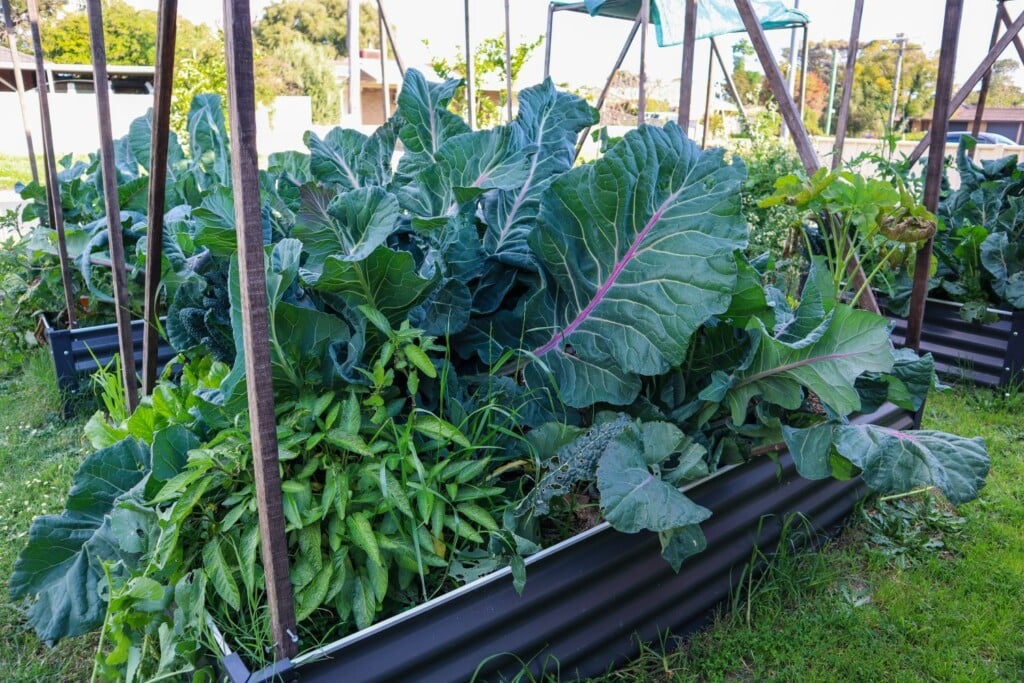
Composting turns organic waste into nutrient-rich soil to help feed and grow incredible gardens. Composting is not only great for the fertility of your soil and the secret to growing abundant gardens, it also stops waste from going to landfill.
Compost is alive with bacteria, micro-organisms, worms and many other beneficial insects. Soil that has been left to die will be dry, lack nutrients and will not promote the growth of your plants. There are many ways to start composting your left-over organic waste, depending on your living situation.
Below are some tips and tricks to start composting at home no matter the size of your garden..
Why should we avoid sending food scraps to landfill?
Food scraps, although natural, should not end up in landfill. The problem is, when food scraps are sent to landfill, they are covered with other rubbish and starved of oxygen. They can not break down correctly so in turn, they produce methane gas. Methane gas has a negative effect on global warming and our future planet. “On average Australians throw out up to 20% of the food they buy, which once sent to landfill is generating methane equivalent to around 6.8 million tonnes of carbon dioxide. Not to mention all the energy used to get that food to your table in the first place”.*
Build Sustainable gardens
Creating your own compost at home will reduce waste and help you create a more sustainable garden. Food that you have grown in your garden, can then be put back into the compost to feed your future plants. It is a sustainable cycle that will not only save you money, but also have positive impacts on the planet. Working with nature instead of against it.
Where to Start with Composting?
To get started on your composting journey there are a few things to consider before you jump right in. Below are some tips on selecting the right compost system for your garden and how to keep your compost healthy. This will go a long way to helping you create a simple and effective compost routine to ensure you get the most out of everything that you grow.
1. Choose your Compost Bin Systems
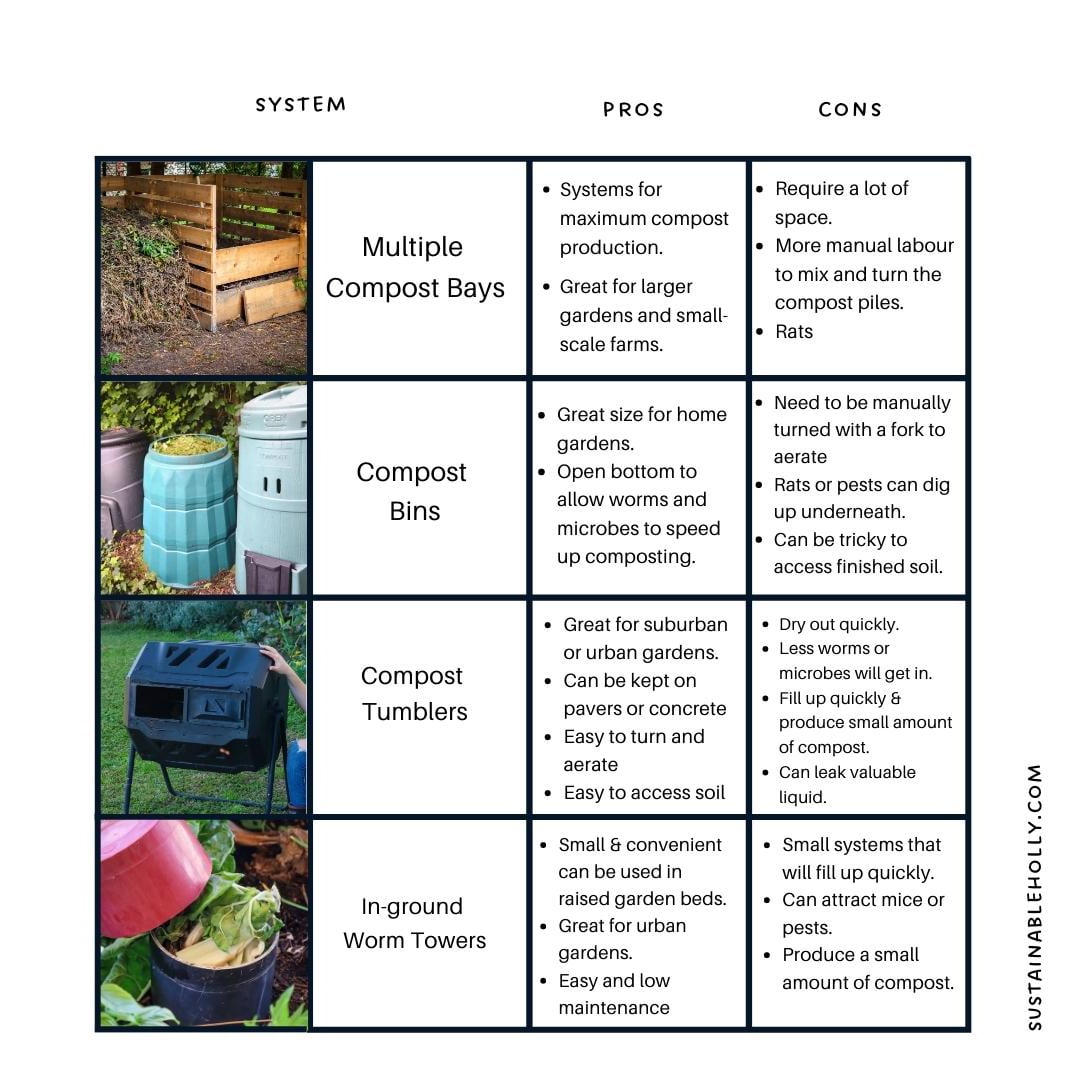
First, you will need something to make your compost in (although you can also just make piles!). There are many systems available depending on the size of your garden. DIY Compost Bays, Compost Bins, Tumblers, or in-ground Worm Towers. To get the most out of your compost it is ideal to have at least two systems. They can be different systems or some compost bins come with two parts already built in. Having two systems means you can stop putting scraps in one once it is full and allow it to break down fully whilst having a second location to put your green waste and scraps.
Below are some pros and cons to help you decide. I plan to have a mix of all these systems throughout my gardens.
2. Choose a location
This is an important part of setting up composting systems. You want the location of your compost system to be close and convenient to both your veggie patch and your kitchen. This will mean you will have easy access to add regular kitchen scraps and plant matter from maintaining your gardens. If it is placed right down the back in a faraway corner you are less likely to utilise it. If you are worried about the smell, following the tips and processes outlined in this workshop will help eliminate that. Having it far away will cause you to neglect the process and this will result in a stinky compost system. A location with part sun – shade will help to retain moisture and stop it from drying out.
If you receive a lot of rain it may be useful to have cover to sop it from getting too wet.
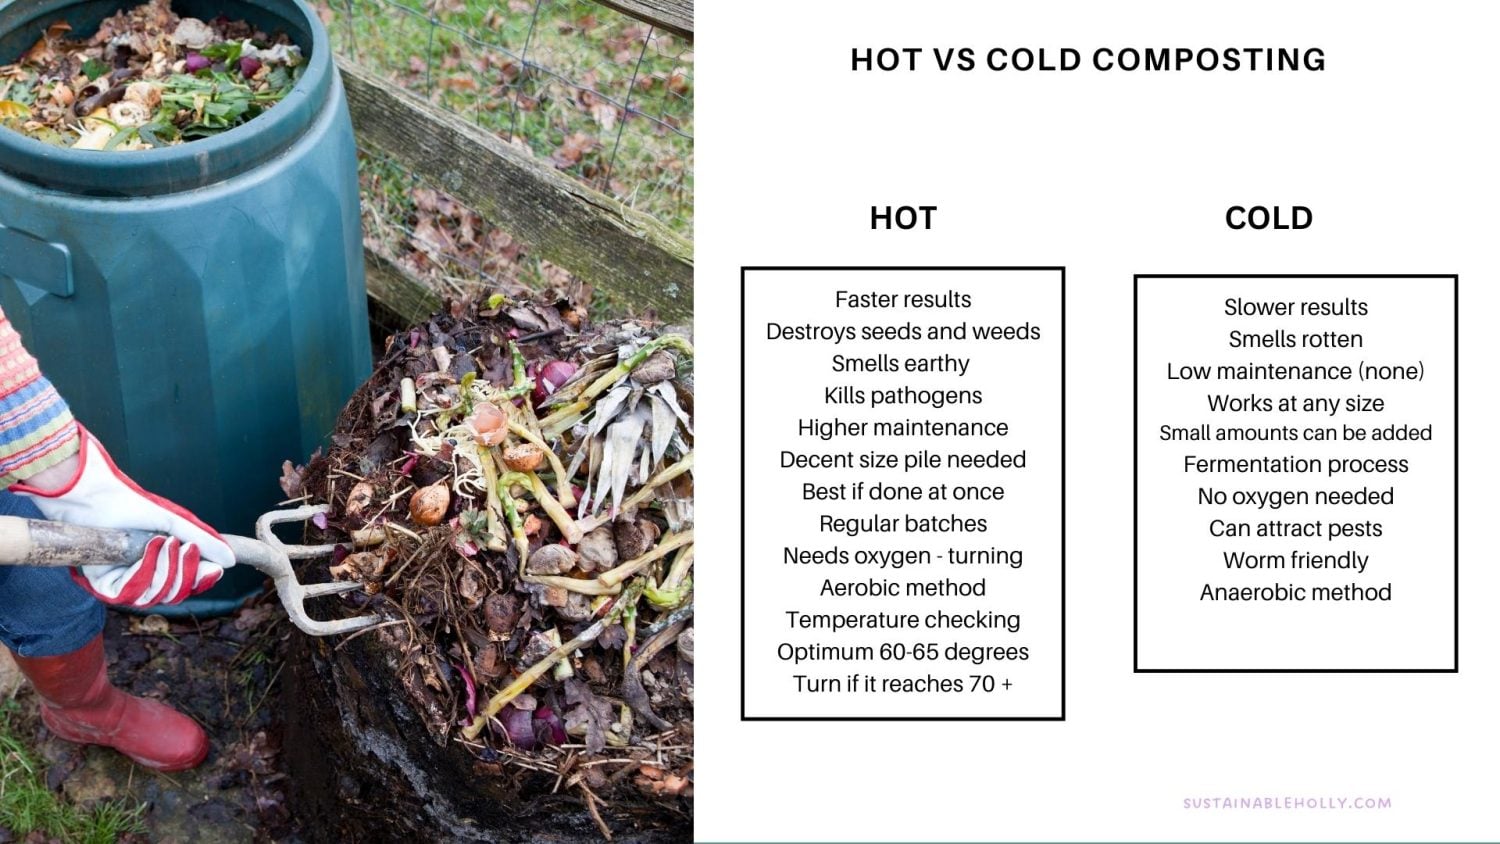
3. Hot vs Cold Compost
You may have heard these terms before and both will work to turn your organic material into the soil but there are clear differences. Again there is no right or wrong but hot composting will produce compost quicker and more efficiently.
For hot composting, the ideal temperatures are 60-65 degrees celsius. If you would like to be efficient and sure that you are reaching these goals you will need to get a temperature gauge to place in the centre of the pile. Once it starts to climb over 70 degrees you will need to tune and aerate with a fork to add oxygen and cool down the pile.
Currently, I do a mix of both. I aim for hot composting but I do not check temperatures and I don’t add all my material in at once. Because of this, my systems will not reach the optimum temperatures. This just means my systems will take a little longer to complete the process and create soil.
To increase temperatures add extra carbon or browns.
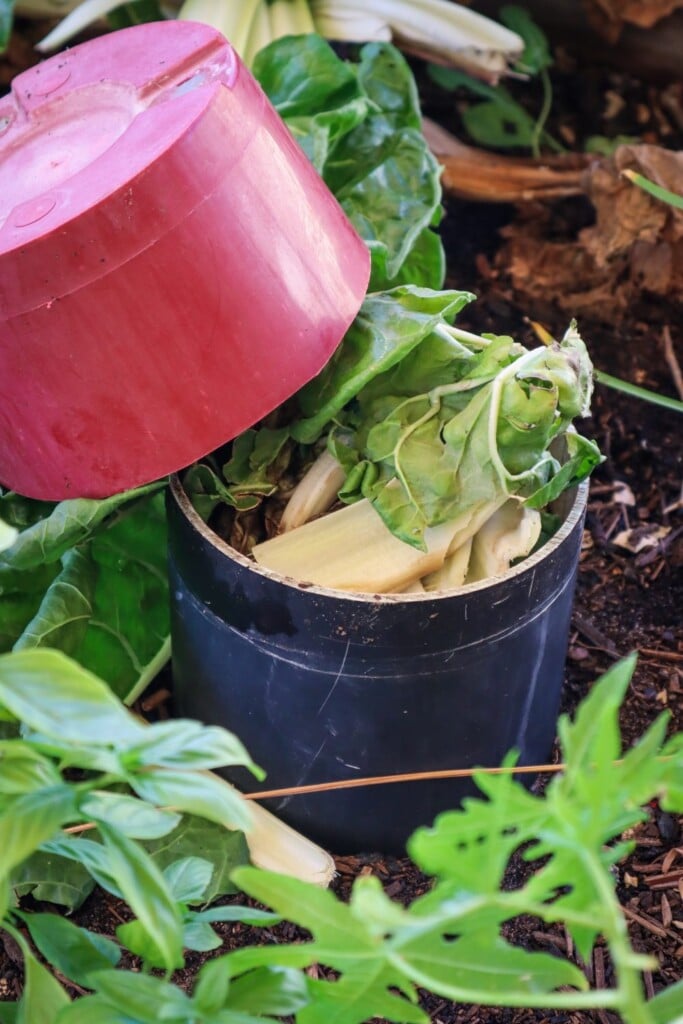
4. Inside Compost Bucket
It can be handy to have a small compost bucket with a lid to add your kitchen scraps into. This will make it easy to transfer your inside waste out to your compost bin. Keep it small so that you will need to empty it regularly to reduce odor. I just use a bowl and add kitchen scraps from the meal i am preparing and take it straight out to my compost bin. This reduces any bugs hanging around my kitchen.
5. What can go in the compost?
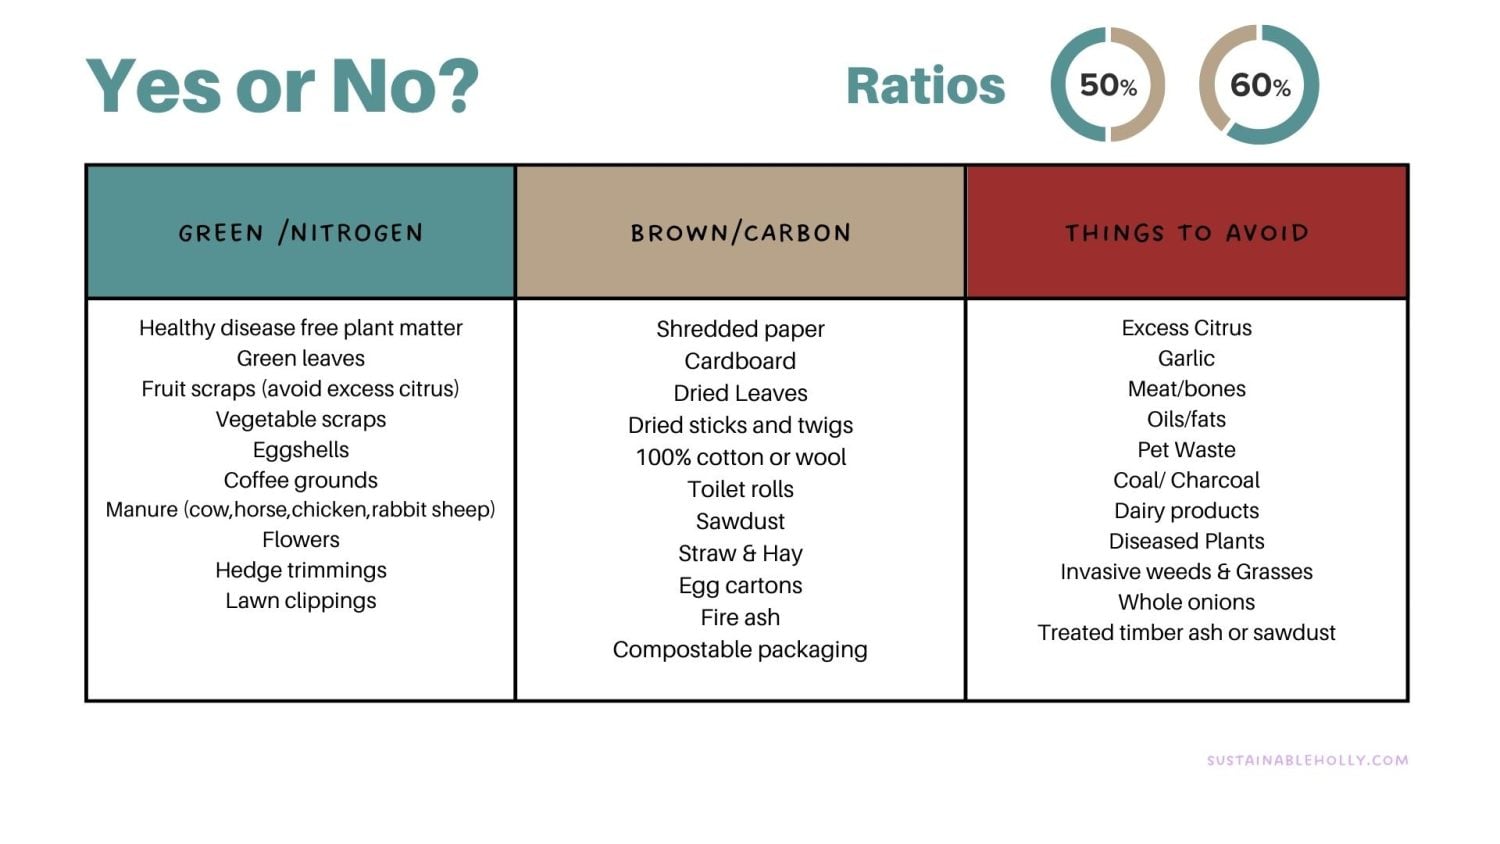
Any disease-free waste from your gardens and your kitchen waste can go into the compost. Old plants that have finished or gone to seed, lawn clippings, prunings and so much more! Below is a list of some common things you can put into your compost and a list of things to avoid. It might be useful to print this list out and add to your fridge as a reminder.
You will need to add a mix of green and brown ingredients to create the right temperature and environment for the bacteria to live and start breaking down your scraps. If you add too much green (nitrogen) waste without any brown (carbon) the balance will be off, and you may find the compost bin starts to smell bad and look like a slimy mess. Aim for ratios of roughly 50:50 or 60:40. Green to brown. A good way to maintain this ratio is to add in some dried leaves or brown matter each time you add greens/ scraps to your compost.
6. Have a Carbon/ Brown Bucket
Carbon/ browns are an important part of a compost system or recipe. They can also be quite hard to source if you don’t have access to dried leaves. Having a bucket at your backdoor or somewhere nearby will mean you can keep filling it up every time you come across scrap cardboard or other brown materials from the list.
7. Tools Needed
Secateurs to cut up plant matter, gloves to protect your hands, a rake to collect dried leaves and a large fork to aerate the pile.
8. Spread in Layers
Composting is all about layers. Try to add a mix of green and brown layers as you go. It is also important to spread out your materials and cut up larger items into smaller parts. The smaller the pieces, the quicker they will be able to break down. Grab your secateurs and cut your plants or flowers into smaller pieces. Tear or shred paper and cardboard into smaller pieces and scatter across to form a layer. This will help disperse the materials so that they don’t end up in a thick matted clump, as this will slow down the process.
9. Add Garden Soil
It is not essential to add soil but highly recommended as it can help to add in a few handfuls of healthy soil from your garden. This soil will already have living microbes that will help kickstart your compost!
10. Keep Hydrated
Keep your compost pile moist but not too wet as this is important to speed up the composting process. Ensure you have your hoselink hose nearby and use the shower function to moisten the layers evenly. This is especially important during the warmer months of Spring and Summer. Keep your compost covered to reduce evaporation.
11.Turn and Aerate
The bacteria and microorganisms that get to work breaking down your scraps are alive and need oxygen to live. It is important to tumble or mix your compost regularly to help add oxygen into the centre of the pile. Do this every week or two if possible.
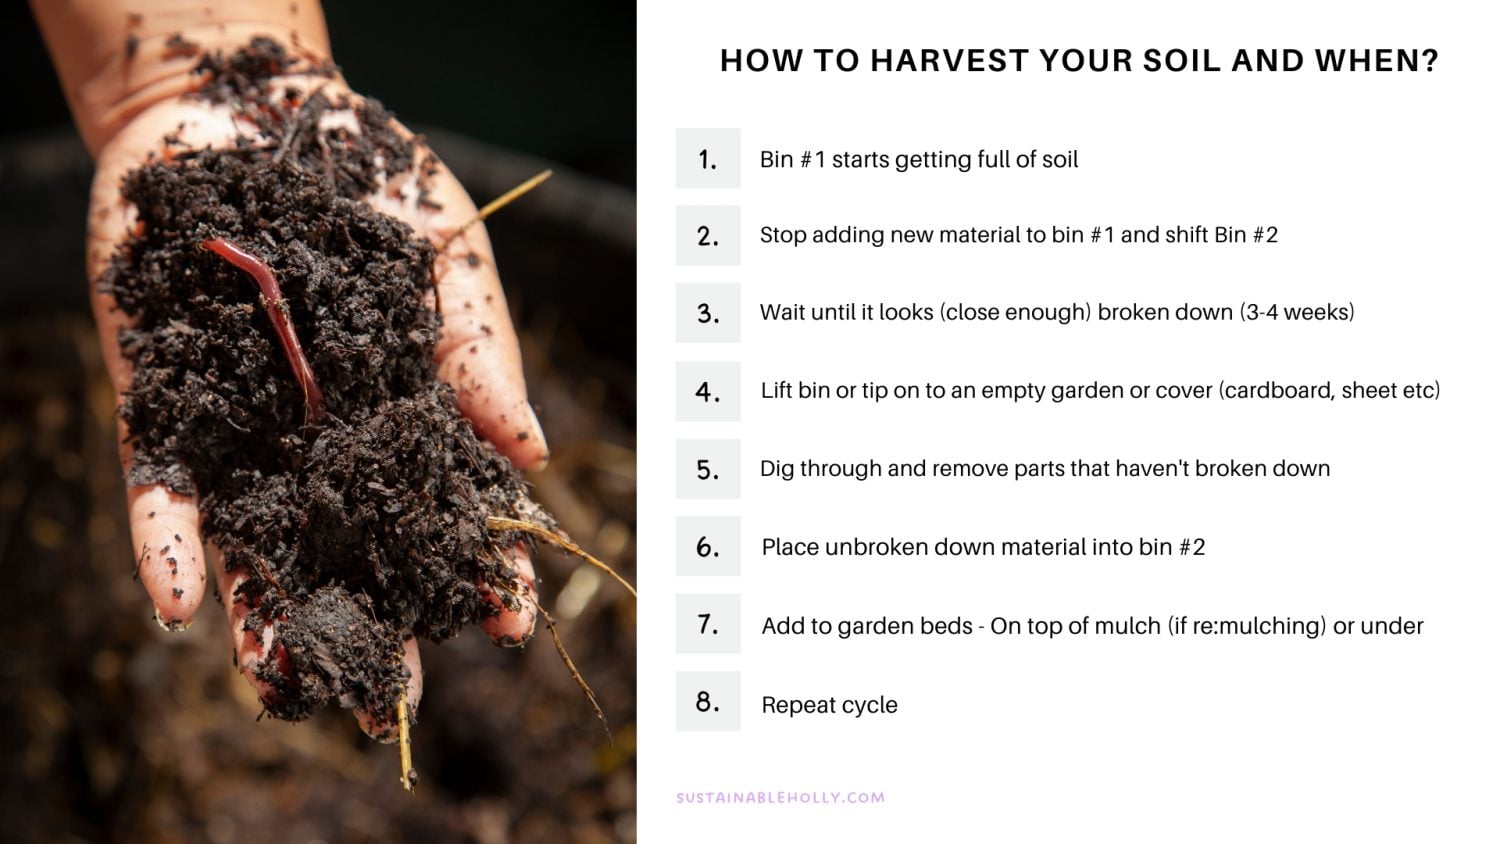
12. Finished Compost
Once all your food scraps and plant material have turned into dark nutrient-rich soil, you can add this to your garden beds to replenish and feed your plants. As plants grow, they draw up nutrients from the soil, so it is important that we continue to replenish and feed our gardens regularly.
Urban Composting
Worm farms are great for urban environments because they take up very little space. There are also new ways for people with no land to connect with others that do, and give them their compost scraps. Community gardens, local Facebook groups or there is even an app! Sharewaste
Keep it Simple
Keep it simple and allow nature to do what it does best. Create systems that replenish and regenerate the earth rather than have a negative impact.
Choose a Convenient Location
Add your Green & Brown Waste
Add soil microbes
Hydrate & Cover
Aerate and Turn
The key to thriving gardens is to feed and nourish your soil just as much, if not more, than your plants.
Care for your soil and your plants will grow with more ease and abundance. Nature is amazing and when we allow nature to do the work, there is balance and flow. Gardening will feel more sustainable and your plants will thrive all year round.
An edible food forest is a type of food-producing system that mimics nature and creates a low-maintenance edible garden. Food forest systems can be designed and adapted to suit small urban blocks, sloping sections, and large open spaces. The idea of creating a food forest is that you can let it go a little wild and allow nature to create balance. Food forests not only provide an abundance of food, but they also promote biodiversity, sequester carbon, attract wildlife, nurture the soil, and create a beautiful and tranquil place to be.
Watch the workshop
What is a Food Forest?
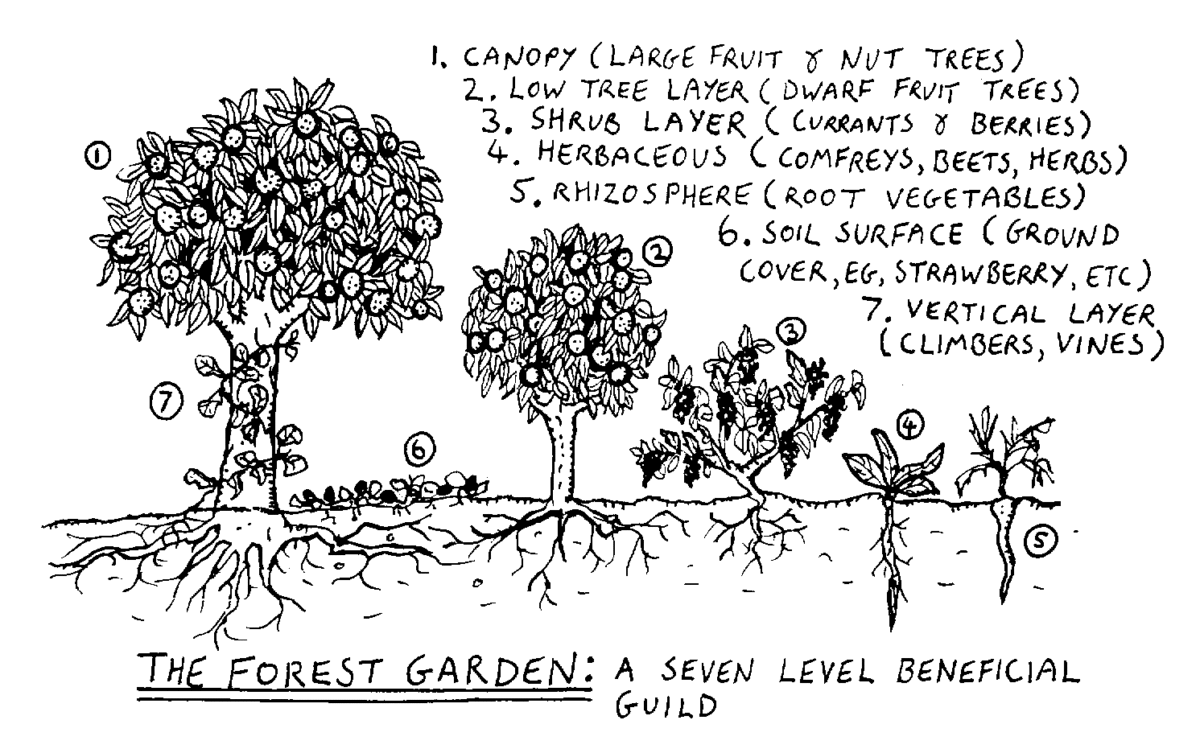
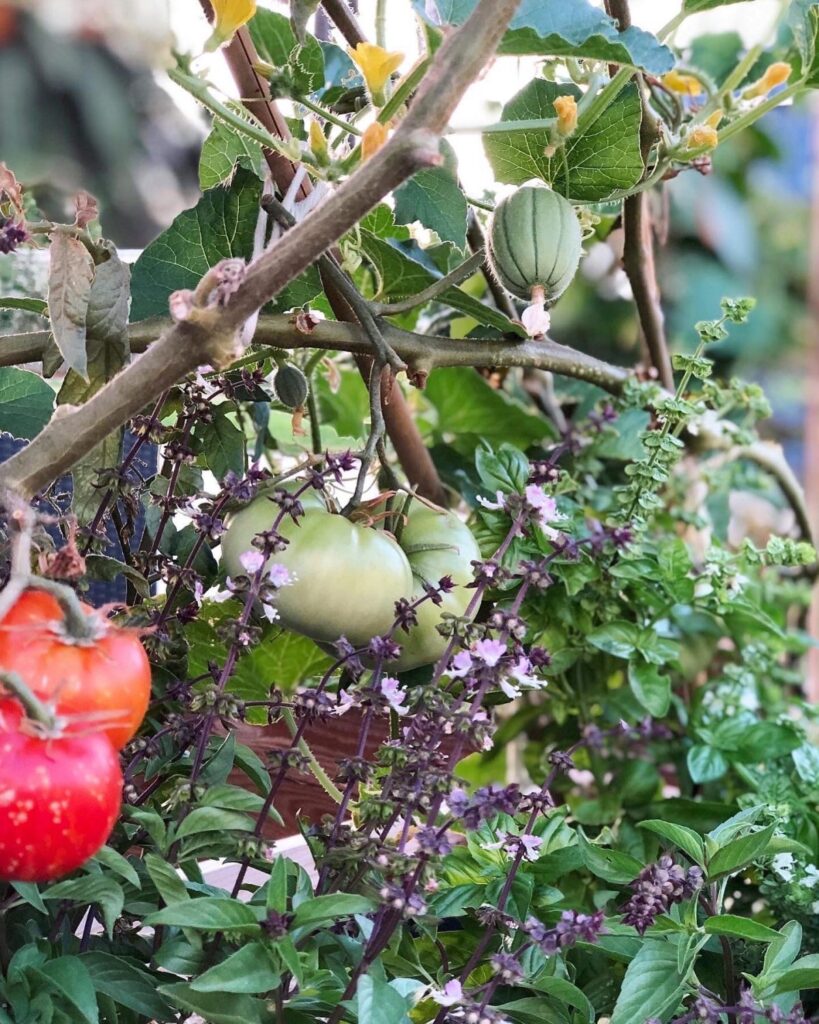
A food forest is a layered system of gardening that is designed to promote biodiversity and create an ecosystem that feeds off each other through mutually beneficial relationships. A food forest aims to mimic patterns and systems that occur in nature. Although, the food forest gardens we create are definitely not what occurs naturally eg: planting tomatoes with guavas, feijoa, and lettuce. It is more so about creating layers both above the surface with different heights and shapes, as well as below the surface with varying root structures. This way all the plants can get the space they need to thrive, provide nutrients, shade, and shelter to others, and work all together as one big family to grow abundant food supplies.
image credit: Graham Burnett
Why Create a Food Forest Garden?
If you are looking to create a low-maintenance garden that produces food all year round, is lush, tranquil, and attracts birds, bees, and other local wildlife, then a food forest may be the garden for you! Food forests are a great way to grow a huge variety of plants in a single area. The ground covers will smother weeds so there is one less job for you to do! The plants are mainly perennials so this means we don’t need to dig up the soil and replace plants each season. The less we dig up our soil the better as this promotes healthy microorganisms and soil life.
There are certain characteristics of a food forest that allow it to renew and support itself with little external input
Planting Density
It’s important to cover and protect the soil from the harsh sunlight
Planting densely creates a habitat for wildlife
More leaf matter to fall and nourish the soil
More roots to hold the soil together and reduce erosion
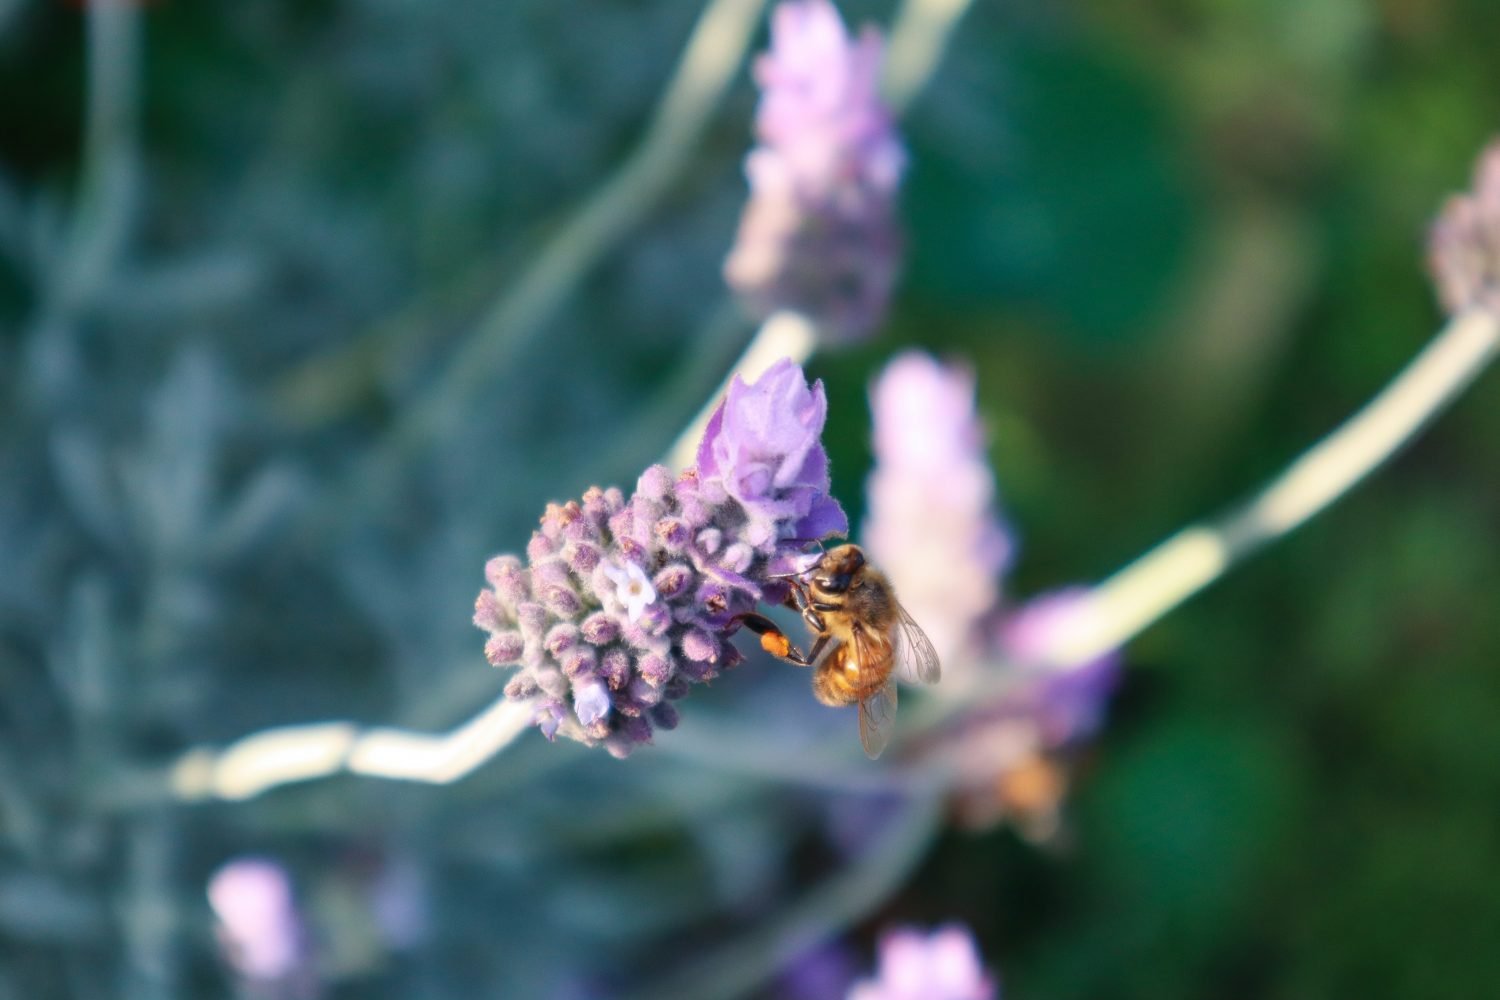
More flowers for the bees = more pollination and more food production
Dense planting will reduce the number of unwanted weeds
Having flowers and fruit trees planted close together can increase pollination as the bees and pollinators will be nearby
Growing a wide variety of plants
Planting a wide variety of plants will mean you have fruit, vegetables and flowers ready at all different times of the year
Diversity in plants not only provides you with a wide range of nutrients but also your garden and wildlife
Different root structures will provide the soil microbes with different secretions and reduce the severe depletion of nutrients in the soil. If you have all one crop planted in a single area they use up the same nutrients and the soil can become depleted. Having a wide variety can help keep it balanced.
Plants have different flowers which will attract different pollinators to your garden. Each pollinator will achieve different results for each plant. It’s important not only to have flowers available all year round but also a variety of different kinds.
Self Fertilising
With a variety of layers and heights in your food forest, the plants will drop their leaves and fruit which will act as a mulch and built-in fertiliser.
Some plants may get overgrown or die off (survival of the fittest!) which will also return nutrients to the soil.
From time to time you may need to trim your trees to reduce their height or width. This trimming can be put through a mulcher or cut up and returned back to the garden to feed the plants.
Self Seeding
By letting some plants go to flower and seed you will have new plants popping up each year. This can be an extremely easy way to grow more food for free.
At times fruit trees may grow beneath the canopy from the seeds of rotting fruit. It can be a good idea to move these as they won’t have adequate space to grow. Either, relocate them or pot them up to swap or trade.
How to Start a Food Forest Garden
Step 1: Choose a location and prep the soil
First up, we must decide on an area to start converting into a food forest system. This could be an old veggie patch, the front lawn, along the back fence line, or a large open field. The preparation needed will depend on the condition of the area selected. But in general, you will want to:
Clear any debris or unwanted structures
Remove or smother the grass. This can be done by laying down an old carpet for a few months to kill off all the grass. If the grass is still alive and present it can be hard to maintain. Another way is to use sheets of cardboard, as these will eventually breakdown once the grass has died.
If your location has never been used to grow before, the soil quality may be extremely poor or sandy. It could be a good idea to add a layer of compost or organic manure.
Cover your area in a thick layer of mulch. This will protect the soil and help keep any grasses or unwanted weeds away.
Give the area a good water and feed with a liquid seaweed solution.
Step 2: Selecting a plant list
We want to select plants that:
A: we want to eat and
B: provide benefits to other aspects of our garden (animal feed, mulch, birds, shade, etc).
Below are the 7 layers of the food forest. Write down a wish list of plants for each layer and then you can start mapping out which plants will go where depending on their size, what “layer” they are, and how much light they will need to grow.
7 Layers of a Food Forest
1 Canopy Layer – Large trees that require full sun – fruit and nut trees (Avocado, Chestnut, Mango)
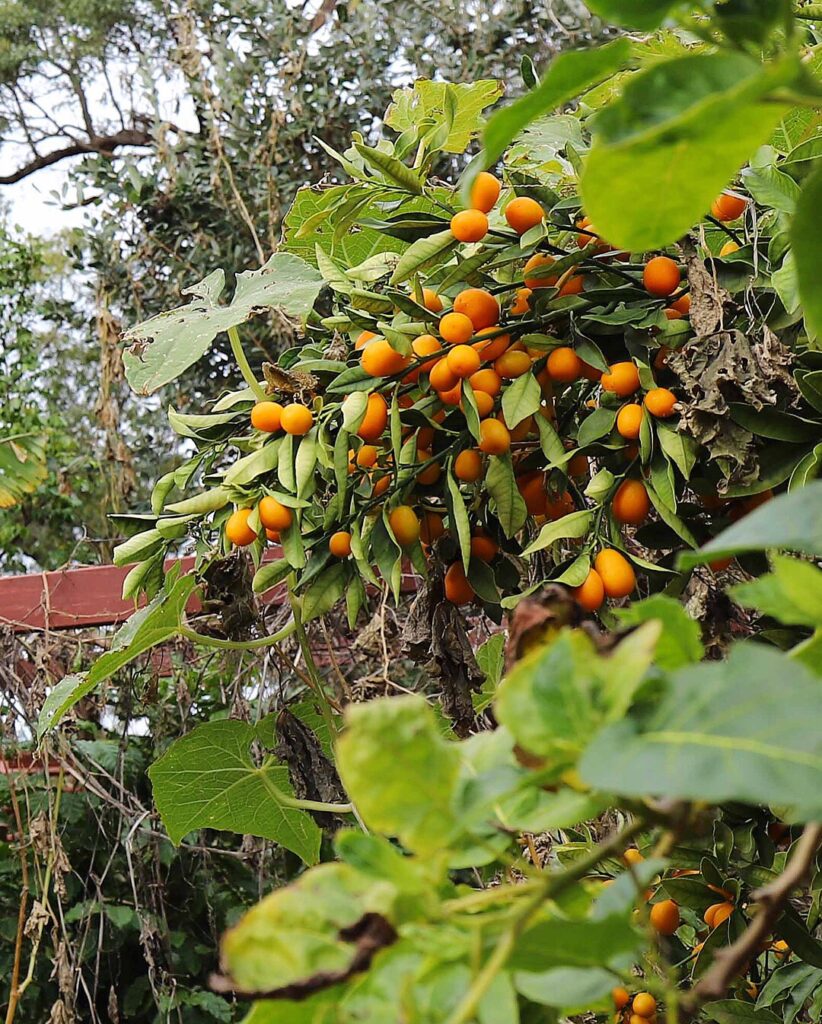
2 Understorey Trees – Dwarf fruit or small trees ( Citrus, Papaya)
3 Perennial Shrubs – Small bushy plants (Berries, Ginger, Arrowroot)
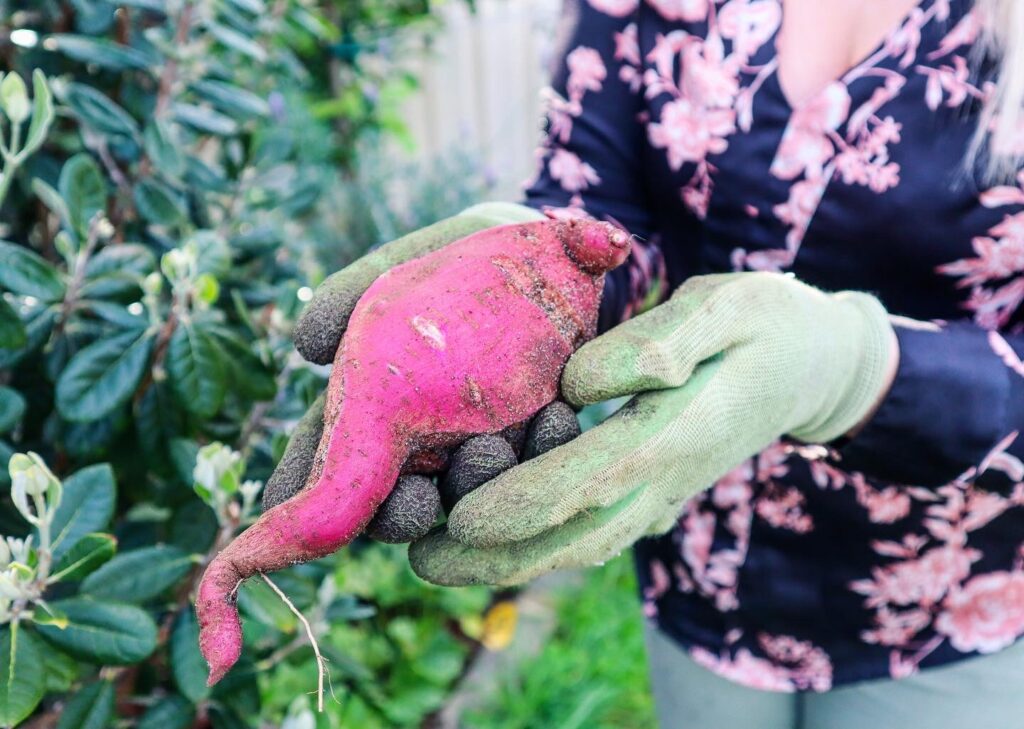
Some plants may fall into multiple categories – Sweet potato is a root crop but also a fantastic ground cover. Ginger is also a root crop but can make a great Perennial shrub layer.
Step 3: Designing
Mapping out a design can be as detailed or as rough as you like. It is important to come up with some kind of plan so that you can decide where to plant your larger trees so that they get enough sunlight. You don’t want to be digging up and moving things around. This should be your master plan not what you are starting with. So go big, add in all things you want so that you can plan for the future and ensure you can room.
How to map out your food forest design
1 Draw the outline of your location or property to scale
2 Add in any permanent structure (sheds, veggie patch, established trees, fences)
3 Map where the sun and shade come from. Mark areas as full sun, part sun, or full shade.
4 Add in your large Canopy trees and allow space for them to grow.
5 Add in your pathways or future large structures (pond, shed, chicken coop)
5 Add in your sub-canopy trees
6 Add in your scrubs, herbaceous layer, root crops, ground cover, and vertical layers.
7 Add seating, a table, or a place for you to view and enjoy your food forest.
Step 4: Planting
To start with you will want to select your large canopy trees and ensure there is enough space for them to grow. The height and width will be noted on the labels. Then you can start adding in your sub-canopy/dwarf trees. Large trees may take years to fully establish so your food forest may not look very ‘foresty’, to begin with. This is a great time to interplant with more annual crops (lettuce, tomatoes, broccoli, etc).
When I first started my back fence line in a food forest system, there were large gaps between the trees. This meant there was a lot more light and space available but I knew that eventually my canopy and sub-canopy trees would grow to fill the space. I used this time to grow seasonal veggies and edible flowers. As well as accumulating and establishing new shrub layers and ground covers.
How to Source Plants for your Food Forest?
Creating a food forest can involve a lot of new plants and the costs will quickly add up. This is where learning how to make cuttings can be extremely valuable. Not only can you reproduce your plants to grow in other areas of the garden but you can also swap, trade, and sell your plants to acquire new ones. Keep an eye out on local pages as you can pick up established trees for cheap or even free! I have managed to get established fruit trees that are already fruiting for less than $20. This can really speed up your food forest production.
Maintaining your Food Forest
The idea of creating your food forest is that it will require less care and attention. This can mean it will look a little wild from time to time (in a good way)
Pruning or trimming back excess trees can be a great way to propagate more or mulch to feed the garden. This can be done once the tree has finished fruiting.
Some trees will need to be staked and secured while they are young so that they don’t snap off.
Propagating plants to establish in other areas – it can take a while for some plants to establish so once they have you can start to reproduce them in other areas.
Harvesting fruit – this is important so that you can reduce the number of unwanted critters (such as rats). Rotting fruit on the ground can also promote fruit fly infestations which you do not want! So ensure all fruit is picked and preserved or composted.
Feeding – It can be beneficial especially in a young food forest to add in extra fertilisers. Try using natural products such as seaweed solution or creating your own from leftover plants and weeds.
Netting or bagging fruit – Depending on your location you may need to net or place net bags on your fruit. Fruit fly, bats, and birds can decimate crops in just a few hours.
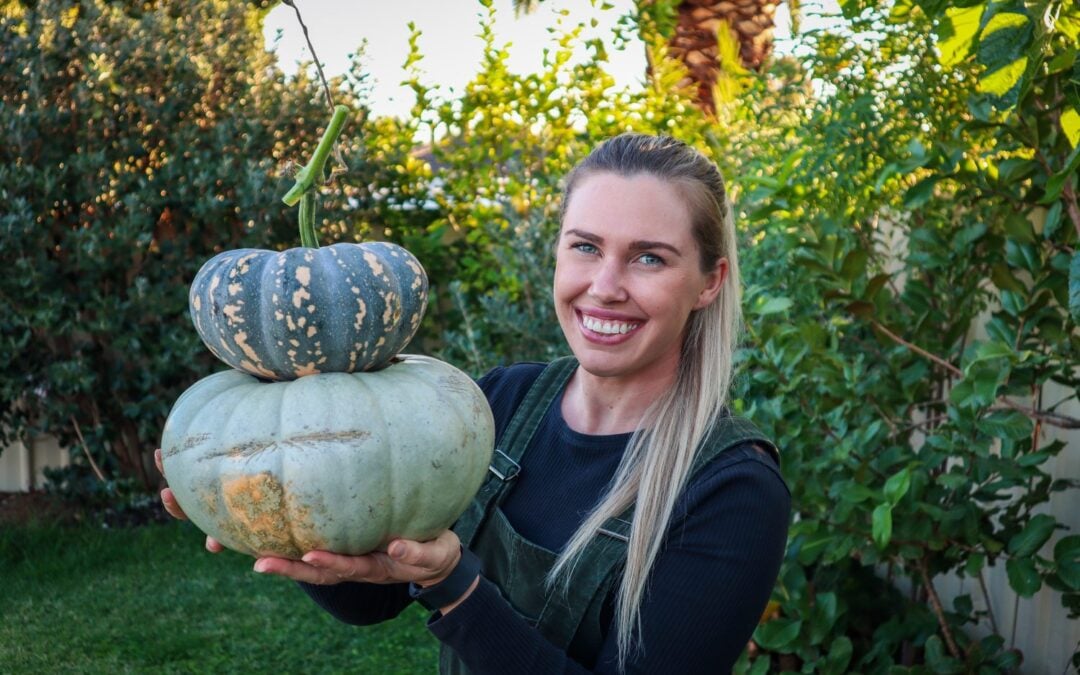
Pumpkins are a great base crop to grow and can provide you with a large amount of food. Pumpkins come with their very own packaging and can be stored as they are for 3-8 months if they are prepared and stored correctly. Having a supply of pumpkins in the pantry can supplement your meals throughout the year. Different varieties of pumpkins will store for varying amounts of time. This is usually due to the toughness and thickness of the skin. If you want to grow pumpkins for storage choose a variety that has longer storage qualities. Varieties such as Jarradale, Queensland Blue, and Blue Hubbard have great storage qualities.
STEP 1: HARVESTING
The first step to preparing your pumpkins for storage is to harvest them correctly. Follow the tips below.
Harvest the Pumpkins once they reach maturity to ensure the skin is as hard as it can be.
Pumpkins are ready to be picked when the closest curly tendril to the stem is brown and going dry. The vines will be starting to die off slightly. The pumpkins should be slightly hollow when you knock on them and have hard skins.
Use sharp secateurs and cut the stem as close to the vine as you can. This ensures you don’t damage the pumpkin and creates a handle to carry them with.
STEP 2: CLEANING
Wash the excess soil off and ensure the pumpkins are clean. Use a mix of 1:1 vinegar and water to wipe them down and remove any bacteria.
While washing the pumpkins check for any damage or areas that pierce the skin such as holes, or scratches. These won’t store well so it would be best to start using these first.
STEP 3: CURING
Curing allows the pumpkin skins to dry and harden before storage.
To cure the pumpkins place them somewhere sunny and sheltered for 1-2 weeks. This can be outside if there are no frosts or rain otherwise a sunny porch or deck will do. Just be careful if you have rats or other critters around.
Ensure they are spaced out and not stacked on top of each other.
STEP 4: STORAGE
Once the pumpkins are cured choose a dark cool location to store them. 10-16 degrees Celcius.
Pumpkins may leak sticky residue from the bottom flower or stem so don’t be alarmed. Also, consider this when choosing a location to store.
Ideally place them on cardboard, wood, or plywood. Do NOT store them on carpet, lino, or concrete as this will promote bacteria and moisture.
Allow space between the pumpkins and do not stack them to allow airflow.
Roll the pumpkins over and check the cardboard for mold regularly.
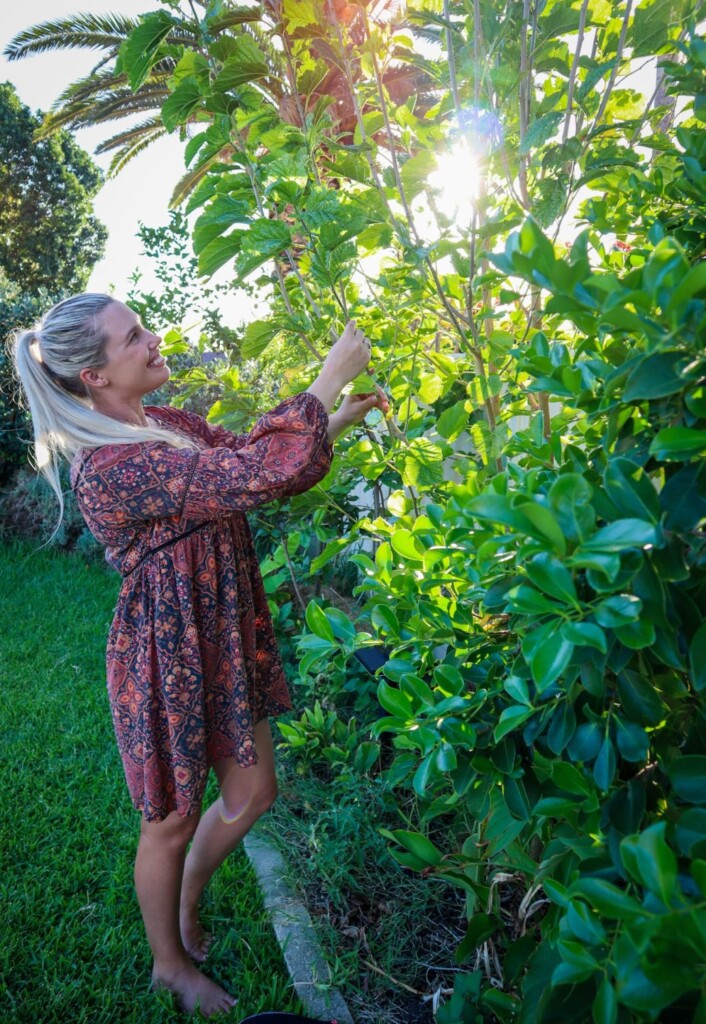
Edible Perennial Plants are an investment in your future food production. Perennials grow back each year and provide long-term sustainable harvests. When creating a self-sufficient garden, edible perennials can form a really good base to build from. Annual vegetables can be a lot of work and it can be devastating if you lose a crop after all that time and effort. Having a mix of edible perennials in your garden will give you the comfort of knowing you will still have food available that will re-grow year after year.
Most of the vegetables we see in the supermarkets are annual vegetables that are grown for a single season and then harvested. This means that perennials are a little unusual for home gardeners to grow and cook.
What is a Perennial Vegetable?
Annuals – Grow for a single season and then harvested completely or die off
Biennials – Grow for a season and then flower or seed for the second season. Most are grown as annuals or left to collect seeds.
Perennials – Grow for more than two years and many can continue to grow for decades. They often die back in winter and re-grow in spring on their own accord.
Why Grow Edible Perennial Plants?
Re-grow each year without planting
Stable consistent food supply
Create diversity in the garden
Economical plant purchases
Low maintenance
Form deeper root systems to require less watering
Stabilise soil and reduce erosion
Require less feeding as they are slow-growing
Habitat for wildlife long term
Support no-dig gardens
Pros and cons of Edible Perennial Plants vs Annuals?
Many edible perennial plants are quite slow-growing. This helps them form strong established root systems to feed and support their growth for many years to come. This can mean that you may not get food from your perennial plants within the first year or two. However, all good things take time and time is going to pass anyway. Think of it as an investment that will have compounding growth and provide you with a sustainable future food supply. Saving your future self, time, and money!
Perennials stay in the same spot and regrow year after year so you need to make sure you select a suitable spot from the start. Look into how much sunlight/shade and type of soil they prefer before planting. This also means your garden beds will be allocated to that plant long-term. The great thing about annuals is that you can mix and match different plants constantly.
Note: Plants behave differently in each climate. What may grow as a perennial in some climates may not in others. For instance if it gets too cold or too hot each year the plant may die off and need to be replanted each year just like an annual would.
A-Z Top Edible Perennial Plants
Artichoke
Cynara cardunculus var. scolymus
Full Sun – summer harvest
Edible flowers
Beautiful aesthetic plant
Very popular with the bees!
Most produce in their second year
Harvest buds before they flower
Reproduce from side suckers
Asparagus
Asparagus officinalis
Full sun – spring & summer harvest
Produces for up to 30 years
Beds can look bare for part of the year
Grow underground and pop up in spring
Mulch well
Feed with animal manure
Seeds form from berries
Brazilian Spinach
Alternanthera sisssoo
Sub-tropical or tropical climate – All year round
Low growing lush green plant
Hardy easy to grow plant
Use as you would spinach
Propagate from cuttings
Likes humid weather
Blueberry
Vaccinium sect. Cyanococcus
Full sun – part shade
Grow to about 2m tall
Can fruit for up to 30 years
Likes acidic soil
Fruit starts really producing after two years
High in antioxidants
Produce up to 7kg of fruit each year
Chicory
Cichorium intybus
Full sun – part shade
Eat fresh or cooked to reduce bitterness
Great animal feed
Beautiful edible flowers
Attracts bees for pollination
Can be grown as an annual or perennial
Short lived 7 year perennial
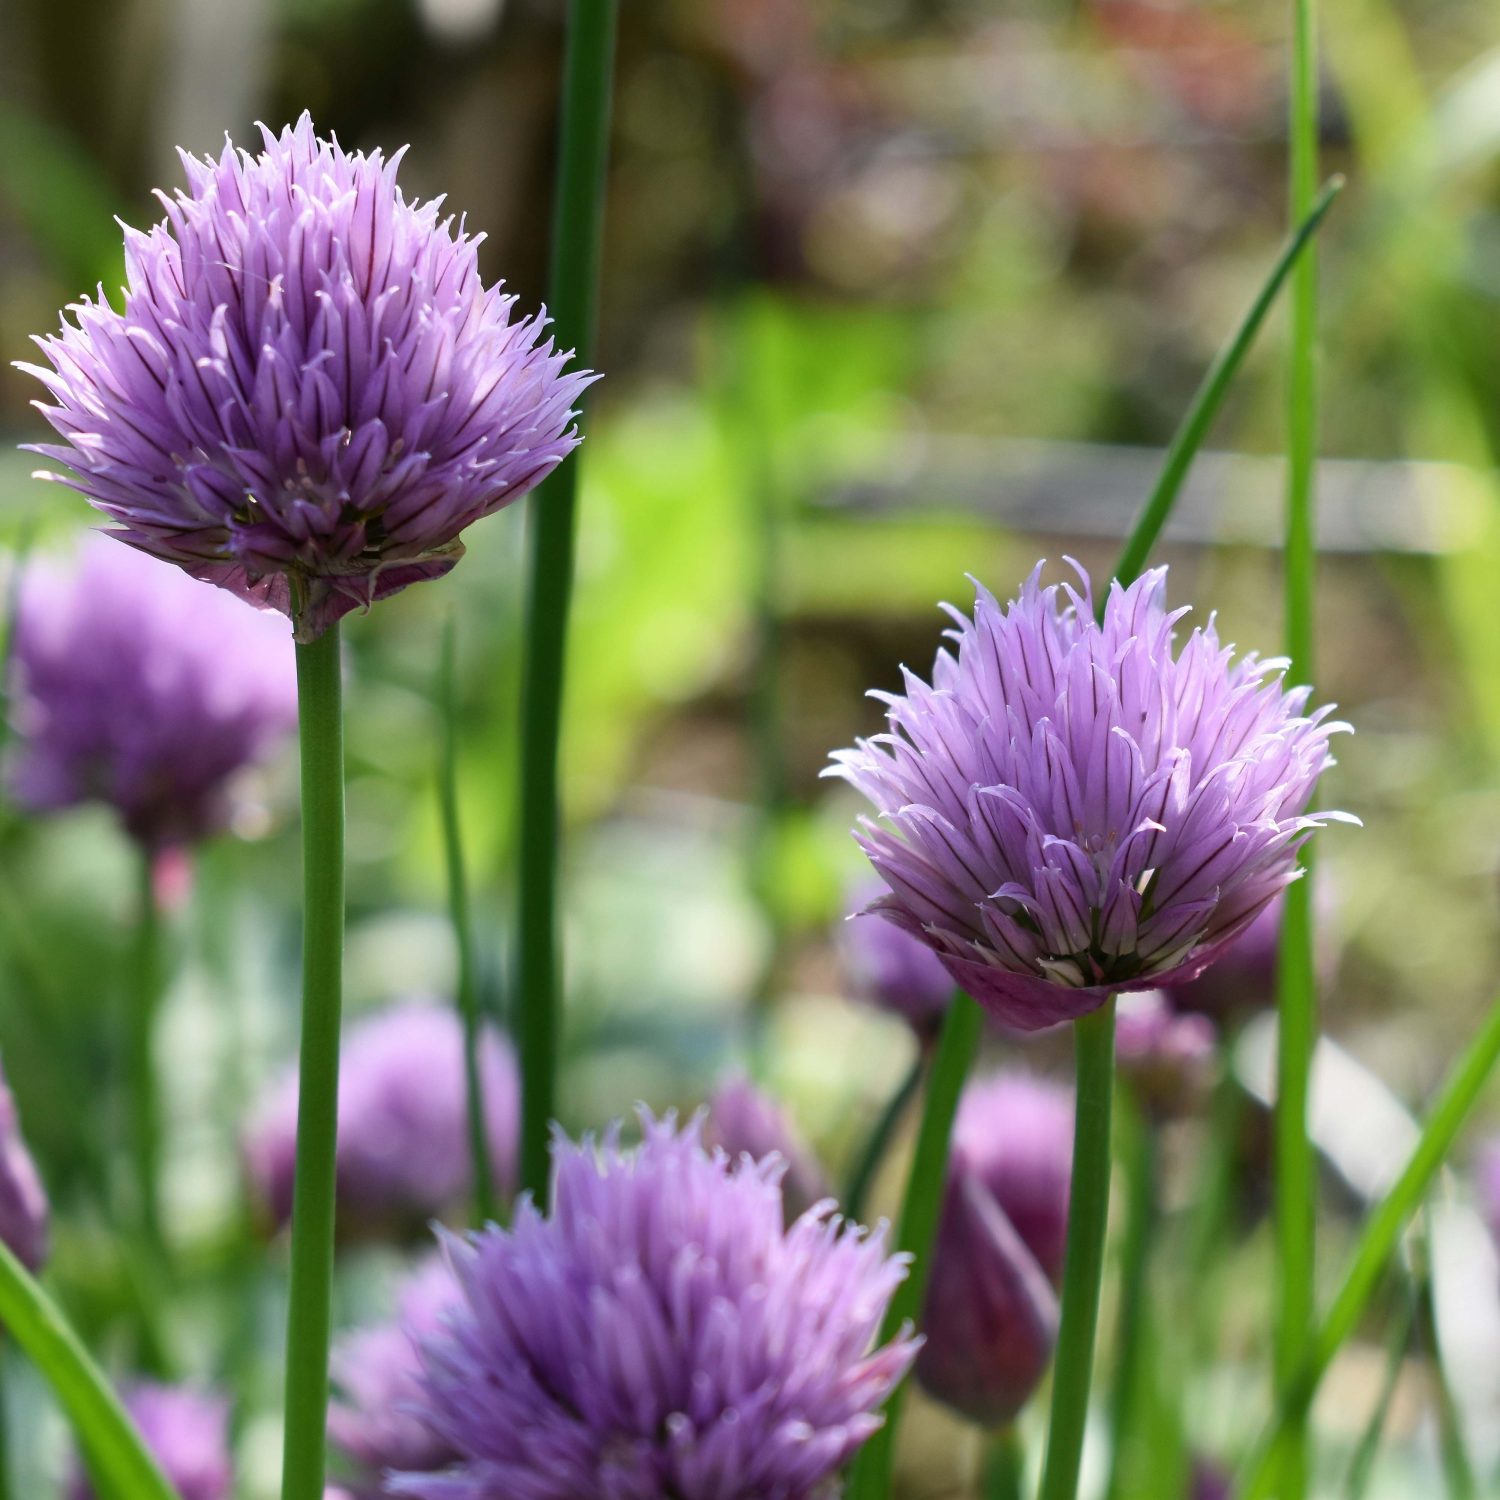
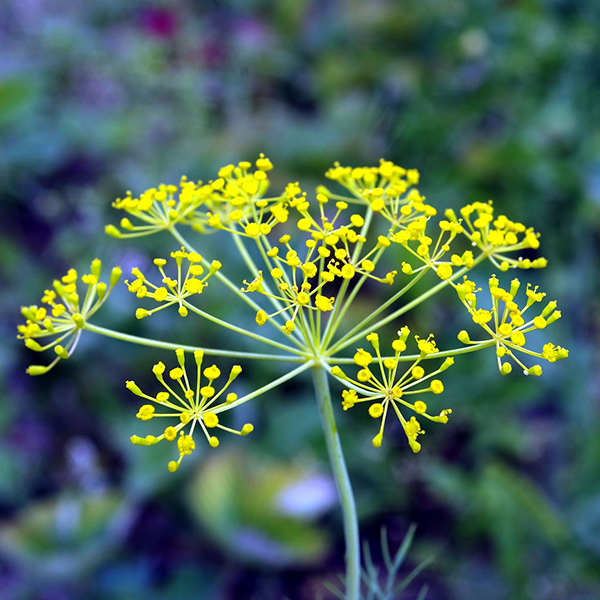
Fennel
Foeniculum vulgare
Full sun – part shade
Green variety can be invasive
Edible leaves, flowers, seeds and bulbs
Easy care free plant
Leaves, seeds and flowers are great for flavouring pickles and ferments
Medicinal qualites
Horseradish
Armoracia rusticana
Full sun – part shade
Root crop that spreads (can be invasive)
Edible leaves and roots
“wasabi” like flavour used as a condiment
Great for flavouring pickles and ferments
Medicinal qualities
Likes cooler climates
Jerusalem Artichoke (sunchoke)
Helianthus tuberosus
Full sun
Edible roots
Low maintenance
Attracts Bees and Butterflies
Abundant production of crops
Drought tolerant
Good for mulch and biomass
Can be invasive – keep conatained
Pepino
Solanum muricatum
Full sun – part shade
Low-lying fruiting shrub
Melon flavour
Abundant production
Frost sensitive
Easy to grow, low maintenance
Easily grown from cuttings
Pineapple
Ananas comosus
Full sun – warm climates
Low maintenance
Re-grow from the top and side suckers
Low lying and can be grown in pots
Slow growing can take 2 years to fruit
Regrow to have many on the go and have regular fruit
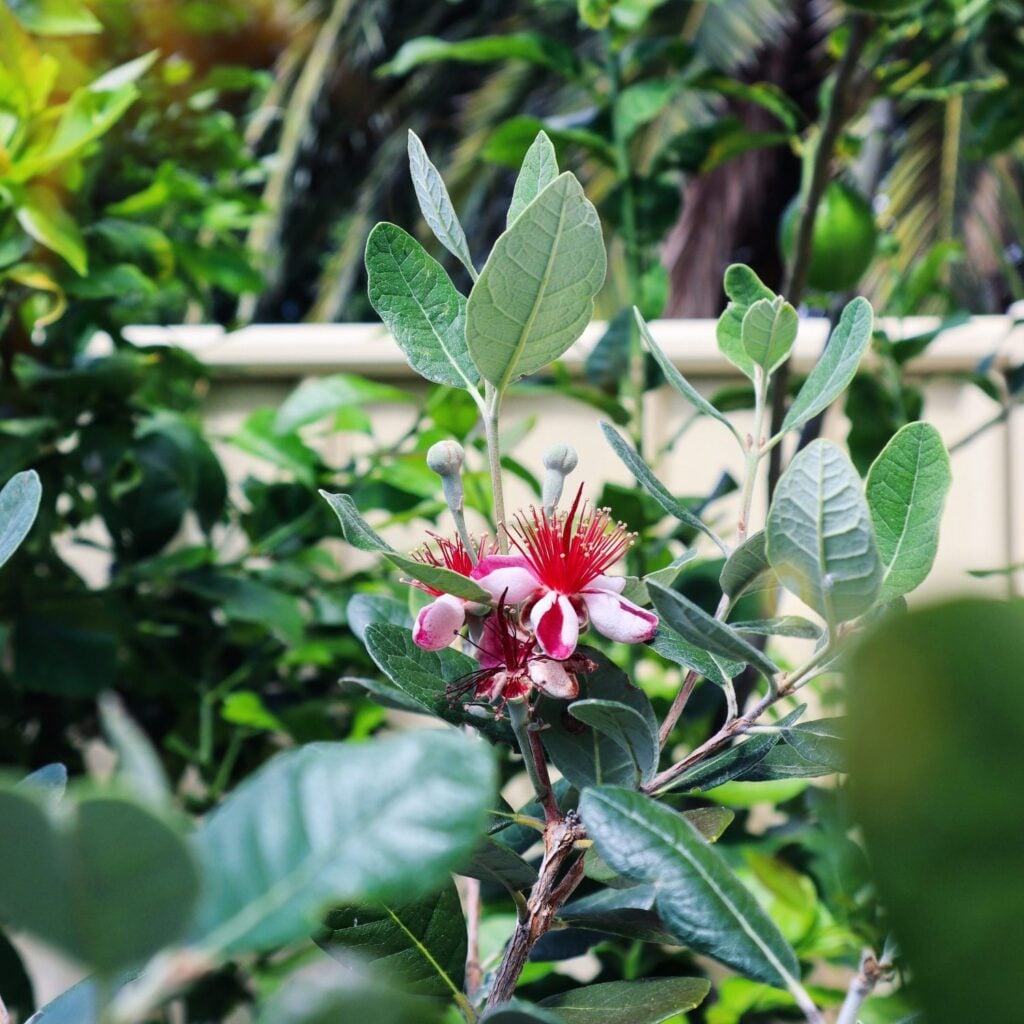
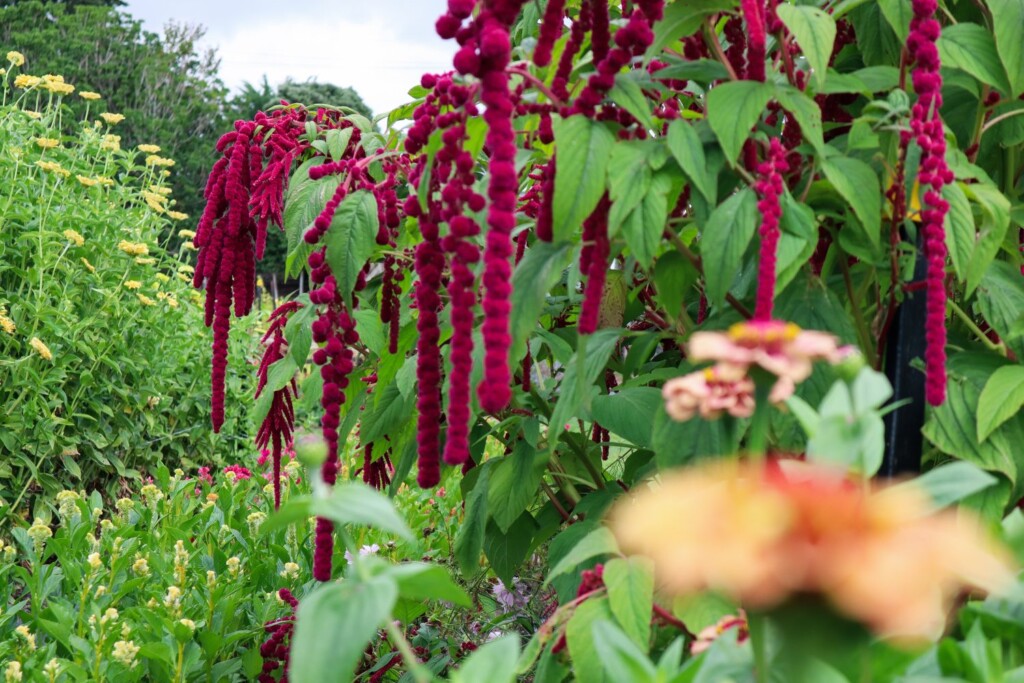
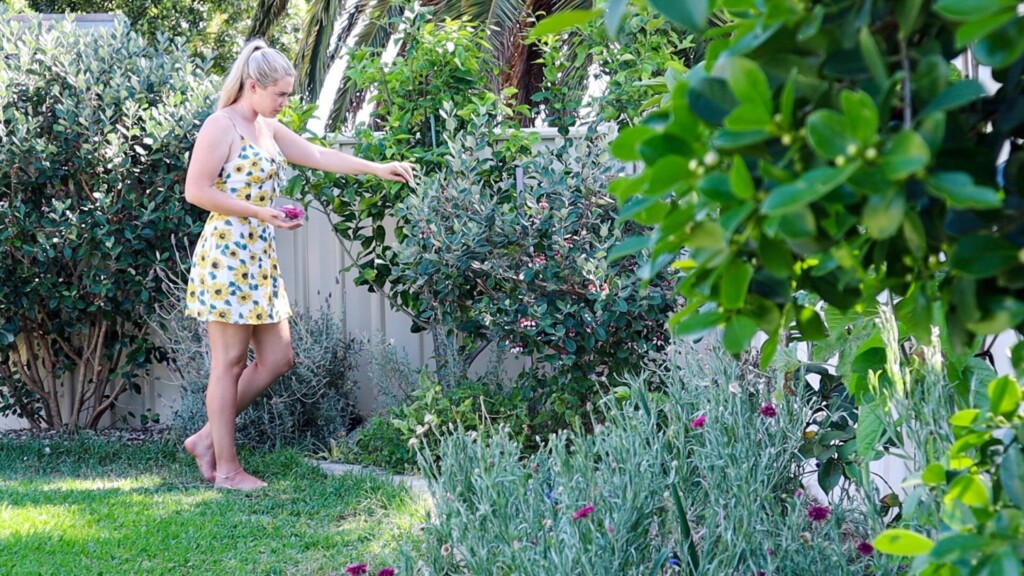
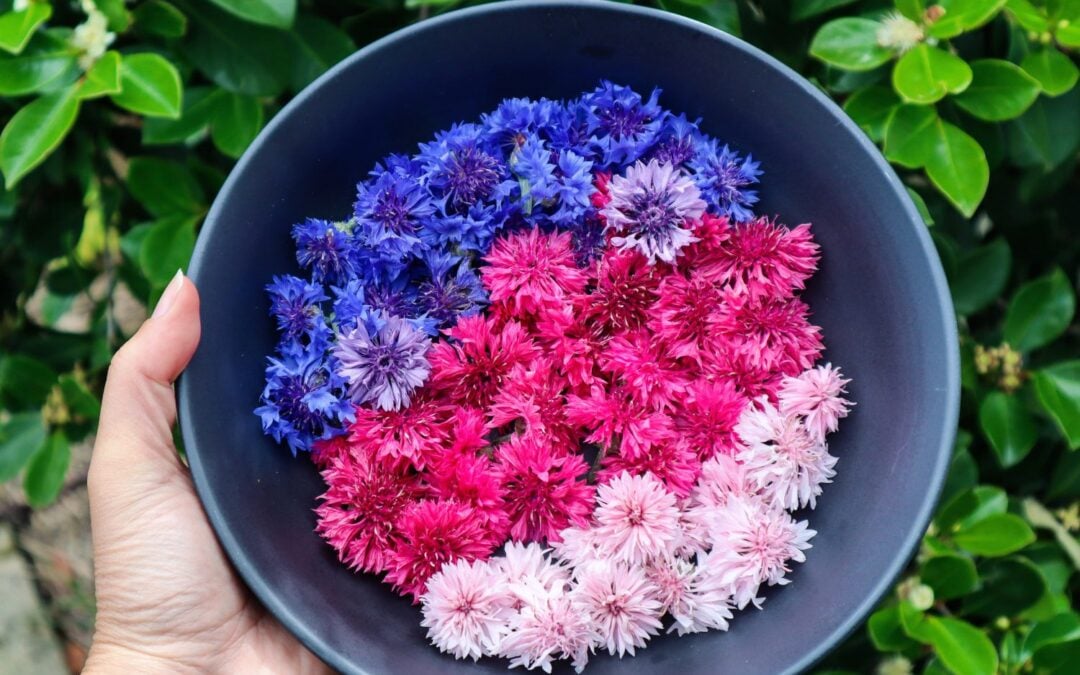
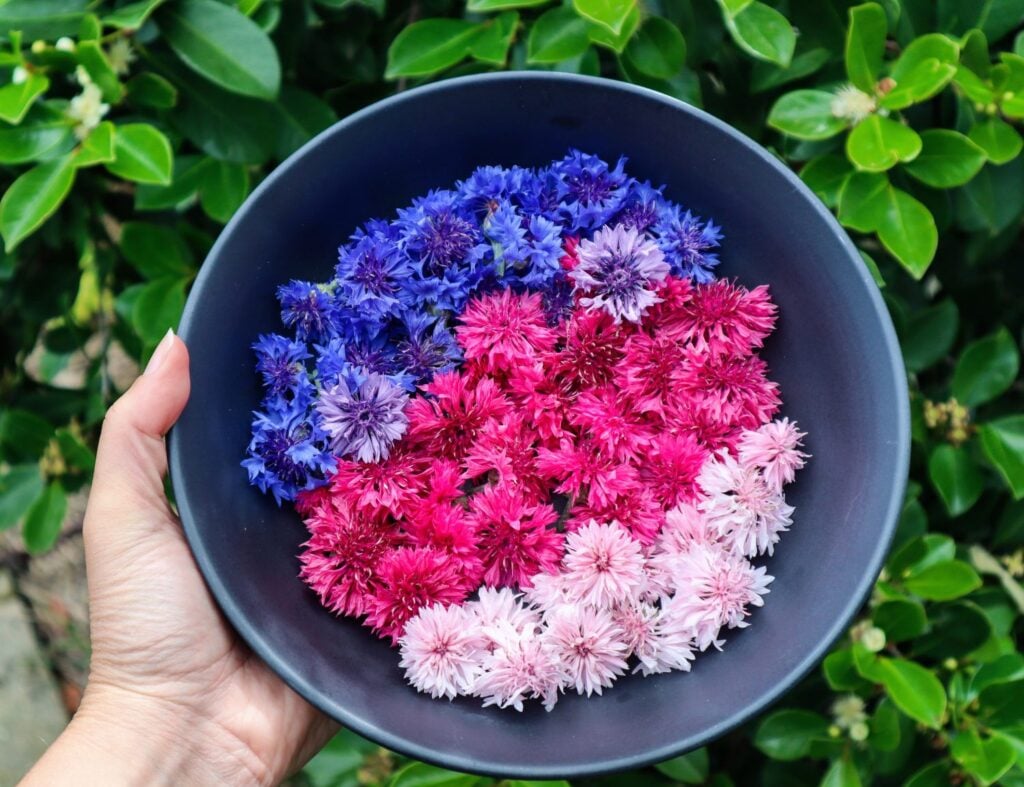
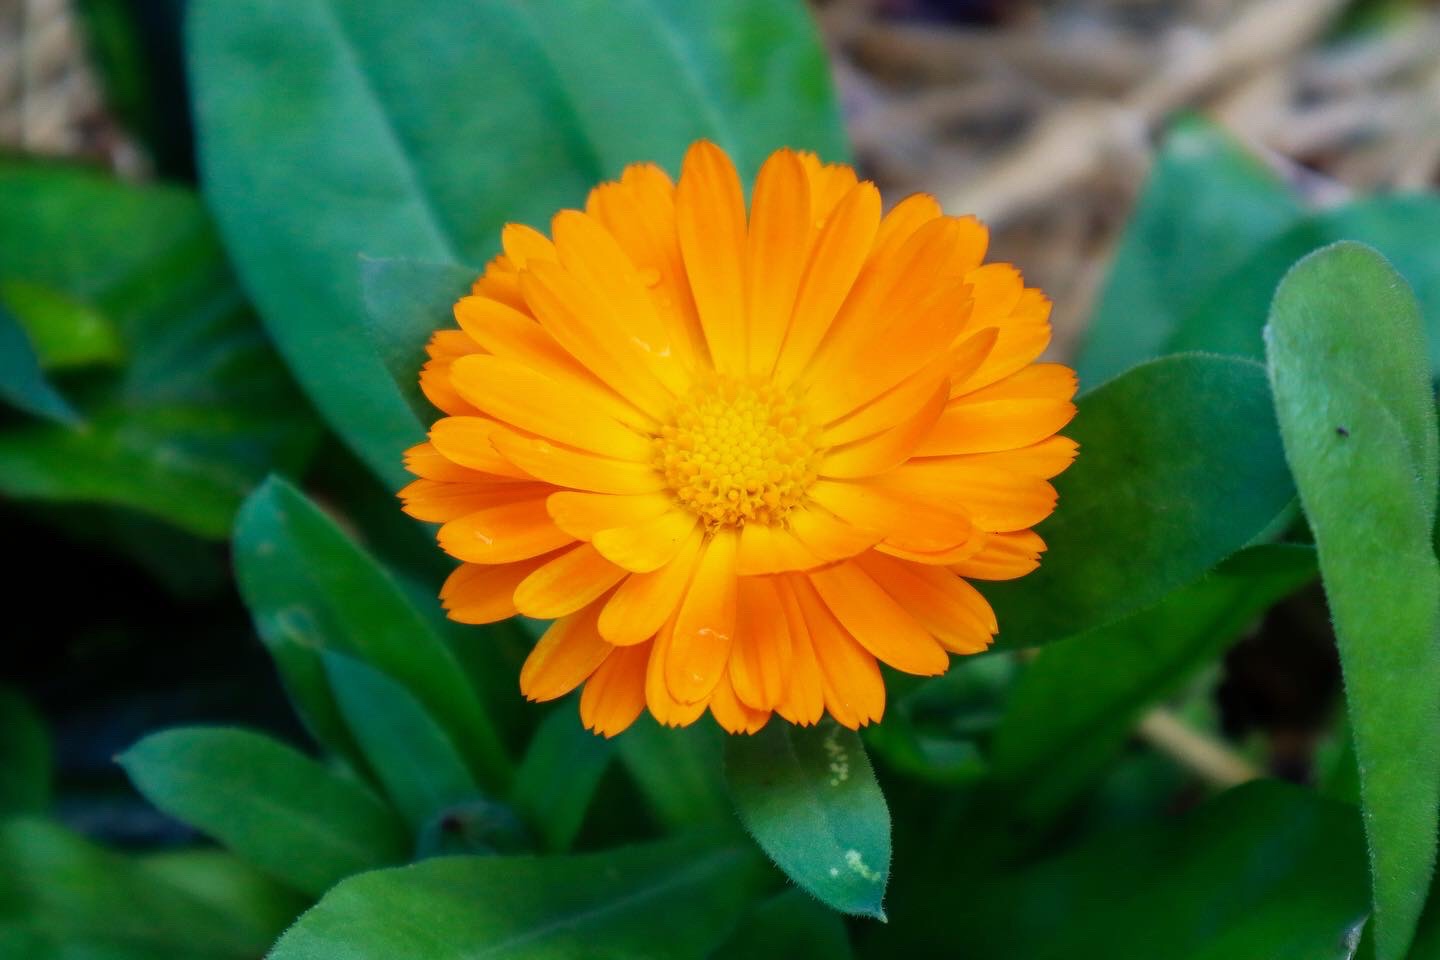
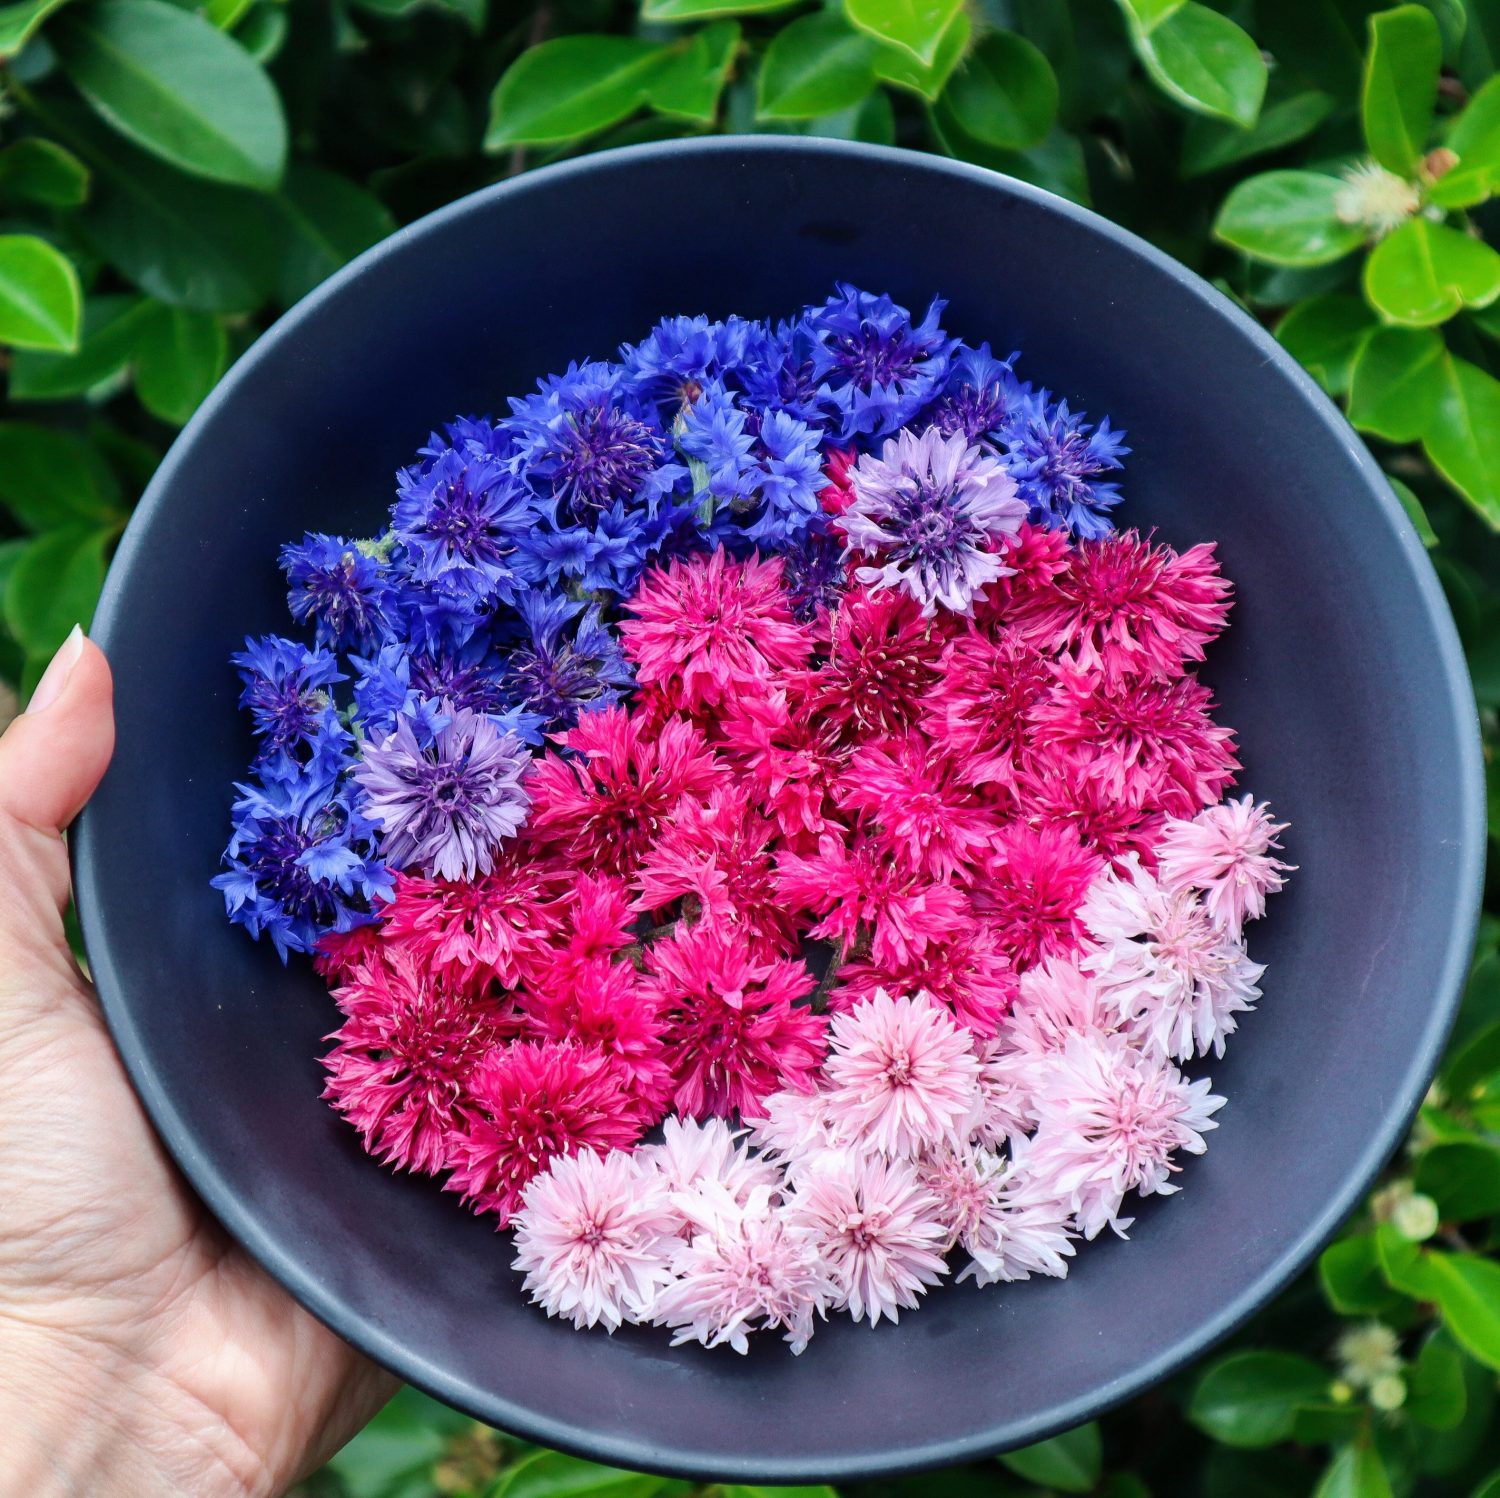
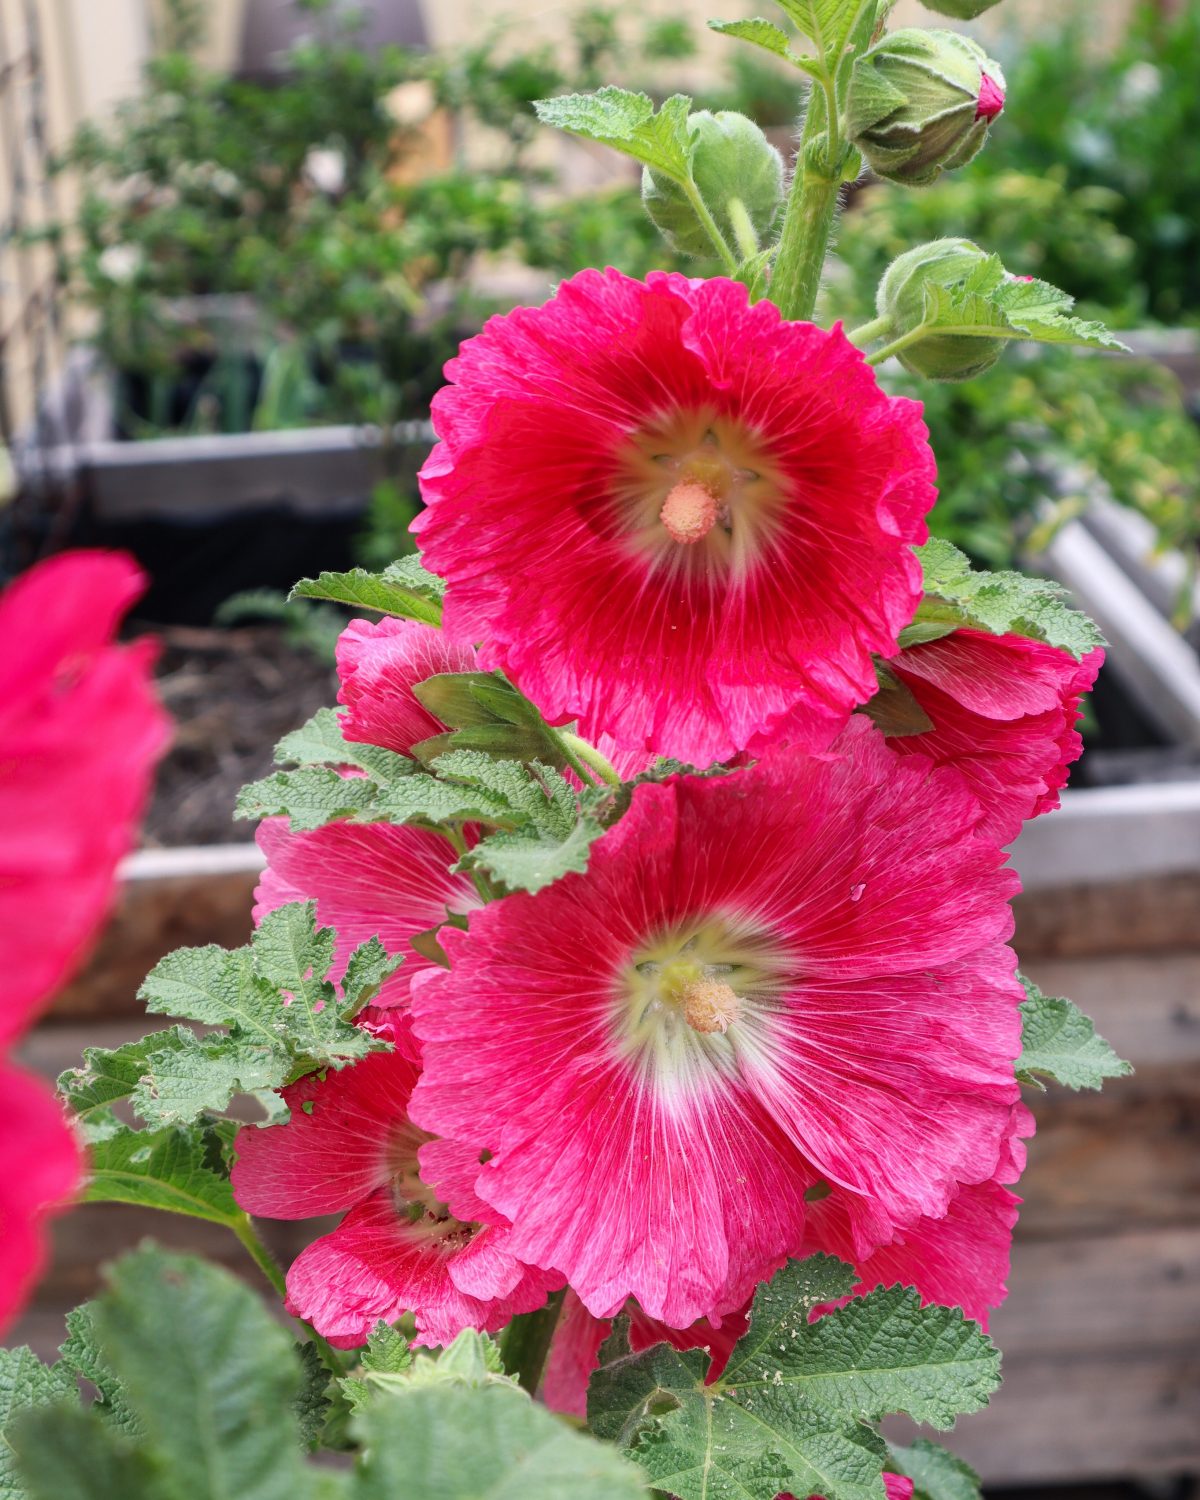
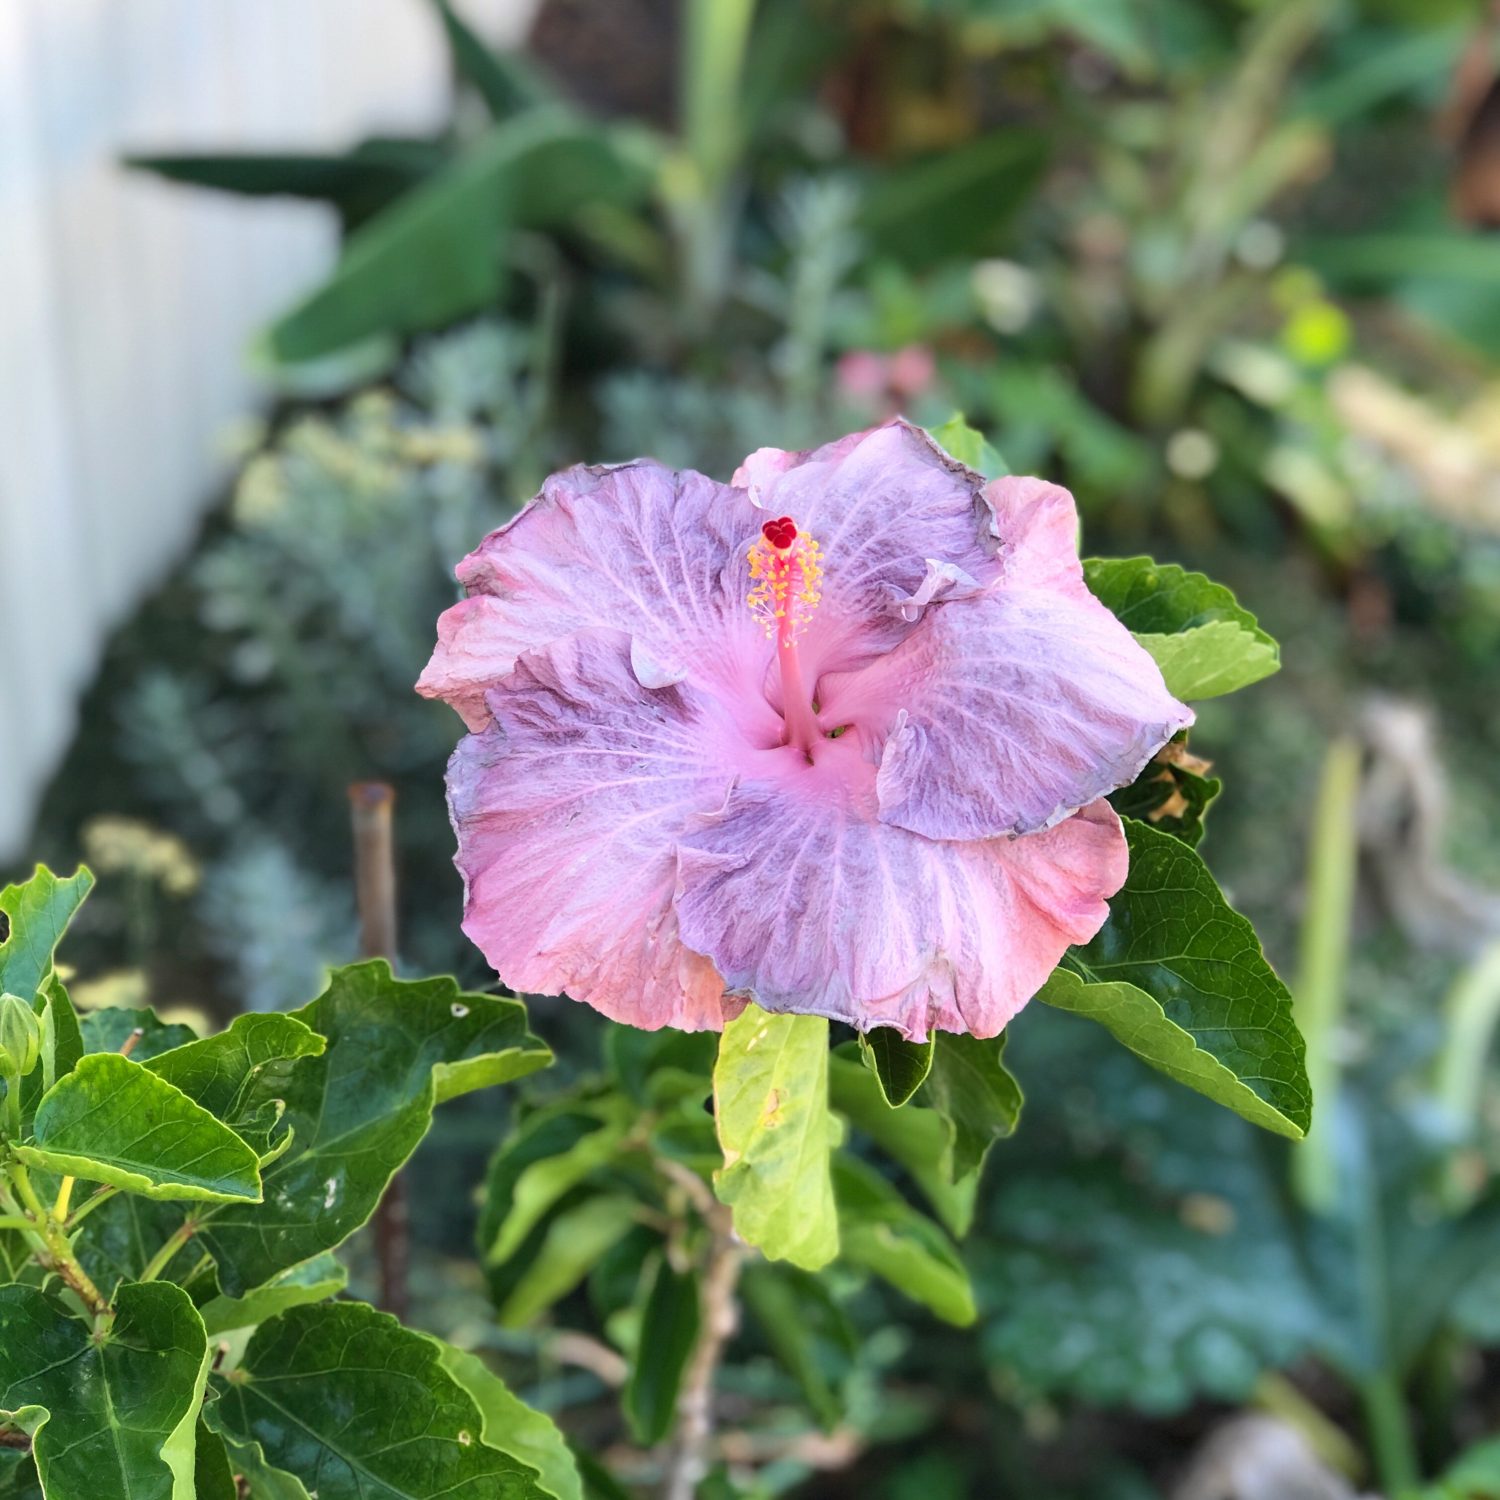
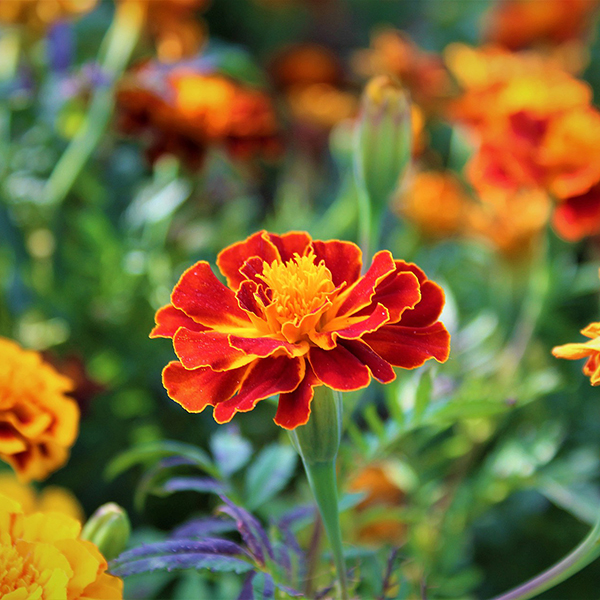
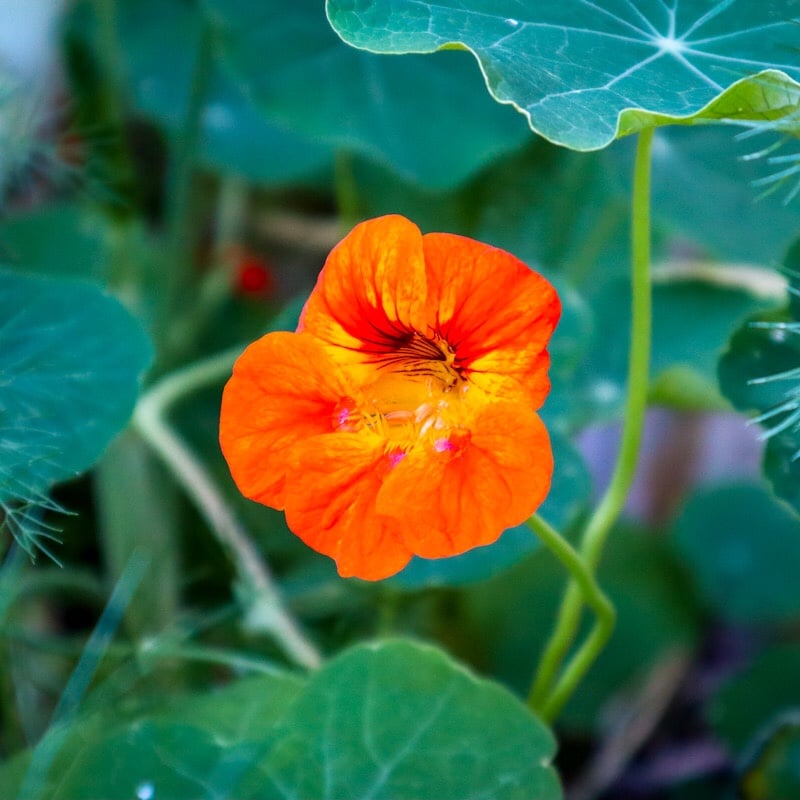
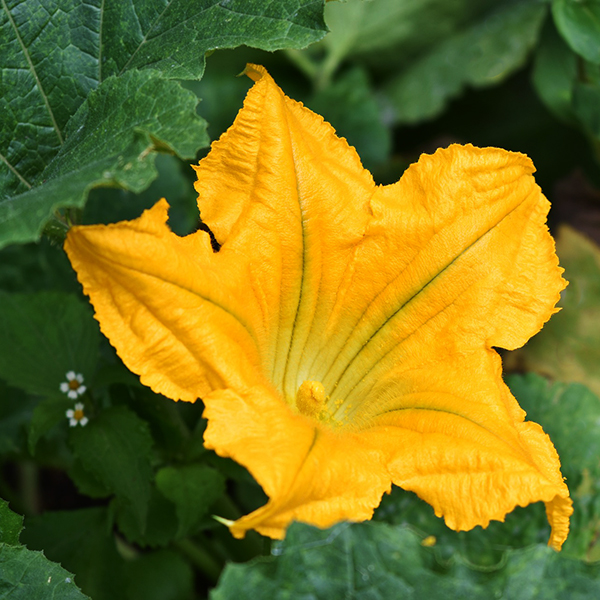
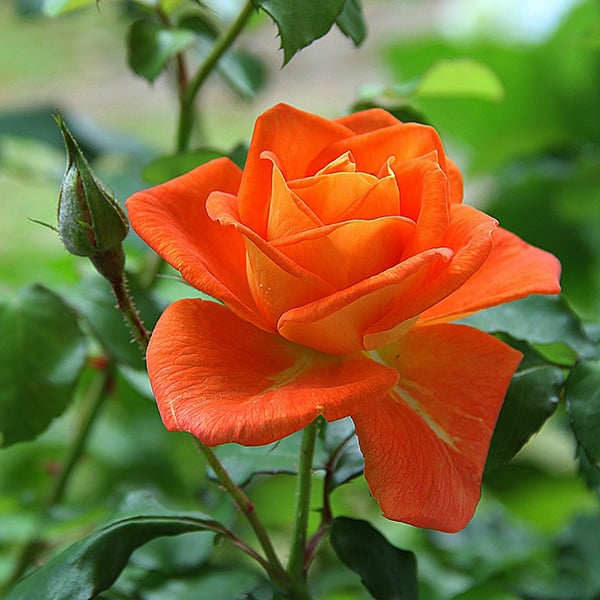
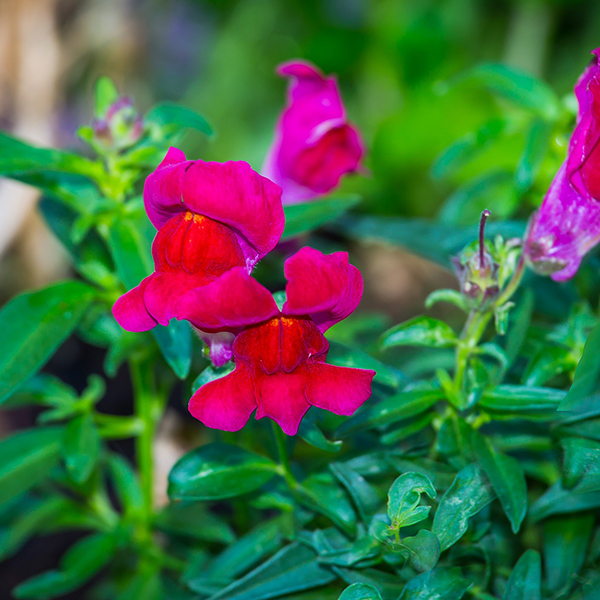
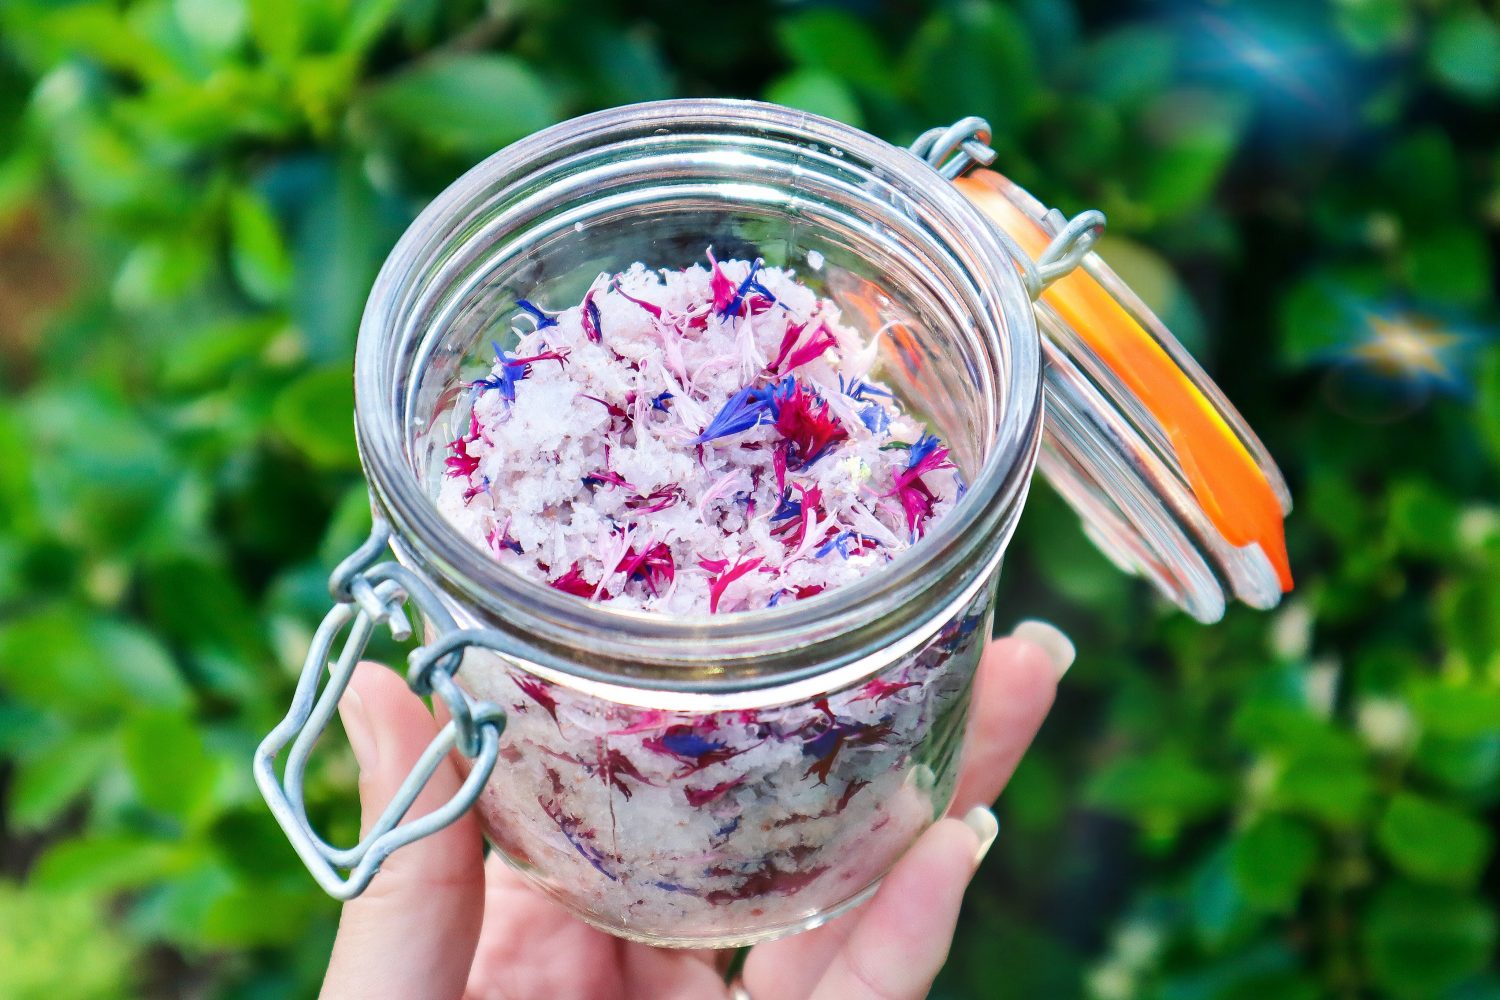
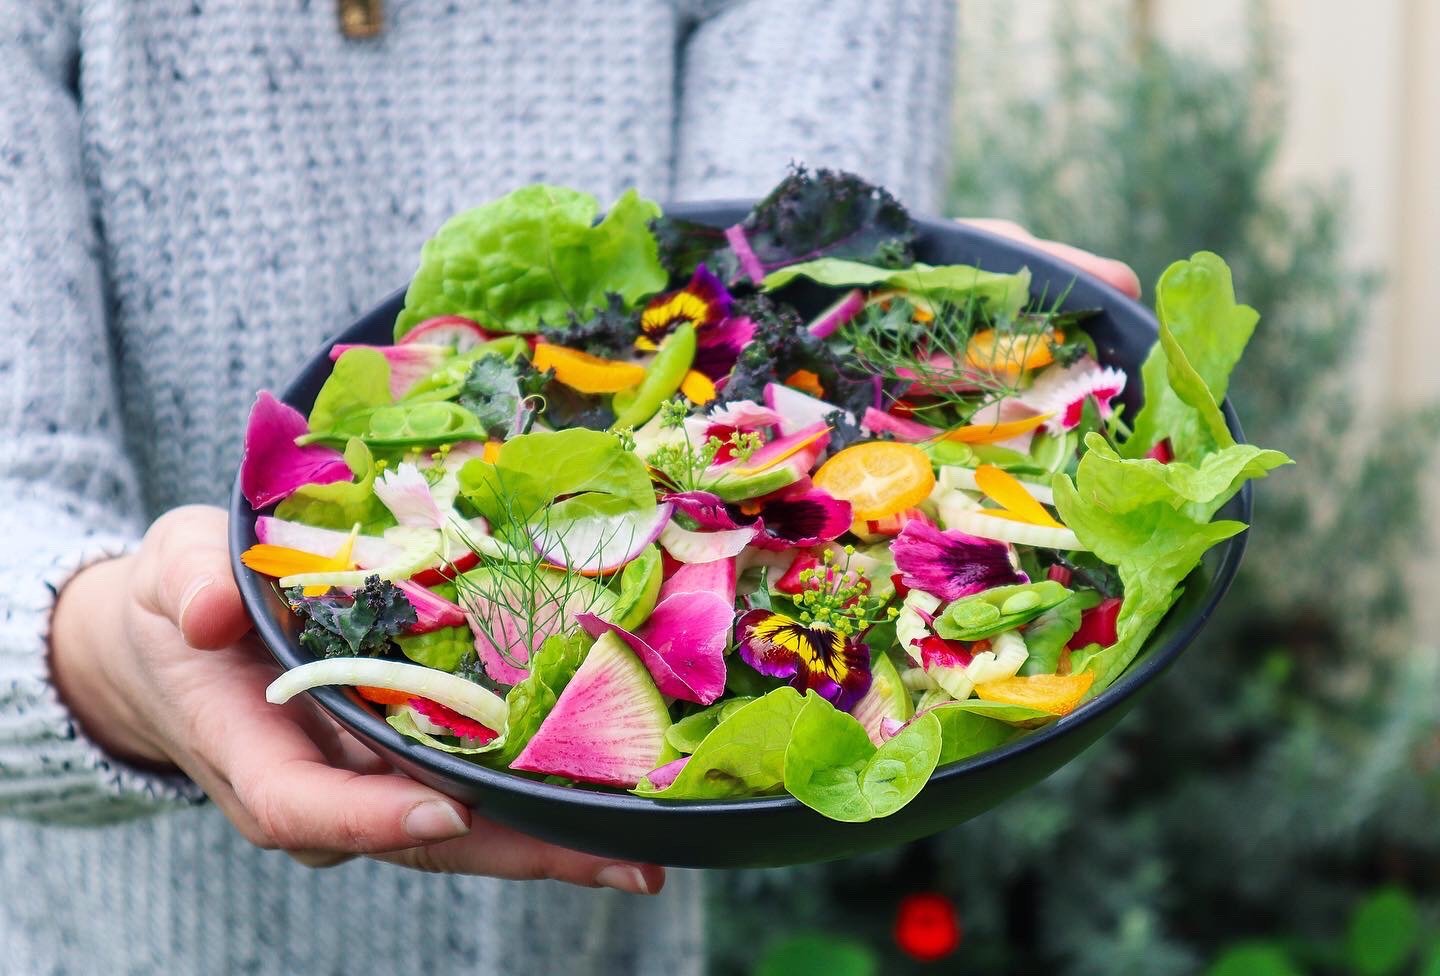
Edible flowers offer so many beneficial relationships within a home garden. When creating a sustainable permaculture garden, everything should have multiple functions and uses. The more the better! Edible flowers not only look beautiful, but they also aid in pollination, provide food and habitat to beneficial insects for pest management, add diversity to the soil and provide food, and in some cases, offer medicinal qualities for us.
Without adequate pollination, crops may be smaller, less abundant or may not produce at all. So, it is important that we attract pollinators to our gardens to increase yields along with the quality of produce.
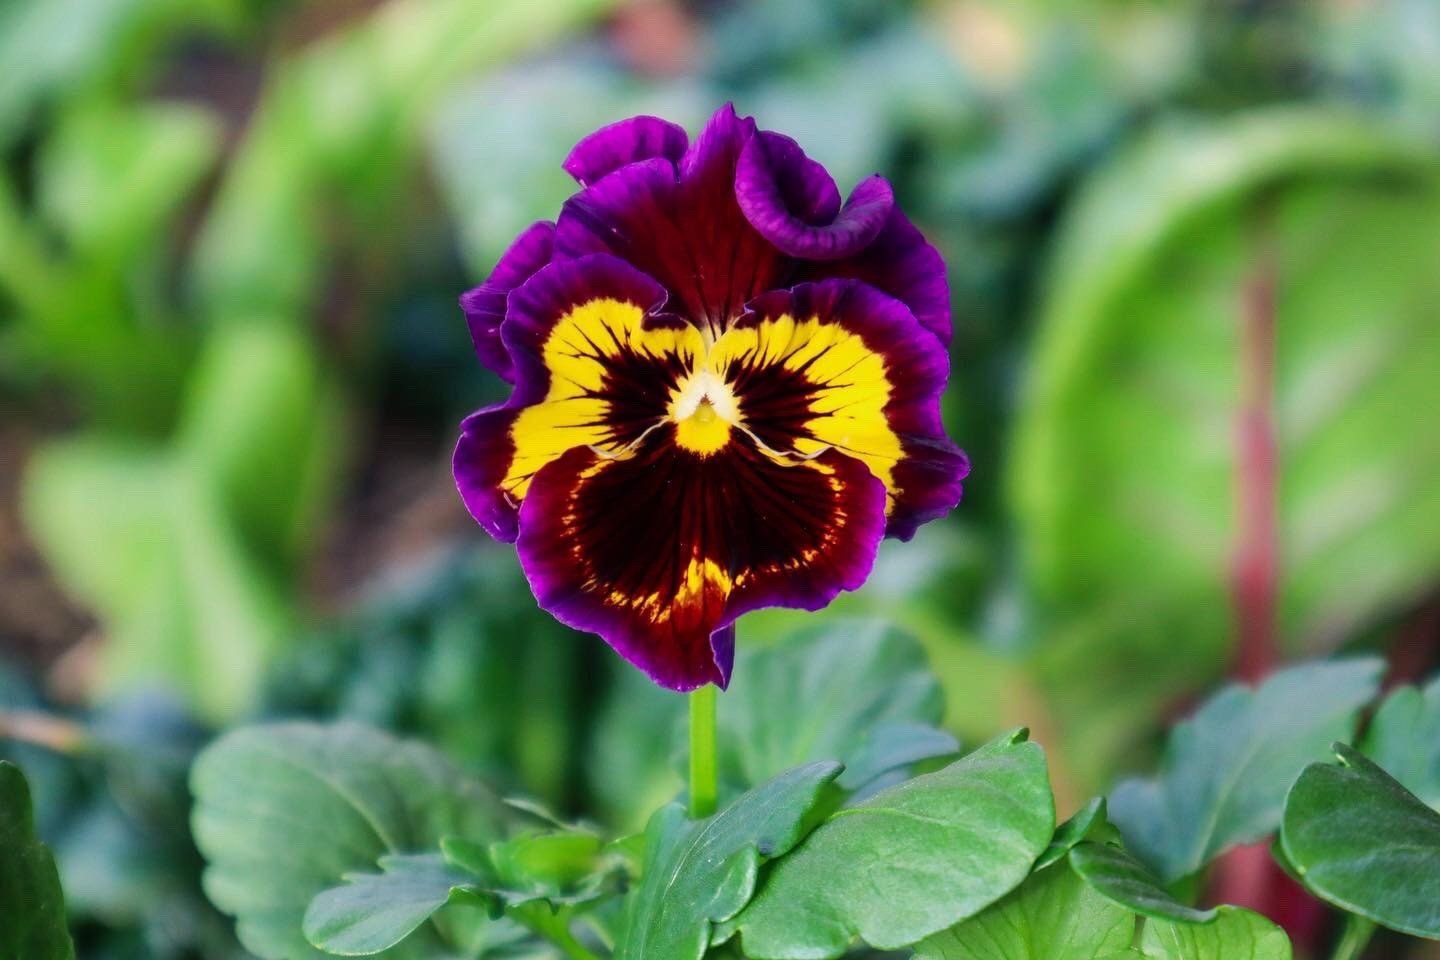
Note: not all flowers are edible. Make sure you identify them correctly. Do not eat flowers from florists or areas unknown, as they may have been sprayed with pesticides. The safest option is to grow your own.
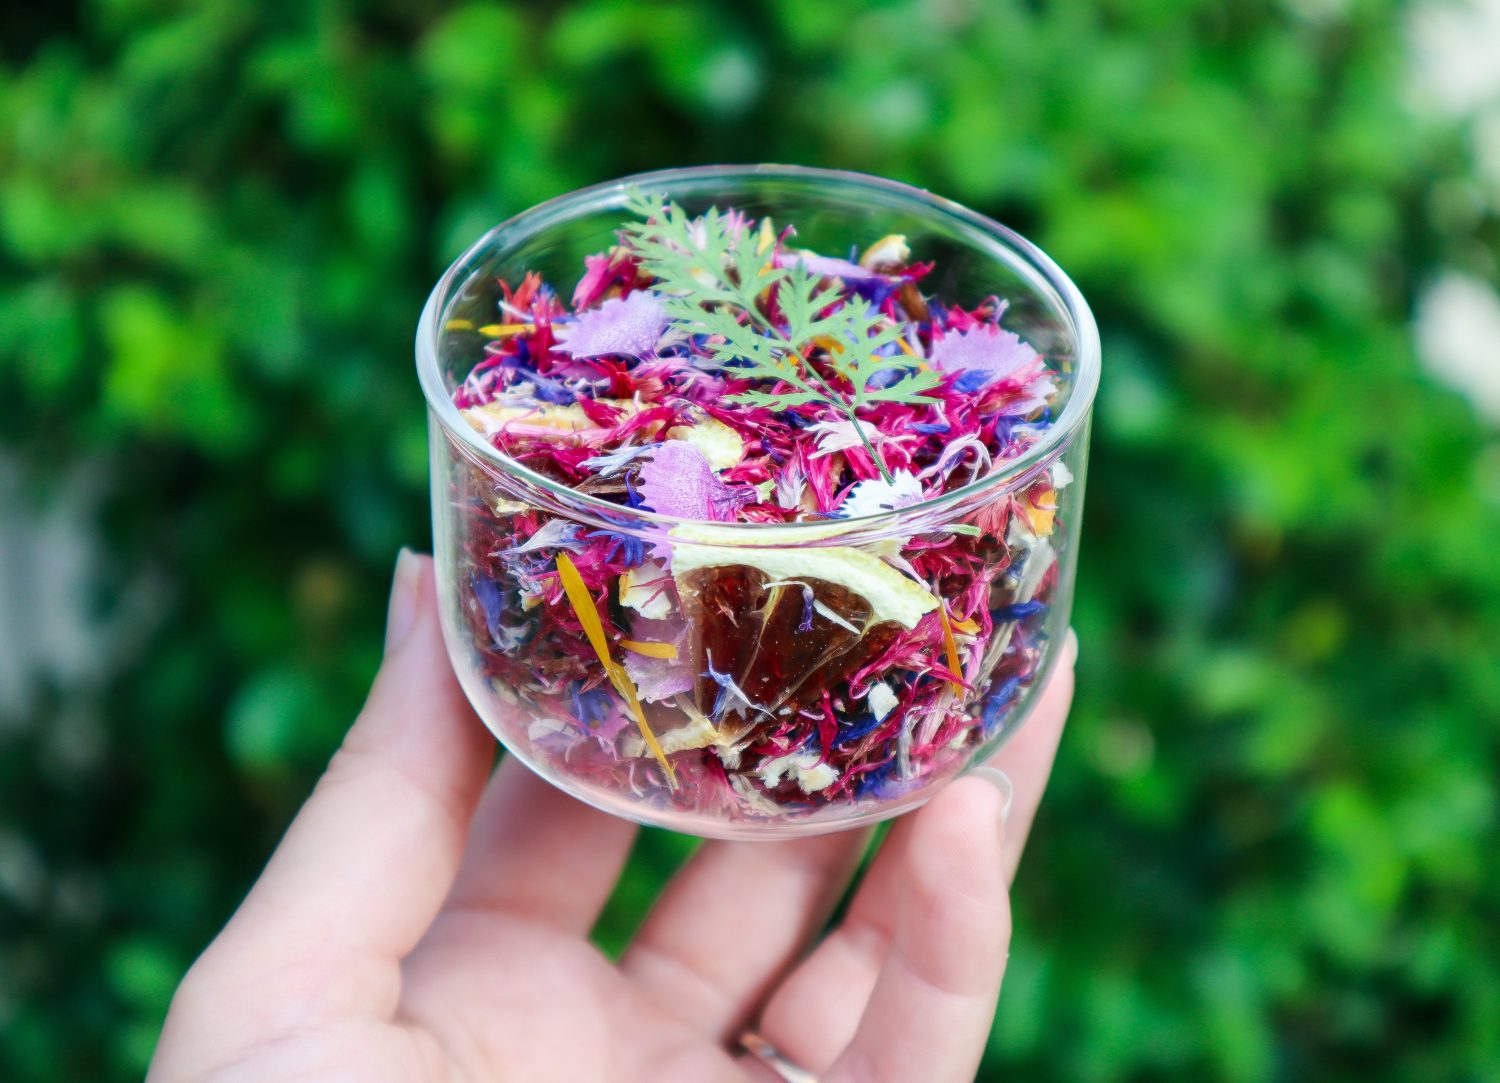
Pick your edible flowers in the morning but after the sun has come up. First thing in the morning the flowers will still be closed, so wait until they fully open up. They will be at their best in the morning, full of life and well-hydrated. If you are serving them fresh, pick your edible flowers as close to serving time as possible. Otherwise, place stems in a jar of water or keep in a moistened towel somewhere cool.