If you’re looking for a low-maintenance garden that produces food year-round, attracts wildlife, improves soil health, and creates a more natural ecosystem in your backyard, you’ve probably come across the term food forest.
But what is a food forest, really?
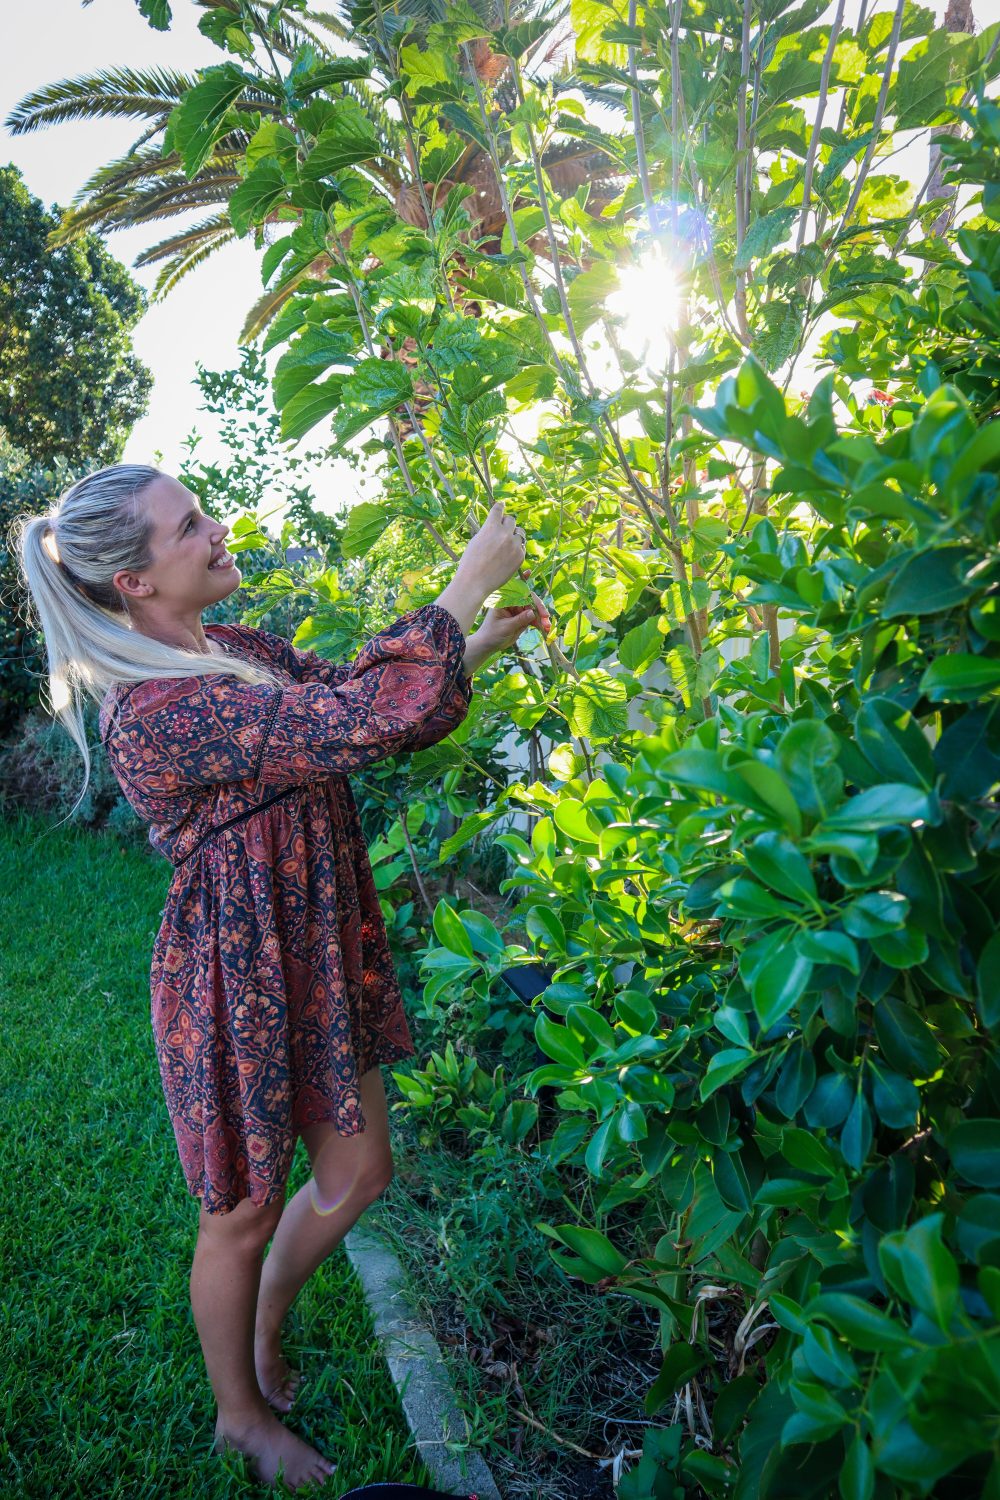
At its core, a food forest is a way of designing a garden that mimics nature, where plants grow in layers, support each other, and gradually build a self-sustaining system over time. Instead of rows of vegetables that need constant replanting, a food forest is built around perennials, diversity, and natural relationships between plants. Growing food in a harsh climate like Perth, I have found this system of growing LIFE CHANGING.
And while it doesn’t look “perfect” in the traditional gardening sense, it becomes something far more powerful: a living ecosystem that produces food, builds soil, and supports biodiversity.
What is a Food Forest?
A food forest is a low-maintenance gardening system that mimics natural forest ecosystems by growing edible plants in layered structures that support each other, improve soil health, and produce food year-round.
It combines:
- fruit and nut trees
- shrubs and herbs
- ground covers and root crops
- vines and climbers
All working together as one interconnected system. Unlike traditional gardening, a food forest is not about single crops in isolation. It’s about plant relationships, stacking functions, and long-term productivity.
Instead of having to replant and input more energy every season, food forests develop over time to produce more and more food with less effort!
Why Food Forests Work Especially Well in Perth
Perth’s climate actually makes food forests a smart long-term strategy! The more established the trees become, the more the system supports each other through the harsh summers.
Hot, dry summers
Food forests reduce evaporation by shading soil and keeping it covered.
Winter rainfall
Instead of losing water quickly, layered systems help soil absorb and hold moisture longer.
Sandy soils
Organic matter from mulch and leaf litter slowly transforms poor soil into a sponge-like system.
Wind and heat stress
Multiple layers create natural wind protection and microclimates.
In my own garden, one of the biggest shifts I noticed was how much less I needed to water once ground covers and tree layers were established. The soil stopped drying out as quickly, and everything became more stable through the summer. I can go away and know my food forest garden will still be alive and well, whereas my veggie patch…can up and die in a single hot day!
Why Create a Food Forest Garden?
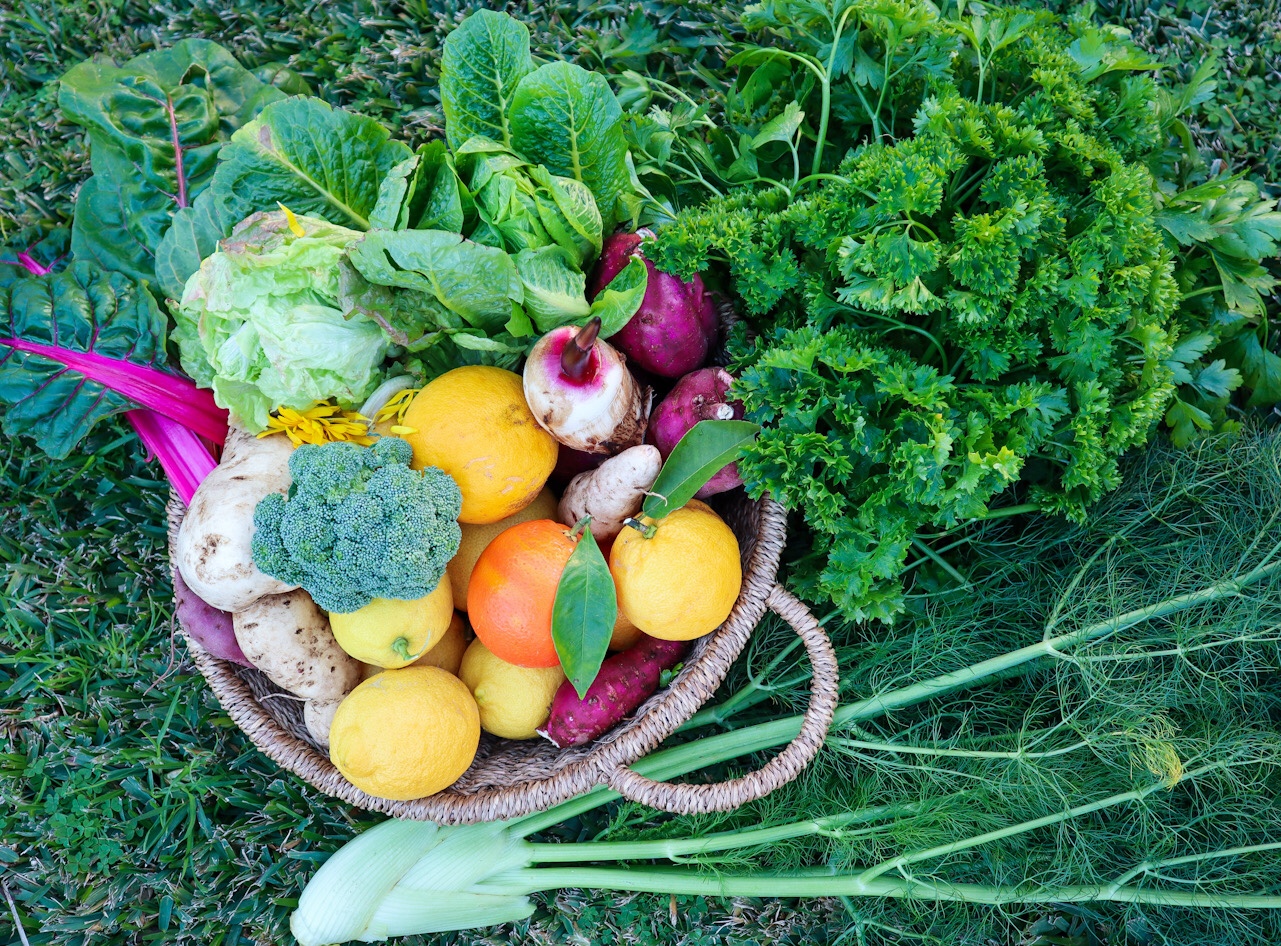
If you are looking to create a low-maintenance garden that produces food all year round, is lush, tranquil, and attracts birds, bees, and other local wildlife, then a food forest may be the garden for you! Food forests are a great way to grow a huge variety of plants in a single area. The ground covers will smother weeds, so there is one less job for you to do! The plants are mainly perennials so this means we don’t need to dig up the soil and replace plants each season. The less we dig up our soil, the better, as this promotes healthy microorganisms and soil life.
There are certain characteristics of a food forest that allow it to renew and support itself with little external input
Planting Density
- It’s important to cover and protect the soil from the harsh sunlight
- Planting densely creates a habitat for wildlife
- More leaf matter to fall and nourish the soil
- More roots to hold the soil together and reduce erosion
- More flowers for the bees = more pollination and more food production
- Dense planting will reduce the number of unwanted weeds
- Having flowers and fruit trees planted close together can increase pollination as the bees and pollinators will be nearby
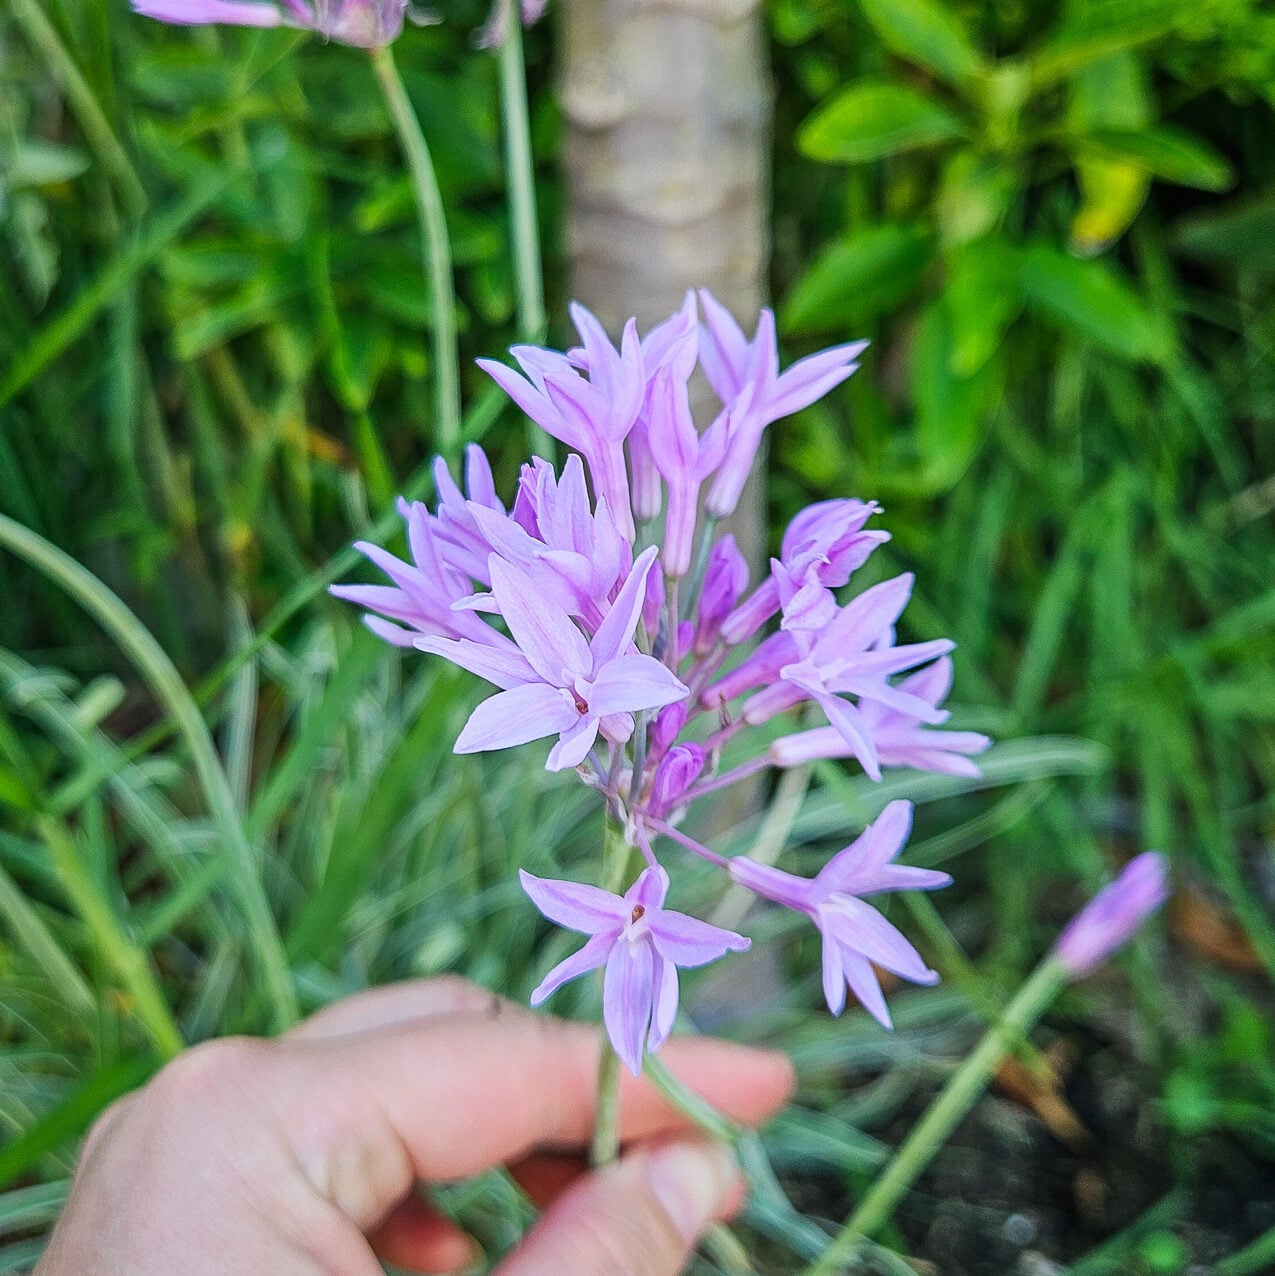
Growing a wide variety of plants
- Planting a wide variety of plants will mean you have fruit, vegetables and flowers ready at all different times of the year
- Diversity in plants not only provides you with a wide range of nutrients but also benefits your garden and wildlife
- Different root structures will provide the soil microbes with different secretions and reduce the severe depletion of nutrients in the soil. If you have all one crop planted in a single area they use up the same nutrients, and the soil can become depleted. Having a wide variety can help keep it balanced.
- Plants have different flowers that will attract different pollinators to your garden. Each pollinator will achieve different results for each plant. It’s important not only to have flowers available all year round but also a variety of different kinds.
Self Fertilising
- With a variety of layers and heights in your food forest, the plants will drop their leaves and fruit, which will act as a mulch and built-in fertiliser.
- Some plants may get overgrown or die off (survival of the fittest!), which will also return nutrients to the soil.
- From time to time you may need to trim your trees to reduce their height or width. This trimming can be put through a mulcher or cut up and returned to the garden to feed the plants.
Self Seeding
- By letting some plants go to flower and seed, you will have new plants popping up each year. This can be an extremely easy way to grow more food for free.
- At times, fruit trees may grow beneath the canopy from the seeds of rotting fruit. It can be a good idea to move these as they won’t have adequate space to grow. Either relocate them or pot them up to swap or trade.
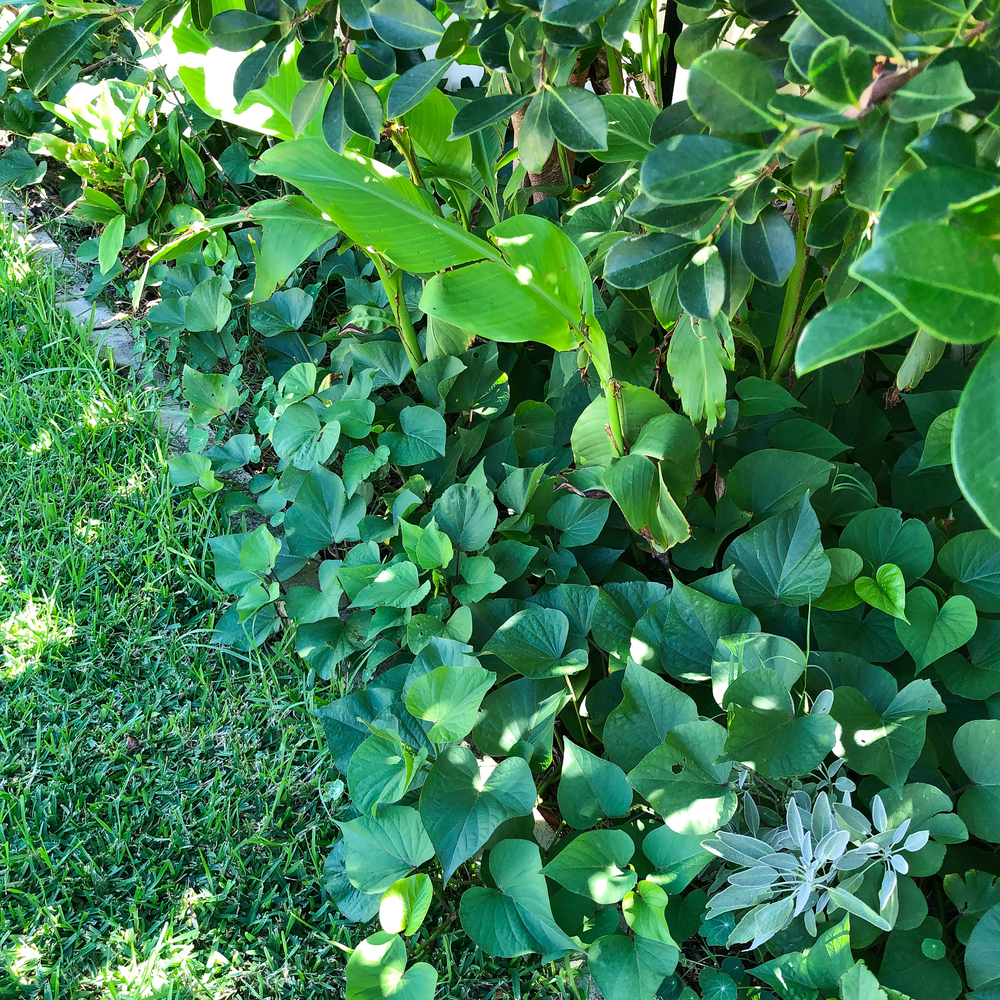


Why Plant Density Matters (Especially in Perth)
One of the biggest shifts when moving from a traditional garden to a food forest is planting density.
Dense planting helps:
- protect soil from harsh sun
- reduce evaporation (critical in Perth summers)
- build habitat for wildlife
- improve pollination rates
- reduce weed pressure naturally
Bare soil in Perth dries out extremely fast…so coverage is not optional, it’s essential!
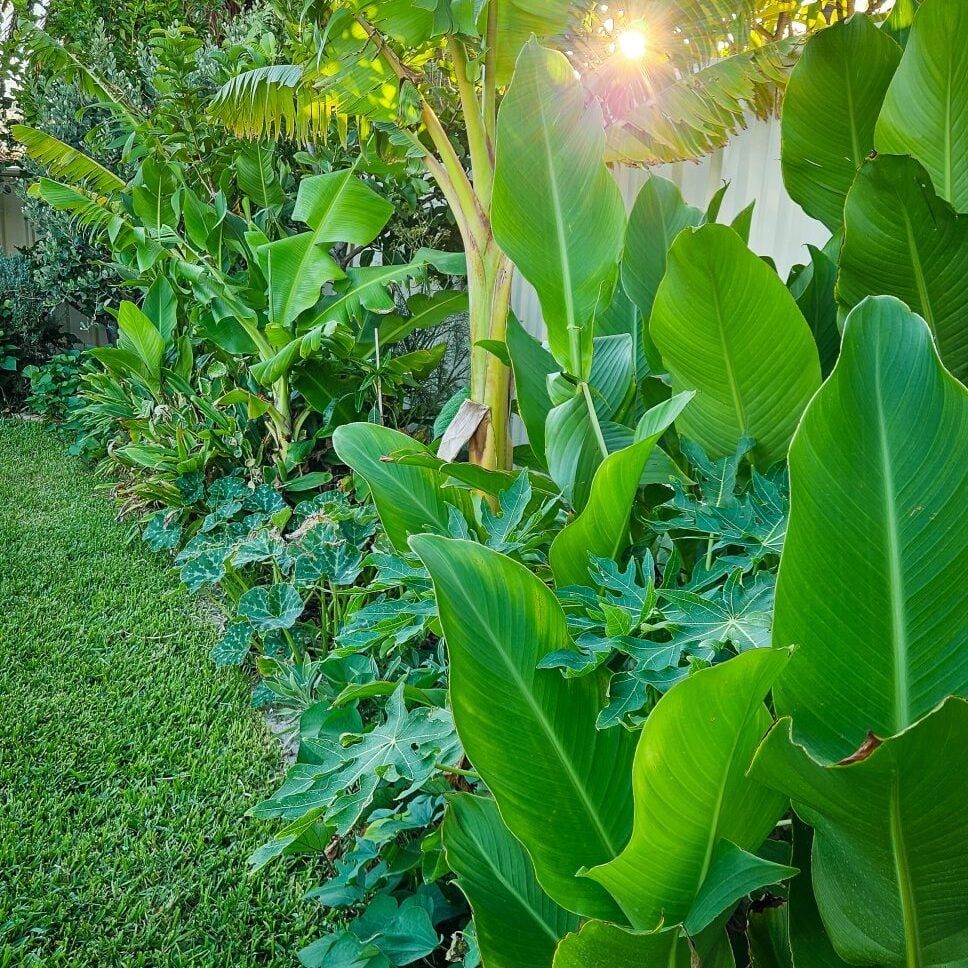
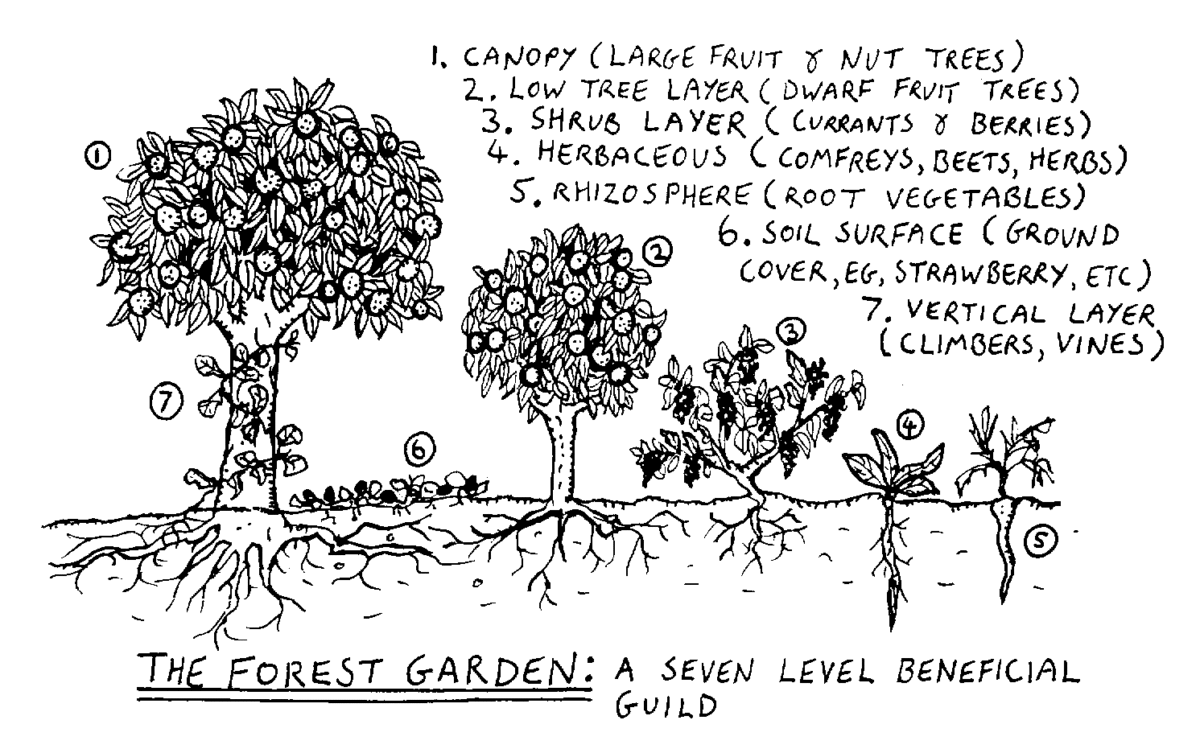
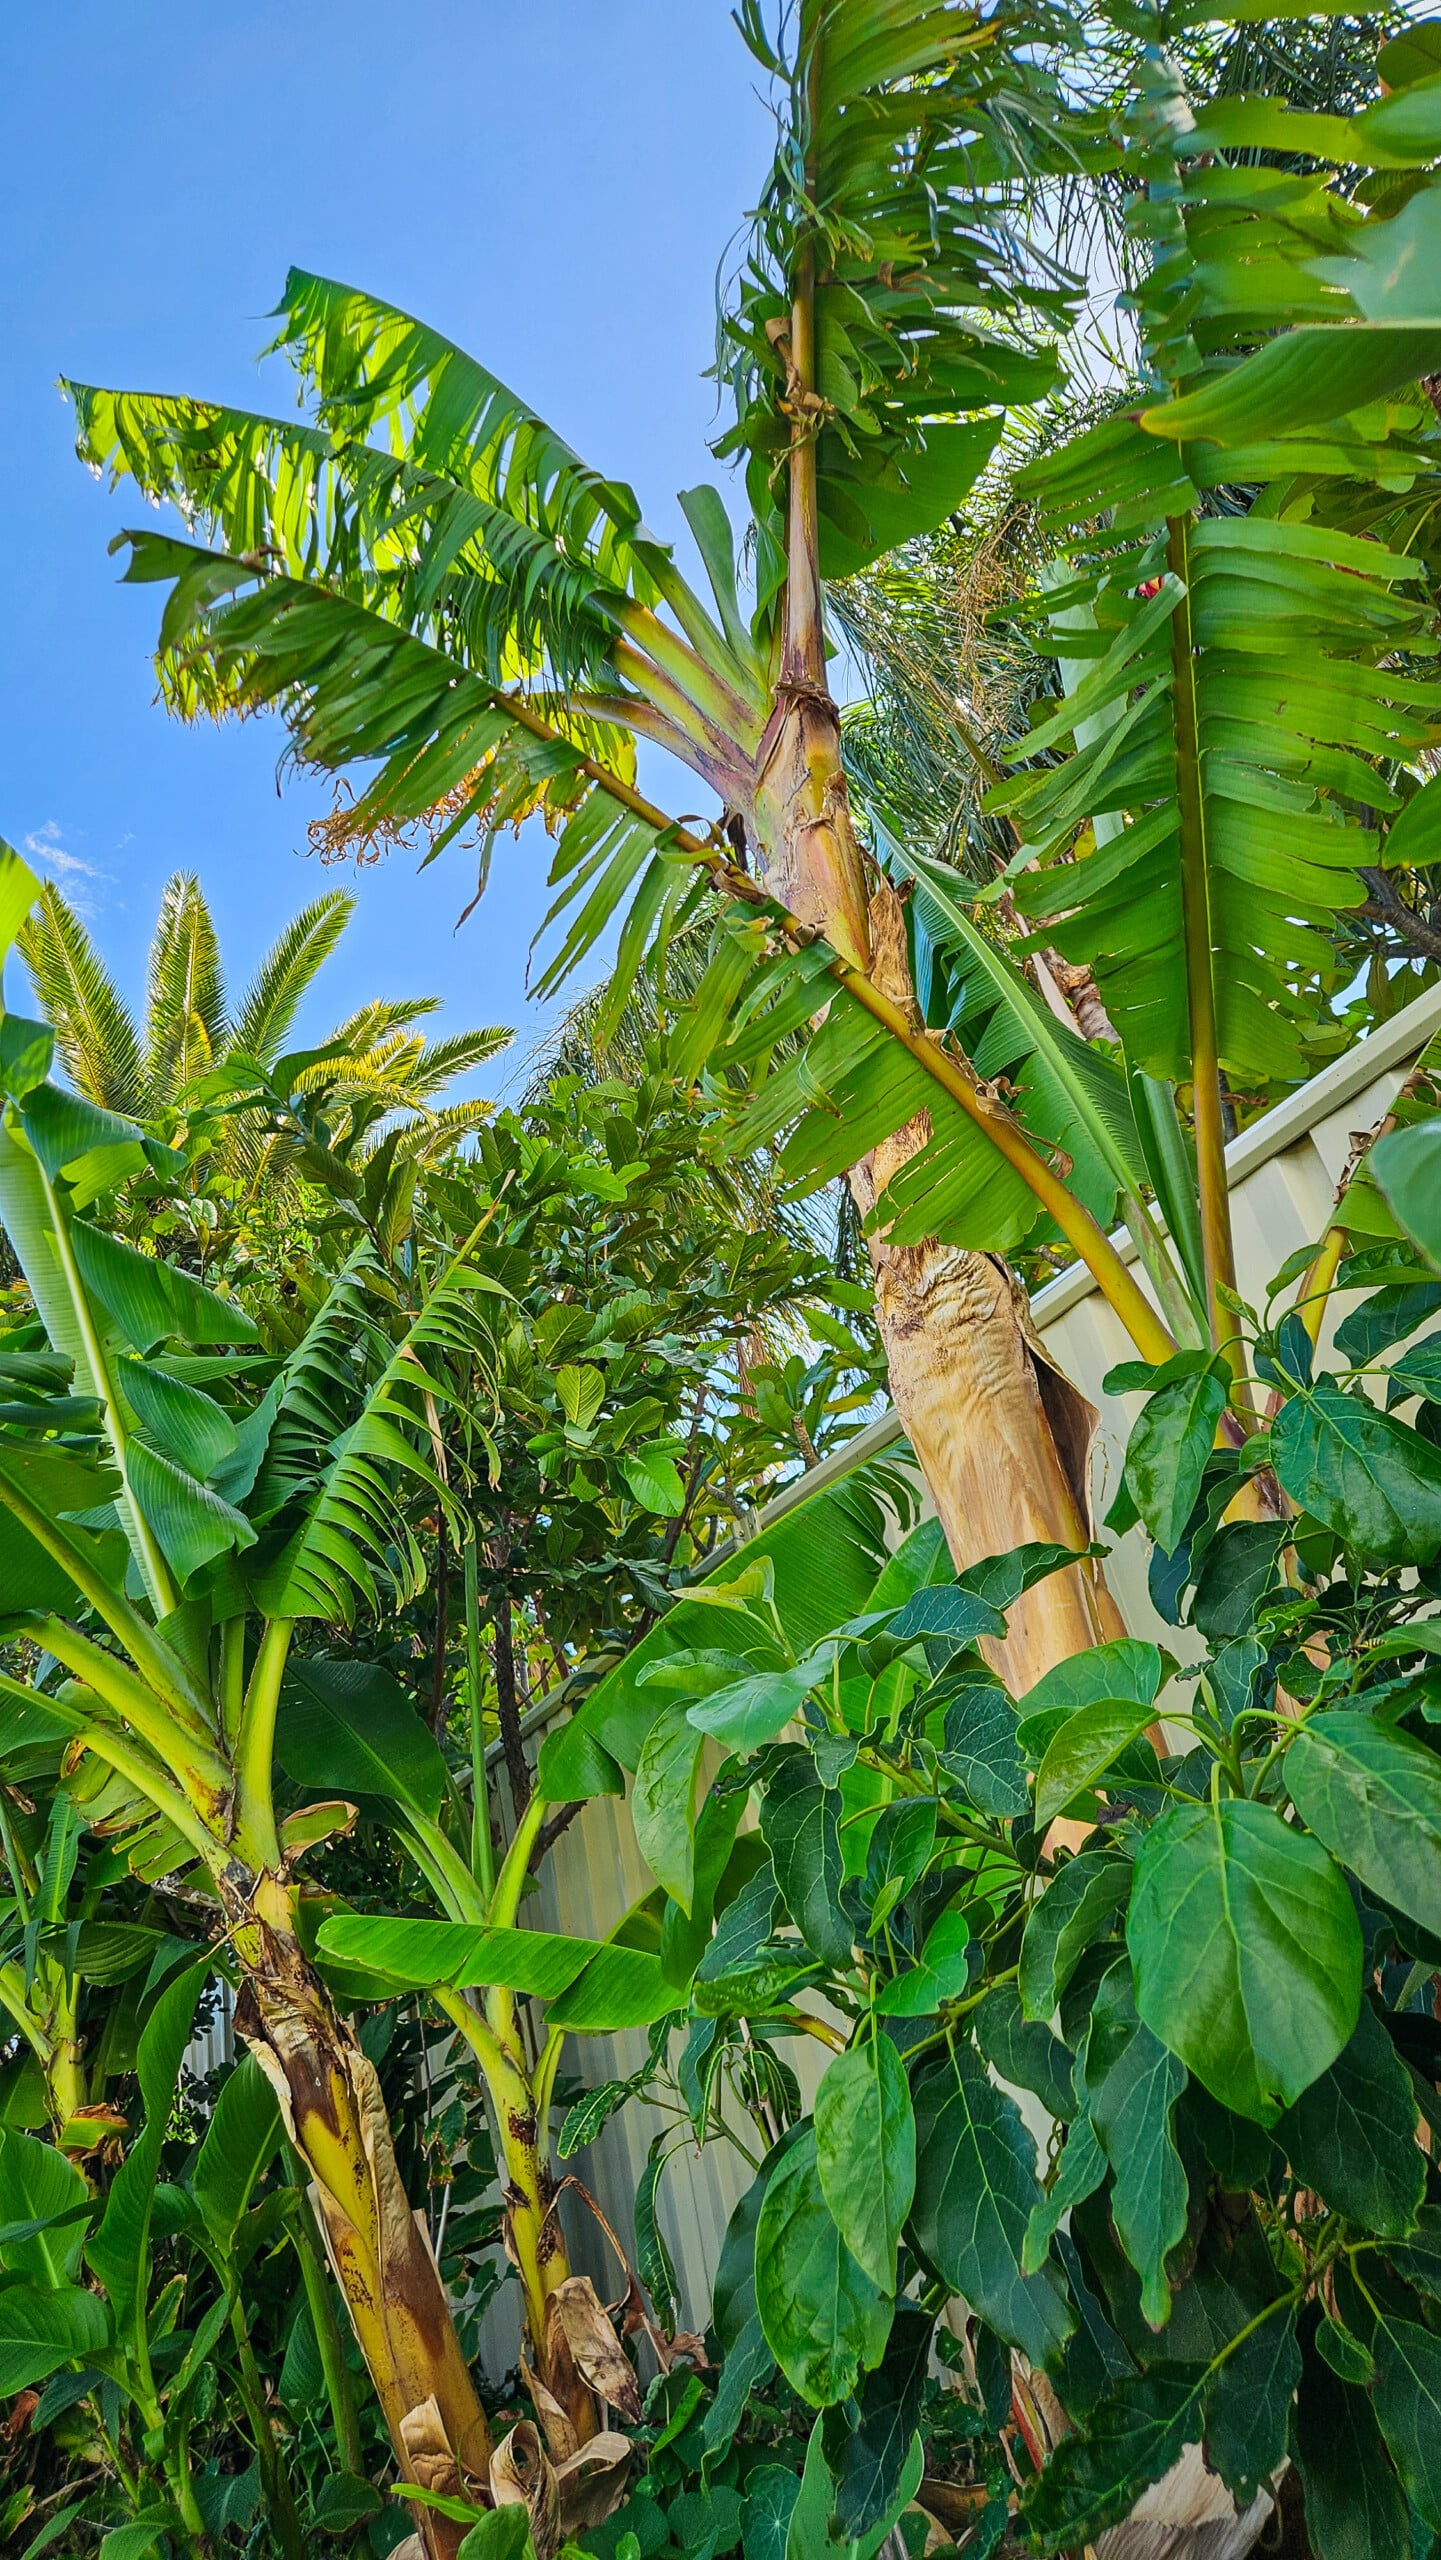
7 Layers of a Food Forest
1. Canopy layer
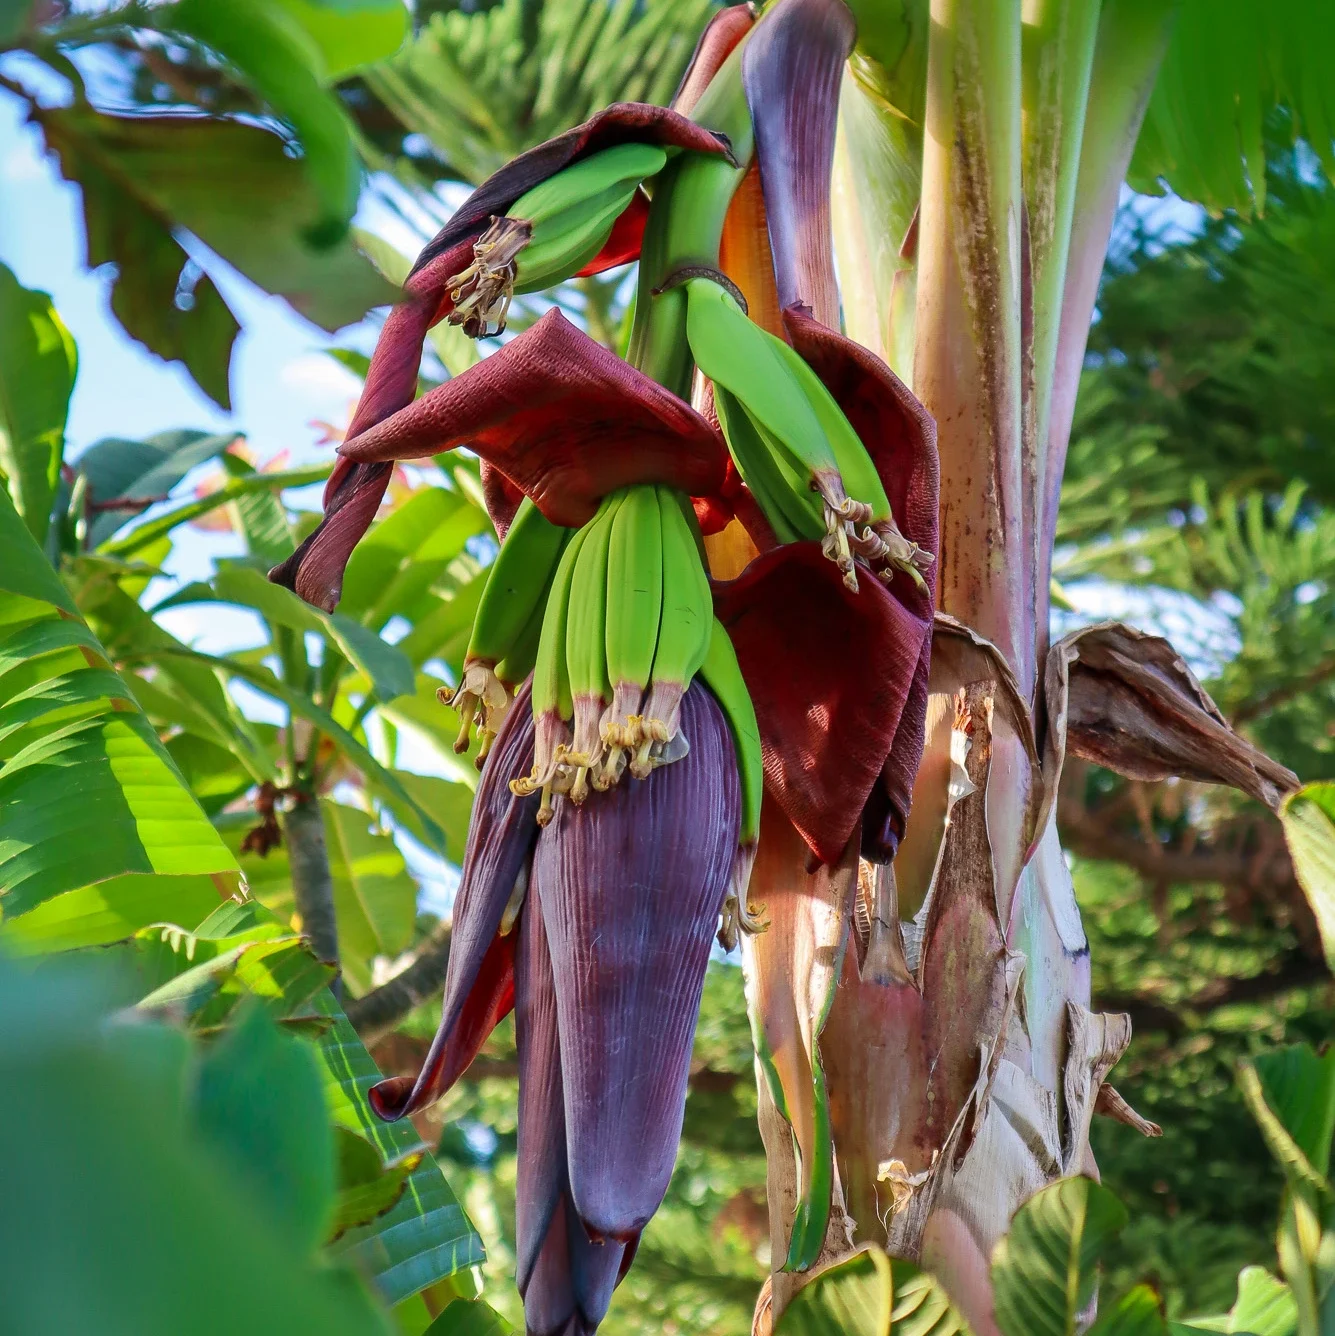
Large fruit and nut trees (e.g. avocado, mango, citrus in Perth climates)
2. Understorey layer
Smaller fruit trees (e.g. citrus, papaya in protected spots)
3. Shrub layer
Berries and perennial shrubs
4. Herbaceous layer
Herbs and medicinal plants (e.g. basil, lemongrass, aloe vera)
5. Root layer
Underground crops (e.g. sweet potato, turmeric, carrot)
6. Ground cover layer
Soil-protecting plants (e.g. sweet potato, oregano, NZ spinach)
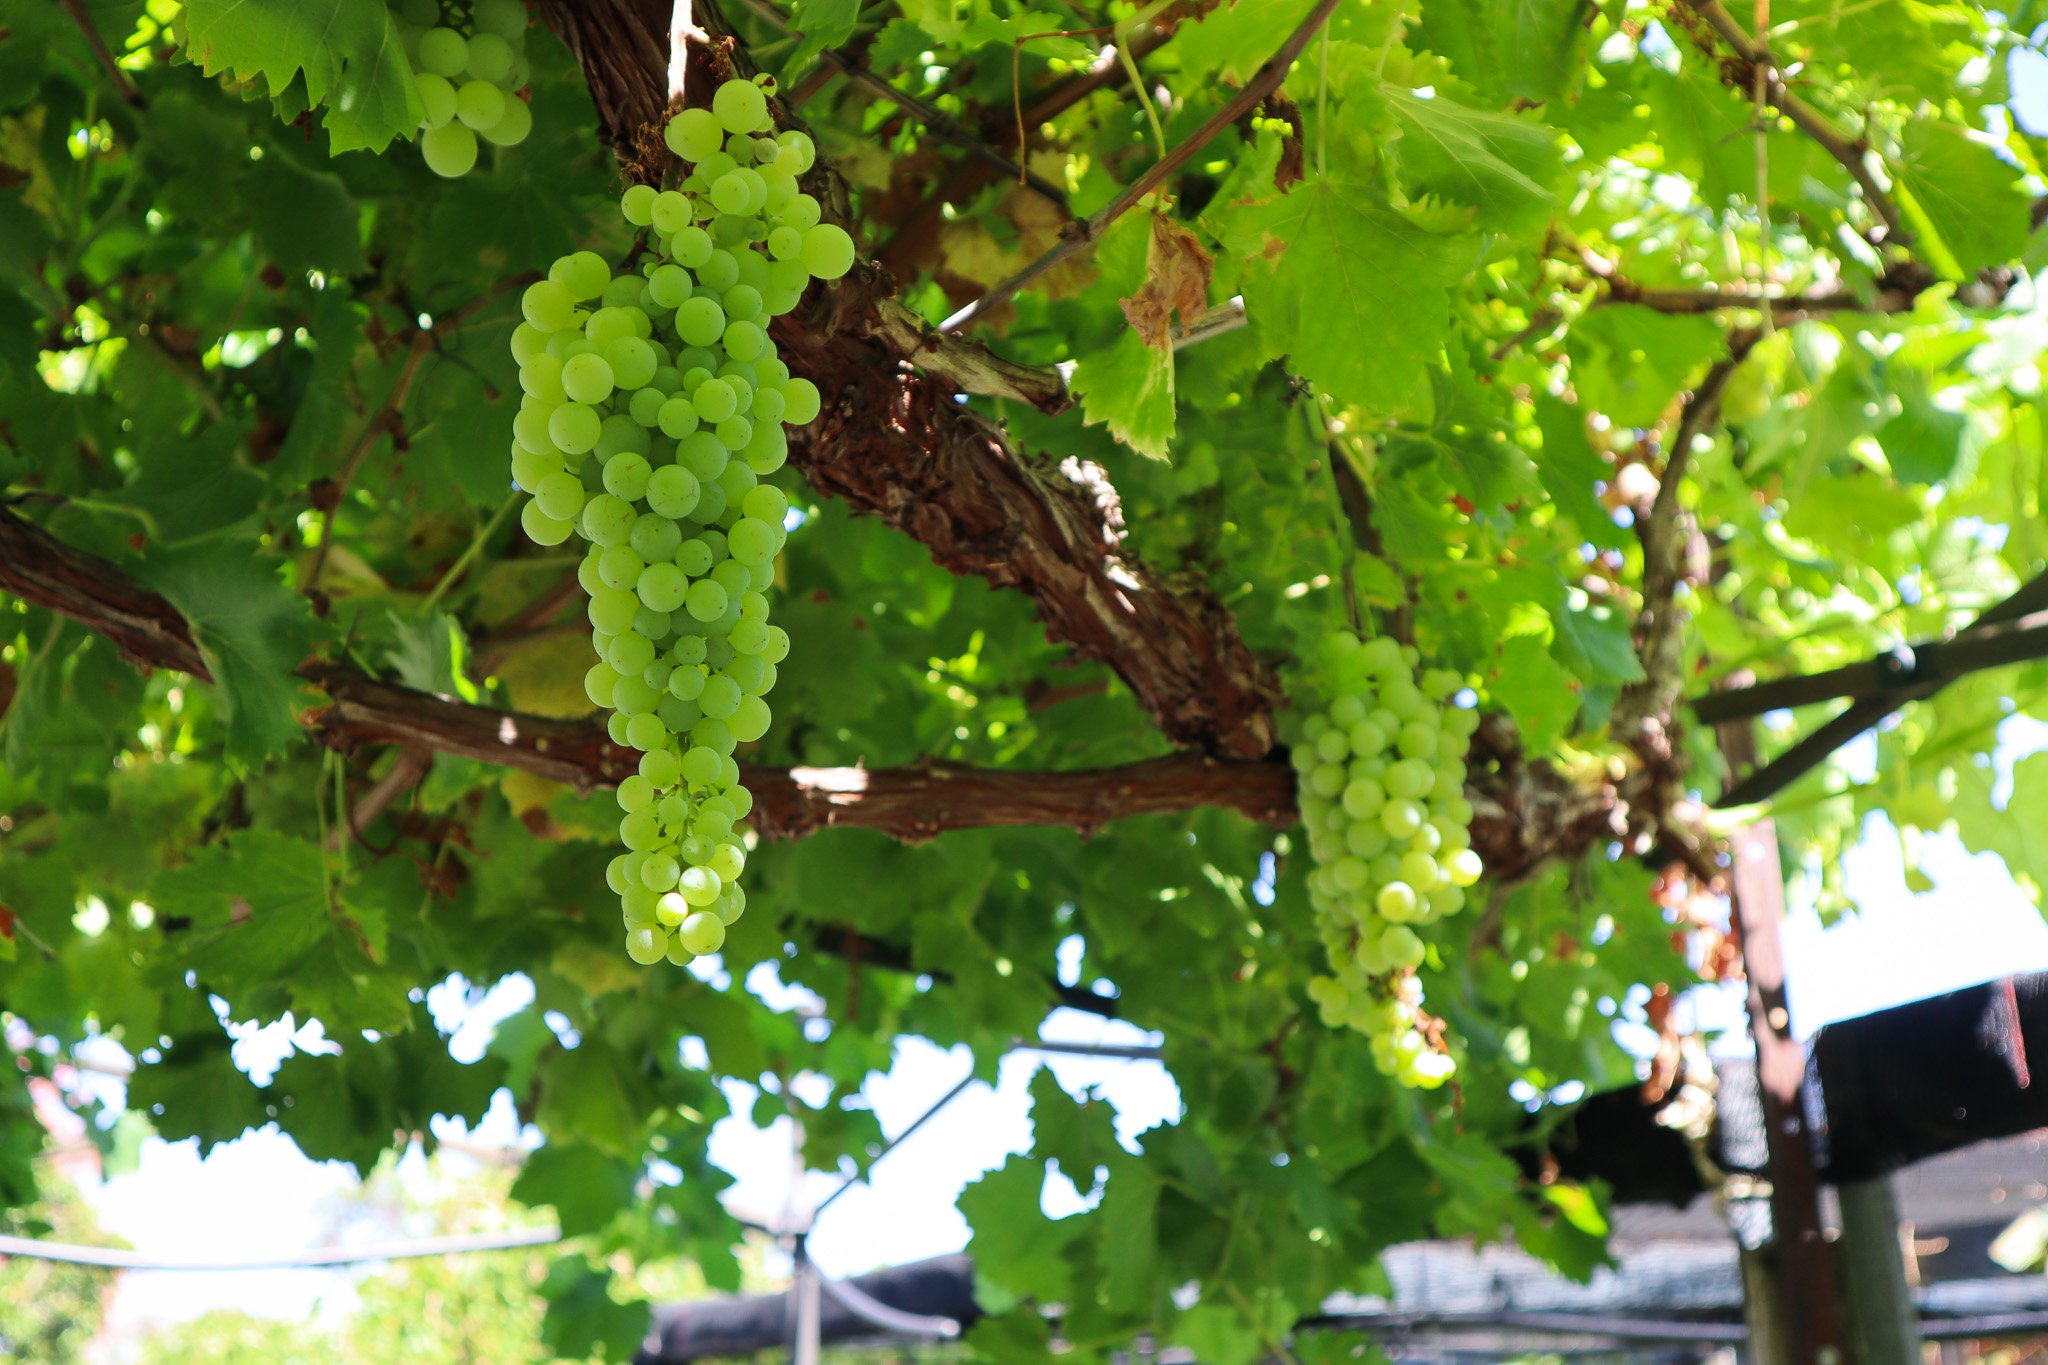
7. Vertical layer
Climbers and vines (e.g. passionfruit, grape, pumpkin)
In Perth gardens, this layering is especially useful because shade and soil protection directly reduce heat stress and water loss.
How to Start a Food Forest Garden
Step 1: Choose a location and prep the soil
First up, we must decide on an area to start converting into a food forest system. This could be an old veggie patch, the front lawn, along the back fence line, or a large open field. The preparation needed will depend on the condition of the area selected. But in general, you will want to:
- Clear any debris or unwanted structures
- Remove or smother the grass. This can be done by laying down an old carpet for a few months to kill off all the grass. If the grass is still alive and present, it can be hard to maintain. Another way is to use sheets of cardboard, as these will eventually breakdown once the grass has died.
- If your location has never been used to grow before, the soil quality may be extremely poor or sandy. It could be a good idea to add a layer of compost or organic manure.
- Cover your area in a thick layer of mulch. This will protect the soil and help keep any grasses or unwanted weeds away.
- Give the area a good watering and feed with a liquid seaweed solution.
Step 2: Selecting a plant list
We want to select plants that:
A: We want to eat and
B: Provide benefits to other aspects of our garden (animal feed, mulch, birds, shade, etc).
Below are the 7 layers of the food forest. Write down a wish list of plants for each layer, and then you can start mapping out which plants will go where depending on their size, what “layer” they are, and how much light they will need to grow.


Step 3: Designing
Mapping out a design can be as detailed or as rough as you like. It is important to come up with some kind of plan so that you can decide where to plant your larger trees so that they get enough sunlight. You don’t want to be digging up and moving things around. This should be your master plan, not what you are starting with. So go big, add in all things you want so that you can plan for the future and ensure you can room.
How to map out your food forest design
1 Draw the outline of your location or property to scale
2 Add in any permanent structure (sheds, veggie patch, established trees, fences)
3 Map where the sun and shade come from. Mark areas as full sun, part sun, or full shade.
4 Add in your large Canopy trees and allow space for them to grow.
5 Add in your pathways or future large structures (pond, shed, chicken coop)
5 Add in your sub-canopy trees
6 Add in your scrubs, herbaceous layer, root crops, ground cover, and vertical layers.
7 Add seating, a table, or a place for you to view and enjoy your food forest.
Step 4: Planting
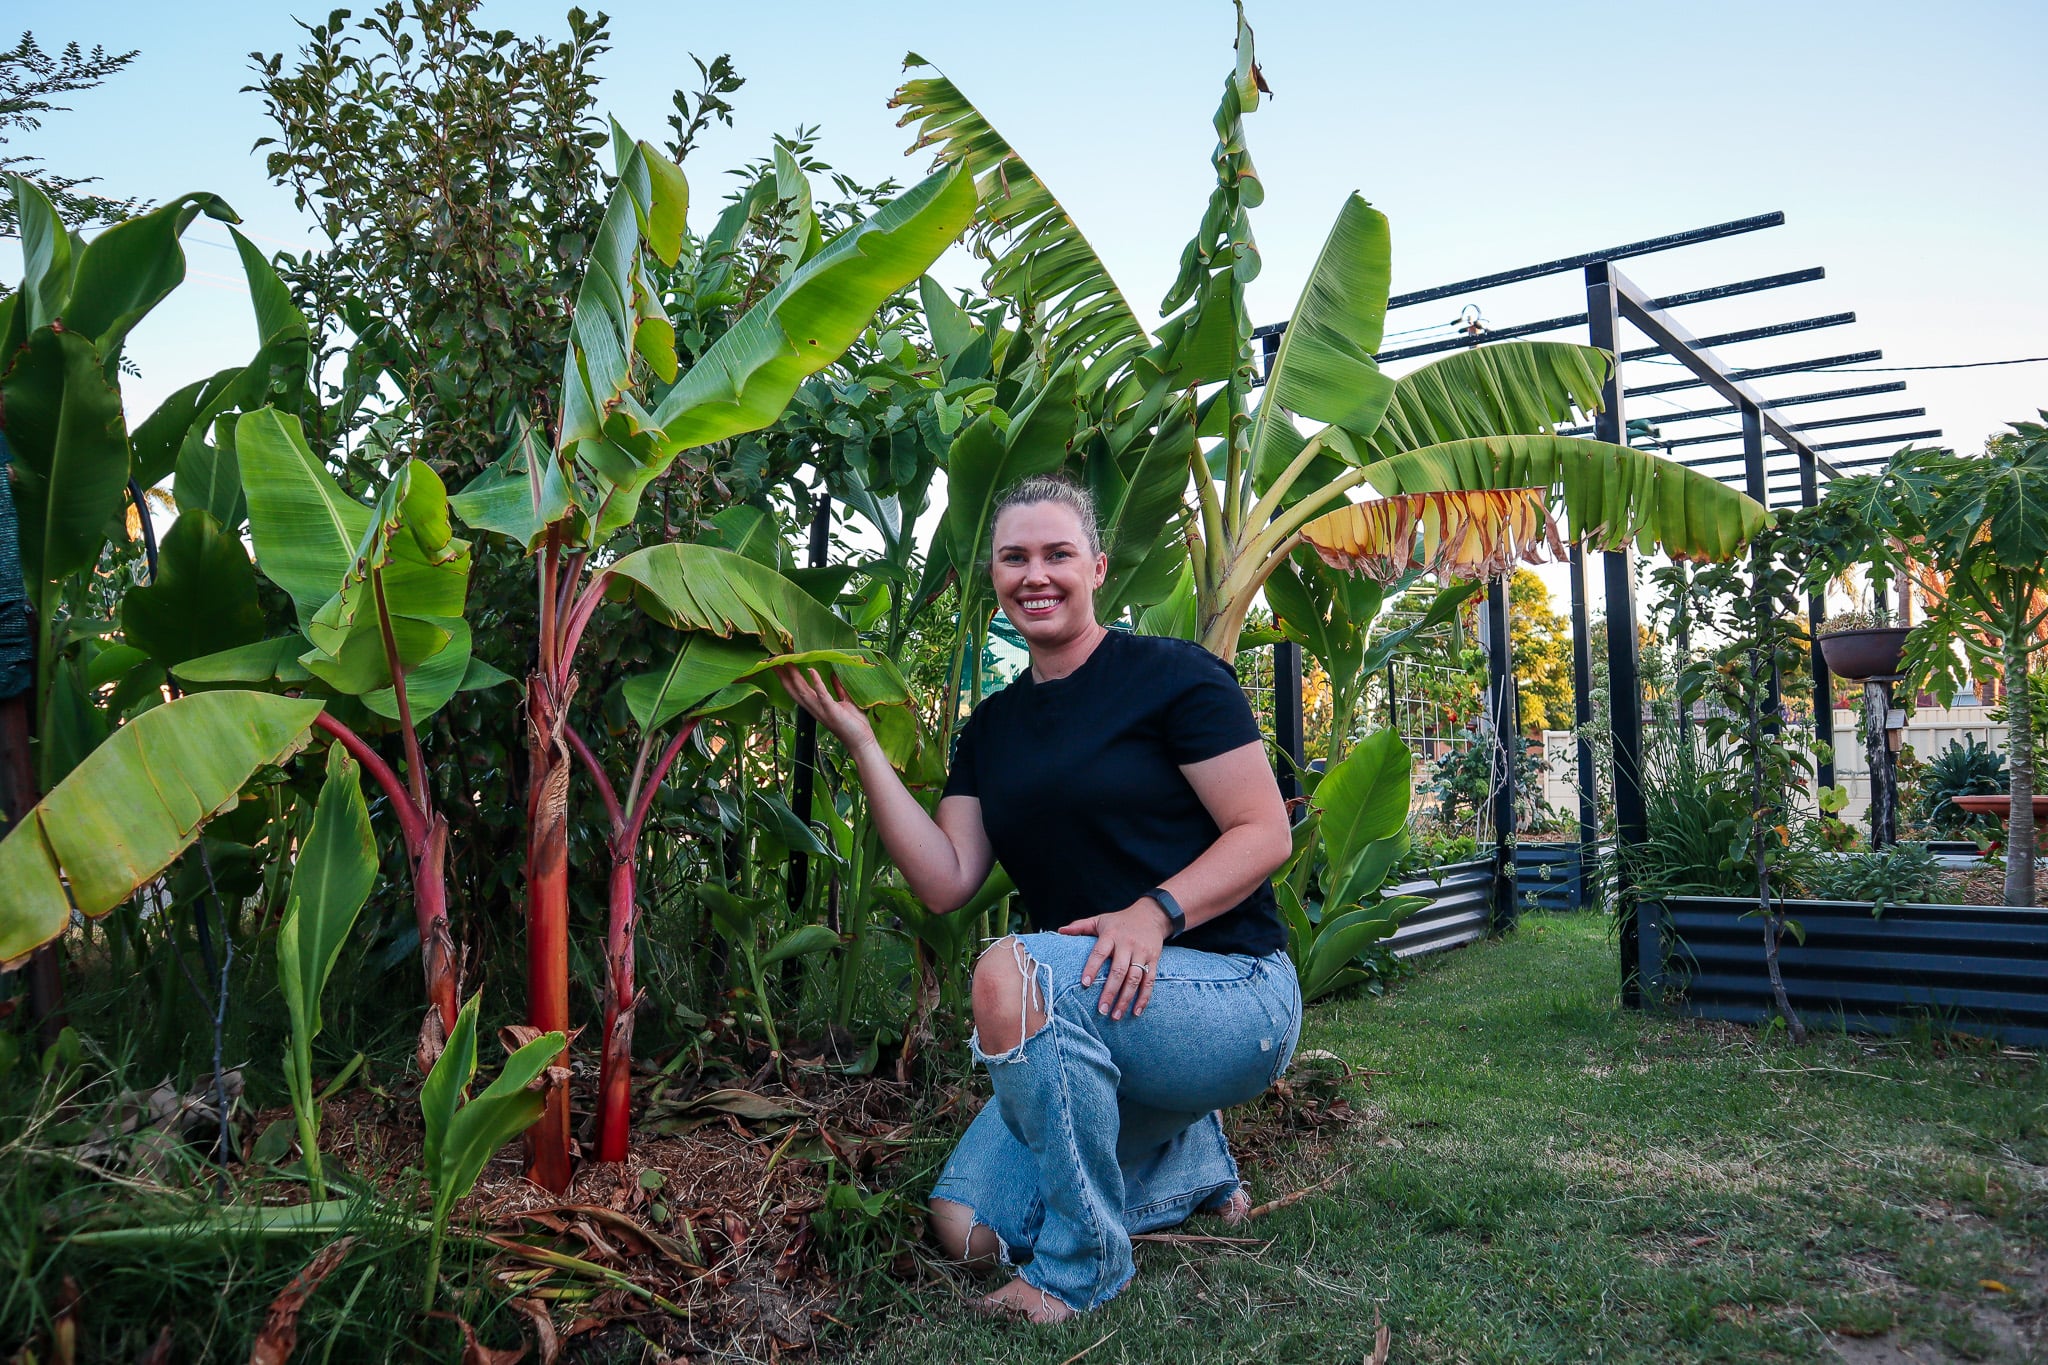
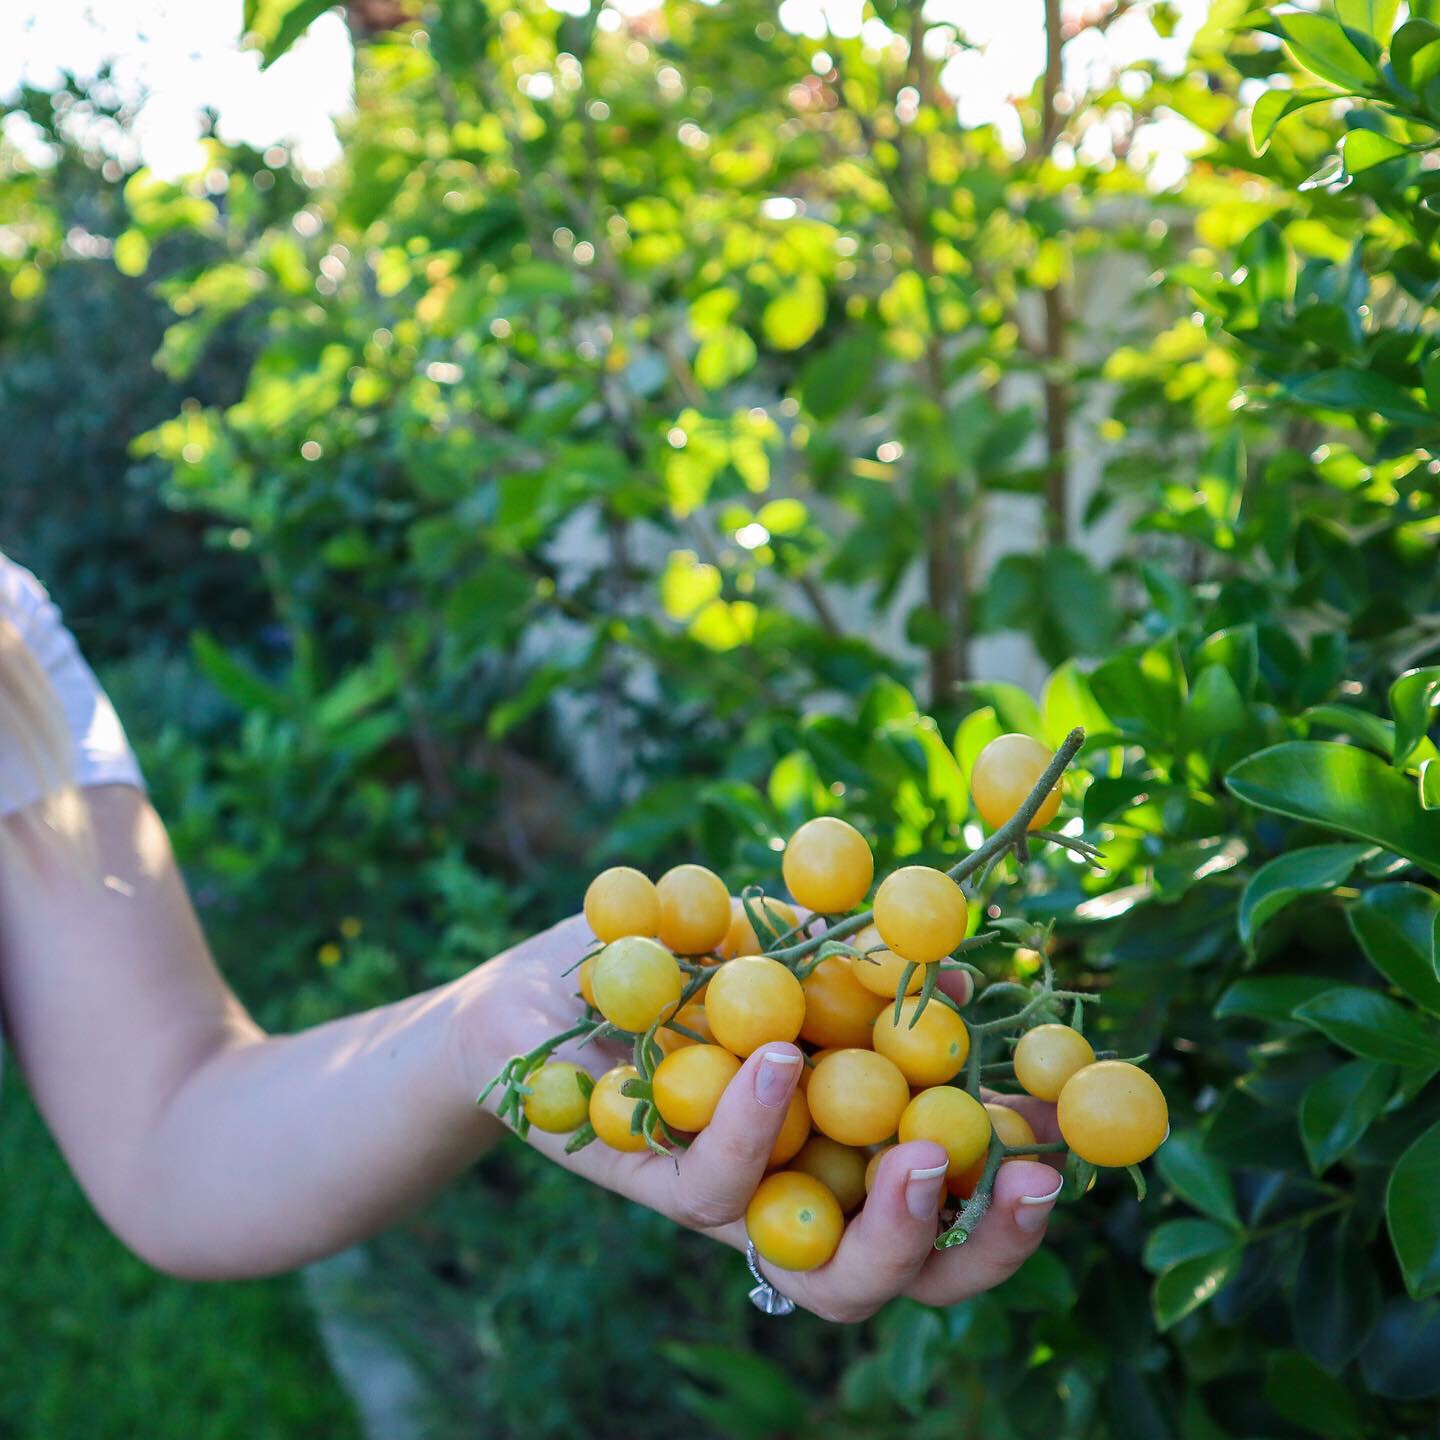
To start with you will want to select your large canopy trees and ensure there is enough space for them to grow. The height and width will be noted on the labels. Then you can start adding in your sub-canopy/dwarf trees. Large trees may take years to fully establish so your food forest may not look very ‘foresty’, to begin with. This is a great time to interplant with more annual crops (lettuce, tomatoes, broccoli, etc).
When I first started my back fence line in a food forest system, there were large gaps between the trees. This meant there was a lot more light and space available but I knew that eventually my canopy and sub-canopy trees would grow to fill the space. I used this time to grow seasonal veggies and edible flowers. As well as accumulating and establishing new shrub layers and ground covers.
Self-Fertilising Systems
A food forest slowly builds its own fertility through:
- Leaf drop from trees
- Chop-and-drop pruning
- Layers of mulch
- Cooler soil for microbes to thrive
In Perth, where soils are often low in organic matter, this long-term accumulation is what transforms the system.
How to Source Plants for Your Food Forest?
Creating a food forest can involve a lot of new plants, and the costs will quickly add up. This is where learning how to make cuttings can be extremely valuable. Not only can you reproduce your plants to grow in other areas of the garden, but you can also swap, trade, and sell your plants to acquire new ones. Keep an eye out on local pages as you can pick up established trees for cheap or even free! I have managed to get established fruit trees that are already fruiting for less than $20. This can really speed up your food forest production.
Maintaining your Food Forest
The idea of creating your food forest is that it will require less care and attention. This can mean it will look a little wild from time to time (in a good way)
- Pruning or trimming back excess trees to chop and drop can be a great way to propagate more or mulch to feed the garden. This can be done once the tree has finished fruiting.
- Some trees will need to be staked and secured while they are young so that they don’t snap off.
- Propagating plants to establish in other areas – it can take a while for some plants to establish, so once they have, you can start to reproduce them in other areas.
- Harvesting fruit – this is important so that you can reduce the number of unwanted critters (such as rats). Rotting fruit on the ground can also promote fruit fly infestations, which you do not want! So ensure all fruit is picked and preserved or composted.
- Feeding – It can be beneficial, especially in a young food forest, to add in extra fertilisers. Try using natural products such as seaweed solution or creating your own from leftover plants and weeds.
- Netting or bagging fruit – Depending on your location, you may need to net or place net bags on your fruit. Fruit fly, bats, and birds can decimate crops in just a few hours.