Chillies (Capsicum annuumor variationsof species) are a popular staple for a kitchen garden because they produce an abundance of fruit on a single plant.
There are over 400 different species of chilli that vary in heat/spice 🌶 Chillies are part of the Solanaceae family along with Tomatoes, Capsicum, Eggplant and Potato.
Chillies thrive in warm weather and are mainly grown over summer. The great thing about Chillies is that you can grow more than enough in a pot or container. Great for renters or those with limited space.
Chillies are measured in heat using the chilli Scoville rating. The hottest part of the Chilli is often in the seeds. Removing the seeds can reduce some of the heat. Chilli also often get hotter and sweeter as they mature and ripen.
Sow seeds indoors at the end of winter or early spring. Or plant seedlings after last frost.
SOIL
Will grow in most soil typesbut benefits from added compost.
LOCATION
Full-part sun. Protect from harsh midday sun in summer.
CARE
Regular water.
FERTILISE
Easy to grow and doesn’t need much help.Compost teas or added compost.
PESTS
Snails, slaters, spider mites and aphids.
HARVEST
Harvest regularlyto encourage more production.
REPRODUCE
Allow to go over-ripe and save seeds.
Why Grow Chilli?
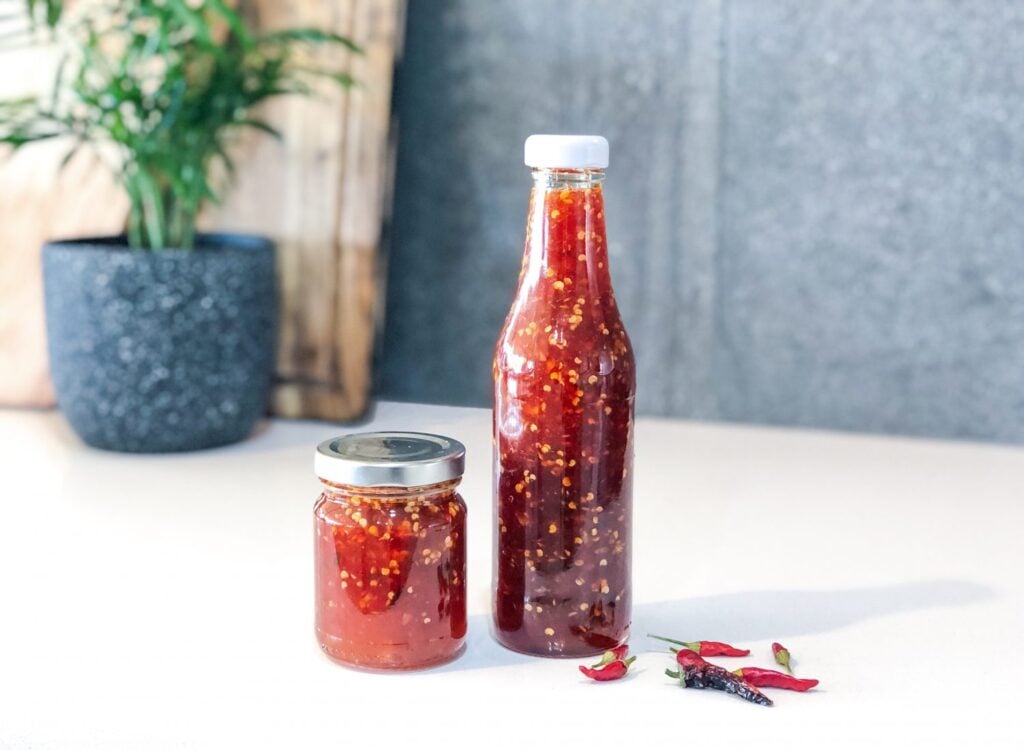
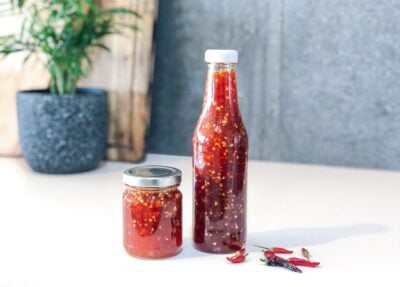
There are many reasons to grow Chillies and they are so easy to preserve!
Here are some of the many reasons to grow Chillies
Easy to grow
One plant provides an abundance
Grows well in containers
Low maintenance
Flavour enhancing
Easy to preserve
Immune booster
High Vitamin A and C
Popular Chilli Varieties
Long Cayenne –Capsicum annuum – Long chilli that turns from green to vibrant red. Mild heat and seeds can be removed to be even milder. Popular all round Chilli. Produces around 1kg per plant.
Jalapeno – Capsicum annuum – Popular Mexican chilli that is best suited to pickling and cooking (stuffed jalapenos!). Prolific producer. Pick green or red.
Padron –Capsicum annuum ‘Pimientos de Padron’ – Popular Spanish chilli. Great for stir-fries. Mostly mild but some will randomly be HOT! Heat increases as they get Redder.
Hungarian Hot Wax – Capsicum annuum – Yellow – orange colour and a popular mild chilli. Can get hot the more mature they get. Great fresh, as garnishes, pickled or stir-fried.
Birds Eye Thai – Capsicum annuum – Small hot chilli popular in Thailand. Prolific producing and although small you don’t need much! Upright standing chilli. Colder tolerant than other varieties.
Carolina Reaper – Capsicum chinense – Named the hottest chilli in the world 😳 Be very careful handling these (gloves and eyewear). Needs a heat mat to promote seeds to germinate.
When to Plant
Chillies thrive in warm temperatures and don’t like the cold. Plant your Chillies from seed in late winter – early spring inside or in a greenhouse. Plant seedlings out in Spring after your last frost. In tropical Australian locations plant in Autumn.
How to Grow
Choose a sunny spot with dappled or part shade in the heat of summer.
Prepare the soil with free-draining compost
Plant one seedling per pot or in the garden bed at least 50cm apart
1 plant is plenty or try different varieties
Can benefit from protection during the heat of summer.
Plants will tend to die off in winter and are often grown as an annual. You can overwinter your plants to get a few extra years out of them – Click here
Care/ Maintenance
Chilli plants are pretty low maintenance. Ensure they don’t dry out during hot weather. Plants can be pruned and “over-wintered” to get a second season out of them.
Pests / Disease
Chilli are pretty hardy and will thrive with minimal effort. Birds and rats will still eat your bright colourful chillies and are not put off by their heat! If this happens you might need to construct a cage or net around them. Care for young seedlings using natural pest management.
How/ When to Harvest
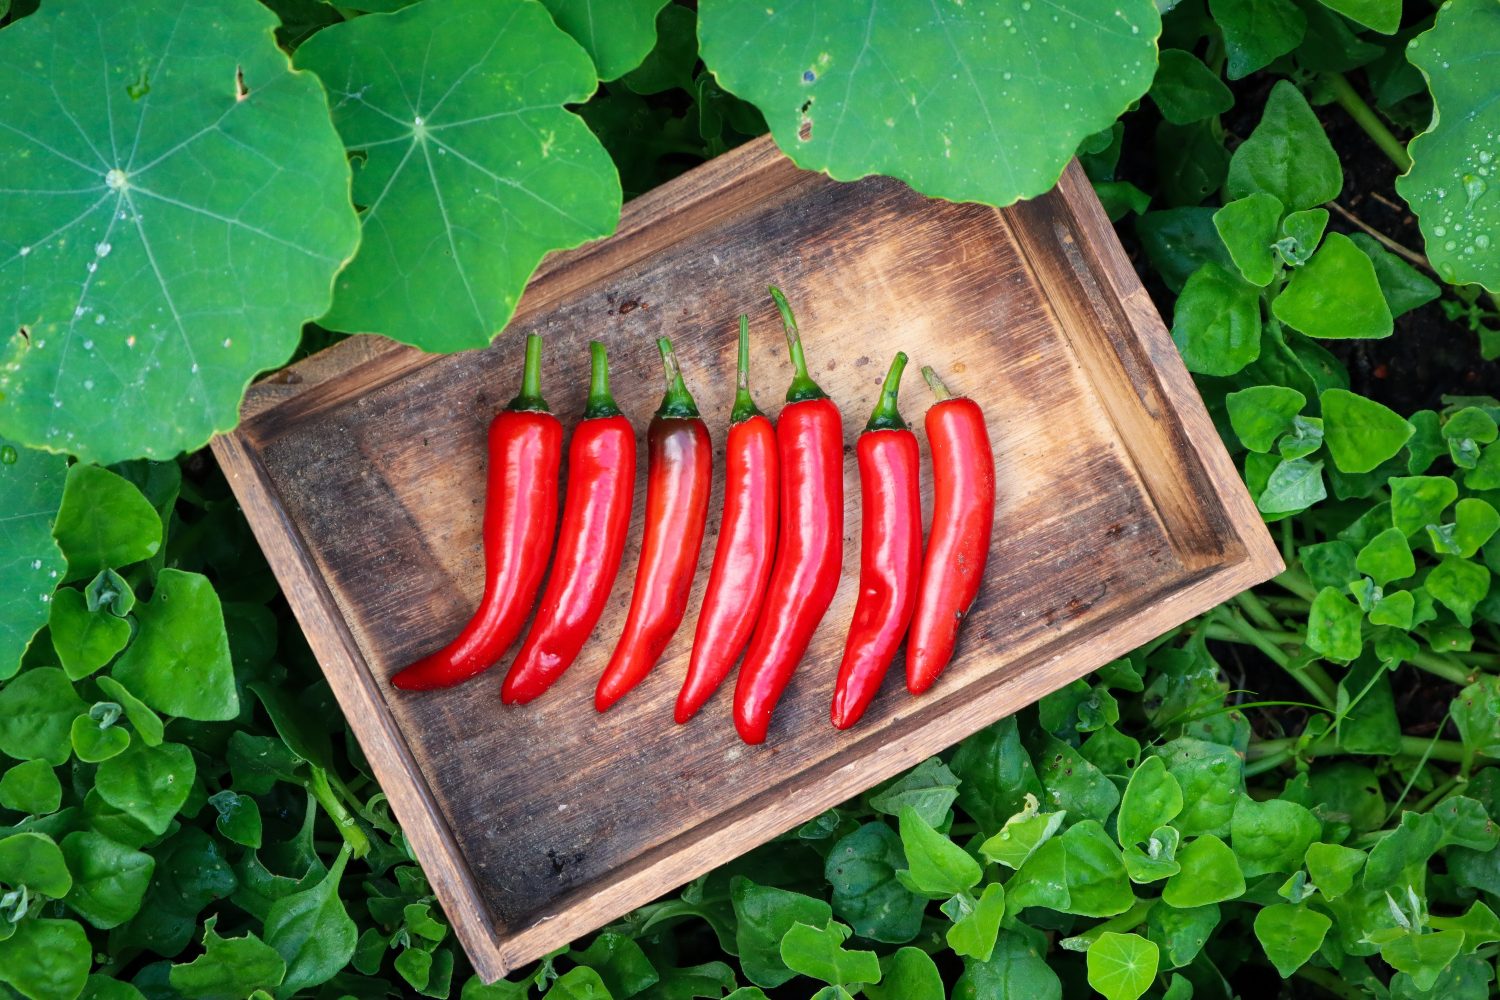
Once the plant is well-established it will start producing flowers and that turn to chilli. Some plants produce upright chillies and others hang down.
Most chilli will start off green and ripen to other colours. You can harvest chilli in all colours. The more mature reds and purples will be sweeter and have different flavour profiles.
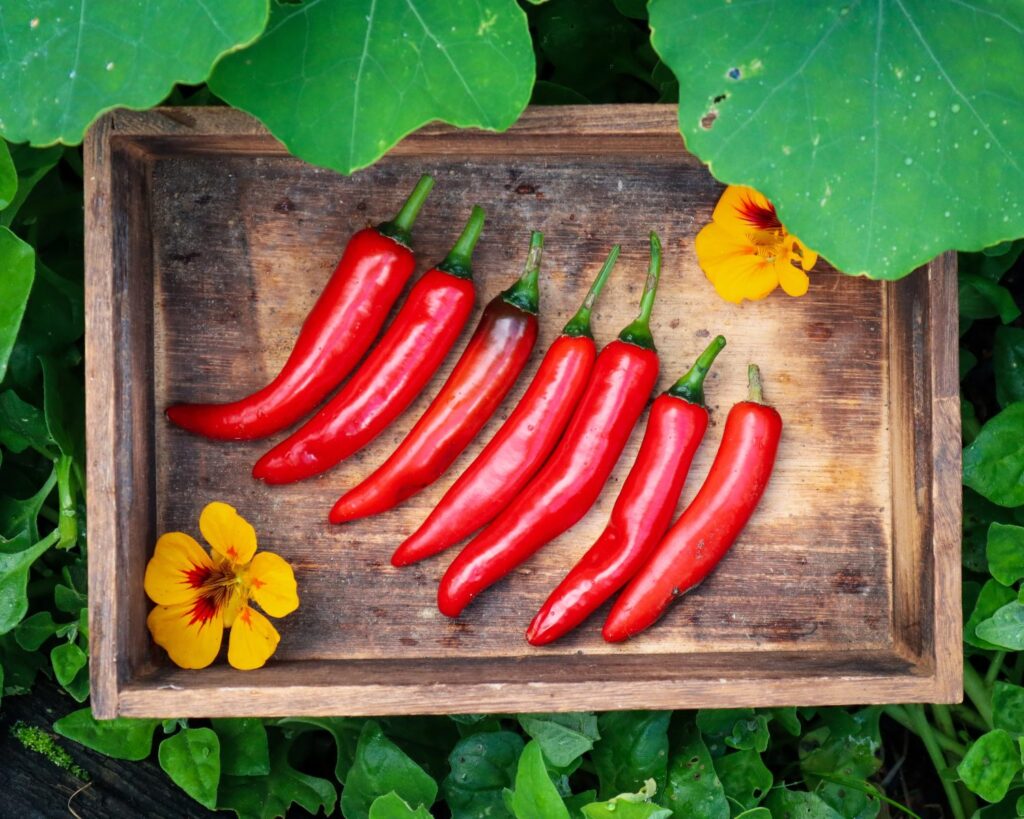
Harvest the chilli often to promote new fruit.
Harvest in the morning or evening when the plants are hydrated and fresh.
Harvest before heavy rains. Chillies can split open with excess water and spoil.
Reproducing
Chillies can be grown from cuttings but it is easiest to save seeds and re-grow each year. Allow a few chillies to go over-ripe and start to shrivel on the plant before harvesting. Be careful handling chillies and wash hands thoroughly after or use gloves. Scrape out the seeds and allow them to fully dry on a plate for a week before storing them.
Cooking and Using
Chillies can be used fresh, dried or frozen. They defrost quickly and can be used just as you would fresh ones.
These Zucchini wrapped haloumi skewers are so delicious and easy to make! Marinated in my favourite green sauce plus the Rosemary flavour also infuses during cooking. I made this during one of my YouTube live streams and had to share the recipe! Serve on a fresh salad or with a charcuterie board. These would also be great for summer BBQs.
Rosemary (Rosmarinus officinalis) is a fragrant perennial herb. Rosemary is a hardy, drought-tolerant shrub and can also be used as an ornamental due to its evergreen foliage and purple or white edible flowers. Rosemary is a great herb to plant on your journey to sustainability, as it has a large list of beneficial uses for the garden, home, kitchen, plus many medicinal qualities. When Rosemary flowers it will attract an abundance of beneficial pollinators to increase your garden’s production.
Zucchini wrapped Haloumi on Rosemary Skewers
Yield: 9
Prep Time: 25 minutes
Cook Time: 8 minutes
Total Time: 8 minutes
Easy and delicious these Rosemary Skewers make a quick lunch or entertaining dish.
Ingredients
1 medium Zuchinni
1 packet Haloumi
Olive oil
9 Rosemary sprigs
Green Dressing (available below for logged in members or see notes)
Instructions
Soak the Haloumi in a bowl of water for 5-10 mins while prepping the rest of the dish (optional but reduces the salt and makes the halloumi softer).
Cut the Zucchini into thin ribbons using a wide vegetable peeler.
Prepare the green sauce or marinade (available below for logged-in members or see notes)
Pour half the marinade over the zucchini Ribbons.
Remove the haloumi from the water, cut it into squares roughly 1-2cm, and place in the bowl with the remainder of the marinade.
Place the ribbons and halloumi in the fridge to marinate further for 10-20min.
Heat a pan with olive oil on medium heat.
Lay a zucchini strip out flat and place a haloumi cube at the beginning then roll to wrap the square.
Strip 3/4 of the leaves from the rosemary skewers (see notes if you are using the leaves for the marinade you will need to do this at the beginning).
Place 3 wrapped cubes on a skewer and place in the pan. Cook until golden on each side - roughly 3 minutes each side.
Serve on a fresh salad with lemon or lime wedges and extra green sauce or a creamy yogurt dressing.
Notes
Non-member's alternative to the green dressing - Strip 3/4 of the leaves from the Rosemary sprigs. Roughly chop and add 1/4 cup of Olive Oil and use that as the marinade.
Swap Haloumi for Feta or Vegan Cheese
P.S - I make the members green dressing in the YouTube live.
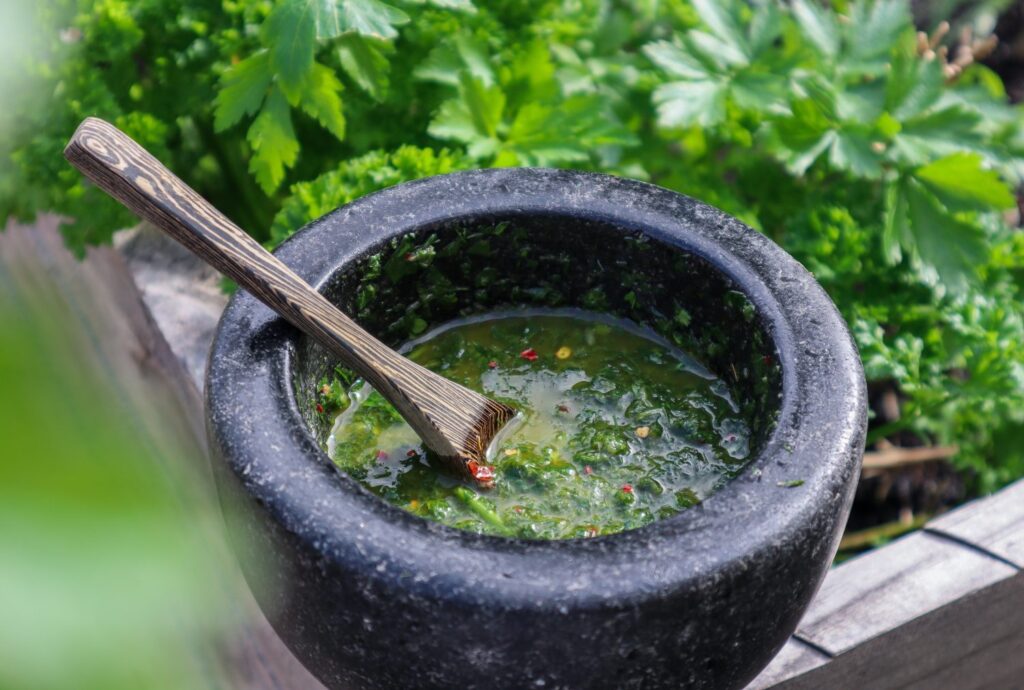
Green Sauce Chimichurri
This vibrant green dressing is packed full of flavour and is a delicious way to add a fresh zing to your meals.
Content is protected for Garden to Plate members only. Sign up for full access https://sustainableholly.com/join-the-club/
Watch the Live Video 👇
Want more Recipes?
Join the Garden to Plate club to learn more about growing thriving gardens and wholesome Garden to Plate meals.
Do you have big dreams and sustainable homestead goals to grow food and create your dream self-sufficient lifestyle but it feels so far off? You may be renting or in an apartment. Today, I’m going to share 10 actionable steps to help you achieve your sustainable homestead goals no matter how far away they feel. This is the path I have been on and I think this may help or inspire you too.
Are you ready? because your dream life starts now!
Click to watch the video 👇
I was listening to a podcast the other day and they were talking about you are where you are for a reason and that is because you still have more to learn. If I got /my big break and had 100s or 1000s of people flocking to join my garden-to-plate membership would I cope? the answer is probably not! My systems have been built on a small scale and I still have lots more work to do before reaching that level (goals!). Hopefully one day I will be able to help 100s and 1000s of people grow food so I’m continuously working on improving my systems.
The same with getting your dream homestead, if you suddenly found yourself dropped in the middle of an off-grid property would you know exactly what to do? Would you know how to improve your soil, plant trees, care for animals, or afford a house, infrastructure, and the bills that come along with it? or would it be an overwhelming chaotic mess?
There are so many small steps you can start taking today and these are the 10 stages I have been working through to bring my dreams to life. so hopefully they help and inspire you too!
10 ACTIONABLE STEPS to start your Sustainable Homestead Goals now
1. What are your goals?
Write them down. Where do you want to live? What lifestyle do you want to achieve? How do you want your days to look?
The great thing about having clear goals is that decisions along the way become easier (great for people like me that struggle with decision-making!) Does this align with my goals or not? Start at the end and work backward. Will this change along the way? Probably but at least it will give you a direction to start working towards and not be stuck doing nothing.
2. Make a vision board
I like to do this every year and I use Canva and put together a collage type of document. I then have mine as my screen savers on my phone and computer for constant reminders but you could just print out some images and put them on the fridge or the wall. I am a real visual person so this works for me.
3. Pay off debts
Ditch after pay and all that. Don’t buy things you don’t need with money you don’t have. That has always been part of my mentality so I have never financed furniture or anything like that…Hence why my house looks a little bare 😅 I prioritize money in other ways.
One of the hardest things I did was prioritize paying off my student loan. It took me a few years and I set up automatic payments to come out after each pay. If I was still buying coffees and let’s be honest probably plants…then I would increase my repayments a bit because I obviously still had disposable income. ..and repeat. As a student, I knew how to live off the minimum. Lifestyle creep is inevitable but if your dreams are big and solid you can do it!
Hard now and easy later!
Something I found so useful was the debtfree charts. You can choose a relevant one and divide the amount into sections. Each time you pay one down you can highlight it. For a visual person like me, this worked a treat. I just wanted to pay one more line . These also work great for savings too.
4. Start savings
Once you have your debts out of the way start saving. You know what you are capable of paying after paying off your debts so switch to a savings mode. Don’t get into the continuous reward stage. Remind yourself of the goals you are working towards.
5. Start growing food
This can be started from day one. You don’t need all the gear or all the nice raised garden beds, that will come. Start with what you have. Keep an eye on marketplace there are so many free pots and random things that you will be able to turn into gardens. Both my compost bins were free and I even got a free fruit tree recently.
If you dream of creating these thriving edible gardens that produce a whole lot of food then the only way there is through it. There’s no quick fix. you have so much to learn and you will learn faster by doing.
So get seeds in the soil and start growing.
6. Learn learn learn
We are so lucky to have incredible resources at our fingertips. Watch YouTube, listen to podcasts, invest in the skills you want to have, and visit community gardens. Learn to love the process because continuous learning is so important!
7. Take action
Take what you have learned and put it into practice. Grow cuttings, and plant fruit trees in pots, if you plan to have a homestead in the same state then you can be growing your future plants and trees in containers to eventually take with you. Or even sell at a higher price to add to your savings.
8. Surround yourself with Like-minded People and Communities.
This is a great way to stay motivated and learn so much. Not just about how to grow food or raise chickens but just about their outlook on life and values. People are so generous with their time and resources. Offer to help someone in their garden, this is a great way to learn and you may even receive cuttings or seeds from special plants.
9. Start working on Financing the Dream.
We all need to make money its just part of the world we live in. Does your current job and career align with the sustainable homestead goals or lifestyle you are working towards? It may do, you may already love your job but it also more than likely does not. Start a side business or grow your hobby with the direct intention of it becoming your career. Keep coming back to that lifestyle you set out in stage 1. If you want to have time to go on adventures or spend days in the garden then make sure what your working towards actually allows for that.
Do you dream of starting a flower farm? What can you do now? Start social media and grow a following. It’s free and it’s a real actionable step toward that goal. If you need some ideas check out this video on 100 ways to make an income from your property. I guarantee if one of those things excites you, there is an actionable step you can take today to make progress.
10. Re-evaluate and check in with yourself.
This is really the stage I am at now. I have been working on the last 9 steps for the last 10 years and it’s important to make sure my sustainable homestead goals and visions are still aligned. Don’t be afraid to pivot. Maybe after growing food or doing cut flowers your are unsure if that really fits anymore. For me, annuals just aren’t really it ( I LOVE PERENNIALS) and I’m actually unsure about all the 100s of animals I initially wanted. Animals are a lot of work and commitment I kind of want the freedom to come and go more often.
My dream is still real and I would love to have land to rewild and have my dream homestead but lots of things have changed. I also want to be able to travel and explore more. So I’m creating new visions that I can’t wait to share with you along the way.
Sometimes it will be really tough. But find joy in the journey, IN THE INBETWEEN, the learning!. and absolutely celebrate the small wins! because they are aligned to stage 1 so they will all add up to be something incredible.
DISCLAIMER: Links included in this description might be affiliate links. If you purchase a product or service with the links that I provide I may receive a small commission. There is no additional charge to you! Thank you for supporting my website so I can continue to provide you with free content each week!
CREATING EXTRA INCOME FOR YOUR HOMESTEAD
Online surveys: https://bit.ly/3Bg0XNr
Ebook templates: https://bit.ly/2UfOXsr
Email lists: https://bit.ly/3VNXRbT
Photography editing: https://bit.ly/3cPfXW8
Create an online community: https://bit.ly/3W6s8mv
Do you want to learn how to GROW, COOK & PRESERVE your own food naturally and sustainably?
Join in monthly Workshops and Challenges, Plant of the Month features, and Garden to Plate Recipes, with a fun and supportive community to live a more sustainable lifestyle.
Do you have areas that get very hot, full sun, and nothing seems to survive? These 22 heat-tolerant edible plants to grow in HOT full-sun locations will help you grow productive edible gardens. I’ve been growing food here in Perth, Australia, for the last 10 years, and let me tell you, it was a big change and learning curve coming from the lush green of New Zealand.
Today, I’m sharing some plant ideas to plant in those super hot locations, but keep reading to the end because it’s not just about what you plant, but also when and how! Bonus tips on that, so you can turn your hot barren wasteland into productive edible gardens.
Click to WATCH 22 heat-tolerant edible plants
22 Heat-tolerant Edible Plants for Full Sun
1. Rosemary
Attracts bees 🐝 and has healing properties, and is great for skin and hair care. Flavour-enhancing culinary herb🌿 When I first moved here, I wondered why so many houses had Rosemary hedges out the front – and it’s because it thrives on neglect and our poor sandy soils. Rosemary is a great heat-tolerant addition to your edible garden. Try making your own Rosemary Salt.
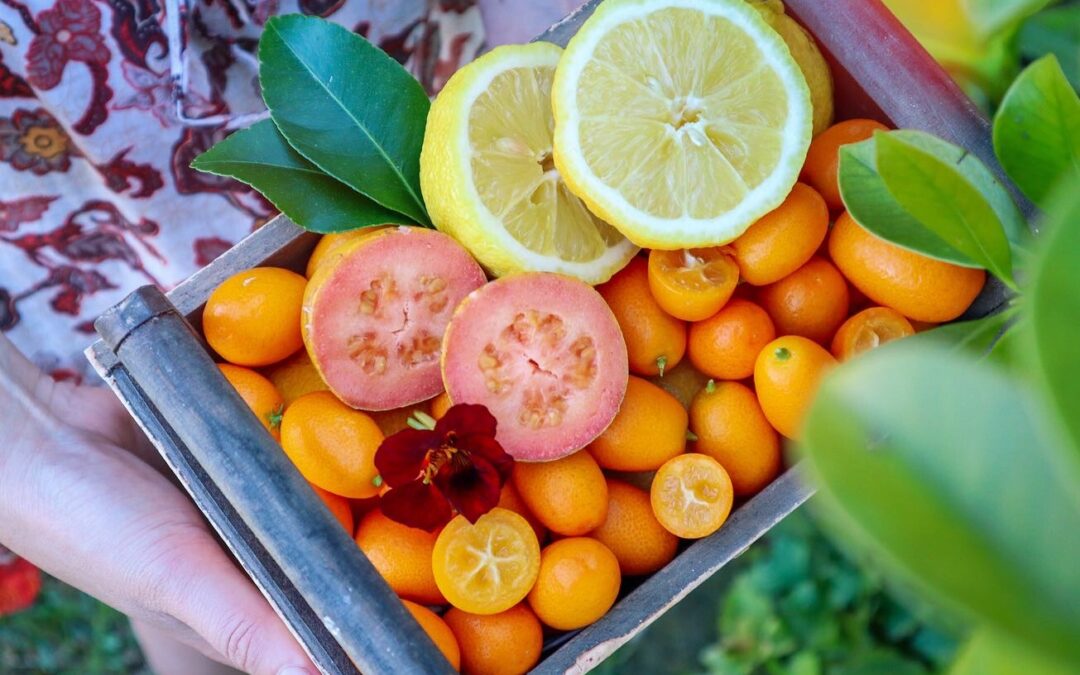
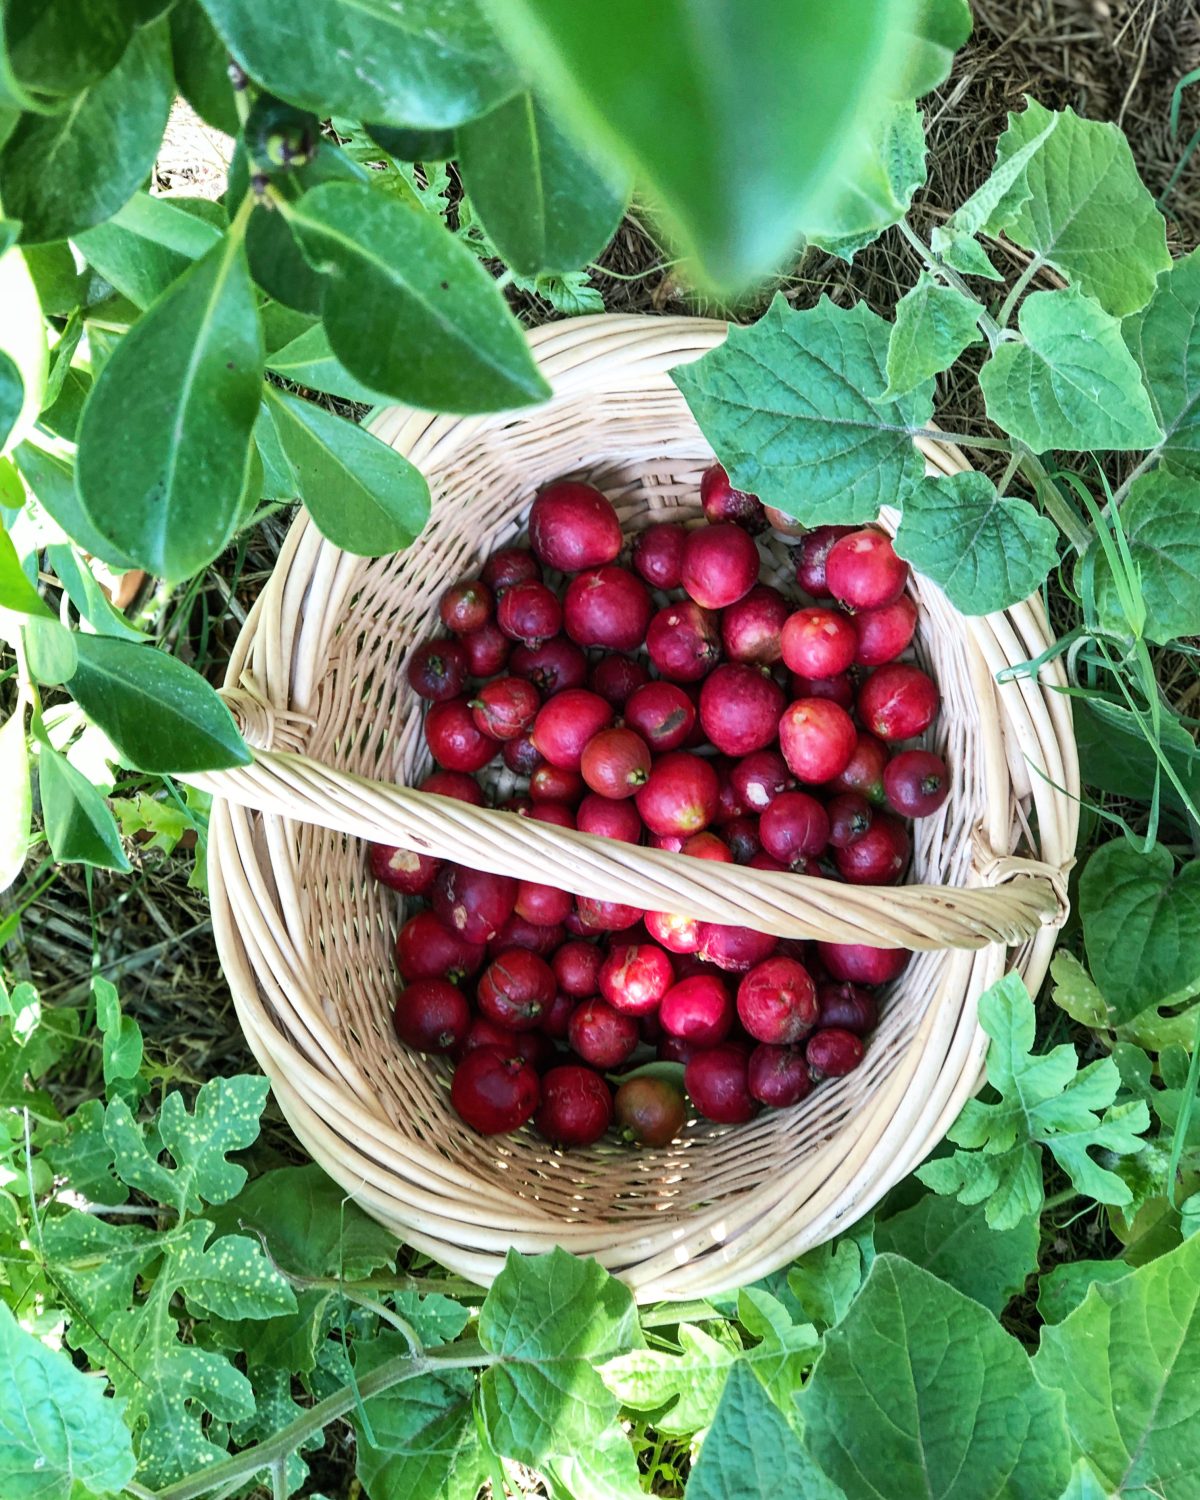
2. Guava – Strawberry & Tropical
Strawberry/cherry, lemon cherry, and tropical Hawaiian/Thai guavas are really hardy, low-maintenance fruit trees that produce bucketloads of fruit!
3. Mulberry
Another powerhouse perennial that survives on neglect – they grow super fast so you can use these as a nanny plant or a pioneer plant. If you have a barren hot area you could plant a Mulberry to get quick shade established and later on remove it or heavily prune if it gets too big. Mulberry also loses leaves in winter to let light in.
4. Lavender
Lavender is drought-tolerant – a great pollinator plant with many medicinal (calming and sleep) and culinary uses. In my garden (which will be different with climates and varieties) Lavender flowers at the same time as my Feijoas so I have it planted in between them to attract pollinators and increase my Feijoa harvests.
5. Feijoa / Pineapple Guava
If you have been following me on Instagram or subscribed to my YouTube, you will have guessed this plant would make the list 😂 Low maintenance, super hardy, and produces plenty of food! Feijoas do taste better when they get 50 chill hours a year so they aren’t optimally grown here in Perth, but they do grow well and are drought-tolerant. They are evergreen and super bushy, so they can be grown as an edible hedge. They are known to have fire-retardant qualities, which is very handy for hot, dry climates. If you are looking to purchase a Feijoa, choose a named variety (such as Duffy, White Goose, Mammoth, plus more) as these will perform better and produce fruit faster than generic seedling plants.
6. Passionfruit
Passionfruit is an edible vine that can be used to cover a fence, structure, or grown over an arbor to create shade. This can help cool your garden down and provide delicious fruit. Passionfruit flowers can also be used to make calming teas to aid in sleep and anxiety. NOTE: Avoid planting a grafted variety the grafts take over and become invasive, hard to get rid of, and don’t produce good fruit.
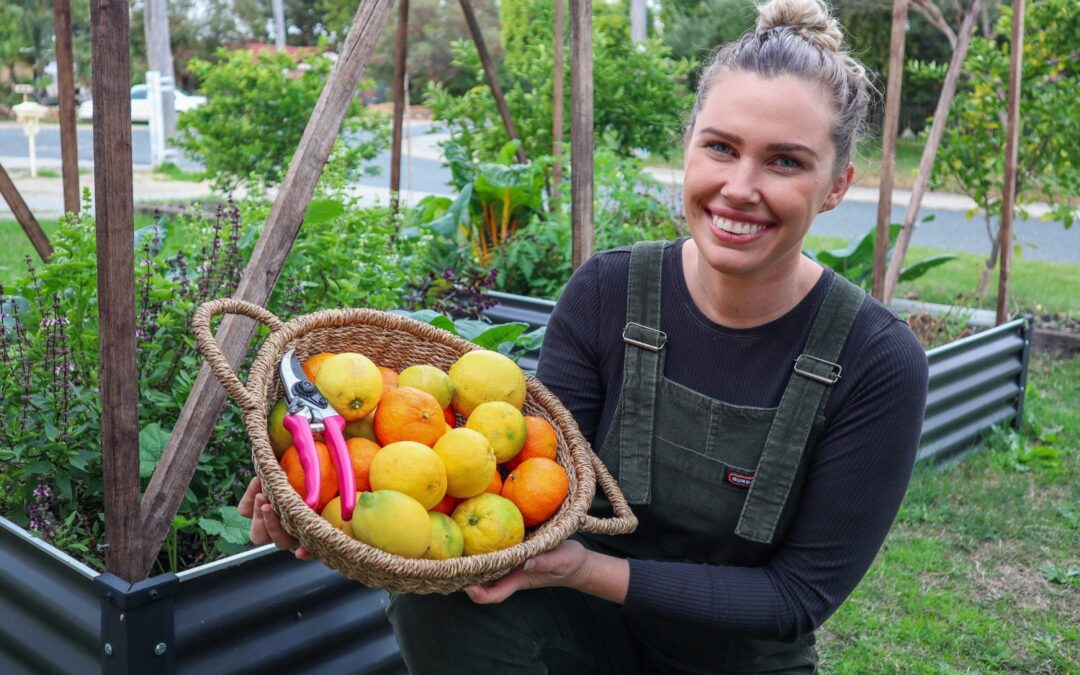
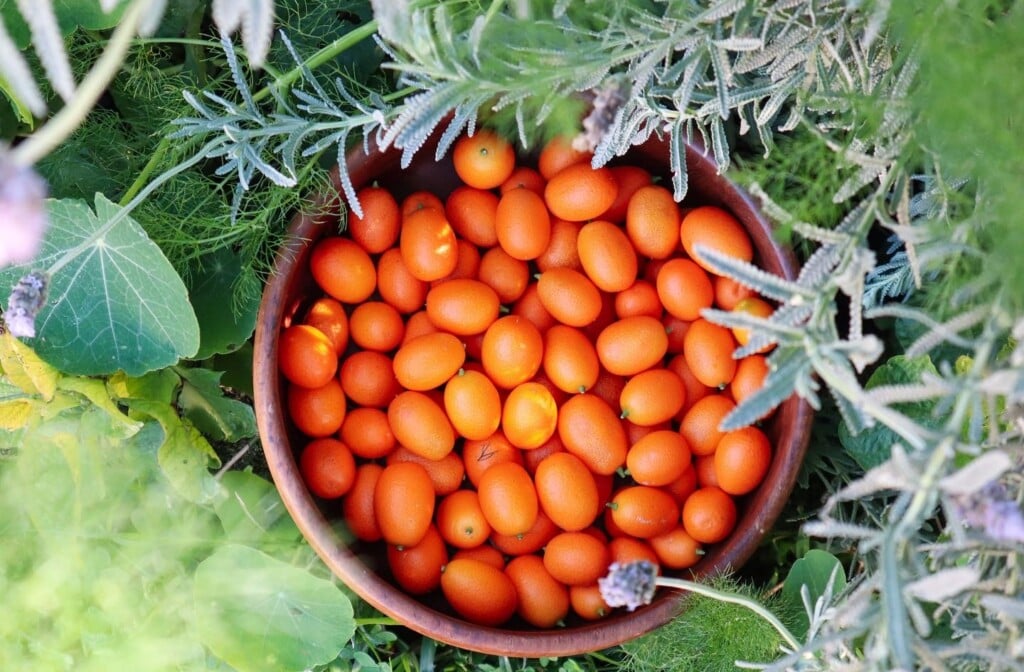
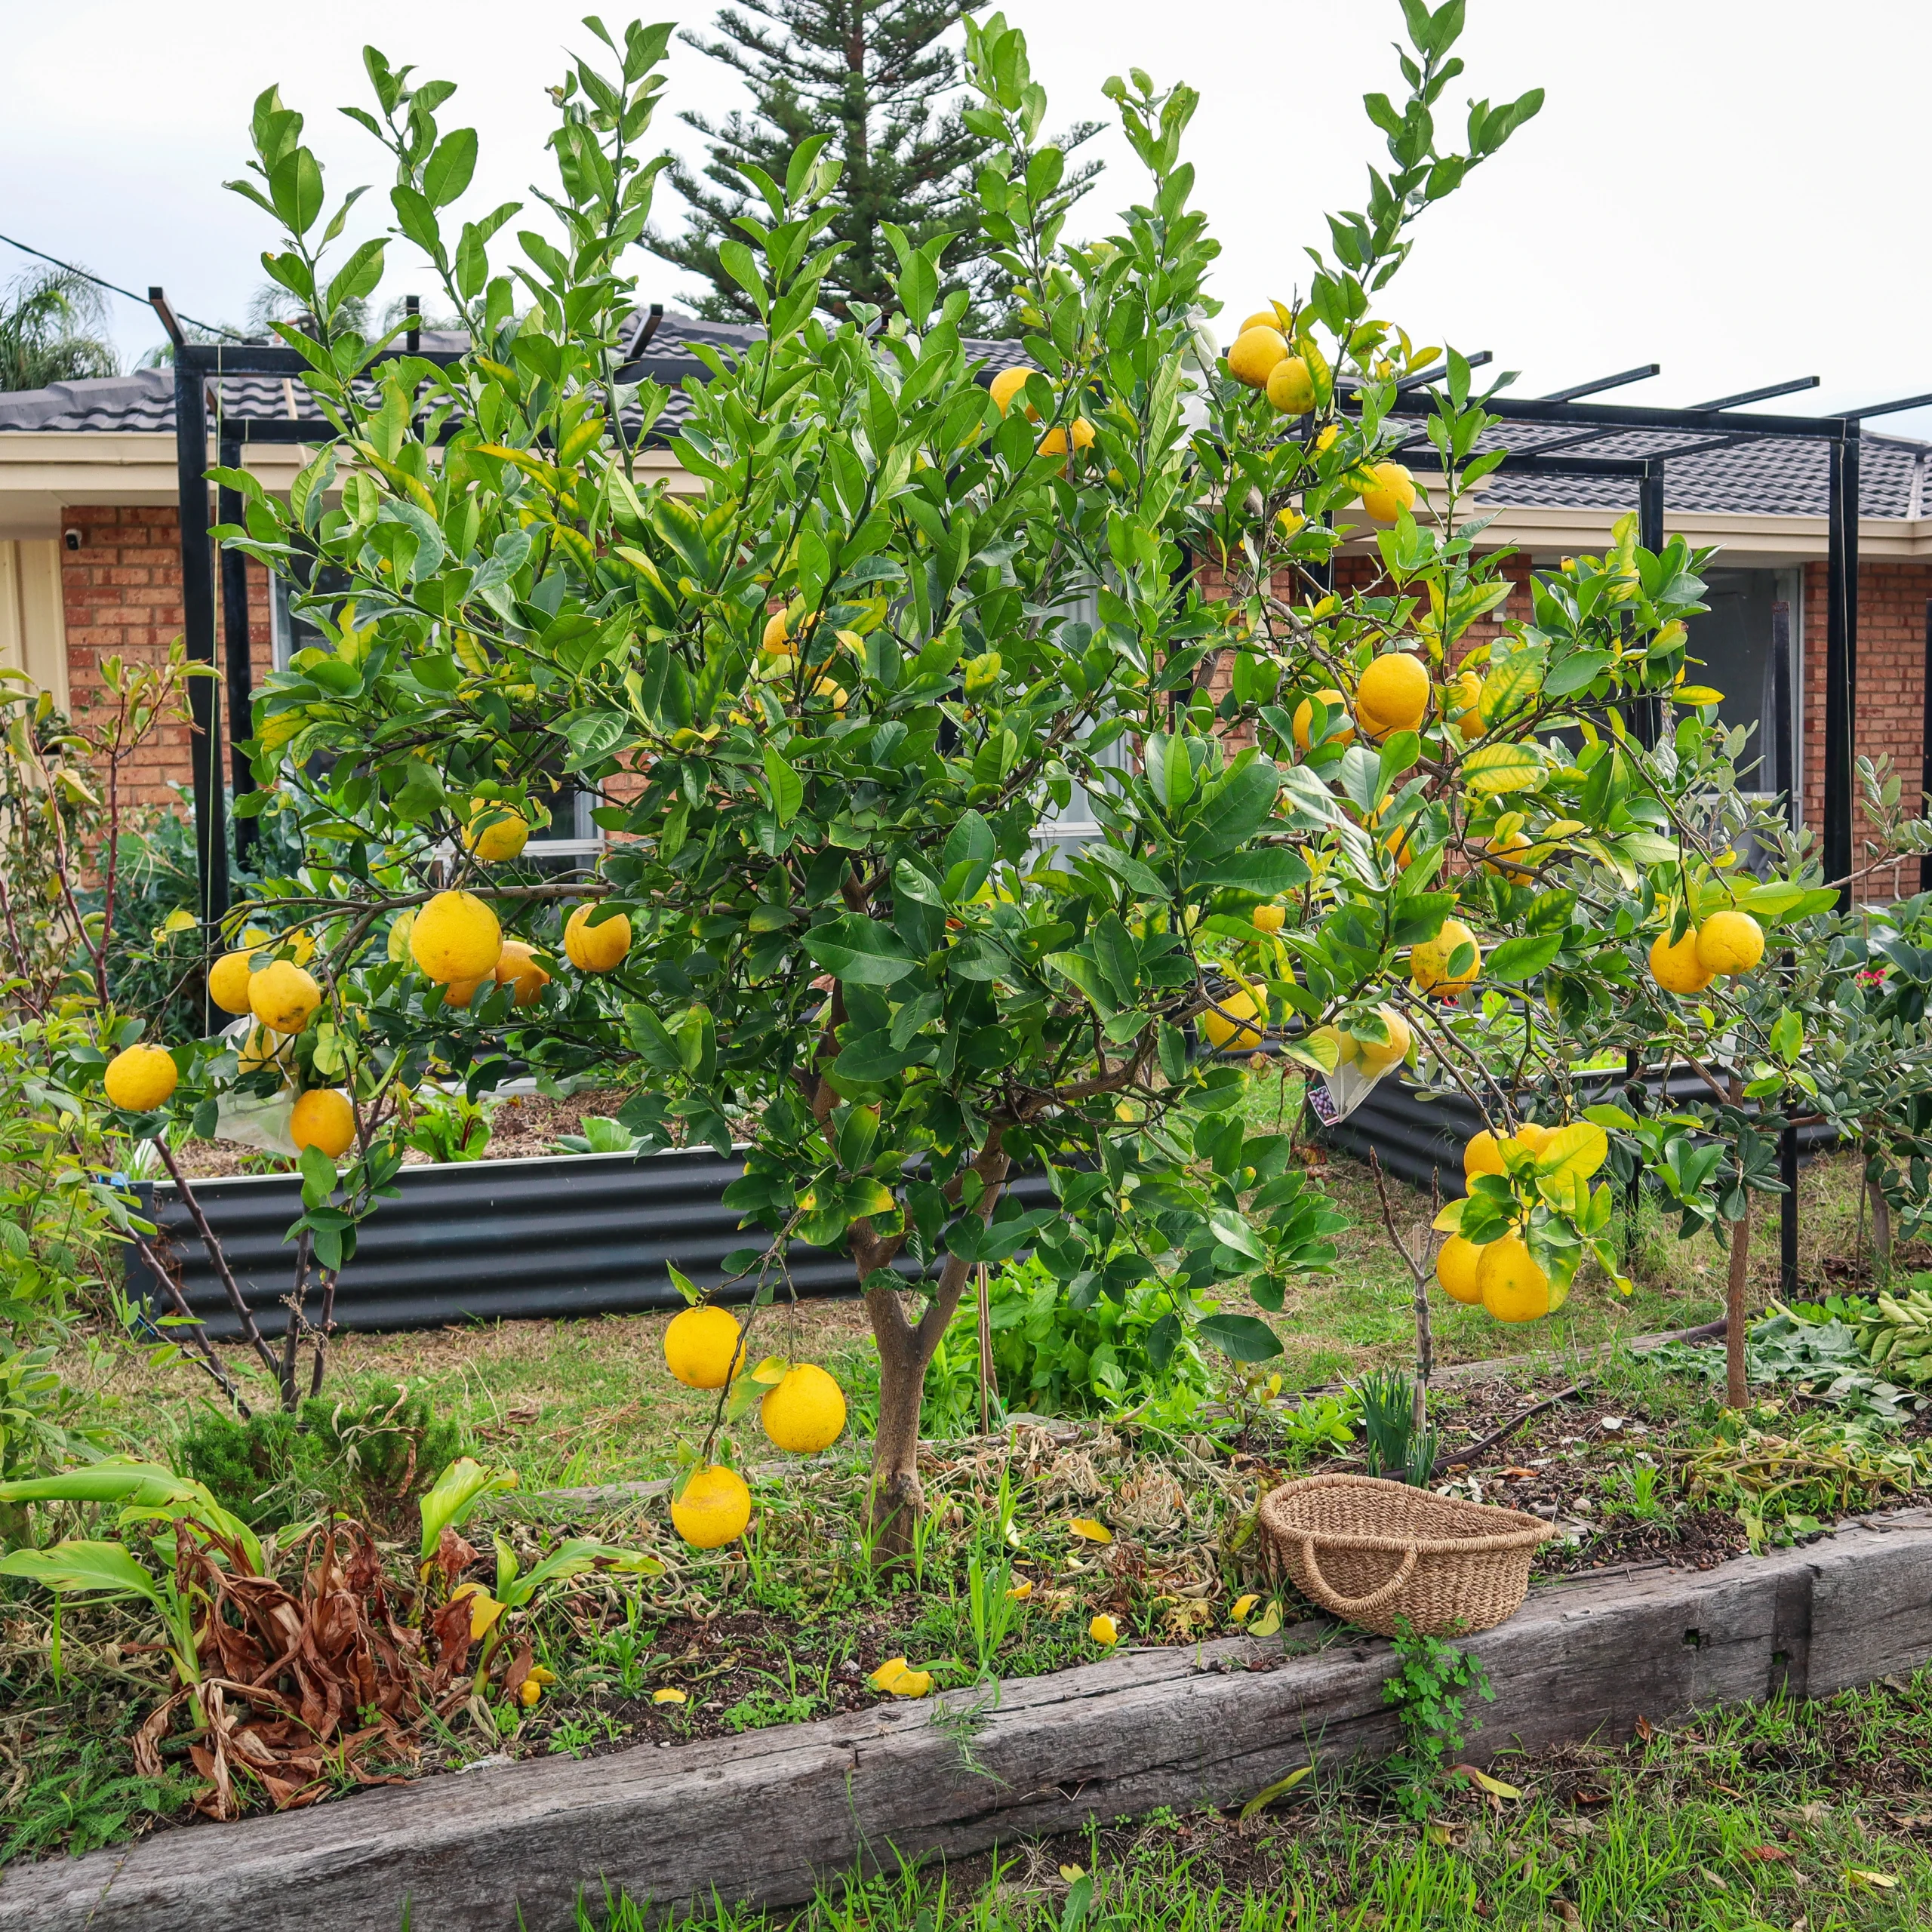
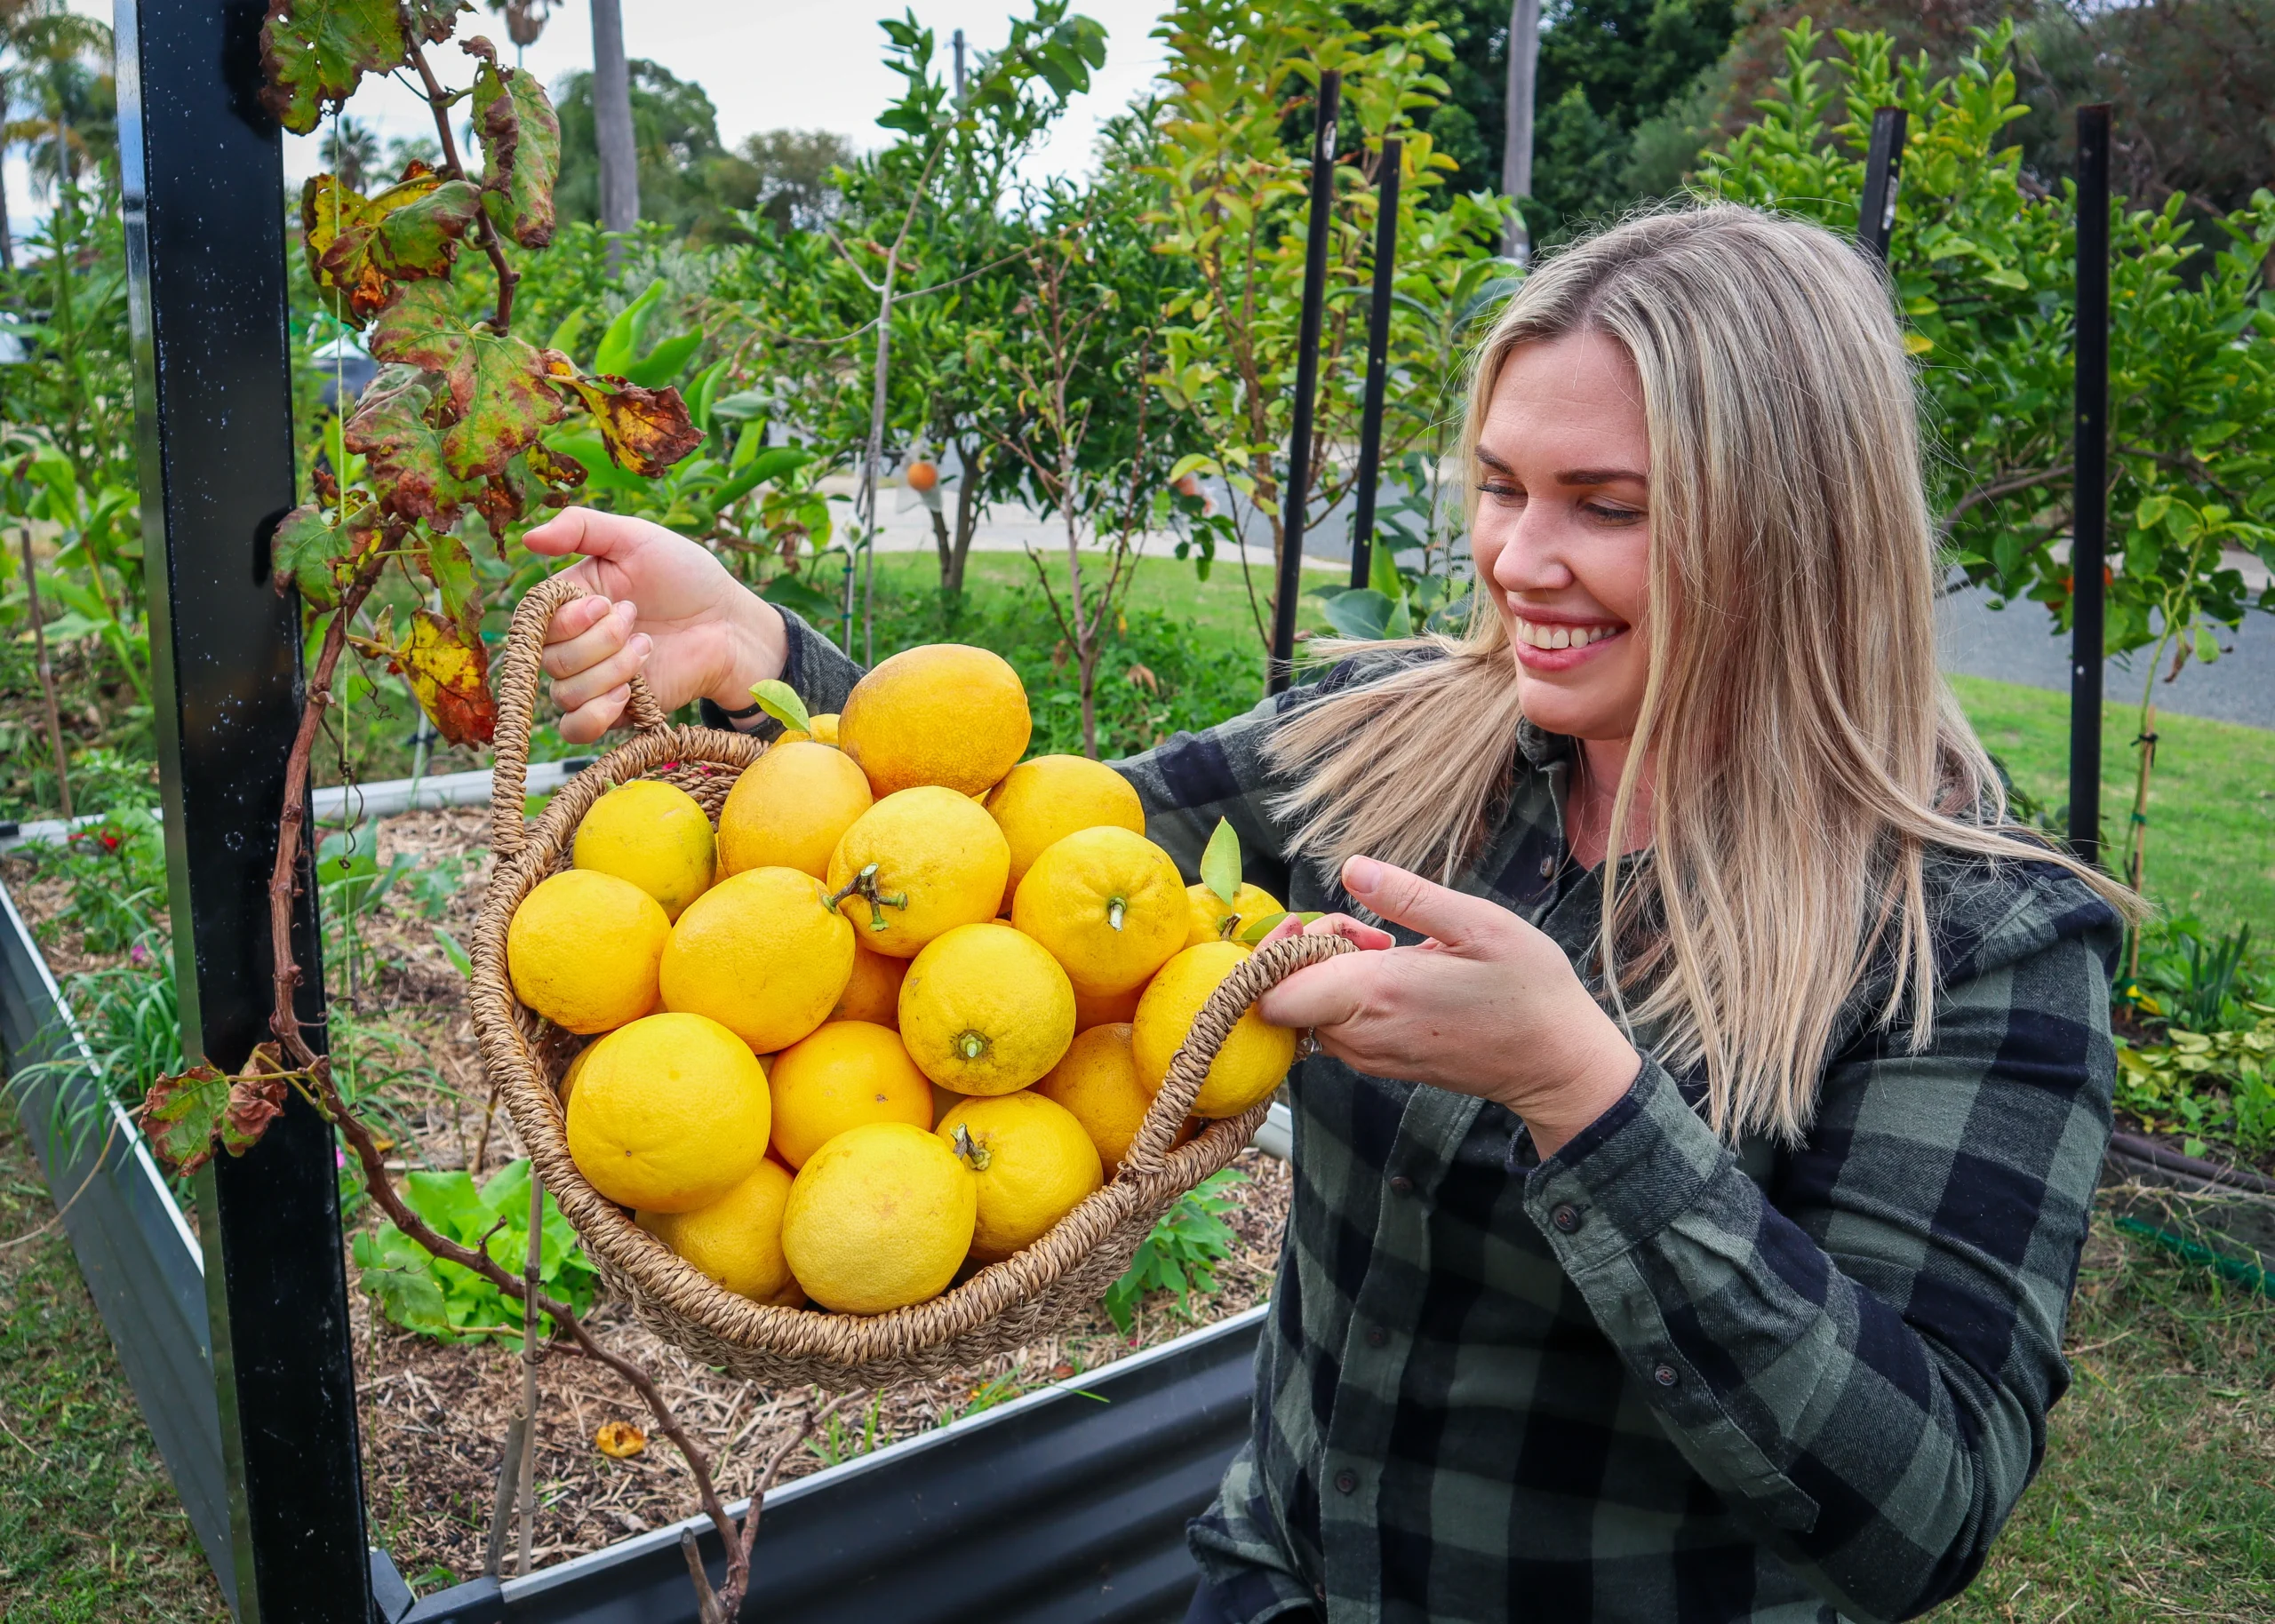
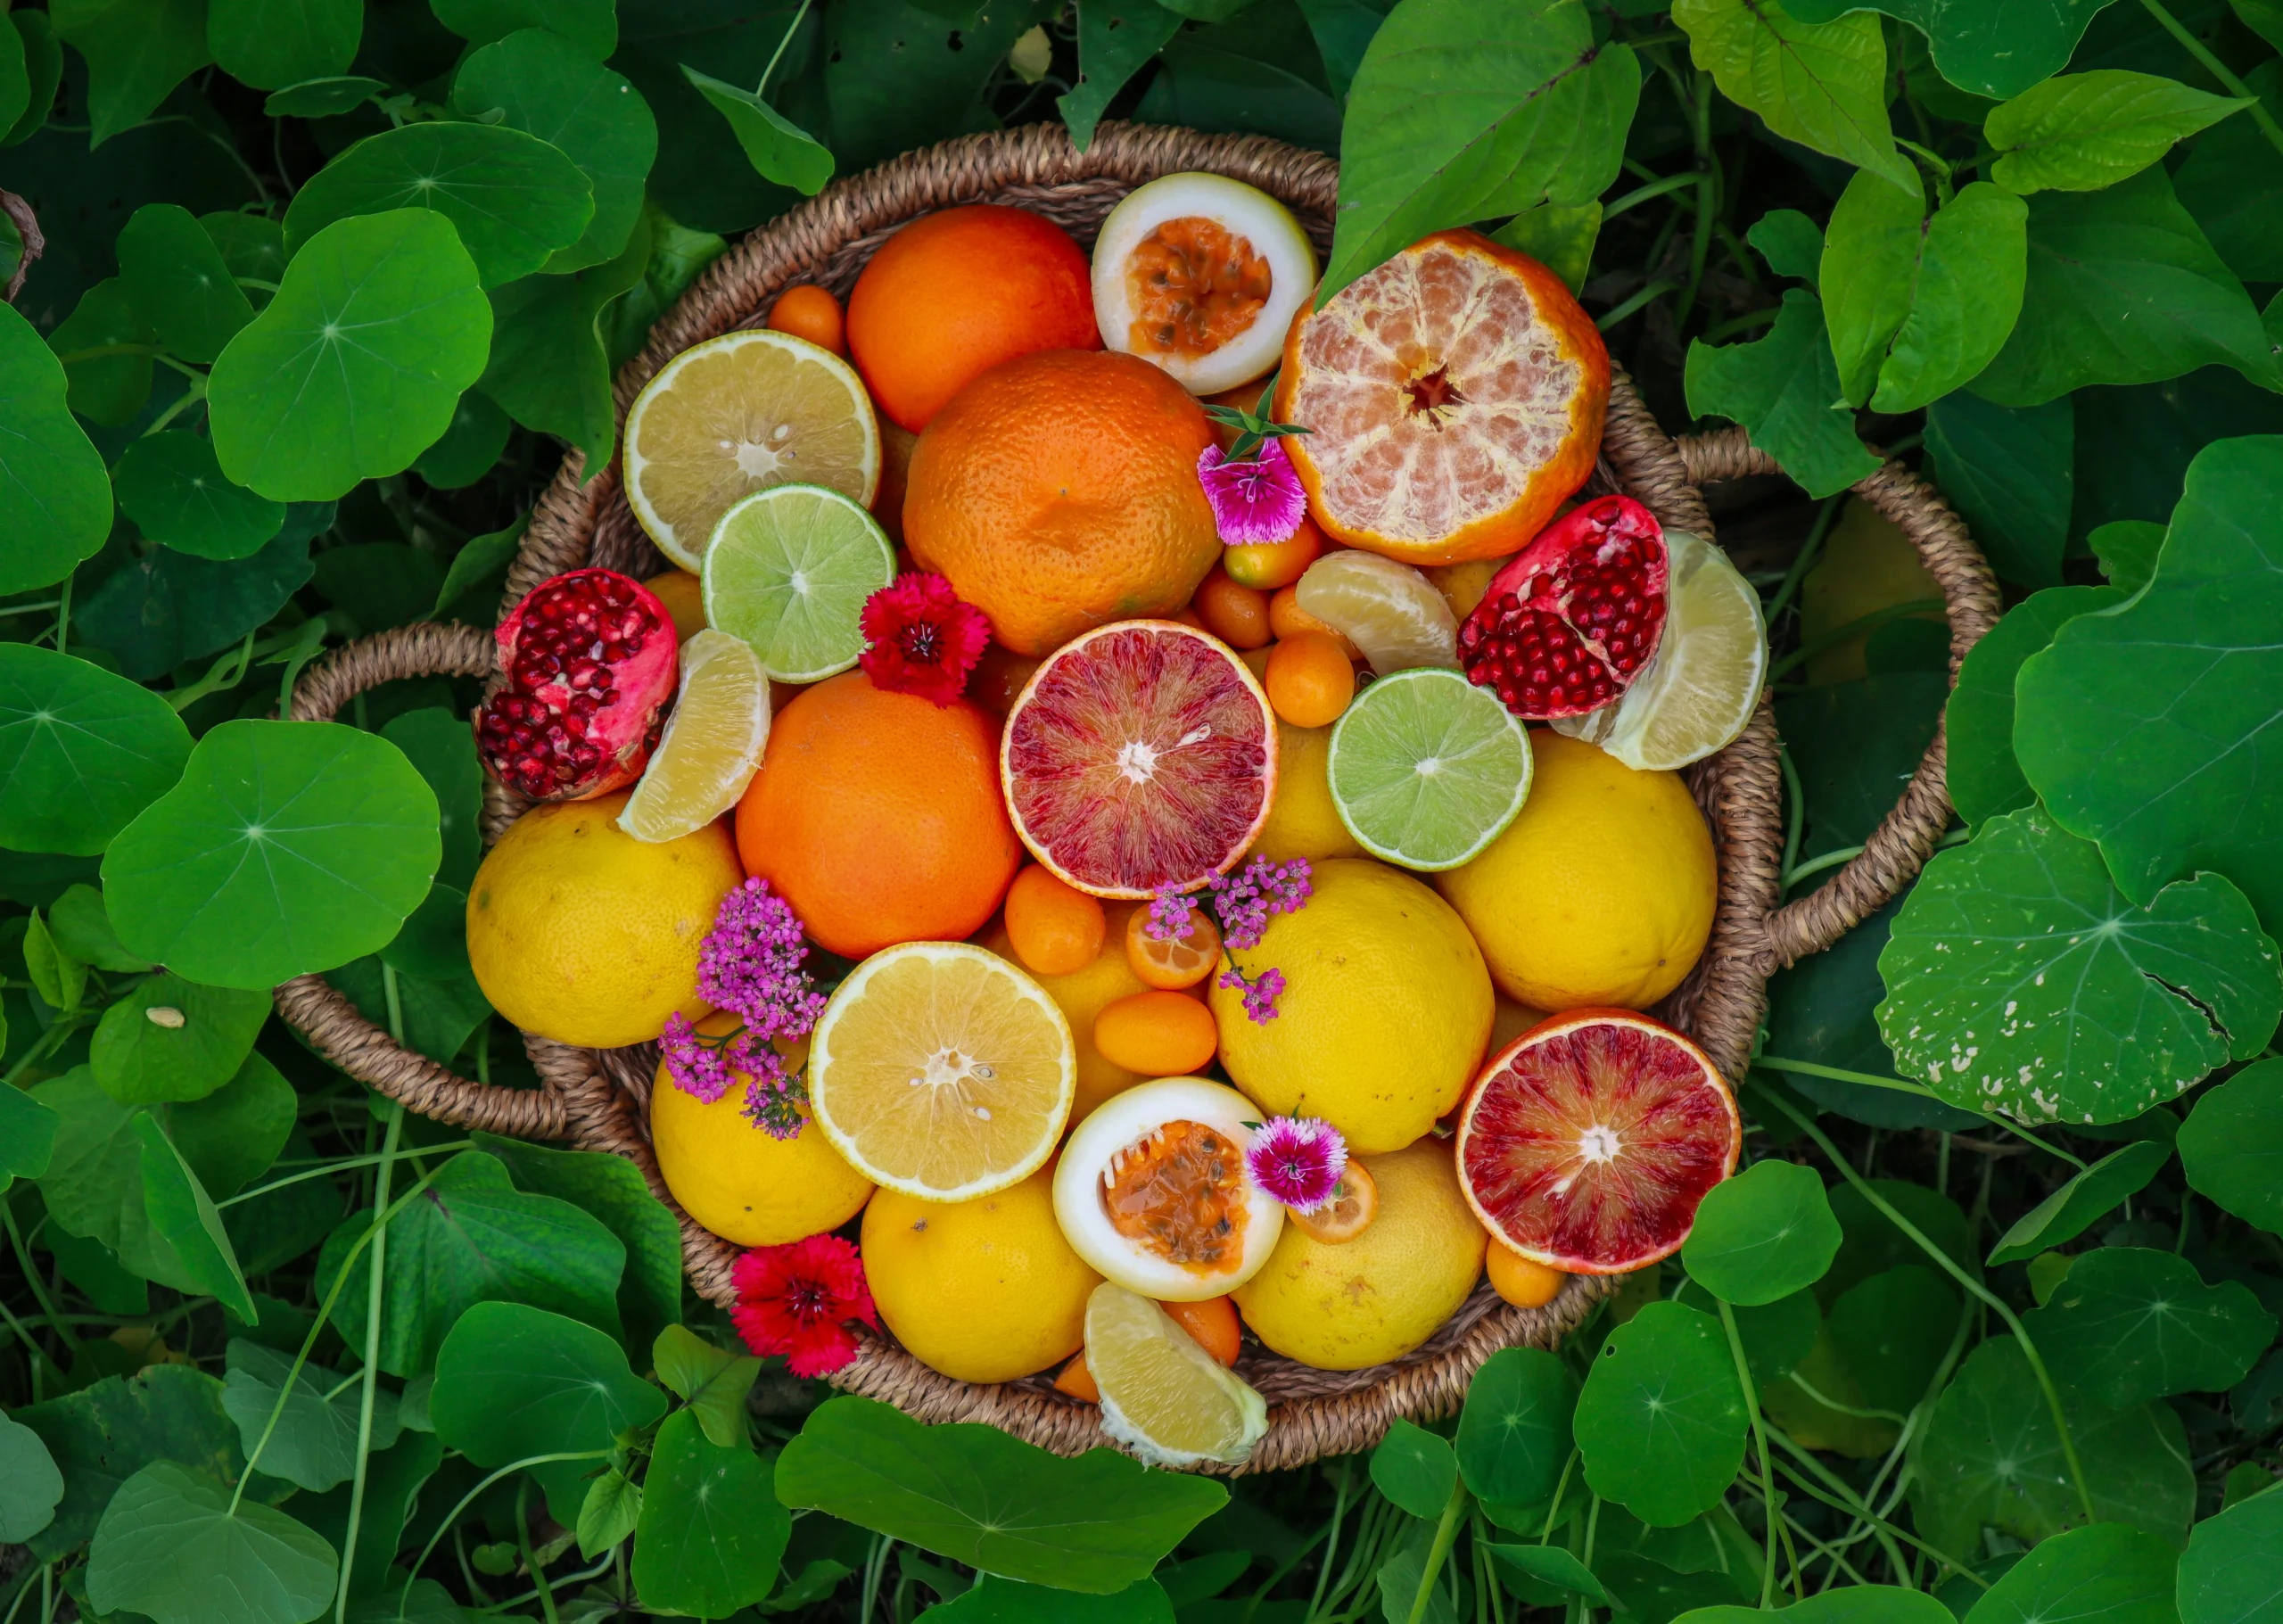
7. Citrus
Citrus like full sun and, once established, can thrive in hot environments. Avoid planting new trees before or during the hot summer so that they have time to get their roots established before the added stress of summer.
8. Lemon Verbena
A fragrant lemony scent that is similar to lemongrass. Lemon Verbena is great in teas, baking, and all the things! Lemon verbena is one of those plants that quietly becomes a favourite. Its leaves have a sweet, lemony fragrance—similar to lemongrass but softer—and the whole plant smells incredible when you brush past it. It’s perfect for teas, baking, syrups, and infused water,and it keeps its flavour really well when dried. I always keep a jar in the pantry for quick herbal tea blends. In the garden, lemon verbena is easy to grow in full sun and well-drained soil. It drops its leaves in winter (don’t worry, it’s normal!) and comes back quickly once the weather warms.
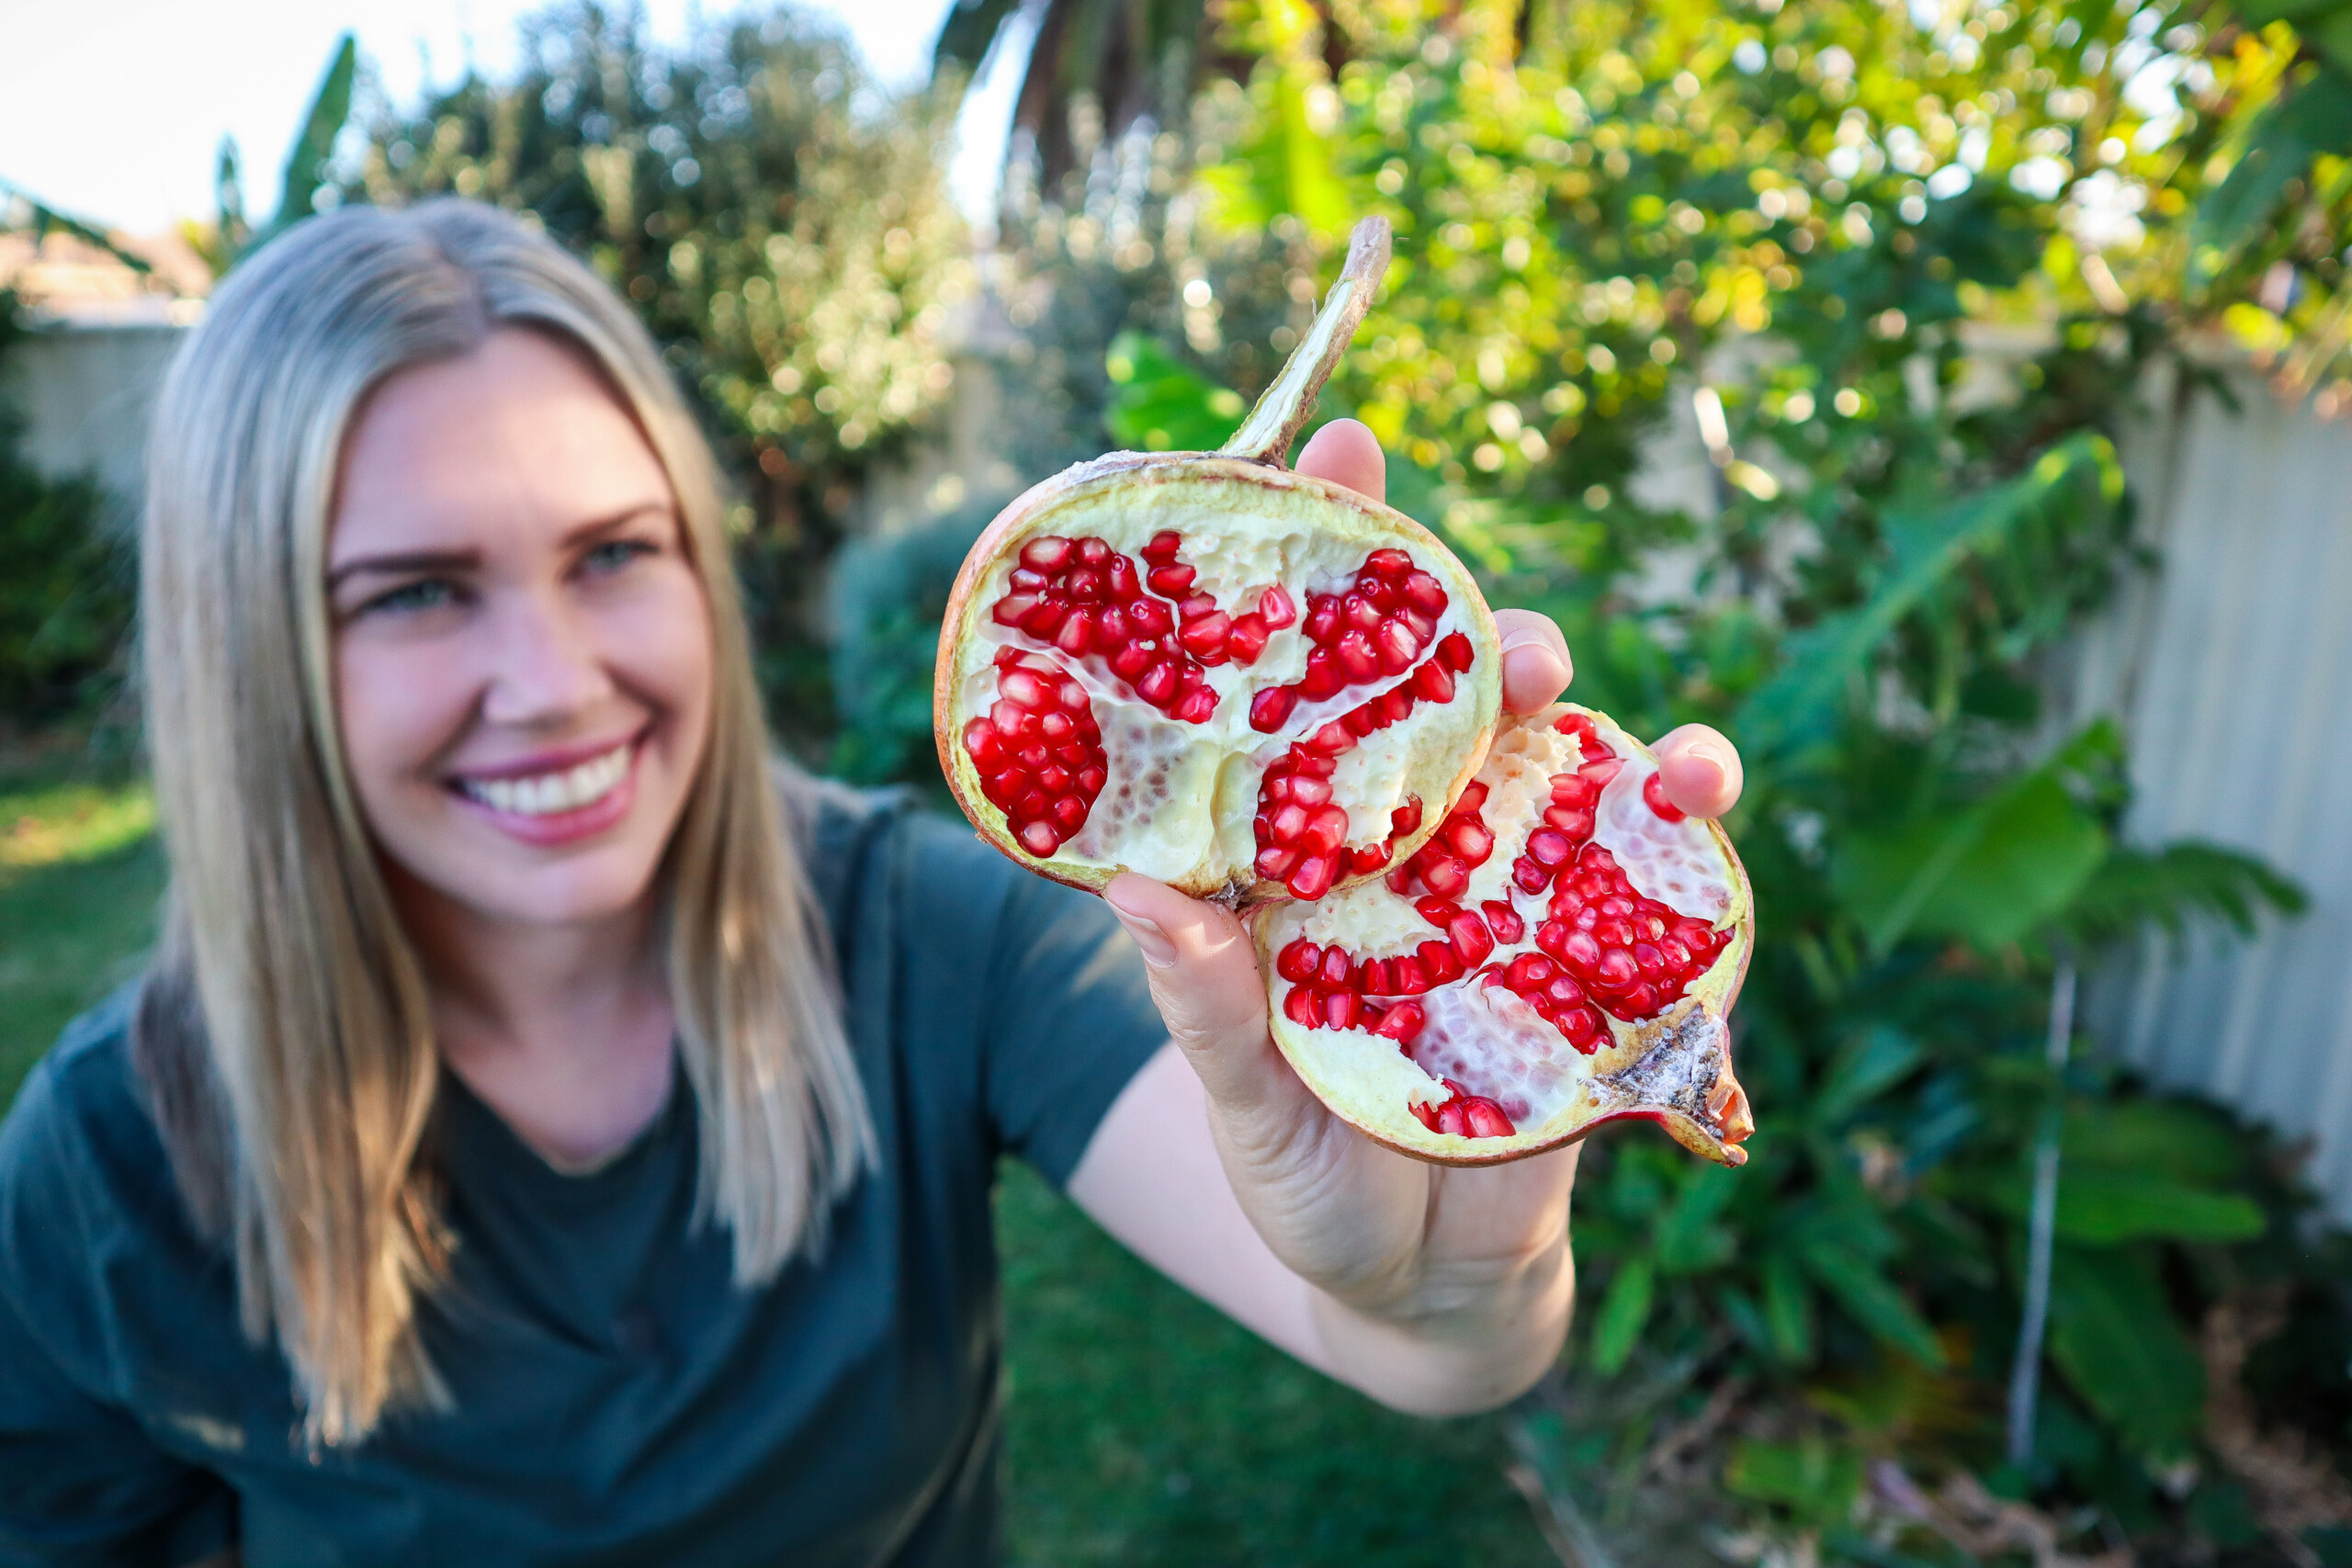
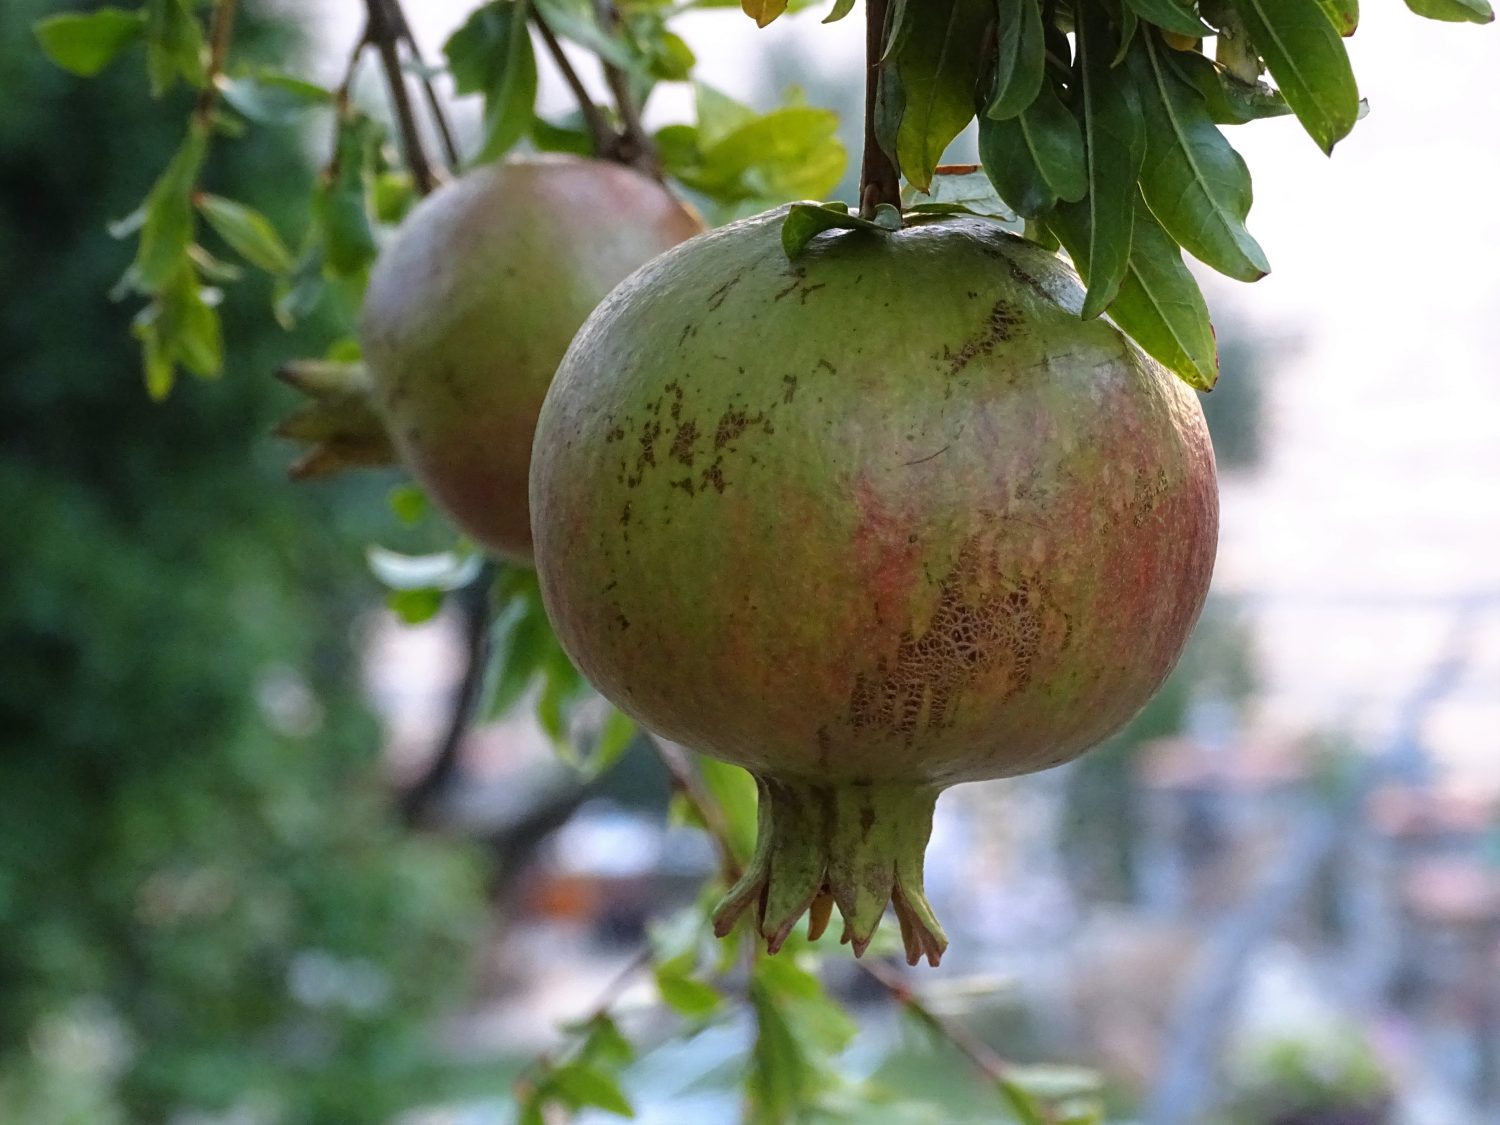
9. Pomegranate
Pomegranates are one of the best heat-tolerant fruit trees you can grow in a hot climate. They thrive in full sun, handle dry conditions like champions, and still reward you with glossy red fruit and bright, beautiful flowers. They’re incredibly low-maintenance, needing far less water than most fruit trees once established. Their deep roots make them drought-resilient, and they’re also naturally pest-resistant — perfect for gardens with harsh summers. If you’re building a resilient, water-wise garden, pomegranates are a must-have: tough, productive, and beautiful all year round.
10. Loquat
Loquats are incredibly hardy, fast-growing fruit trees that thrive in hot, dry climates. They handle poor soils, need very little care once established, and fruit heavily in late winter–spring when not much else is producing. Their sweet, tangy fruit is amazing fresh or made into sauces, and the large, glossy leaves give your garden a lush, tropical look with almost no effort. Loquats can be a pest plant because they grow so easily, and birds spread the seeds, so check with your local area.
11. Lilly Pilly
Lilly pillies are tough, water-wise Australian natives perfect for hedges, screens, or structure in hot climates. They handle heat, humidity, pests, and pruning exceptionally well. Many varieties produce edible pink or purple berries that can be made into jams or syrups. They’re also fantastic habitat plants for beneficial insects and birds. Part of the Syzygium genus is a great dense evergreen hedging plant with bright pink fruits. The fruits are edible and can be made into jams, sauces, and even sparking wine!
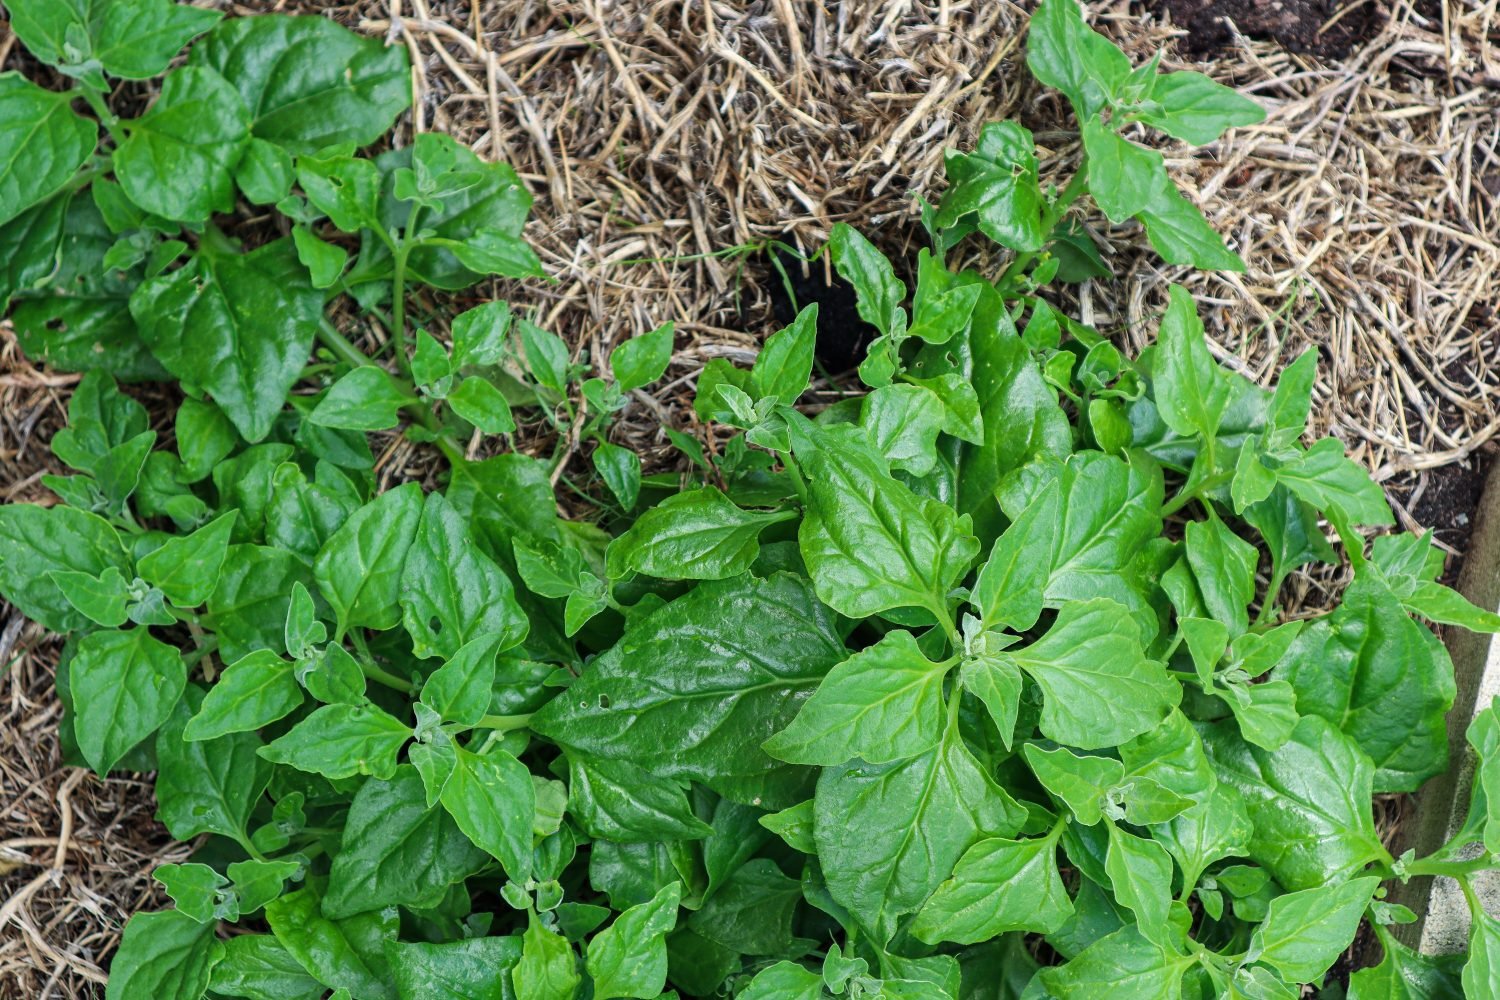
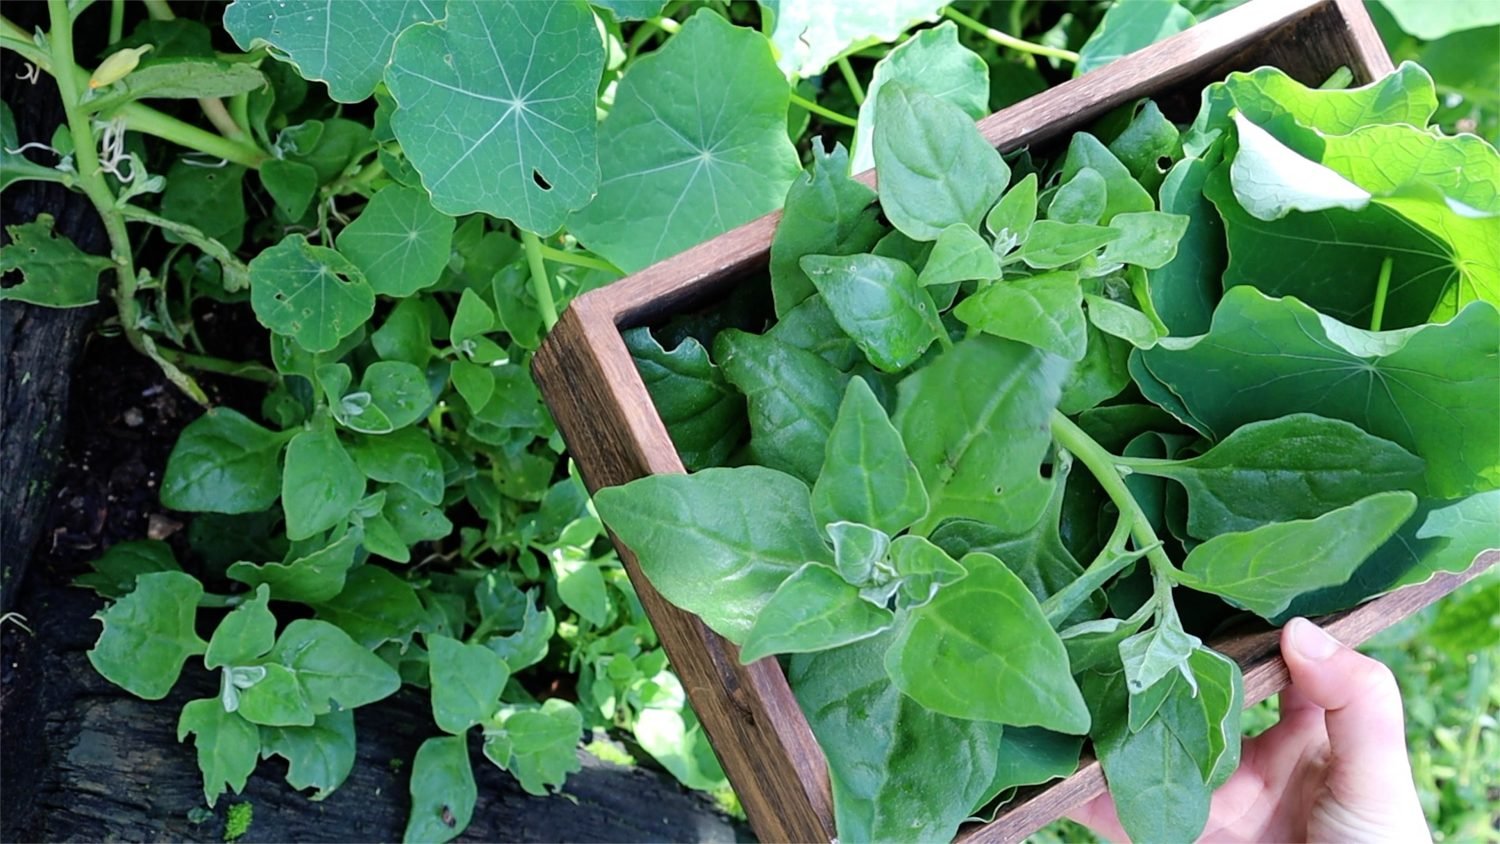
12. NZ Spinach / Warrigal Greens
NZ Spinach is one of the best heat-tolerant leafy greens for summer. It thrives when regular spinach collapses, spreading as a groundcover that shades and protects the soil. Harvest the tender tips regularly for stir-fries, and sautés. It’s low-maintenance, productive, and perfect for filling gaps in hot, sunny beds. Due to oxalates it does need to be cooked first.
13. Malabar Spinach
Malabar spinach is a vigorous climbing vine that absolutely loves the heat. Its fleshy, succulent leaves stay tender and productive even in scorching weather, and it grows beautifully over trellises to create summer shade. It’s ideal for warm climates but doesn’t tolerate frost, so give it a protected spot if your winters are cold.
14. Quince
Quince is a hardy, drought-tolerant fruit tree that thrives in hot conditions and poor soils. It produces large, fragrant yellow fruit perfect for making jams, jellies, pastes, and preserves. The tree itself is stunning with pretty spring flowers.
15. Zinnia
Zinnia is an edible flower that thrives in hot dry conditions. Zinnia has vibrant flowers in a huge range of colours. The great thing about Zinnia is that it produces nectar so it attracts a diverse range of pollinators to the garden such as bees, hoverflies, butterflies, and small birds. Zinnia is susceptible to powdery mildew so great for dry summers.
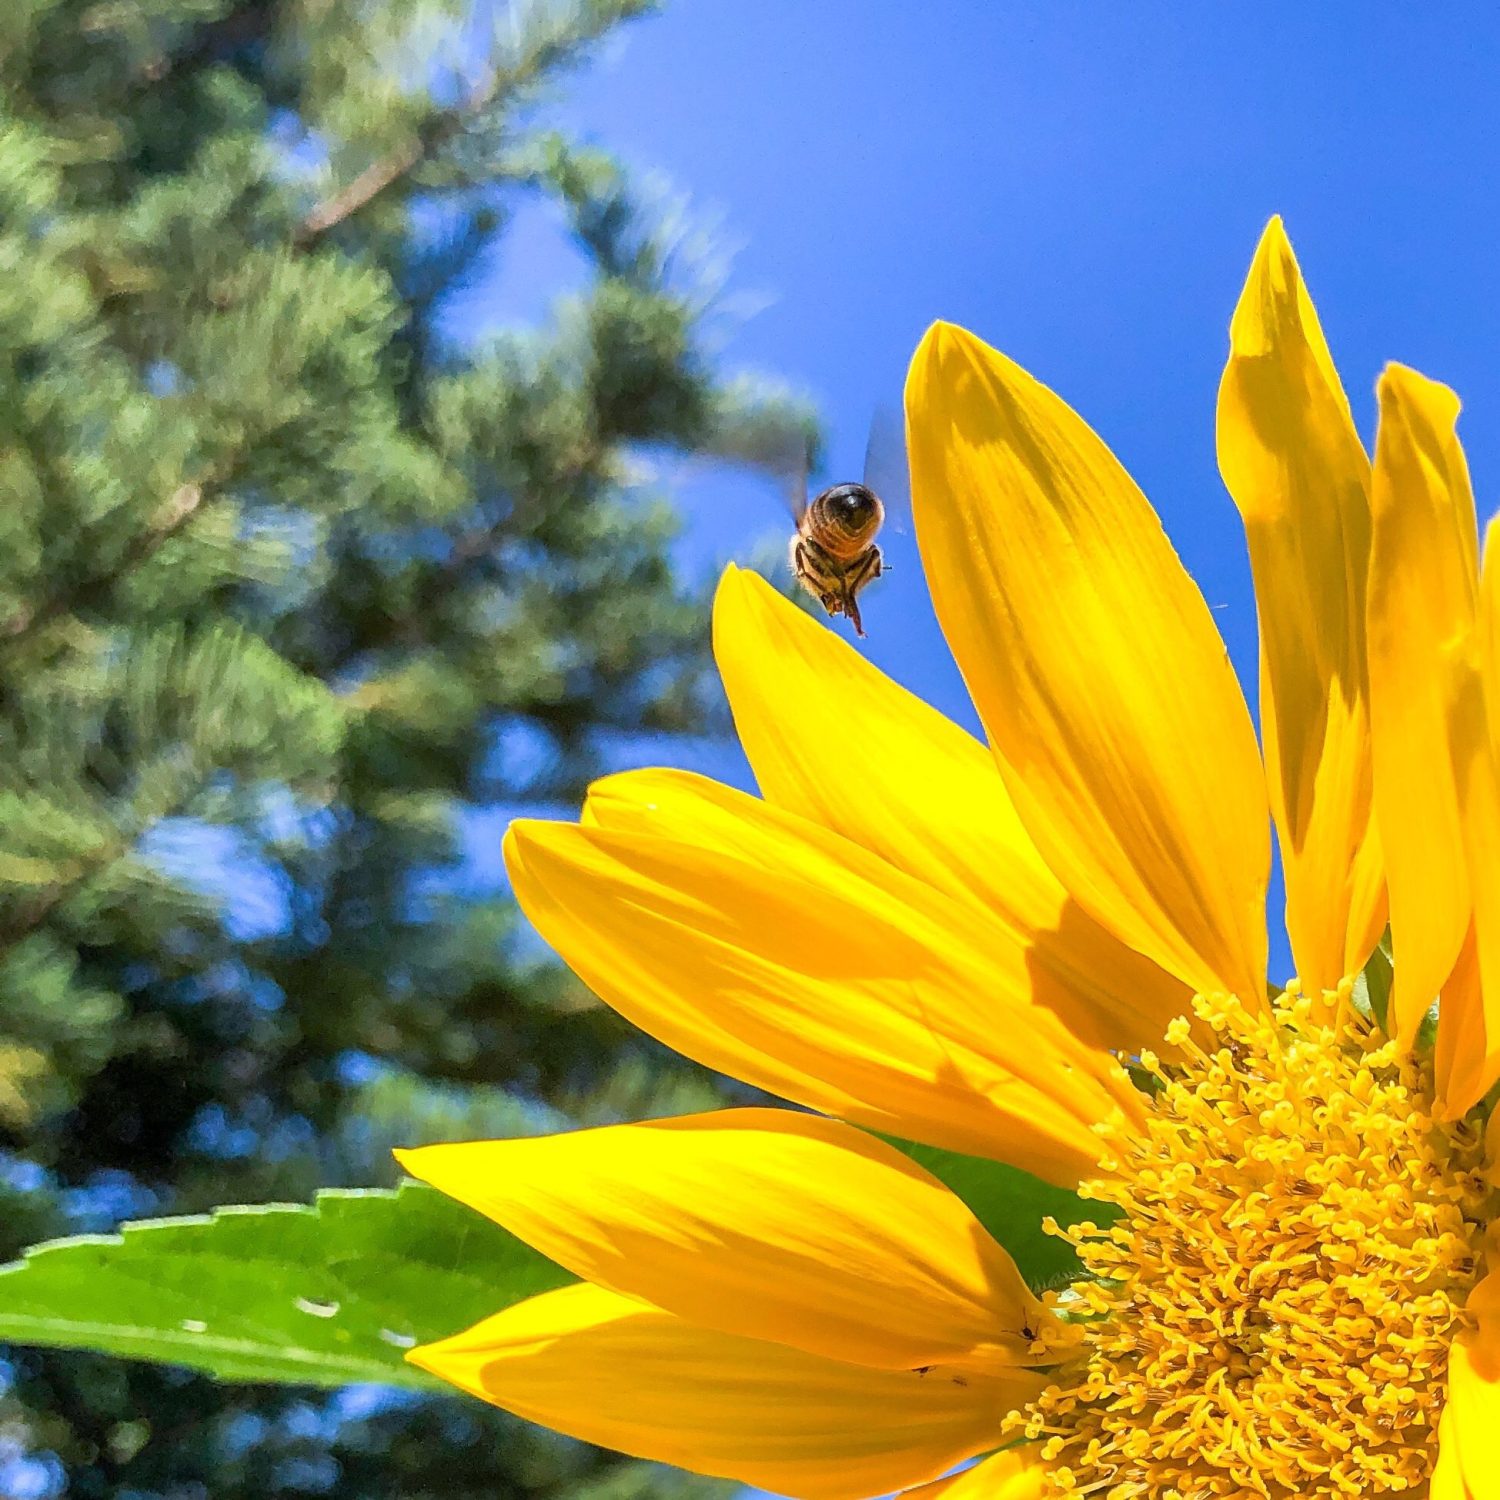
16. Sunflower
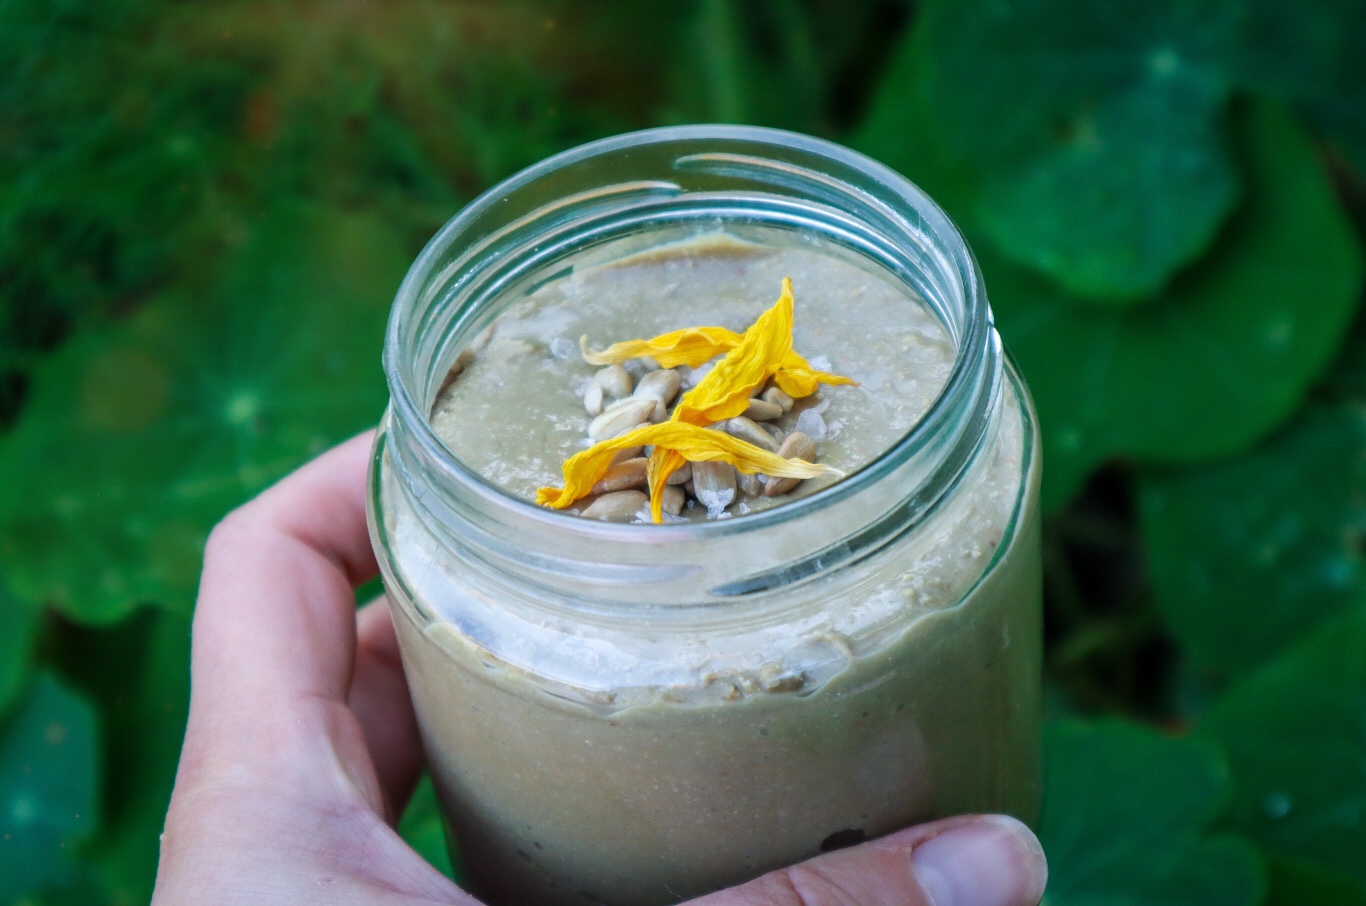
I love growing Sunflowers because they attract a huge amount of pollinators to the garden, and you can pretty much eat the whole plant! I use the petals fresh in a salad or press them to use on baking as garnishes. The seeds can be used on top of salads, to make oil, or to make spreads, and the leaves are also edible. Sunflower stems can even be made into flour! Sunflowers also help remove toxins from the soil, so they are a fantastic addition to a hot, full-sun garden.
17. Figs
Figs are one of the most reliable hot-climate fruit trees. They adore full sun, tolerate drought once established, and produce incredibly sweet fruit with almost no fuss. They grow well even in poor or sandy soil, making them ideal for Perth-style gardens. Prune them in winter to keep them compact and productive.
18. Olive
Olives are true Mediterranean survivors, heat-tolerant, drought-resilient, and long-lived. They thrive on tough love and poor soil, and they’re surprisingly productive even with minimal watering. Whether you grow them for fruit or as hardy ornamental structure, olives add beautiful silvery foliage and year-round resilience to hot-climate gardens.
19. Grapes
Grapes are great for growing over structures to provide shade to your garden and help other plants grow. Grapes are deciduous so they lose their leaves in winter to let light in and have full leaf coverage in summer to protect from the harsh midday sun. Grape plants have so many uses from fresh delicious table grapes to jams, preserves, and wine! grape leaves also have many uses in the kitchen.
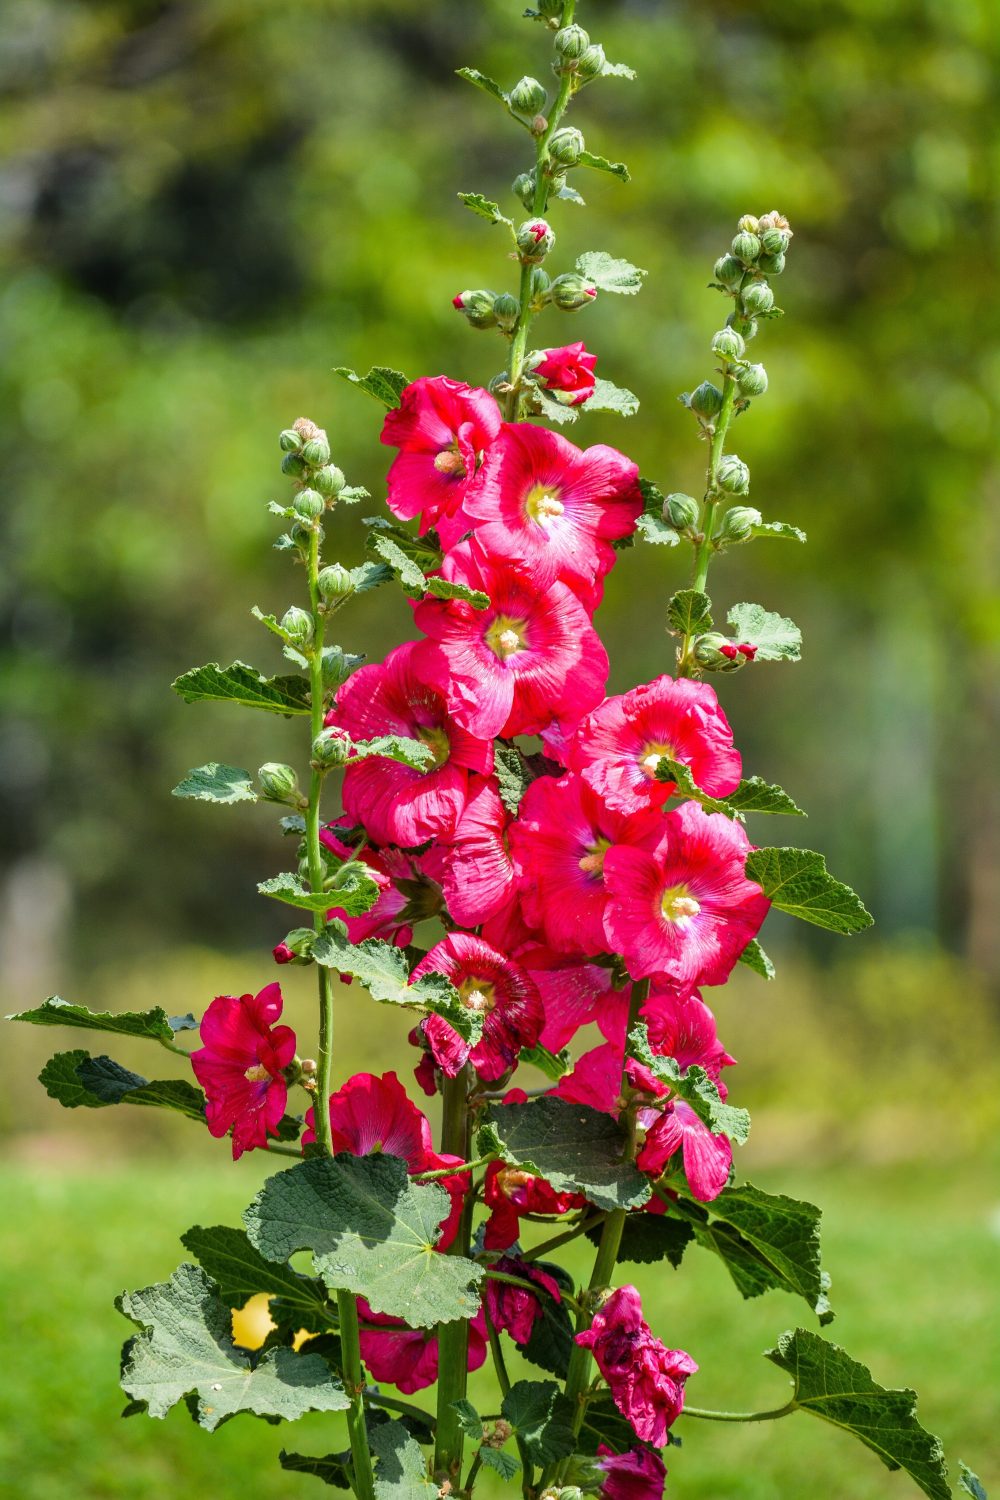
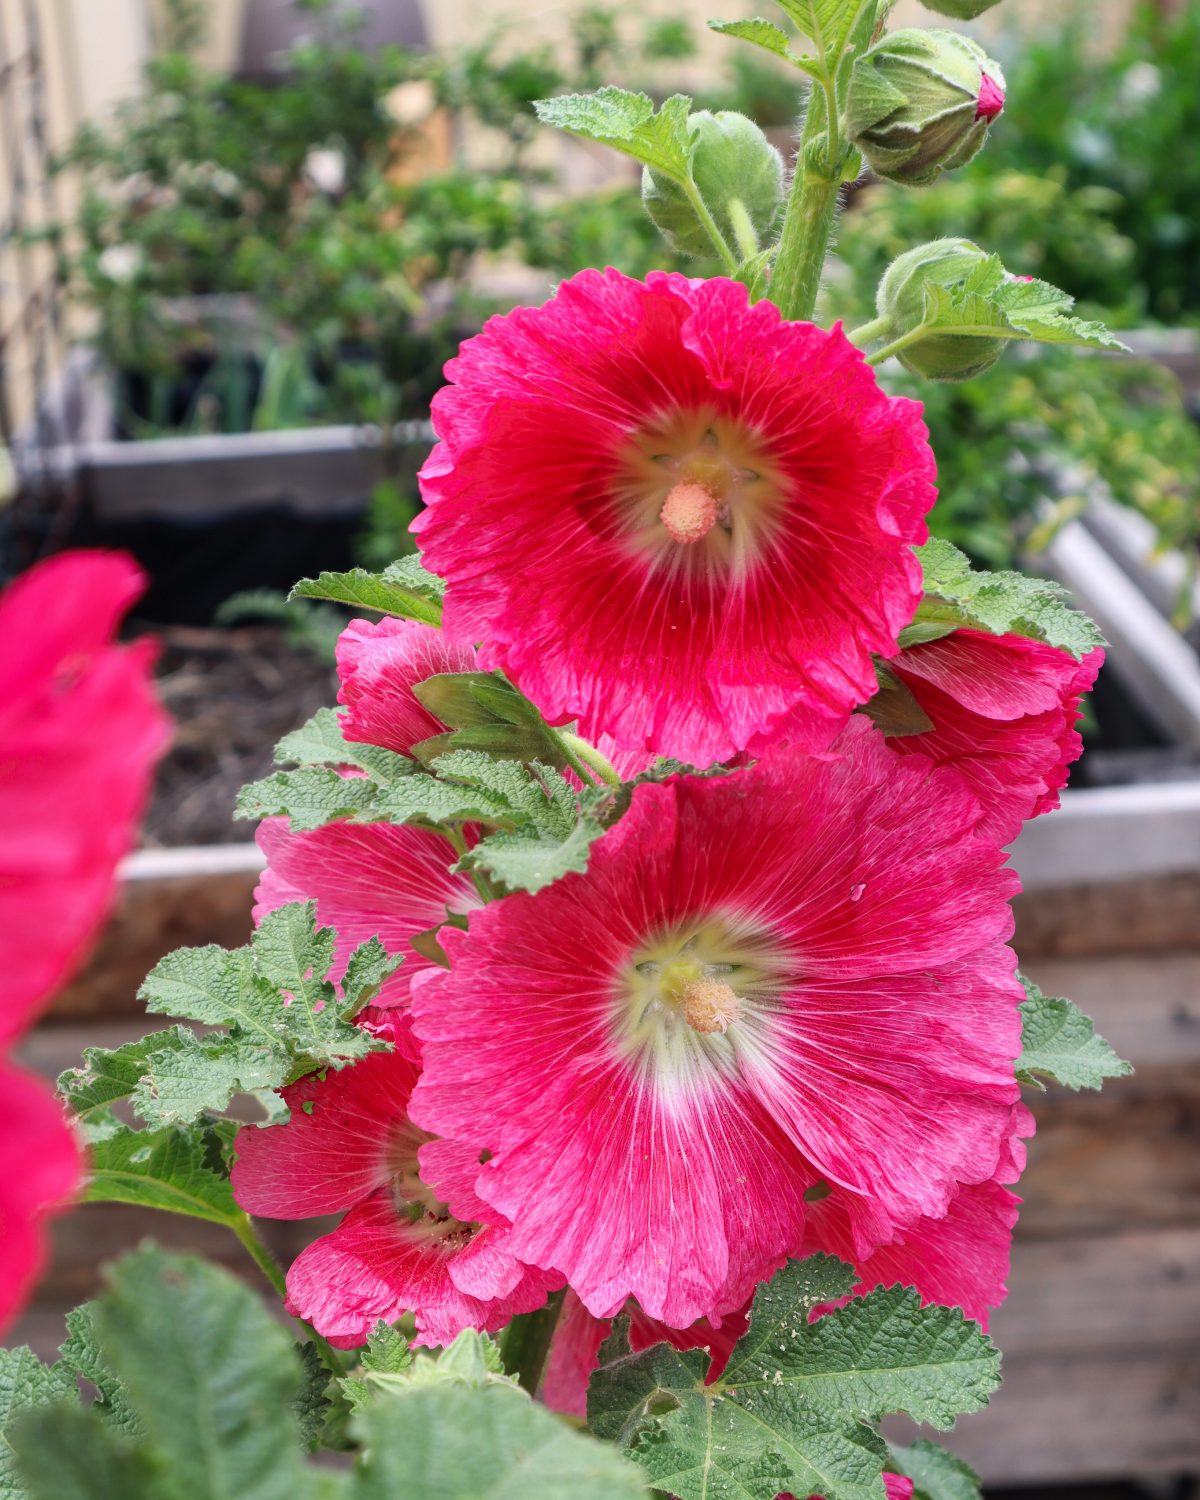
20. Hollyhock
Hollyhocks are edible flowers that can grow up to 10 feet tall! They attract 100 of pollinators to the garden, and their height acts as a flag inviting them in. The leaves are also edible and can be cooked to make wraps. Hollyhocks are an annual so they will need to be planted again each year but they are so worth it! They can be susceptible to powdery mildew.
21. Thyme
Thyme is a hardy herb that thrives in hot conditions. Thyme is very versatile in the kitchen and pairs well with tomato dishes, on pizza, and roast veggies. Thyme also produces masses of tiny white flowers that attract an array of beneficial insects and pollinators. Thyme creeps over the ground so it makes a great edible ground cover plant.
22. Macadamia Nut
Macadamia nut trees can take a long time to start producing (5-7 years) but are really hardy and nuts are great additions to a homestead to make flour and milk from.
8 Tips for Successfully Growing Heat-Tolerant Edible Plants
Many of these heat-tolerant plants listed are perennials, and the reason perennials are so good for hot environments is that they have established roots and have time to get used to their environment. Annuals such as lettuce and tomatoes are planted new and have shallow roots so are more vulnerable to overheating.
Below are some tips to help you get your plants established and thriving through hot periods.
Avoid planting in hot weather (always check the forecast)
Provide temporary protection,such as shade cloth or umbrellas, during hot periods.
Grow nanny plants or pioneer plants (quick-growing trees that provide dappled shade in summer eg: grapes, mulberry, and deciduous fruit trees)
Plant new trees in pots until after the summer heat has passed
Plant densely – allow other plants to protect and shade each other and the soil.
Grow Endless Fertiliser
Growing food in a hot climate doesn’t have to be a struggle. By choosing tough, heat-tolerant plants, layering your garden with support species, and working with your climate instead of against it, you can build a garden that stays productive all summer long.
If you want to take it even further, my new ebook Grow Your Own Natural Fertiliser shows you how to build healthier soil, boost resilience, and keep your garden thriving — even in extreme heat. It’s the perfect next step for creating a truly self-sustaining garden.
Lemon balm has calming and soothing properties that can reduce stress and anxiety. This refreshing summer drink may help you chill out and unwind. Nothing beats an iced cold lemonade after a busy day working in the garden but this homemade version with fresh ingredients is a winner!
Lemon Balm Lemonade
Yield: 4-6 glasses
Prep Time: 35 minutes
Total Time: 35 minutes
Refreshing and soothing this botanical lemonade is the perfect summer drink to enjoy in the garden.
Ingredients
1 cup Lemon Balm Leaves
1 fresh lime
1 fresh lemon
3 TBSP Raw local Honey
2 cups sparkling water
1 cup water
Instructions
Roughly chop up the lemon balm leaves.
Bring 1 cup of water to a simmer in a pot. Remove from heat and add lemon balm. Place a lid on and let it infuse for at least 30 minutes.
Using a blunt object such as the end of a rolling pin, crush the leaves and flowers into the water to extract more.
Using a sieve, strain the liquid into a jug, and squeeze out any extra liquid from the leaves..
Add in honey and stir until the honey has dissolved. Use less or more honey depending on how sweet you like it.
Squeeze the juice of the lime and lemon and add to the jug. Stir to combine.
Add in sparking water and serve in glasses over ice.
To serve add extra lemon balm leaves and dehydrated lemon or lime.
Notes
Add in other herbs to create your own unique blends. Try Calendula, Mint, Lemon verbena, and Lavender.
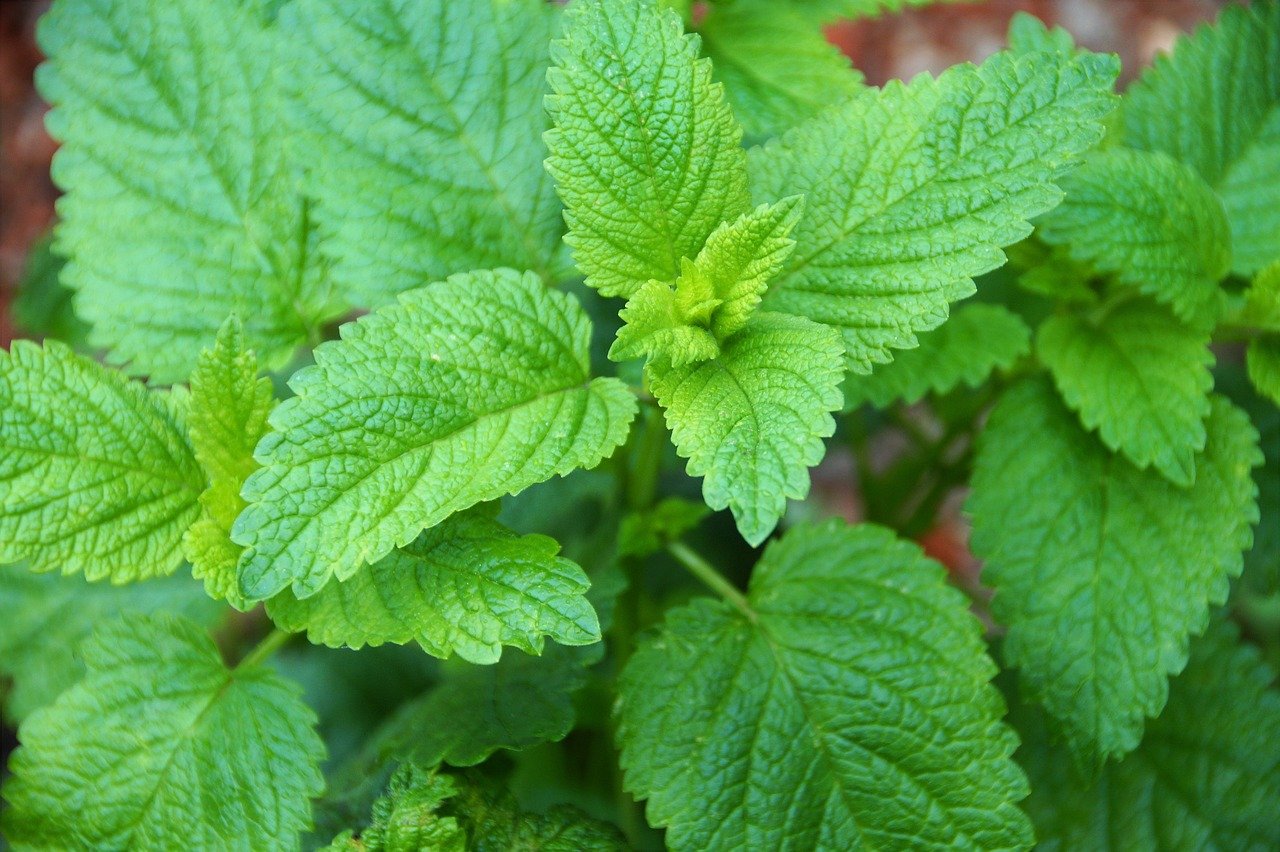
Lemon Balm (Melissa officinalis) is a perennial herb with fragrant lemon-scented leaves. Lemon balm is part of the Mint family and is known for having weed-like growth and self-seeds easily. With hundreds of small white flowers, the lemon balm is a powerful bee attractant. It has toothed edges and slightly hairy leaves with a lemony scent.
Lemon balm-like many herbs, has been traditionally used to aid in an array of health conditions. With calming and relaxing properties as well as anti-viral and anti-bacterial qualities, lemon balm is a great addition to a kitchen garden.
Springafter the last frost.Can be grown all year round in many climates.
SOIL
Fertile, moist, well-drained soil. Will grow in most soil types.
LOCATION
Full sun – Dappled or shaded position.
CARE
Regular watering – is a thirsty plant.
FERTILISE
Easy to grow and doesn’t need much help.
PESTS
Snails, slaters, and aphids.
HARVEST
Harvest regularly to keep contained.
REPRODUCE
Grows easily from cuttingsor save seeds after flowering.
Why Grow Lemon Balm?
There are many reasons to grow Lemon Balm and it is so easy to grow!
Here are some of the many reasons to grow Lemon Balm
Easy to grow
Fragrant lemon scent and flavour
Grows well in containers
Low maintenance
Pollinator plant
Relaxant
Antiviral
Aids in Cold sores
Great for teas
Salad dressings
Cut and come again harvest
Pest resistant
Reduce stress and anxiety
When to Plant Lemon Balm
Lemon balm grows well most of the year. New plants should be planted after the last frost. If planting in summer, keep well watered.
How to Grow Lemon Balm
Choose a sunny spot with dappled or part shade in the heat of summer.
Prepare the soil with rich compost
Direct sow seeds or plant in seed trays first.
1 plant is plenty.
Can benefit from protection during the heat of summer.
Care/ Maintenance
Lemon balm, like Mint is a thirsty plant. Keep well watered and have a drip tray for pots. Cut back the plant after it has finished flowering to promote new growth.
Once the plant is well-established, harvest sprigs as needed.
Use clean, sharp kitchen scissors to cut your harvest, or just pick with your hands to prevent the spreading of diseases.
Cut and come again crop that will regrow quickly. I often harvest and use in cold drinks or teas every other day.
Reproducing
Take cuttings and allow to root in a jar of water. Refresh the water every few days. Seeds can also be saved and will flower with white flowers on the stem. Once the seeds form and turn brown, collect them and dry them further. Keep in a dark, cool and dry environment.
Cooking and Using Lemon Balm
Lemon balm is best used fresh. Dried leaves lose their scent and flavour.
Have odd fruit and veggies to use up? This leftover breakfast loaf is a great way to reduce waste and make a delicious and healthy breakfast (or anytime) alternative. This recipe is flexible to allow a range of fruits, nuts, and seeds you have available.
Leftover Breakfast Loaf
Prep Time: 15 minutes
Cook Time: 45 minutes
Additional Time: 20 minutes
Total Time: 1 hour20 minutes
Have random odd fruit and veggies that need to be used up? This leftover breakfast loaf is a delicious way to make sure they don't go to waste.
Ingredients
Dry ingredients
2 cups flour
1 cup oats
1 tsp cinnamon
1 tsp mixed spice
1 TBSP Baking Powder
1/2 cup seeds (i used 50:50 pumpkin and sunflower)
1/2 cup walnuts (choose your favourite nuts)
1 TBSP Poppy Seeds
1/2 cup chopped mixed dried fruit (Goji berries, apricot, raisons)
Wet ingredients
1/2 cup coconut oil (liquid)
1/2 cup quality maple syrup
3/4 cup oat milk (or preferred milk)
Fruit & Veggies
1 cup grated zucchini
1 cup grated carrot
1 cup chopped greens/ spinach
1 cup grated pear (or apple)
1 cup diced Apricot & strawberry (swap for berries or cherries)
Instructions
Preheat oven to 180 degrees.
Mix dry ingredients in a bowl.
Grate and add chopped fruit and veggies to a bowl along with all the wet ingredients. Stir to combine.
Fold in the dry to the wet mix and combine with minimal mixing (don't over-mix).
Grease a loaf or bread tin and add in the mix. Bake for 45 minutes or until the skewer comes out clean.
If there is a little too much for the tin ( in my case) add to muffin trays (but these will only take 20 minutes).
Allow the tin to cool for 10 minutes then remove the loaf and cool for a further 10-15mins on a wire rack (do not slice straight out of the oven or it will fall apart and turn dry).
Notes
To freeze the extra loaf cut it into slices first and pop it in the compostable ziplock bags.
Mix and match fruit, veggies, nuts, and seeds to make your own delicious blends.
Frozen berries can be used add them in frozen don't thaw them out first.
Gift-giving doesn’t need to be expensive, stressful, or hard! These sustainable DIY gift ideas will have you inspired to create more gifts from your garden – all year round! Whether you are visiting a friend or trying to find a Birthday, Mother/fathers day, or Christmas gift there’s something for all occasions in this gift guide.
Click to watch my gift guide ideas below
My thoughts around gift giving
I don’t always buy or give gifts for special occasions…It can seem strange at first to skip out on gift-giving. We may feel guilty, awkward, or just like a bad friend or partner! But if nothing is popping up as the perfect gift idea then I don’t waste money on consuming more “stuff” that they may not even like.
BUT….what I do is.. make more homemade gifts myself! It’s much more personalised and can spark inspiration in others. If you gift produce or create gifts from your garden you may even inspire the receiver to reconnect with their own garden. I also give small gifts from my garden each time I visit friends and family. In short, my gift-giving is sporadic and you may receive an amazing gift from me, regular handmade gifts, or nothing at all. But if I find the perfect idea later in the year I just gift it then. Who doesn’t love a surprise gift?
Garden to Gift Ideas
These gift ideas can be used all year round to create personalised gifts from your garden. The great thing is, they are free/low cost, low waste, and easy to put together for last-minute (oops I forgot ) gift ideas.
—- GET CREATIVE —-
1. Framed Art
Pressed flowers make beautiful garden art ideas. Mixed with small illustrations or paintings. TIP: Choose small frames as nearly everything looks cute in a small frame… You could also get second-hand frames and paint them for an extra thrifty option.
2. DIY Colouring in Book
Draw basic outline illustrations and create a custom colouring books for kids. They don’t need to be professional artworks just choose objects that they love and use their name to make them feel special. Choose themes such as Farm, Beach, Woodland, Food Forest, and Veggie patch!
3. Photography
Framed photos or prints make great gifts! They are low-cost and can be easily personalised. Close-ups from the garden, scenic landscapes, and photos of friends and family. I love getting printed photographs because it is something I rarely do anymore. In this digital age, we rarely take the time to sort through our hundreds of photos so sometimes it’s nice to do.
4. Custom Clothingand Plant Dye
DIY Jackets are a fun way to get creative and make custom gifts. Denim jackets can always be found at secondhand shops and upcycled. I love making jackets for significant events like weddings and first birthdays. They make great keepsakes too. Paint flowers from your garden or sew fabric patches. Get extra creative and make your own natural plant dyes from the garden.
—-GETPRESERVING —-
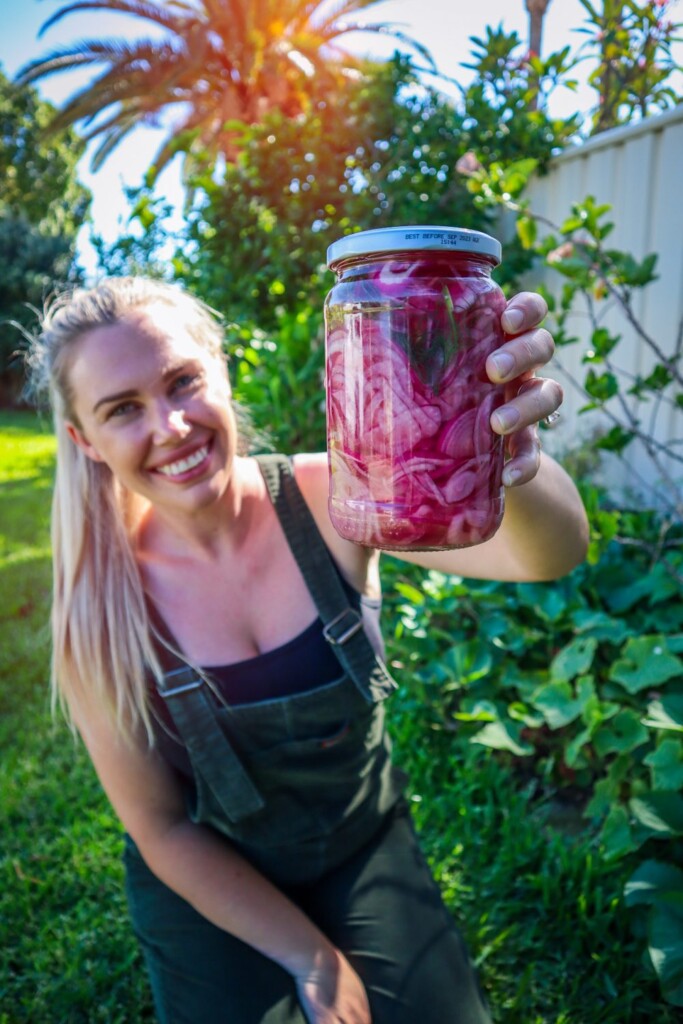
5. Homemade Jam, Chutney & Sauces
Homemade preserves make such great gifts! Especially if they are made from delicious fruit and vegetables grown in your home garden. Create fun, custom labels easily using Canva templates. You can also create DIY tags and notes using leaves and small bundles of herbs and flowers.
Herbs produce in abundance and drying them is a great way to preserve them to use throughout the year. Make your own mixed herb blends and gift them to others to use in their kitchen. Homemade dried herbs are so much better than the greyish uninspiring supermarket editions.
7. Dehydrated Fruit
Dehydrated fruit is one of my go-to garden to gift ideas! I make large batches and always have enough on hand to either pop in a recycled jar or cut up and mix with dried flowers for a tea blend or a cocktail garnish blend. Dried citrus can be used in teas, cocktails, cakes, and baking. Also, incredible in mulled wine! Try chocolate-dipped for something extra special!
8. Flavoured Sugar and Salts
Herbal sugars and salts are such a fun and easy way to incorporate produce from your garden in a unique way. Simply blitz herbs and mix through salt and allow to fully dry. Dried edible flowers, herbs and citrus can be added to sugar to create flavoured sugars. Try Mint sugar in a hot chocolate!
Tea blends make incredible gifts from the garden. See the list and mix and match to make your favourite blends. Dry herbs and flowers fully first either air dry or in a low-temperature oven or dehydrator (30-40 degrees Celcius). Dried fruit, herbs, and flowers also make great cocktail garnishes. Add to a nice jar and create a DIY Label.
—-GET BAKING —-
10. Bake Bread
Homemade bread is so delicious and makes a great gift idea. Baking great bread is not a skill everyone possesses so if you do, share the love and make a sourdough loaf or even a Garden Foccacia using herbs and fresh ingredients from your garden. Wrap it in brown paper with a note and place a small bundle of herbs or flowers. Done!
11. Sweet Treats
Who doesn’t love sweet treats? Homemade cookies, cakes and slices always make great gifts. Get creative and use edible flowers, herbs and fruit from your garden to create something special!
12. Savoury snacks
Savoury snacks are an entertainer’s dream. Try some botanical crackers for a great way to use herbs from your garden. Other delicious snacks could be scrolls, scones, slices, quiche or flavoured nuts.
—-GET GROWING —-
13. Cuttings and Seedlings
Take extra cuttings and pot them up to have extra gifts on hand at all times! Cuttings such as Sweet potato, mint, rosemary, fig and mulberry are easy to get striking. Check out my Cuttings Ebook for more ideas. If you have extra plants pop up in the garden, (hello volunteers!) simply pot them up to give as gifts.
14. Plant Extra Seeds
It’s always a good idea to plant extra seeds in case something happens to your others. I do this in stages so I plant extra seeds 3-4 weeks after my first lot. That means if my seeds have made it to the garden as seedlings but get eaten or damaged I have replacements already on the way. However, if I don’t need the backs up then I have plenty to gift to friends and family.
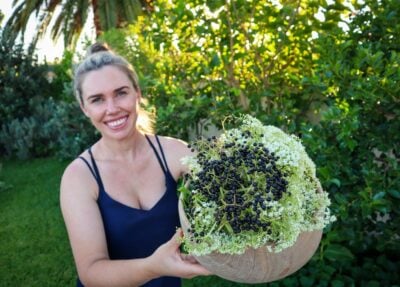
15. Edible Bouquets
I love picking wild vegetable and herb flowers that have gone to seed, herbs and edible flowers to create beautiful edible bunches to gift. There are so many great reasons to do this!
They smell amazing
Look beautiful and a little wild
Don’t cost anything!
Can be used to flavour meals and tea
Can be regrown in their own garden.
The great thing about keeping herbs such as Mint, Rosemary, Basil and Lavender in jars of water is that they will send off roots! Let your gift receiver know what they can replant.
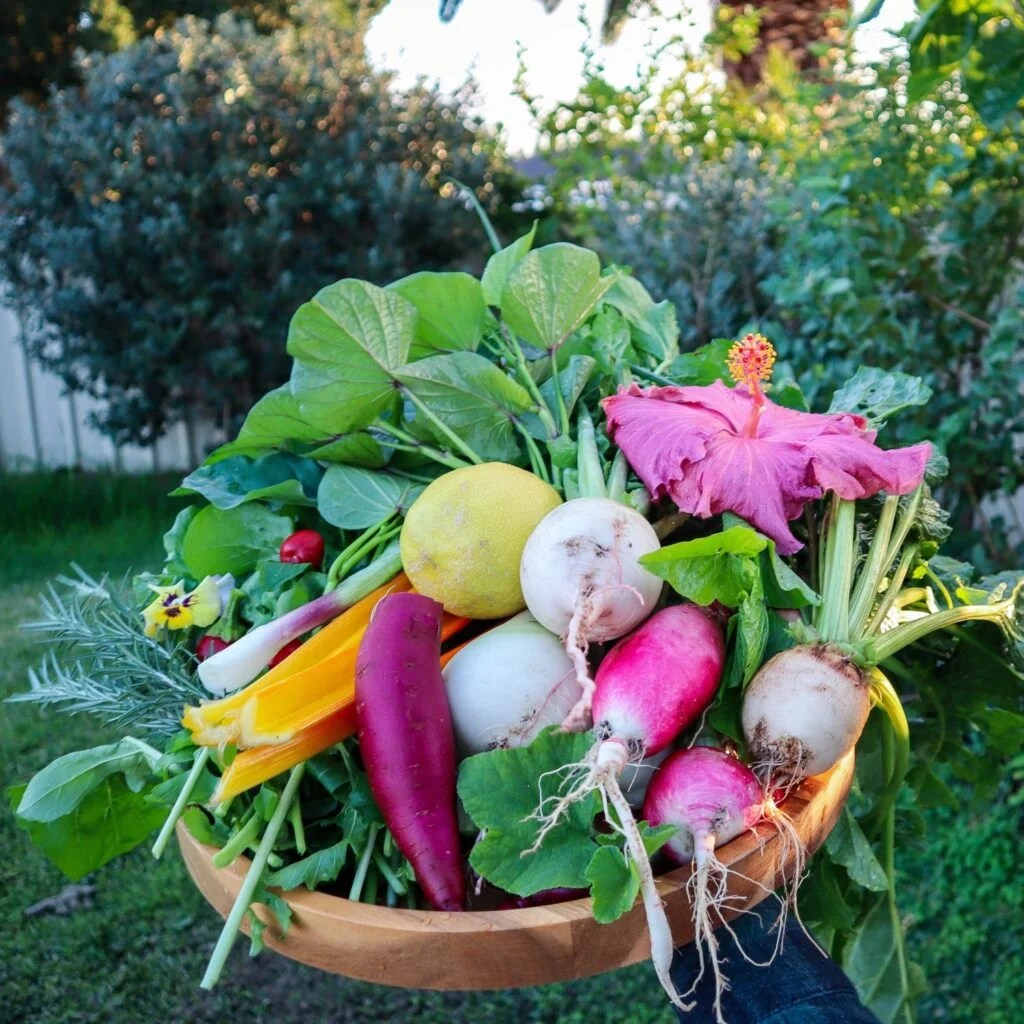
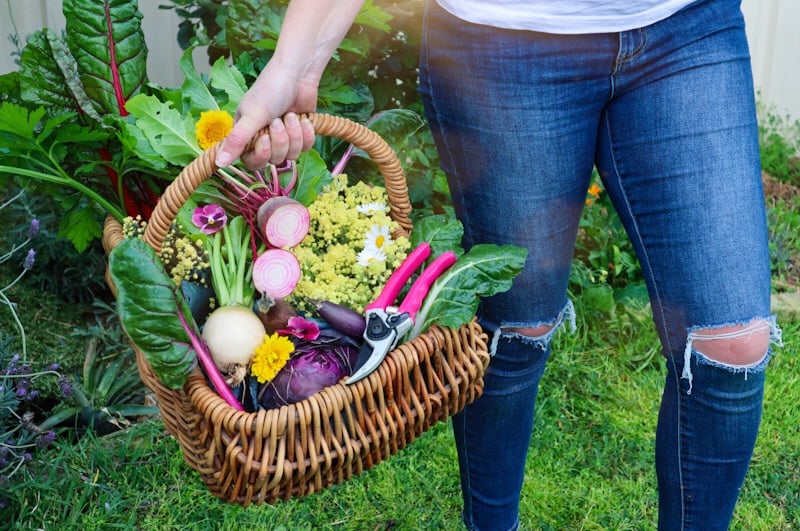
16. Fresh Produce
Extra produce makes incredible gifts! This can be vegetables, herbs, flowers or fruit you have grown in your garden. Pop in a basket or box and deliver to your friends and family. The great thing about gifting produce from your garden is they get to try different things that may not be at the supermarket. You may also inspire them to reconnect with where their food comes from and start growing their own. You really don’t know how much you can inspire and make a change by simply gifting some homegrown produce.
17. Gifting Seeds
Once your gardens get established you will have plenty of seeds to start harvesting. Pop some in a brown envelope with a note of what they are, when you harvested them and who they were from. Seeds are great gifts because they bring with them so much inspiration and potential!
If you found these gift ideas helpful please share this post with others and help to inspire more people to create their own Homemade Garden to Gifts.
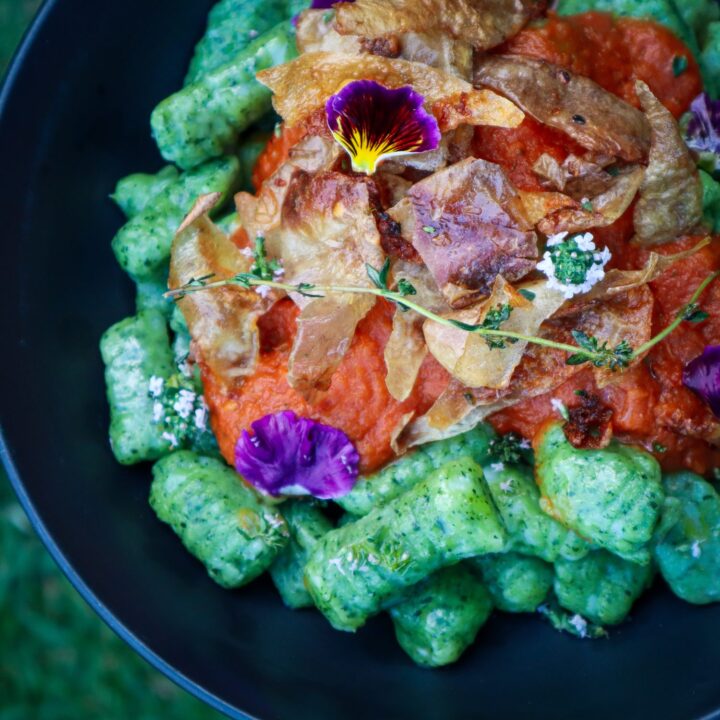
Soft pillowy spinach gnocchi with crispy potato skins. Serve with herbed butter or the simple roasted tomato sauce recipe. Delicious! Unlike most spinach varieties the NZ Spinach / Warrigal greens produce in abundance over the summer! This edible ground cover is a powerhouse in the garden and pairs well with so many dishes. Spinach gnocchi is so vibrant and delicious! Making gnocchi can seem scary but this recipe has just 4 ingredients and is so worth it! I have used NZ spinach but you could swap it out for regular spinach, chard, or any other leafy greens you have growing in the garden.
Most recipes call for the skins to be removed so after the potatoes are baked we fry them up and add them on top for a low-waste delicious meal!
Which Potatoes work best?
Floury potatoes work best (not waxy) such as Desiree, Yukon Gold, and Creme Royle. AVOID – Red Royle, Kipler. Normal “white potatoes” at the supermarkets tend to be quite waxy. This means your gnocchi will have more little lumps in but still possible.
Can I use different greens?
Yes! I love my recipes to be flexible with what is in season and growing in my garden. Try swapping NZ spinach for: Chard (remove stalks and fry them up to add to the dish), other spinach varieties, Kale, Beetroot leaves, Sweet potato leaves, or a mixed combination!
NZ Spinach Gnocchi with Crispy Potato skins
Yield: serves 4
Prep Time: 45 minutes
Cook Time: 1 hour30 minutes
Total Time: 2 hours15 minutes
Soft pillowy spinach gnocchi with crispy potato skins. Serve with herbed butter or the simple roasted tomato sauce recipe. Delicious!
Ingredients
Spinach Gnocchi
4 medium-large potatoes (see notes)
2 cups NZ Spinach (or other leafy greens such as chard or spinach)
1 1/4 cups flour (see notes)
1 tsp salt
Crispy Potato Skins
1-2 sprigs of fresh Thyme
1 TBSP Butter
Instructions
Preheat oven to 180 degrees. Wash your potatoes and stab holes all over with a fork. Sprinkle with 1/2 tsp of salt and bake for 45-1hour or until a fork easily goes right through. If some are larger than others keep them in a little longer. You don't want any hard potato bits for this.
While the potatoes cook blanch your greens. Remove hard stems and cook them in simmering water until vibrant green (40 seconds - 1 minute) then plunge into a bowl of iced water. Strain and blitz using a blender or mixer until a puree. Add a splash of water if needed to get blended.
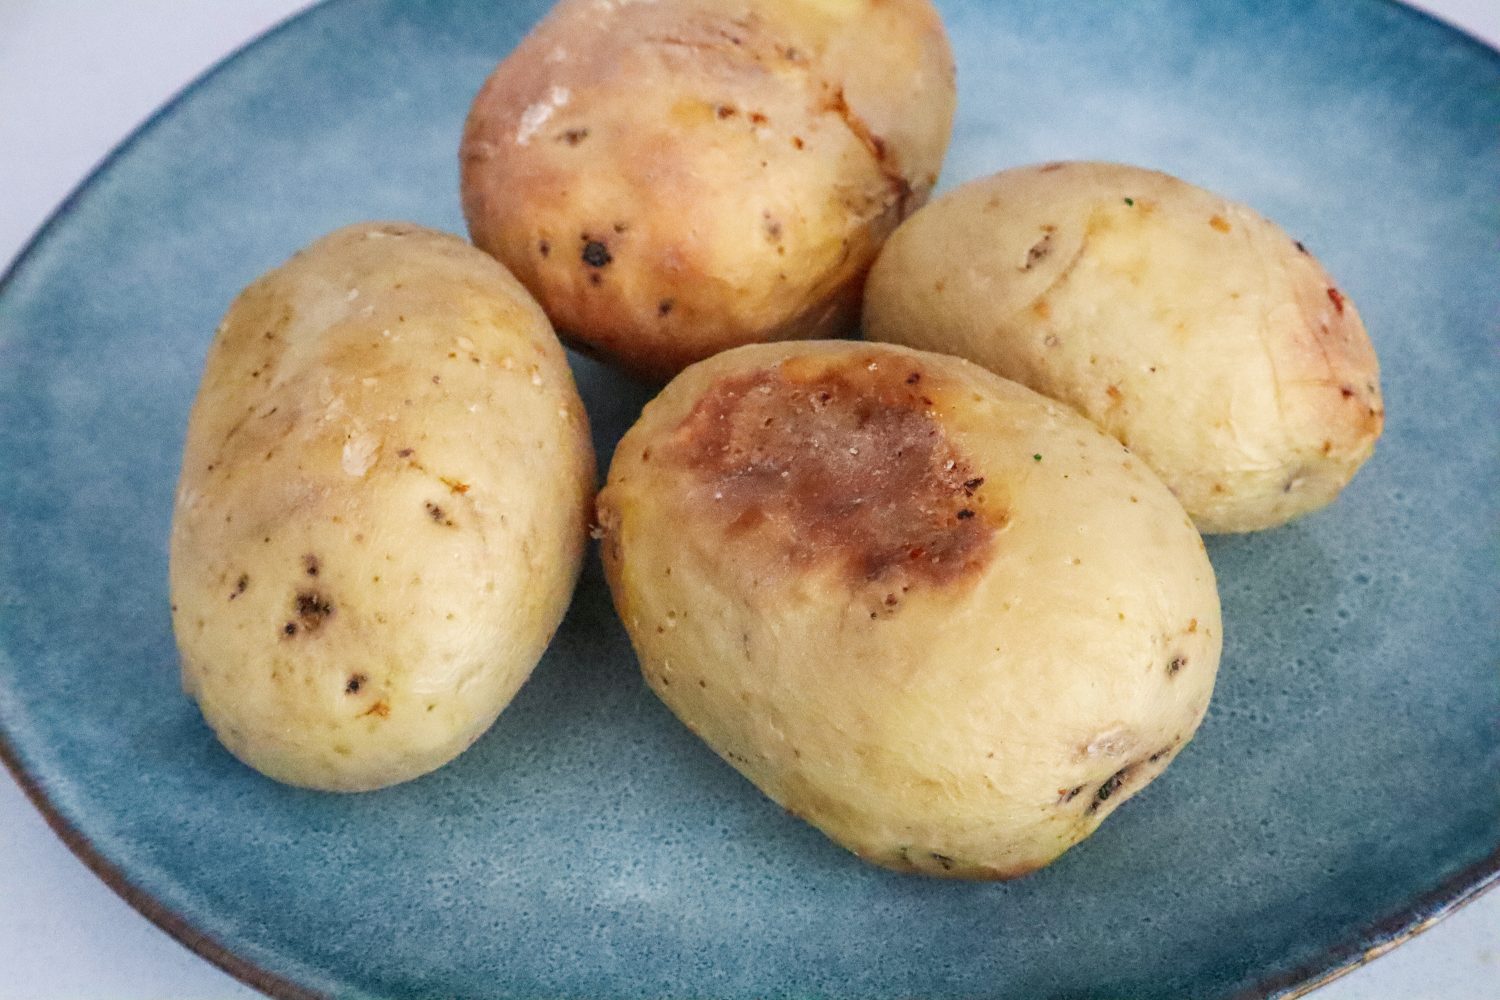
Remove potatoes from the oven and allow them to cool (until you can easily peel them).
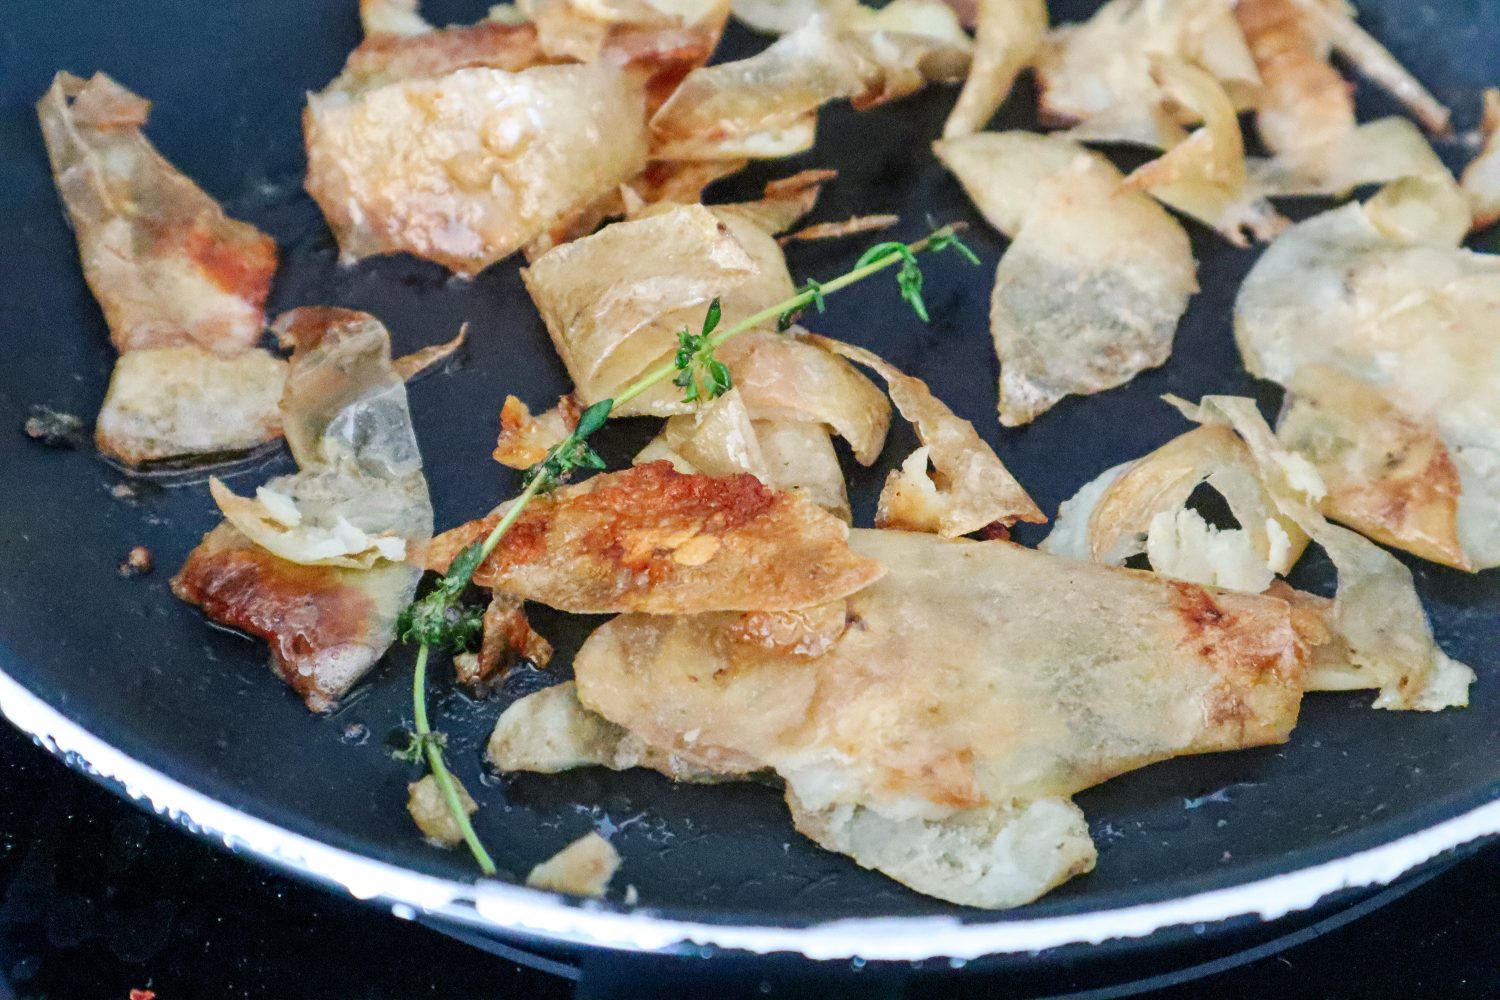
Peel the skins off using a knife or just peel them back with your fingers. They are quite easy to peel once the skin is cooked and slightly golden. Don't waste these delicious skins! Put them on a plate and set them aside.
Mash the potatoes into a fine mash. Use a potato ricer or a potato masher and fork to get all the little lumps out.
Add mashed potato to a bowl and mix in 1/2 cup of greens puree and 1 tsp salt. Mix until fully combined.
Add in flour in parts and mix to form a dough. You may need a little less or a little more flour depending on how much moisture was in the potatoes and greens. You want it to still be slightly sticky but easy enough to roll. Similar to cookie dough. The more flour you add the tougher they get so try to keep less is more approach but it needs to be workable.
Divide the dough into 1/4s and roll long sausage lengths onto a floured surface. Cut into 1-inch lengths.
Have a floured tray or plate ready to put your finished gnocchi on.
Using your thumb push down and roll each gnocchi piece over the back of a fork or a gnocchi board ($4 at most kitchen stores) to create the lines. This is optional. The lines make them look the part and also allow more space for flavour to cling to.
In a pan add butter and thyme and fry potato skins until crispy. Set aside.
There are two ways to cook gnocchi - boiled or pan-fried, both are delicious. For this recipe, I used the boiling method because I was serving it with crispy potato skins. To boil add your gnocchi to a pot of boiling water seasoned with salt. Cook until they float to the surface (roughly 1 minute). Do this in batches so you don't overcrowd the pot and all the gnocchi have room to float to the surface. Strain and add to a serving bowl. To pan fry - add butter or oil to a pan (chuck in some more thyme and cook the gnocchi until slightly golden on each side)
Pour over hot tomato sauce or herb-infused brown butter and top with crispy potato skins.
Notes
Make the tomato sauce at the same time while you wait for your potatoes to cook. Tomatoes can be roasted in the oven along with the potatoes.
Choosing potatoes - Floury potatoes work best (not waxy) such as Desiree, Yukon Gold, and Creme Royle. AVOID - Red Royle, Kipler. Normal "white potatoes" at the supermarkets tend to be quite waxy. This means your gnocchi will have more little lumps in but still possible.
Flour - low protein flour is best for Gnocchi but all-purpose flour also works.
Made extra? Freeze your uncooked gnocchi pieces on a floured tray and once frozen add them to a freezer bag or container. Next time you want a meal simply pull out and boil from frozen or defrost and panfry.
Simple Roast Tomato Sauce
Yield: 2 cups / 400-500g
Prep Time: 10 minutes
Cook Time: 45 minutes
Additional Time: 5 minutes
Total Time: 1 hour
Simple and delicious tomato sauce. Staple condiment and the backbone of so many garden-to-plate dishes!
Ingredients
6-8 medium tomatoes (or 2-3 cups of cherry tomatoes)
2-3 Garlic cloves
1 tsp salt
4 TSBP Olive oil
1 medium brown onion
1 TBSP Balsamic vinegar
5-6 sprigs of fresh thyme (2inch long)
1/2 cup fresh basil
1/2 tsp chilli flakes
Instructions
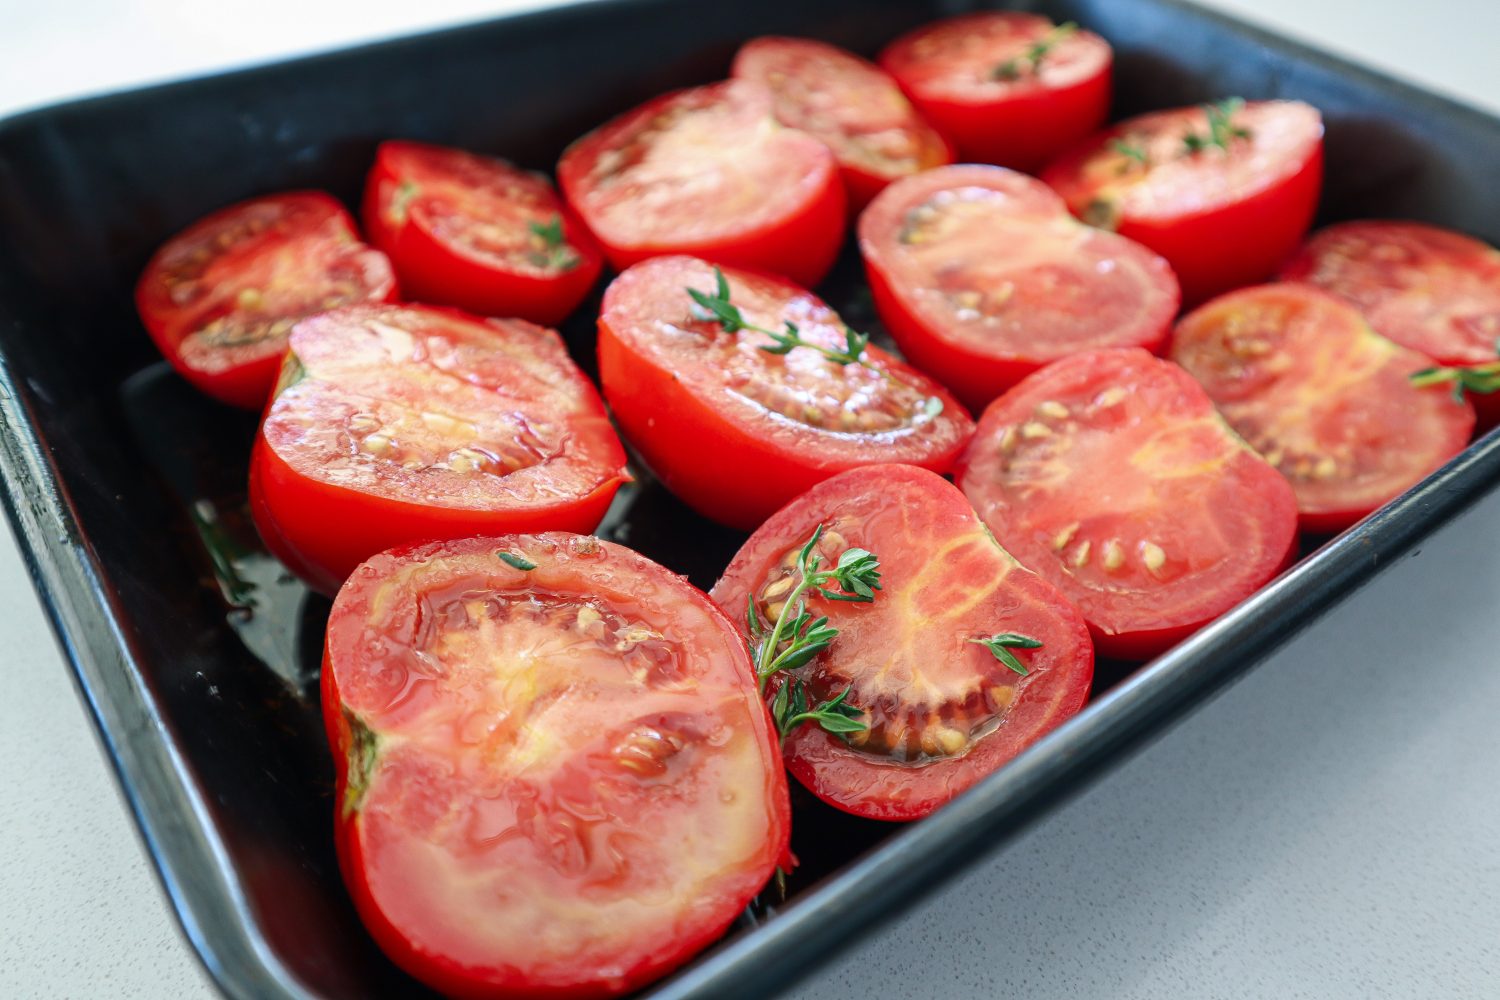
Preheat oven to 180 degrees Celcius. Drizzle roughly 1 TSBP oil in a roast dish.
Cut tomatoes in half and add to the roasting dish skin side down. Add Garlic cloves (skin on) and thyme throughout the tomatoes.
Drizzle another TBSP of olive oil on top and season with salt.
Roast for 40-45 minutes until cooked and slightly golden. Time will be significantly less for cherry tomatoes (20 minutes).
While the tomatoes are roasting, dice the onion and add to a pan with 1 TBSP olive oil. Cook until soft and slightly brown. Pour in the balsamic and deglaze the pan (get all the delicious flavour off the bottom). Remove from the heat.
Remove the garlic from the skins and add the roasted ingredients to a blender (or jug and use a stick mixer). Allow the tomatoes to cool slightly before blitzing so the mixture isn't piping hot. Add in the chopped fresh basil, chilli flakes, and cooked onions. Blitz to combine. Smooth or chunky however you prefer.
Taste and season with extra salt or chilli to your liking.
Notes
Tomatoes will have varying amounts of liquid. If you get a lot of liquid in the bottom of the roasting dish, pour some to the side and blitz then add if you want a runnier sauce.
Add excess to a jar and keep in the fridge for 2-3 days or freeze for longer storage.
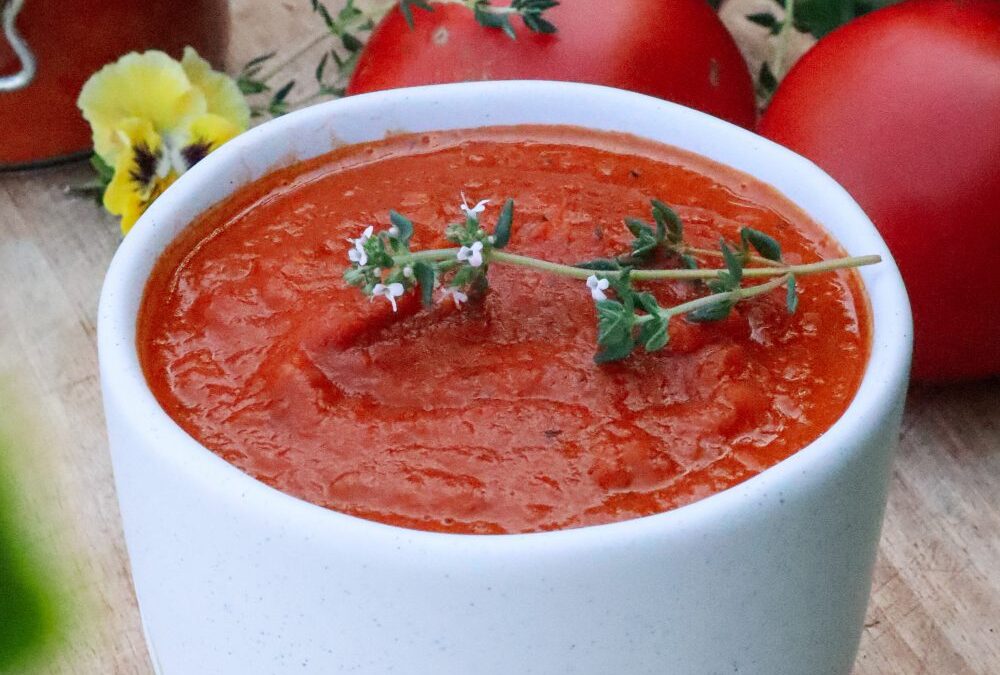
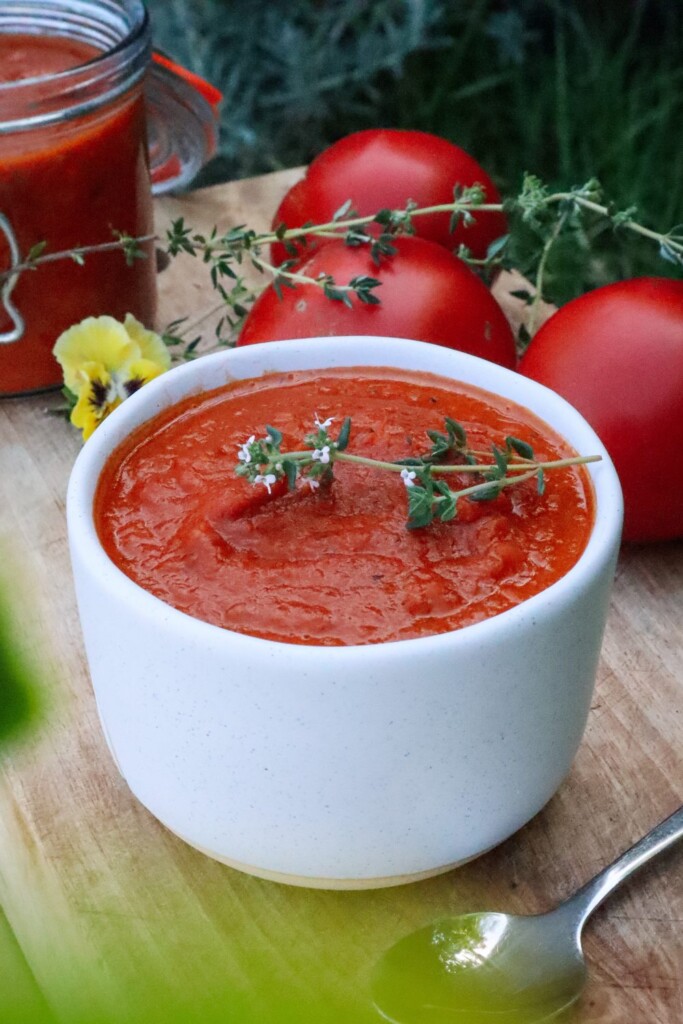
There is nothing quite like the taste of homemade tomato sauce! This recipe is so easy – basically, just cook and blitz and you have the most incredible tomato sauce to pour over pasta, pizza base, or dip crunchy potato wedges into. Add fresh herbs from your garden and it’s a winning combo. Try this sauce poured over spinach gnocchi for a mouth-watering garden-to-plate dinner.
Simple Roast Tomato Sauce
Yield: 2 cups / 400-500g
Prep Time: 10 minutes
Cook Time: 45 minutes
Additional Time: 5 minutes
Total Time: 1 hour
Simple and delicious tomato sauce. Staple condiment and the backbone of so many garden-to-plate dishes!
Ingredients
6-8 medium tomatoes (or 2-3 cups of cherry tomatoes)
2-3 Garlic cloves
1 tsp salt
4 TSBP Olive oil
1 medium brown onion
1 TBSP Balsamic vinegar
5-6 sprigs of fresh thyme (2inch long)
1/2 cup fresh basil
1/2 tsp chilli flakes
Instructions
Preheat oven to 180 degrees Celcius. Drizzle roughly 1 TSBP oil in a roast dish.
Cut tomatoes in half and add to the roasting dish skin side down. Add Garlic cloves (skin on) and thyme throughout the tomatoes.
Drizzle another TBSP of olive oil on top and season with salt.
Roast for 40-45 minutes until cooked and slightly golden. Time will be significantly less for cherry tomatoes (20 minutes).
While the tomatoes are roasting, dice the onion and add to a pan with 1 TBSP olive oil. Cook until soft and slightly brown. Pour in the balsamic and deglaze the pan (get all the delicious flavour off the bottom). Remove from the heat.
Remove the garlic from the skins and add the roasted ingredients to a blender (or jug and use a stick mixer). Allow the tomatoes to cool slightly before blitzing so the mixture isn't piping hot. Add in the chopped fresh basil, chilli flakes, and cooked onions. Blitz to combine. Smooth or chunky however you prefer.
Taste and season with extra salt or chilli to your liking.
Notes
Tomatoes will have varying amounts of liquid. If you get a lot of liquid in the bottom of the roasting dish, pour some to the side and blitz then add if you want a runnier sauce.
Add excess to a jar and keep in the fridge for 2-3 days or freeze for longer storage.