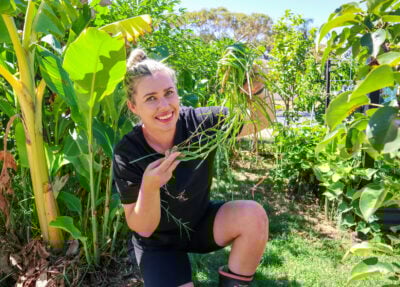
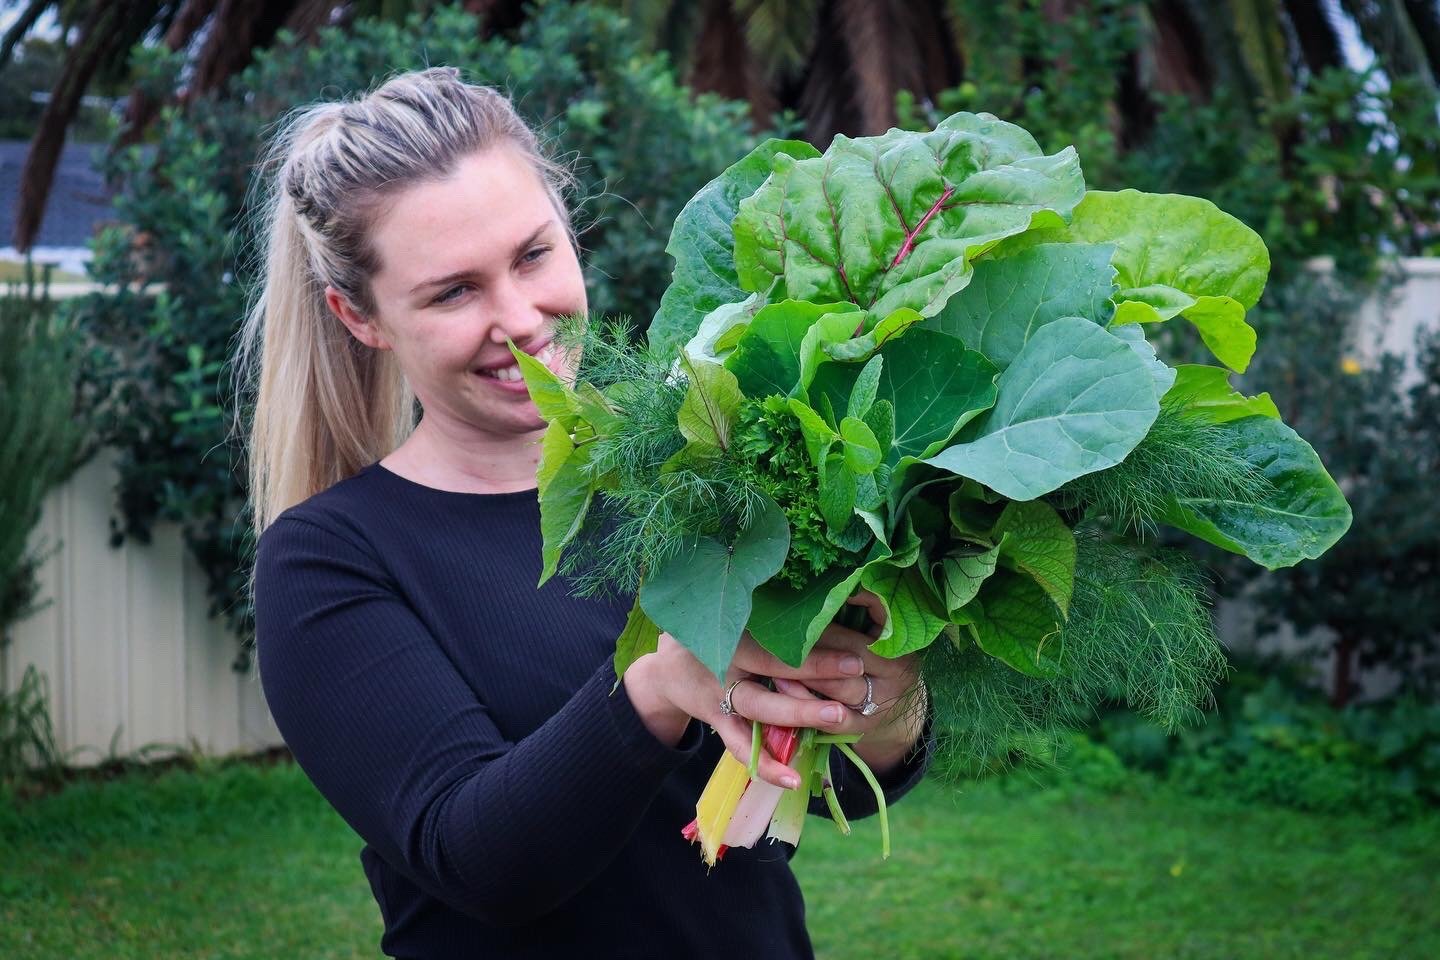
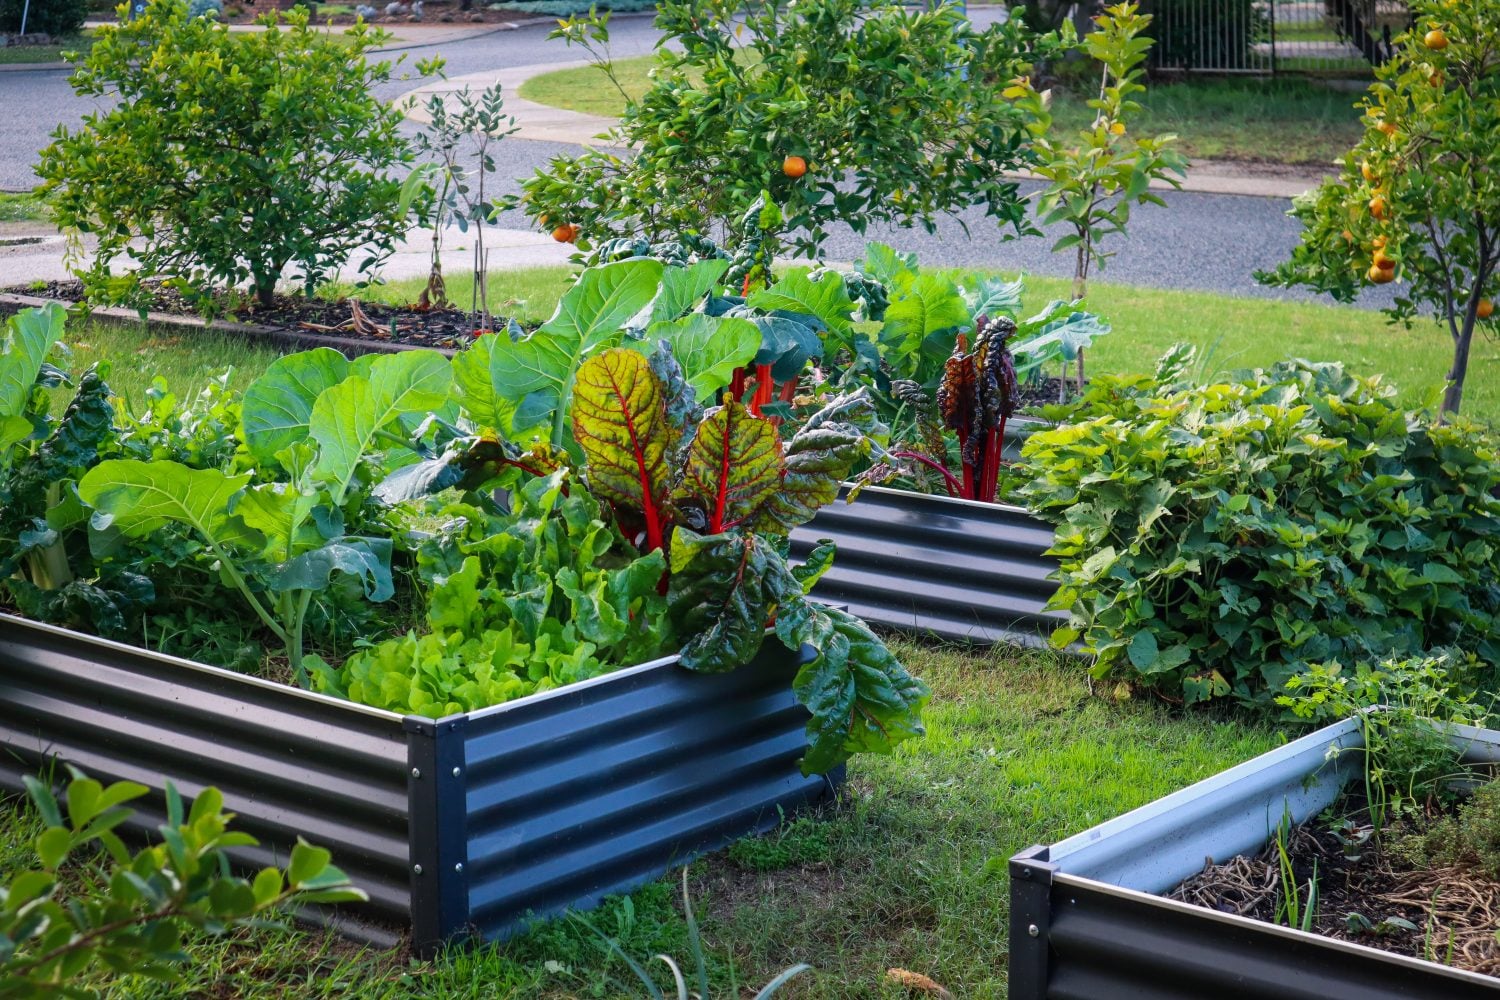
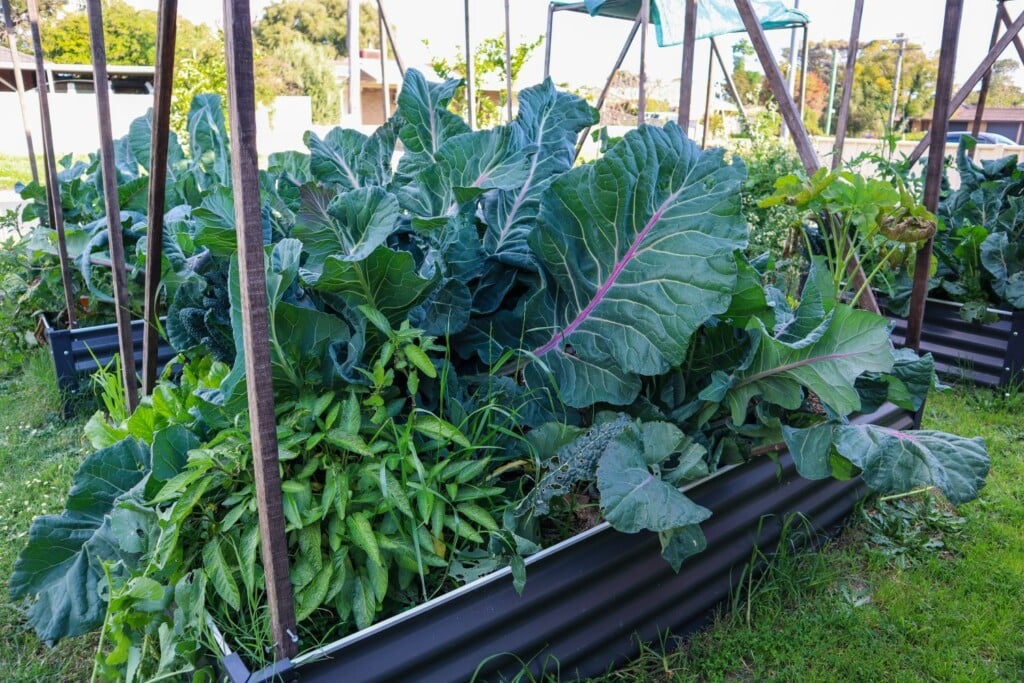
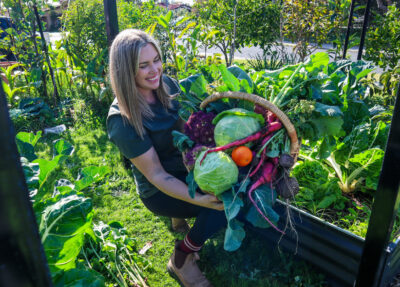
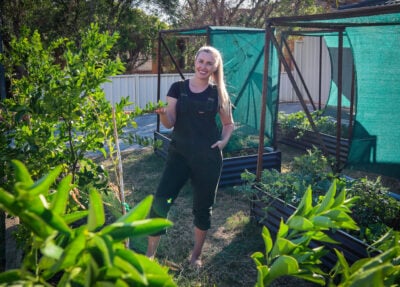
Edible Climbing Vines help maximize growing space and double the amount of food in each garden bed or container. One thing that I think is so underrated is the ability to grow food up 👆 This list of edible climbers to grow in your garden will help you utilise vertical space and create shade and protection. These 10 edible climbing vines are perennials, which means they will produce more and more food each year without us having to replant them! There are so many incredible reasons you should be growing food vertically. Not only to maximize space but also to increase airflow to reduce rot or disease, strategic shade, or like me, to reduce some of the heat in my garden by covering my ugly fences!
Annuals vs Perennials 🌿
Annuals will allow you to still change up your garden beds each season and have the flexibility of space. Whereas perennials (which grow for longer than 2 years) will allow you to get a crop established and provide long-term protection, and produce more and more food each year.
Click to watch for bonus Planting Tips 👇
10 Perennial Edible Climbing Vines
1. Passionfruit
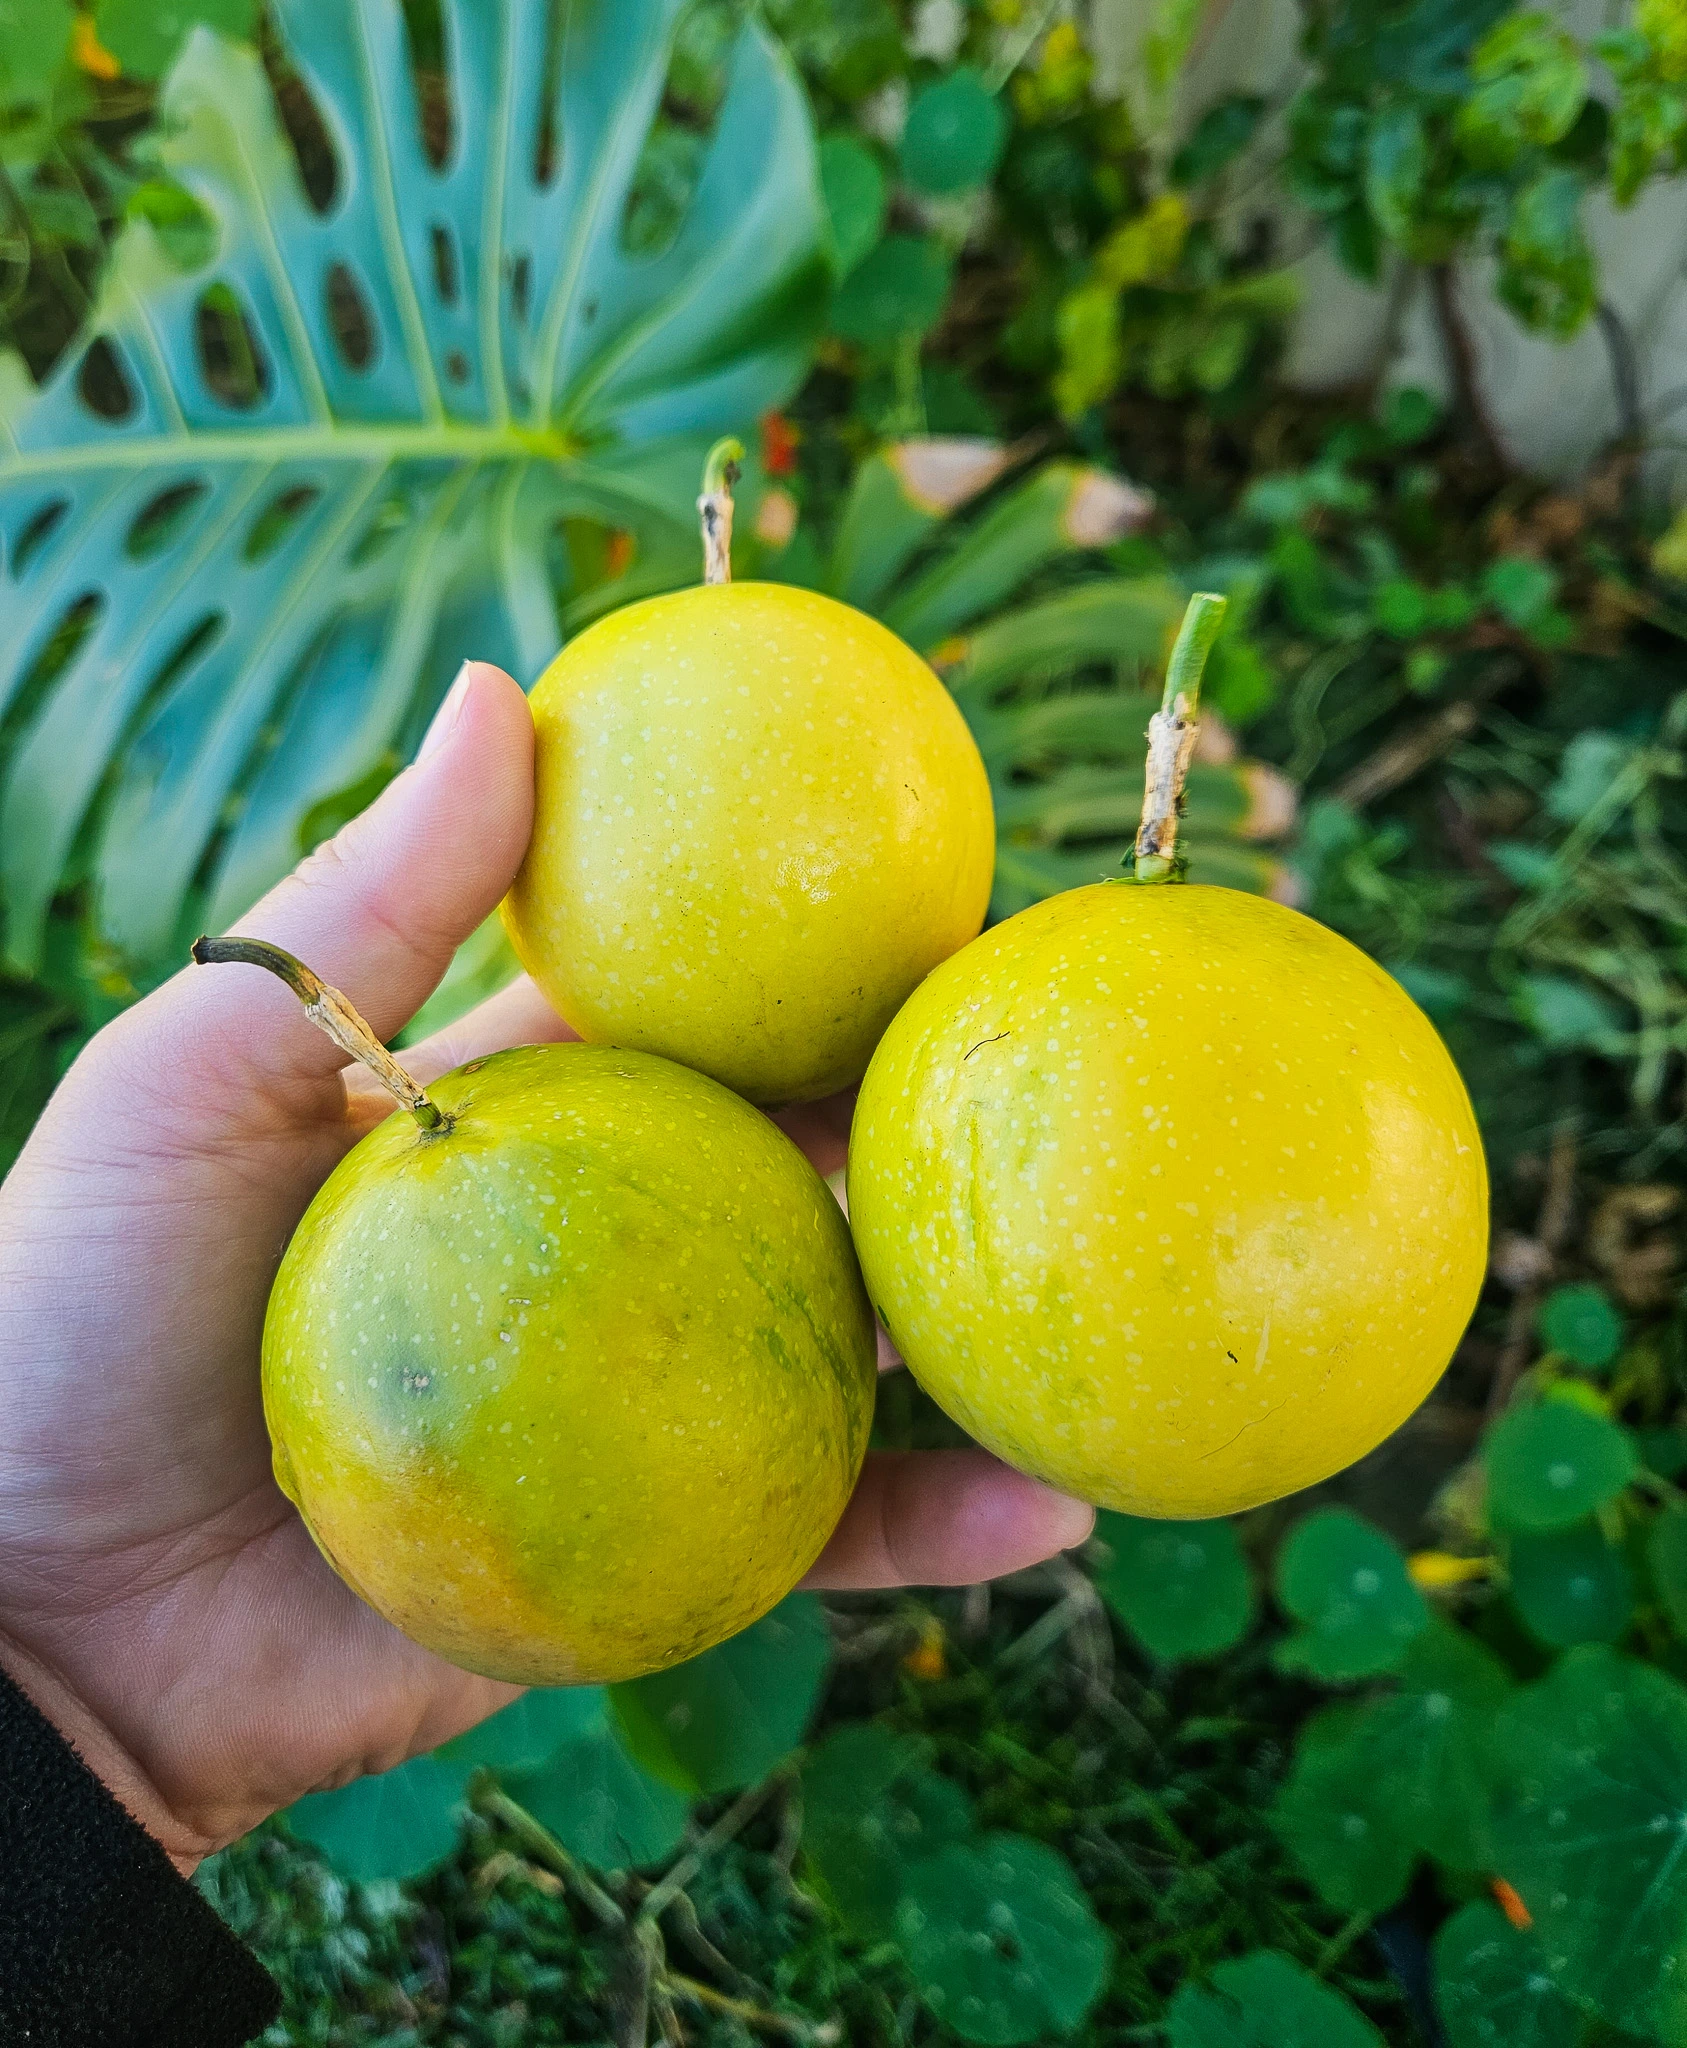
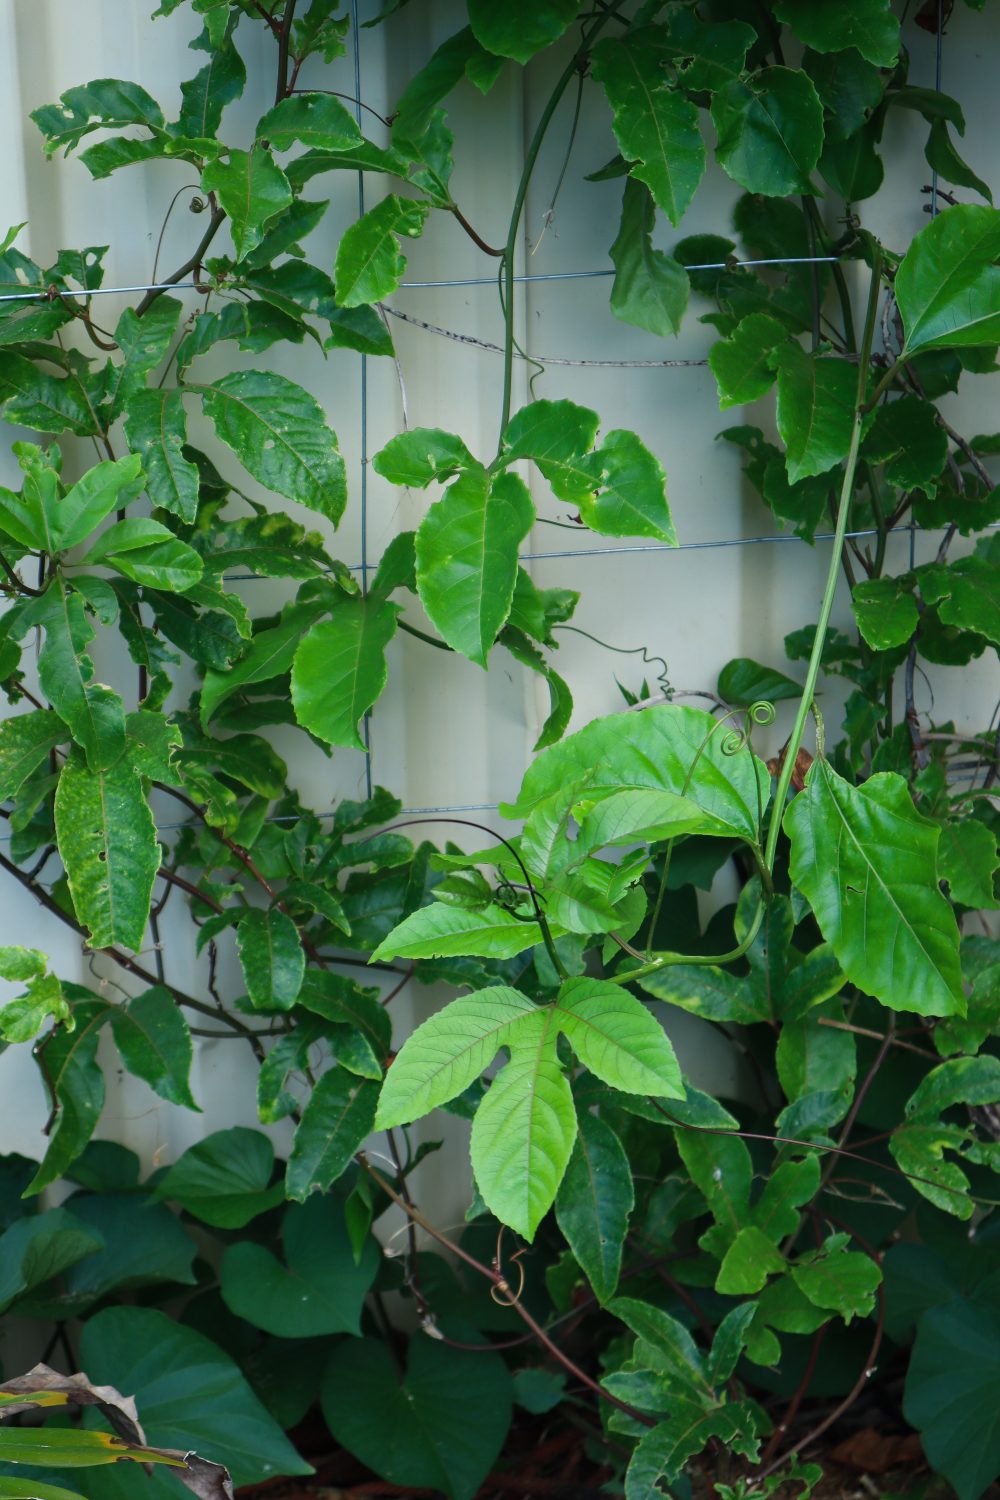
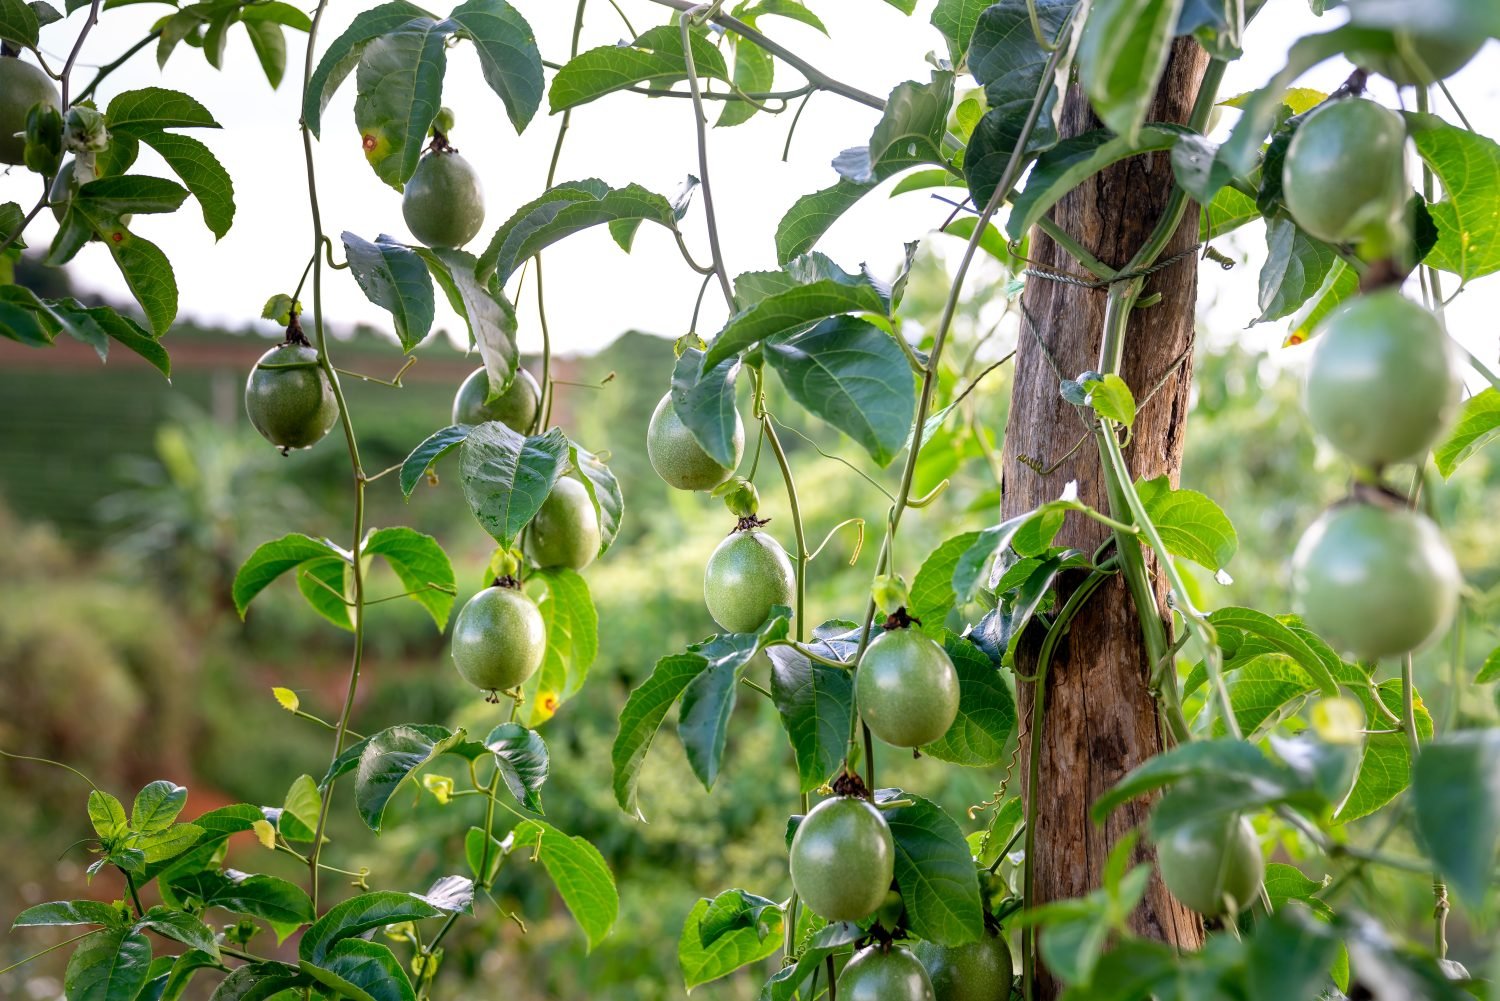
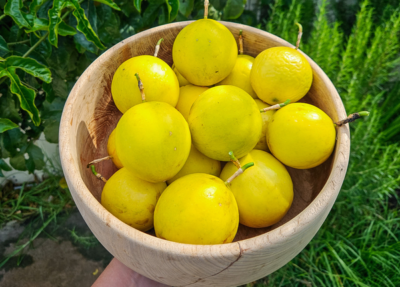
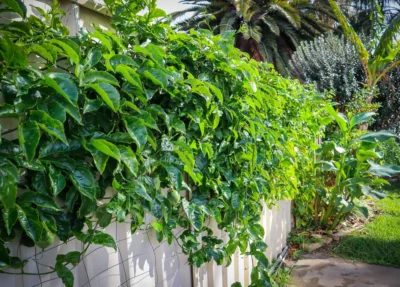
Passionfruit is one of my favourite fruits to eat, and the main reason I am growing this edible climber in my garden. They are also evergreen, so it has leaves all year round to create shade and protection. Passionfruit have thick, lush leaves, so they work perfectly to cover fences or create screens to block out unsightly structures or areas. Watch the video above to see how to plant passionfruit from a store-bought fruit!
BONUS TIP: Purchase a passionfruit plant that is NOT grafted. Grafted passionfruit needs to be carefully maintained or the rootstock can quickly take over and become invasive with no fruit.
2. Choko /Chayote
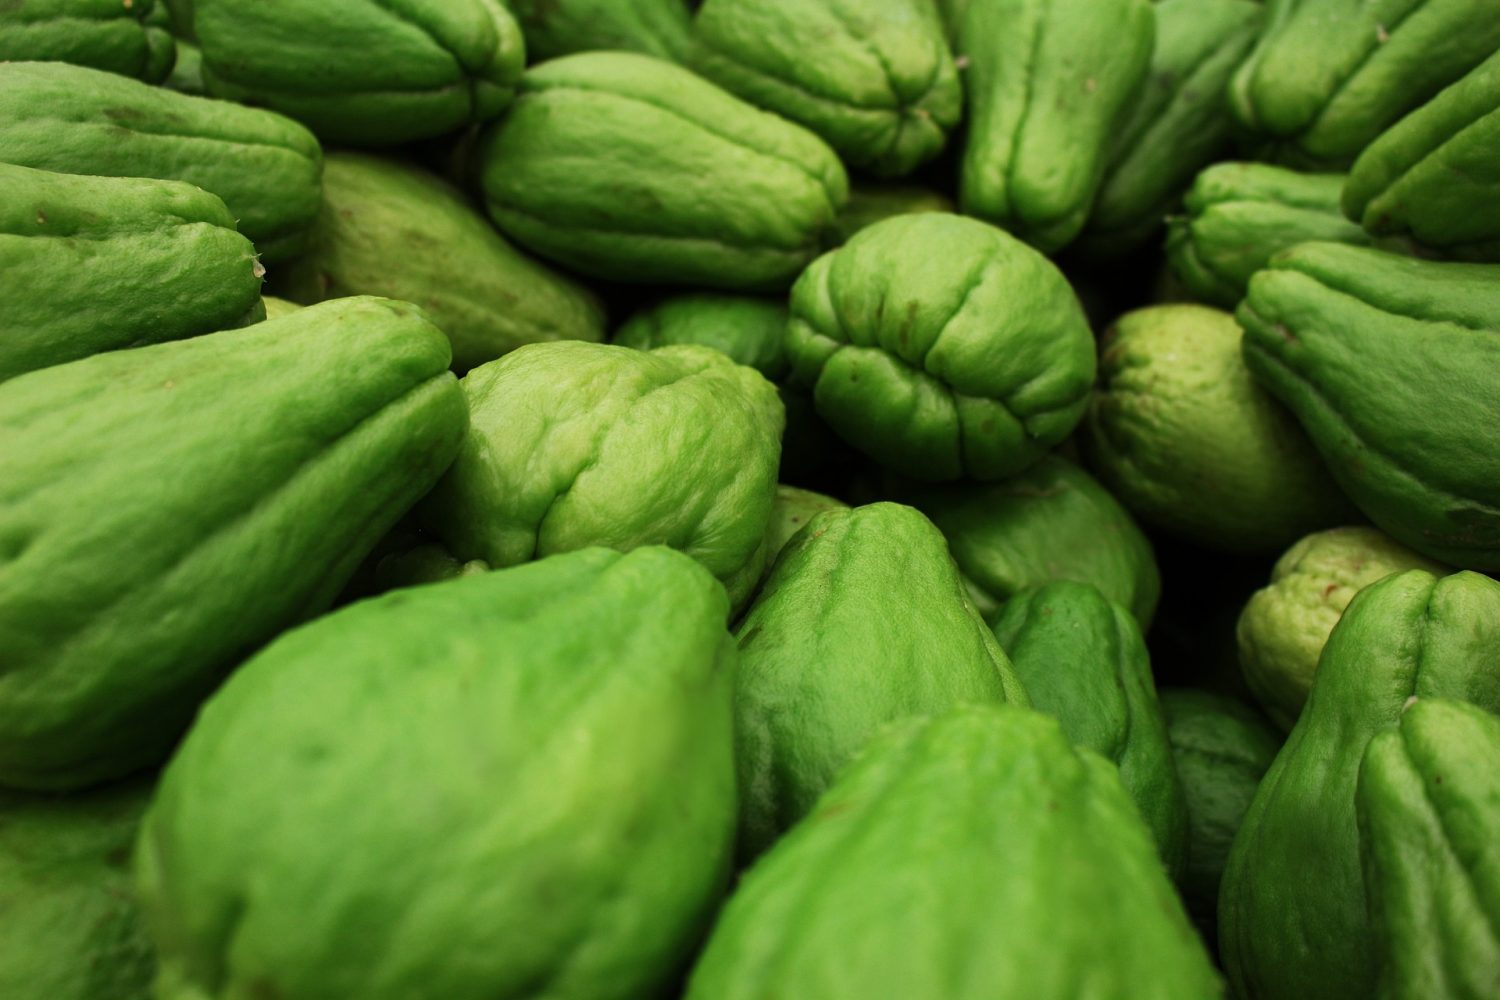
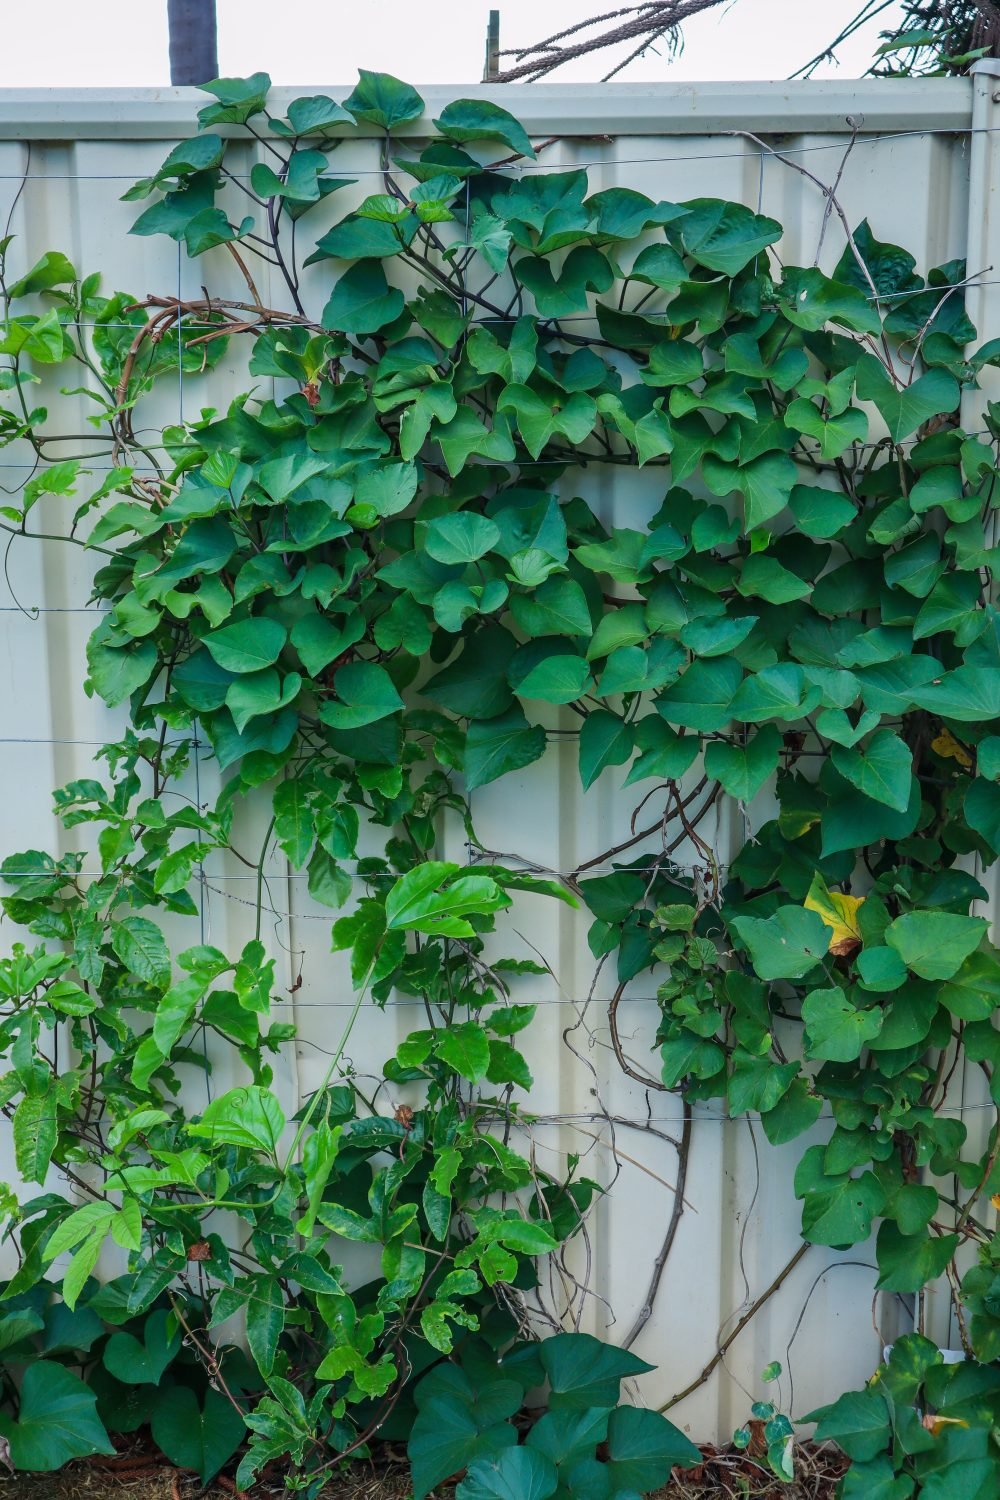
Choko is a quick-growing, vining edible plant that can make great summer shade to protect your summer garden. They will often die back over winter but will pop up and regrow each spring. Any fruits left on the ground will also easily regrow. Choko are similar to a large zucchini or marrow and can be used as a substitute for potatoes or even apples to bulk up pie recipes.
3. Sweet Potato
Growing Sweet Potatoes / Kūmara (Ipomoea batatas) in your home garden is a great step toward self-sufficiency. They are my favourite permaculture plants and are an easy crop to grow for beginner gardeners. It is important to grow plants that support and encourage other plants and beneficial insects in your garden. Creating a cohesive ecosystem that promotes the growth and success of your garden’s health and supports abundant harvests. Sweet potatoes send out runners and can easily be trained up a vertical trellis. Plus, many people do not know that the leaves of the sweet potato plant are also edible.
4. Grapes
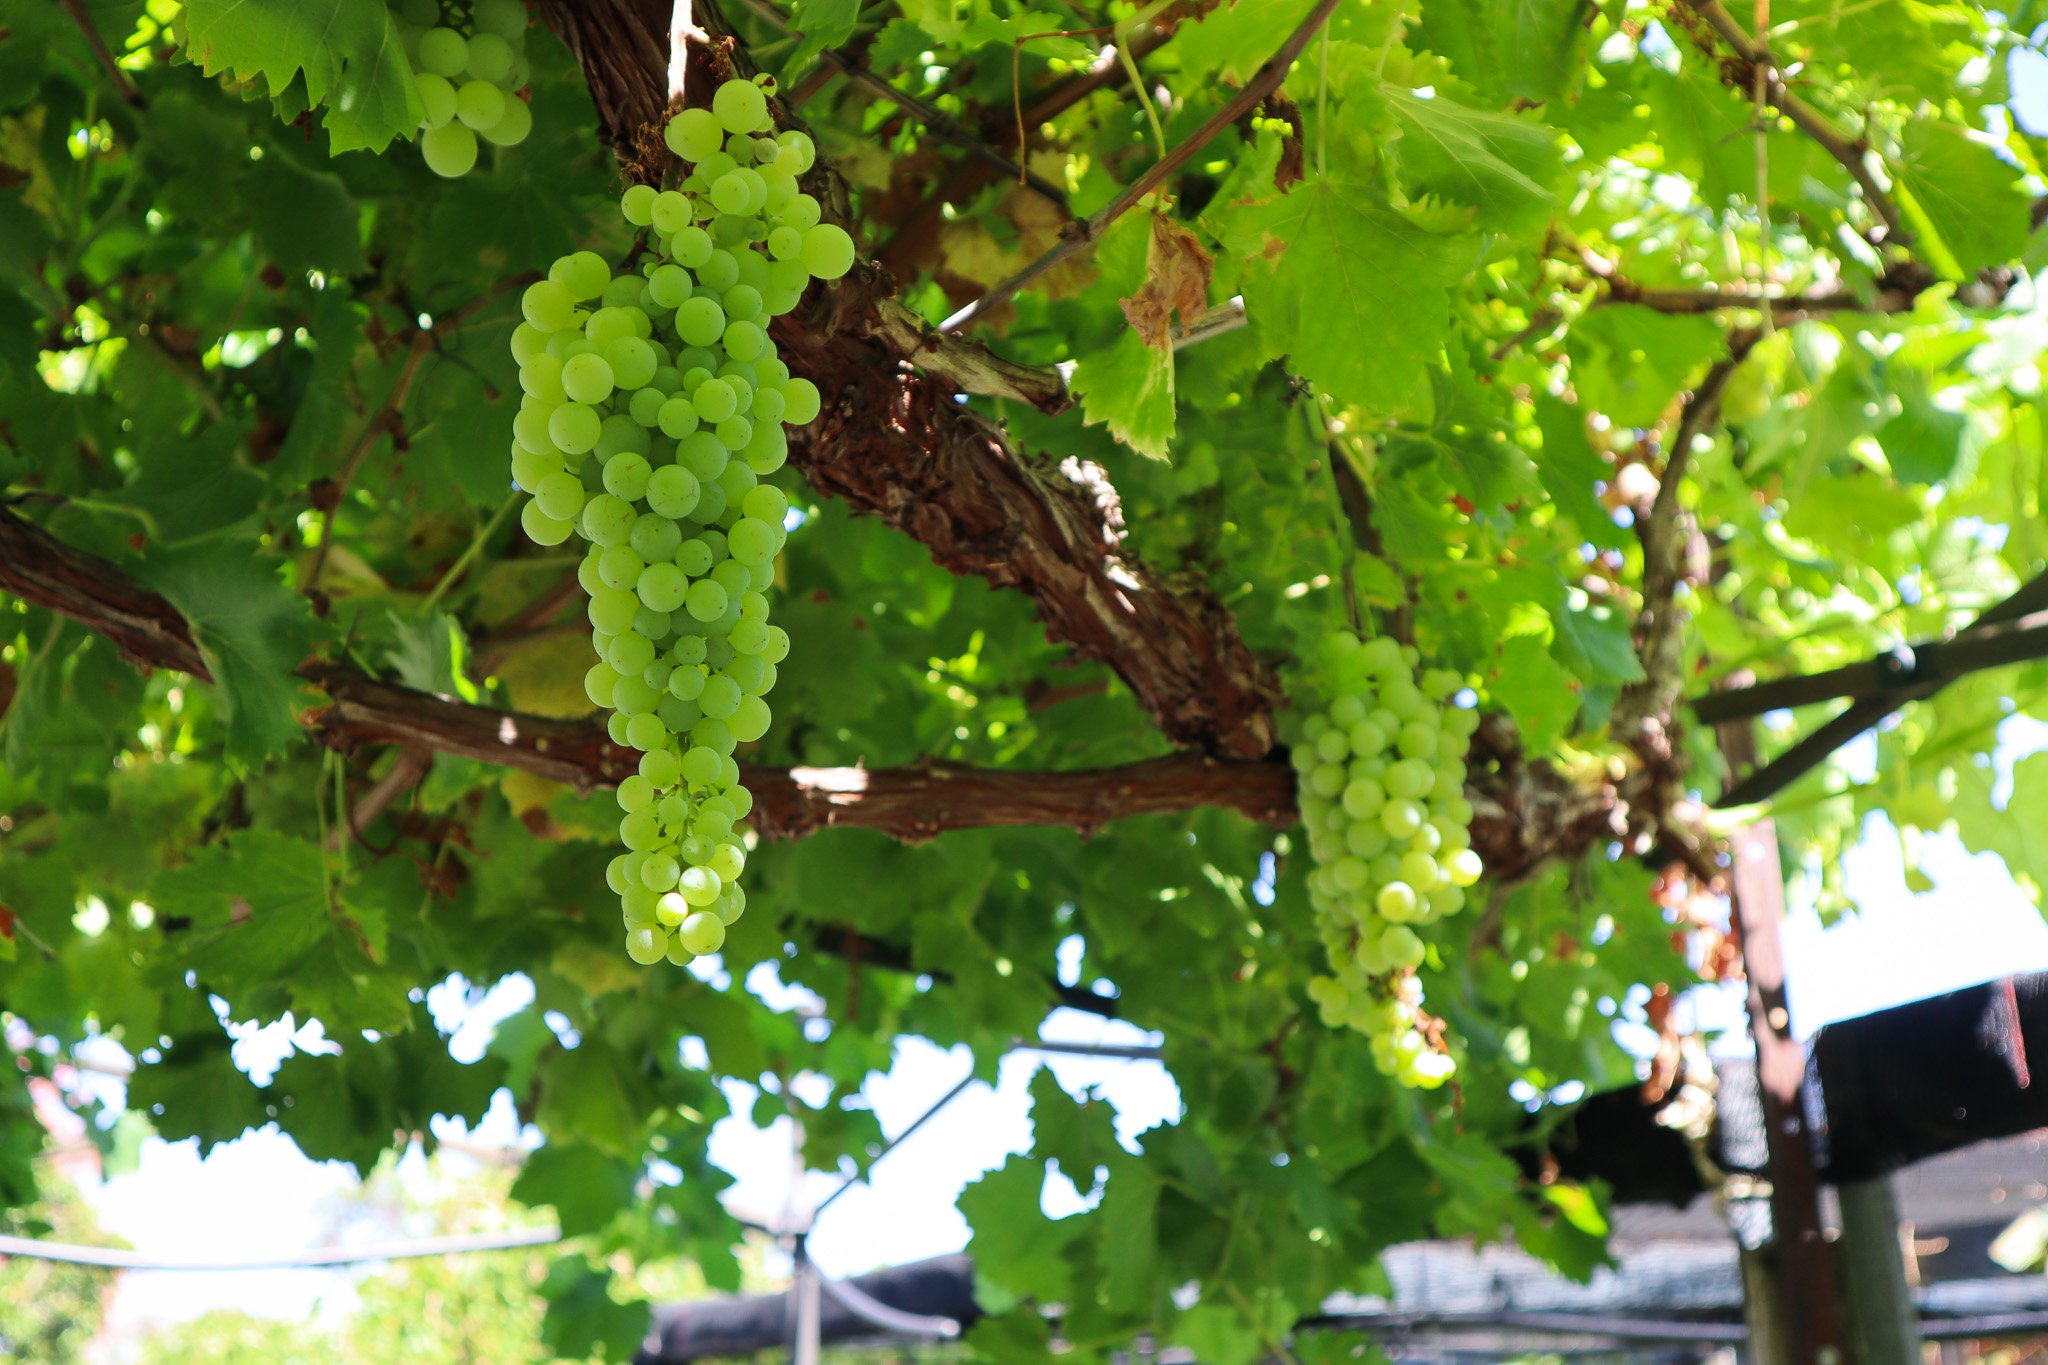
The great thing about growing grapes as edible climbers is that they are deciduous. This means they lose their leaves in winter, so you can plant grapes strategically to provide shade in summer and let light through in winter!
5. Malabar Spinach
Malabar spinach is a fantastic edible climber for warm or tropical climates. It thrives in summer during warm weather when most other spinach and leafy greens die off. This can help fill the gaps in your seasonal harvests. Malabar spinach can be grown in pots or containers. It has succulent-like leaves, so it can handle hot weather, but it can be frost sensitive.
6. Butterfly Pea
If you love colour, then this edible climber will be perfect for you! With bright blue-purple flowers, the butterfly pea is a striking addition to an edible garden. The flowers can be used as a natural food colouring or infused in teas or cocktails. Plus, if you add acidity such as lemon juic,e the colour will transform to hot pink! Such a fun plant to grow.
7. Kiwifruit
Kiwifruit can be grown over structures to create great canopy shade. They are prolific producers and the fruit can be eaten fresh, frozen for smoothies, made into jams and even dehydrated for naturally sweet treats. You will need to have both a male and a female plant for pollination.
8. Kiwiberry
Kiwi berries have a similar taste to the kiwifruit, but are much smaller, around the same size as a grape. Kiwi berry vines grow really well in containers or urban gardens.
9. Nasturtium
Nasturtium is often known for its wild rambling nature but it can be trained vertically as an edible climber. The whole plant is edible, including the leaves, flowers and seed pods. Nasturtium has a strong peppery taste and can be used in salads, flavoured salts, pickles and many other recipes. Here in Perth, my Nasturtium dies down in summer but will pop up and regrow by itself in Autumn/winter.
10. Scarlett Runner Bean
Scarlet runner beans are also known as the 7-year bean because they pop up and regrow each year (for about 6-7 years). Beans are a great addition to an edible garden and can easily be cooked or frozen to preserve.
Annual Climbing Vines 🌿
Annual climbers are also great because they don’t need dedicated space, so you can grow, harvest and remove them to grow something different each season! Having a mix of annuals and perennials will help you grow more food all year round. Annual climbers can be plants such as Cucumber, Squash, Tomatoes, Pumpkin, and Melons.
Fruits that Grow on Vines
Want to grow more fruit without taking up extra ground space? Climbing fruits are a great way to grow more varieties without taking up more garden space! Check out these 17 fruits that grow on vines to get more fruiting plants in your garden.
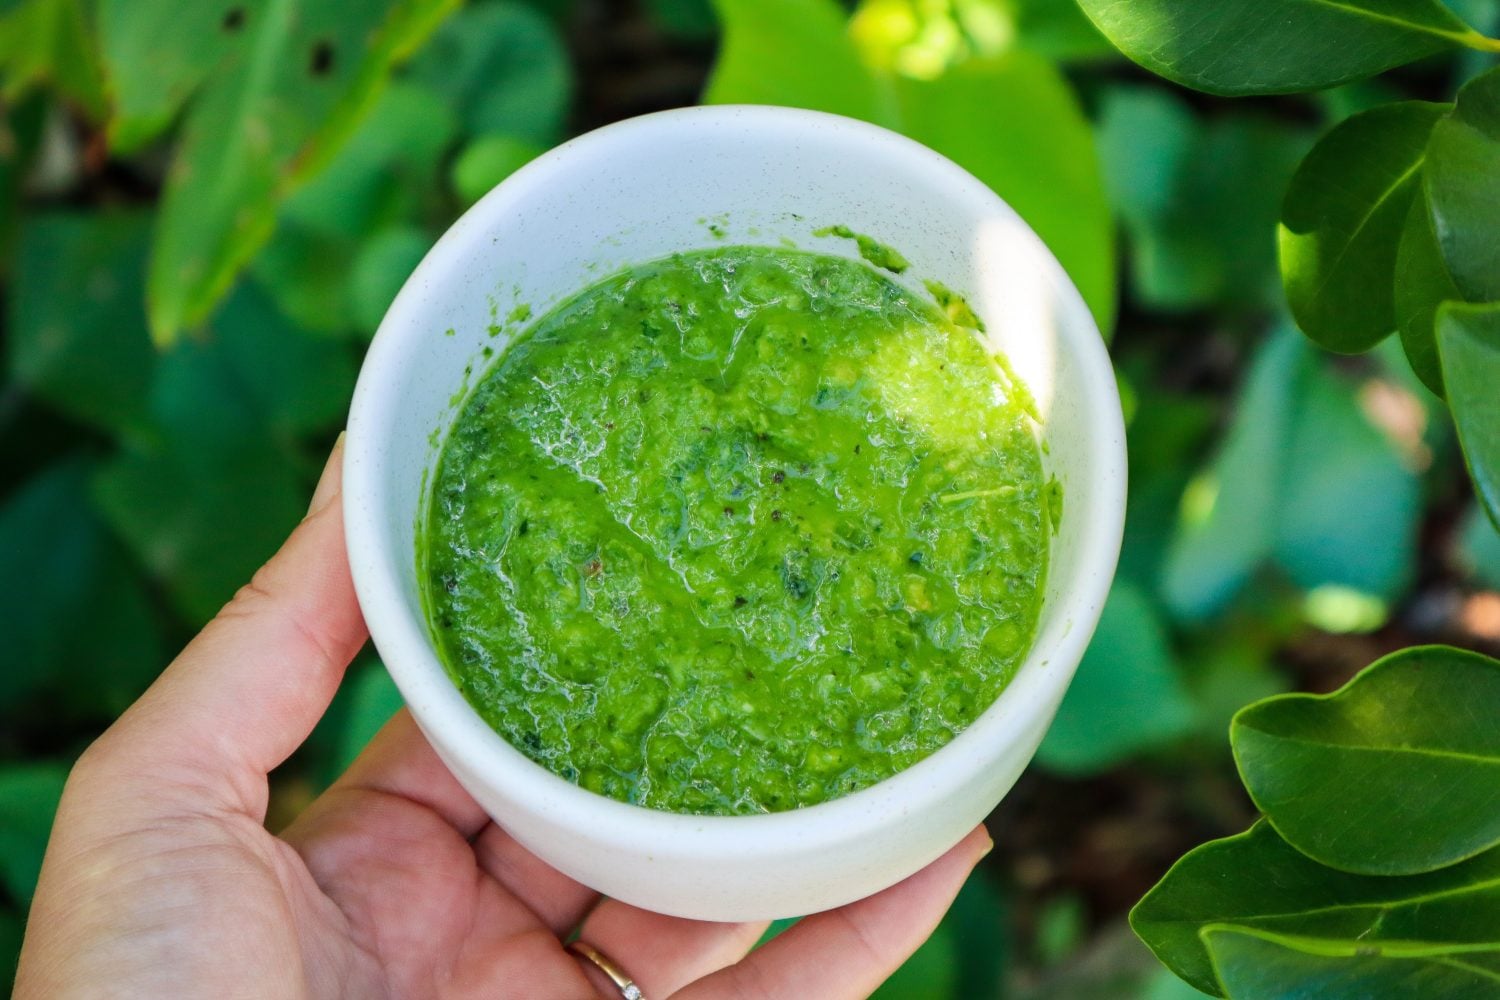
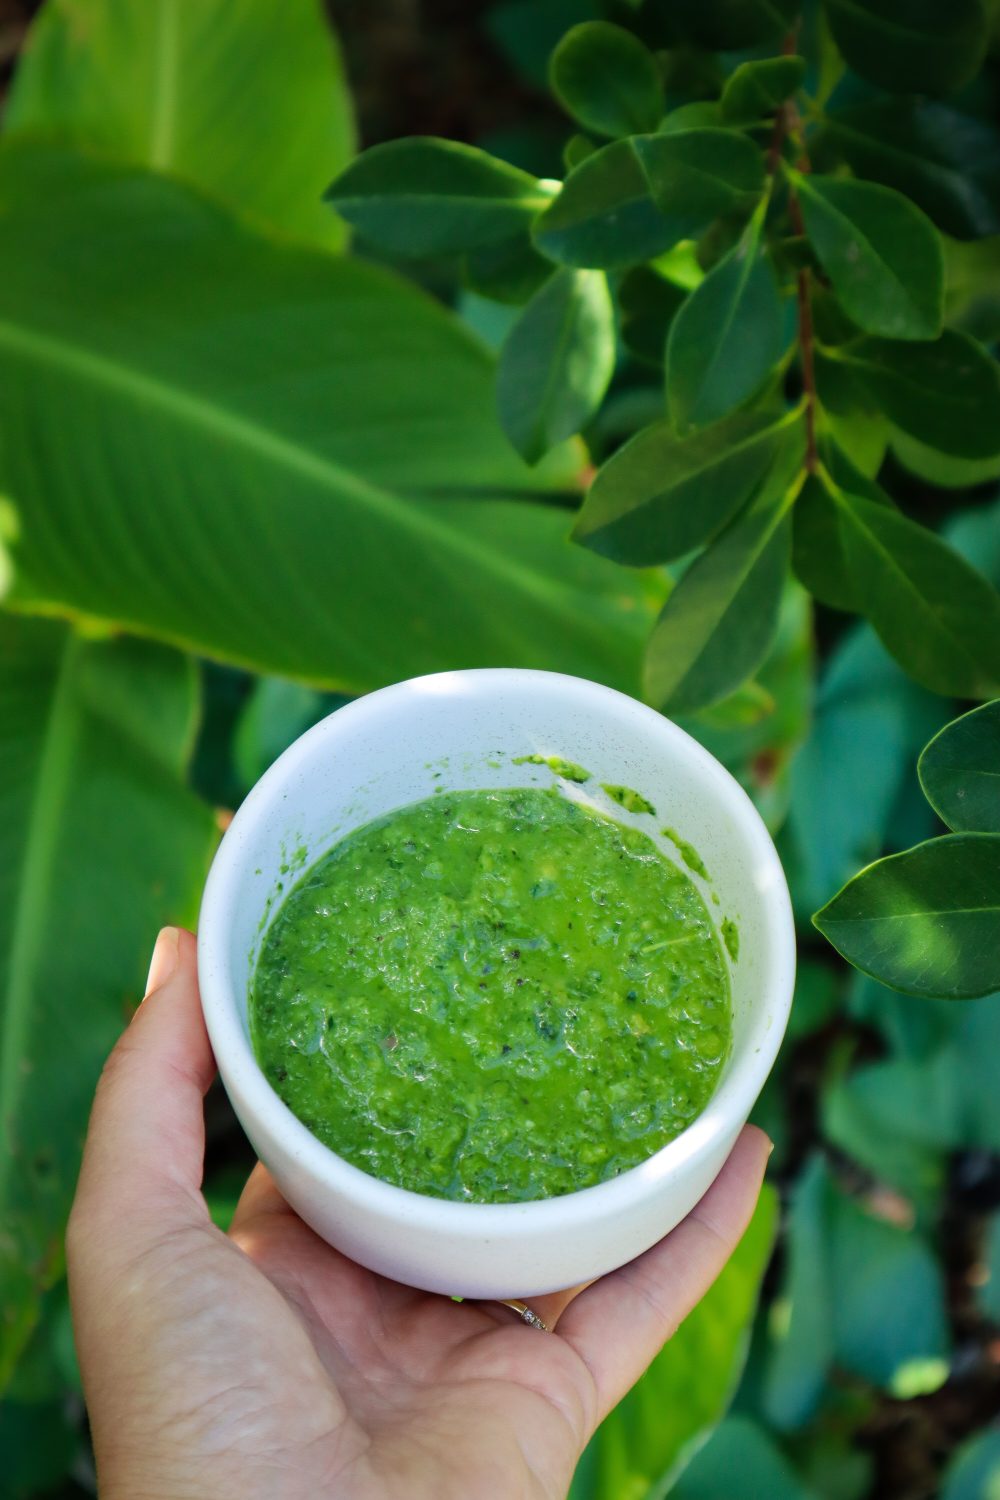
Making your own homemade green curry paste is so easy! You will never want to buy it again after you get the perfect blend. It will need adjusting to your heat tolerance, but mine is quite low, so you can always build on it from there. Using fresh herbs and ingredients from your garden takes this vibrant green curry paste to the next level! Extra curry paste can be frozen for a future quick and easy garden-to-plate meal.
See the bottom of the page for how to turn this green curry paste into a delicious meal.
Garden-to-Plate is flavour-packed!
If you grow your own herbs and chillies, this recipe is a fantastic way to use up extra harvests. Here’s a look at a few of the key ingredients and how they contribute to your garden and kitchen:
Green chillies: Long cayenne or similar varieties are perfect for this. They’re productive, easy to grow in pots, and can be frozen or dried for later use.
Lemon balm or lemongrass: Lemon balm is a wonderful lemony herb that grows like a weed. It’s a great lemongrass substitute and adds a bright citrus note.
Basil: Thai basil is traditional, but any sweet basil works. It’s easy to grow and makes this paste extra aromatic.
Spring onion: Grows well in containers or in-ground. The green tops add a mellow onion flavour.
Ginger and garlic: While not always garden-grown, both are staples in many food gardens and can be preserved or grown in pots in warm climates.
This paste also works beautifully as a marinade for grilled veggies or protein or as a punchy flavour boost in soups and noodle dishes.
Swaps & Substitutions
Lemon balm vs. lemongrass: Lemon balm is great if lemongrass isn’t available, but either works well.
Chillies: Use what you have! Bird’s eye chillies for more heat, jalapeños or milder green varieties if you prefer it gentle.
Herbs: Try coriander or mint for a different twist.
Green Curry Paste
Fresh and vibrant green curry paste to make a delicious garden-to-plate meal from scratch!
Cut the ends of the green chillies and remove the seeds (this is optional. Keep to the side if you want to add extra heat) and slice and add to a blender or mortar and pestle.
Peel the ginger using the back of a spoon and slice it into small pieces.
Zest the lime and add the zest and juice to the mix.
Dice and chop all other ingredients and add everything to the mix.
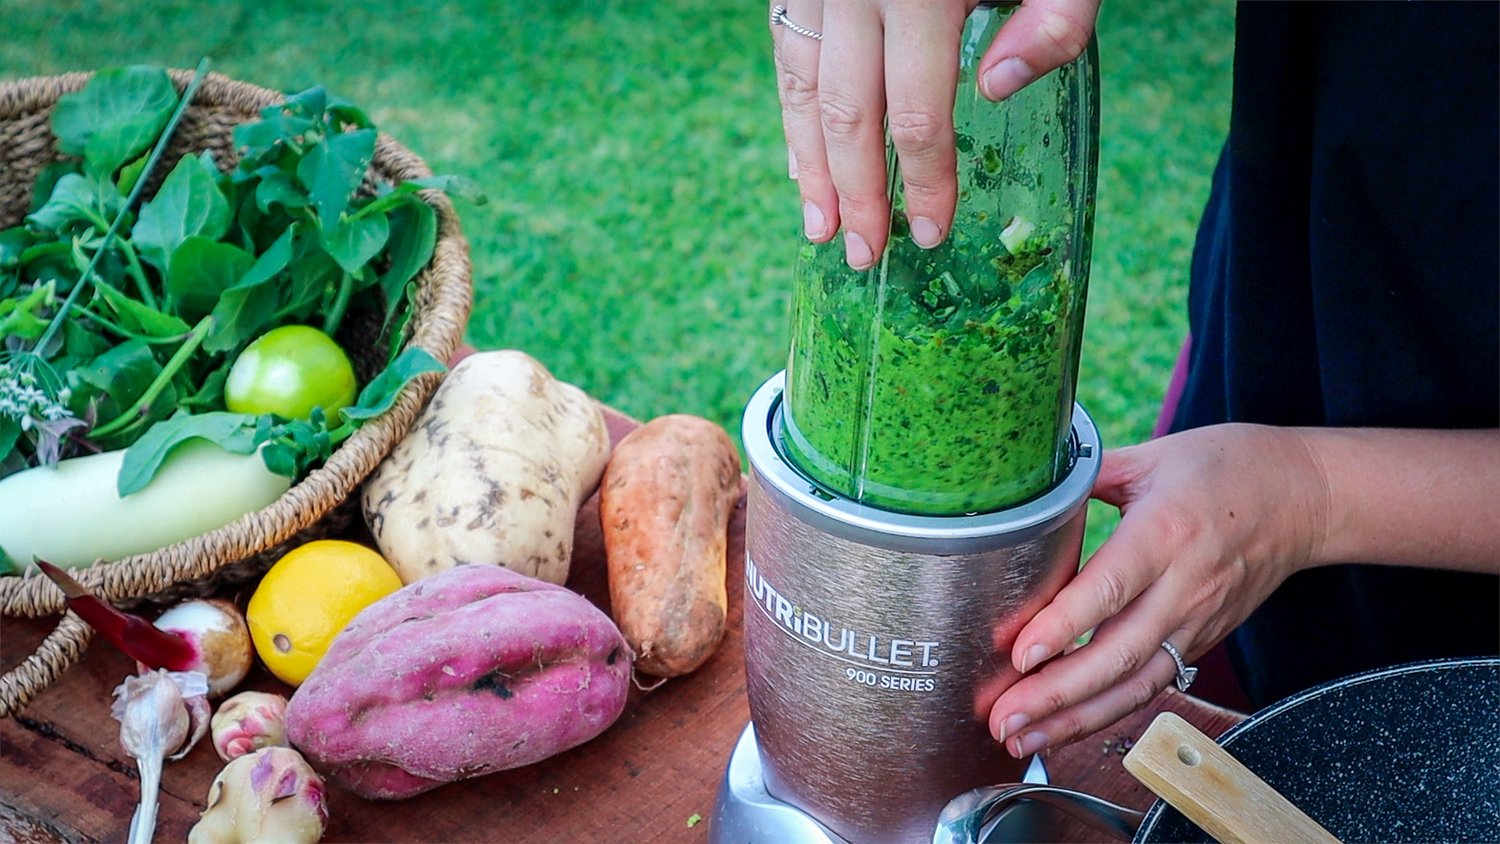
Blitz or pound until a paste-like consistency. You may need to add a splash of water if it is not mixing.
Use immediately or freeze for future use.
Notes
Green Cayenne are on the mild side. If you are using hotter chillies use less or more to your heat preference. I also remove the seeds because I like it mild. Keep the seeds to the side and add extra during the cook if you want to increase the heat.
Other herbs and greens can be added such as parsley or corriander
Tips for Storing and PreservingGreen Curry Paste
Fridge: Store in a sealed jar for 5–7 days.
Freezer: Freeze in tablespoon-sized portions in ice cube trays, then transfer to a container or zip-lock bag for up to 3 months.
Pro tip: Label your frozen curry cubes so you know what’s what when digging through the freezer later!
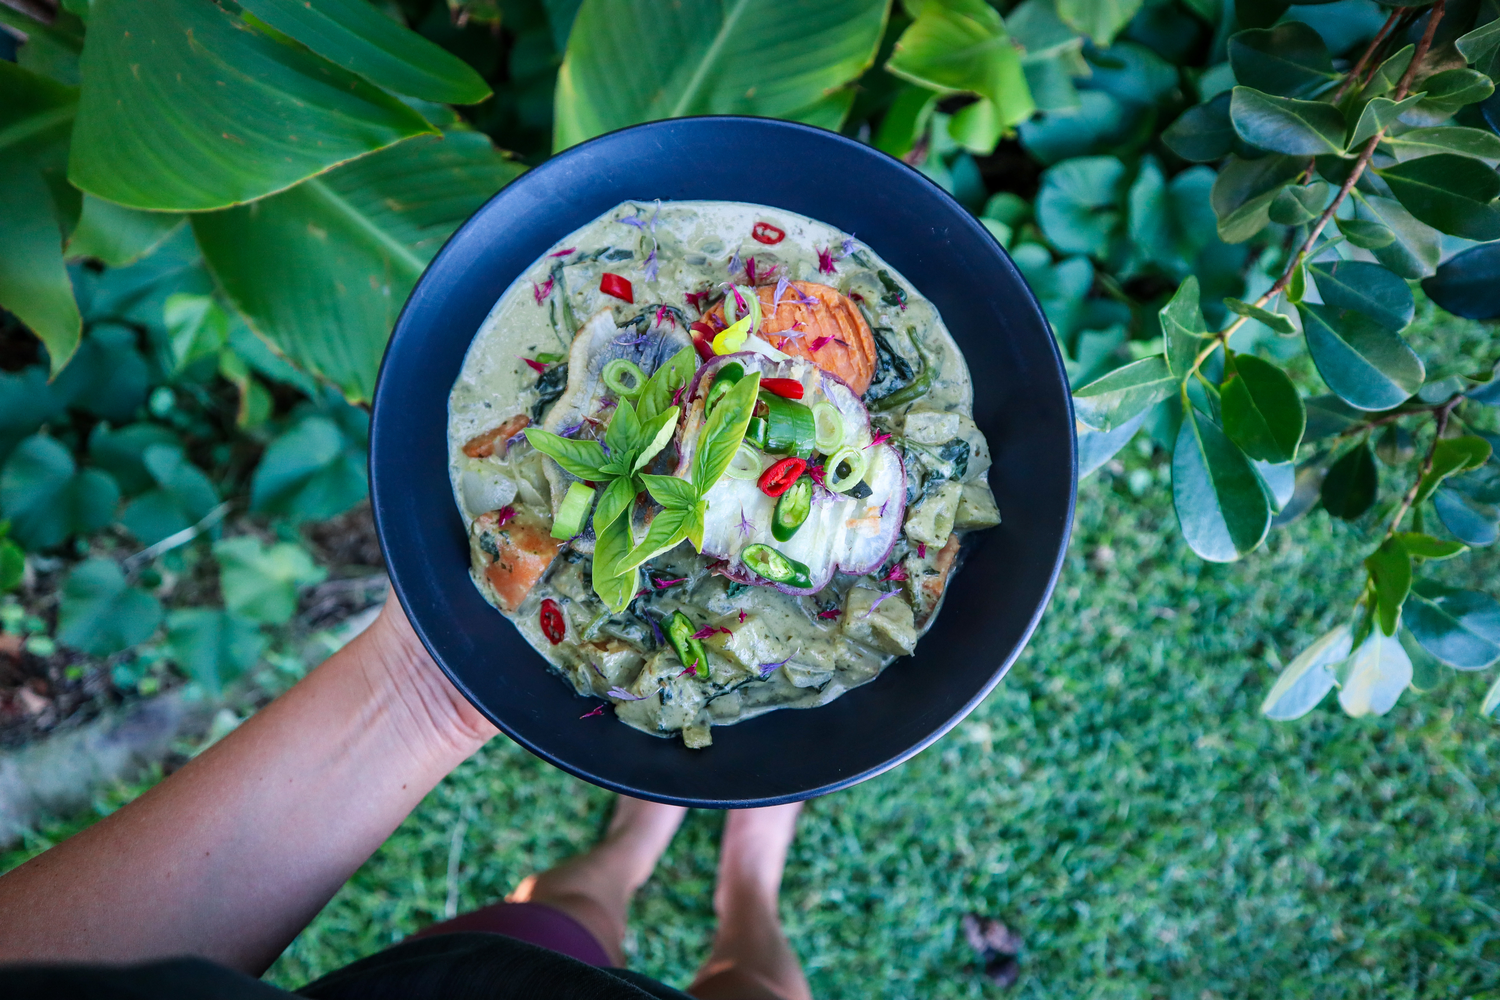
How to make a Green Curry with the Homemade Paste
To turn your green curry paste into a delicious garden-to-plate meal follow these steps.
In a deep pan or Wok, brown onions in 1TSBP Olive Oil.
Add your protein of choice and brown off.
Add the green curry paste and stir to combine for 1 minute
Add 400ml of Coconut cream.
Stir and taste. Add extra sugar or salt if needed. Salt helps bring out more flavor. Sugar can ease some of the spice.
Add chopped greens and veggies such as Zucchini, Capsicum, Carrot, Snow Peas, Beans, and Chard.
Cook until protein is cooked through and veggies are softened but still have a bit of crunch.
Roasted Sweet Potato rounds are also delicious on top of a green curry!
Homemade green curry paste is a game-changer—flavourful, fresh, and full of your garden’s best. Whether you grow a few herbs on your balcony or have a thriving backyard veggie patch, this recipe is a wonderful way to make the most of your harvests.
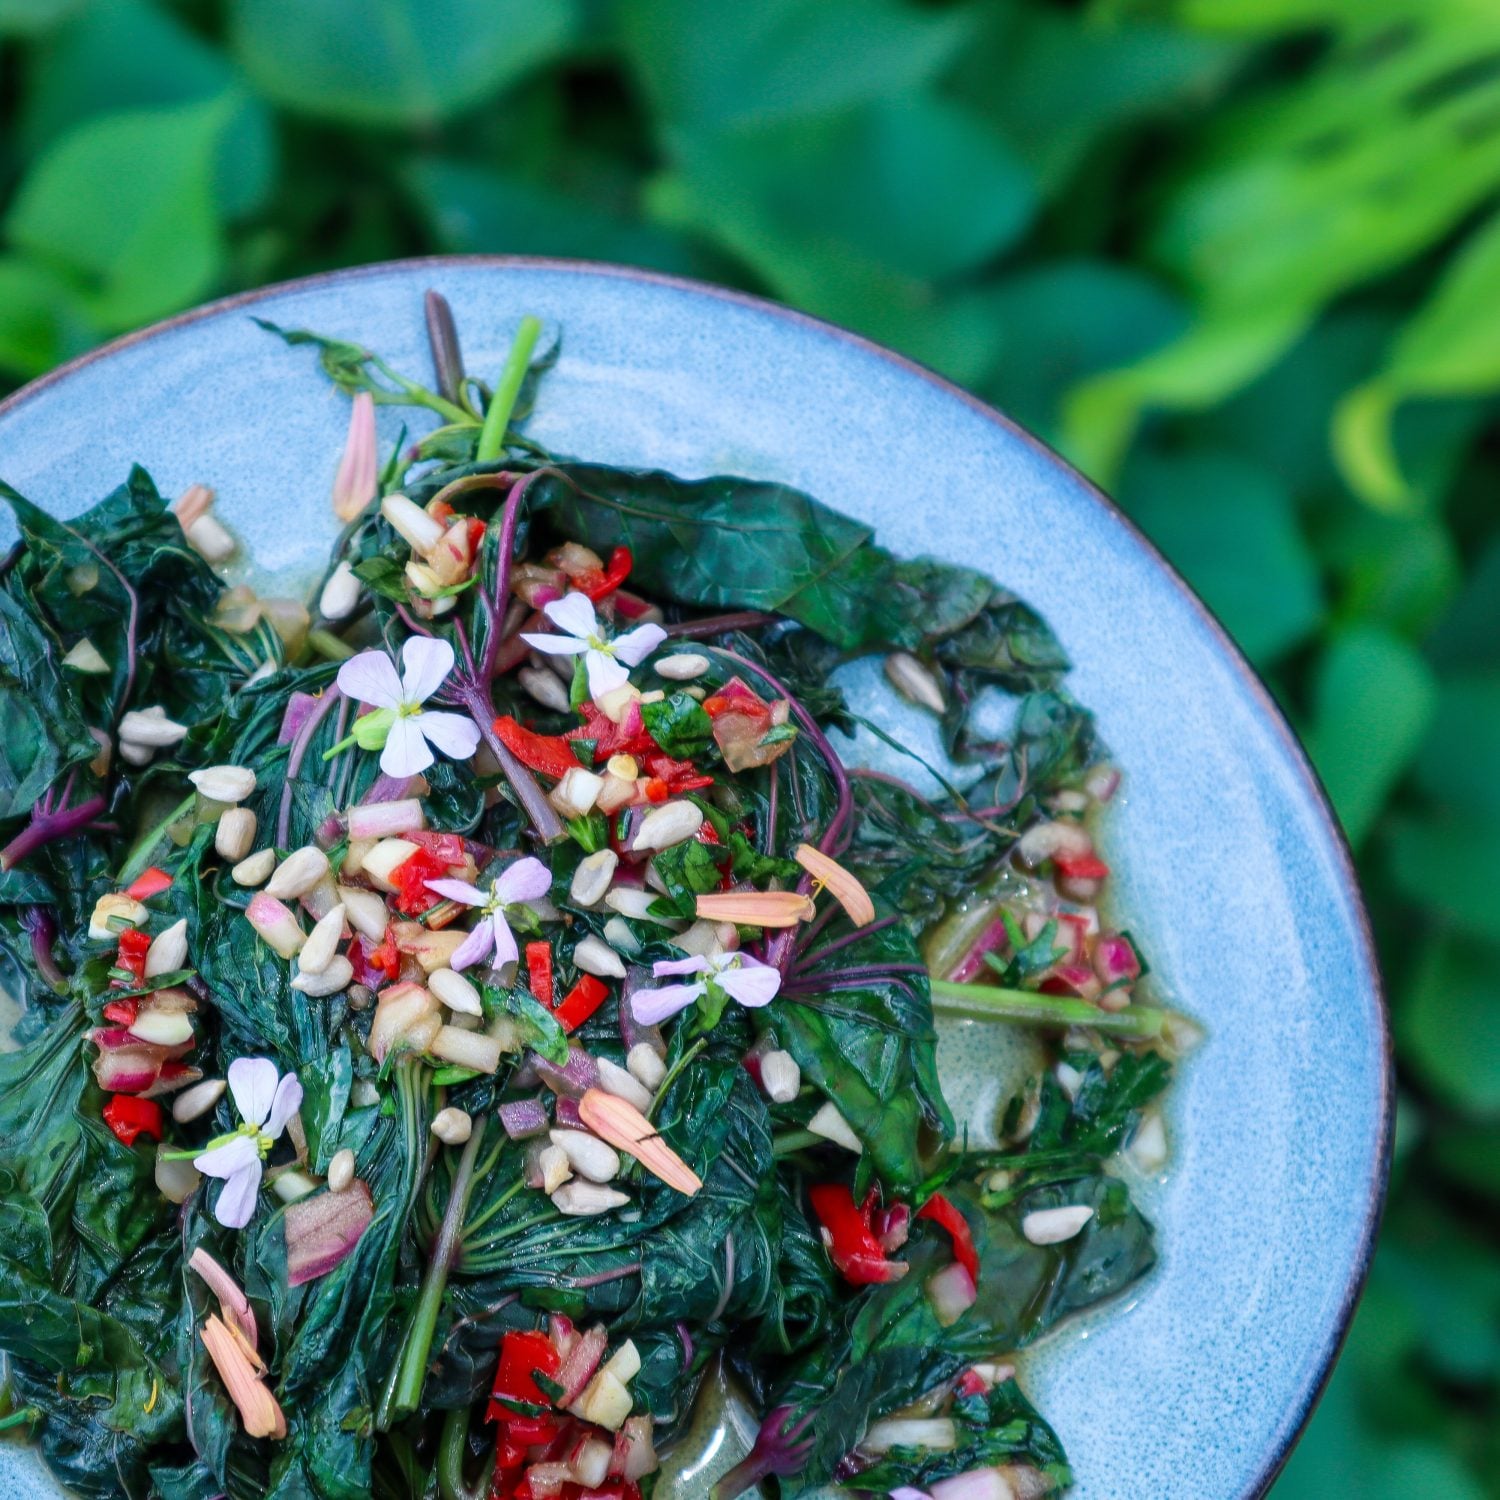
If you’re looking for a delicious, nutrient-packed way to use sweet potato leaves, this sweet and spicy greens recipe is the perfect choice. They are not only edible but also highly nutritious, making them a fantastic addition to your homegrown meals.
During the warmer months, when sweet potato vines are growing abundantly, their tender leaves make an excellent spinach substitute. Pairing them with chillies, which also thrive in the heat, creates a flavorful and seasonal dish straight from your garden.
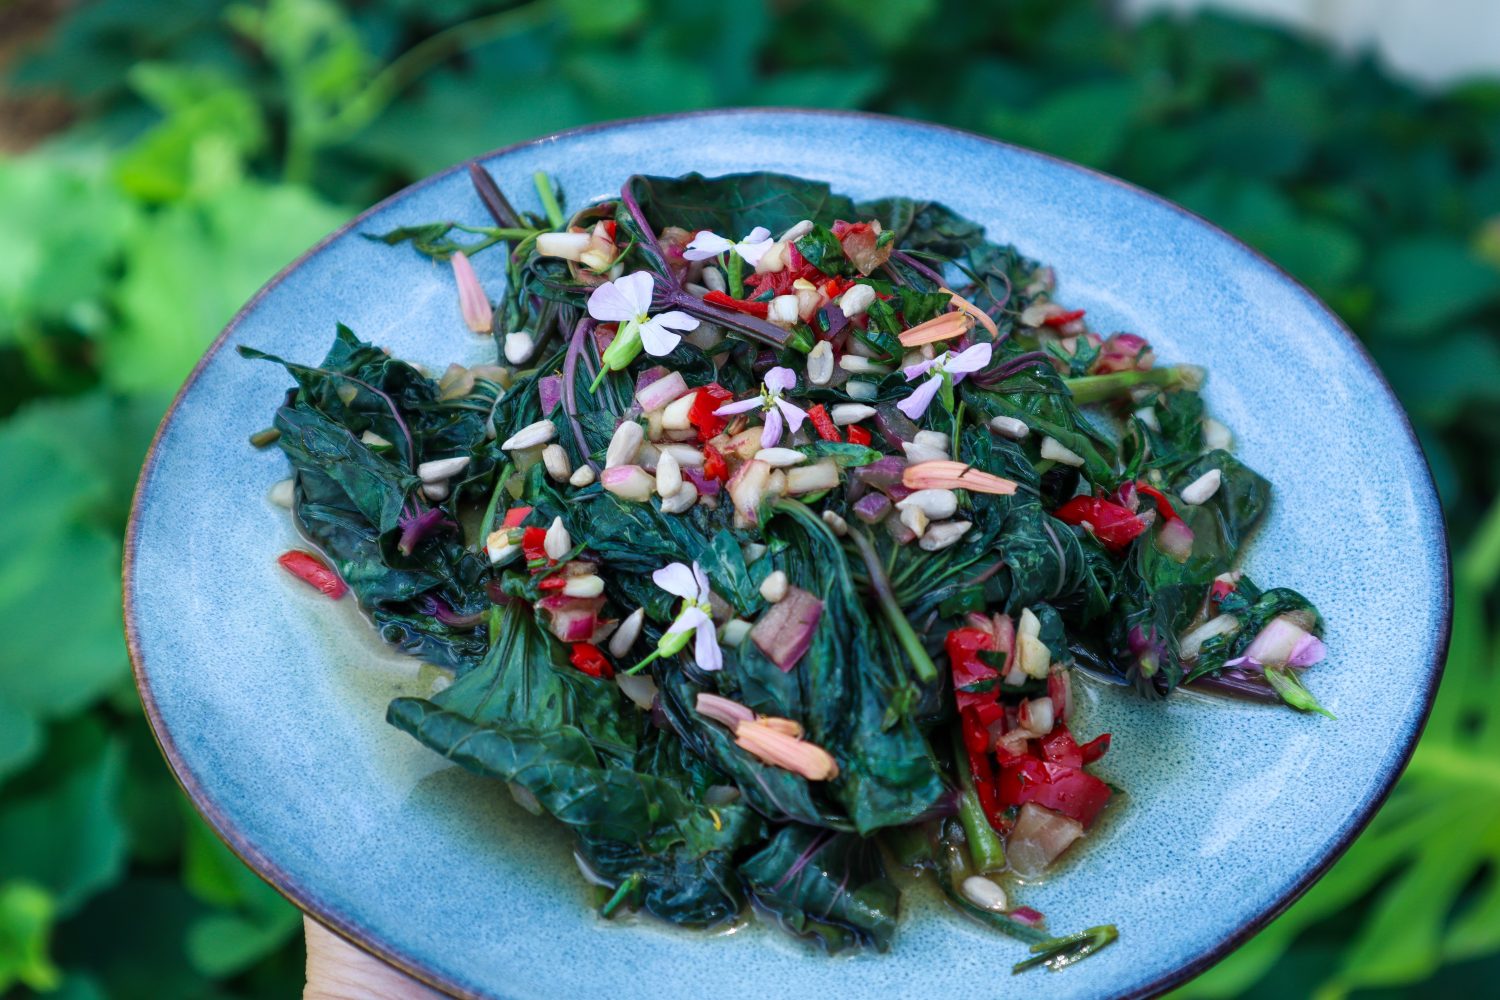
In this recipe, we’ll sauté fresh sweet potato leaves with a blend of sweet and spicy ingredients, making it a perfect side dish or a hearty topping for rice, noodles, or even grilled meats.
Why Eat Sweet Potato Leaves?
Many people don’t realize that sweet potato leaves are 100% edible and packed with vitamins A, C, and K, as well as iron, calcium, and fiber. Unlike regular potato leaves (which are toxic), sweet potato leaves are safe to eat and have a mild, slightly sweet taste with a soft, spinach-like texture when cooked.
Some benefits include:
✅ Nutrient-dense – High in antioxidants, vitamins, and minerals ✅ Easy to grow – Thrives in hot weather, requiring minimal care ✅ Great for permaculture gardens – Offers dual-purpose harvests (leaves and tubers) ✅ Versatile – Can be stir-fried, steamed, added to soups, or blended into smoothies
How to Make Stryfry Sweet Potato Leaves
1. Prepare the leaves
Pick and wash the leaves thoroughly (see notes for tips).
Pat dry and remove any tough stems.
2. Chop the aromatics
Finely slice the onion, garlic, and chilli.
If you prefer a milder spice level, remove the chilli seeds before slicing.
3. Mix the sauce
In a small bowl, combine the soy sauce, honey, and other sauce ingredients.
Stir well to ensure all flavors are blended.
4.Stir-fry the greens
Heat a large wok or frying pan over medium-high heat.
Add the greens and ¾ of the sauce mixture.
Stir-fry until the greens have wilted but remain vibrant.
5.Serve and garnish
Transfer to a serving dish and drizzle with the remaining sauce.
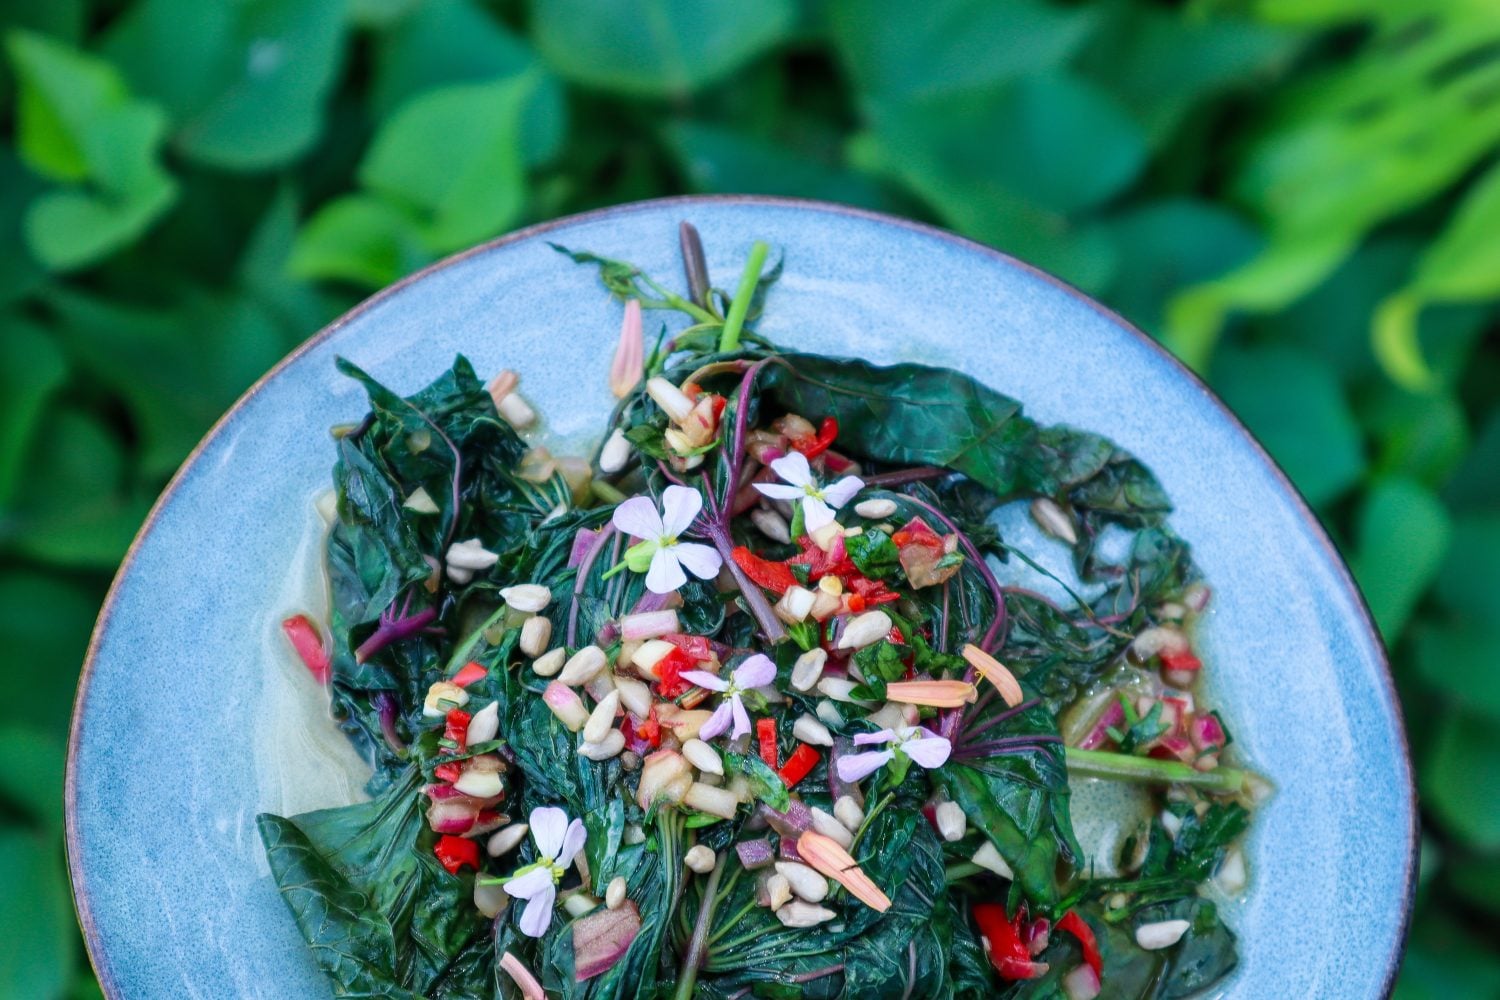
Sprinkle with sunflower seeds and garnish with edible flowers if desired.
Serve immediately and enjoy!
Sweet and Spicy Sweet Potato Leaves
5 from 73 votes
Chilli and sweet potato greens are both thriving in the warmer months. This sweet and spicy side dish is a great way to combine the two.
Pick and wash your sweet potato greens well (see notes)
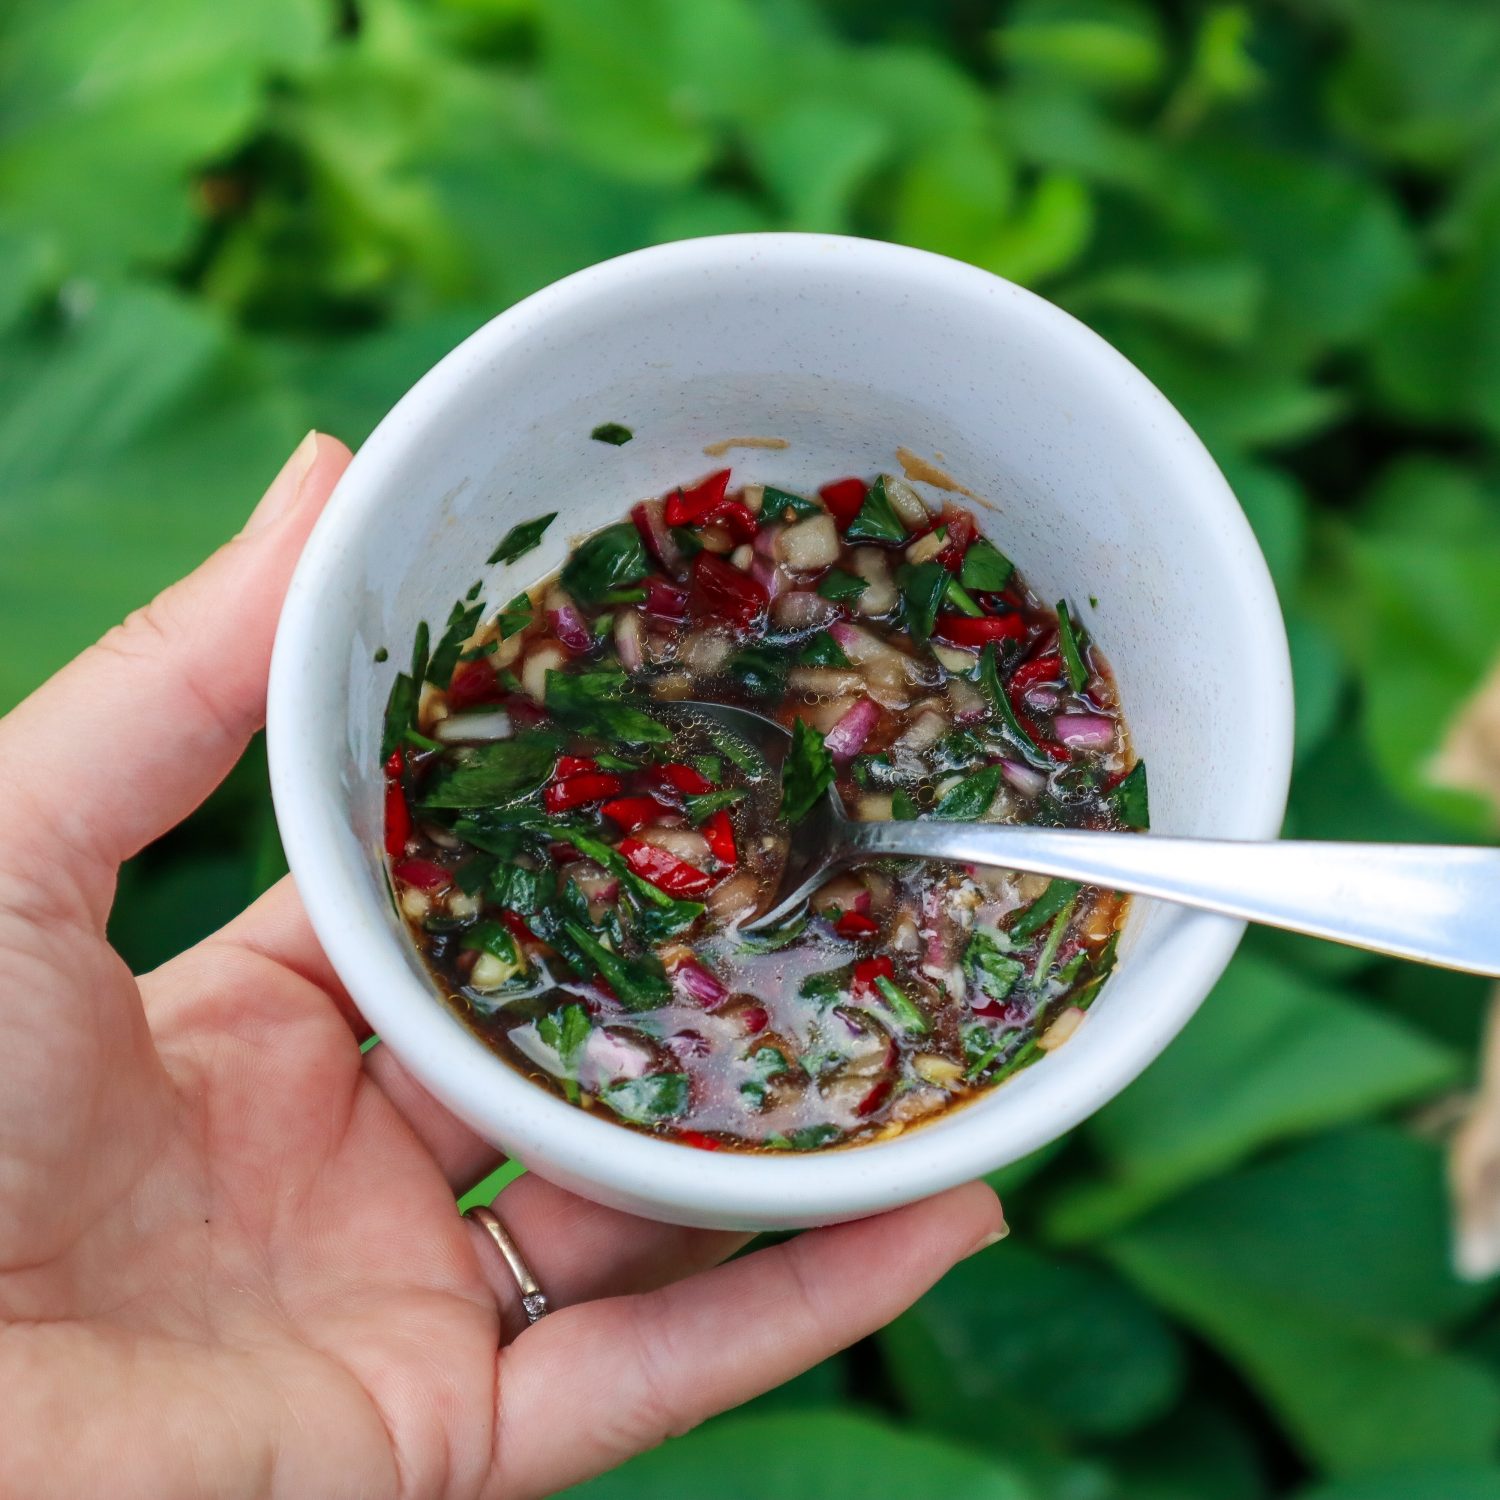
Finely slice Onion, Garlic and Chilli. Remove the chilli seeds if you don't want it too spicy (I prefer no seeds).
Add the rest of the sauce ingredients together and mix well.
Heat a large wok or frying pan on medium-high heat.
Add sweet potato greens and 3/4 of the sauce mix and stir-fry until the greens have wilted.
Place on a side dish and top with the remaining sauce along with Sunflower seeds and flowers to serve. Serve immediately.
Notes
Sweet Potato Greens excrete a white milky substance when picked. This can cause allergies to sensitive skin. Rinse well.
Sweet potato leaves will wilt to less than 1/4 the original size just like spinach does.
Choose young sweet potato leaves and shoots – the newest 4-5 leaves.
Add and swap for other greens such as spinach or chard.
Make it as mild or as spicy as you like by adding in or removing the seeds.
Recipe Variations & Substitutions
🌿 No sweet potato leaves? Substitute with spinach, kale, chard, or amaranth leaves. 🌿 Prefer it milder? Reduce the chillies or swap for sweet bell peppers. 🌿 Add protein by tossing in tofu, shrimp, or shredded chicken. 🌿 Make it heartier by serving over rice or mixing with noodles.
Tips & Substitutions
Handling the Leaves – When picked, sweet potato greens release a white, milky sap, which may cause irritation for sensitive skin. If you have skin allergies, wear gloves when handling or wash your hands immediately after.
Wilt Factor – Like spinach, sweet potato leaves shrink significantly when cooked, reducing to less than 1/4 of their original size. Keep this in mind and adjust your portion size accordingly.
Best Leaves to Use – For the most tender and flavorful greens, choose the youngest 4-5 leaves at the tip of each vine. Mature leaves can be tougher and slightly bitter.
Swap & Customize – Feel free to mix in or replace the leaves with spinach, chard, or other leafy greens from your garden.
Control the Spice – Make this dish as mild or fieryas you like by adjusting the amount of chillies or removing the seedsfor a milder flavor.
Sweet Potato Leaves
They are an underrated garden gem, offering incredible health benefits and a delicious, versatile flavor. If you grow sweet potatoes, don’t let the lush green vines go to waste…try this sweet and spicy stir-fry for a quick, nutritious meal! I also add them to any soups, curries, and stirfries for extra greens.
Have you ever cooked with them? Let me know in the comments 👇
Composting turns organic waste into nutrient-rich soil to help feed and grow incredible gardens. Composting is not only great for the fertility of your soil and the secret to growing abundant gardens, it also stops waste from going to landfill.
Compost is alive with bacteria, micro-organisms, worms and many other beneficial insects. Soil that has been left to die will be dry, lack nutrients and will not promote the growth of your plants. There are many ways to start composting your left-over organic waste, depending on your living situation.
Below are some tips and tricks to start composting at home no matter the size of your garden..
Why should we avoid sending food scraps to landfill?
Food scraps, although natural, should not end up in landfill. The problem is, when food scraps are sent to landfill, they are covered with other rubbish and starved of oxygen. They can not break down correctly so in turn, they produce methane gas. Methane gas has a negative effect on global warming and our future planet. “On average Australians throw out up to 20% of the food they buy, which once sent to landfill is generating methane equivalent to around 6.8 million tonnes of carbon dioxide. Not to mention all the energy used to get that food to your table in the first place”.*
Build Sustainable gardens
Creating your own compost at home will reduce waste and help you create a more sustainable garden. Food that you have grown in your garden, can then be put back into the compost to feed your future plants. It is a sustainable cycle that will not only save you money, but also have positive impacts on the planet. Working with nature instead of against it.
Where to Start with Composting?
To get started on your composting journey there are a few things to consider before you jump right in. Below are some tips on selecting the right compost system for your garden and how to keep your compost healthy. This will go a long way to helping you create a simple and effective compost routine to ensure you get the most out of everything that you grow.
1. Choose your Compost Bin Systems
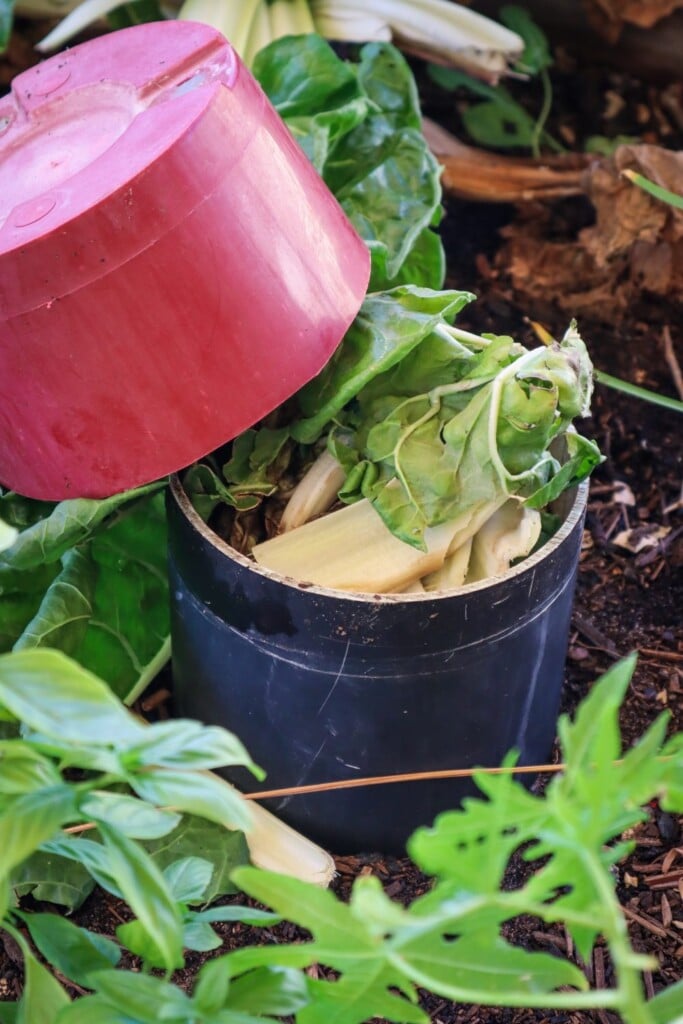
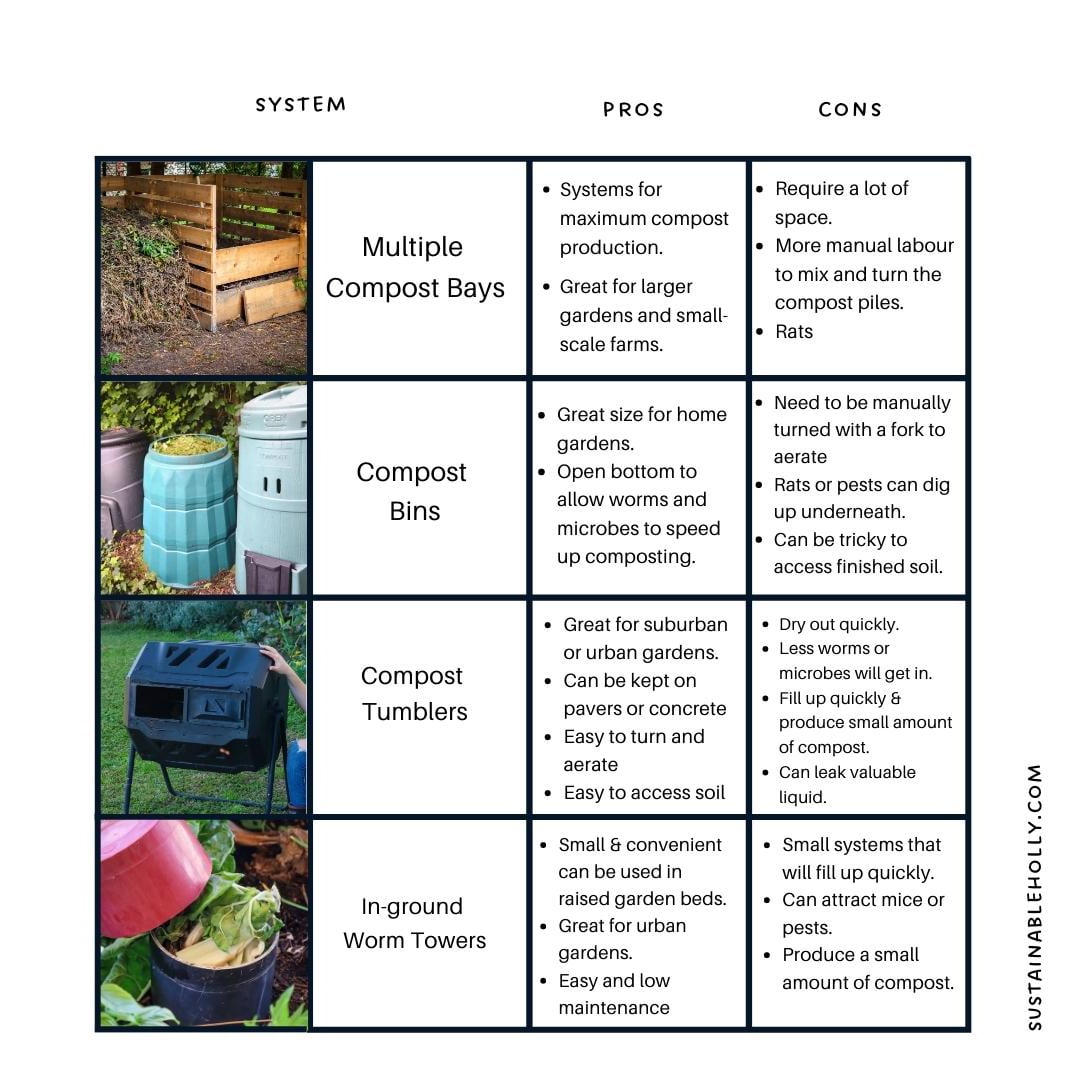
First, you will need something to make your compost in (although you can also just make piles!). There are many systems available depending on the size of your garden. DIY Compost Bays, Compost Bins, Tumblers, or in-ground Worm Towers. To get the most out of your compost it is ideal to have at least two systems. They can be different systems or some compost bins come with two parts already built in. Having two systems means you can stop putting scraps in one once it is full and allow it to break down fully whilst having a second location to put your green waste and scraps.
Below are some pros and cons to help you decide. I plan to have a mix of all these systems throughout my gardens.
2. Choose a location
This is an important part of setting up composting systems. You want the location of your compost system to be close and convenient to both your veggie patch and your kitchen. This will mean you will have easy access to add regular kitchen scraps and plant matter from maintaining your gardens. If it is placed right down the back in a faraway corner you are less likely to utilise it. If you are worried about the smell, following the tips and processes outlined in this workshop will help eliminate that. Having it far away will cause you to neglect the process and this will result in a stinky compost system. A location with part sun – shade will help to retain moisture and stop it from drying out.
If you receive a lot of rain it may be useful to have cover to sop it from getting too wet.
3. Hot vs Cold Compost
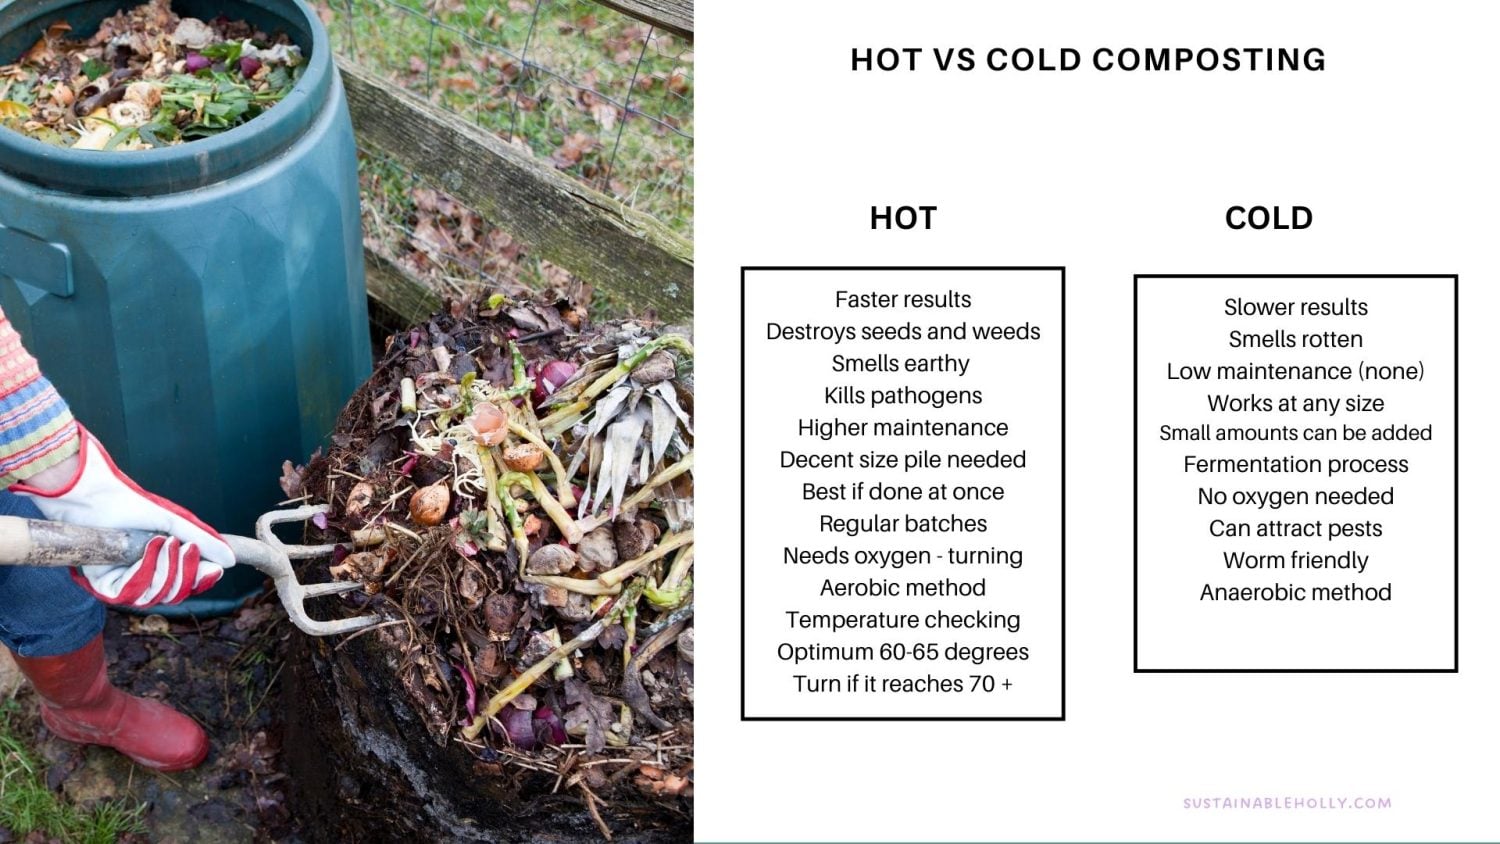
You may have heard these terms before and both will work to turn your organic material into the soil but there are clear differences. Again there is no right or wrong but hot composting will produce compost quicker and more efficiently.
For hot composting, the ideal temperatures are 60-65 degrees celsius. If you would like to be efficient and sure that you are reaching these goals you will need to get a temperature gauge to place in the centre of the pile. Once it starts to climb over 70 degrees you will need to tune and aerate with a fork to add oxygen and cool down the pile.
Currently, I do a mix of both. I aim for hot composting but I do not check temperatures and I don’t add all my material in at once. Because of this, my systems will not reach the optimum temperatures. This just means my systems will take a little longer to complete the process and create soil.
To increase temperatures add extra carbon or browns.
4. Inside Compost Bucket
It can be handy to have a small compost bucket with a lid to add your kitchen scraps into. This will make it easy to transfer your inside waste out to your compost bin. Keep it small so that you will need to empty it regularly to reduce odor. I just use a bowl and add kitchen scraps from the meal i am preparing and take it straight out to my compost bin. This reduces any bugs hanging around my kitchen.
5. What can go in the compost?
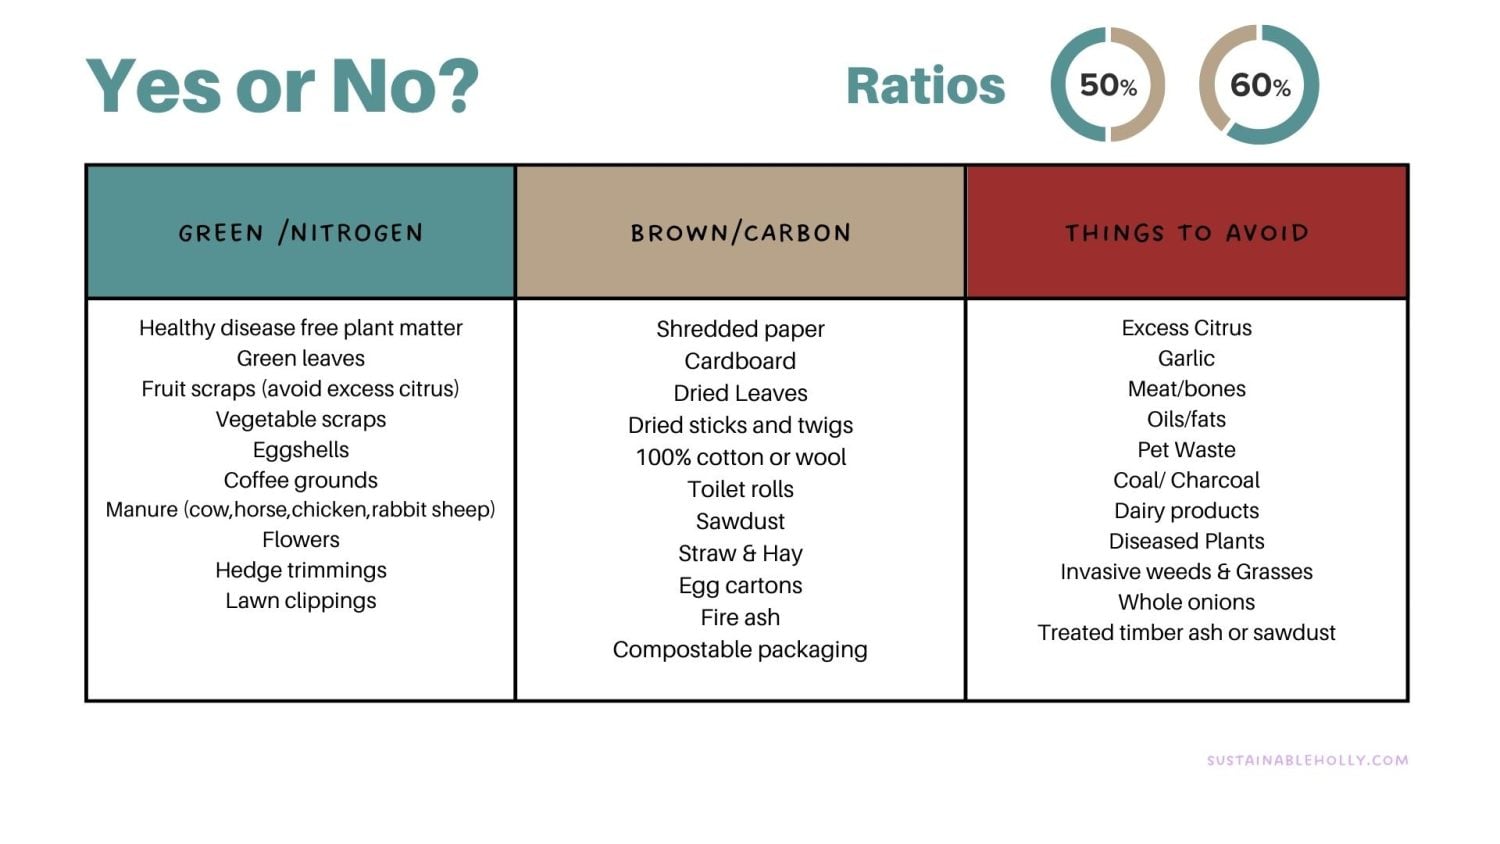
Any disease-free waste from your gardens and your kitchen waste can go into the compost. Old plants that have finished or gone to seed, lawn clippings, prunings and so much more! Below is a list of some common things you can put into your compost and a list of things to avoid. It might be useful to print this list out and add to your fridge as a reminder.
You will need to add a mix of green and brown ingredients to create the right temperature and environment for the bacteria to live and start breaking down your scraps. If you add too much green (nitrogen) waste without any brown (carbon) the balance will be off, and you may find the compost bin starts to smell bad and look like a slimy mess. Aim for ratios of roughly 50:50 or 60:40. Green to brown. A good way to maintain this ratio is to add in some dried leaves or brown matter each time you add greens/ scraps to your compost.
6. Have a Carbon/ Brown Bucket
Carbon/ browns are an important part of a compost system or recipe. They can also be quite hard to source if you don’t have access to dried leaves. Having a bucket at your backdoor or somewhere nearby will mean you can keep filling it up every time you come across scrap cardboard or other brown materials from the list.
7. Tools Needed
Secateurs to cut up plant matter, gloves to protect your hands, a rake to collect dried leaves and a large fork to aerate the pile.
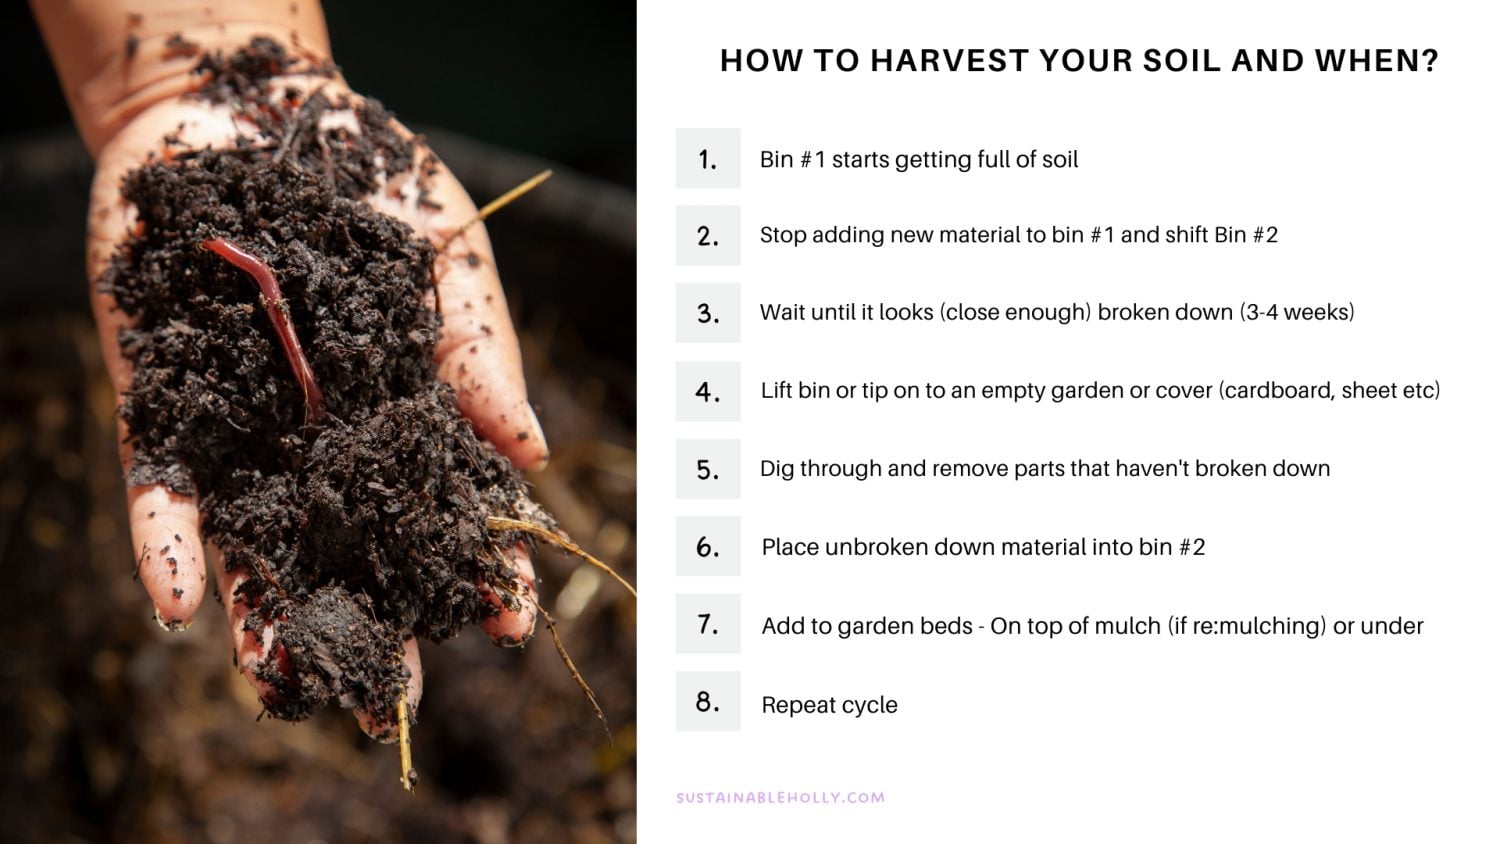
8. Spread in Layers
Composting is all about layers. Try to add a mix of green and brown layers as you go. It is also important to spread out your materials and cut up larger items into smaller parts. The smaller the pieces, the quicker they will be able to break down. Grab your secateurs and cut your plants or flowers into smaller pieces. Tear or shred paper and cardboard into smaller pieces and scatter across to form a layer. This will help disperse the materials so that they don’t end up in a thick matted clump, as this will slow down the process.
9. Add Garden Soil
It is not essential to add soil but highly recommended as it can help to add in a few handfuls of healthy soil from your garden. This soil will already have living microbes that will help kickstart your compost!
10. Keep Hydrated
Keep your compost pile moist but not too wet as this is important to speed up the composting process. Ensure you have your hoselink hose nearby and use the shower function to moisten the layers evenly. This is especially important during the warmer months of Spring and Summer. Keep your compost covered to reduce evaporation.
11.Turn and Aerate
The bacteria and microorganisms that get to work breaking down your scraps are alive and need oxygen to live. It is important to tumble or mix your compost regularly to help add oxygen into the centre of the pile. Do this every week or two if possible.
12. Finished Compost
Once all your food scraps and plant material have turned into dark nutrient-rich soil, you can add this to your garden beds to replenish and feed your plants. As plants grow, they draw up nutrients from the soil, so it is important that we continue to replenish and feed our gardens regularly.
Urban Composting
Worm farms are great for urban environments because they take up very little space. There are also new ways for people with no land to connect with others that do, and give them their compost scraps. Community gardens, local Facebook groups or there is even an app! Sharewaste
Keep it Simple
Keep it simple and allow nature to do what it does best. Create systems that replenish and regenerate the earth rather than have a negative impact.
Choose a Convenient Location
Add your Green & Brown Waste
Add soil microbes
Hydrate & Cover
Aerate and Turn
The key to thriving gardens is to feed and nourish your soil just as much, if not more, than your plants.
Care for your soil and your plants will grow with more ease and abundance. Nature is amazing and when we allow nature to do the work, there is balance and flow. Gardening will feel more sustainable and your plants will thrive all year round.
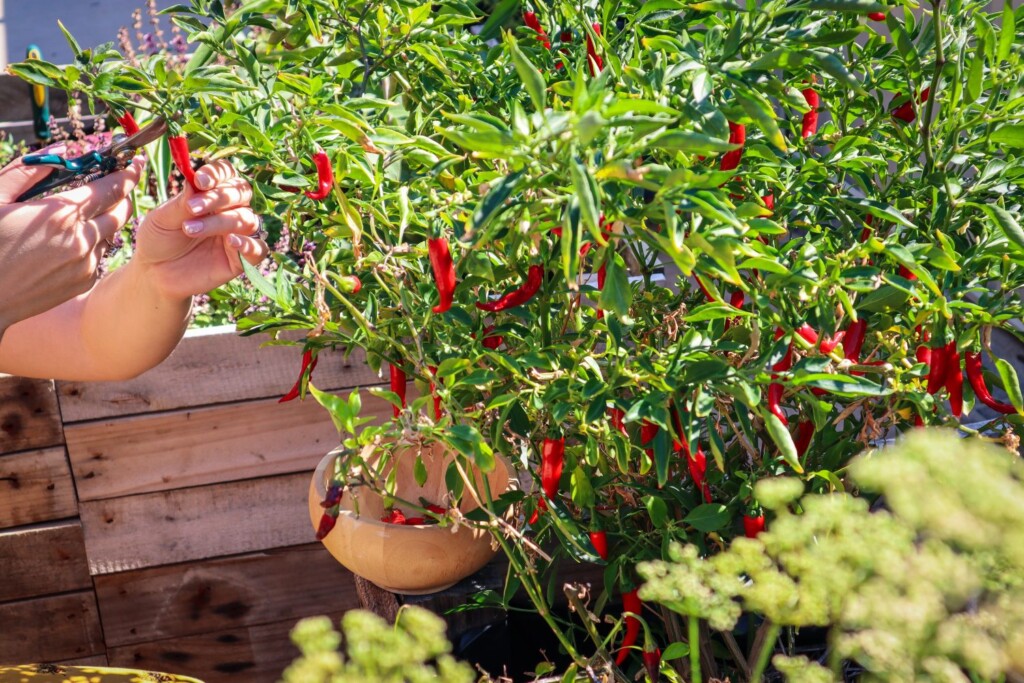
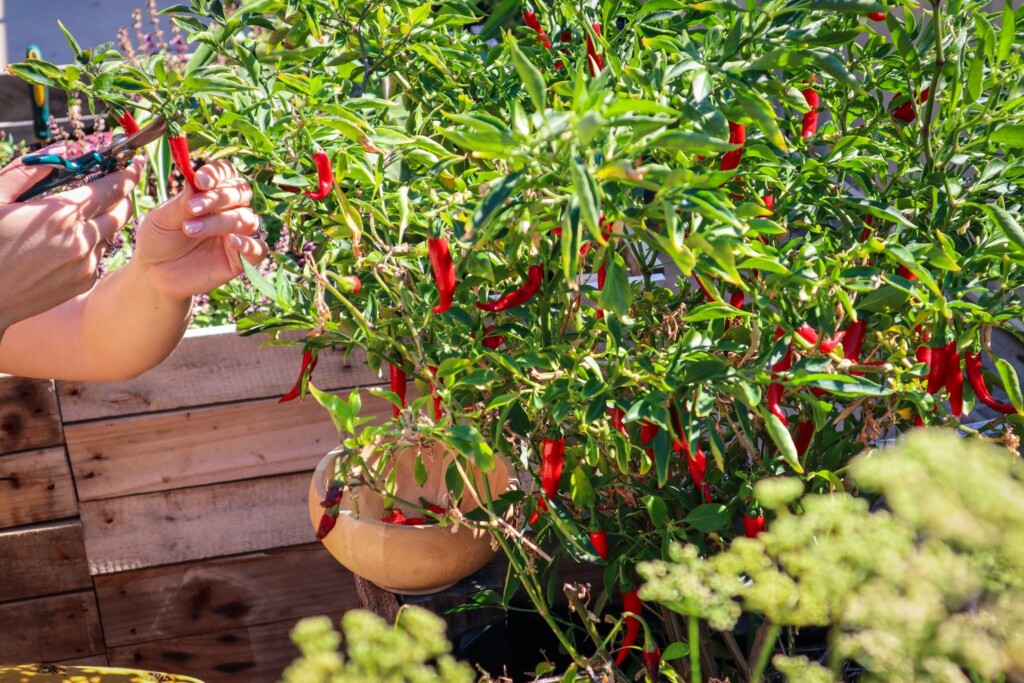
Chillies (Capsicum annuumor variationsof species) are a popular staple for a kitchen garden because they produce an abundance of fruit on a single plant.
There are over 400 different species of chilli that vary in heat/spice 🌶 Chillies are part of the Solanaceae family along with Tomatoes, Capsicum, Eggplant and Potato.
Chillies thrive in warm weather and are mainly grown over summer. The great thing about Chillies is that you can grow more than enough in a pot or container. Great for renters or those with limited space.
Chillies are measured in heat using the chilli Scoville rating. The hottest part of the Chilli is often in the seeds. Removing the seeds can reduce some of the heat. Chilli also often get hotter and sweeter as they mature and ripen.
Sow seeds indoors at the end of winter or early spring. Or plant seedlings after last frost.
SOIL
Will grow in most soil typesbut benefits from added compost.
LOCATION
Full-part sun. Protect from harsh midday sun in summer.
CARE
Regular water.
FERTILISE
Easy to grow and doesn’t need much help.Compost teas or added compost.
PESTS
Snails, slaters, spider mites and aphids.
HARVEST
Harvest regularlyto encourage more production.
REPRODUCE
Allow to go over-ripe and save seeds.
Why Grow Chilli?
There are many reasons to grow Chillies and they are so easy to preserve!
Here are some of the many reasons to grow Chillies
Easy to grow
One plant provides an abundance
Grows well in containers
Low maintenance
Flavour enhancing
Easy to preserve
Immune booster
High Vitamin A and C
Popular Chilli Varieties
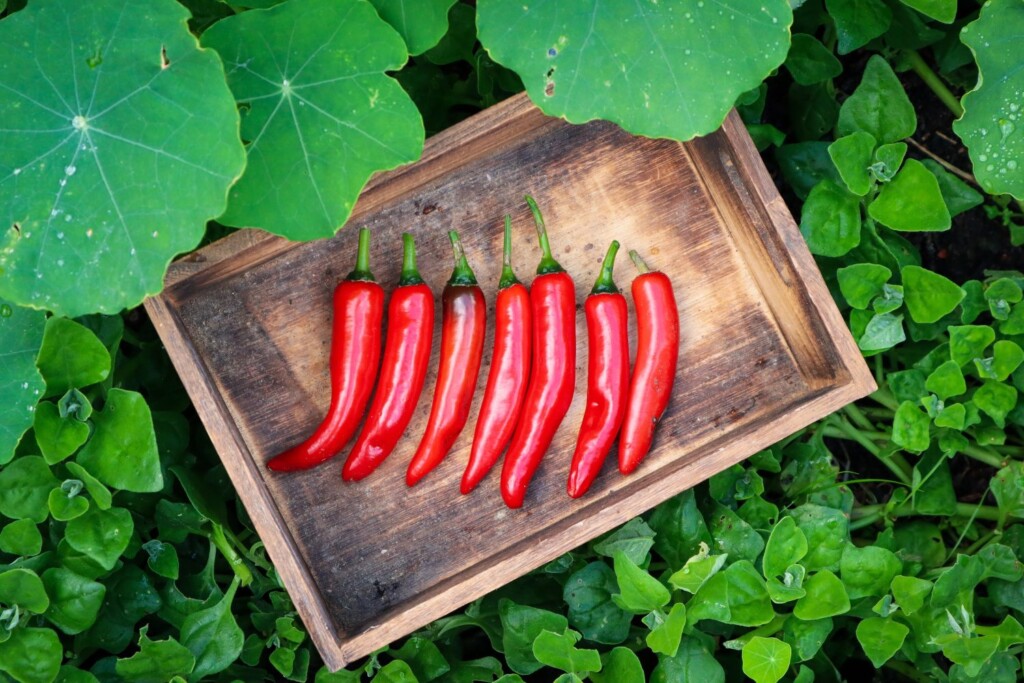
Long Cayenne –Capsicum annuum – Long chilli that turns from green to vibrant red. Mild heat and seeds can be removed to be even milder. Popular all round Chilli. Produces around 1kg per plant.
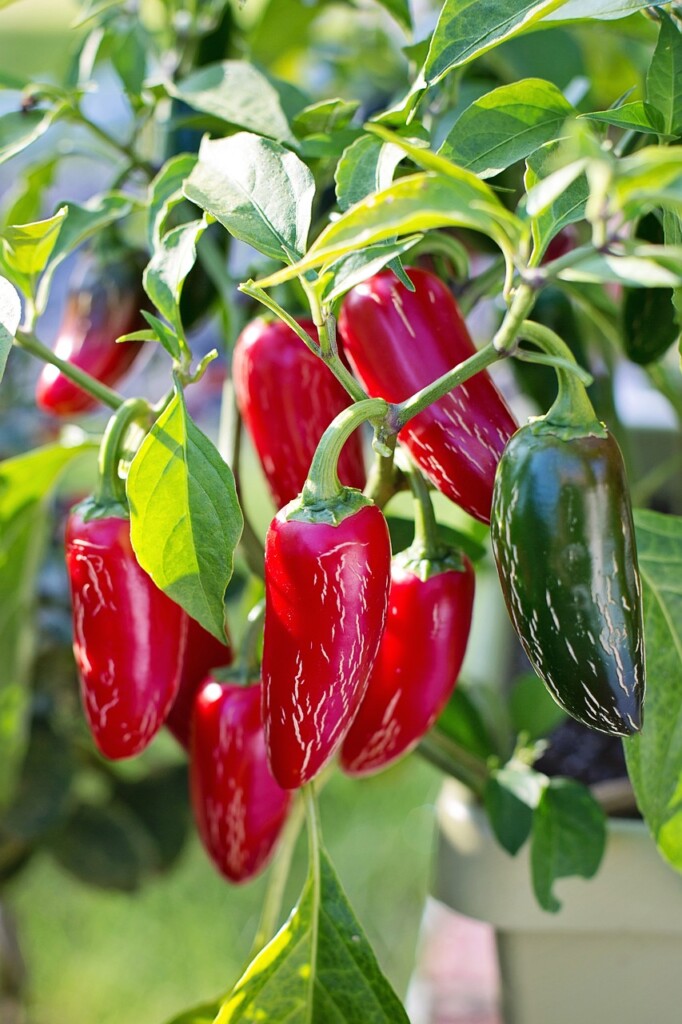
Jalapeno – Capsicum annuum – Popular Mexican chilli that is best suited to pickling and cooking (stuffed jalapenos!). Prolific producer. Pick green or red.
Padron –Capsicum annuum ‘Pimientos de Padron’ – Popular Spanish chilli. Great for stir-fries. Mostly mild but some will randomly be HOT! Heat increases as they get Redder.
Hungarian Hot Wax – Capsicum annuum – Yellow – orange colour and a popular mild chilli. Can get hot the more mature they get. Great fresh, as garnishes, pickled or stir-fried.
Birds Eye Thai – Capsicum annuum – Small hot chilli popular in Thailand. Prolific producing and although small you don’t need much! Upright standing chilli. Colder tolerant than other varieties.
Carolina Reaper – Capsicum chinense – Named the hottest chilli in the world 😳 Be very careful handling these (gloves and eyewear). Needs a heat mat to promote seeds to germinate.
When to Plant
Chillies thrive in warm temperatures and don’t like the cold. Plant your Chillies from seed in late winter – early spring inside or in a greenhouse. Plant seedlings out in Spring after your last frost. In tropical Australian locations plant in Autumn.
How to Grow
Choose a sunny spot with dappled or part shade in the heat of summer.
Prepare the soil with free-draining compost
Plant one seedling per pot or in the garden bed at least 50cm apart
1 plant is plenty or try different varieties
Can benefit from protection during the heat of summer.
Plants will tend to die off in winter and are often grown as an annual. You can overwinter your plants to get a few extra years out of them – Click here
Care/ Maintenance
Chilli plants are pretty low maintenance. Ensure they don’t dry out during hot weather. Plants can be pruned and “over-wintered” to get a second season out of them.
Pests / Disease
Chilli are pretty hardy and will thrive with minimal effort. Birds and rats will still eat your bright colourful chillies and are not put off by their heat! If this happens you might need to construct a cage or net around them. Care for young seedlings using natural pest management.
How/ When to Harvest
Once the plant is well-established it will start producing flowers and that turn to chilli. Some plants produce upright chillies and others hang down.
Most chilli will start off green and ripen to other colours. You can harvest chilli in all colours. The more mature reds and purples will be sweeter and have different flavour profiles.
Harvest the chilli often to promote new fruit.
Harvest in the morning or evening when the plants are hydrated and fresh.
Harvest before heavy rains. Chillies can split open with excess water and spoil.
Reproducing
Chillies can be grown from cuttings but it is easiest to save seeds and re-grow each year. Allow a few chillies to go over-ripe and start to shrivel on the plant before harvesting. Be careful handling chillies and wash hands thoroughly after or use gloves. Scrape out the seeds and allow them to fully dry on a plate for a week before storing them.
Cooking and Using
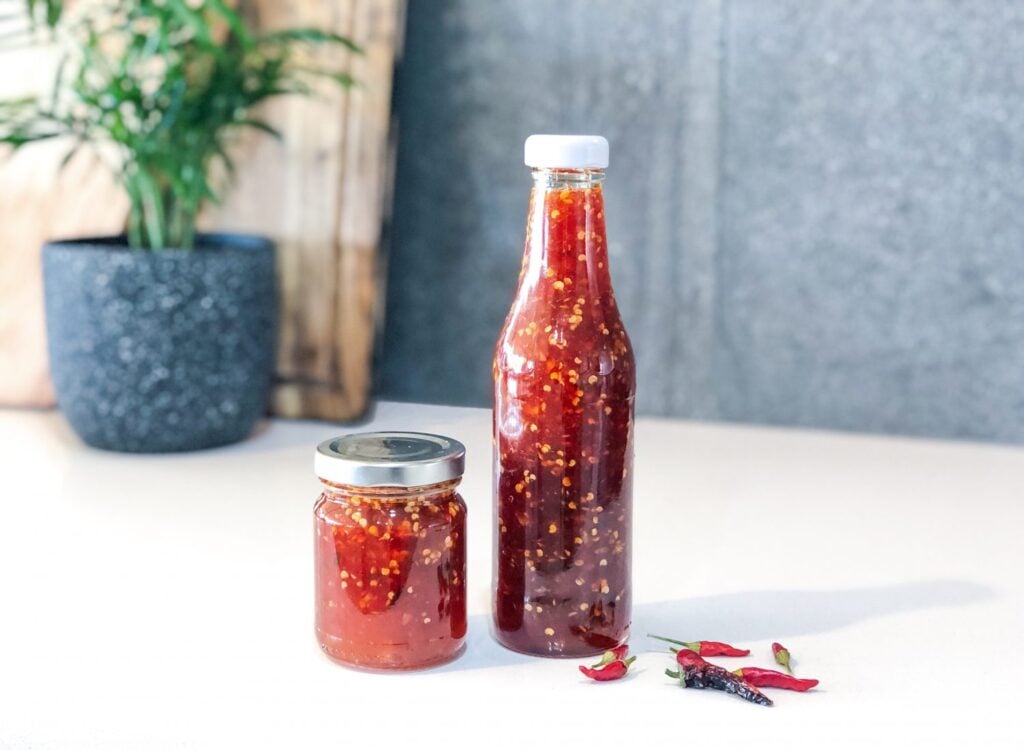
Chillies can be used fresh, dried or frozen. They defrost quickly and can be used just as you would fresh ones.
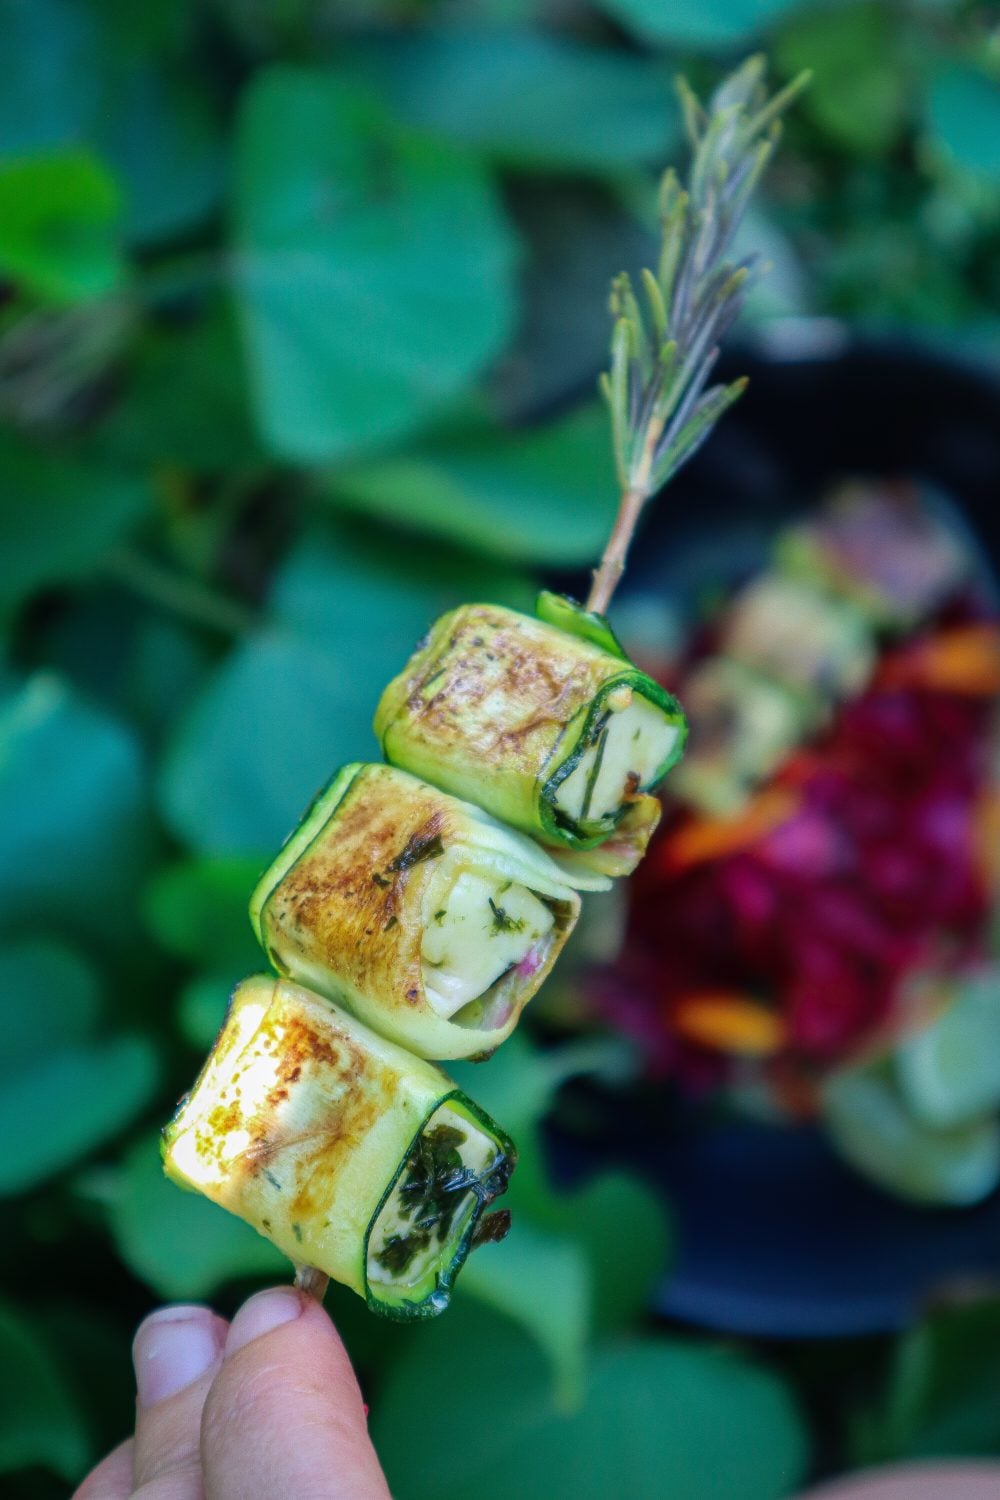
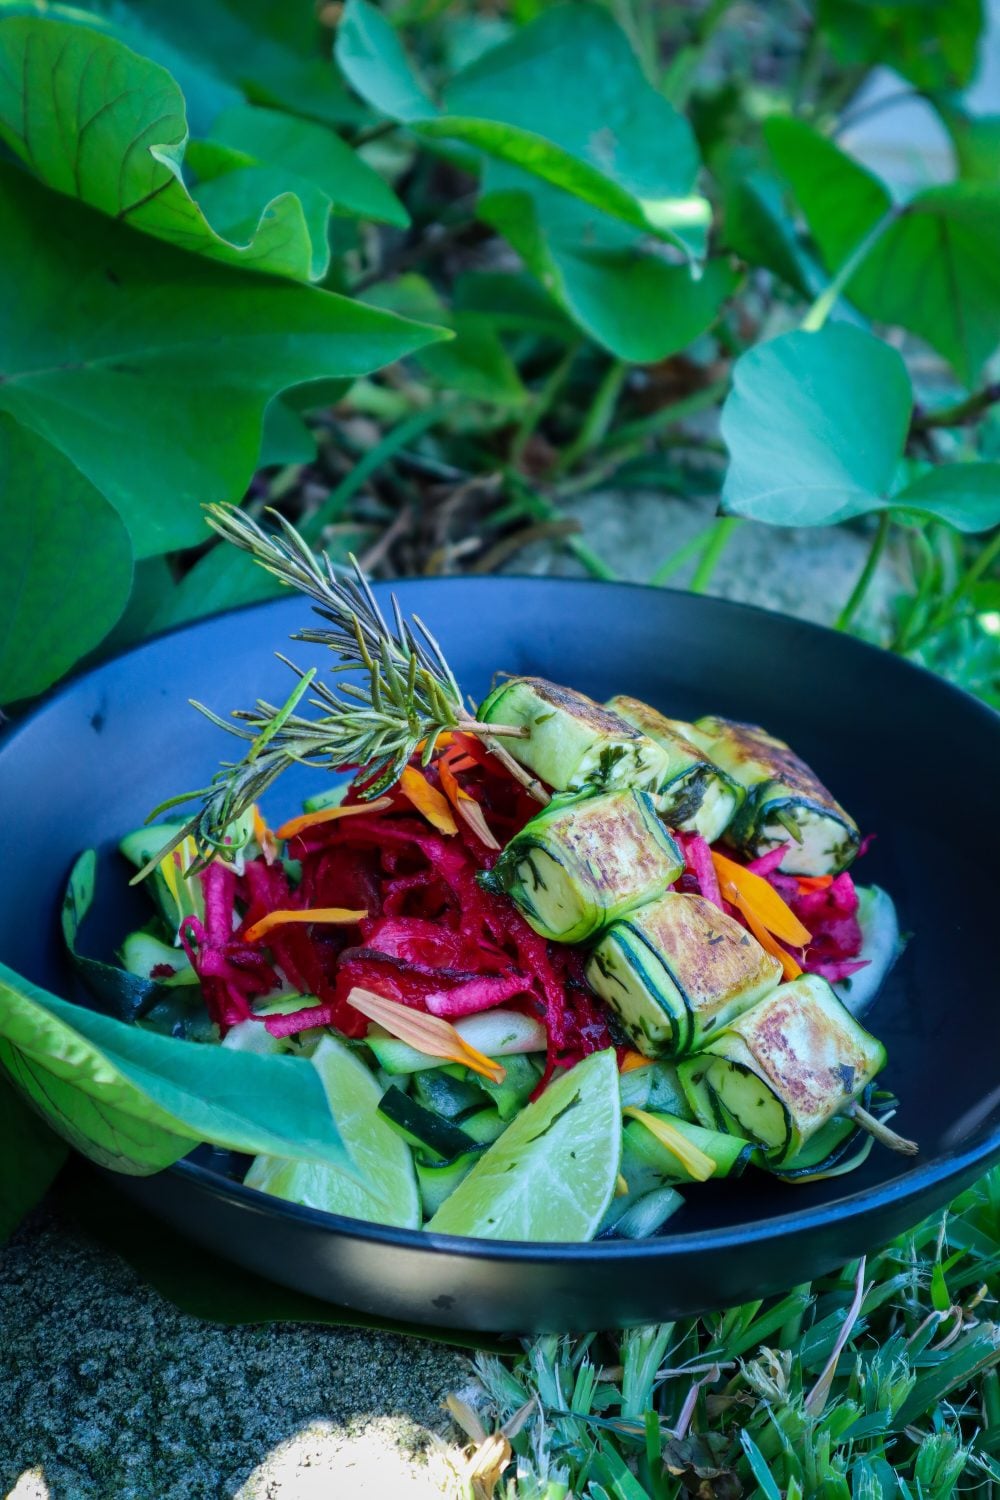
These Zucchini wrapped haloumi skewers are so delicious and easy to make! Marinated in my favourite green sauce plus the Rosemary flavour also infuses during cooking. I made this during one of my YouTube live streams and had to share the recipe! Serve on a fresh salad or with a charcuterie board. These would also be great for summer BBQs.
Rosemary (Rosmarinus officinalis) is a staple perennial herb in many gardens! Rosemary is a hardy, drought-tolerant shrub and can also be used as an ornamental due to its evergreen foliage and purple or white edible flowers. Rosemary is a great herb to plant on your journey to sustainability, as it has a large list of beneficial uses for the garden, home, kitchen, plus many medicinal qualities. When Rosemary flowers it will attract an abundance of beneficial pollinators to increase your garden’s production.
Zucchini wrapped Haloumi on Rosemary Skewers
Easy and delicious these Rosemary Skewers make a quick lunch or entertaining dish.
Green Dressingavailable below for logged in members or see notes
Method
Soak the Haloumi in a bowl of water for 5-10 mins while prepping the rest of the dish (optional but reduces the salt and makes the halloumi softer).
Cut the Zucchini into thin ribbons using a wide vegetable peeler.
Prepare the green sauce or marinade (available below for logged-in members or see notes)
Pour half the marinade over the zucchini Ribbons.
Remove the haloumi from the water, cut it into squares roughly 1-2cm, and place in the bowl with the remainder of the marinade.
Place the ribbons and halloumi in the fridge to marinate further for 10-20min.
Heat a pan with olive oil on medium heat.
Lay a zucchini strip out flat and place a haloumi cube at the beginning then roll to wrap the square.
Strip 3/4 of the leaves from the rosemary skewers (see notes if you are using the leaves for the marinade you will need to do this at the beginning).
Place 3 wrapped cubes on a skewer and place in the pan. Cook until golden on each side – roughly 3 minutes each side.
Serve on a fresh salad with lemon or lime wedges and extra green sauce or a creamy yogurt dressing.
Notes
Non-member's alternative to the green dressing – Strip 3/4 of the leaves from the Rosemary sprigs. Roughly chop and add 1/4 cup of Olive Oil and use that as the marinade.
Swap Haloumi for Feta or Vegan Cheese
P.S – I make the members green dressing in the YouTube live.
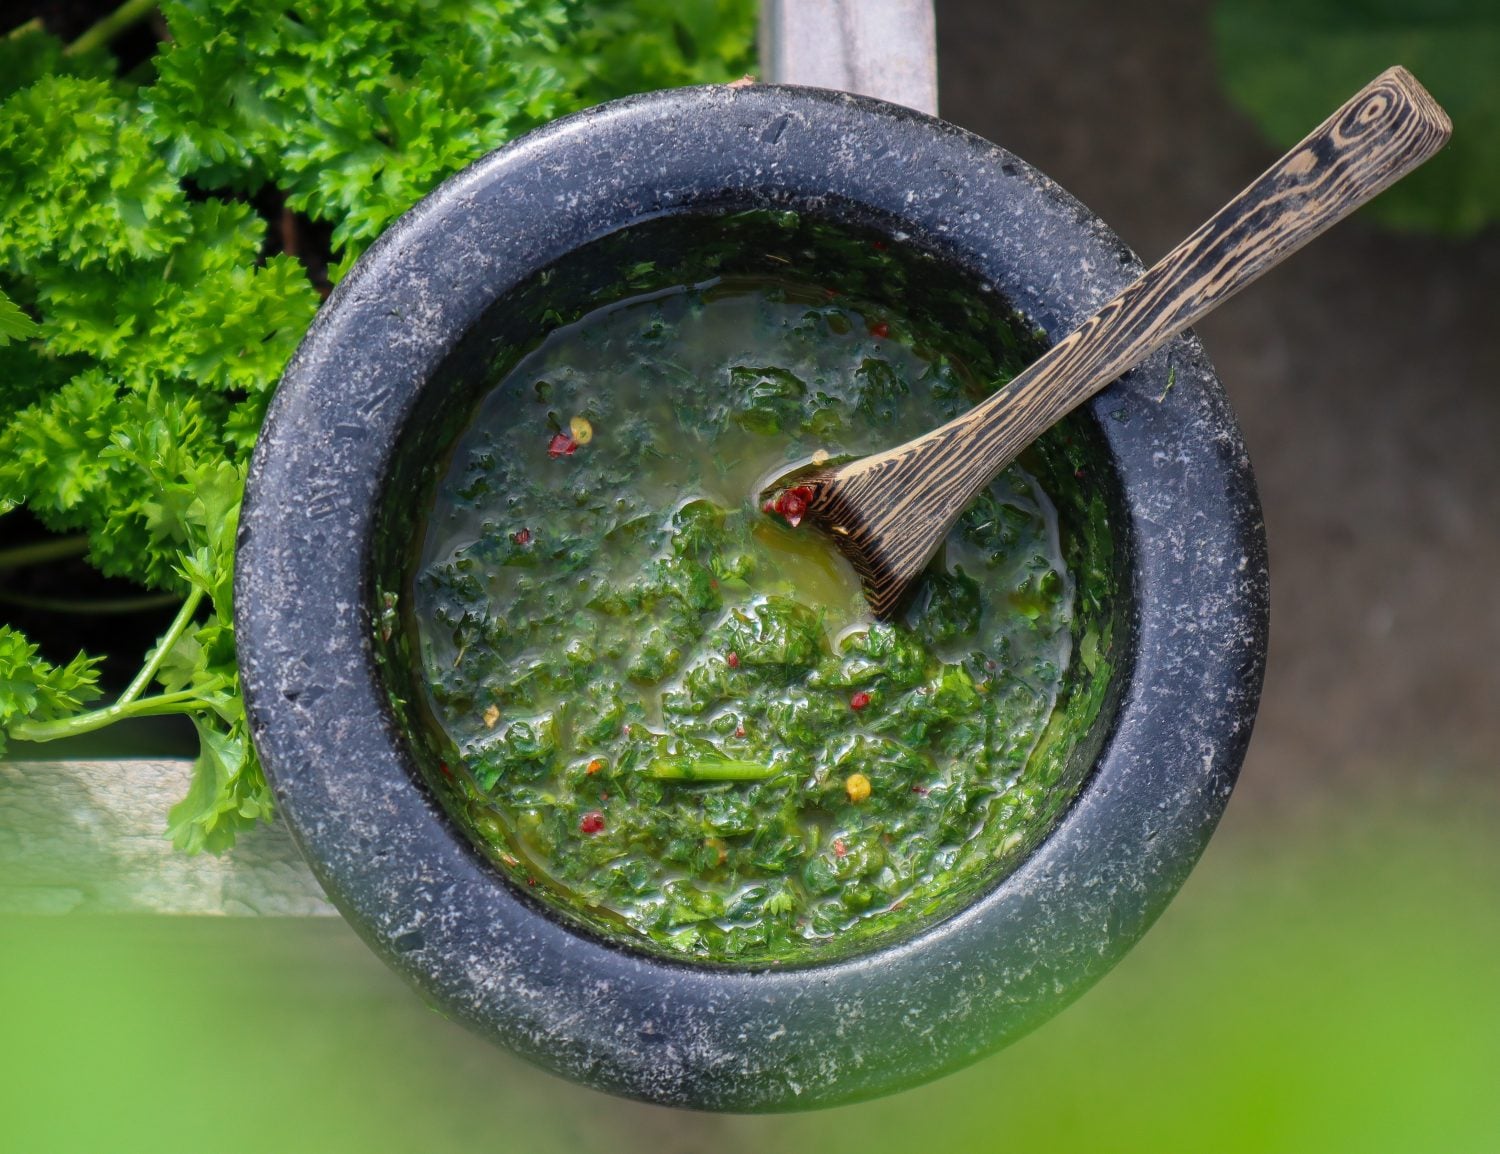
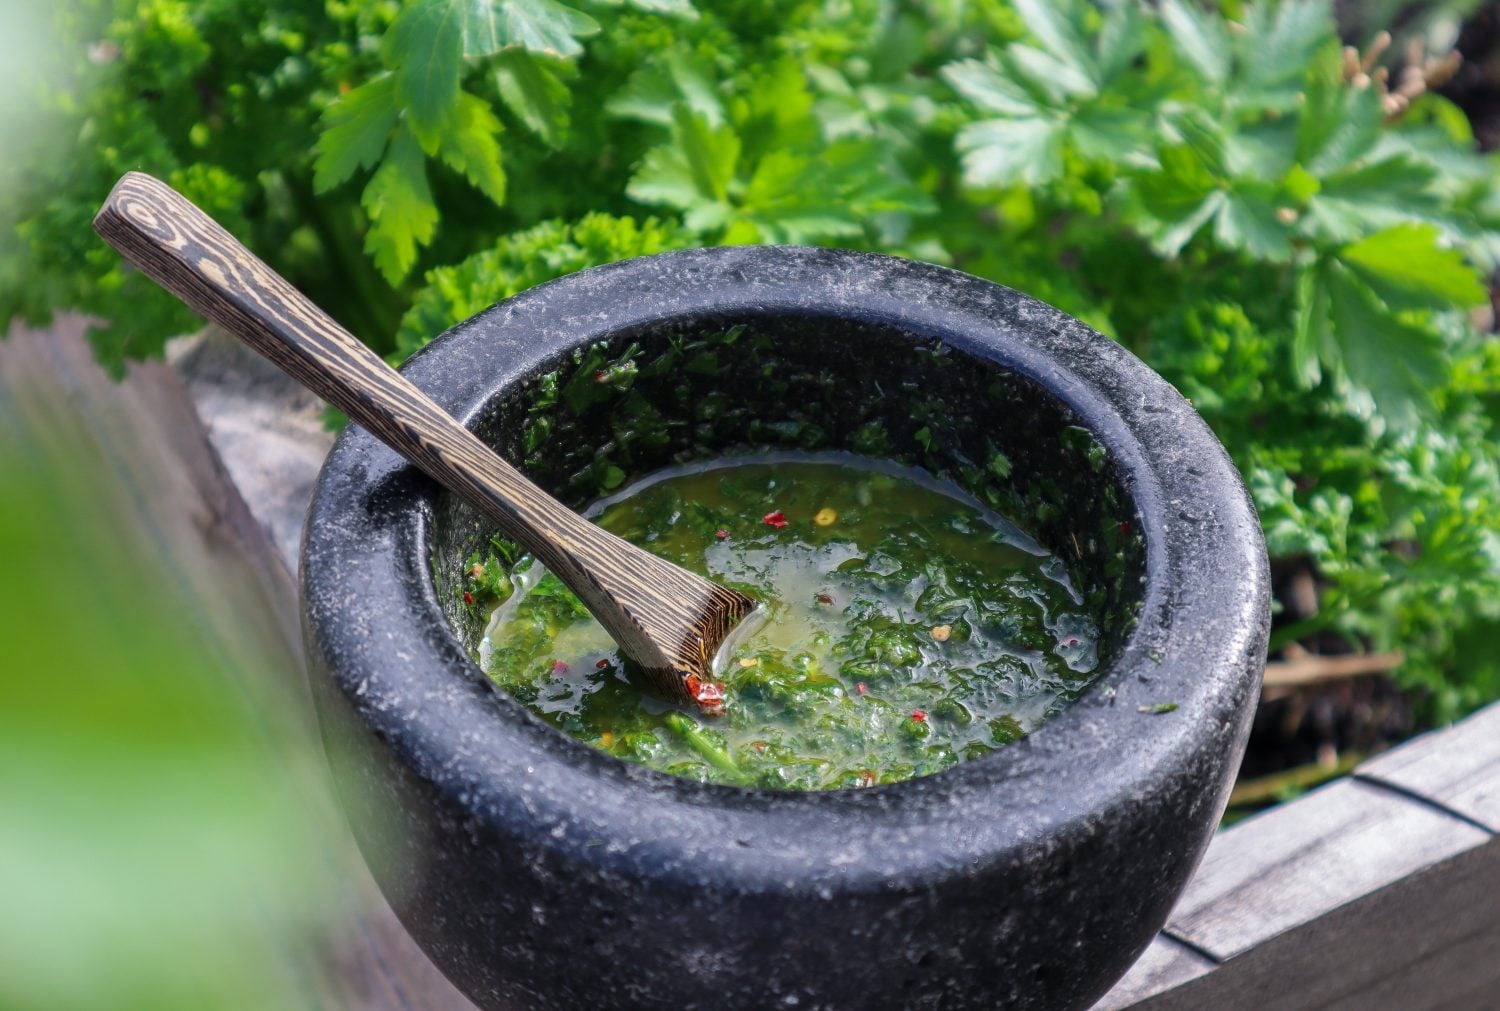
Green Sauce Chimichurri
This vibrant green dressing is packed full of flavour and is a delicious way to add a fresh zing to your meals.
Chimichurri Dressing
This vibrant green dressing is packed full of flavour and is a delicious way to add a fresh zing to your meals.
Add Parsley, Lemon juice, Vinegar, Sugar, Fennel Fronts, and Garlic to a mixer or mortar and pestle. I prefer a mortar and pestle as I like it chunky and not to blended. Blitz or crush to combine and make a green sauce.
Then gradually add oil to combine. Add Chilli flakes and a pinch of Sea Salt Flakes. Taste and balance with more salt if needed.
Drizzle over the green sauce. Garnish with sliced red chilli, fennel fronts, and edible flowers.
Notes
* Swap Parsley or Fennel fronds for Radish tops, Carrot tops, Corriander, or a mix.
There may be a little extra sauce than needed so you can keep it in the refrigerator to use within a few days or freeze it in ice cubes to use in cooking.
Do you have big dreams and sustainable homestead goals to grow food and create your dream self-sufficient lifestyle but it feels so far off? You may be renting or in an apartment. Today, I’m going to share 10 actionable steps to help you achieve your sustainable homestead goals no matter how far away they feel. This is the path I have been on and I think this may help or inspire you too.
Are you ready? because your dream life starts now!
Click to watch the video 👇
I was listening to a podcast the other day and they were talking about you are where you are for a reason and that is because you still have more to learn. If I got /my big break and had 100s or 1000s of people flocking to join my garden-to-plate membership would I cope? the answer is probably not! My systems have been built on a small scale and I still have lots more work to do before reaching that level (goals!). Hopefully one day I will be able to help 100s and 1000s of people grow food so I’m continuously working on improving my systems.
The same with getting your dream homestead, if you suddenly found yourself dropped in the middle of an off-grid property would you know exactly what to do? Would you know how to improve your soil, plant trees, care for animals, or afford a house, infrastructure, and the bills that come along with it? or would it be an overwhelming chaotic mess?
There are so many small steps you can start taking today and these are the 10 stages I have been working through to bring my dreams to life. so hopefully they help and inspire you too!
10 ACTIONABLE STEPS to start your Sustainable Homestead Goals now
1. What are your goals?
Write them down. Where do you want to live? What lifestyle do you want to achieve? How do you want your days to look?
The great thing about having clear goals is that decisions along the way become easier (great for people like me that struggle with decision-making!) Does this align with my goals or not? Start at the end and work backward. Will this change along the way? Probably but at least it will give you a direction to start working towards and not be stuck doing nothing.
2. Make a vision board
I like to do this every year and I use Canva and put together a collage type of document. I then have mine as my screen savers on my phone and computer for constant reminders but you could just print out some images and put them on the fridge or the wall. I am a real visual person so this works for me.
3. Pay off debts
Ditch after pay and all that. Don’t buy things you don’t need with money you don’t have. That has always been part of my mentality so I have never financed furniture or anything like that…Hence why my house looks a little bare 😅 I prioritize money in other ways.
One of the hardest things I did was prioritize paying off my student loan. It took me a few years and I set up automatic payments to come out after each pay. If I was still buying coffees and let’s be honest probably plants…then I would increase my repayments a bit because I obviously still had disposable income. ..and repeat. As a student, I knew how to live off the minimum. Lifestyle creep is inevitable but if your dreams are big and solid you can do it!
Hard now and easy later!
Something I found so useful was the debtfree charts. You can choose a relevant one and divide the amount into sections. Each time you pay one down you can highlight it. For a visual person like me, this worked a treat. I just wanted to pay one more line . These also work great for savings too.
4. Start savings
Once you have your debts out of the way start saving. You know what you are capable of paying after paying off your debts so switch to a savings mode. Don’t get into the continuous reward stage. Remind yourself of the goals you are working towards.
5. Start growing food
This can be started from day one. You don’t need all the gear or all the nice raised garden beds, that will come. Start with what you have. Keep an eye on marketplace there are so many free pots and random things that you will be able to turn into gardens. Both my compost bins were free and I even got a free fruit tree recently.
If you dream of creating these thriving edible gardens that produce a whole lot of food then the only way there is through it. There’s no quick fix. you have so much to learn and you will learn faster by doing.
So get seeds in the soil and start growing.
6. Learn learn learn
We are so lucky to have incredible resources at our fingertips. Watch YouTube, listen to podcasts, invest in the skills you want to have, and visit community gardens. Learn to love the process because continuous learning is so important!
7. Take action
Take what you have learned and put it into practice. Grow cuttings, and plant fruit trees in pots, if you plan to have a homestead in the same state then you can be growing your future plants and trees in containers to eventually take with you. Or even sell at a higher price to add to your savings.
8. Surround yourself with Like-minded People and Communities.
This is a great way to stay motivated and learn so much. Not just about how to grow food or raise chickens but just about their outlook on life and values. People are so generous with their time and resources. Offer to help someone in their garden, this is a great way to learn and you may even receive cuttings or seeds from special plants.
9. Start working on Financing the Dream.
We all need to make money its just part of the world we live in. Does your current job and career align with the sustainable homestead goals or lifestyle you are working towards? It may do, you may already love your job but it also more than likely does not. Start a side business or grow your hobby with the direct intention of it becoming your career. Keep coming back to that lifestyle you set out in stage 1. If you want to have time to go on adventures or spend days in the garden then make sure what your working towards actually allows for that.
Do you dream of starting a flower farm? What can you do now? Start social media and grow a following. It’s free and it’s a real actionable step toward that goal. If you need some ideas check out this video on 100 ways to make an income from your property. I guarantee if one of those things excites you, there is an actionable step you can take today to make progress.
10. Re-evaluate and check in with yourself.
This is really the stage I am at now. I have been working on the last 9 steps for the last 10 years and it’s important to make sure my sustainable homestead goals and visions are still aligned. Don’t be afraid to pivot. Maybe after growing food or doing cut flowers your are unsure if that really fits anymore. For me, annuals just aren’t really it ( I LOVE PERENNIALS) and I’m actually unsure about all the 100s of animals I initially wanted. Animals are a lot of work and commitment I kind of want the freedom to come and go more often.
My dream is still real and I would love to have land to rewild and have my dream homestead but lots of things have changed. I also want to be able to travel and explore more. So I’m creating new visions that I can’t wait to share with you along the way.
Sometimes it will be really tough. But find joy in the journey, IN THE INBETWEEN, the learning!. and absolutely celebrate the small wins! because they are aligned to stage 1 so they will all add up to be something incredible.
DISCLAIMER: Links included in this description might be affiliate links. If you purchase a product or service with the links that I provide I may receive a small commission. There is no additional charge to you! Thank you for supporting my website so I can continue to provide you with free content each week!
CREATING EXTRA INCOME FOR YOUR HOMESTEAD
Online surveys: https://bit.ly/3Bg0XNr
Ebook templates: https://bit.ly/2UfOXsr
Email lists: https://bit.ly/3VNXRbT
Photography editing: https://bit.ly/3cPfXW8
Create an online community: https://bit.ly/3W6s8mv
Do you want to learn how to GROW, COOK & PRESERVE your own food naturally and sustainably?
Join in monthly Workshops and Challenges, Plant of the Month features, and Garden to Plate Recipes, with a fun and supportive community to live a more sustainable lifestyle.
Do you have areas that get very hot, full sun, and nothing seems to survive? These 22 heat-tolerant edible plants to grow in HOT full-sun locations will help you grow productive edible gardens. I’ve been growing food here in Perth, Australia, for the last 10 years, and let me tell you, it was a big change and learning curve coming from the lush green of New Zealand.
Today, I’m sharing some plant ideas to plant in those super hot locations, but keep reading to the end because it’s not just about what you plant, but also when and how! Bonus tips on that, so you can turn your hot barren wasteland into productive edible gardens.
Click to WATCH 22 heat-tolerant edible plants
22 Heat-tolerant Edible Plants for Full Sun
1. Rosemary
Rosemary is the perfect heat-tolerant herb! It attracts bees 🐝 and has healing properties, and is great for skin and hair care. Flavour-enhancing culinary herb🌿 When I first moved here, I wondered why so many houses had Rosemary hedges out the front – and it’s because it thrives on neglect and our poor sandy soils. Rosemary is a great heat-tolerant addition to your edible garden. Try making your own Rosemary Salt.
2. Guava – Strawberry & Tropical
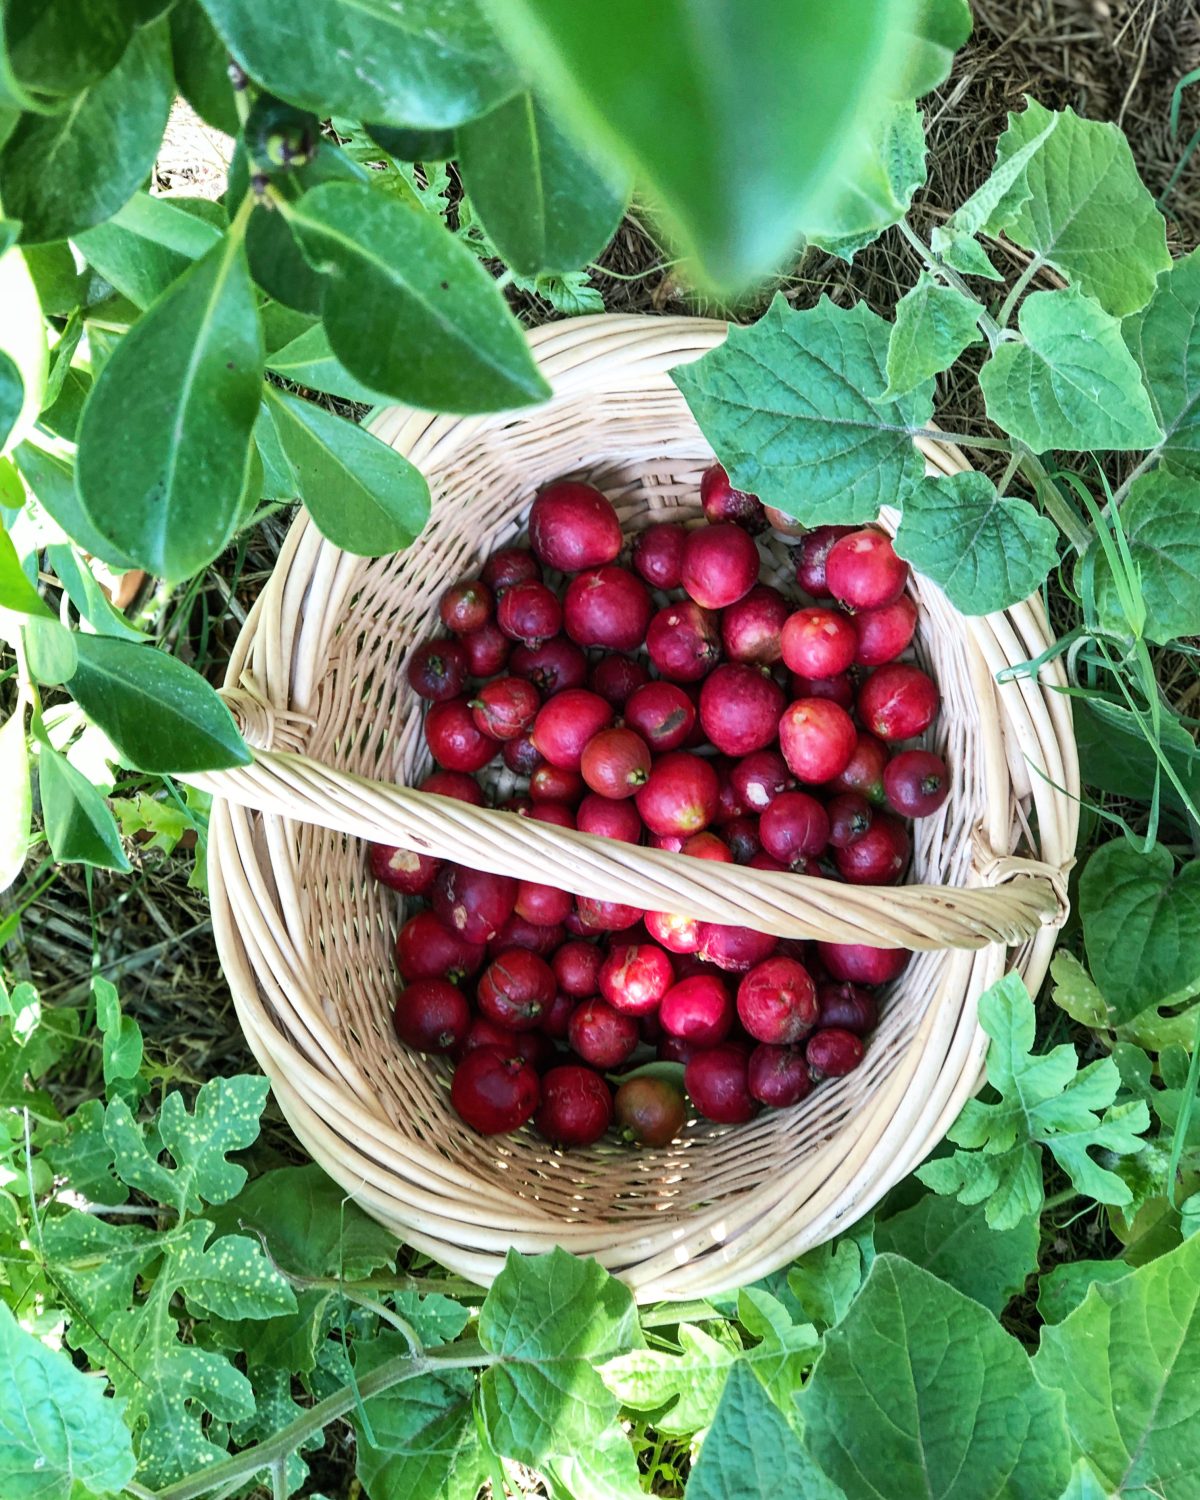
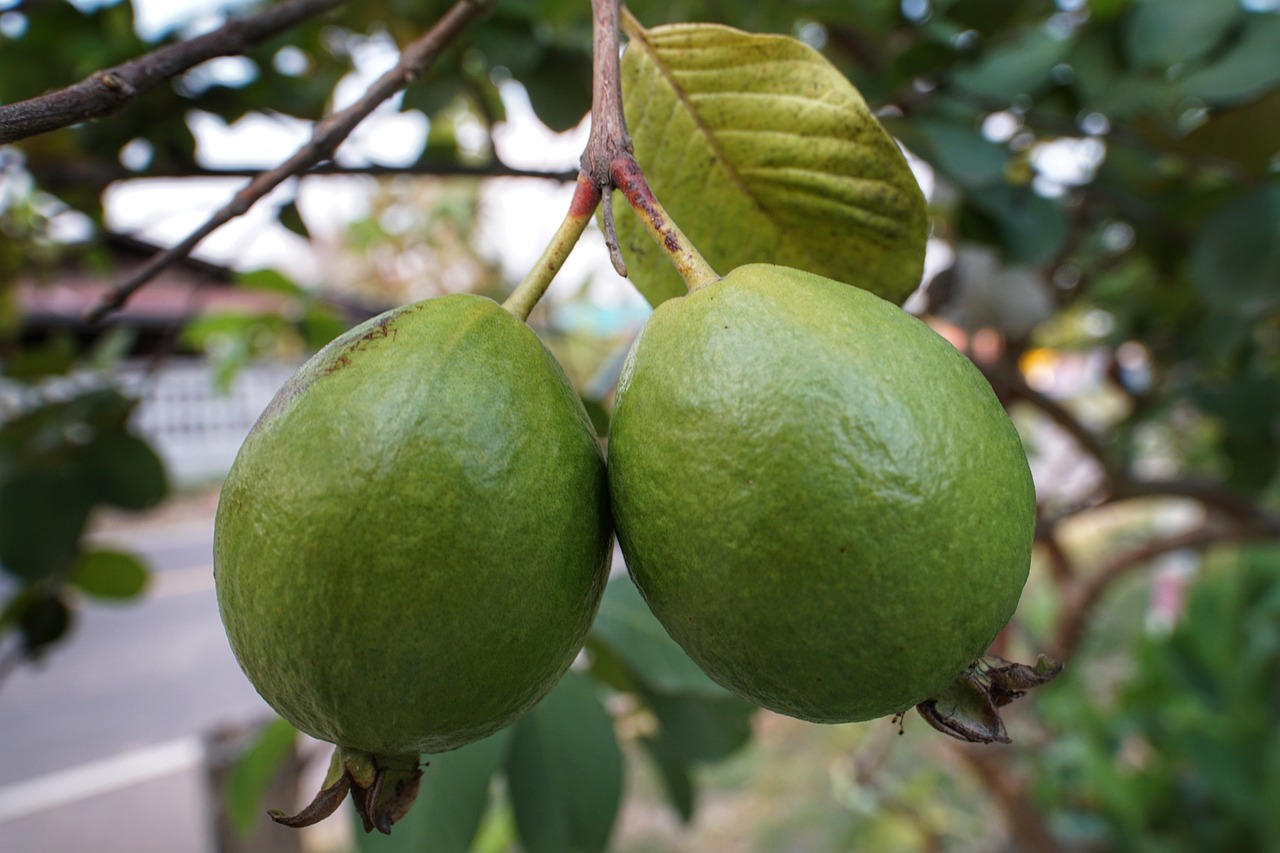
Strawberry/cherry, lemon cherry, and tropical Hawaiian/Thai guavas are really hardy, low-maintenance fruit trees that can handle hot full sun and produce bucketloads of fruit!
3. Mulberry
Another powerhouse perennial fruit tree that survives on neglect and hot temperatures – they grow super fast so you can use these as a nanny plant or a pioneer plant. If you have a barren hot area you could plant a Mulberry to get quick shade established and later on remove it or heavily prune if it gets too big. Mulberry also loses leaves in winter to let light in.
4. Lavender
Lavender is a drought-tolerant perennial (edible) flower. A great pollinator plant with many medicinal (calming and sleep) and culinary uses. In my garden (which will be different with climates and varieties) Lavender flowers at the same time as my Feijoas so I have it planted in between them to attract pollinators and increase my Feijoa harvests.
5. Feijoa / Pineapple Guava
If you have been following me on Instagram or subscribed to my YouTube, you will have guessed this plant would make the list 😂 Low maintenance, super hardy, and produces plenty of food! Feijoas do grow well here in Perth, they are drought-tolerant but do require plenty of water and mulch during summer if you want bigger harvests! They are evergreen and super bushy, so they can be grown as an edible hedge. They are known to have fire-retardant qualities, which is very handy for hot, dry climates. If you are looking to purchase a Feijoa, choose a named variety (such as Duffy, White Goose, Mammoth, plus more) as these will perform better and produce fruit faster than generic seedling plants.
Passionfruit is an edible vine that can be used to cover a fence, structure, or grown over an arbour to create shade. They thrive in full sun and can help cool your garden down and provide delicious fruit. Passionfruit flowers can also be used to make calming teas to aid in sleep and anxiety. NOTE: Avoid planting a grafted variety the grafts take over and become invasive, hard to get rid of, and don’t produce good fruit.
7. Citrus
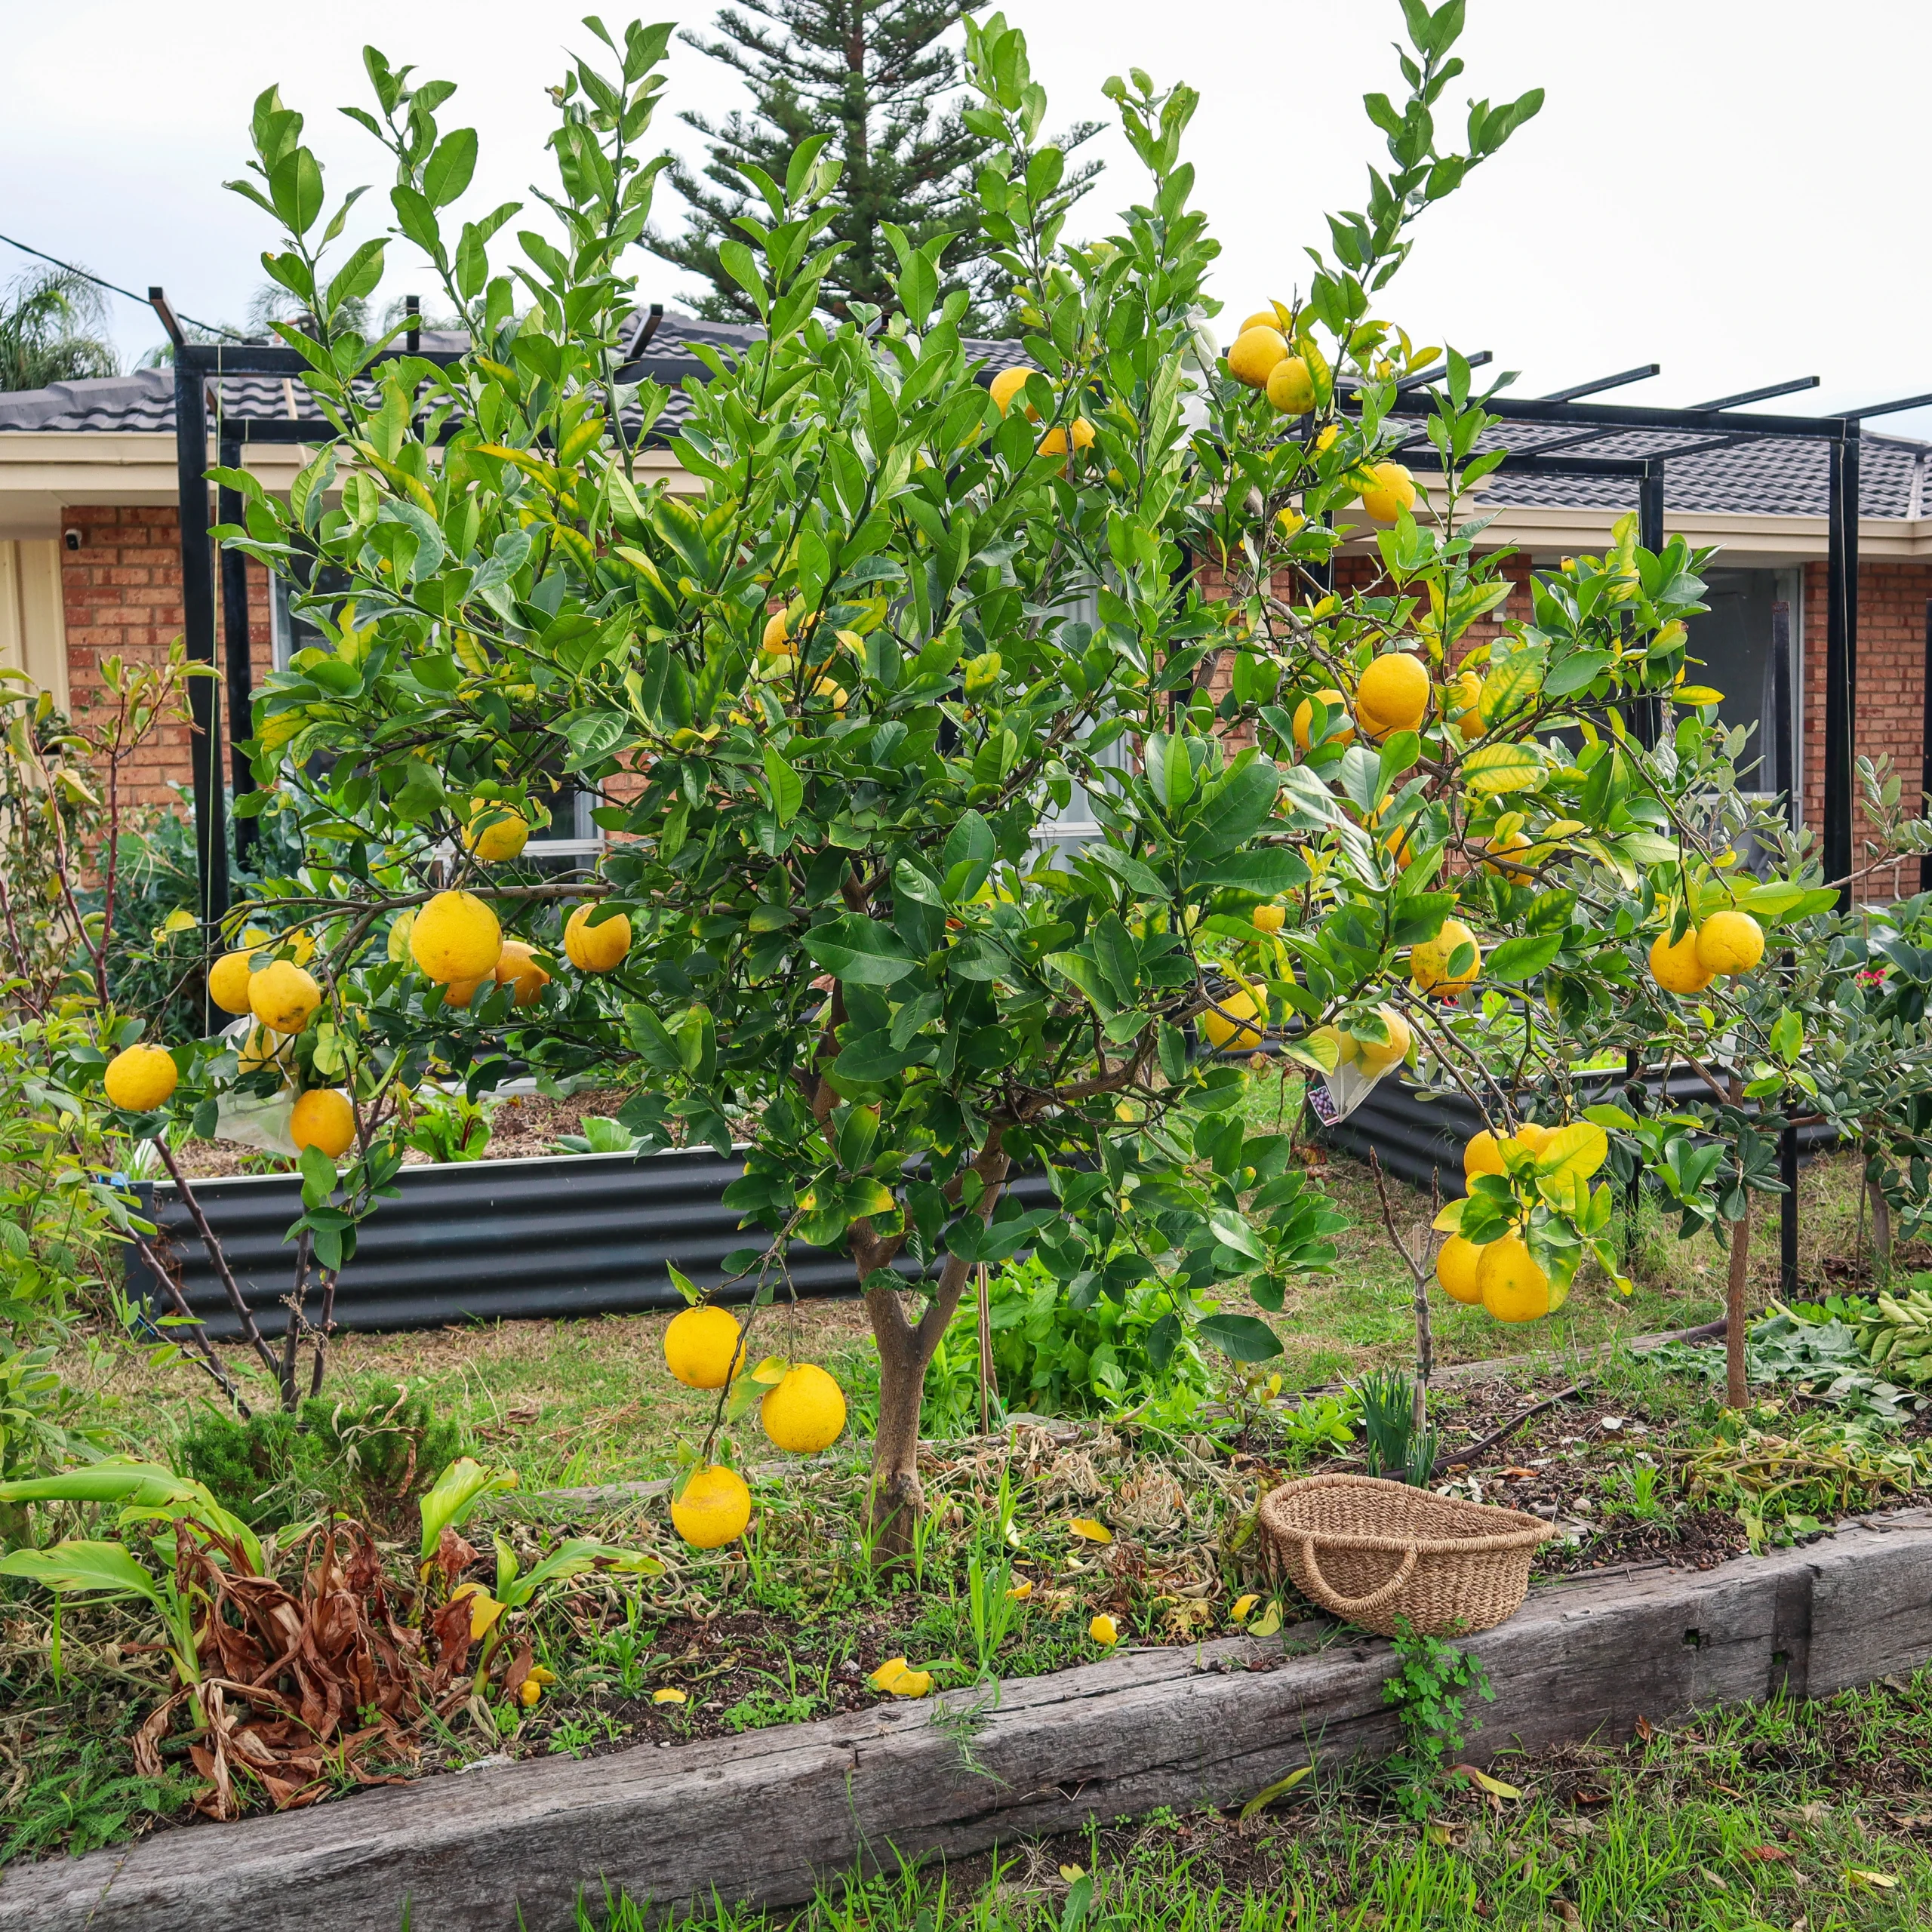
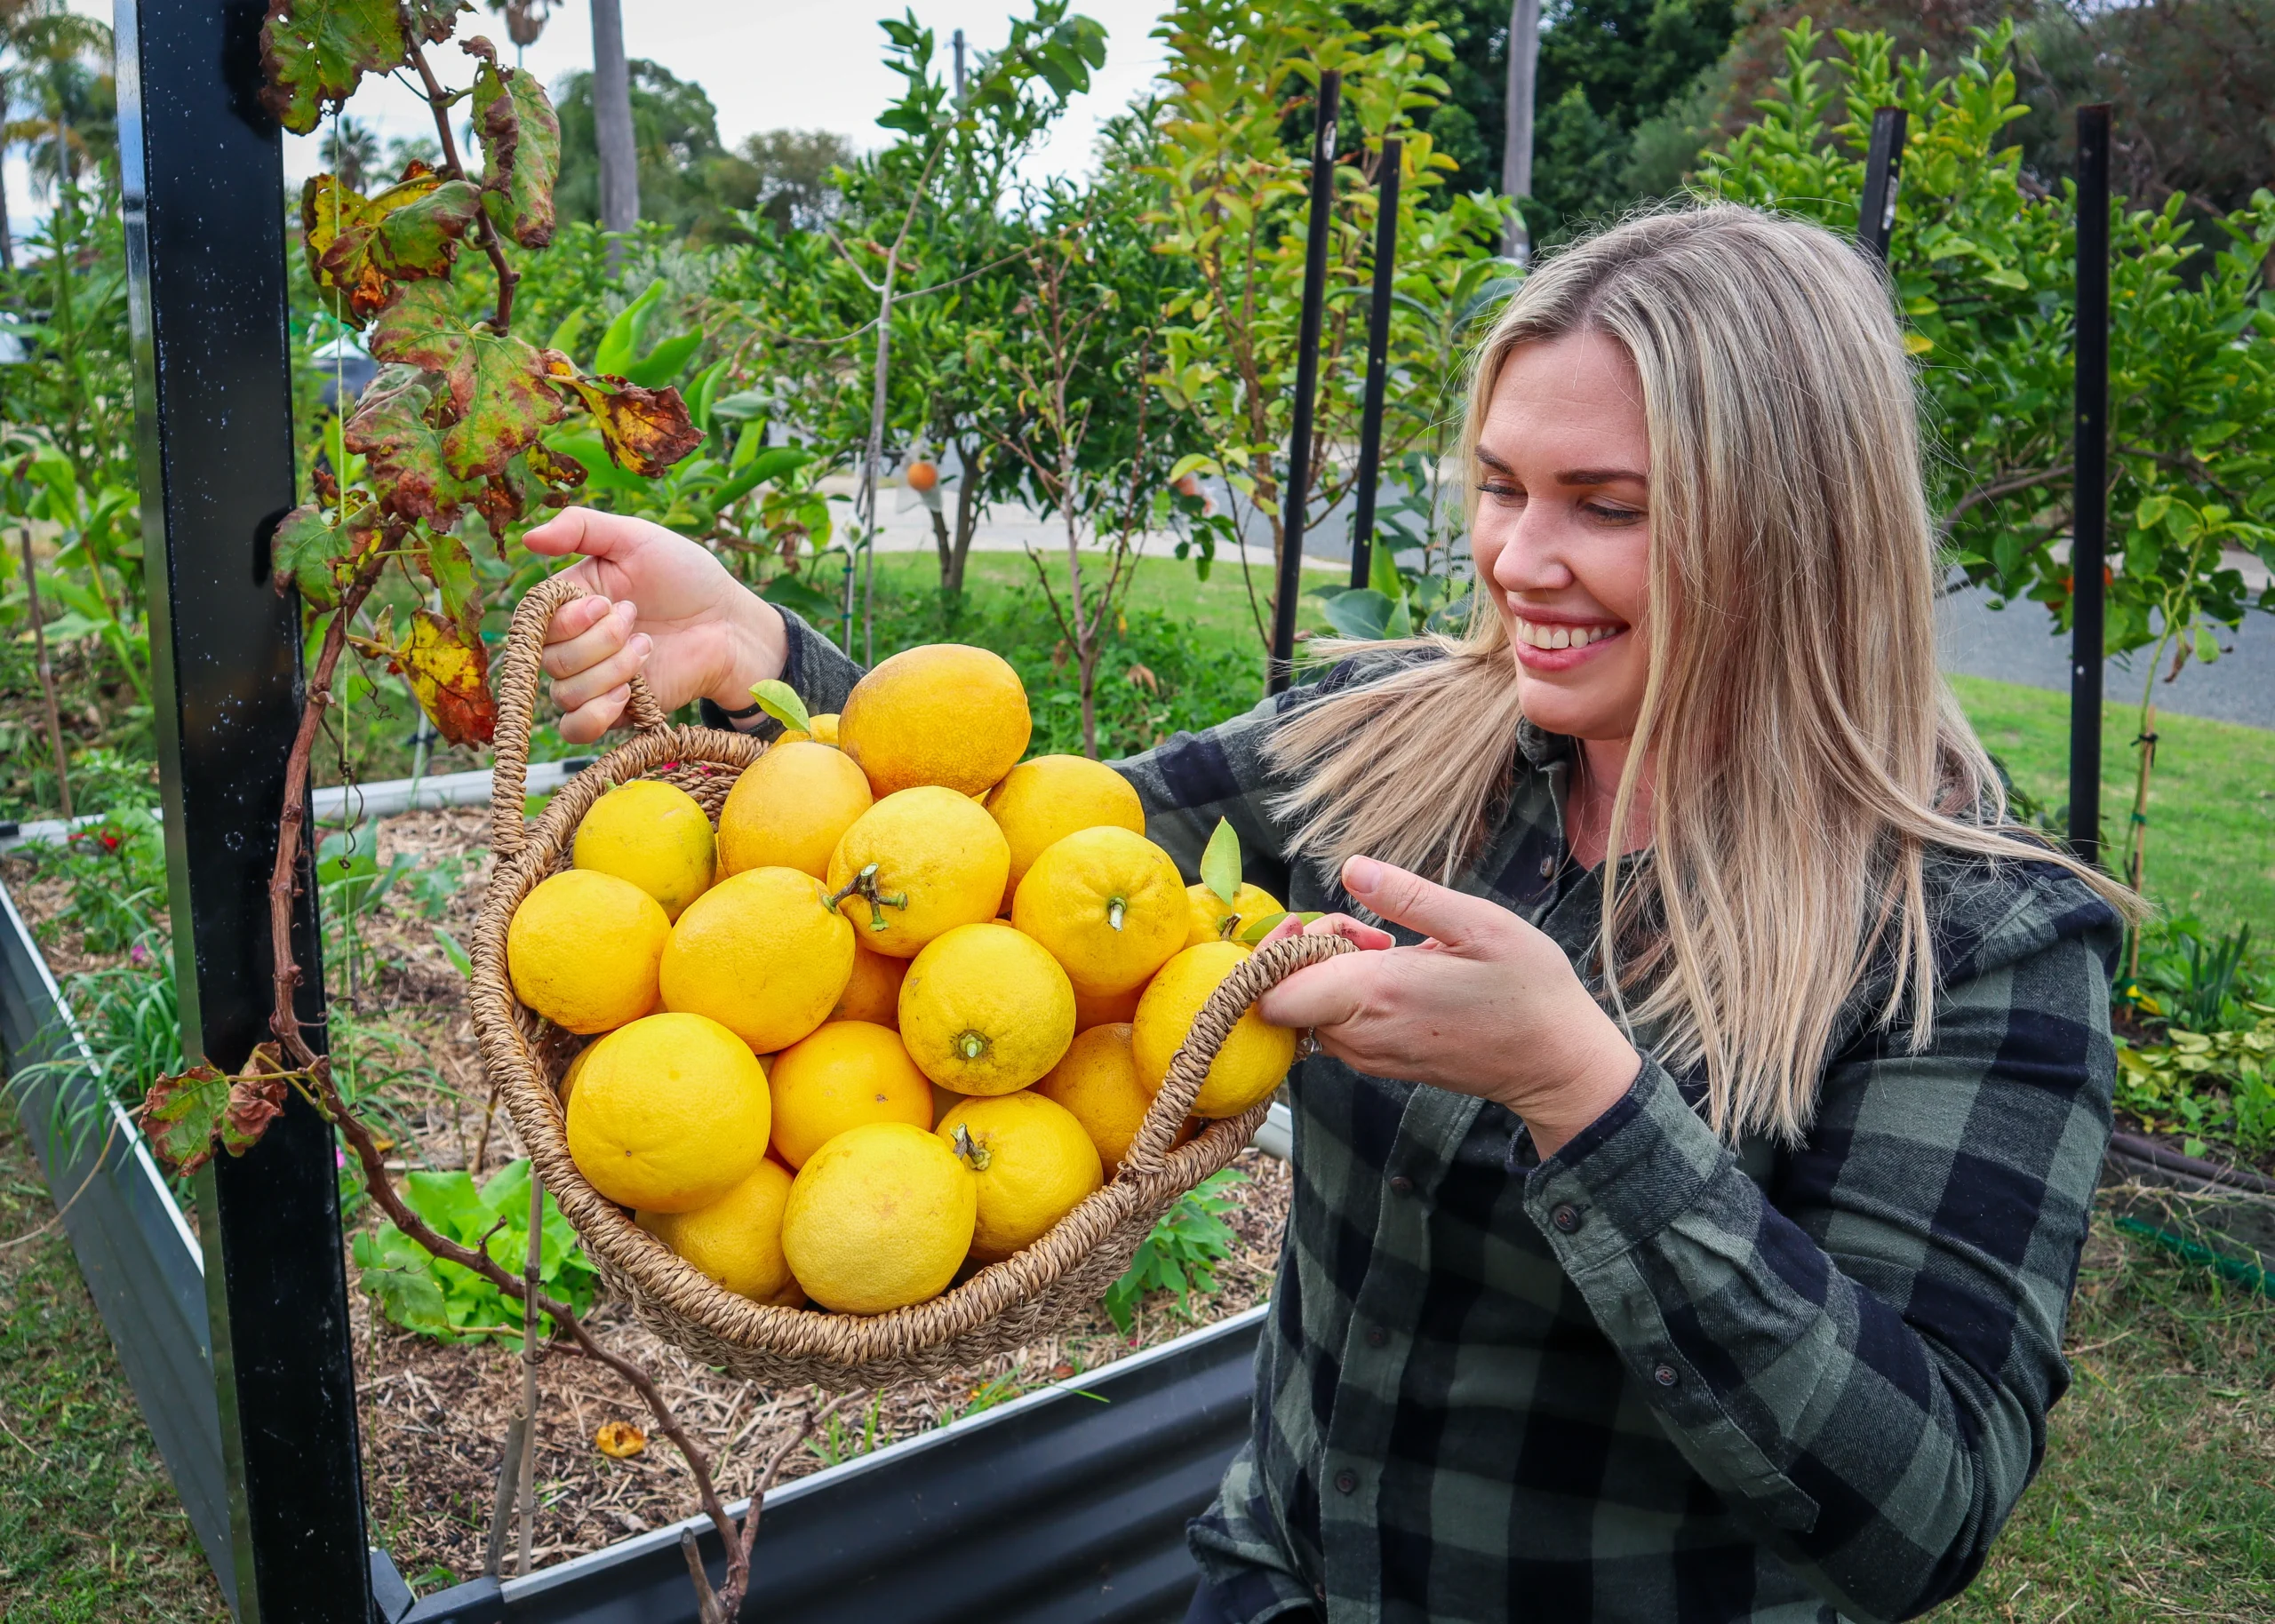
Citrus like full sun and, once established, can thrive in hot environments. Avoid planting new trees before or during the hot summer so that they have time to get their roots established before the added stress of summer.
8. Lemon Verbena
A fragrant lemony scent and is a tough, heat-tolerant herb to grow in hot climates. Lemon Verbena is great in teas, baking, and all the things! Lemon verbena leaves have a sweet, lemony fragrance…similar to lemongrass, and the whole plant smells incredible when you brush past it. It’s perfect for teas, baking, syrups, and infused water,and it keeps its flavour really well when dried. I always keep a jar in the pantry for quick herbal tea blends. In the garden, lemon verbena is easy to grow in full sun and well-drained soil. It drops its leaves in winter (don’t worry, it’s normal!) and comes back quickly once the weather warms.
9. Pomegranate
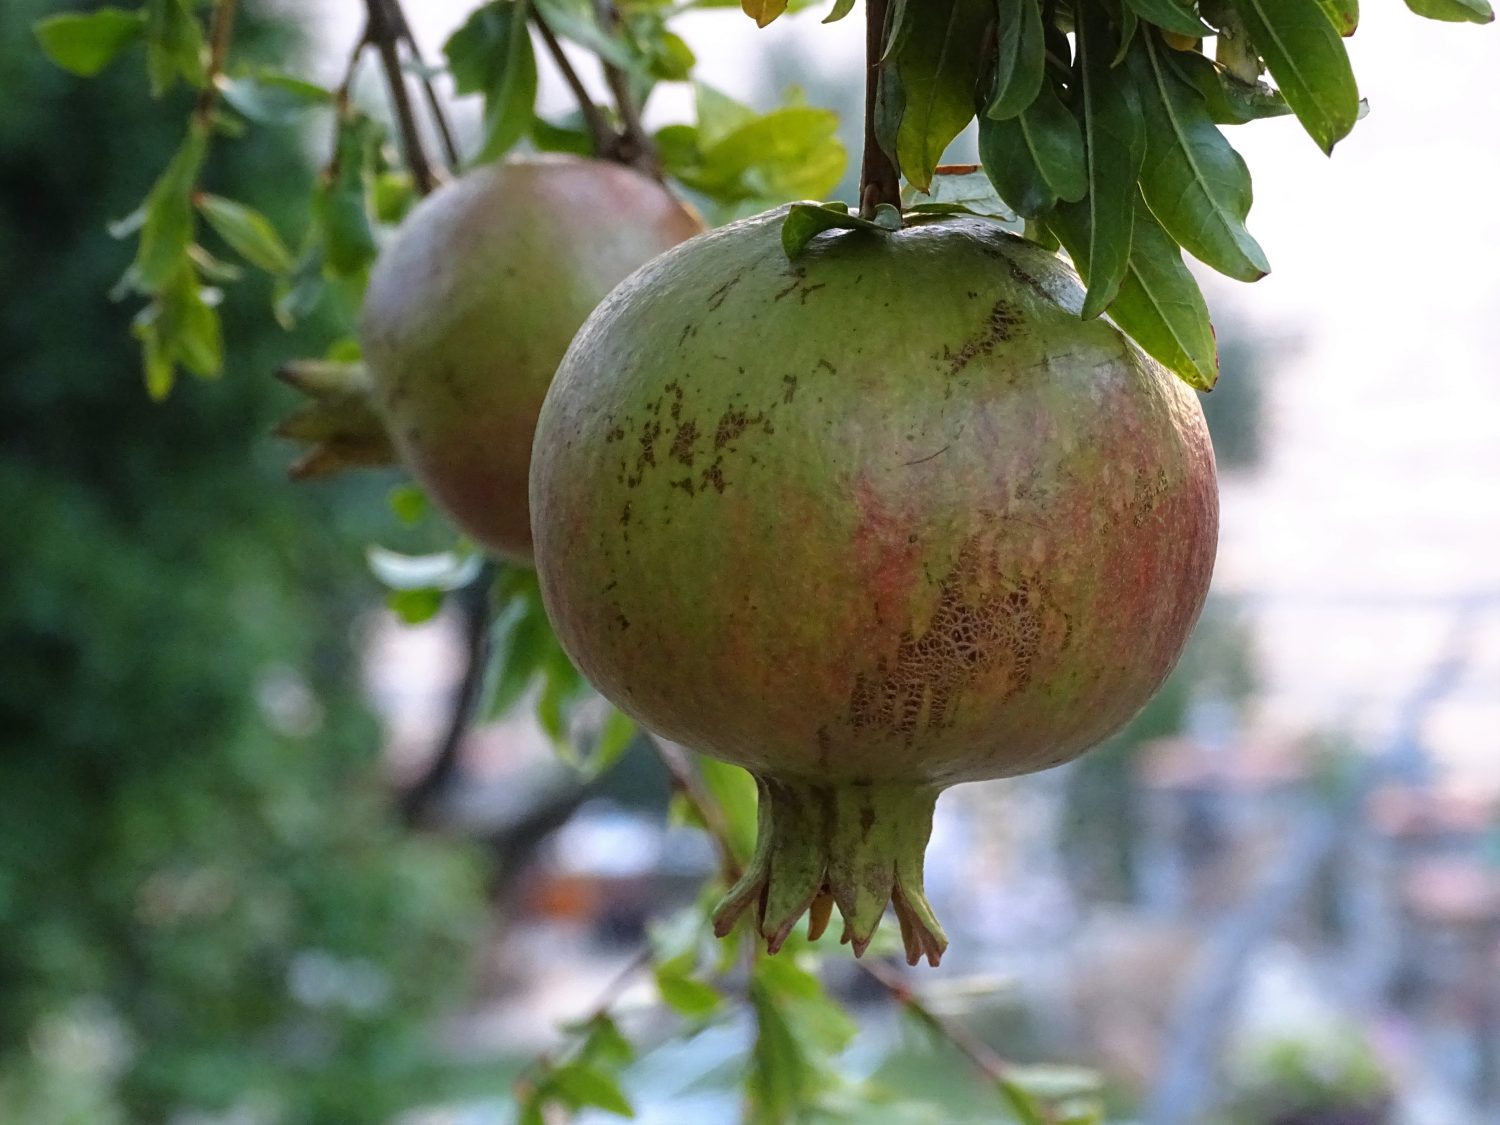
Pomegranates are one of the best heat-tolerant fruit trees you can grow in a hot climate. They thrive in full sun, handle dry conditions like champions, and still reward you with glossy red fruit and bright, beautiful flowers. They’re incredibly low-maintenance, needing far less water than most fruit trees once established. Their deep roots make them drought-resilient, and they’re also naturally pest-resistant — perfect for gardens with harsh summers. If you’re building a resilient, water-wise garden, pomegranates are a must-have: tough, productive, and beautiful all year round.
10. Loquat
Loquats are incredibly hardy, fast-growing fruit trees that thrive in hot, dry climates. They handle poor soils, need very little care once established, and fruit heavily in late winter–spring when not much else is producing. Their sweet, tangy fruit is amazing fresh or made into jams or sauces, and the large, glossy leaves give your garden a lush, tropical look with almost no effort. Loquats can be a pest plant because they grow so easily, and birds spread the seeds, so check with your local area.
11. Lilly Pilly
Lilly pillies are tough, water-wise Australian natives perfect for hedges, screens, or structure in hot climates. They handle heat, humidity, pests, and pruning exceptionally well. Many varieties produce edible pink or purple berries that can be made into jams or syrups. They’re also fantastic habitat plants for beneficial insects and birds. Part of the Syzygium genus is a great dense evergreen hedging plant with bright pink fruits. The fruits are edible and can be made into jams, sauces, and even sparkling wine!
12. NZ Spinach / Warrigal Greens
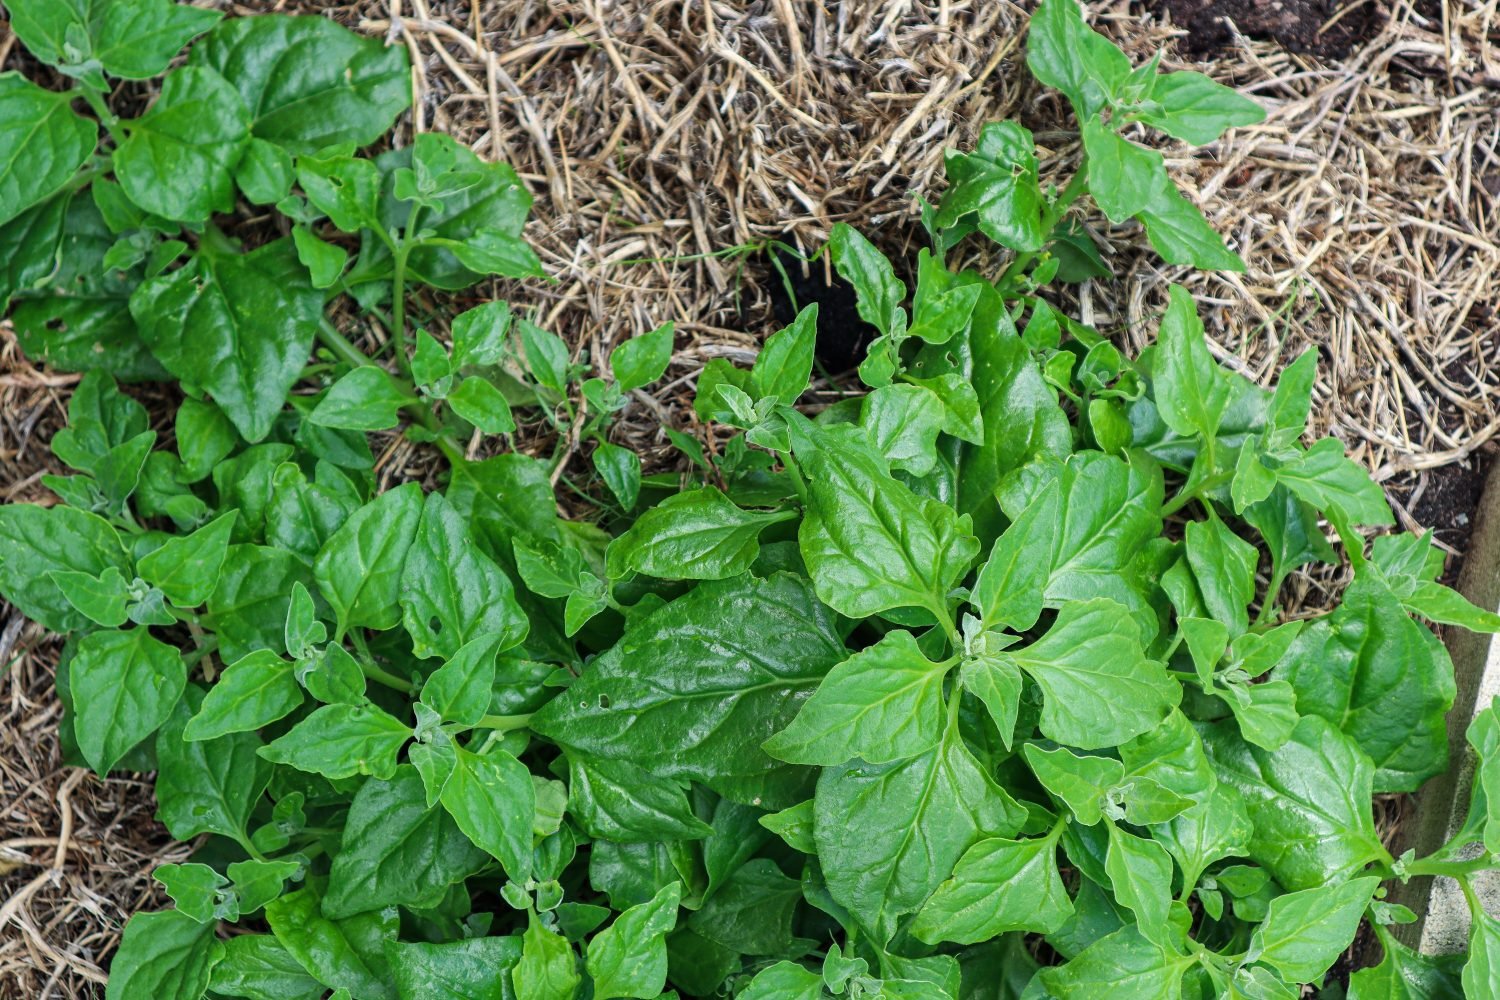
NZ Spinach is one of the best heat-tolerant leafy greens for summer. It thrives when regular spinach collapses, spreading as an edible ground cover that shades and protects the soil. Harvest the tender tips regularly for stir-fries and sautés. It’s low-maintenance, productive, and perfect for filling gaps in hot, sunny beds. Due to oxalates it does need to be cooked first.
13. Malabar Spinach
Malabar spinach is a vigorous climbing vine that absolutely loves the heat. Its fleshy, succulent leaves stay tender and productive even in scorching weather, and it grows beautifully over trellises to create summer shade. It’s ideal for warm climates but doesn’t tolerate frost, so give it a protected spot if your winters are cold.
14. Quince
Quince is a hardy, drought-tolerant fruit tree that thrives in hot conditions and poor soils. It produces large, fragrant yellow fruit perfect for making jams, jellies, pastes, and preserves. The tree itself is stunning with pretty spring flowers.
15. Zinnia
Zinnias are an edible flower that thrives in hot dry conditions. Zinnia has vibrant flowers in a huge range of colours. The great thing about Zinnia is that it produces nectar so it attracts a diverse range of pollinators to the garden such as bees, hoverflies, butterflies, and small birds. Zinnia is susceptible to powdery mildew so great for dry summers.
16. Sunflower
I love growing Sunflowers because they attract a huge amount of pollinators to the garden, and you can pretty much eat the whole plant! I use the petals fresh in a salad or press them to use on baking as garnishes. The seeds can be used on top of salads, to make oil, or to make spreads, and the leaves are also edible. Sunflower stems can even be made into flour! Sunflowers also help remove toxins from the soil, so they are a fantastic addition to a hot, full-sun garden.
17. Figs
Figs are one of the most reliable hot-climate fruit trees. They adore full sun, tolerate drought once established, and produce incredibly sweet fruit with almost no fuss. They grow well even in poor or sandy soil, making them ideal for Perth-style gardens. Prune them in winter to keep them compact and productive.
18. Olive
Olives are true Mediterranean survivors, heat-tolerant, drought-resilient, and long-lived. They thrive on tough love and poor soil, and they’re surprisingly productive even with minimal watering. Whether you grow them for fruit or as hardy ornamental structure, olives add beautiful silvery foliage and year-round resilience to hot-climate gardens.
19. Grapes
Grapes are great climbing vines for growing over structures to provide shade to your garden and help other plants grow. The amazing thing about Grapes are deciduous so they lose their leaves in winter to let light in and have full leaf coverage in summer to protect from the harsh midday sun. Grape plants have so many uses, from fresh delicious table grapes to jams, preserves, and wine! Grape leaves also have many uses in the kitchen.
20. Hollyhock
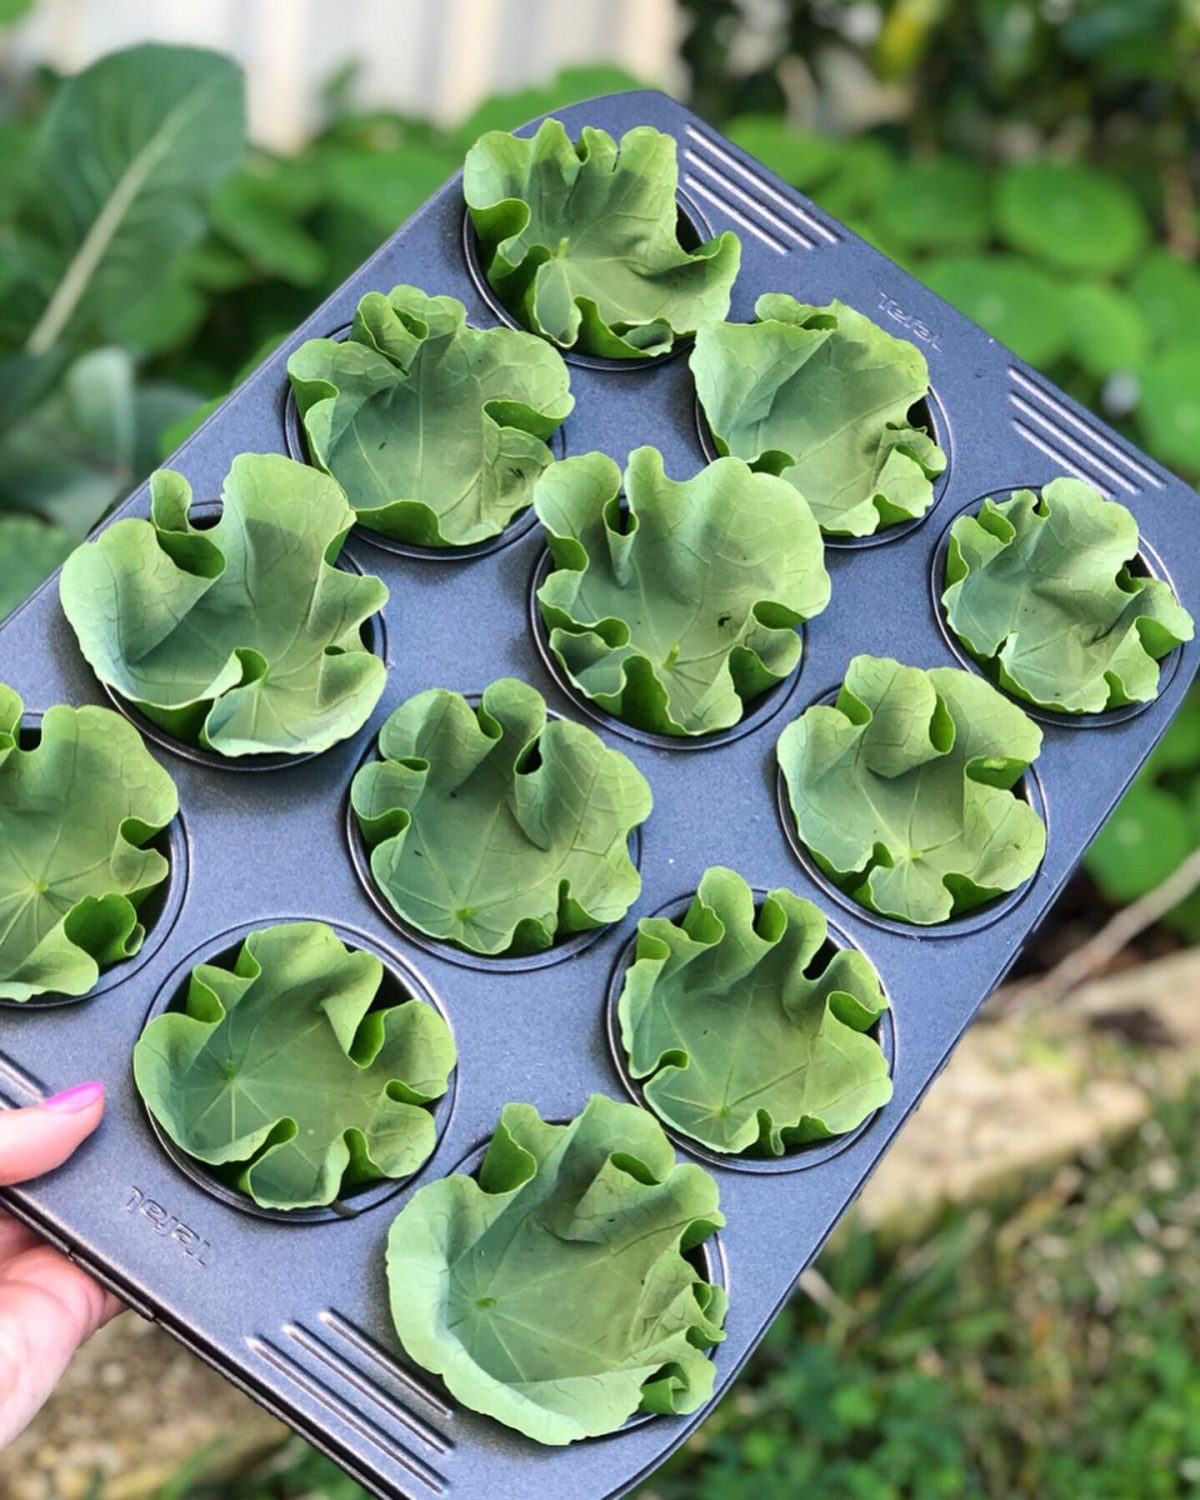
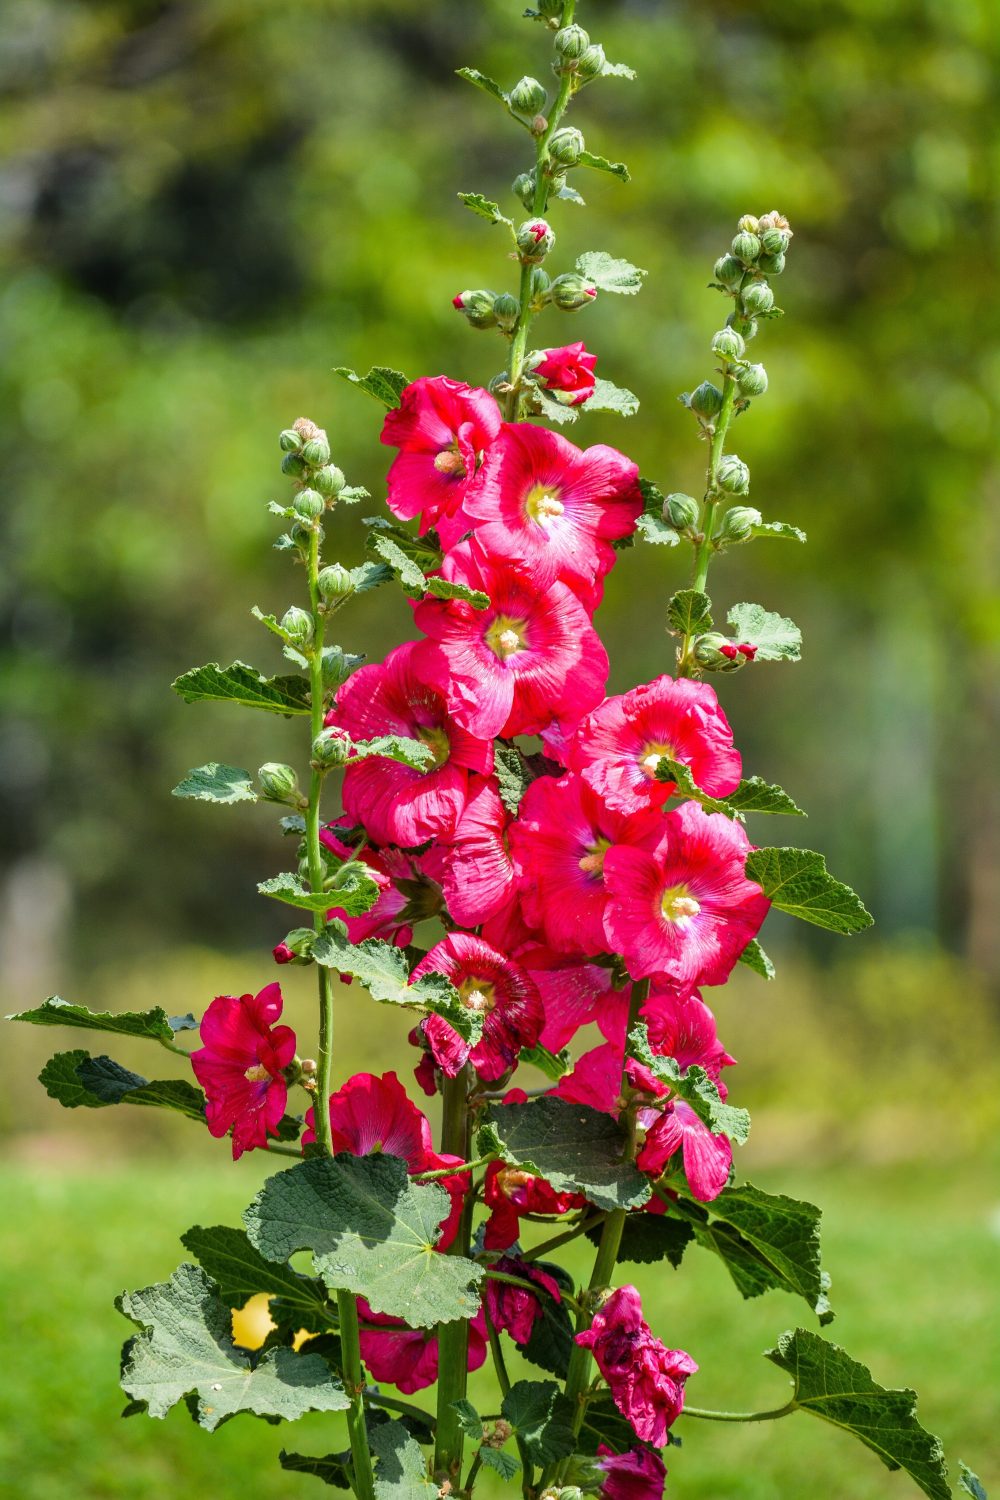
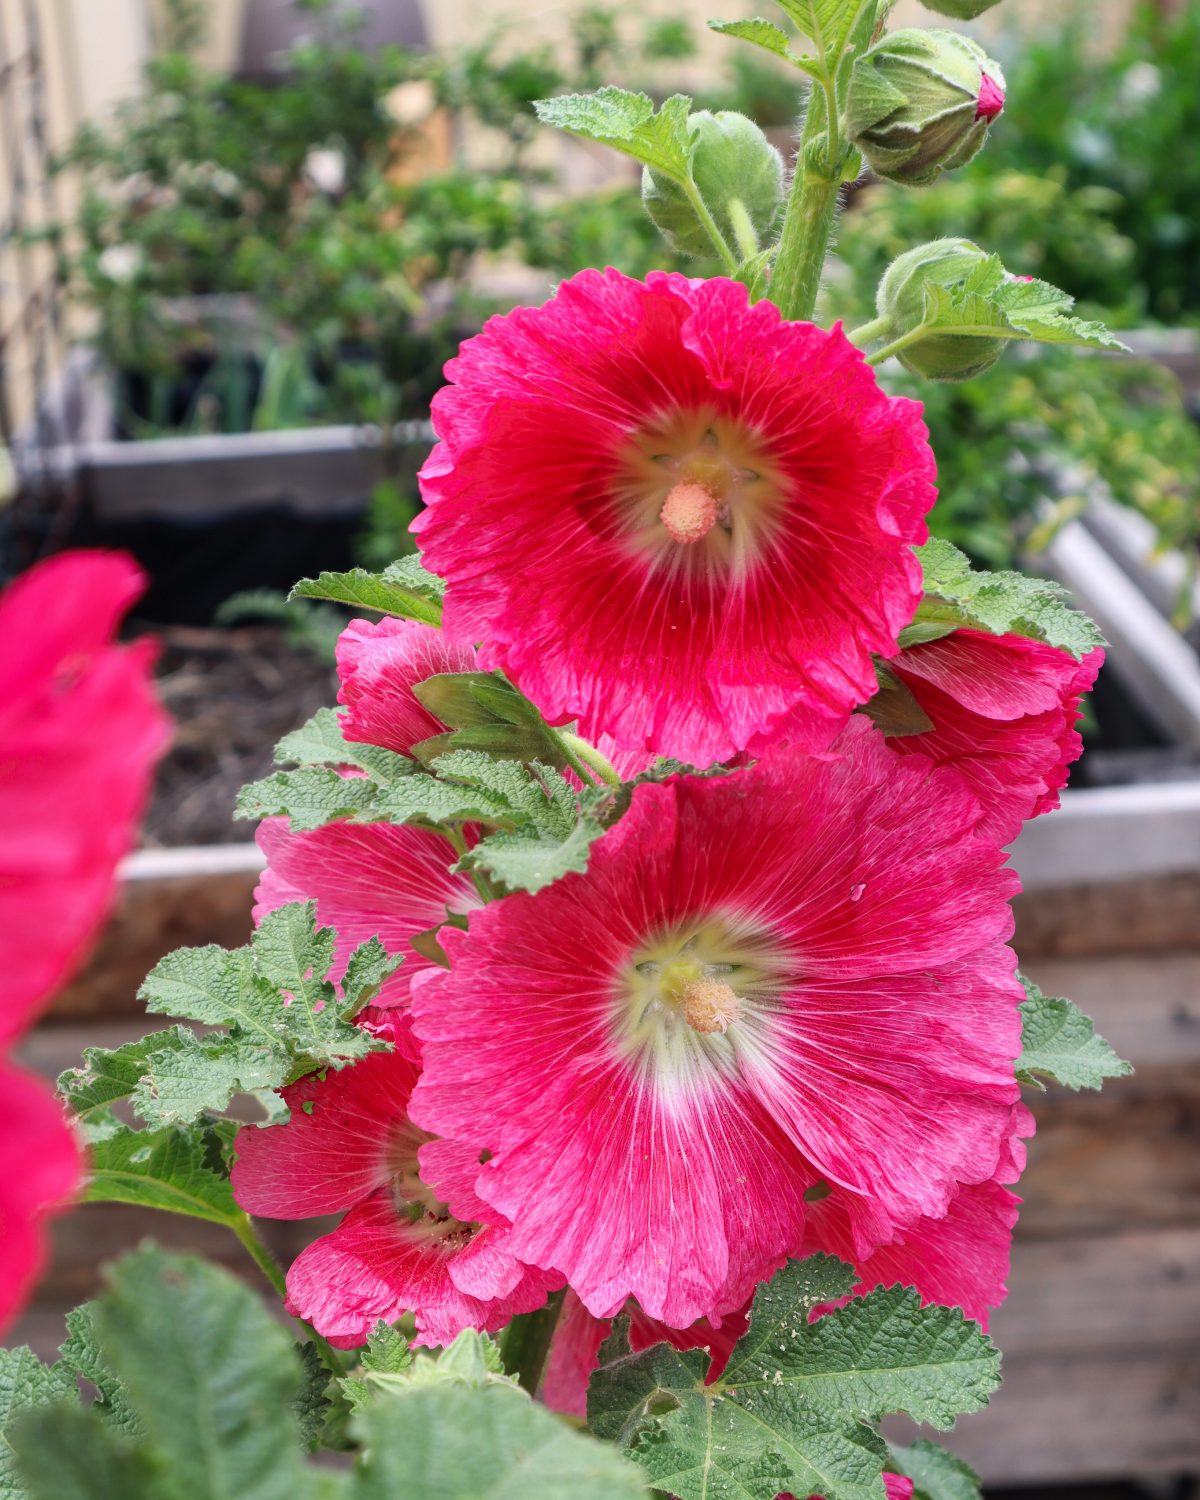
Hollyhocks are edible flowers that can grow up to 10 feet tall! They attract 100 of pollinators to the garden, and their height acts as a flag inviting them in. The leaves are also edible and can be cooked to make wraps. Hollyhocks are an annual so they will need to be planted again each year but they are so worth it! They can be susceptible to powdery mildew.
21. Thyme
Thyme is a hardy herb that thrives in hot conditions. A very versatile herb in the kitchen and pairs well with tomato dishes, on pizza, and roast veggies. Thyme also produces masses of tiny white flowers that attract an array of beneficial insects and pollinators. Thyme creeps over the ground so it makes a great edible ground cover plant.
22. Macadamia Nut
Macadamia nut trees can take a long time to start producing (5-7 years), but are really hardy and can handle hot conditions. And Macadamia nuts are great additions to a homestead to make flour and milk from.
8 Tips for Successfully Growing Heat-Tolerant Edible Plants
Many of these heat-tolerant plants listed are perennials, and the reason perennials are so good for hot environments is that they have established roots and have time to get used to their environment. Annuals such as lettuce and tomatoes are planted new and have shallow roots so are more vulnerable to overheating.
Below are some tips to help you get your plants established and thriving through hot periods.
Avoid planting in hot weather (always check the forecast)
Provide temporary protection,such as shade cloth or umbrellas, during hot periods.
Grow nanny plants or pioneer plants (quick-growing trees that provide dappled shade in summer eg: grapes, mulberry, and deciduous fruit trees)
Plant new trees in pots until after the summer heat has passed
Plant densely – allow other plants to protect and shade each other and the soil.
Grow Endless Fertiliser
Growing food in a hot climate doesn’t have to be a struggle. By choosing tough, heat-tolerant plants, layering your garden with support species, and working with your climate instead of against it, you can build a garden that stays productive all summer long.
If you want to take it even further, my new ebook Grow Your Own Natural Fertiliser shows you how to build healthier soil, boost resilience, and keep your garden thriving — even in extreme heat. It’s the perfect next step for creating a truly self-sustaining garden.
Lemon balm has calming and soothing properties that can reduce stress and anxiety. This refreshing summer drink may help you chill out and unwind. Nothing beats an iced cold lemonade after a busy day working in the garden but this homemade version with fresh ingredients is a winner!
Lemon Balm Lemonade
Refreshing and soothing this botanical lemonade is the perfect summer drink to enjoy in the garden.
CHALLENGE: Take Cuttings from x3 Edible plants to Swap, Trade or Share
Join the challenge in the community and share which cuttings to are trying out!
About the Live workshops
Join live to participate in the Q&A.
If you can’t make the live and have questions there is a thread set up in the workshop section of the community. Or flick me an email and I will make sure I answer or cover that topic in the workshop.
A replay will be available.
The live link will be available closer to the date.
What happens during a masterclass?
The masterclass will be streamed online live through a private link (available closer to the date) and members are encouraged to say hi and ask any questions they have throughout the lesson. There will also be a time at the end of the masterclass for Q&A. If you want to sit back and just take it all in that is absolutely fine too! If you can’t make the live event, that is ok too, as the replay will still be available within the workshop page.
What do I need to do or bring?
Add the event to your calendar and when the link is published you can click on it and tap notifications for an extra reminder. Try to login and be ready five minutes before the livestream. It will be a good idea to have a pen and paper ready to take any notes or write down inspiration as it comes to you.