Choosing a new fruit tree is exciting, daunting, and at times, overwhelming with possibilities! I am adding another fruit tree to my garden and I would love to share that process with you. Plus, some tips to help you select the best fruit tree for your garden.
Click Below to Watch
Growing Fruit Trees at Home
Fruit trees can be grown and incorporated into many home garden designs to create abundant, fresh food. Fruit trees can even be grown in pots or containers for urban gardens. There really is so many ways to grow your own delicious fruit at home, no matter the size of your garden.
Tips to Choose a New Fruit Tree
Below are some tips or things to consider when you are looking to buy a new fruit tree. Take down a few notes and this will help you eliminate or come up with a clear idea to speak with your local fruit tree nurseries.
Analyse theSun and Shade – is there a specific spot you are looking to fill or are you limited with where you can plant a fruit tree? If this is the case, just do a quick analysis of the conditions. Does it get full sun? are there large trees? or buildings that will shade it during winter? The sun tracks lower in the sky during Autumn and Winter and this means more shadows will be cast across your garden. This can have a huge impact on the growth of your tree.
Learn from my mistakes! I once planted a lime in an area that only gets full sun during the middle of summer. It never grew well and when I moved it to a full sun location, it has took off and is loaded with limes! Citrus like 6+ hours of sunlight a day. So noting down the sun and shade will help you pick a fruit tree that will thrive.
Wind – Does your property get strong winds? If so, what direction do they typically go? This can be very helpful to note down. Some fruit trees do not cope well with strong winds. Papaya, Tamarillo and Banana do not like strong winds. Especially while they are young and delicate. It may mean you need to plant a wind shelter or position your fruit tree in an area that receives less wind. Creating temporary barriers may also be a great solution to protect the tree while it is young and vulnerable.
Temperatures – Take note of your maximum and minimum temperatures. This can be a factor in whether or not you will be able to grow a particular fruit tree or if it will perform below average because of it. Do you receive snow? Frosts? These are important to note down and you may be able to find this information out on local weather reports. Feijoa or “Pineapple Guava” like to have at least 50 chill hours per year to produce good quality crops. Here in Perth, Australia, we can grow Feijoa, but they don’t taste quite as good ( in my opinion). This is also the case with extremely high temperatures, some fruit trees will not perform well. Sometimes, this can be managed with microclimates. Microclimates are areas in your garden that that have unique qualities. For example – next to a metal fence may be warmer, or a shady area with a pond may be cooler with more humidity. This can help you tailor and customise the surrounding to better suit your fruit tree.
Root systems – Take note if you have any concrete, pavers, a pool or plumbing nearby. Some fruit trees have huge root systems that can crack concrete or damage pools. If that is a factor then note that down. There are plenty of trees that have shallow or small root systems or you can plant in containers or pots.
Height Restrictions – would it matter if the fruit tree grew too tall? Fruit trees can be pruned to keep manageable but if you have restrictions such as neighbouring buildings, power lines, roof, eves or fences, it may be worth choosing a shorter variety grafted on dwarf root stock. This will mean the maximum height will be a lot shorter and you will not need to prune and maintain it as often.
How much time do you have to Care and Maintain the Fruit Tree? – Some fruit trees will require a lot more care and maintenance to actually get a good harvest from. Stone fruit for example, will often need to be netted to prevent fruit flies, bats or birds from decimating your crop. If you are wanting a low maintenance fruit tree then there are plenty of options available. Speak to your local fruit tree nursery to see what low maintenance fruit trees thrive in your local area.
What other Fruit Trees do you have? I have a lot of citrus already, so I want to get something different for my next fruit tree.
Have you tried that Fruit before? Once you have an understanding of your specific climate and have a few key points noted down on sun, shade, wind and surroundings, the next thing is to taste some fruit! You don’t want to spend money, allocate space and time, to grow something that you don’t actually like! This can seem obvious, but is often overlooked with the excitement of new fruit trees. Some fruit will be hard to find as there are many types of fruit that don’t travel well and cannot be sold commercially. These can often be found at local growers markets or on local gardening pages. Imagine waiting four or five years for your tree to fruit and then hate the fruit..that would be so annoying!
Observe & Interact – take time to slow down and observe your garden.
What Next? Choose a New Fruit Tree!
Now that you have a little more of an understanding of your climate and restrictions, it’s time to start looking for a new fruit tree! Taking the time to stop and observe, will help you select a fruit tree that will not only thrive in your location, but, that you will also LOVE to eat! Visit your local fruit tree nurseries or fruit tree specialists for valuable local knowledge. They may even be able to order in rare varieties. Local community groups also offer a wealth of knowledge.
In this video I try some tropical fruit to decide whether or not I want to purchase those fruit trees.
What fruit tree do you want to plant next? Let me know in the comments.
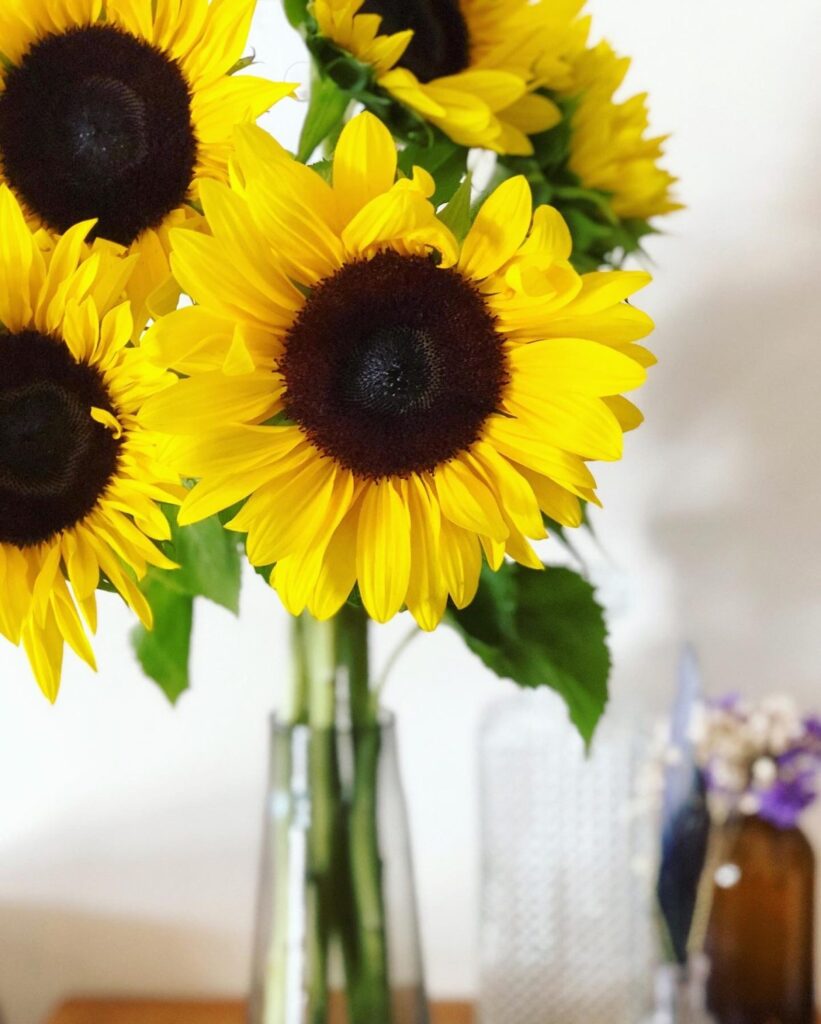
Sunflowers (Helianthus annuus) are beautiful, edible flowers that can grow well in any garden. Sunflowers just like their name suggest, brighten up the day with their large striking flowers and they also attract pollinators to your garden. Sunflowers have a lot of beneficial relationships and within the garden and are on my must grow list every year.
Sunflowers offer so many beneficial relationships within your garden. They are also known to remove toxins from the soil. This can be a great way to regenerate soil. If you have had spill of chemicals or other sprays have been used on your soil, plant sunflowers to help remove some of these toxins. But of course do not eat any that have been planted in the “bad soil”.
Here are some of the many reasons to grow sunflowers:
Low maintenance
Drought tolerant
Pest resistant
Attract Pollinators
Create diversity in the garden
Add colour to your garden
Edible flowers, seeds, stalks and leaves
Add nutrients to your meals
Aid in soil regeneration
Bird or animal feed (seeds)
Make oil
Natural plant dyes
Act as a trellis to grow vines up
Green manure
Popular Sunflower Varieties
‘Mammoth ‘Russian‘– Large single yellow flowers. Grows 2-4m tall. Abundance of edible seeds.
‘Prado Red‘ – Rich red colour. Multiple flowers up to 10 per stem. Grows to 1.5m tall. Remove old flowers to promote extra growth.
‘Van Goghs Landscape’ – Large single traditional yellow flower. Grows to 1.5m tall.
‘Double Dazzler’ – Semi-double single stem flower with tightly packed petals. Edible petals and seeds. Grows to 2m tall.
‘ Evening Sun’ – Striking multi head sunflower. Colours range from red, bronze and yellow.
‘Italian White’ – Pale yellow multi head flowers. Grows to 1.5m tall. Great cut flowers.
‘Moonwalker’ – Pale yellow multi head flowers. Grows to 2m tall. Bushy plant great for screening. Remove old flowers to promote extra growth.
‘Teddy bear’ – Fluffy deep gold double flowers. Multi-stems per plant. Dwarf variety grows up to 50cm tall. Great for pots.
‘Dwarf Sunsation’ – Compact plant with golden yellow flowers. Multi-stems per plant. Dwarf variety grows up to 45cm tall. Great for pots.
How to Grow Sunflowers
Sunflowers like a full sun location. They will turn their head to follow the sun during the day! Sunflowers grow well in most soil but do prefer fertile, free-draining soil. Plant the seeds directly in the soil during spring and summer after the last frost. Plant 30cm apart. Sow seeds in trays indoors first to speed up germination if you are planting late in the season.
When to Plant Sunflowers
Sunflowers are warm weather plants so plant the seeds during spring and summer. There are many varieties available with differing lengths of growth and harvest.
Care/ Maintenance
Keep the plants well-watered on warm days. Mulch the base to keep moisture in and weeds out. For an extra boost you can feed your plants with a liquid seaweed solution every 2-3 weeks. Be aware that your local birds may find your sunflowers once they start to form seeds so you may need to harvest them early and keep in a vase inside to fully open. Plants with multiple flowers on each stem can be “dead headed” (cut old flowers off) to promote more flowers to form. The large single flowering varieties such as the ‘Mammoth’ may need staking to help keep them upright especially with wind or rain.
Pests / Disease
Mice and rats love the sunflower seeds so be aware and if you have an issue with this it may be best to start the seeds off inside until they are seedlings. Slugs and snails may be an issue when the plants are young. Utilise natural pest management . As the sunflowers mature there will be less pests until they flower and attract birds. If you plant plenty there may be enough for you and the local birds to enjoy!
How/ When to Harvest
Harvesting will depend on the variety of Sunflower you have chosen. Read the packet or label to determine the type and length of harvest. Multi- stem flowers can be picked as they flower to promote more growth. Large single head flowers will be ready to pick as their petals open. Leave longer on the plant if you want to harvest the seeds (but before the birds do). Use a sharp pair of secateurs.
Reproducing / Saving Seeds
Sunflower seeds will form in the centre of the flower. These will form last as the petals start to fall off. Pick the flower and hang it upside down somewhere warm and dry (away from any birds, rats or mice). Once the head is completely dry, remove the seeds and place in a tray to dry further for a few days. Once the seeds are all dry place them in a brown paper back and label them with the variety and year of harvest. Keep the seeds in a cool, dry dark place ready to plant again the following year.
Cooking and Using Sunflowers
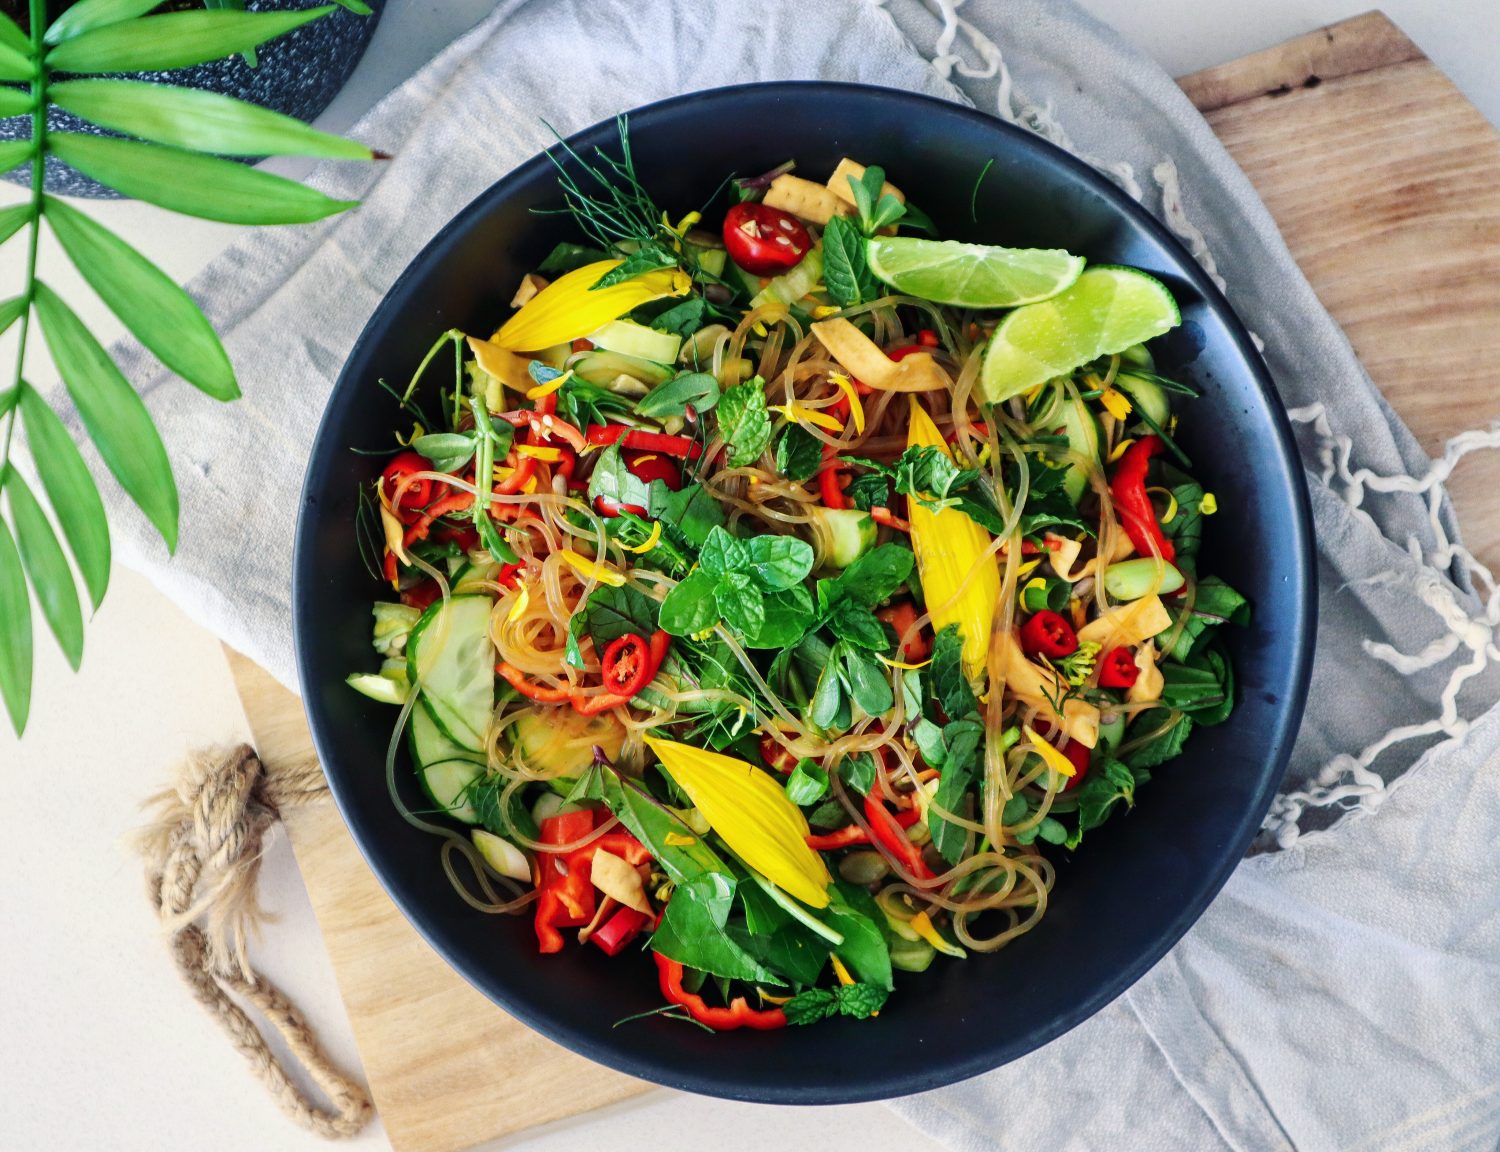
Sunflower petals and seeds can be eaten fresh. The seeds can also be pressed using specialty equipment to make vegetable oil. The petals can be used fresh in salads or baking as garnish. The petals can also be used to make natural dyes. The sunflower leaves can be used just like spinach or collard greens. The younger leaves are best. The young stems can also be used fresh or cooked.
Preserving the Harvest
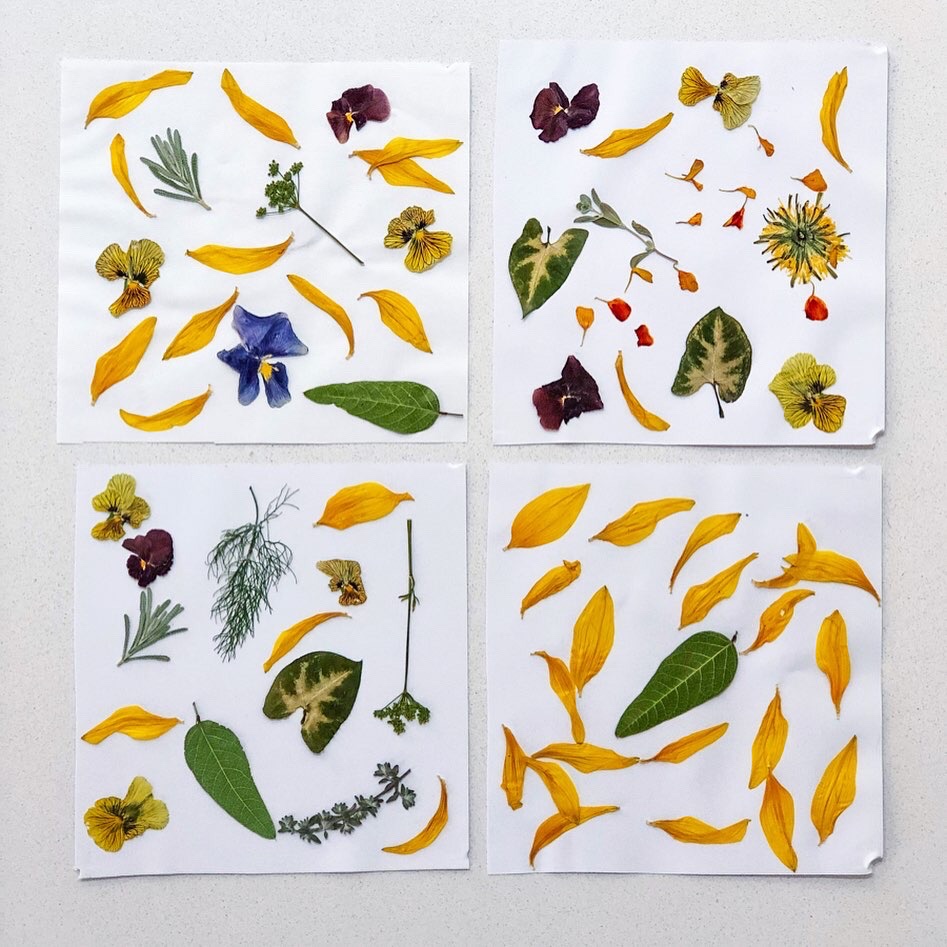
Sunflower petals can be preserved by pressing or drying and keeping in an airtight container. These can then be used to add bright colourful edible flowers to any meal throughout the year. Sunflower seeds can be dried and kept in a jar to use in cooking by roasting the seeds.
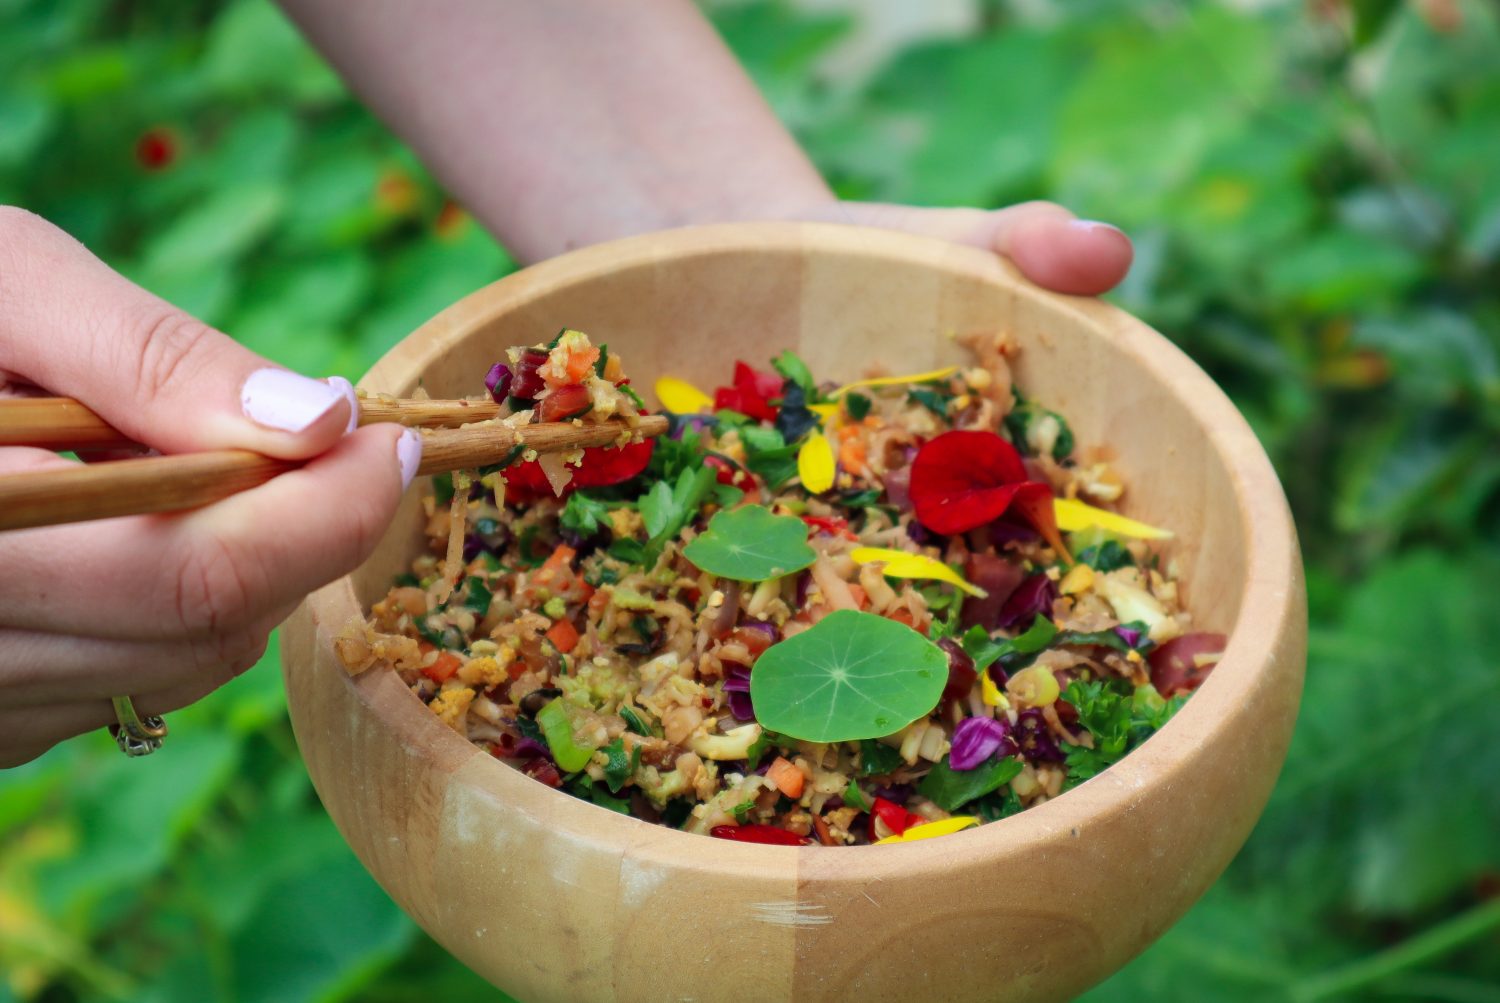
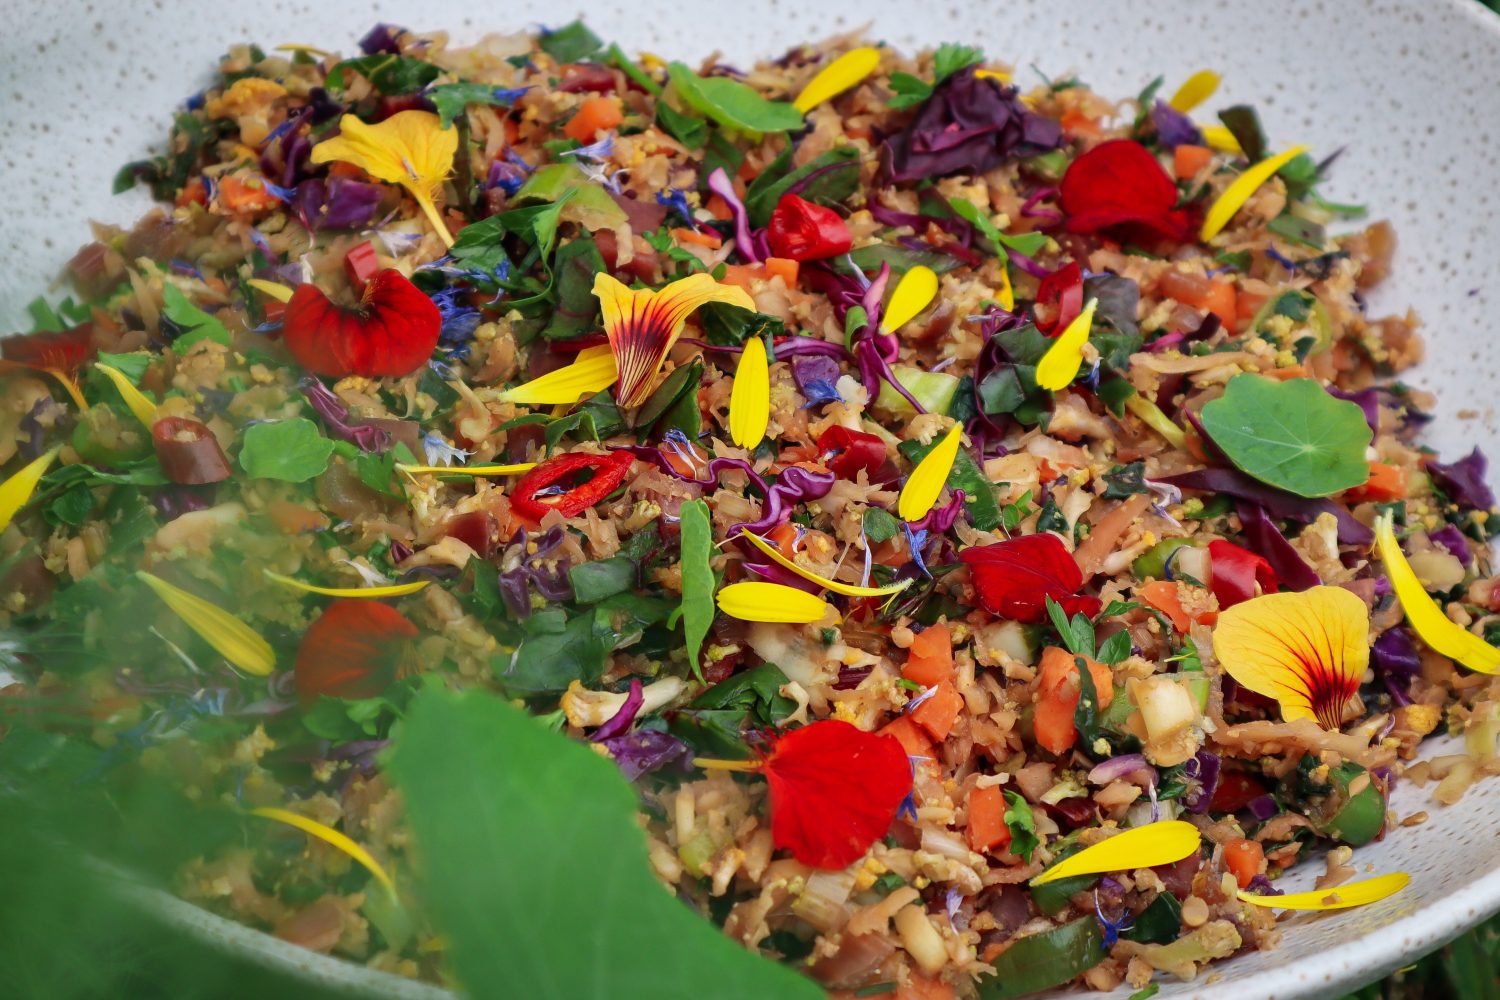
Cauliflower is fantastic at absorbing flavour which makes it a perfect substitute for rice. This Cauliflower fried rice is simple, easy to make, packed full of nutrients and tastes so so good! This recipe is flexible, so use whatever in-season veggies you have available. I have added a list of alternatives at the bottom of the recipe.
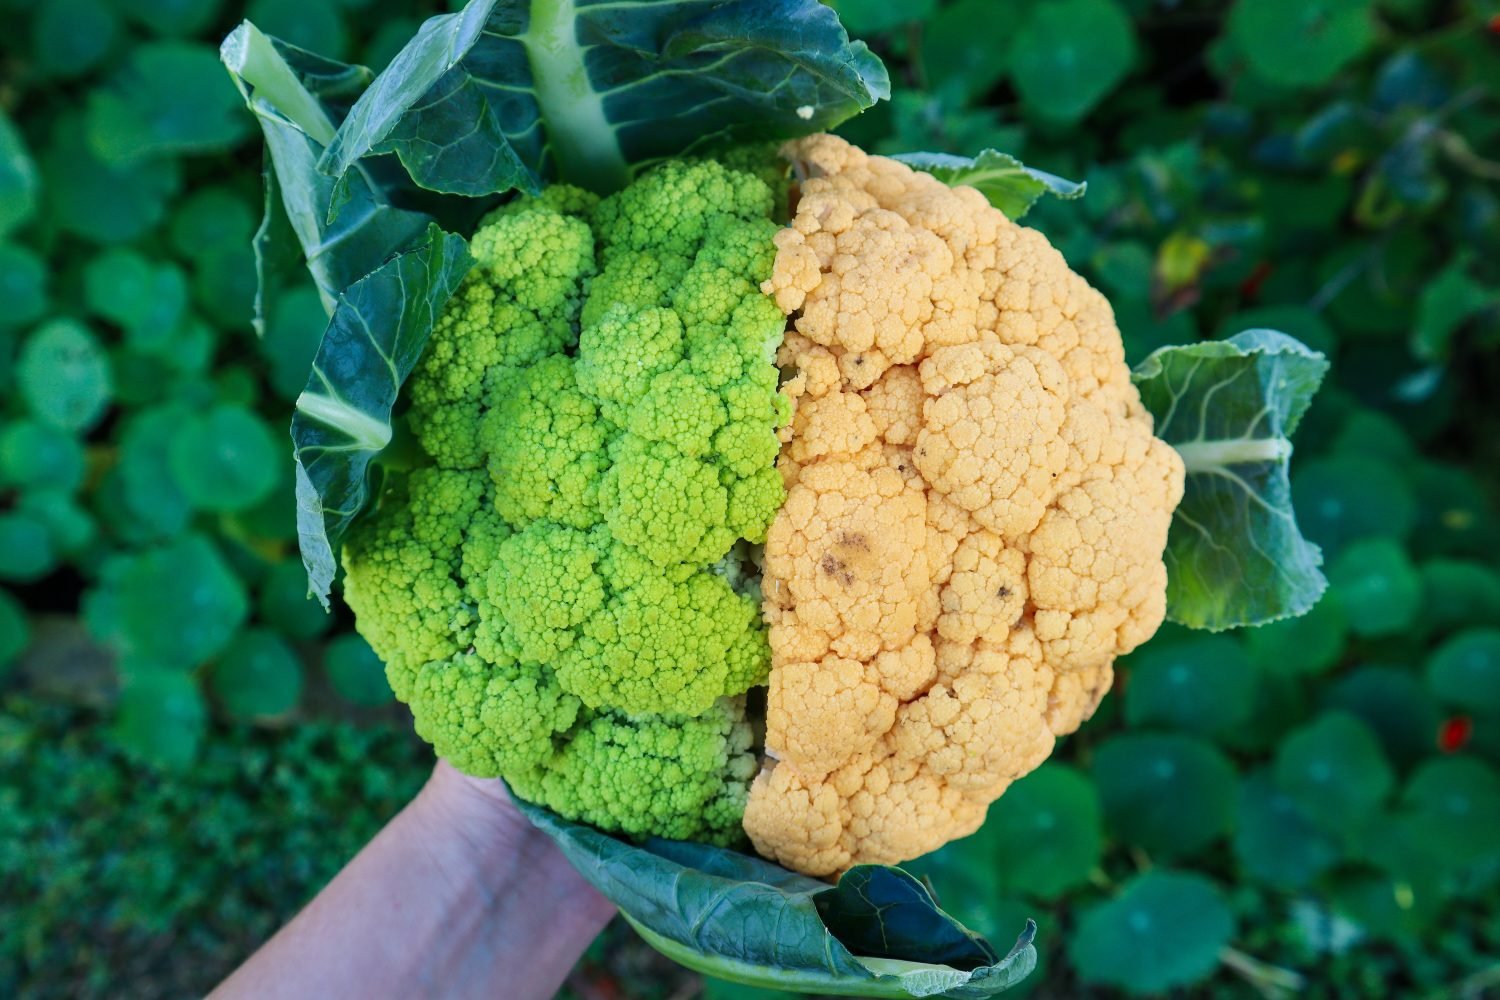
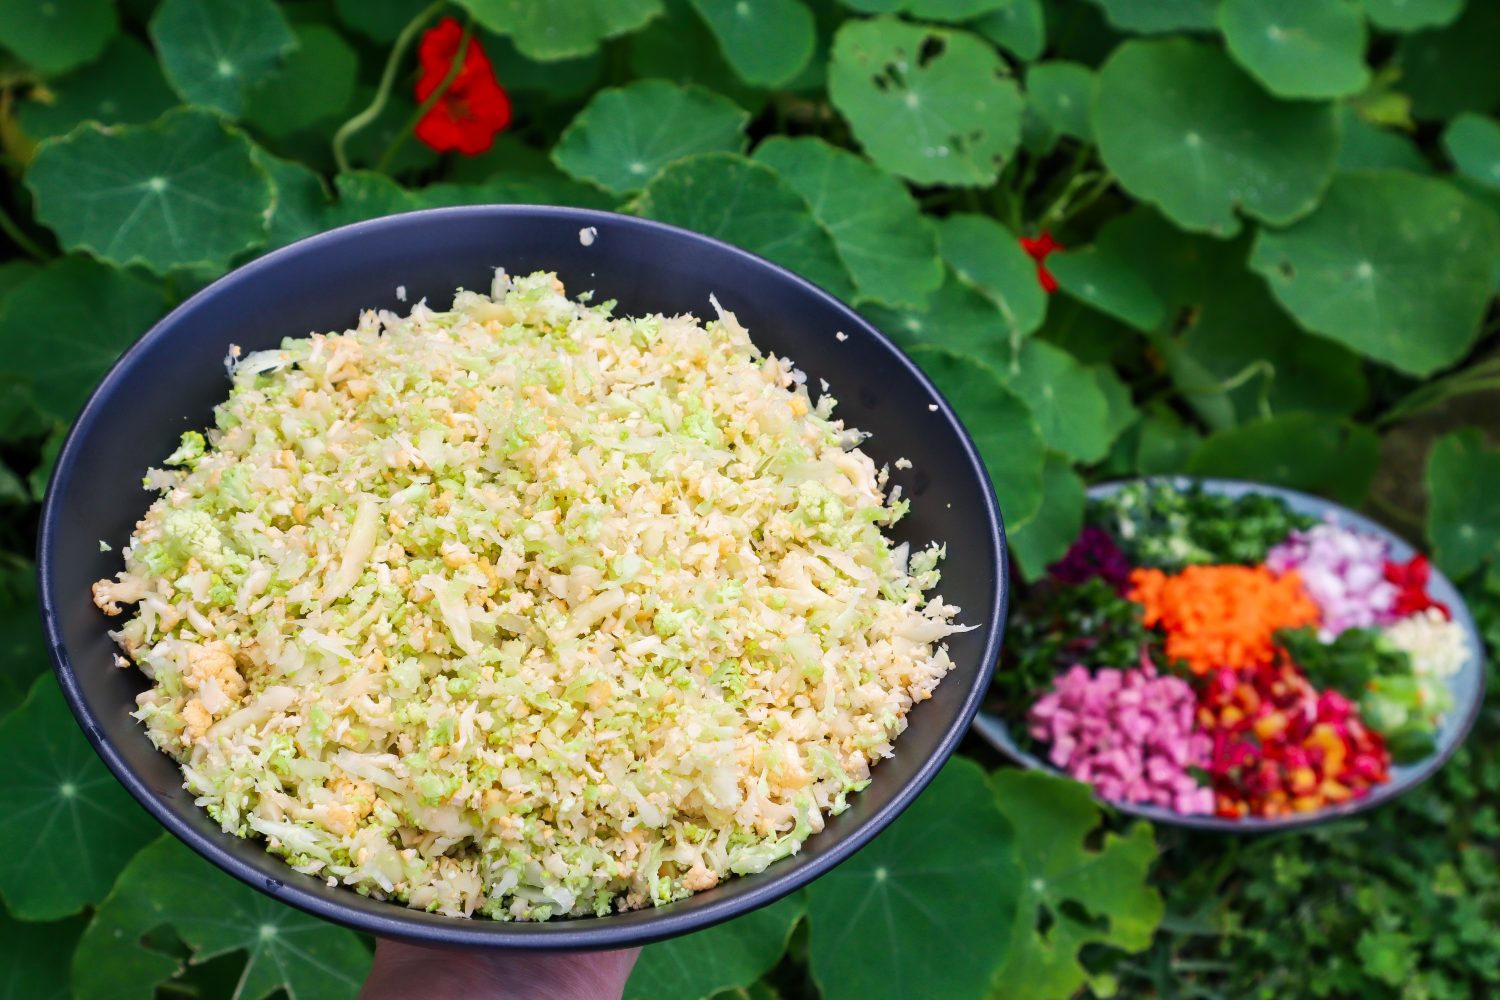
1whole cauliflowerI used half green and half yellow varieties
1/2tspGround Smoked Paprika
1/2tspCumin Powder
1/2Red Onion
2Garlic Cloves
1Carrot
1Spring Onion
1Red Chilli
1/2cupchopped Purple Cabbage
1/2cupchopped Sweet Potatoroughly 1/2 a sweet potato
4-5Rainbow Chard stems and leaves
1/2cupchopped Parsley
2TBSTamarisoy sauce
1TBSWater
2tspsugar or sweeterhoney,agave
2tsplemon juice
1/2tspsea salt flakes
Method
Grate or chop the Cauliflower into rice sized pieces. You can also use a food processor if you have one. You want it to still be a little chunky and no smaller than the size of a long grain rice granule.
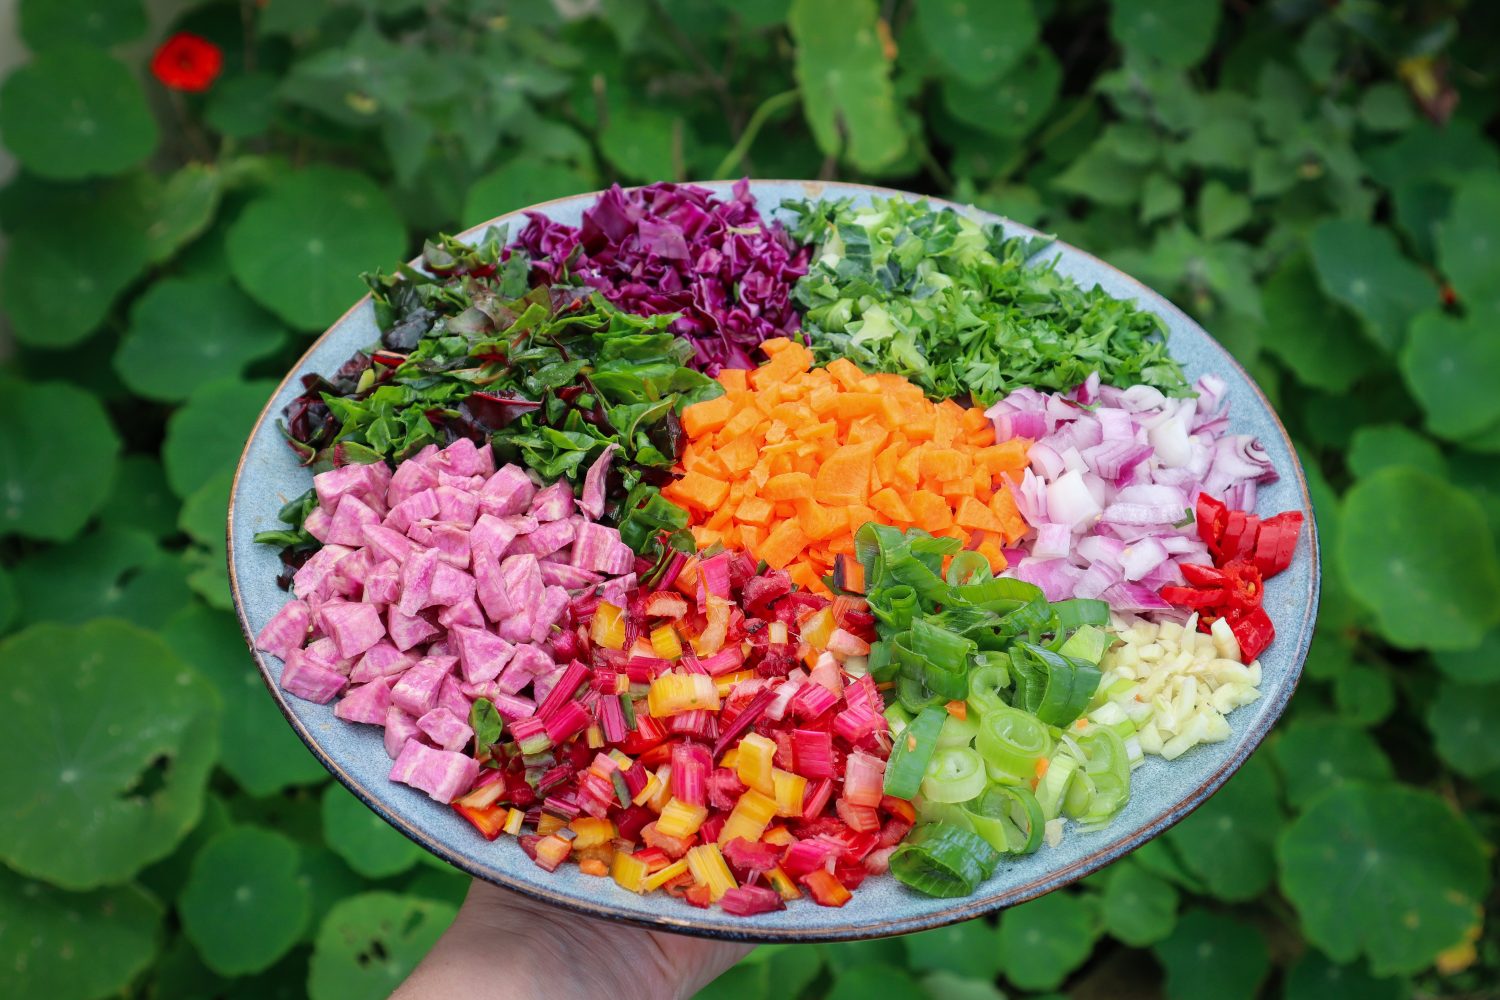
Prepare all your vegetables: Finely dice the Onion, Carrot and Sweet Potato into 1/2 cm cubes or chop up in a food processor. Finely chop the Cabbage, Rainbow Chard Stalks, Leaves and any Cauliflower leaves into small 1/2cm pieces. Thinly slice the spring onion. Finely chop the garlic.
Prepare the sauce by mixing in a small bowl: Tamari, Water, Lemon Juice and Sugar. Stir until sugar is dissolved.
Heat a large frying pan or wok with a drizzle of oil on a medium-high heat and cook the Onion and Sweet Potato until they soften (5-10mins). Stir regularly for even cooking.
Add Cumin, Paprika and Garlic to the pan and mix to combine for 1 minute.
Then add the Carrot and mix to combine.
Then add in the Cauliflower and mix to combine. Sprinkle over Sea Salt Flakes. Cook for 2-3 minutes.
Add in the Cabbage, Rainbow Chard, and Leaves. Mix to combine.
Drizzle over the sauce and mix to combine. Cook for a further 5 minutes or until vegetables are soft but still have some texture or crunch to them.
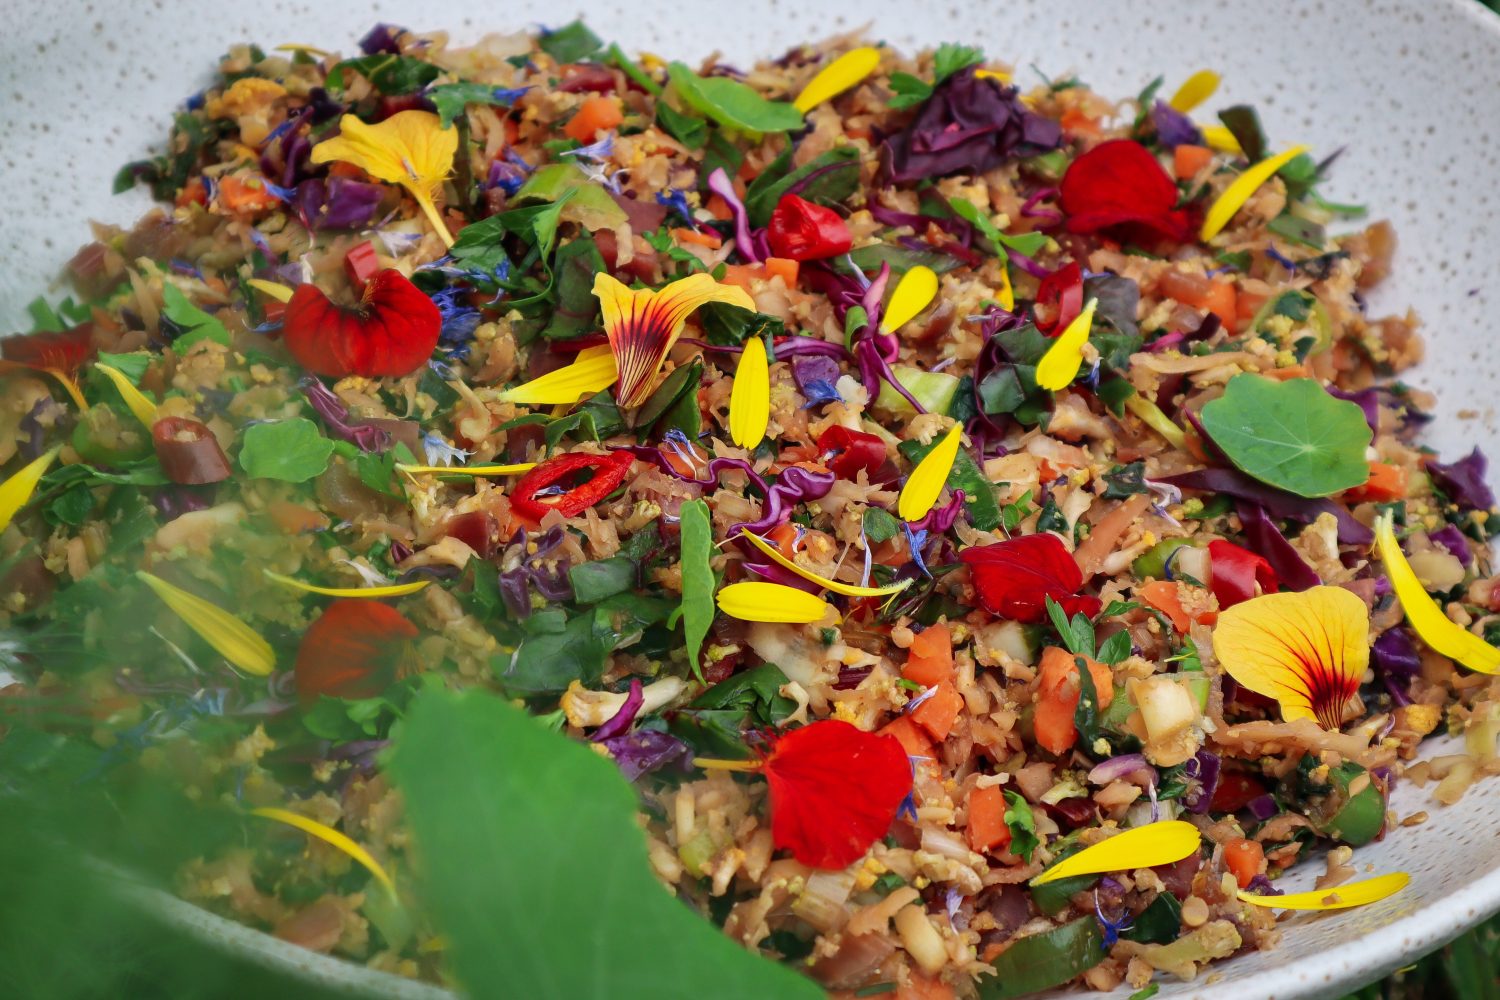
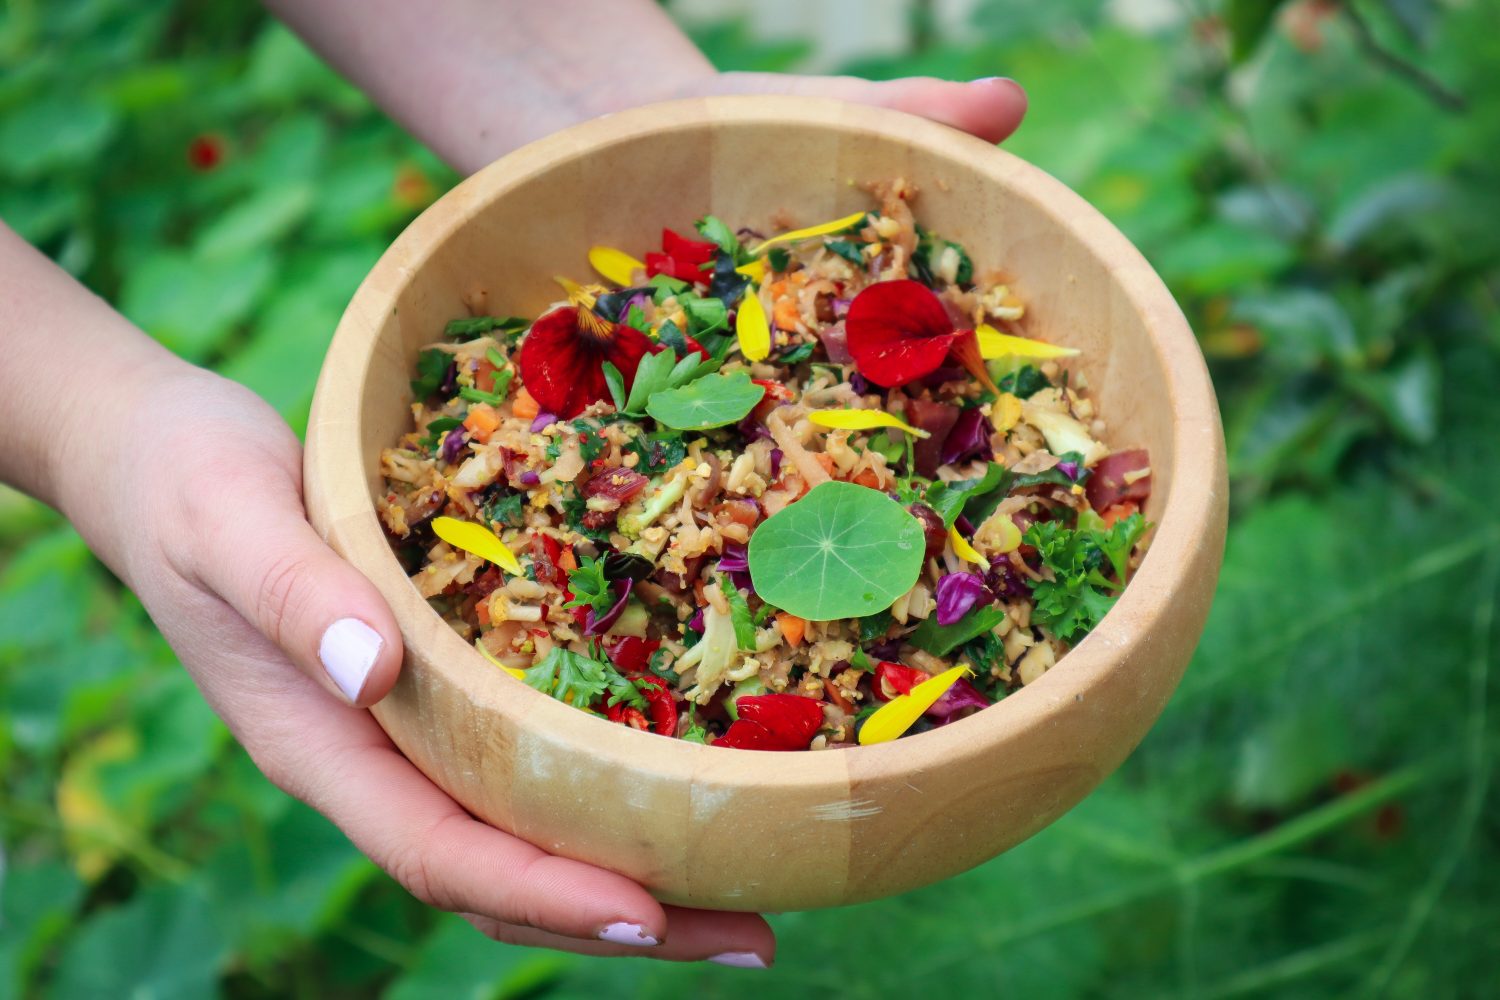
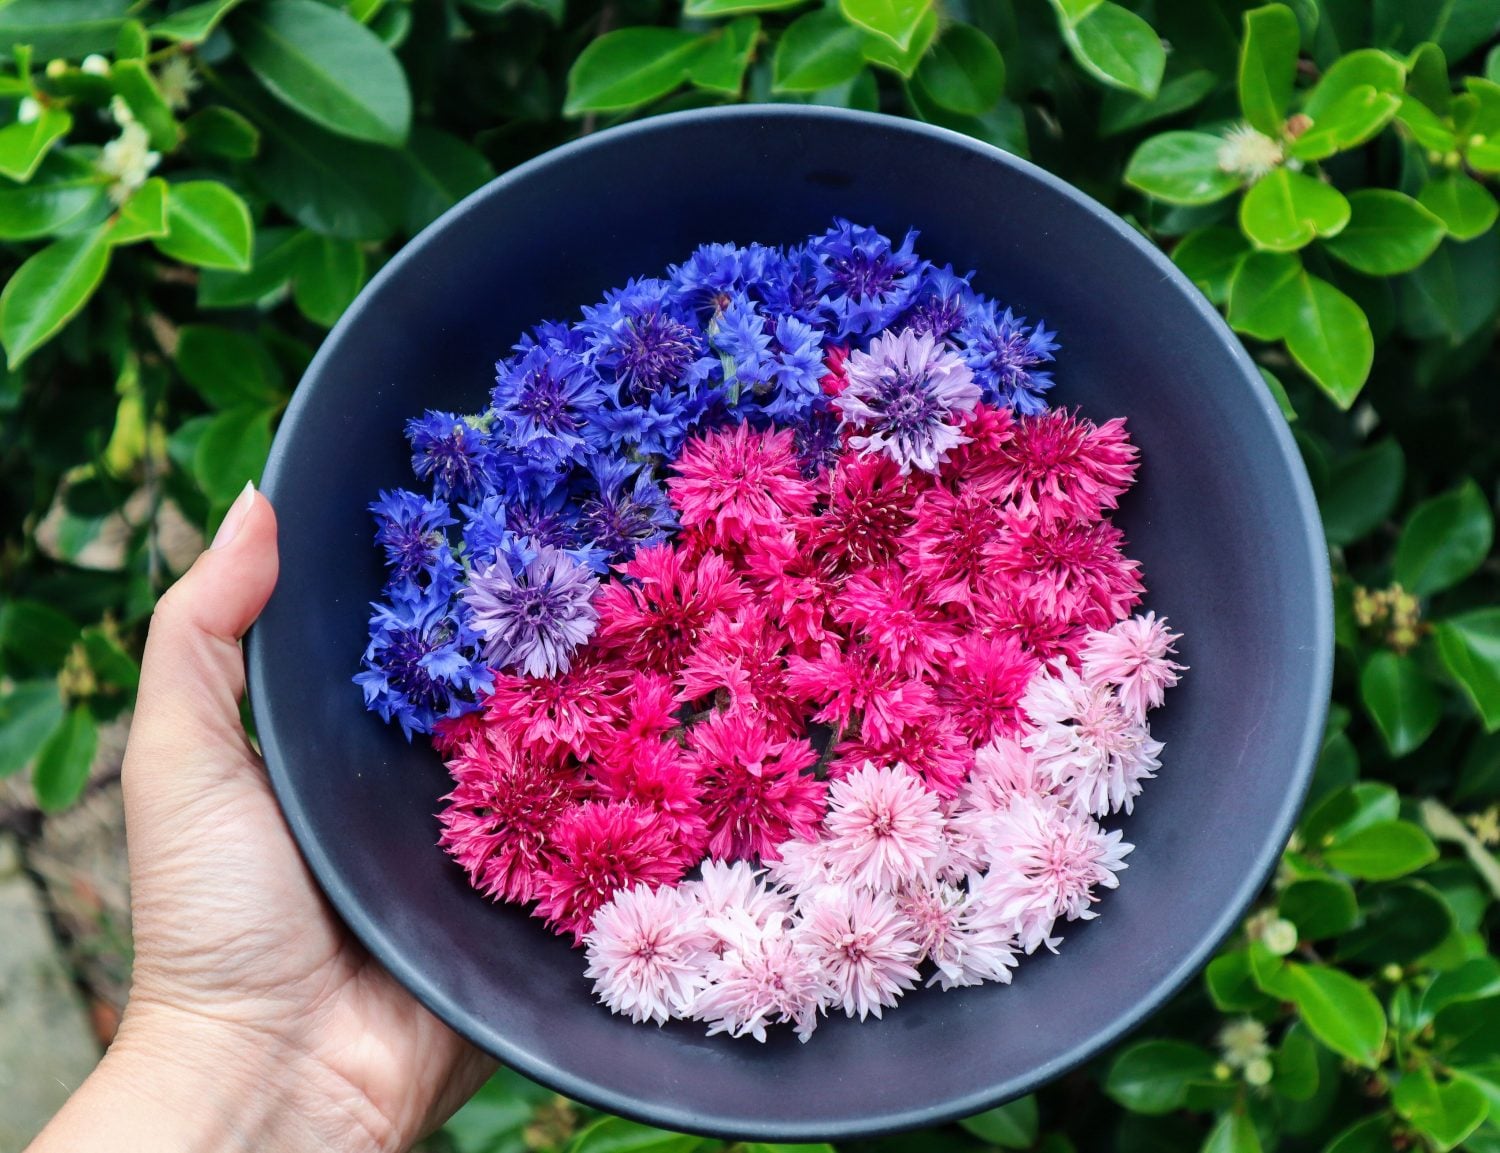
Remove from the heat and add to a large serving dish or individual bowls. Garnish with fresh chopped parsley, baby nasturtium leaves and edible flowers ( I used Nasturtiums, Calendula and Blue Cornflowers).
Notes
This recipe is flexible and you can use the vegetables you have in season. A total of 2-3 cups of diced vegetables. Other vegetables to try: Capsicum, Pineapple, Bokchoy, Spinach, Sugar Snap Peas, Beans,
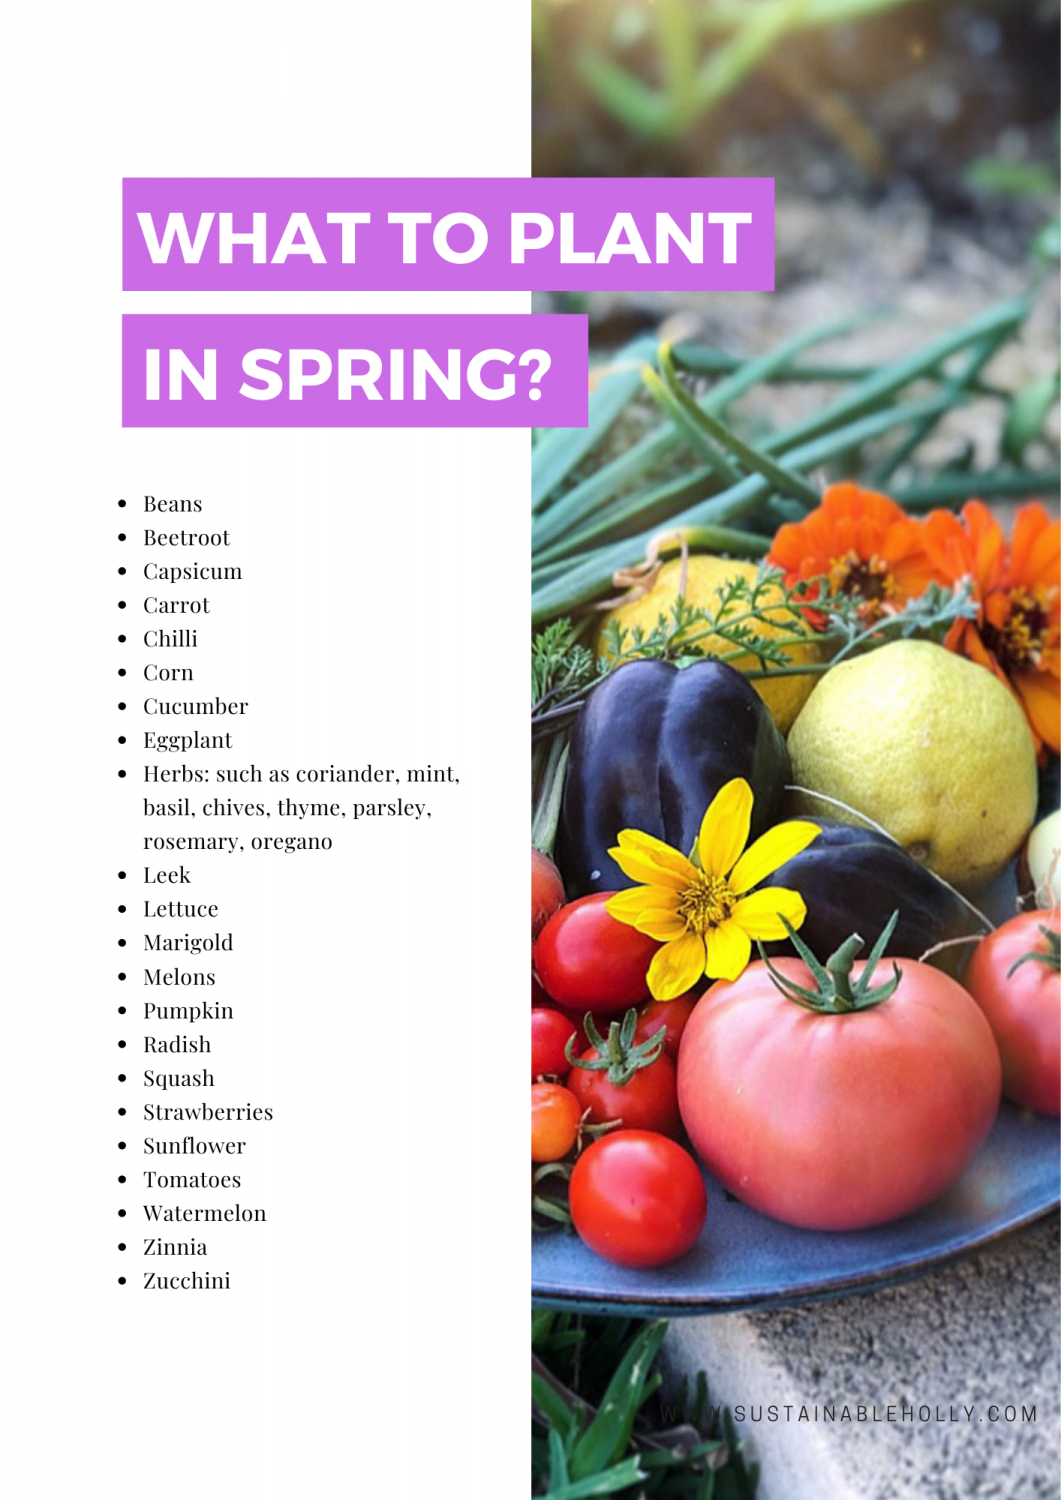
SPRING is all about planting seeds, seeds and more seeds. It’s an active time for gardeners which is a refreshing and much welcomed change after slowing down during the winter months. In winter I tend to spend more time indoors, sipping too much coffee, flicking through inspiring books and dreaming up all the potential new gardens for Spring.
Be careful during the spring months for late frosts and cold weather snaps. Starting your seeds inside or in a greenhouse is a good idea. Towards the end of spring you can start to sow some of the hardier seeds such as Zucchini and Pumpkin directly into the garden.
Spring Gardening
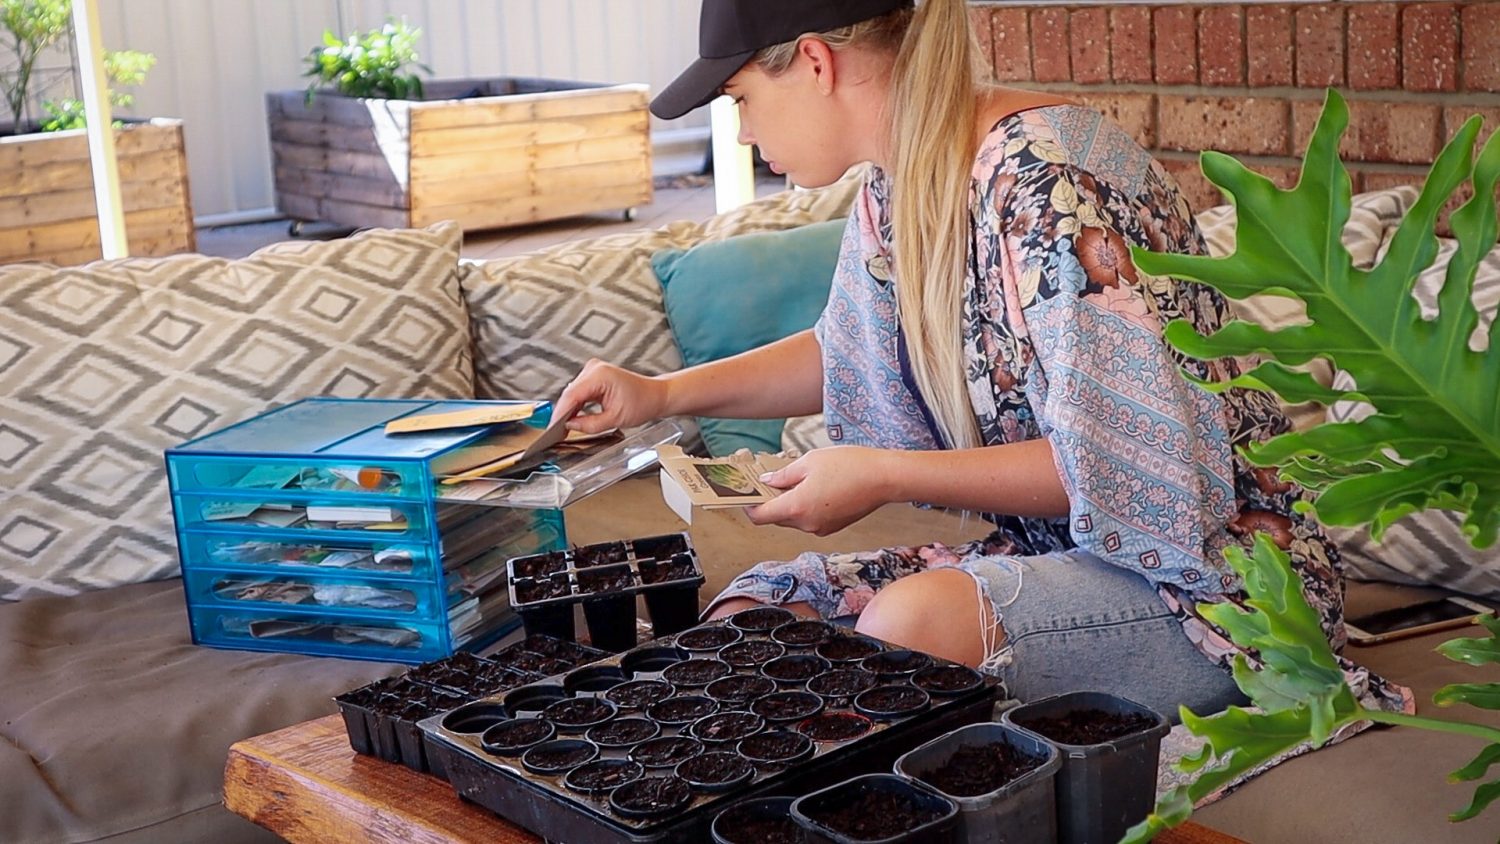
Spring can be a bit up and down with temperatures so it’s best to start your seeds in seed trays and keep them somewhere warm to germinate. Greenhouses and sunny windows inside will work well to get your seeds up and growing.
There are a few mini-greenhouse systems you can get these days or I often use clear storage containers and fish tanks as makeshift greenhouse systems.
The key is to keep your seeds warm but still allow plenty of diffused sunlight, air and moisture. These systems can also protect your seeds from hungry little mice who often like to dig up and eat your seeds before they get a chance to sprout!
Prune your fruit trees such as citrus if they are out of shape or too big. Do this before the spring growth starts. Keeping fruit trees pruned to a manageable height will allow the tree to put more of its energy into fruit production and also means you can harvest the fruit easier before the birds or other animals get to it.
Let your best vegetables go to seed so that you can collect your seeds. Some of your Winter veggies will be coming to an end so finish harvesting and allow the best ones to go to seed. This means you will have seeds to plant the next year which will be acclimated to your exact conditions. It also means some seeds will end up in the soil and will pop up on their own next season when the conditions are just right! This is my favourite thing to do. Let nature do its thing and everything becomes so easy and flows without any external work or force.
Keep gardens mulched to help retain moisture for the warmer months. Mulch will also help reduce the amount of weeds popping up during their peak growth months.
Save the ends and scraps of your greens, herbs, onion and root vegetables and make a batch of Veggie Scrap Stock
Make extra soups to freeze
Be inspired by Spring
Hang solar fairy lights.
Create an outdoor dining area.
Cook over an outdoor fire pit or fireplace and spend more nights outside.
Make an insect hotel using foraged sticks.
Make colourful plant labels for your new seedlings.
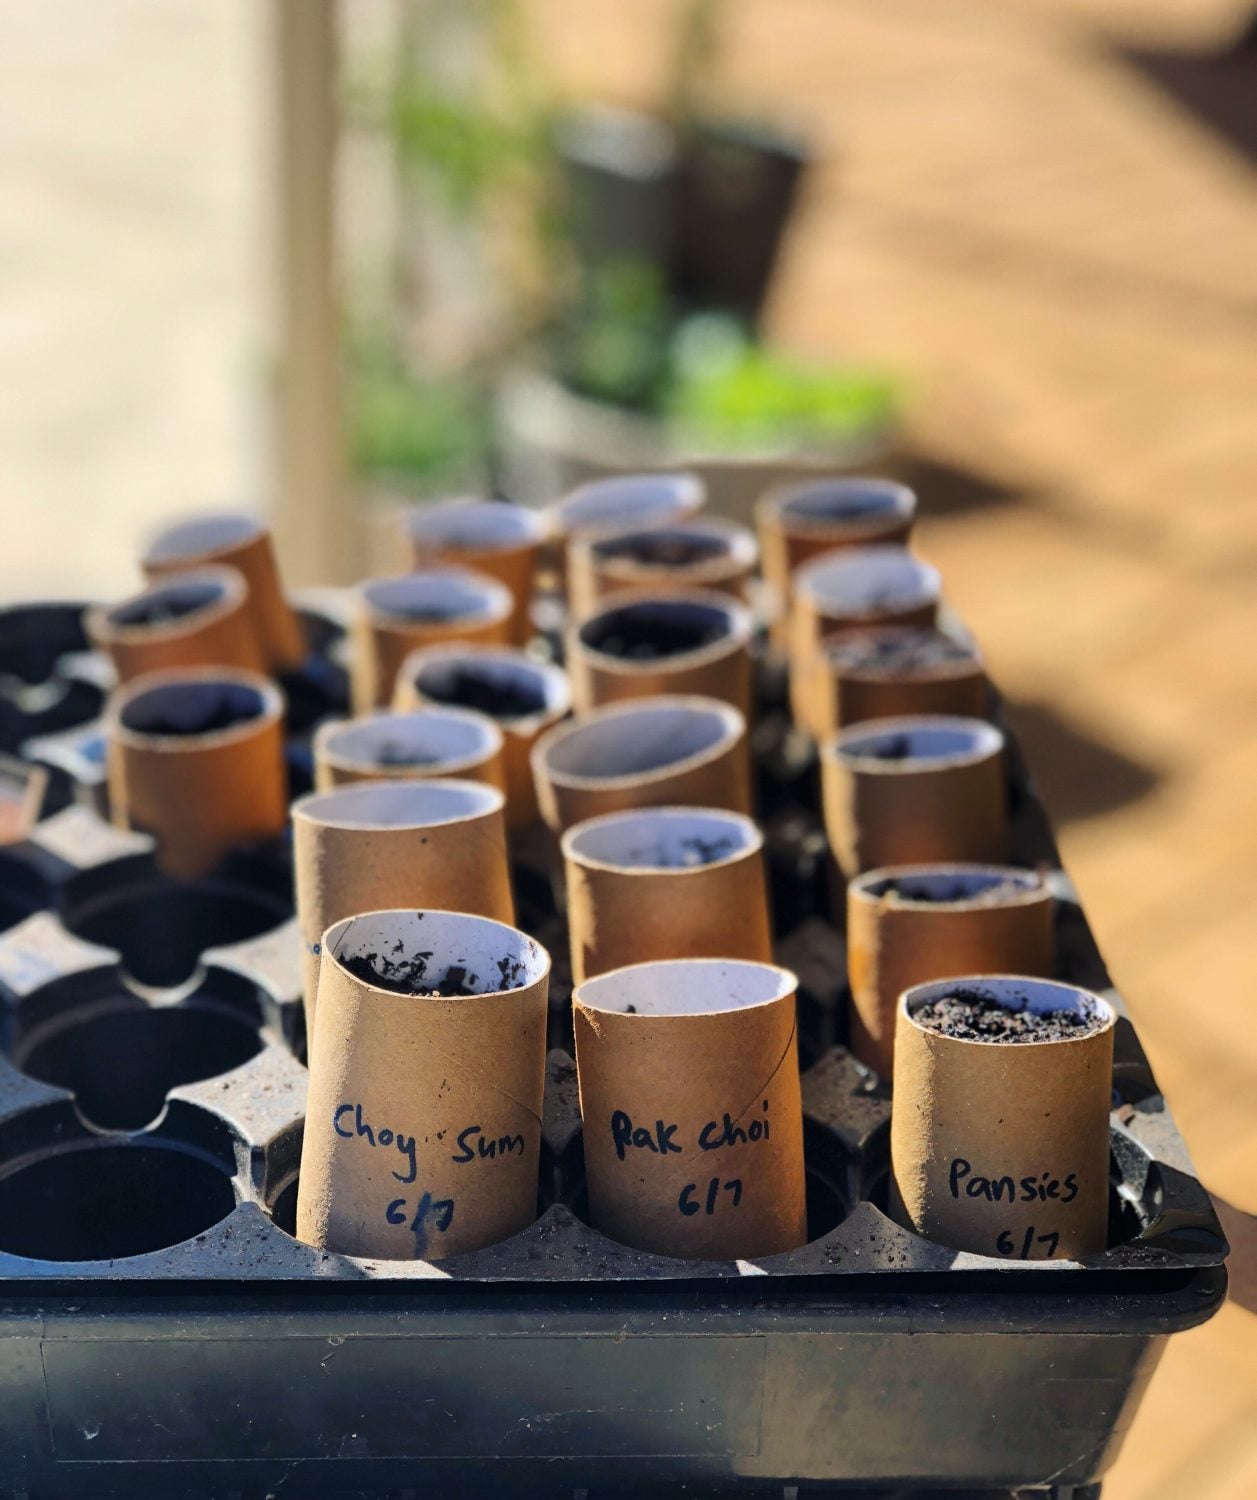
Make recycled pots and seed trays using toilet rolls, newspaper and egg cartons.
Start a cocktail garden – Plant herbs and flowers so you can enjoy beautiful refreshing summer drinks.
Press flowers – Preserve the colourful blooms of spring to create cards and art during the slower seasons.
Try your hand at some photography! The bees and flowers will be putting on a brilliant show.
Host a dinner party or high tea to celebrate and welcome the change of season. Use edible flowers to create show stopping, colourful drinks and dishes.
Planning for Summer
The key for easy and successful gardens is to plan ahead. This can help you maximise your food production and help maintain momentum. Summer can be a harsh season in the garden but there are a few things you can do to get the most out of your summer crops. The last month of Spring is a great time to get prepared and create a seamless transition into summer gardening.
Plan and prep any new garden beds with plenty of compost and composted manure.
Lay a thick 10cm layer of mulch to help retain water during summer.
Think about shade, if your garden beds will be in full sun do they need temporary shade.
Clean out any sprinkler heads and remove grass or plants from around the nozzles.
Do you have a hose nearby for ease of watering? On those super hot days you may need to water early morning and late evening so it is much easier and more realistically achievable if you have a hose close by.
Weeper hoses are great for distributing water slowly and allow the plants and trees to absorb it.
Plant flowers for the Bees. With lots of flowering fruit and vegetables over summer, it is vital you have pollinators in your garden to get a successful harvests. Plant lots of flowers in between your fruit trees and vegetables. Choose edible flowers so that you can also use them too! Zinnia and sunflowers are beautiful summer editions that the bees love.
Cauliflower steaks are one of the easiest ways to turn a simple vegetable into a proper meal. Just slice, season, and whack them in the oven until they’re golden and caramelised on the edges. While they roast, you can quickly throw together a fresh chimichurri sauce for a delicious flavour-packed meal that feels hearty and fresh at the same time.
It’s simple food…but the flavour is anything but boring!! I could just drink this sauce by itself, it is so good! The best part is you can adapt this sauce to whatever’s growing in the garden!
Cauliflower steaks are simply thick slices cut through the centre of a whole cauliflower. Instead of breaking the cauliflower into florets, you slice it into “steaks” so it holds together during roasting. The result is a hearty, meaty-style vegetable slice that crisps on the outside and stays tender in the middle.
Any leftover bits that fall away during slicing can still be roasted or saved for soups, stir-fries or fritters… nothing wasted.
Cauliflower Steaks with Green Sauce
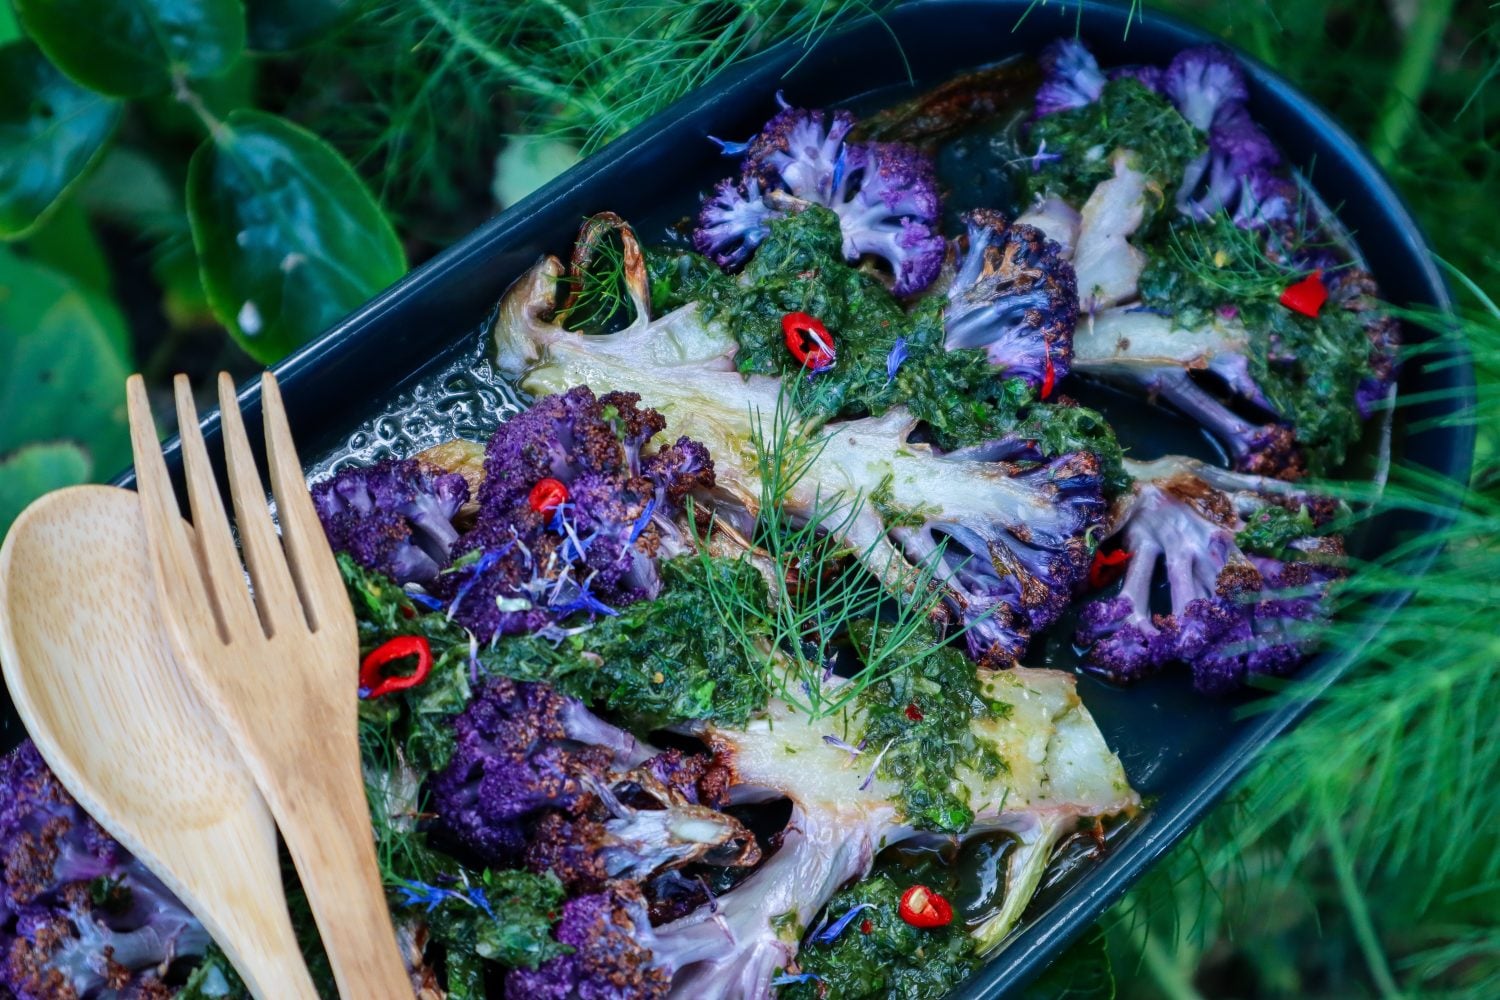
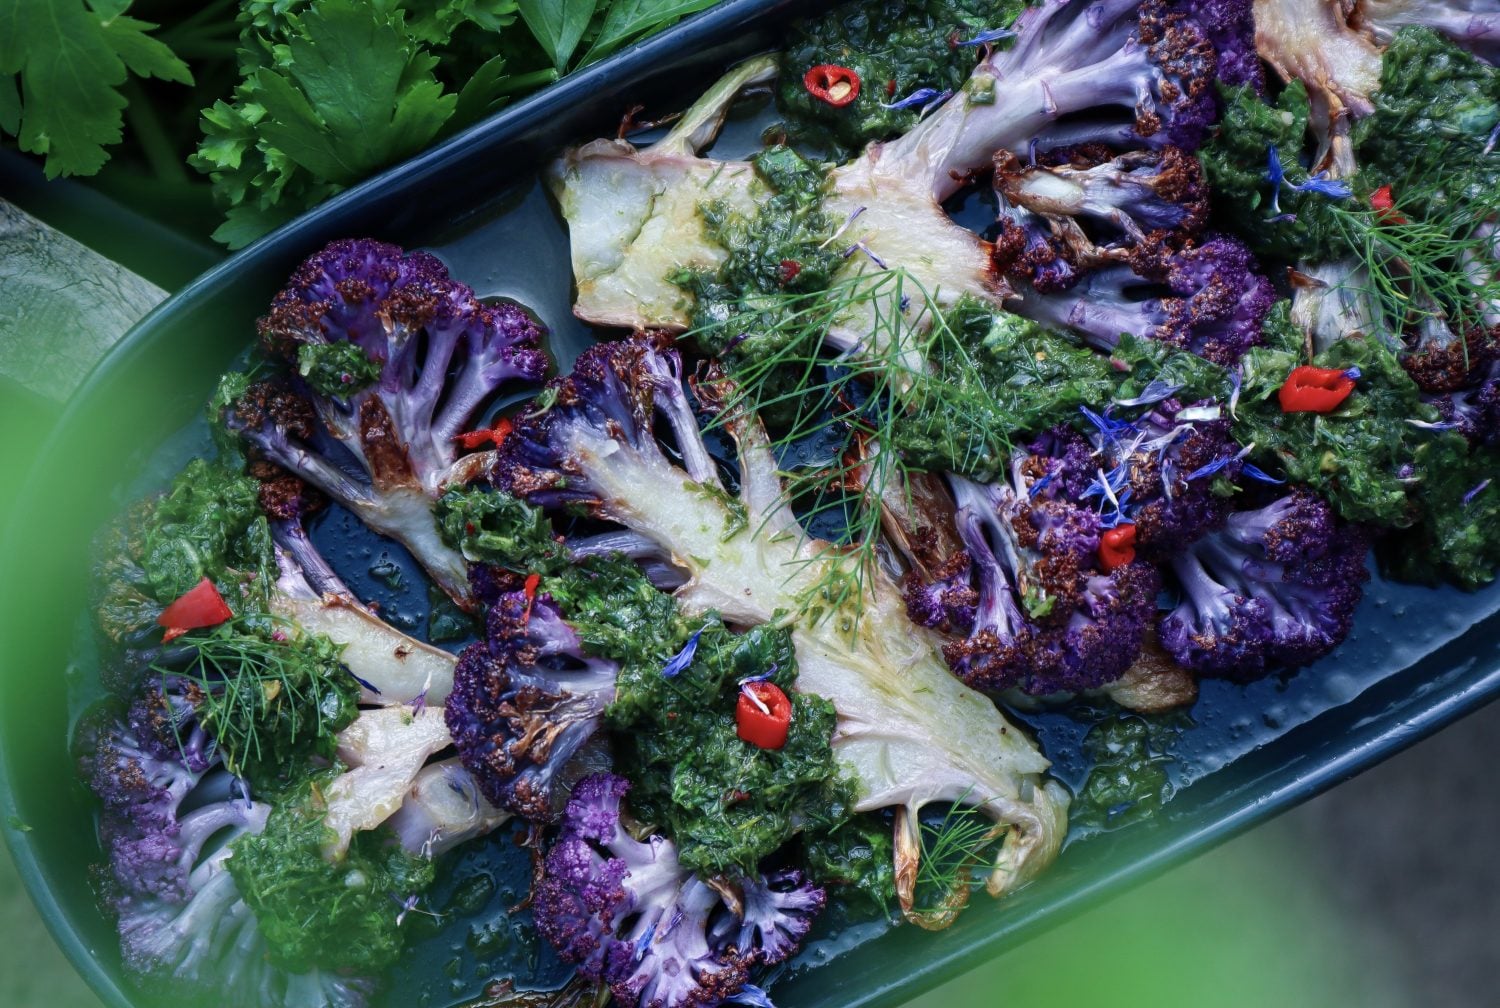
Roasted Cauliflower is so full of flavour and has subtle nutty flavours. Purple Cauliflower is striking to use but this can be made with any cauliflower variety. This vibrant green sauce is packed full of flavour and would be great used on many chicken or fish dishes too.
Preheat oven to 190 degrees celcius. Rinse the Cauliflower and cut into x4 steaks. Cut from the top of the Cauliflower 2cm thick slices.
Drizzle with oil and cook for 30- 40mins or until the edges start to brown up.
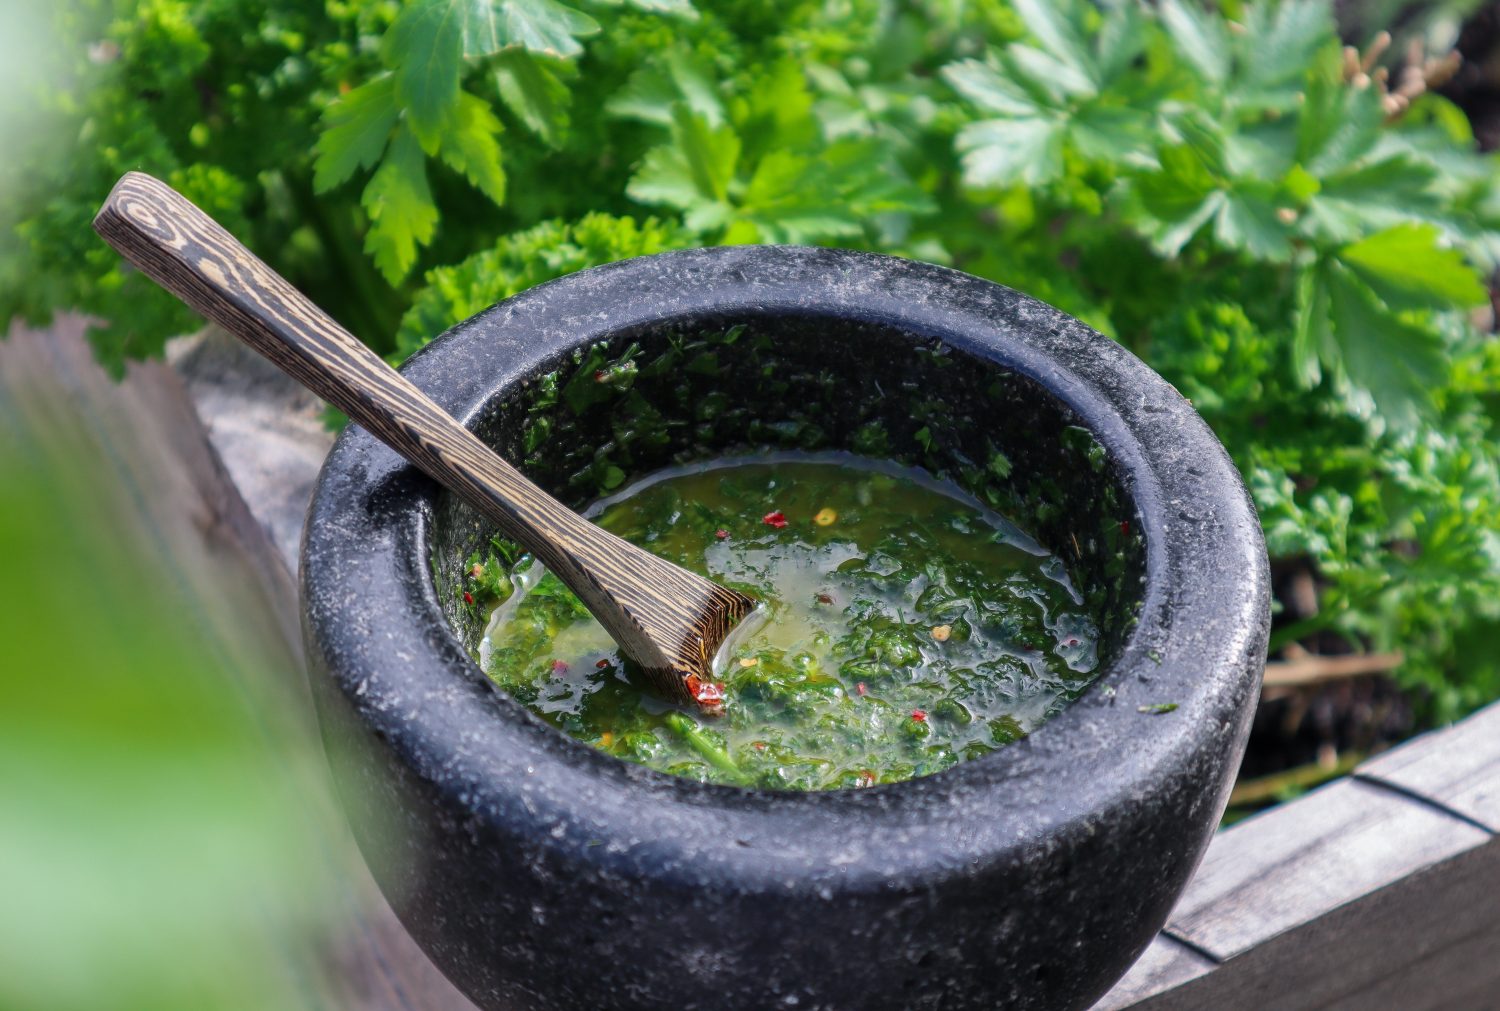
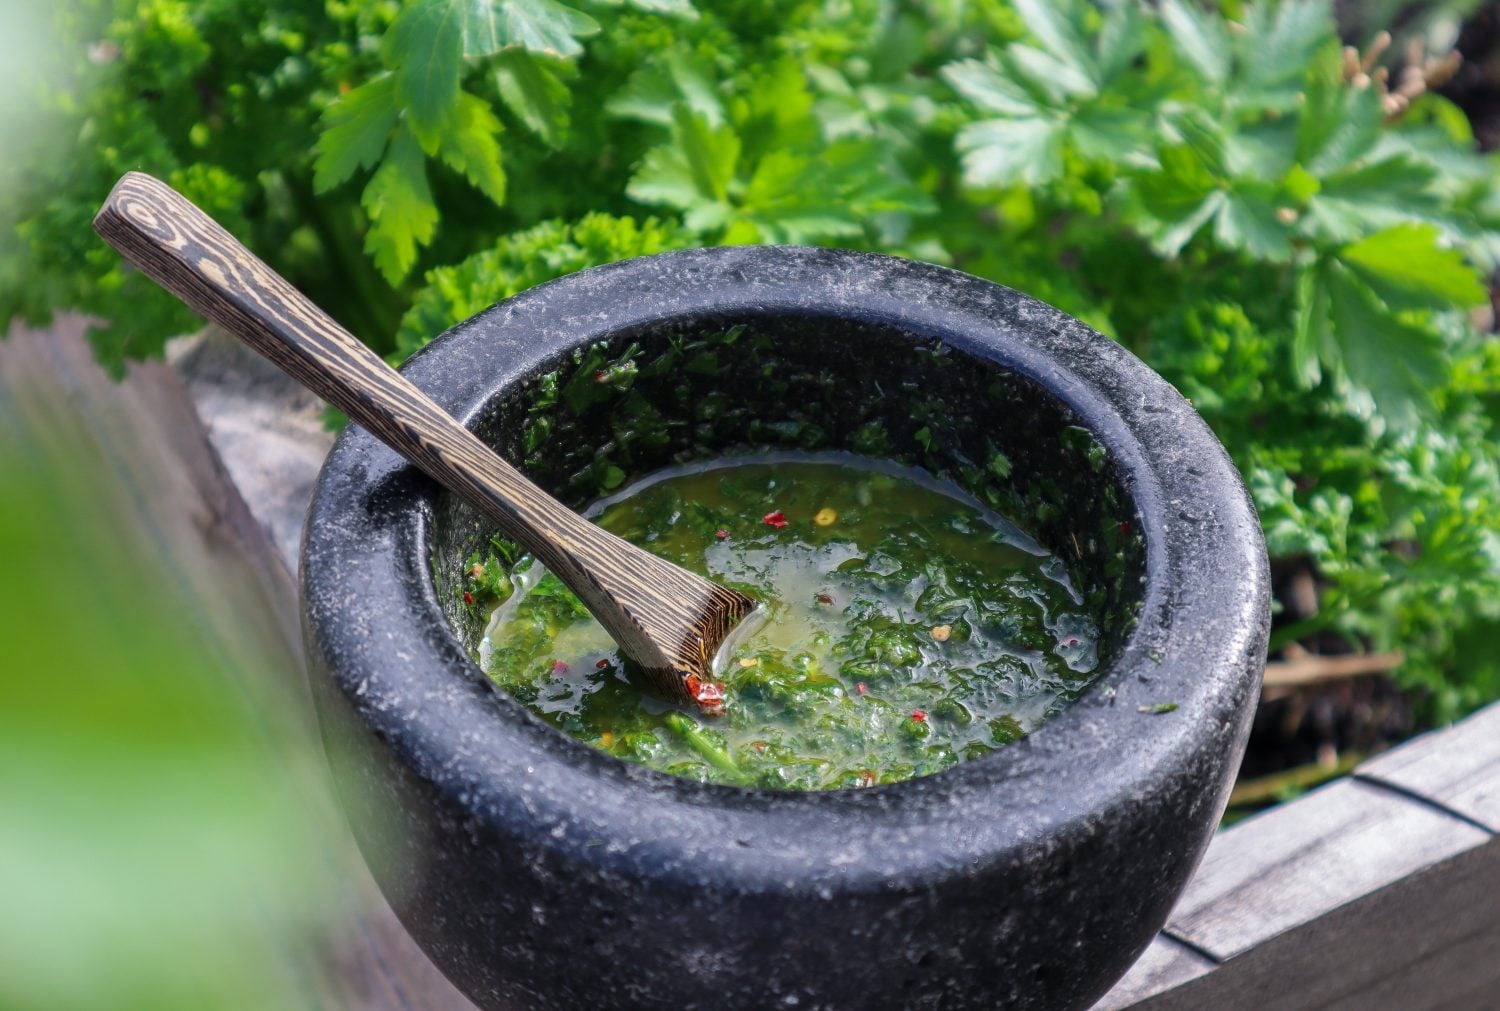
While the Cauliflower cooks prepare the green sauce. Add Parsley, Lemon juice, Vinegar, Sugar, Fennel Fronts and Garlic to a mixer or mortar and pestle. Blitz or crush to combine and make a green sauce. Then gradually add oil to combine. Add Chilli flakes and a Pinch of Sea Salt flakes. Taste and balance with more salt if needed.
Place the Cauliflower on a serving dish and drizzle over the green sauce. Garnish with sliced red chilli, fennel fronts and edible flowers ( i used blue cornflowers).
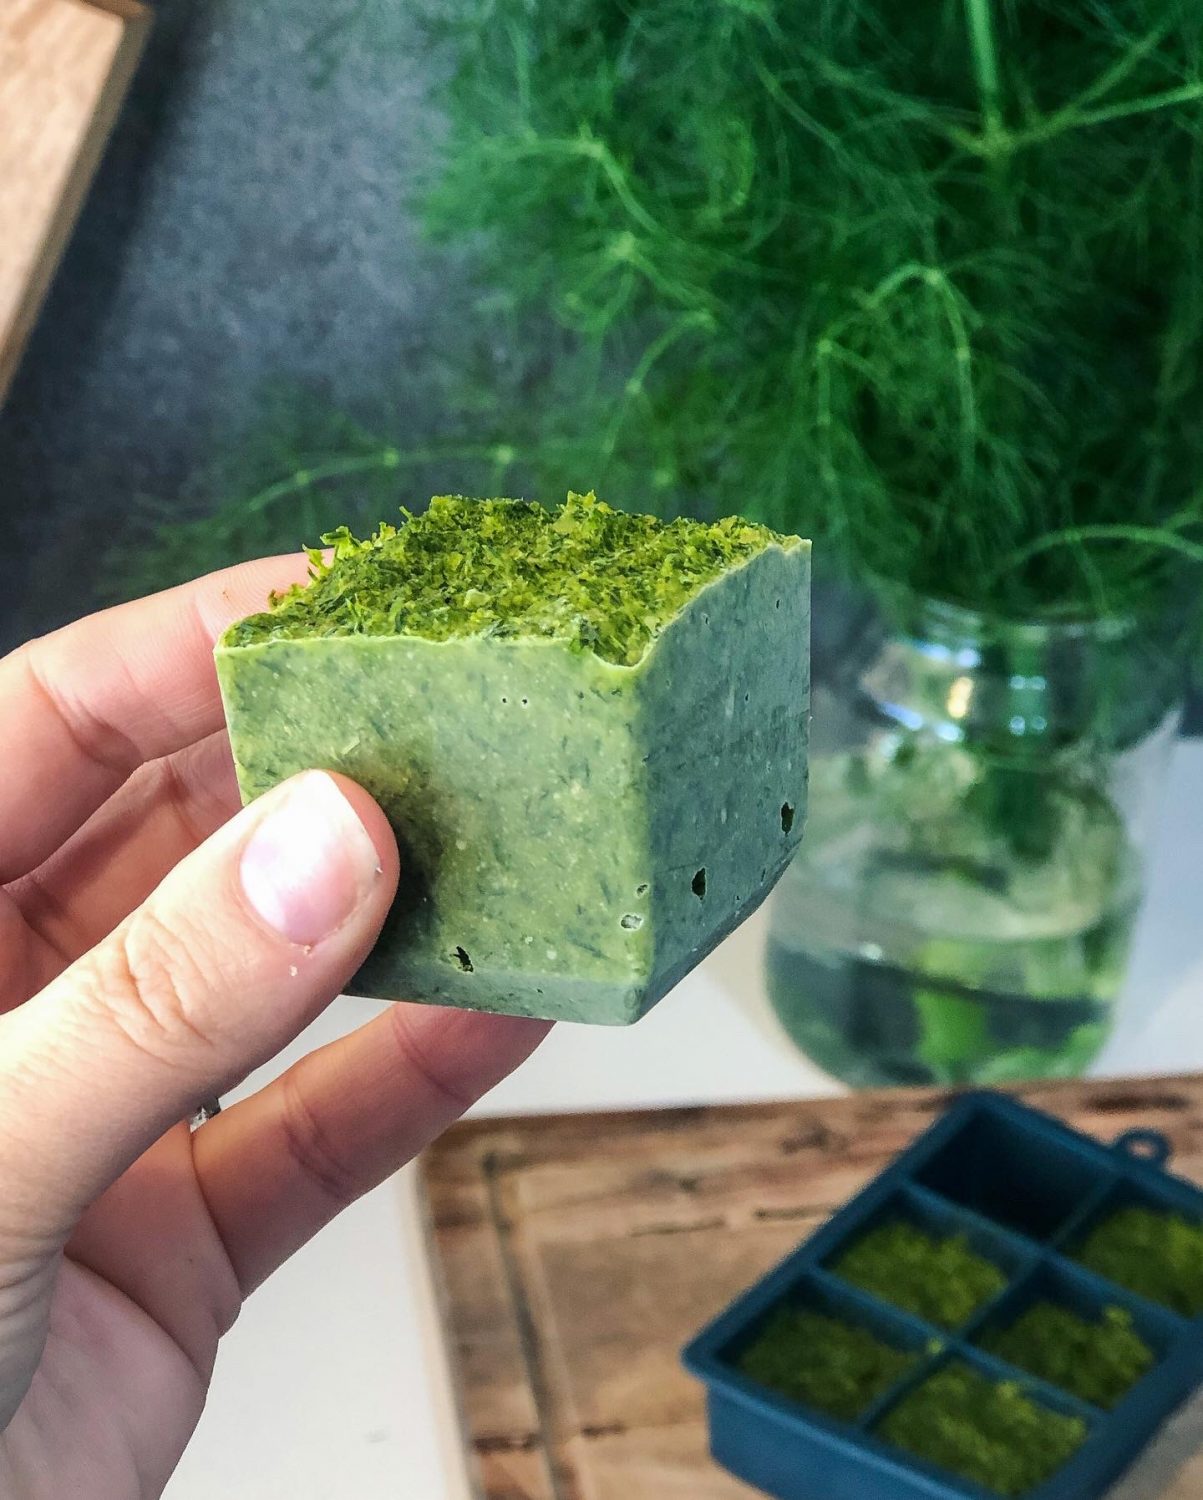
There may be a little extra sauce than needed so you can keep in the refrigerator to use within a few days or freeze in ice cubes to use in cooking.
Notes
Swap or add seasonal herbs such as coriander or mint.
The Real Magic: Chimichurri Sauce
This is where the dish comes alive! The roasted cauliflower is rich, nutty and slightly sweet, while the chimichurri adds freshness, acidity and a burst of garden herb flavour. I like to change mine depending on what’s growing in the garden – parsley one week and sometimes a mix of whatever is looking abundant in the garden (pineapple sage, mint, parsley, a combo!).
Carrot tops, radish greens and fennel fronds all work amazingly too!
It also works beautifully as part of a bigger garden-to-table spread to share with friends and family.
Garden-to-Plate Tip
This is one of my favourite “use what you have” meals. If you’ve got cauliflower in the garden and herbs starting to take off, this recipe pulls everything together in the simplest way possible. You can also switch out the Cauliflower for Broccoli or Romensco.
FAQ
Can I make cauliflower steaks ahead of time?
Yes, you can roast them ahead and reheat, but they’re best fresh with chimichurri added just before serving.
Why do my cauliflower steaks fall apart?
That usually happens if the cauliflower is too small or sliced too thin. Always cut through the core to help it hold together.
Can I cook them in an air fryer?
Yes, just reduce cooking time and check regularly so they don’t overcook.
Do I have to use chimichurri?
No… but it really does make the dish. You can also use other herb sauces or pestos if needed. Try a Creamy Garlic sauce.
Simple Garden Cooking
Slice and roast a cauliflower, make a quick chimichurri and dinner is done. It’s simple, full of flavour and a great way to turn a few garden ingredients into something that feels a little bit special.
Cauliflower (Brassica oleraceabotrytis) is a hearty winter vegetable that provides large yields of nutritious food that can be used in so many ways! Cauliflower is great at holding flavours and can form the base of many meals. Growing your own Cauliflower at home means you will have nutrient-rich veggies but you will also get access to all the extra parts of the plant such as the leaves and the stem that are both edible and delicious. Cauliflower is easy to grow and can be grown in containers or garden beds. They are heavy feeders and can be susceptible to bugs such as caterpillars, slugs, and snails
‘First Early’ – Fast growing, small, compact heads. Harvest 90days.
‘ All-year round’ – Popular English heirloom. Dwarf size plant with medium/standard sized cauliflower heads. Harvest 110 days.
‘Purple Sicily’ – Large bright purple heads. Italian heirloom. Mild, sweet flavour. Harvest in 190 days.
‘Green Macerata’ – Bright lime green heads. Southern Italian heirloom. Good for cold climates. Large heads 1-1.5kg. Harvest in 190 days.
How to Grow Cauliflower
Cauliflower likes cool temperatures and a full sun location. Cauliflower is a heavy feeder so much sure your soil is topped up with compost and try to plant your Cauliflower in a different area of the garden each year to help the soil replenish the nutrients. Cauliflower can grow quite large with big leaves so plant your seedlings about 40- 50cm apart in compost-rich soil, water in your seedlings directly after planting. Add a layer of mulch to keep the soil protected from weeds and moisture in.
When to Plant Cauliflower
Cauliflower is a cool weather plant so you typically want to be harvesting your Cauliflower during winter and early spring. However, in some climates it can be grown all year round. There are many varieties available and some that can tolerate warm or cold weather. Sow your seeds in the last few months of Summer or during Autumn so that your Cauliflower plants are ready to harvest over winter.
Care/ Maintenance
Keep the plants well-watered on warm days. Water the plant at the base to avoid excess water pooling in the leaves and causing rot. For an extra boost you can feed your plants with a liquid seaweed solution every 2-3 weeks. Once the heads start forming it is best to protect the white Cauliflower from the sun. You can do this by folding the outer leaves over the head or tying them together above. The sun will “burn” or discolour your white cauliflower varieties.
Pests / Disease
Cauliflower is a prime target for white butterflies and caterpillars. Check your plants regularly by lifting the leaves and checking for caterpillars or larvae and remove. A barrier of crushed eggshells or a small container of beer can help keep the slugs and snails away especially while the plants are young and delicate. Plant a few extras throughout your garden and you will be sure to have more than enough Cauliflower to eat! Click here for more natural pest management to help keep the pests at bay.
How/ When to Harvest
Depending on the variety Cauliflower will be ready to harvest in 90-190 days. The Cauliflower head should be tightly packed and not have started going to flower. Once the little buds start separating and moving apart you will want to harvest ASAP as the flowers will be quite bitter in flavour. To harvest your Cauliflower cut the stem using a sharp knife. You can also harvest the younger leaves and use them in cooking as extra greens.
Reproducing / Saving Seeds
Cauliflower seeds can be saved after letting one of the Cauliflower florets go to flower and seed. Yellow flowers will appear and then after that, seed pods will form. Once the seed pods have dried off you can harvest all the seed pods. The Cauliflower seeds can be removed from the dried pods and stored to replant the following season. Save the seeds in a cool, dry, dark space.
Cooking and Using Cauliflower
Cauliflower is such a hearty vegetable and can provide nutritious and filling meals. Cauliflower can be used in so many ways such as raw in a salad, roasted, grilled, steamed, stirfried, and added to any curry or soup. Cauliflower is a great vehicle for flavour! As it absorbs and holds flavour so well. Cauliflower is a great source of fibre, vitamin C, B,A,K and Folate.
Cauliflower is super versatile and can be used to replace many grains and legumes. Try Cauliflower versions of mash, pizza base, rice, hummus, flat bread and more.
Preserving the Harvest
Cauliflower can be frozen to add to soups and stocks. To prepare the Cauliflower, rinse and remove the stalks. The stalks will take longer to cook so I like to freeze them separately. Blanch the Cauliflower in boiling water for 40seconds – 1minute then add to a bowl of iced water. Cut the stalks into slices or cubes and blanch for 2 minutes and then add to the ice water until completely cool. Shake off the excess water and add to freezer bags or ziplock bags. Try to remove as much of the air from the bags as possible to reduce freezer burn. Keep frozen and use within 6 months. The stems can also be pickled and stored in the refrigerator.
Pumpkin soup is like a warm, comforting hug during winter. This recipe uses the whole Butternut Pumpkin including the skin and seeds to add a toasty, crispy topping. The best addition to a soup! Turmeric has great natural anti-inflammatory properties and carrots have vitamin K and potassium for bone health. Freeze your extra soup in portions to pull out for a quick and easy winter meal.
Don’t throw out your Butternut skins and seeds, toast them to make delicious soup toppings or just a healthy snack.
Pumpkin, Tumeric, and Carrot Soup with Crispy Skins
This warming winter soup with crispy skins and seeds is full of flavour and so satisfying. Using the whole vegetable to add texture and a beautiful nutty flavour.
Dice and saute onions and place in a large pot or saucepan with oil until cooked through – approx 5minutes. Then add the Turmeric and mix to combine.
While your onion is cooking peel the Butternut as close to the skin as possible so there is very little flesh left on the skin. Place the skin and seeds in a bowl and set them aside.
Dice the rest of the Butternut into chucks – approx 3-4cm. Add to the pot with the onions.
Chop the carrot including the skin into 1cm slices and add to the pot.
Add in water, Tamari, salt, chilli, and coconut milk. Stir to combine.
Place a lid on top and reduce the temperature to a light simmer – 40minutes.
Once the pumpkin and carrot are cooked through and soft, remove from the heat and allow to cool slightly.
Turn your oven on high to 200degrees celsius.
Blend soup using a stick mixer or blender (ensure the soup is not too hot if you are using a blender or it may burst through the lid). Blend to a smooth soup consistency.
Place the soup back in your pot to reheat.
Coat the Butternut skin and seeds in oil and sprinkle with extra salt flakes and chilli flakes. Place on an oven tray and cook until golden and crispy. Watch them carefully as this will only take about 5 minutes. They will crisp up even more as they cool.
Serve your soup in a bowl and top with crispy skins and seeds. Garnish with edible flowers (i used rosemary flowers) and fresh herbs (thyme or parsley).
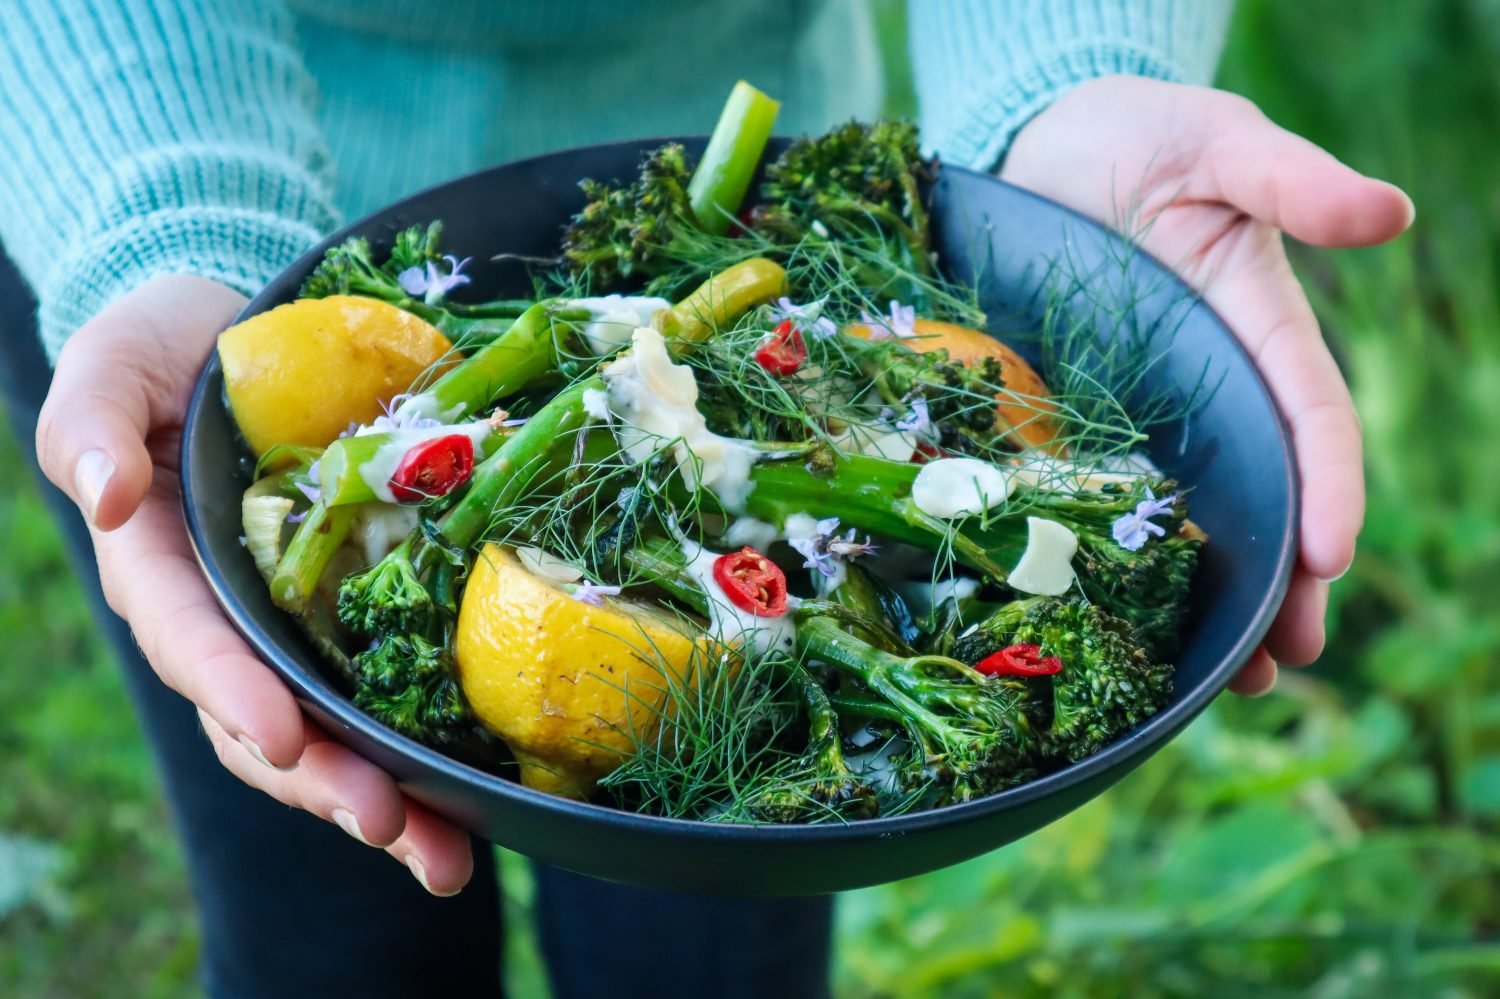
Broccolini or Broccoli is in abundance during the winter months and it is important to have some quick and easy meals or sides dishes to mix things up and let the vegetable shine. Roasted lemon has a mild, caramelized flavour and makes a delicious dressing to any salad or roast vegetables. This dish makes the perfect side of winter greens with a fresh, zingy flavour.
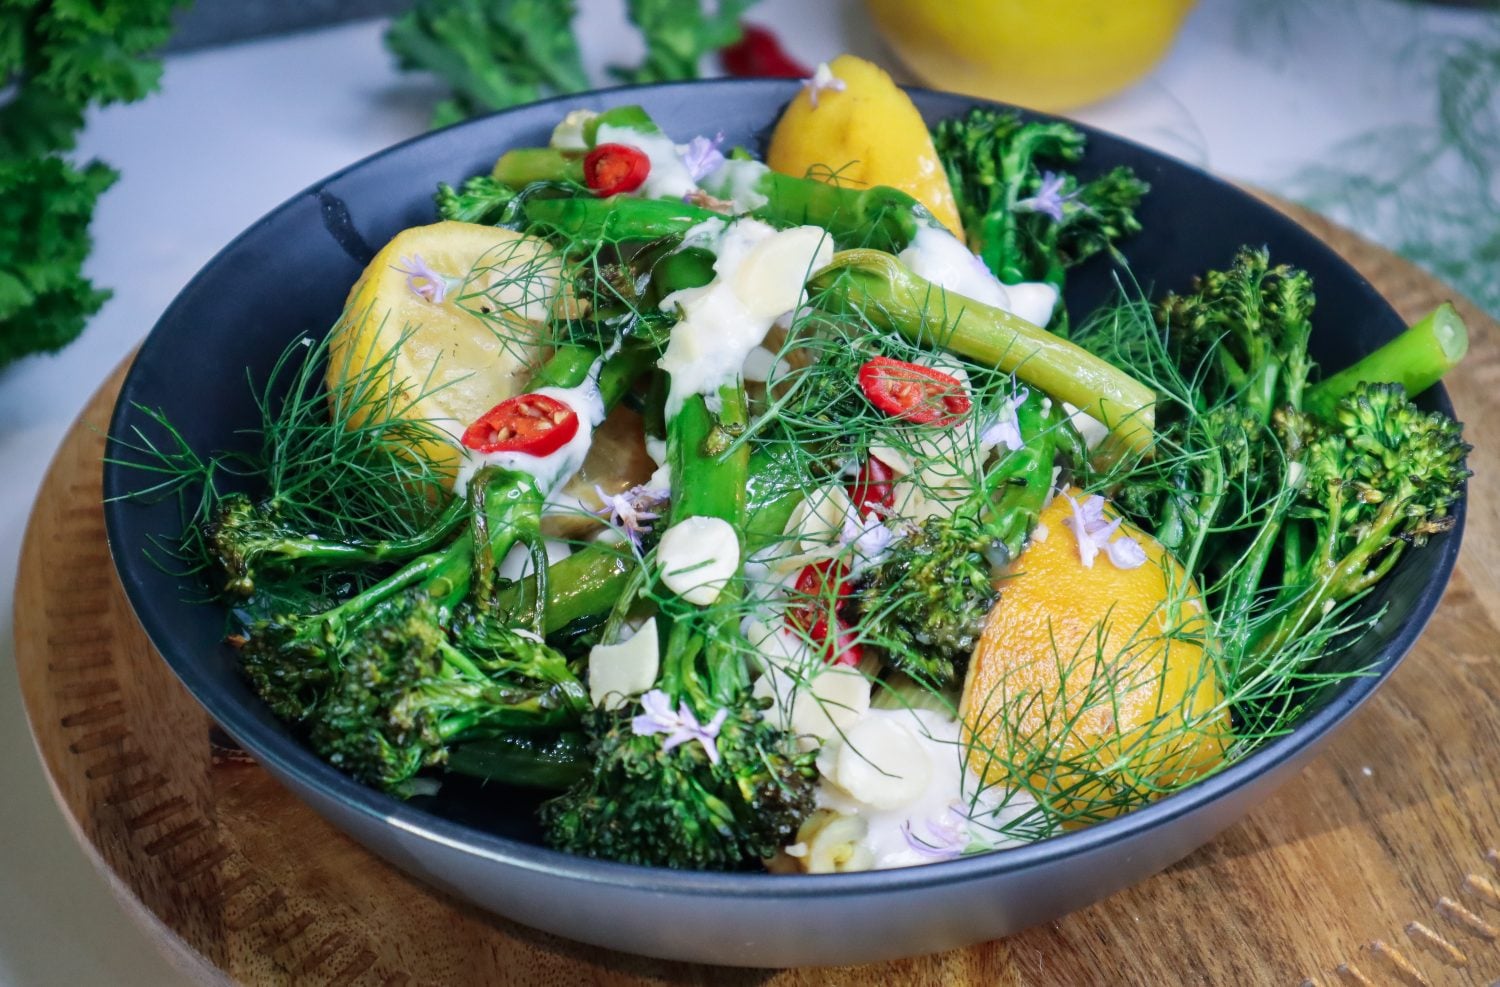
Roasted Broccolini with Lemon and Garlic Yoghurt Dressing
Fresh, vibrant, and delicious, this wintery Broccolini dish is a must-try. Lemons and Broccoli are ready and in-season at the same time and they also make a great pair on the plate.
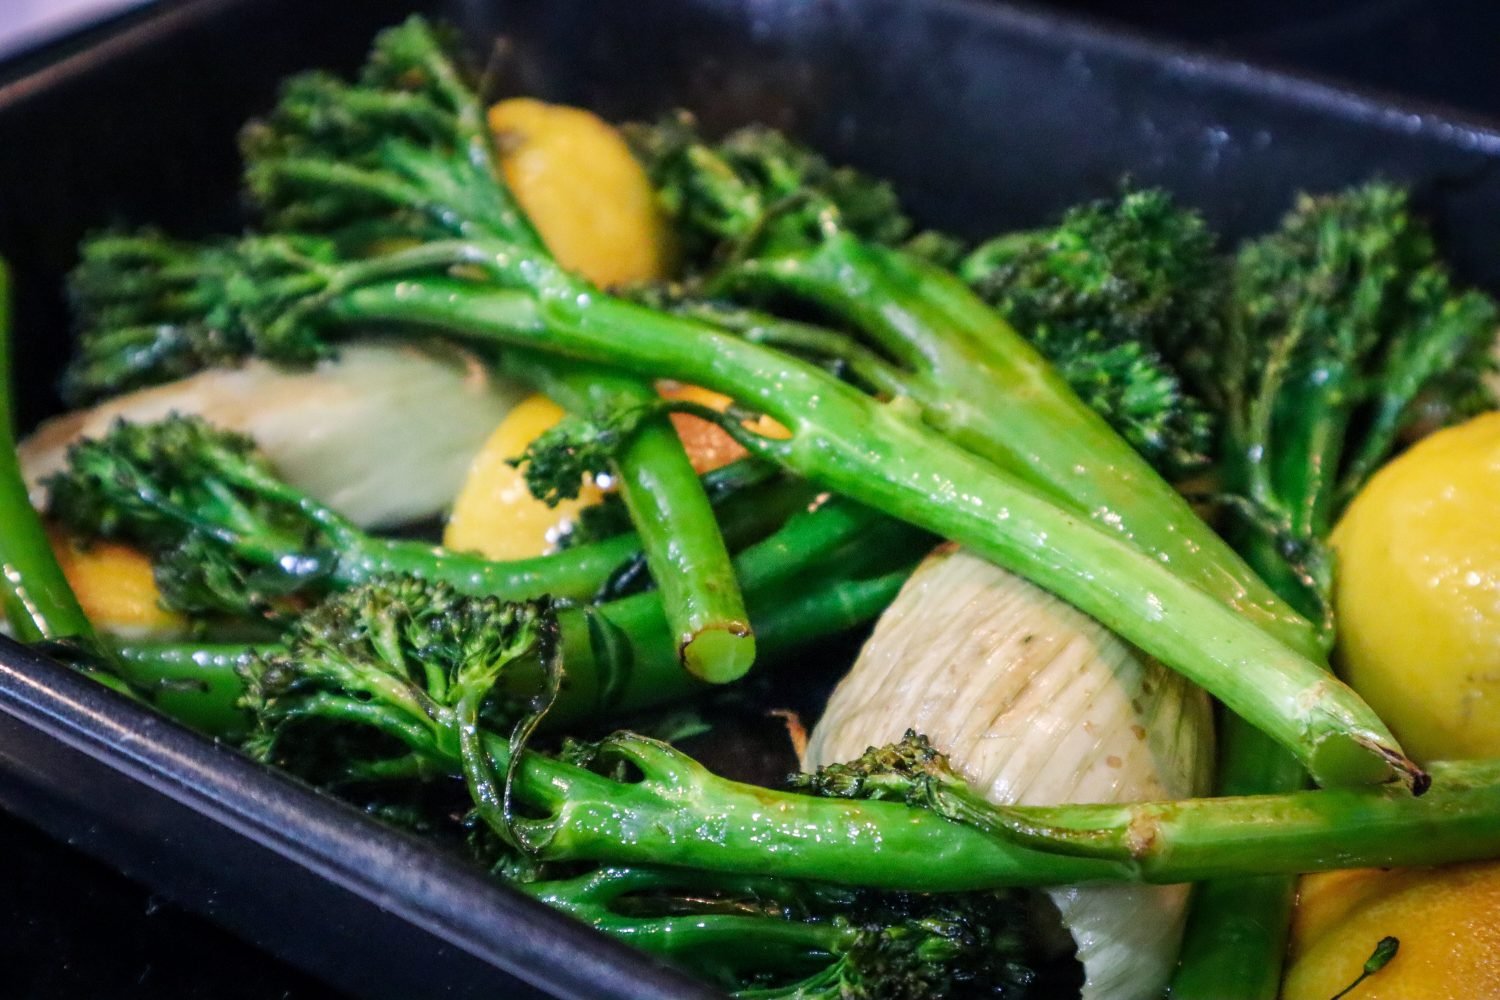
Preheat oven to 200 degrees Celcius. Wash and chop Fennel into quarters and place in a roasting dish. Cut the lemon in half and place face down. Drizzle with oil and ensure it is under the lemon and fennel so they do not stick. Place in the oven for 10minutes.
Prepare the dressing by adding the yoghurt to a small mixing bowl and finely grating in the garlic. Add a pinch of salt and 1/2 tsp of finely grated lemon zest. Mix to combine.
Remove the lemons and fennel from the oven and add in your Broccolini. Mix to coat with oil or juices from the pan. Return to the oven for a further 10minutes or until the Broccolini is bright green and slightly browning. You want it to still have some crunch to it and not be too well done.
Remove and add to a serving dish. Squeeze a little of the roasted lemon over the broccolini and leave the rest in the bowl to serve. Spoon over the yoghurt dressing. Top with almonds, red chilli, fennel fronds and a pinch of seas salt flakes.
Garnish with edible flowers (i used purple rosemary flowers)
This Stirfry Broccoli dish is super quick and easy to make and packed full of flavour! A great side dish to serve with any rice or noodle meal, or just to spice up your weekly dinners. The contrasting Red chilli really makes this dish sing! I keep my chillies whole in the freezer to pull and use in meals throughout the year.
This stir fry sauce is one of my favourites and can be used with many other dishes. Just double the recipe to use for a full stir fry meal.
Stirfry Broccoli with Tamari, Chilli and Garlic
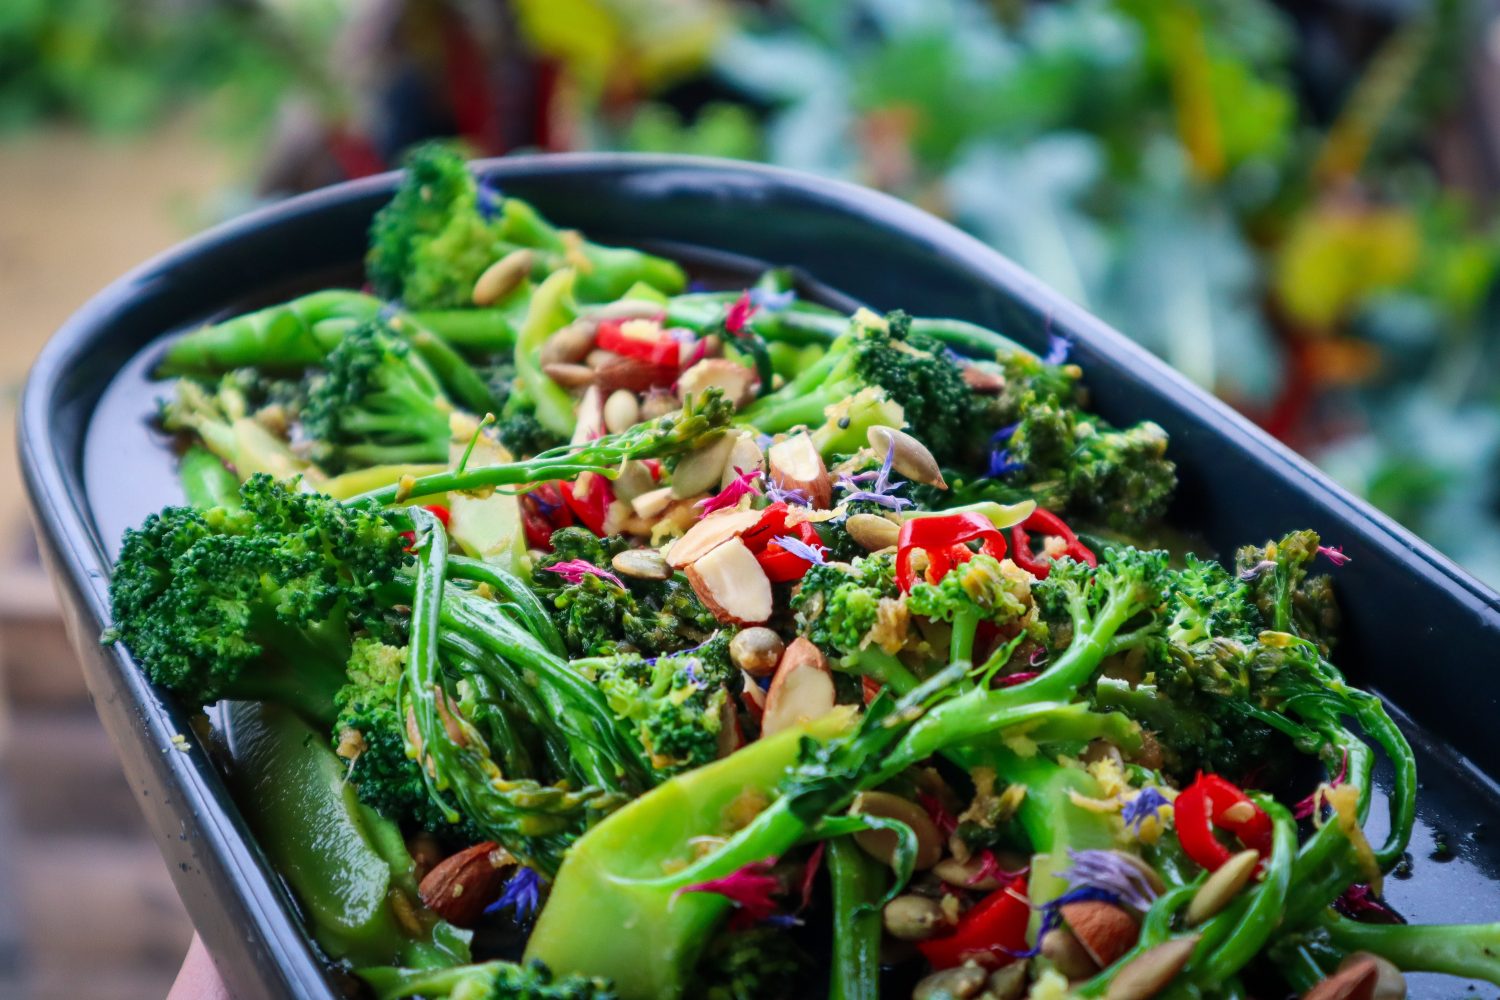
A super quick and easy Broccoli side dish to serve that is packed full of flavour. Use Broccoli, Broccolini or a mix of both.
Add Tamari, Water, Honey, Lemon and Oil into a small mixing bowl. Using a fine grater, grate in ginger and garlic. Slice the red chilli and add half to the mix. Stir until honey is combined.
Roughly chop almonds into 2-3 pieces into a small frying pan. Toast for 1 minute and add the Pepita seeds until the seeds are slightly golden and remove from the heat.
Slice the Broccoli into pieces including the stem. Add to a frying pan on medium-high heat with a splash of oil.
Toss and add the dressing. Cook until the broccoli is bright green and still has a bit of crunch to it.
Place Broccoli onto a serving bowl or dish and add drizzle any extra sauce from the pan.
Top with toasted nuts and the rest of the red chilli. Season with a pinch of salt flakes and garnish with edible flowers (i used dried cornflowers)
10 ways to become more self-sufficient right now! Start small but start today. These 10 steps to becoming more self-sufficient are things that you can easily start implementing in your life right now. Build layers of knowledge and experience to create a life that is not only more self-sufficient, but is also sustainable. Slow and steady solutions are what will make this lifestyle change last long term. I know, it is so exciting! and we want to do all the things, but, get the basics right from the start and it will flow and be easy.
Click to watch 10 ways to become more Self-sufficient
1. Grow your own food
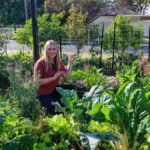
Growing your own food is a great step towards living a more self-sufficient lifestyle and it doesn’t have to be overwhelming. Start small but start today. Whether that means, converting part of your garden to edibles, planting a herb garden, starting a veggie patch, or planting a fruit tree.
Herbs are a great place to start for beginners because they are easy to grow and incorporate into your daily meals. Herbs are also quite pest-resistant and can tolerate a range of growing conditions. Herbs can be grown in pots and even indoors on a sunny windowsill.
You don’t need to be self-sufficient in everything but you can be self-sufficient in something. Take a look at what you buy regularly eg: salad mixes and plant that. Each season you can continue to expand and work your way up to providing more and more of your household’s fruit and vegetables.
Planting a fruit tree is also a great step towards self-sufficiency. Even if you have a small space or you are in a rental, you can still plant a fruit tree in a pot. That way when it does come time for you to move to a bigger location, you can take your established fruit tree with you. Fruit trees can take a while to start producing, so establishing trees in pots can allow you to get abundant harvest without waiting until you have more space.
So grab some seeds, get them in the soil and start growing your own food on your journey to become more self-sufficient.
2. Compost Scraps
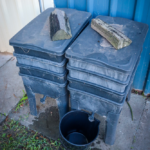
Composting turns your scraps into organic, nutrient-rich soil that is going to help you grow a lot more plants. As well as reducing waste, composting will save you buying lots more soil and compost, because you will be able to produce your own soil at home using what you already have.
Composting your waste helps close the loop and make your gardening more sustainable.
You can purchase compost bins or tumblers at most of your local garden or hardware stores. You may even be able to pick one up cheap or free on marketplace or local buy and sell pages.
3. Learn to Cook Garden to Plate
This is another important one, and I think second to growing food, it is so important to learn how to cook. Even if you are a great cook, it is very different cooking from your garden. You need to get creative and come up with new ways to use and maximize the veggies you grow. Most cooks will be used to incorporating a lot of packaged products into their cooking and to be more self-reliant, you need to get creative.
Whether you use Zucchini as pasta, or Rainbow Chard as wraps, or Cauliflower as a pizza base, there are so many ways to get the most out of everything that you grow. That way, you can create more meals from the garden, and rely less on the shops! Saving you a lot of money. Because, we all know that when you pop to the shops for a couple of things… you end up with 3 bags full.
It takes lots of practice and is a skill to continually work on. Learning to cook with vegetables in lots of interesting ways will help you to become more self-reliant and build up your self-sufficiency. Having lots of recipes and ideas will help you to create exciting and wholesome meals so that you can sustain the lifestyle long term.
Garden to plate cooking is something I am incredibly passionate about, and the main reason I started my online membership. This is where I share my recipes with creative ways to use your harvest from root to shoot! I try to keep them simple, easy and of course delicious! If that is something you’re interested in Click Here to find out more.
4. Preserve Extra Food
Make hay while the sun shines as my dad always used to say! When you grow an abundance of produce in the garden, learn ways to preserve that to use throughout the year. That way you can still create balanced and wholesome meals all year round.
You don’t need a big garden to start doing this. People are often giving away lemons or extra fruit they can’t eat. So utilize this and learn how to preserve them. You can always trade a big bag of fruit for a finished jar of jam, chutney, dehydrated fruit or sauce. Utilize what’s in season. If you see in-season fruit and vegetables that are really cheap or have bulk buying options, buy them and test out some ways to preserve them. That way, you will be building knowledge and experience for when you are growing your own! Plus your pantry will be full for the rest of the year.
5. Learn to Take Cuttings
Growing food from cuttings will boost your garden’s level of sustainability. This is the best way to level up and grow more food for less. You can make an endless amount of trees and plants when you learn how to take cuttings. I have an ebook on cuttings if you want to learn the basics and I go through the easiest plants to grow from cuttings. This guide will show you some easy and quick ways to grow a tonne of food. You’ll be eyeing off your friends’ gardens in no time.
Saving seeds can go a long way towards creating a sustainable lifestyle. Seeds have the power to grow an endless supply of food if they are continuously saved. Saving your own seeds will not only provide you with a sustainable food source but it will also save you money in replenishing your seeds each year.
Each vegetable you grow has the potential to grow an endless amount if you learn how to save seeds. Save seeds from heirloom or open-pollinated varieties to ensure the next generation will be “true to type”.
You can even try saving seeds from vegetables you have purchased. Pumpkins and squash are the easiest ones to try! Clean off the flesh and let them dry out on a plate. then keep them in a brown paper bag or somewhere cool, dark, and dry, and then pop them in the soil in spring. You can try this with others such as Passionfruit, capsicum or tomatoes. It is best to choose organic heirloom varieties from your local farmers markets as many store bought vegetables are hybrids. Both can work for a bit of fun a bit of fun.
Saving your seeds is a great step towards self-sufficiency and when a world crisis happens, (hello 2020) the seed shelves are empty. People became more aware that they are relying on others to provide for them. Having your own seeds will mean you will have more resilience and can be more self-reliant.
7. Swap and Trade
Get into a habit of swapping and trading items rather than purchasing new. Use your new found skills of propagating and saving seeds to trade with others for more plants. Or if you have extra produce, try hosting a swap meet and encourage your friends or local community to get involved. This can be a great way to recycle your unwanted items and get useful items in return. Swap meets can be great for extra seeds, produce, cuttings, houseplants, books, furniture or clothing.
8. Learn about Edible plants
There are so many edible plants around you every day and you may not even know it. Learning to identify plants and what parts are edible will hugely increase your food sources and self-sufficiency. This means you will be able to get the most out of everything growing in your garden! There are so many native plants and even weeds that are edible. Continue to build knowledge by learning to identify plants.
9. Harness Natural Resources
Every day nature is providing us with so much energy that is often ignored. Harness the sun, rain, and wind to use to your advantage.
Dry your washing
Capture water for your gardens
Dehydrate herbs, flowers, and food using the sun
Create power with solar panels
You can even make solar ovens
Put your pot plants outside when it rains
10. Up-cycle and Re-use
Use what you have. Get creative. Train your mind to come up with new ways, rather than slipping into the consumer mindset. Try to forage sticks for Tomato stakes and make your own trellis or up-cycle cups and crates for pots. Whatever it is you need, think about other ways that you could achieve the same outcome.
It can seem hard at first, but over time, you will start switching your mindset to up-cycle rather than consume and it will become so much easier. This will save you a lot of money and reduce the number of things you have lying around that get used on rare occasions.
I hope you found some inspiration and tip to get stuck in and started today. Let me know in the comments what you are going to start with to become more Self-sufficient right now!
Holly 🌱
MY GARDENING ESSENTIALS //
Garden Bag: https://bit.ly/3t5zc6h
Pink Secateurs: https://bit.ly/3qytl6s
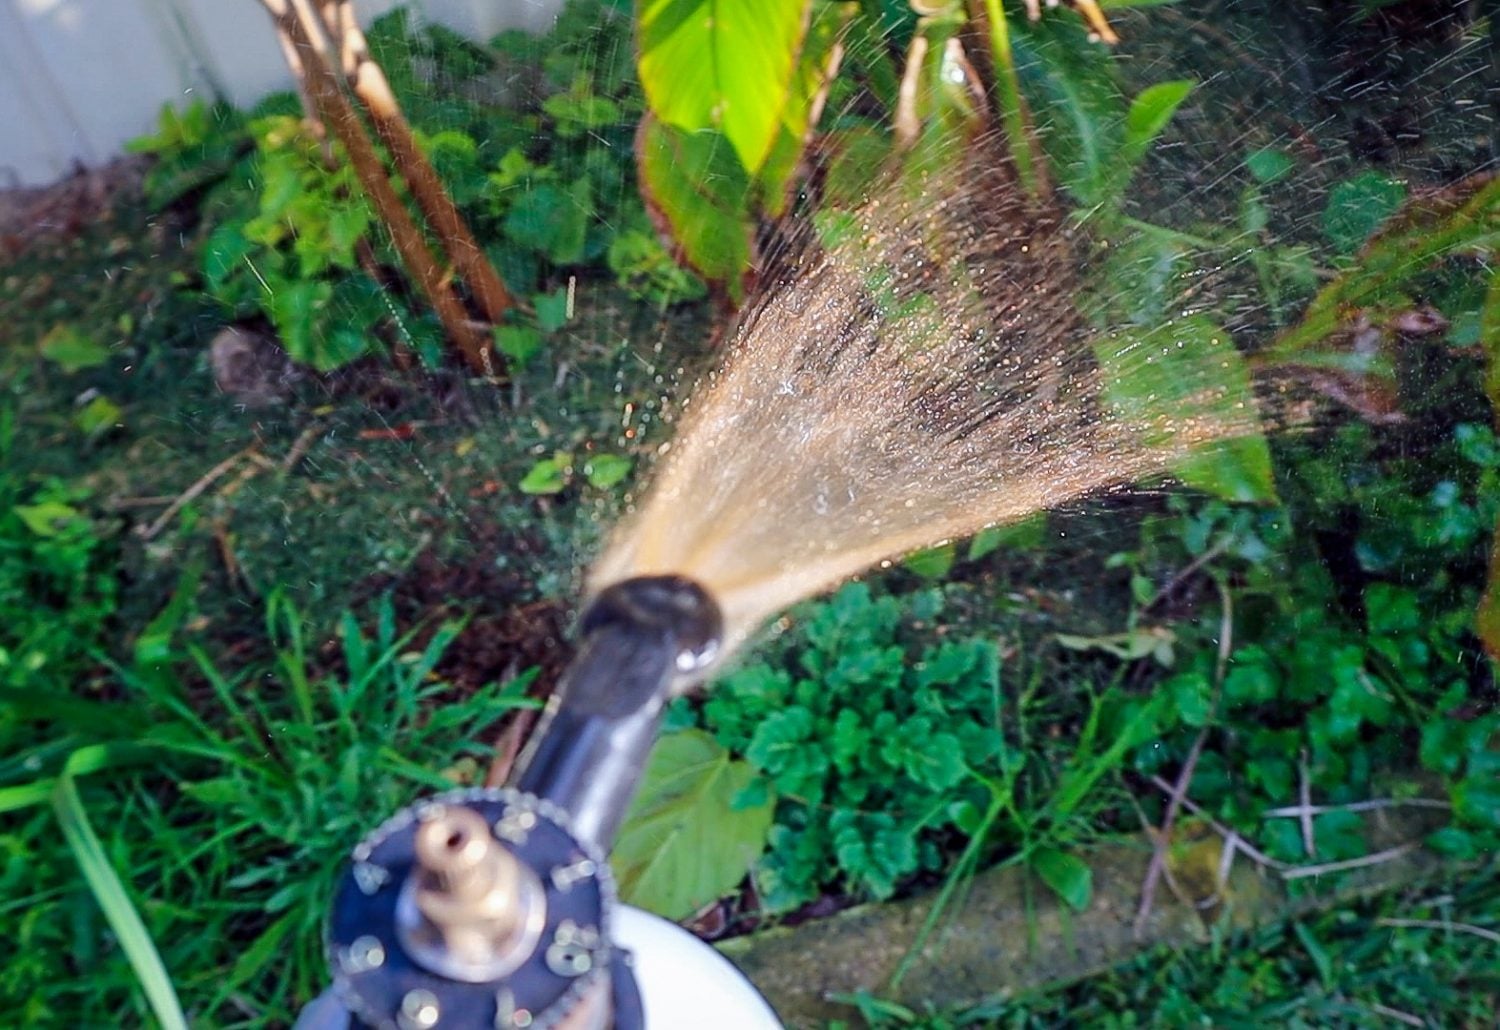
Fertiliser spray gun: https://bit.ly/366nL1t
Retractable Hose: https://bit.ly/2TSC0Bo
More gardening tools: https://bit.ly/32IQmbD
DISCLAIMER: Links included in this description might be affiliate links. If you purchase a product or service with the links that I provide I may receive a small commission. There is no additional charge to you! Thank you for supporting my page so I can continue to provide you with free content!