Saving seeds can go a long way towards creating a sustainable lifestyle. Seeds have the power to grow an endless supply of food if they are continuously saved. Saving your own seeds will not only provide you with a sustainable food source but will also save you money in replenishing your seeds each year.
Saving your seeds is a great step towards self-sufficiency and when a world crisis happens, (hello 2020) the seed shelves are empty. People become more aware that they are relying on others to provide for them. Having your own seeds will mean you will have more resilience and can be more self-reliant.
Saving seeds from your best vegetables will help you develop your own SUPER plants! Selecting for pest resilience, size, strength, taste or timing, means you can grow more plants with those desired traits.
You will also get seeds and vegetables that are acclimatised to your exact growing conditions. They have adapted to their surroundings and will thrive! If you are already growing these vegetables you may as well save the seeds!
Can you save any seeds?
Heirloom or open-pollinated seeds are the best to save. These are varieties have been passed down for generations and have been bred “true to type”. This means they haven’t been cross-pollinated so they will produce the same or very similar vegetables each time they are planted.
Hybrid seeds have been cross-pollinated with two different varieties to get the 3rd outcome. The seeds saved from these can have extremely varied results, that can often be less desirable.
Over the years many heirloom seed varieties have been lost forever as more and more hybrid seeds are produced by large corporations that control the market. Saving your own heirloom seeds can help keep those varieties alive for future generations.
Saving seeds from the best-performing vegetables in your garden is such a valuable skill to have. It means you will have direct access to high-performing vegetables that you know and love.
Our family have tomato seeds that have been passed down from our grandpa and they produce the most incredible tomatoes for making sauce! Each year we grow the tomatoes and come together to make a big batch of tomato sauce. It is a fun, family tradition.
Annuals, Biennials, and Perennials
Not all plants go to seed in the first season. Annuals are often most of your common seasonal vegetables such as lettuce, tomatoes, watermelon, pumpkin, beans, peas and cucumbers. These produce seeds at the end of each crop or are in the ripe fruit. This means you can save the seeds from these each year. By choosing the best fruit and vegetables to save seeds from, each year your plants will get better depending on the desired traits you have selected for eg: biggest fruit, best flavour, most pest resistant.
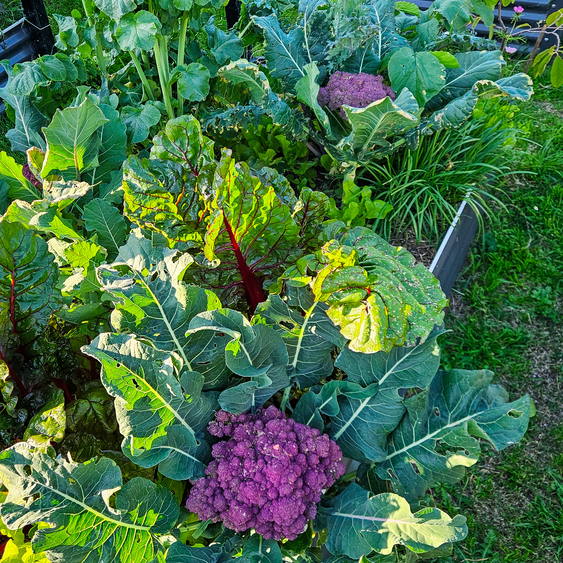
Biennials will only go to seed in their second season and you will need to keep them growing throughout winter. This can mean you need to transplant them to a greenhouse if your winters are too cold. Biennials can be a little trickier to save seeds from. They also take up a lot of space whilst not producing much food while you wait for the seeds. These are many of the root vegetables and vegetables such as beetroot, carrot, onions, cabbage, kale, rainbow chard, and cauliflower.
Perennials are even trickier again as they are plants that regrow by themselves every year such as asparagus. It is often easier to transplant perennials by splitting the plant and transplanting than saving seeds.
Cross-Pollinating Varieties
When deciding to save seeds from your heirloom vegetables make sure that they are not getting cross-pollinated. Pollination can happen from insects or even wind for some varieties. So it is best to keep varieties of the same vegetable separate and in different corners of the garden. Another great way to protect and avoid cross-pollination is to stagger your planting. So if you want to plant two different types of tomatoes then plant them so that the first variety has finished flowering before the second one starts. This will just help ensure you get true-to-type seeds and know exactly what tomatoes you will have to plant the next year.
If you are growing multiple varieties at the same time, they may cross-pollinated but you can still save the seeds as this process will be good practice. If you plant those seeds out it will be a bit of an experiment to see what will regrow.
That doesn’t mean you can’t have some fun and try to cross-pollinate each season and see what happens.
Wait Until They’re Mature
Many fruit and vegetable seeds are only viable once they become over-ripe. This means you may miss out on getting to eat them. To save the seeds from vegetables you want to leave them on the plant until they are either dry or with fruit such as tomato and cucumbers they should be so over-ripe that they are starting to rot or go way past eating quality. This is how they naturally produce seeds in the wild.
Plants such as lettuce, celery, chard and radish will send off flowers once they get ripe and then these flowers will turn to seed pods. You will want to wait until the seed pods start to go brown and dry before harvesting for seeds.
Selecting Plants to Save Seeds From
This is an important step to make sure you save the best seeds! It can also be one of the hardest steps to commit to, as you will often have to forfeit eating that top-performing vegetable. If you see the perfect cucumber or tomato growing during the season, you will have to let it go overripe and bad before saving the seeds. This can often be disheartening, but just remember you will have even better crops in the years to follow!
Selecting “the best” vegetables to save seeds from is completely up to you. You may select for the biggest fruit, best tasting, plants that produce a lot, early fruiting, cold-hardy, disease-resistant, colour, or pest resistant.
How to Save Seeds?
There are two main ways to save seeds depending on the plants.
1 . Wait for the flowers to turn to seed or the seed pods to dry on the plant (beans, peas, flowers, radish, parsley, fennel). Once dry, pick and allow them to dry even further. Seed heads such as flowers can be hung upside down with the seeds heads secured in a paper bag. Once they are completely dry, you can shake off the seeds into the bag.
For seed pods such as beans, peas, and radish, once they are completely dry, you can remove the seeds from the pods and place them in a jar or brown paper bag. This can be quite time-consuming, especially with smaller seed pods.
2. Let fruit or vegetables go overripe on the plant to mature the seeds. They may change colour or start to break down ( tomatoes, cucumber, eggplant, chilli, capsicum, squash).
Once they are overripe, pick them and cut them open to reveal the seeds. Clean off the flesh and dry.
FermentFleshy Fruit Seeds
When saving seeds from fleshy fruits such as cucumbers, melons, or tomatoes, it can be hard to separate out the slimy layer surrounding the seed. This layer is to protect the seed when it is ingested by animals, birds, or from soil bacteria, and allows the seed to make it safely to the next season.
In nature, the fruit will rot on the plant producing mature seeds, then fall to the ground and the slimy film will protect the seed while the soil bacteria and microbes start breaking it down. Then, by the time the soil has warmed up again the following season, the seed will be ready to burst into life! This is why your volunteer tomatoes that grow from the compost are so hardy and fast-growing! They have been processed correctly.
We can mimic nature by squeezing the fresh fleshy seeds into a jar of filtered water to ferment (will be stinky) for a few days. Leave a lid loosely on the top of the jar and you will notice a white film starting to cover the surface. This is the lacto-fermenting process.
The viable seeds will be at the bottom of the jar and the bad seeds will float. Once the film covers the top of the surface you can separate off the bad seeds, rinse your seeds, dry them, and store them.
The easiest way to do this, is to dry them on a paper towel and when they are completely dry fold it up and place them in a brown paper bag or jar to store.
Is Fermenting Necessary?
No, you can simply rinse your seeds and dry them out. The fermenting phase helps eliminate the bad seeds, remove the protective layer and kill off some of the seed-borne diseases.
Dry the Seeds Completely
You want to make sure your seeds are completely dry before storing them. Lay them flat on a tray, moving them around every day or so until they are dry. Thicker seeds such as pumpkin may take a week or so to fully dry. Remove as much of the extra plant matter as possible (seed pods, petals, protective layers).
Storing the Seeds
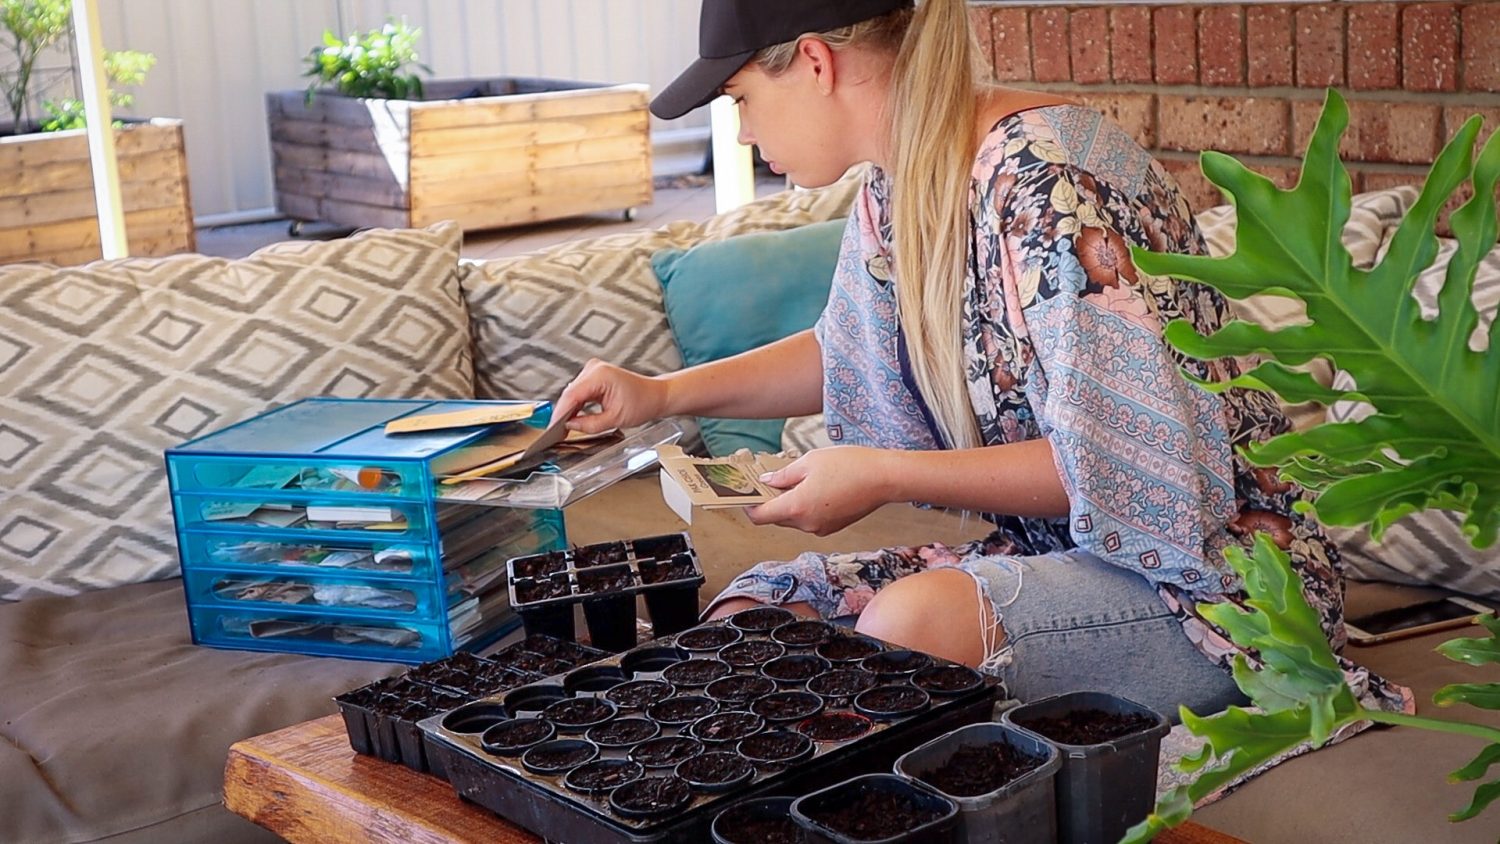
Store your seeds somewhere cool, dark, and dry. I like to keep my seeds in brown paper bags, envelopes or recycled vitamin/pill canisters. Make sure you label them well with the name and/or desired trait (early tomatoes, best-tasting pumpkins, etc) and put the date.
Store your seeds in the coolest room or area of your house. Seeds can also be kept in the fridge in airtight containers.
How Long will Saved Seeds Last?
It is best to plant your seeds and resave each year or two, but if they have been stored correctly, some seeds may last over 10 years. Saving seeds and gifting them to friends and family, will mean you will be able to keep heirloom varieties available for generations to come.
If in doubt don’t throw them out! Old seeds can still be sown, you may just get less successful germination.
Saving seeds and figuring out how to save seeds from each plant can be tricky. Let me know if you have any questions about saving your seeds. This guide may also come in handy to determine whether plants are annual or biennial and how they are pollinated.
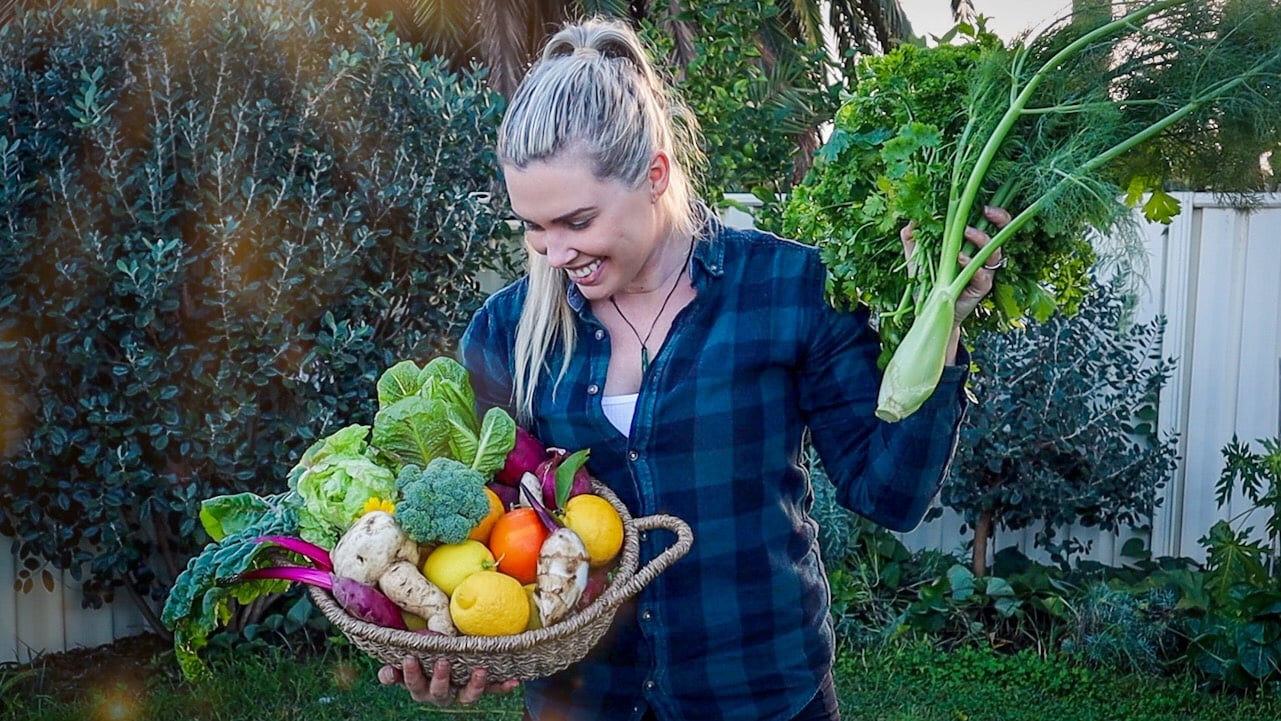
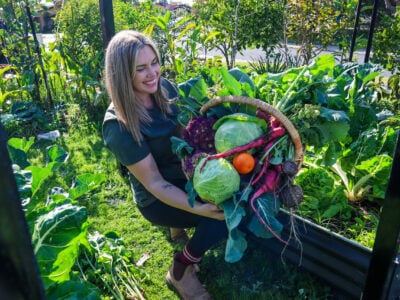
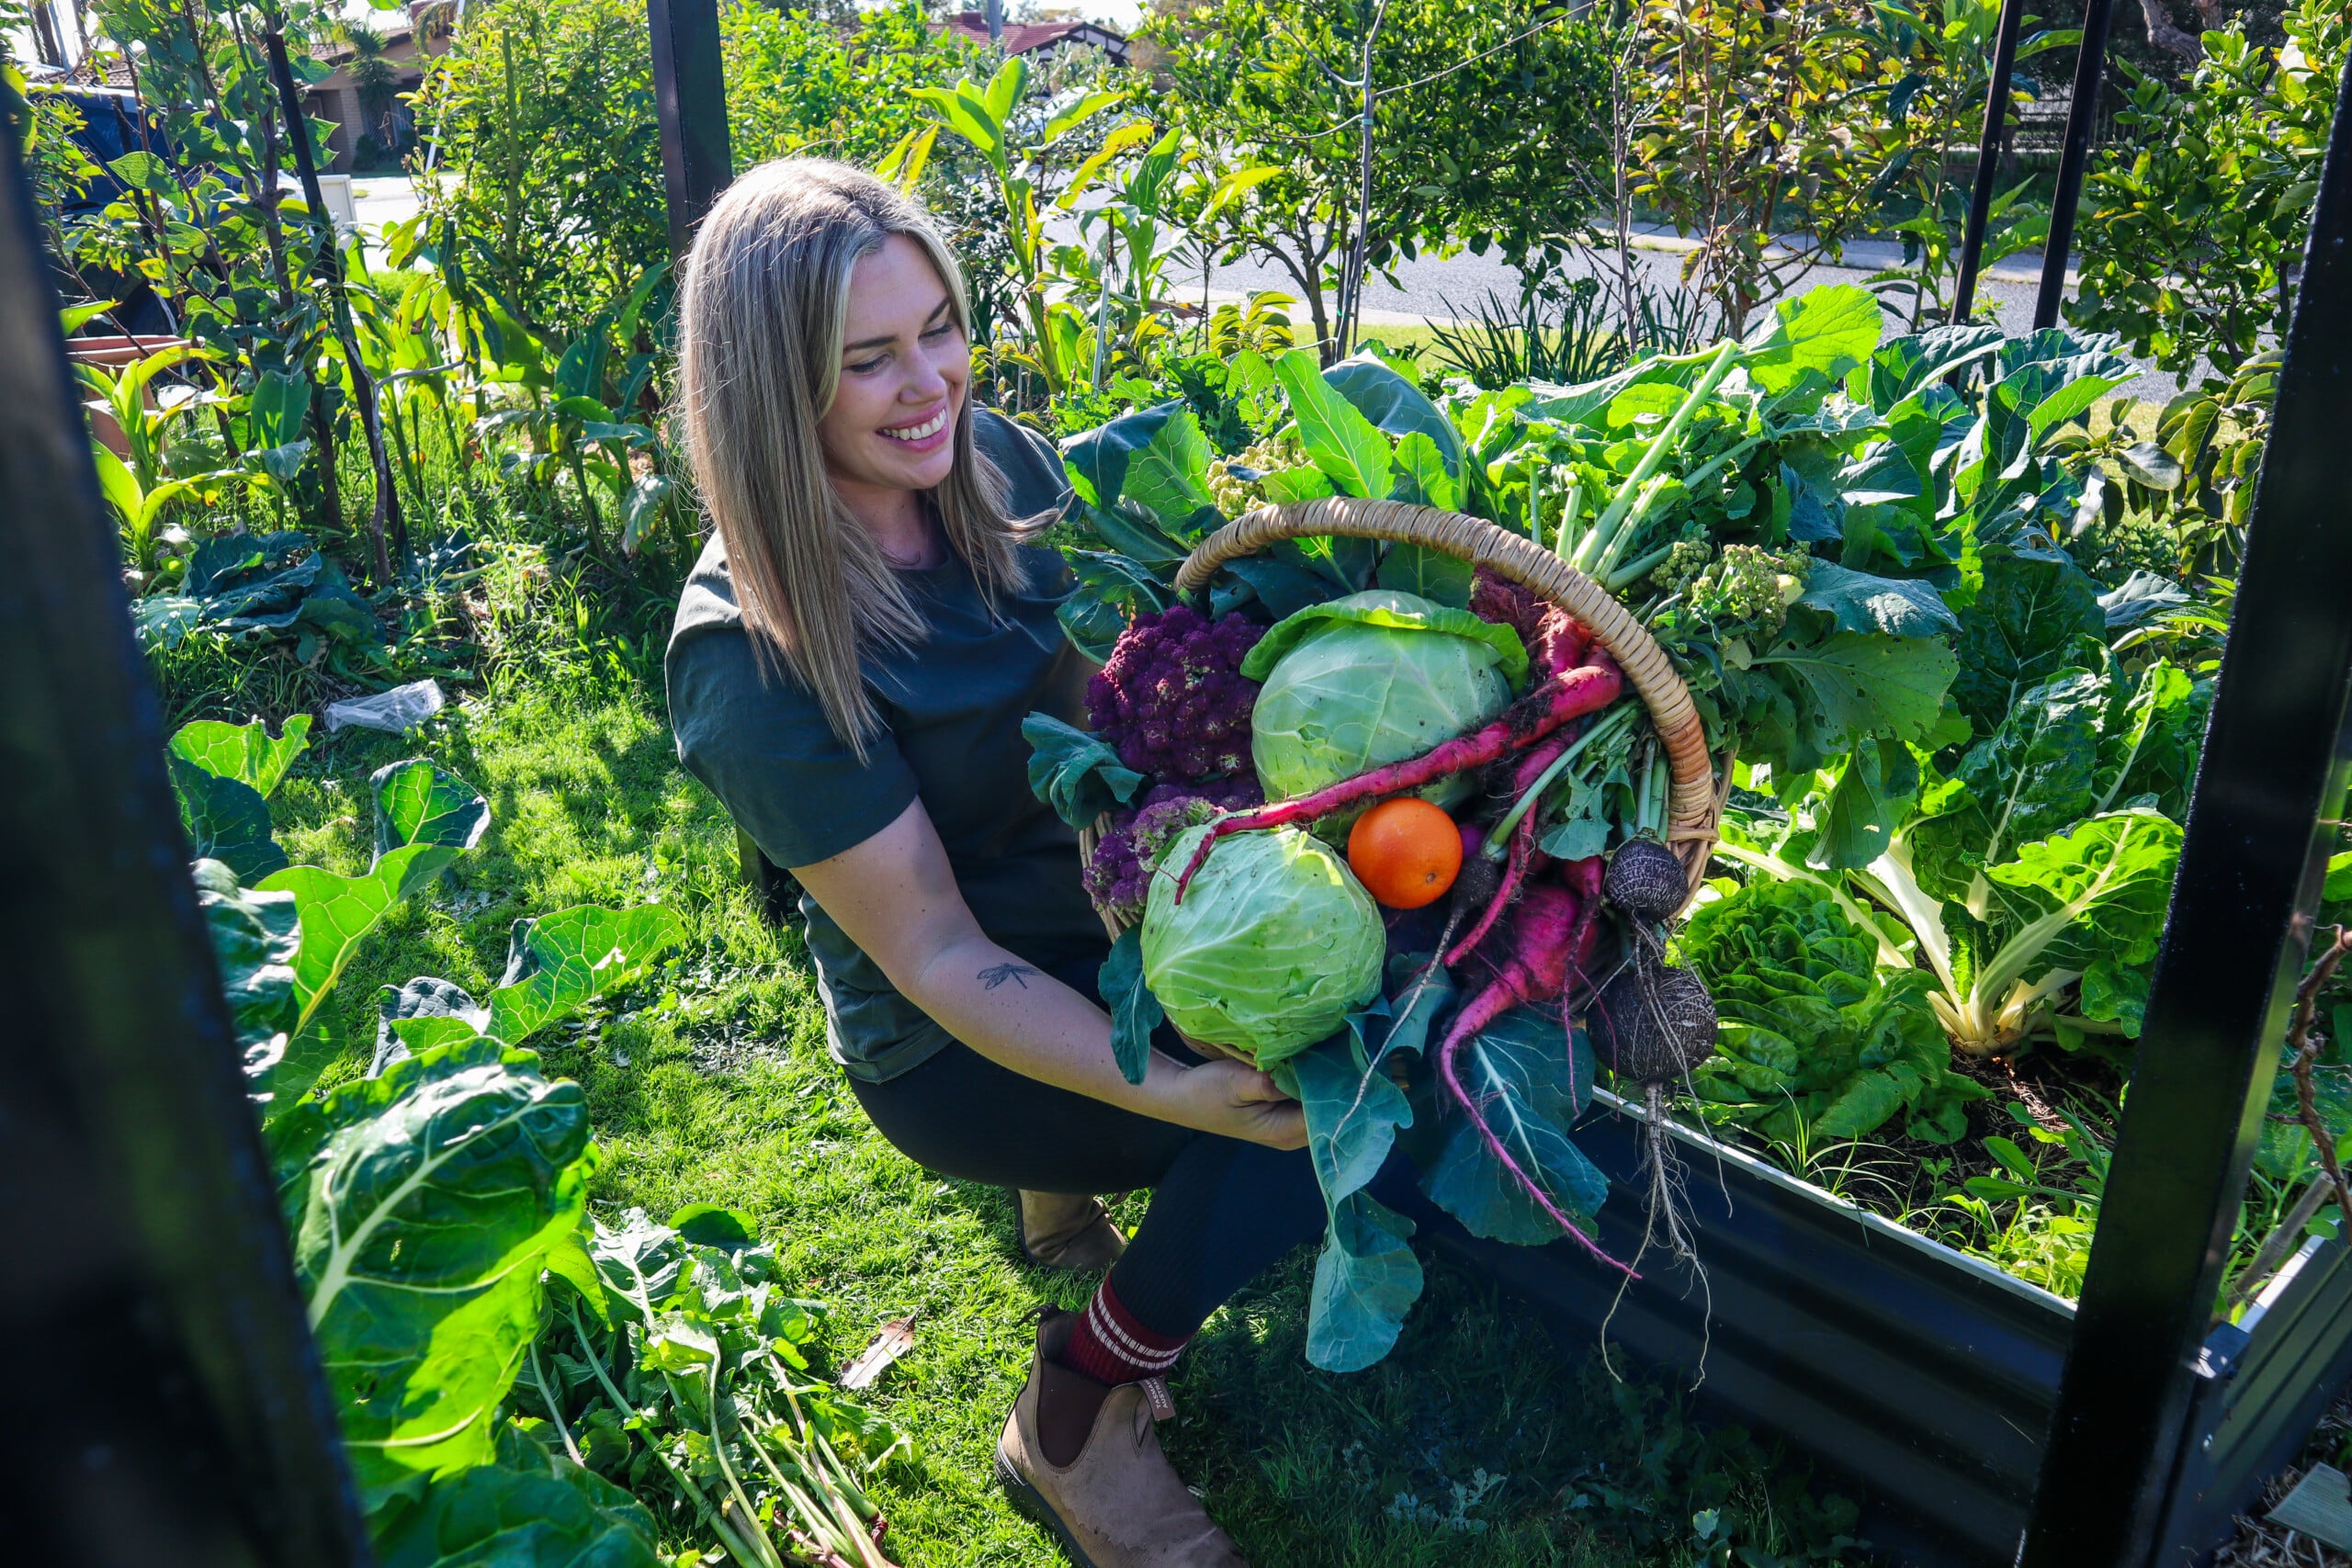
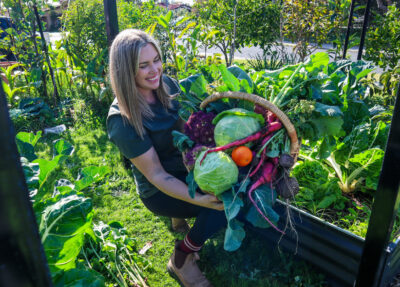
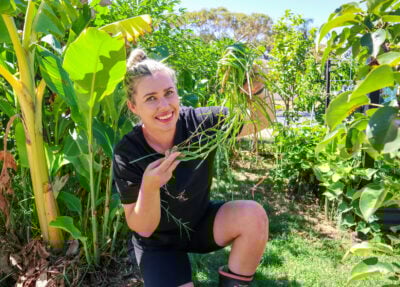
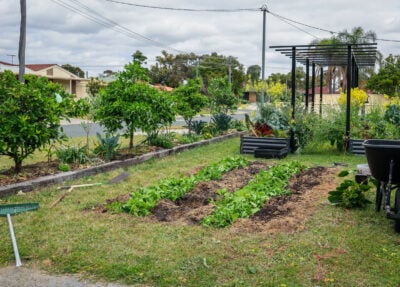
Welcome to my garden in July. It is the middle of winter here in Perth, Australia and although the temperatures have been quite mild, we have been getting a whole lot of rain! Today we take a look around my sustainable permaculture garden to see what we can find to harvest! I will also go through what I am going to make or preserve with what I pick.
It has been non-stop raining for two weeks with more rain forecast. Two days of fine weather finally arrived and I managed to get out and see what was ready. Heavy rains can cause some issues when your fruit and veggies are starting to ripen. Extra water can cause them to split open and then bugs can get in and I want to make sure I harvest as much as I can.
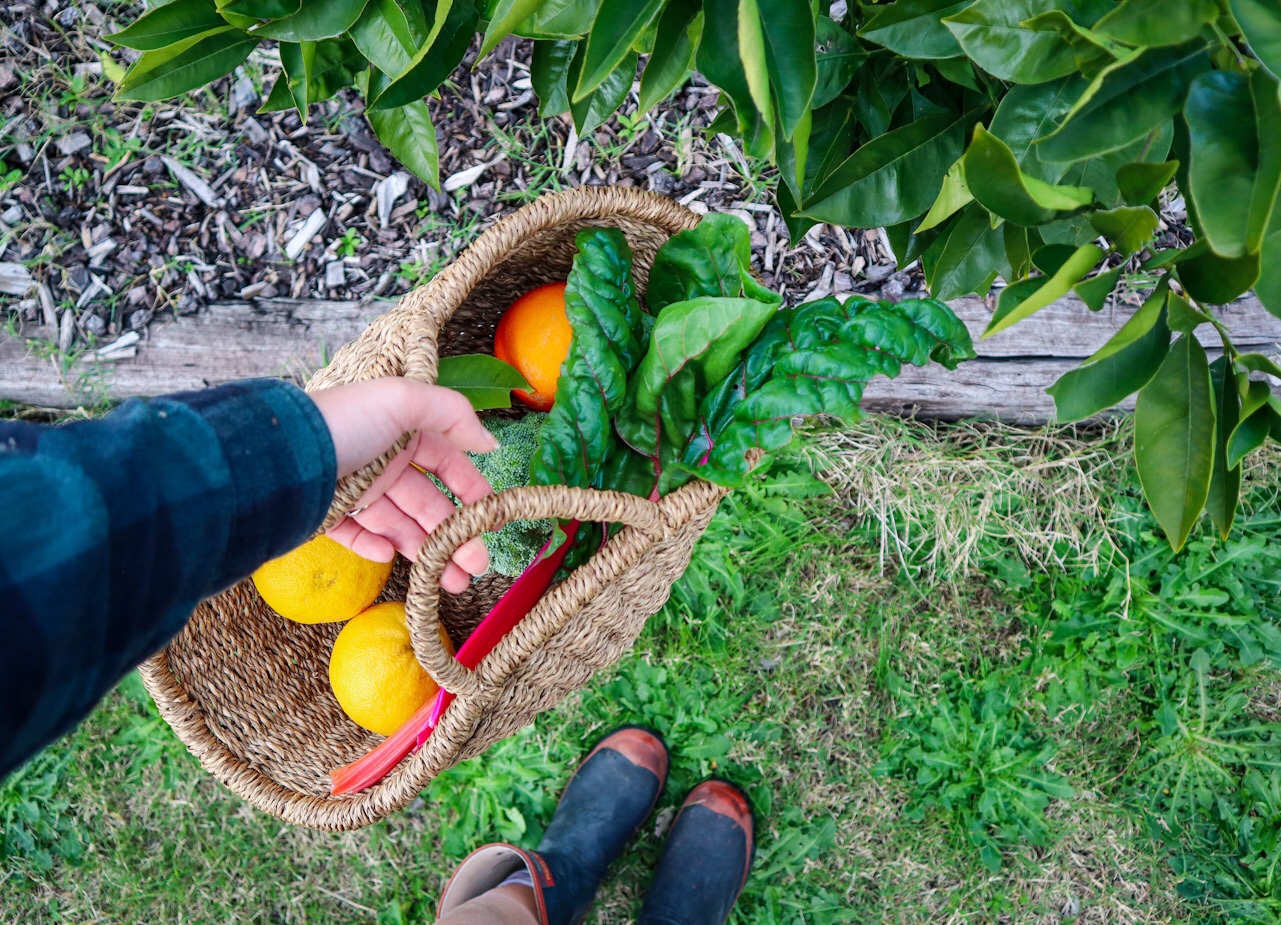
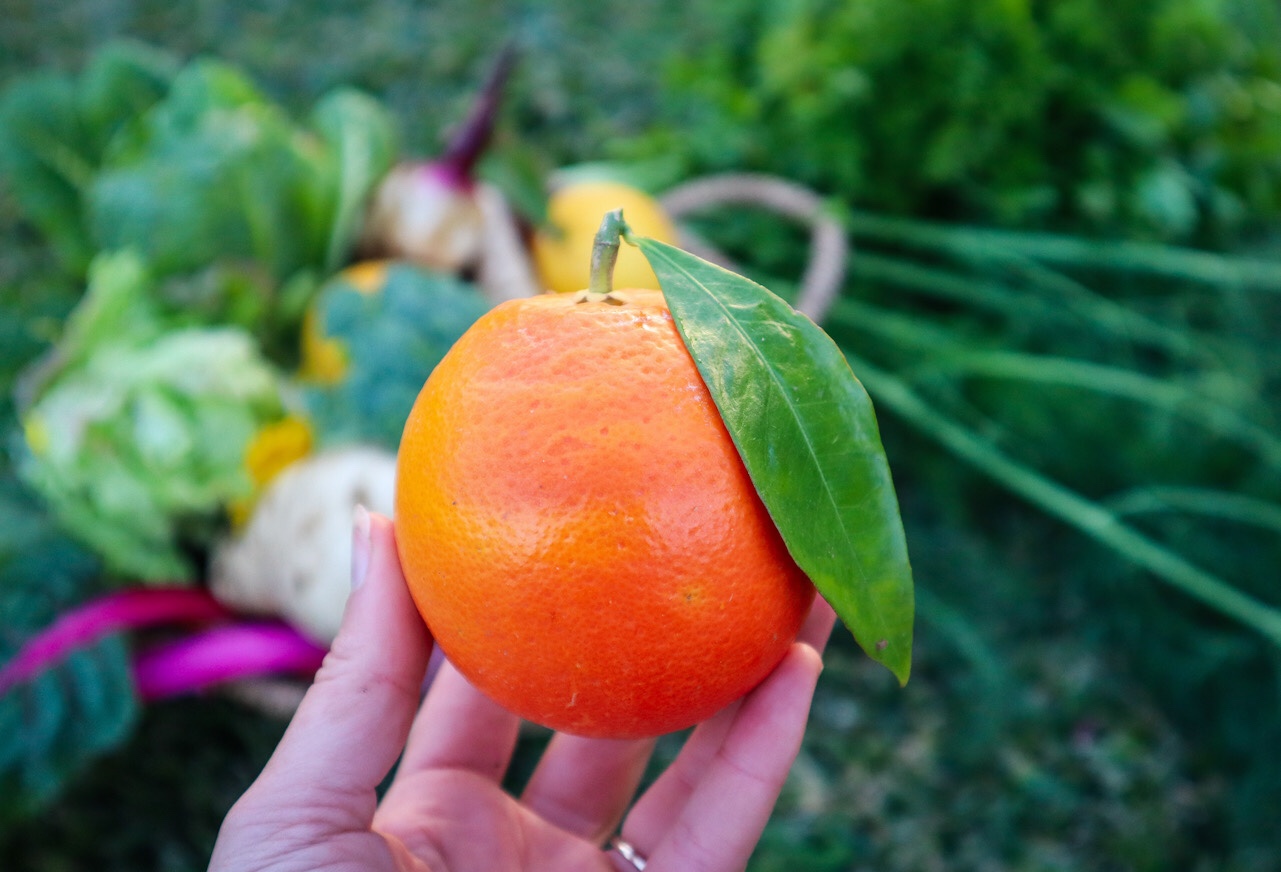
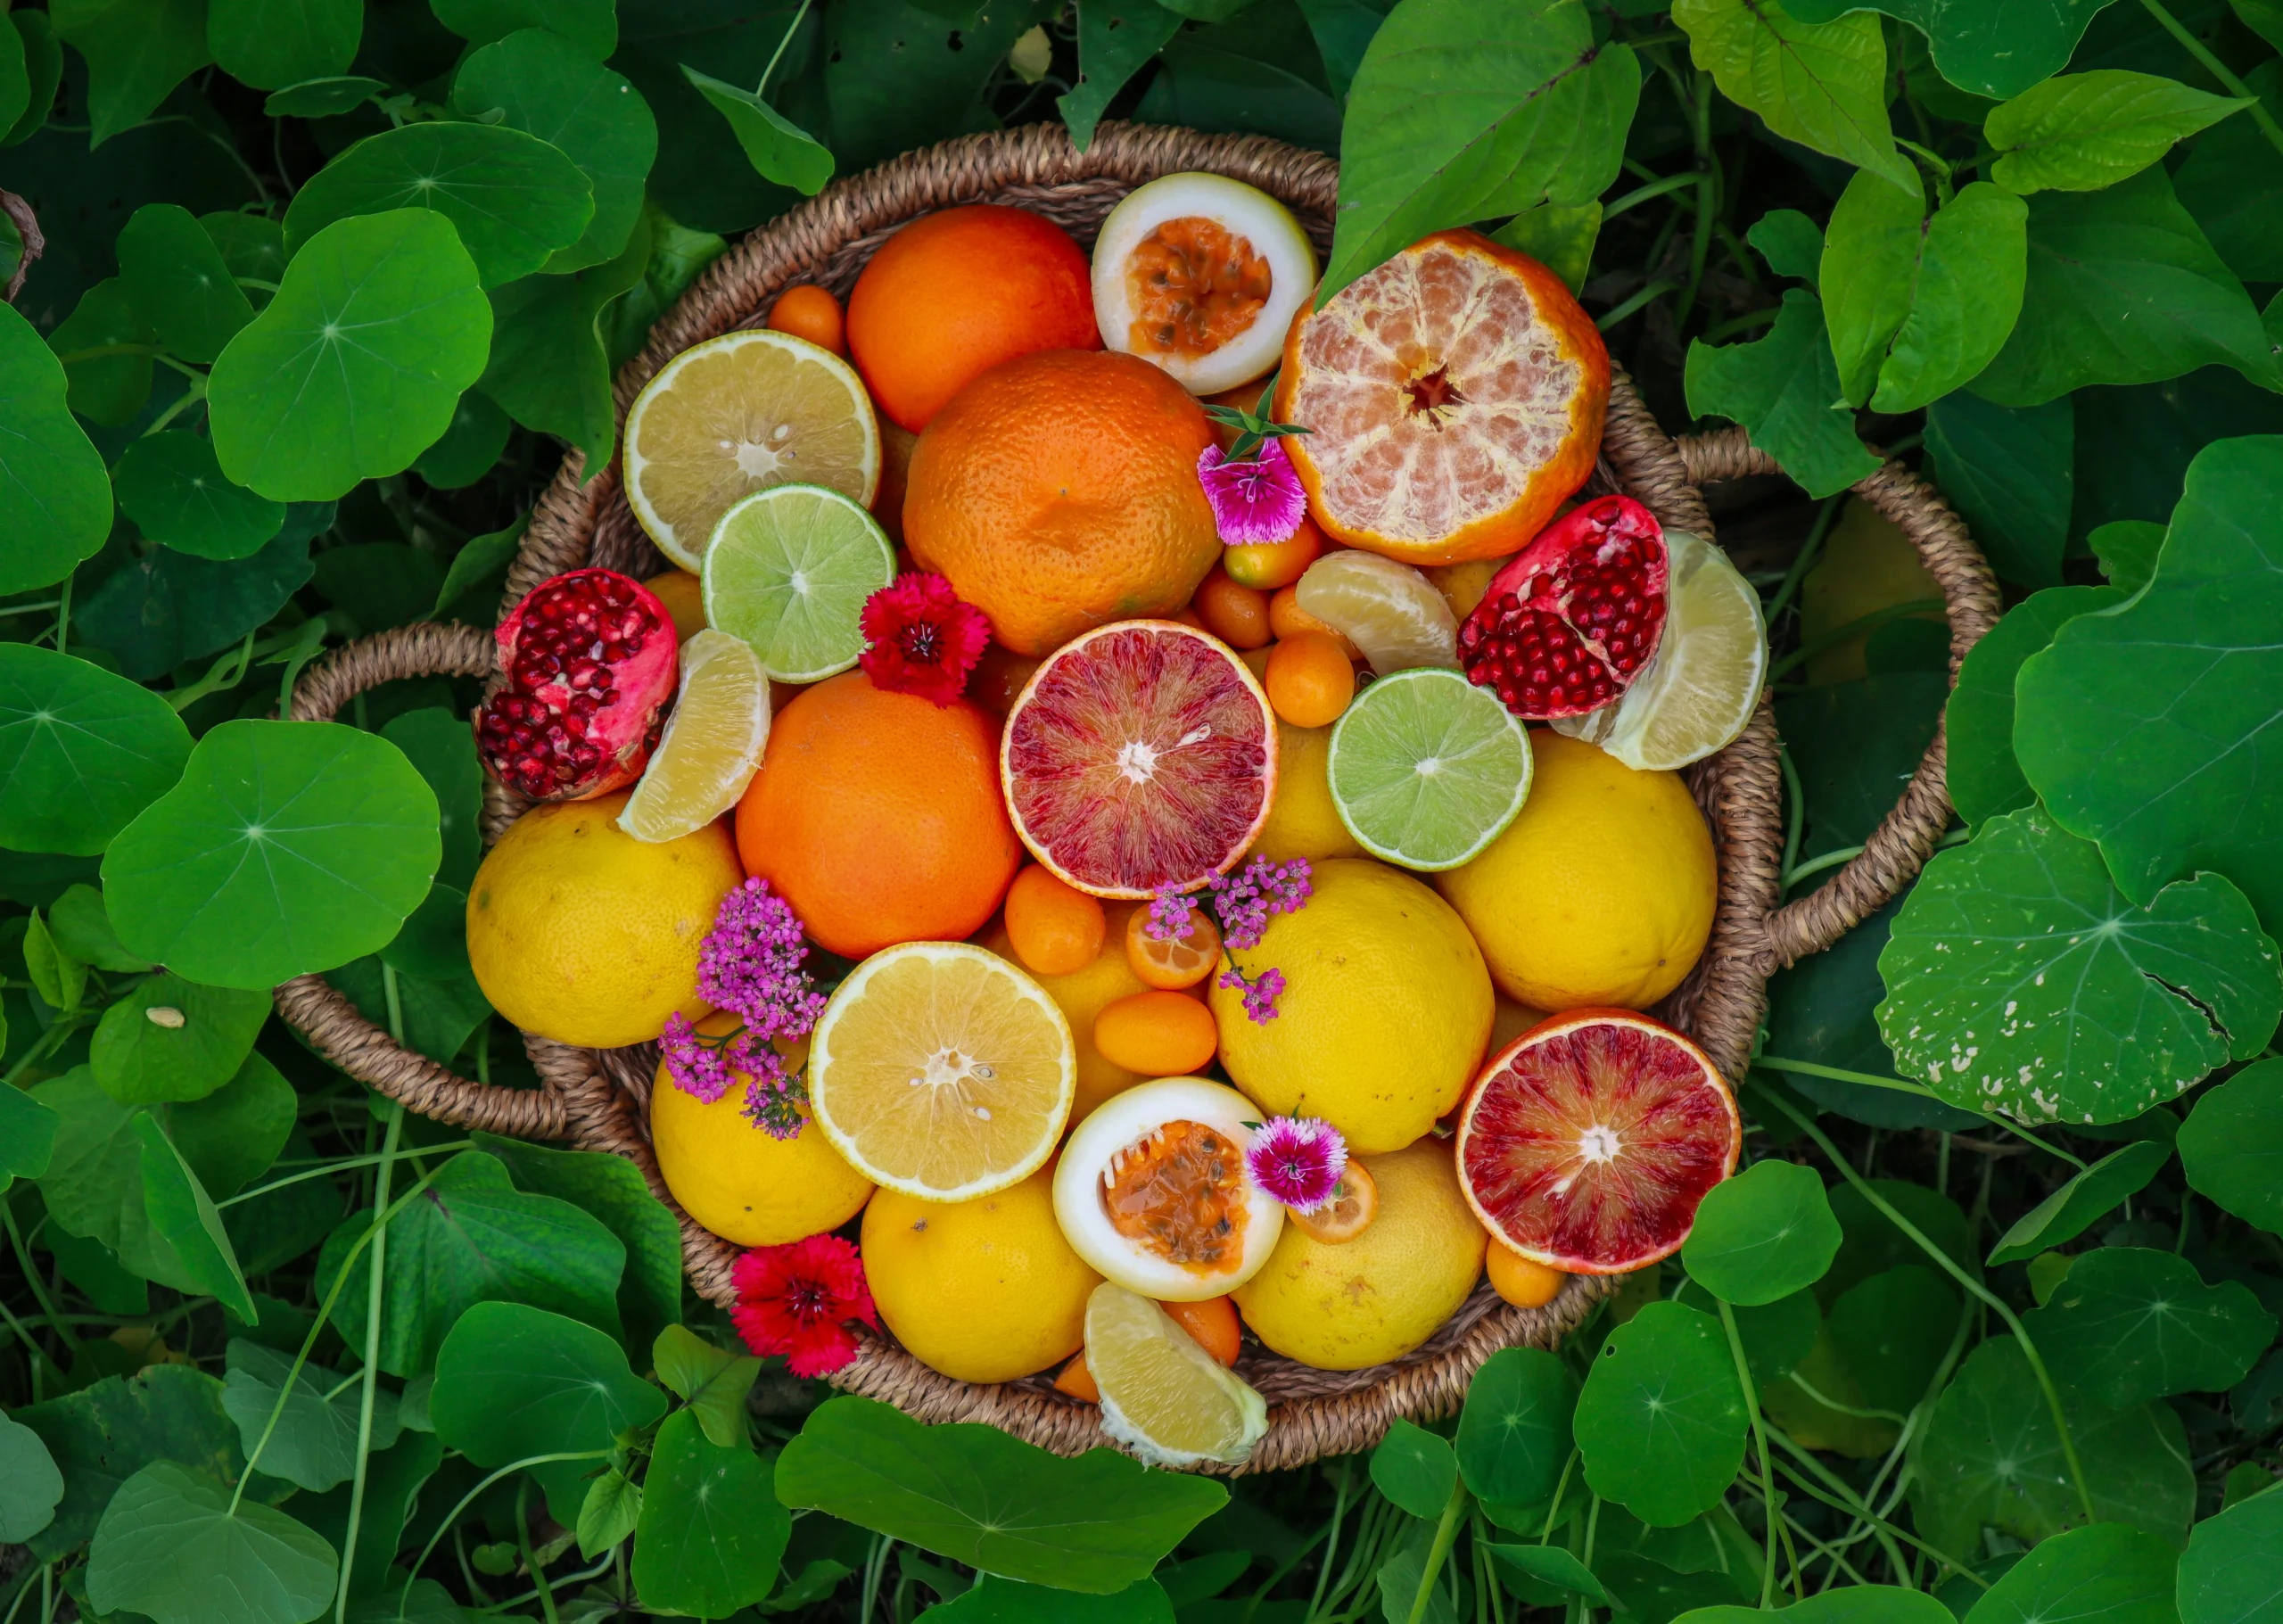
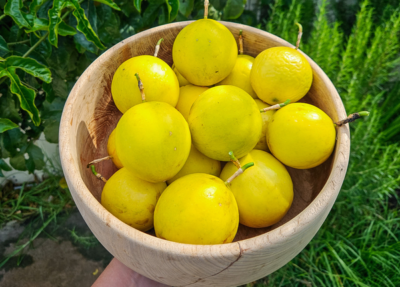
Citrus are ripening over winter and I have quite a few young trees. Citrus grow really well here in Perth, as they can handle our hot dry summers. Citrus trees are also a little more pest resilient than many other fruit trees. So, I have quite a few varieties – Lemon, Blood Orange, Lemonade, Lime, Finger Lime, Kumquat, and Mandarin.
Click to Watch my July Harvest
Sustainable Permaculture Garden Harvest
Just for fun I decided to weigh out my produce. Listed below is how much I harvested.
Lemons || 2.078kg
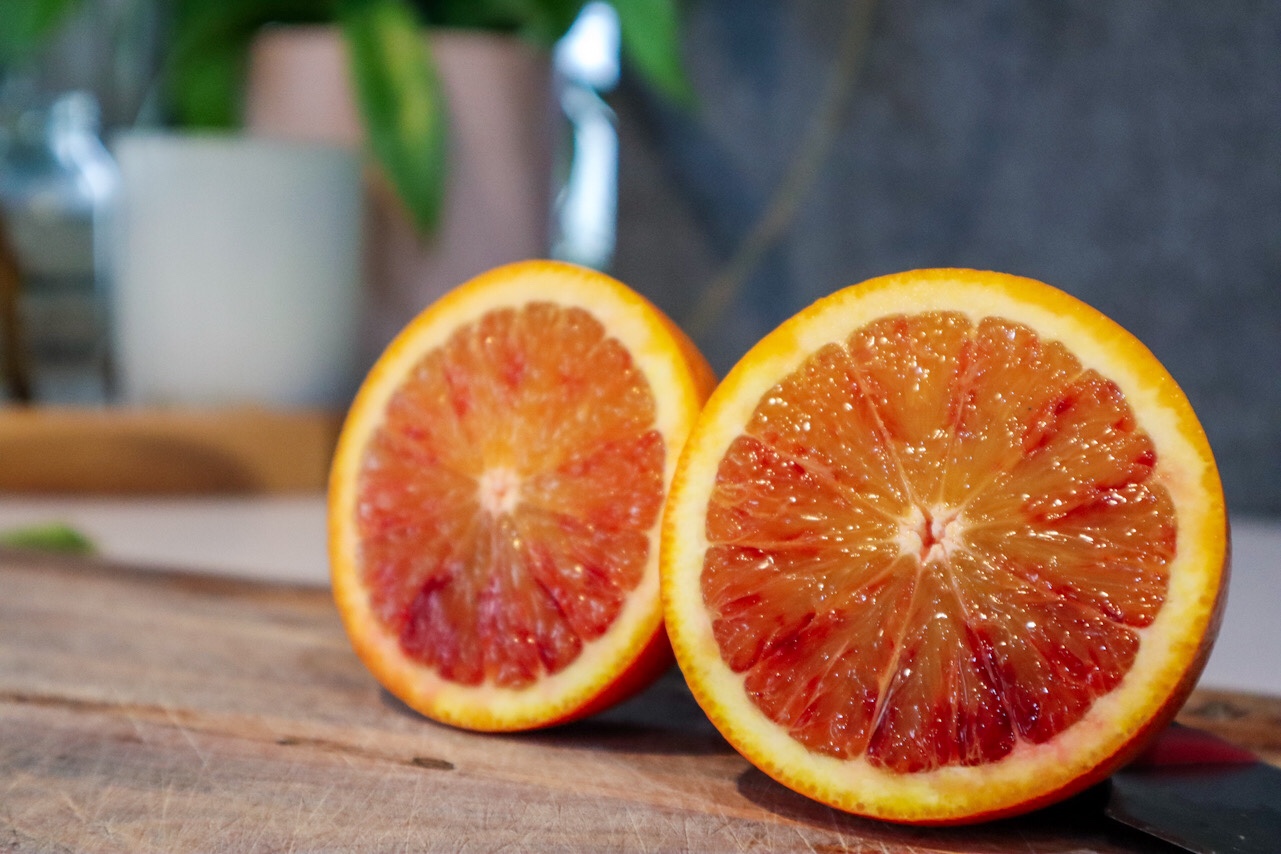
Blood Orange || 683g
Arrowroot || 170g
Lemonade || 682g
Broccoli || 93g
Parsley || 477g
Lettuce || 300g
Rainbow Chard || 127g
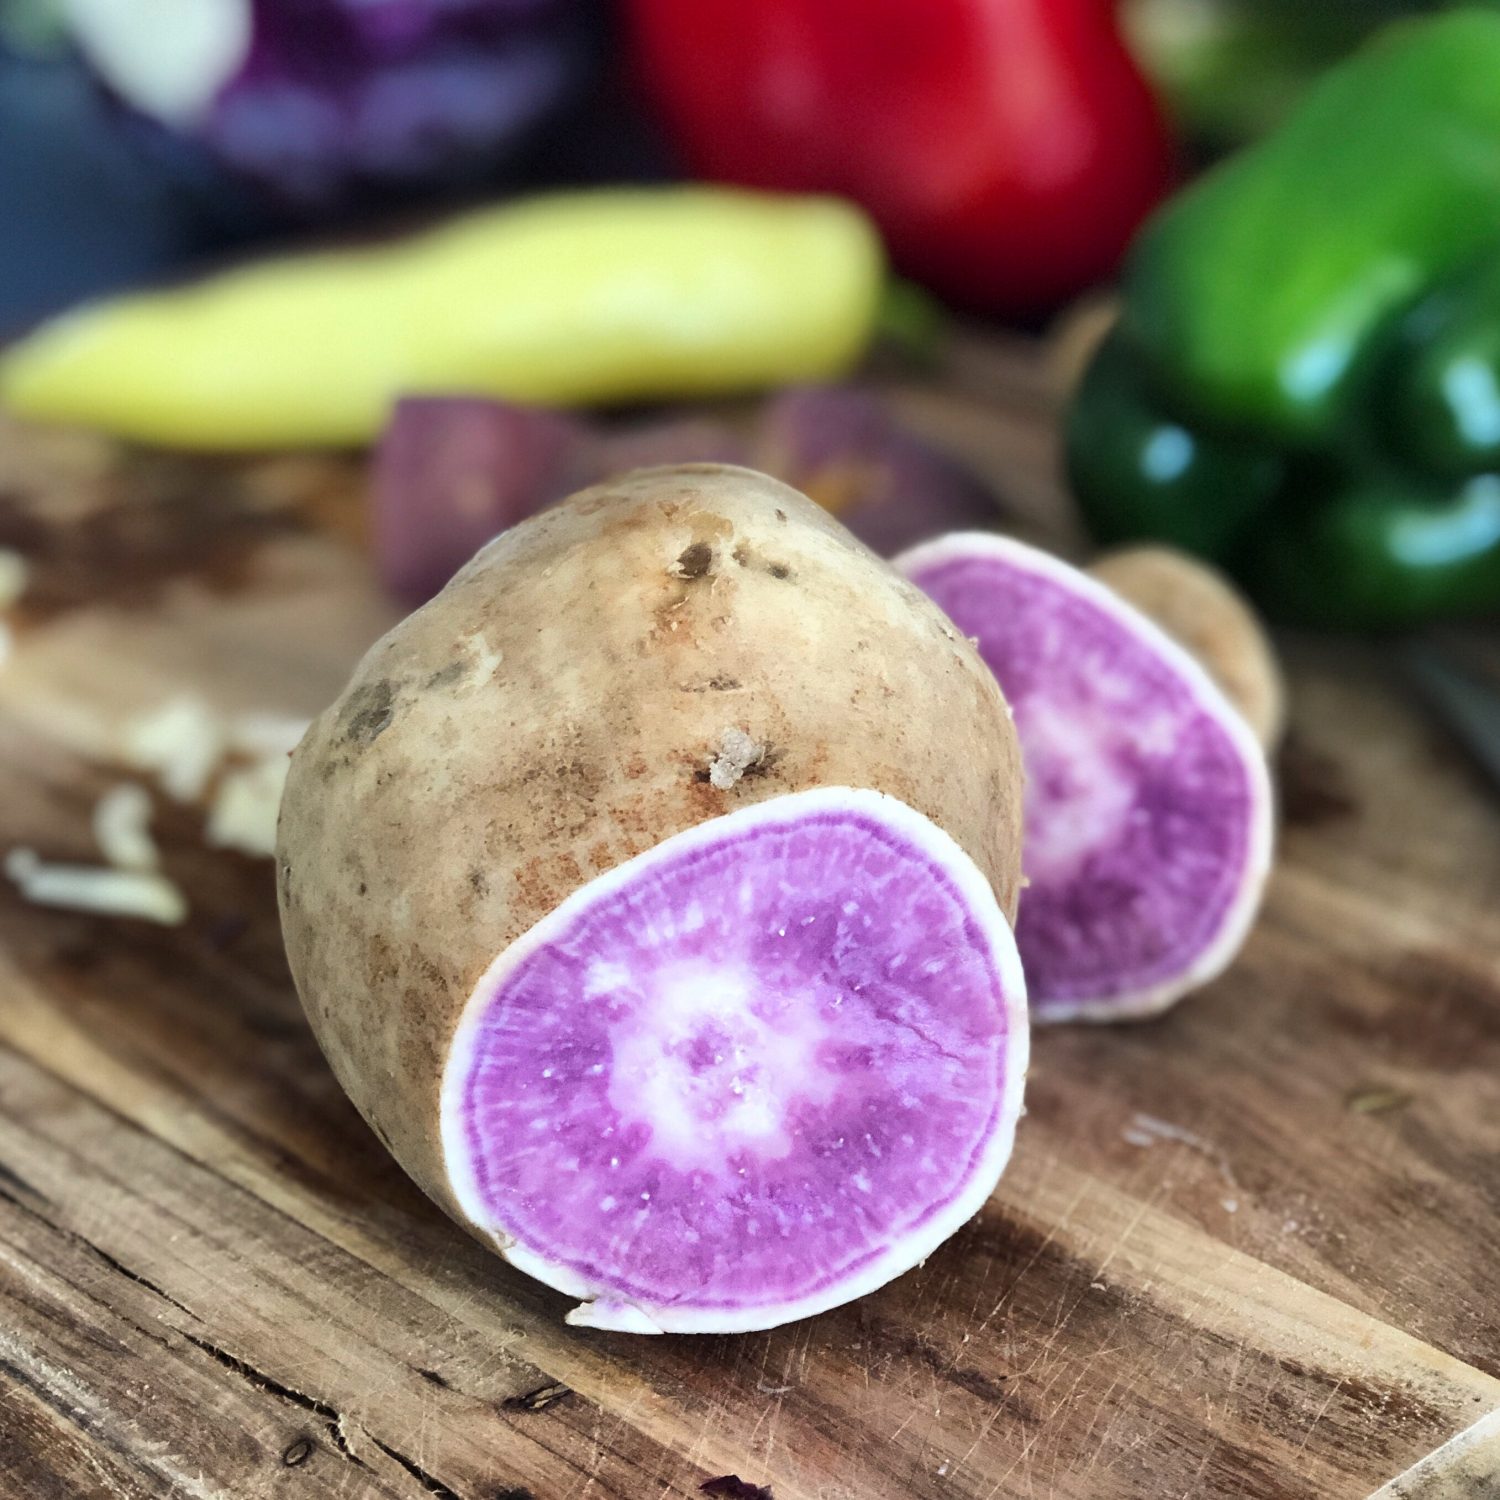
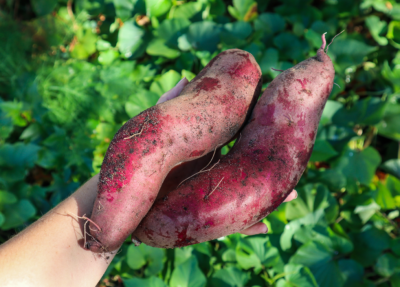
Purple Sweet Potato || 1.251kg
Hawaiian Sweet Potato || 667g
Fennel || 506g
TOTAL: 6.578kg
Harvest Gallery
Most of my Citrus trees are still young and this is the first harvest of fruit. What I love about fruit trees, is that they continue to grow more and more fruit each year. Fruit trees are powerhouses in abundance and such a valuable food source for any sustainable permaculture garden.
Join me on YouTube for new gardening videos every week – Click to subscribe
DISCLAIMER: Links included in this description might be affiliate links. If you purchase a product or service with the links that I provide I may receive a small commission. There is no additional charge to you! Thank you for supporting my page so I can continue to provide you with free content!
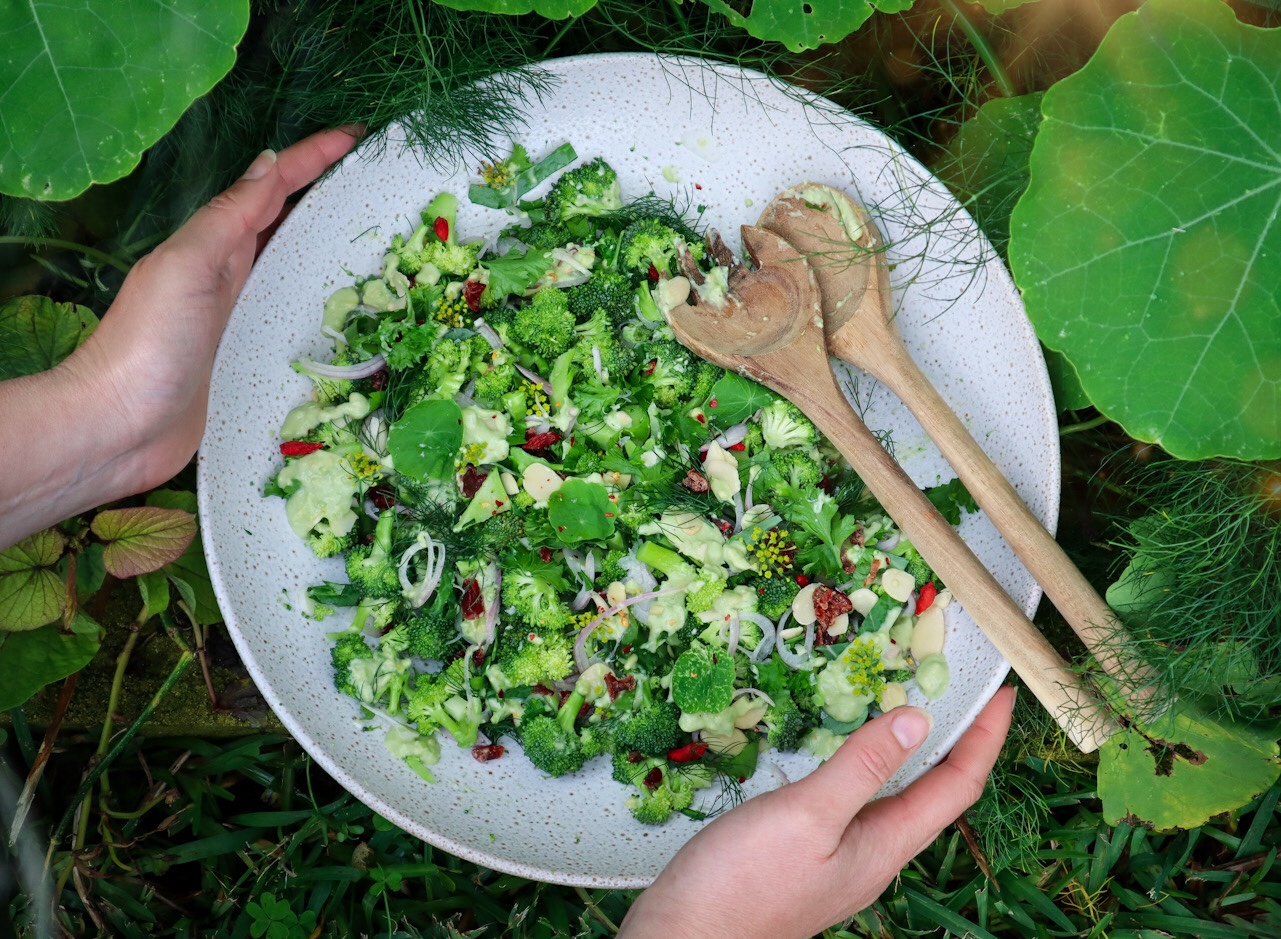
Raw Broccoli Salad is so quick and easy to make and tastes absolutely delicious. Fresh, crunchy, zingy and creamy with pops of sweet and sour. It is so vibrant and full of flavour! This salad would be perfectly paired with your favourite grilled or roasted protein. A new favourite salad to take to gatherings and shared dinners.
It is great to incorporate raw vegetables into your diet as many vitamins can be lost during the cooking process. Broccoli is a great source of fibre and protein. Plus it contains iron, potassium, calcium, selenium, and magnesium as well as the vitamins A, C, E, K, and B vitamins including folic acid. Vitamins A and C are not heat tolerant, so they will decrease during the cooking process.
Fennel flowers and baby nasturtium leaves to garnish
Method
Rinse your Broccoli and chop it into small pieces. Chop the dried end of the stem (compost) and then finely dice up the stem. Add to a large serving bowl.
Drizzle on the olive oil and squeeze 1/4 of the lemon over the Broccoli. Toss to coat.
Finely slice your shallot (mandoline makes this easy!) add this on top of the Broccoli.
Slice up the baby leaves and parsley and add to the salad bowl. Squeeze over another 1/4 slice of lemon juice.
Sprinkle over the chopped Cranberries, Goji berries and slivered Almonds.
Scatter small pieces of the fennel fronds, fennel flowers, and baby nasturtiums to garnish.
Mix up the dressing in a bowl by mashing the avocado, adding 1 tsp lemon juice, minced or finely chopped garlic, finely grate in the rind of 1/2 lemon, water, coconut yoghurt and a pinch of salt. Taste and season as desired.
Drizzle over the salad and sprinkle the chilli flakes on top along with a pinch of sea salt flakes.
Notes
* baby greens can be spinach, young Broccoli or Cauliflower leaves, or similar.Feel free to adjust to similar items you have available. All my recipes I like to incorporate what I have in my garden at the time so it is nice to be a little flexible.
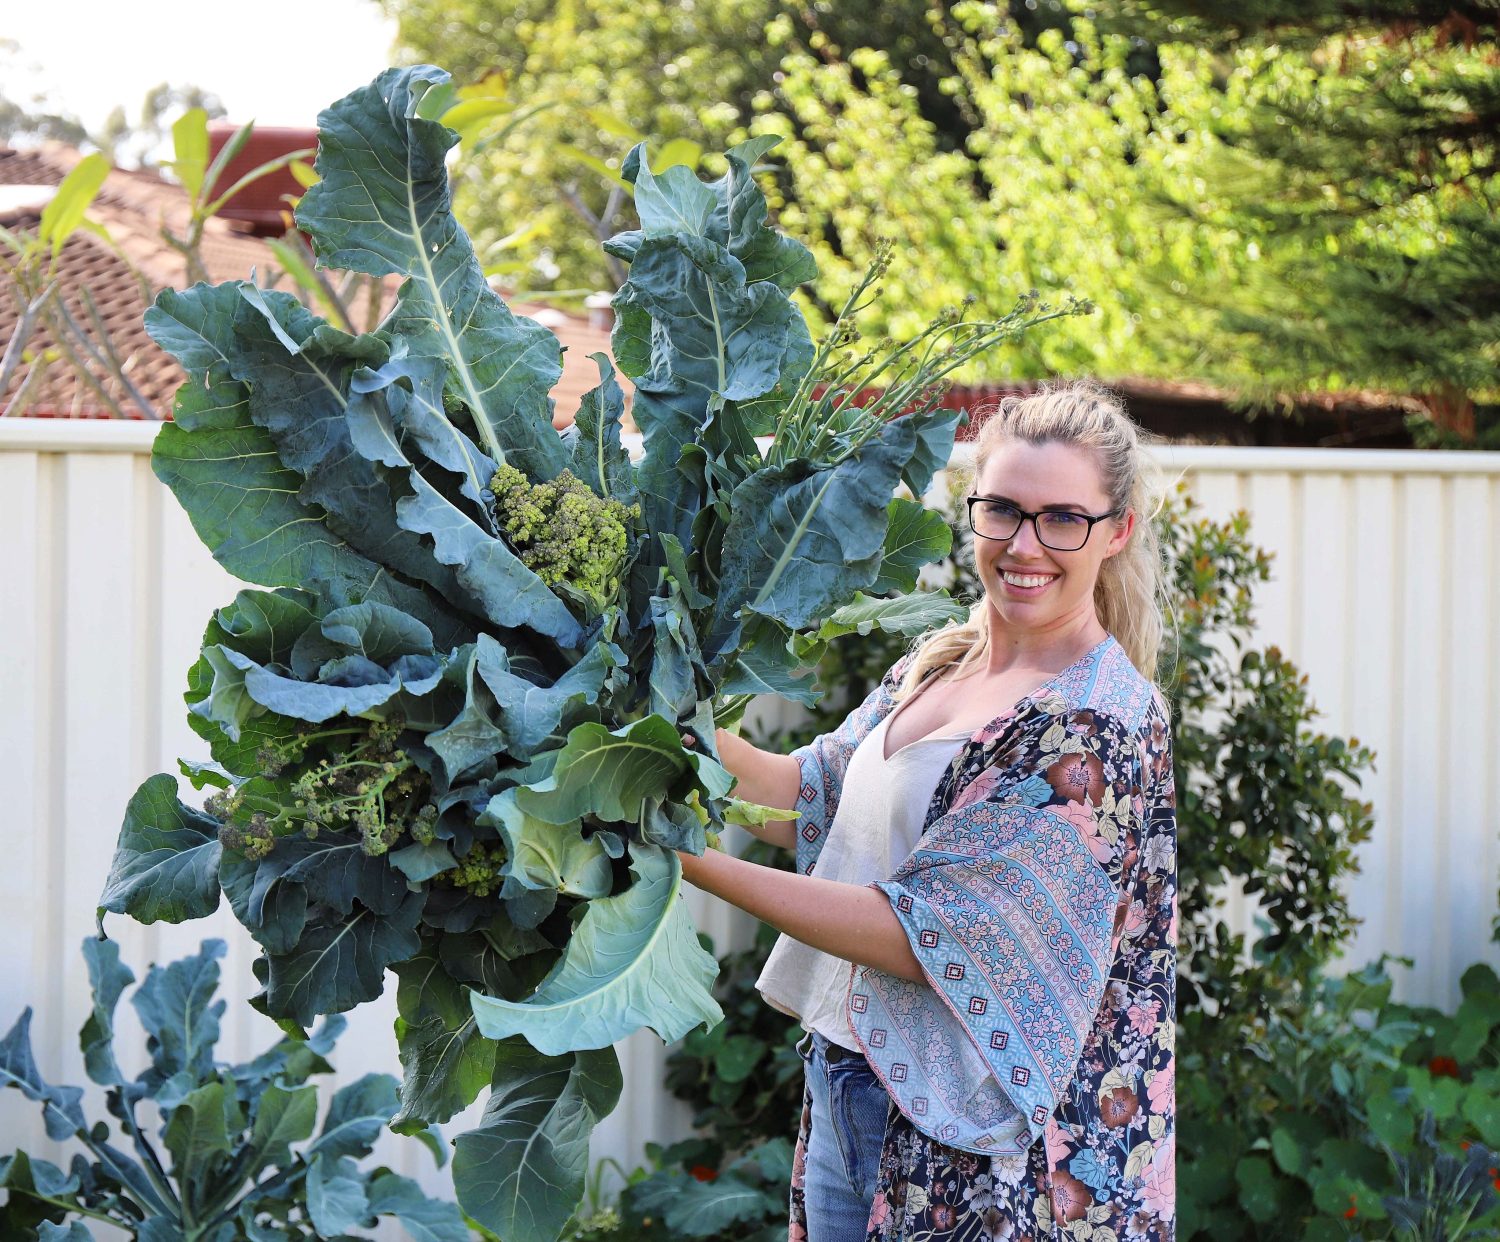
Broccoli (Brassica oleracea) is a hearty winter vegetable that provides large yields of nutritious food that can be used in so many ways! Growing your own Broccoli at home means you will have nutrient-rich veggies but you will also get access to all the extra parts of the plant such as the leaves and the stem that are both edible and delicious. Broccoli is easy to grow and can be grown in containers or garden beds. They are heavy feeders and can be susceptible to bugs such as caterpillars, slugs, and snails
Fertilise fortnightly with organic seaweed solutions.
PESTS
Watch out for slugs, snails, aphids and caterpillars.
HARVEST
8- 12 weeks. Harvest before the head starts separating.
REPRODUCE
Seed pods appear after the head goes to flower.
Broccoli Varieties
De Cicco – Traditional Italian Broccoli. Harvest the central head first to promote vigorous side shoots for up to 6 months.
Waltham – A popular Farmers’ Market variety forms large heads. High yields. Very cold tolerant. Great all purpose variety. Pick side shoots for up to 3 months.
Green Sprouting Broccoli – An Italian variety, the blue-green head is followed by `broccolini type’ side shoots that can be harvested for up to 3 months. Harvest main head 9 weeks.
Purple Sprouting Broccoli – Green stalks with small to medium-sized purple heads that are ideal for stir-frying or steaming. Purple colour is reduced when cooked. The plant continues producing small heads after each pick. Very nutritious.
Romanesco – Large pale green heads with an attractive spiralling pattern that grow to 20cm. Very tender and excellent flavour. Does best in cooler weather. This variety is often eaten raw and is very attractive in salads but can also be cooked with only a small loss of flavour.
Kailaan – Long succulent stems topped with compact broccoli heads that open to white flowers. All parts, even the leaves, are good eating. The taste is sweet to start, then the mustard flavor comes through. Excellent steamed, in stir-fries and laksas. Can be planted close together as its upright narrow habit grows well en masse. Harvest the whole plant. Heat tolerant. Fast-growing.
How to Grow Broccoli
Broccoli likes cool temperatures and a full sun location. Broccoli is a heavy feeder so much sure your soil is topped up with compost and try to plant your Broccoli in a different area of the garden each year to help the soil replenish the nutrients. Broccoli grows best in rich, moist soil with a soil pH between 6.0 and 7. Broccoli can grow quite large with big leaves so plant your seedlings about 40- 50cm apart in compost-rich soil, water in your seedlings directly after planting. Add a layer of mulch to keep the soil protected and moisture in. Depending on the variety Broccoli will be ready to harvest in 2-3 months.
When to Plant Broccoli
Broccoli is a cool weather plant so you typically want to be harvesting your Broccoli during winter. However, in some climates it can be grown all year round. The key is to have the broccoli floreats ready during cooler temperatures so that they dont bolt and go straight to flower. There are many varieties available and some that can tolerate warmer weather. Sow your seeds in the last few months of Summer or during Autumn so that your Broccoli plants are ready to harvest over winter.
Care/ Maintenance
Keep the plants well-watered on warm days. Water the plant at the base to avoid excess water pooling in the leaves and causing rot. For an extra boost you can feed your plants with a liquid seaweed solution every 2-3 weeks.
Pests / Disease
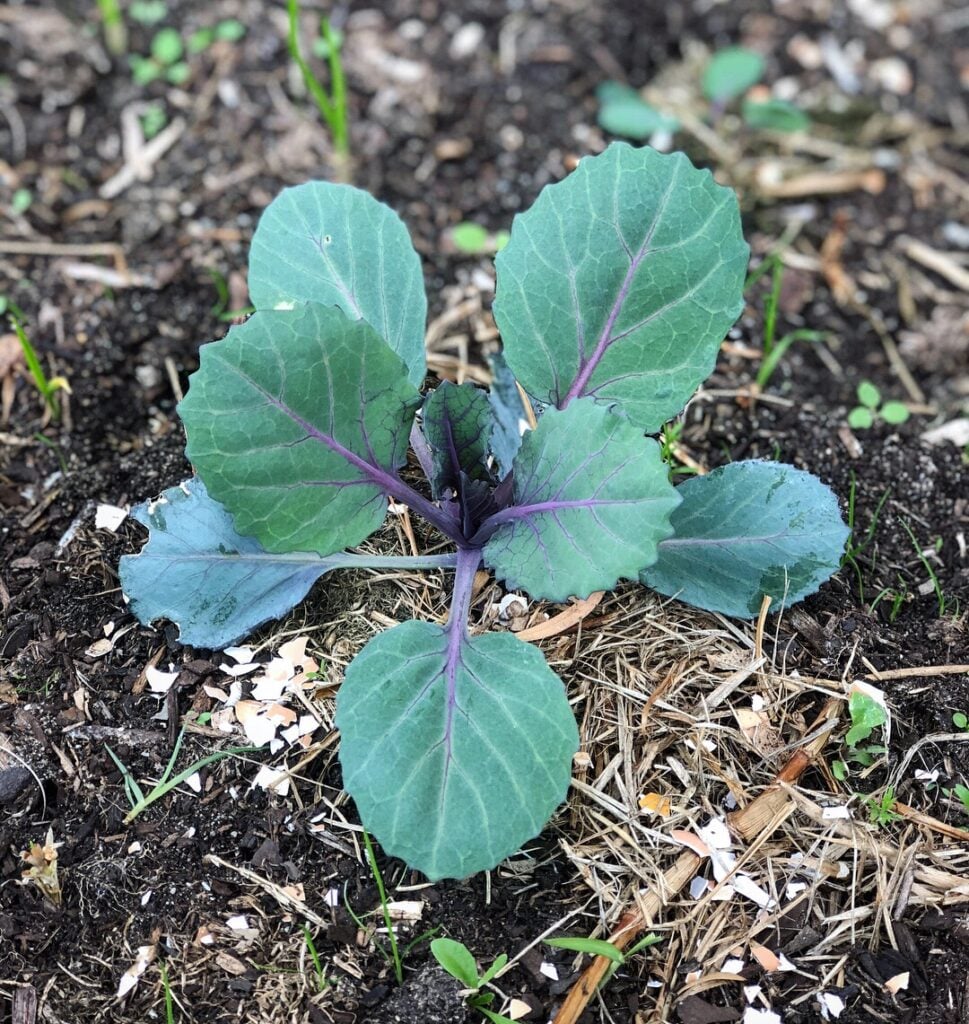
Broccoli is a prime target for white butterflies and caterpillars. Check your plants regularly by lifting the leaves and checking for caterpillars or larvae and remove. A barrier of crushed eggshells or a small container of beer can help keep the slugs and snails away especially while the plants are young and delicate. Plant a few extras throughout your garden and you will be sure to have more than enough Broccoli to eat! Click here for more natural pest management to help keep the pests at bay.
How/ When to Harvest
Depending on the variety Broccoli will be ready to harvest in 50-80days. The Broccoli head should have tightly packed buds and not have started going to flower. Once the little buds start going to flower you will want to harvest ASAP as the flowers will be quite bitter in flavour. To harvest your Broccoli cut the stem on a slight angle using a sharp knife. This will allow more broccoli heads to sprout off the main trunk over the next few weeks and you will get extra Broccoli! The angled cut will allow water to drain off so the main stem so it won’t rot. You can also harvest the younger leaves and use them in cooking as extra greens. Once you have harvested the side sprouts you can remove the plant and use up the rest of the stem and leaves.
Reproducing / Saving Seeds
Broccoli seeds can be saved after letting one of the Broccoli florets go to flower and seed. Yellow flowers will appear and then after that, seed pods will form. Once they have dried off you can harvest all the seed pods. The Broccoli seeds can be removed from the dried pods and stored to replant the following season. Save the seeds in a cool, dry, dark space.
Cooking and Using Broccoli
Broccoli is such a hearty vegetable and can provide nutritious and filling meals. Broccoli can be used in so many ways such as raw in a salad, roasted, grilled, steamed, stirfried, and added to any curry or soup. Broccoli is a great source of fibre and protein. Plus it contains iron, potassium, calcium, selenium and magnesium as well as the vitamins A, C, E, K and B vitamins including folic acid.
Preserving the Harvest
Broccoli can be frozen to add to soups and stocks. To prepare the Broccoli, rinse and remove the stalks. The stalks will take longer to cook so I like to freeze them separately. Blanch the Broccoli in boiling water for 40seconds – 1minute then add to a bowl of iced water. Cut the stalks into slices or cubes and blanch for 2 minutes and then add to the ice water until completely cool. Shake off the excess water and add to freezer bags or ziplock bags. Try to remove as much of the air from the bags as possible to reduce freezer burn. Keep frozen and use within 6 months. The stems can also be pickled and stored in the refrigerator.
Winter is one of the most productive (and busiest) seasons in the garden here in Perth, and this winter gardening guide Perth will show you why. While many gardeners assume growth slows to a stop, the reality here in Perth is very different…The cooler temperatures, reliable winter rainfall, and (did I mention) no crispy hot burning sun create ideal conditions for growing leafy greens, brassicas, herbs, and root vegetables.
If you’re gardening in Western Australia, winter is not a quiet season…it’s a time of abundance, soil building, planting, and preparation for the warmer months ahead.
This guide will walk you through exactly what to plant in winter in Perth, how to manage changing sun patterns, what to harvest, and the key seasonal gardening jobs that will set your garden up for success!
Winter Gardening in Perth: What Makes It Different?
Perth has a unique climate 😅 with extremely hot summers and low rainfall. Summer can be a tough time to grow a garden…which makes winter one of the best times for vegetable gardening.
Key winter conditions include:
Mild daytime temperatures compared to other parts of Australia
Cool nights, but usually limited frost in most suburbs
This combination means winter is often the easiest and most productive growing season in a Perth garden.
Understanding Winter Sun and Shade in Perth Gardens
One of the biggest changes in winter gardening is how the sun moves across your space. Especially in urban areas or if you have large neighbouring trees.
In Perth, the sun sits lower in the sky during winter, which means:
Areas that were full sun in summer may become partially shaded
Trees, fences, sheds, and buildings cast longer shadows
Some garden beds may only receive morning or afternoon sun
This is why observation is one of the most important gardening skills.
Before planting, spend time watching:
Where the sun lands in the morning
Which areas stay shaded all day
How water moves after rain
Wind exposure across your space
Once you understand these patterns, you can match plants to the right conditions instead of forcing them into unsuitable spots. The more we can work with what we have, the easier it is and the more enjoyable gardening becomes.
10 Edible Plants That Thrive in Shade During Winter
Not every part of your garden needs full sun. In fact, winter shade can be an advantage for many edible plants in Perth.
Nasturtiums – Tropaeolum majus. They thrive pretty much anywhere and are so abundant even in shaded areas. Most of the plant is edible!
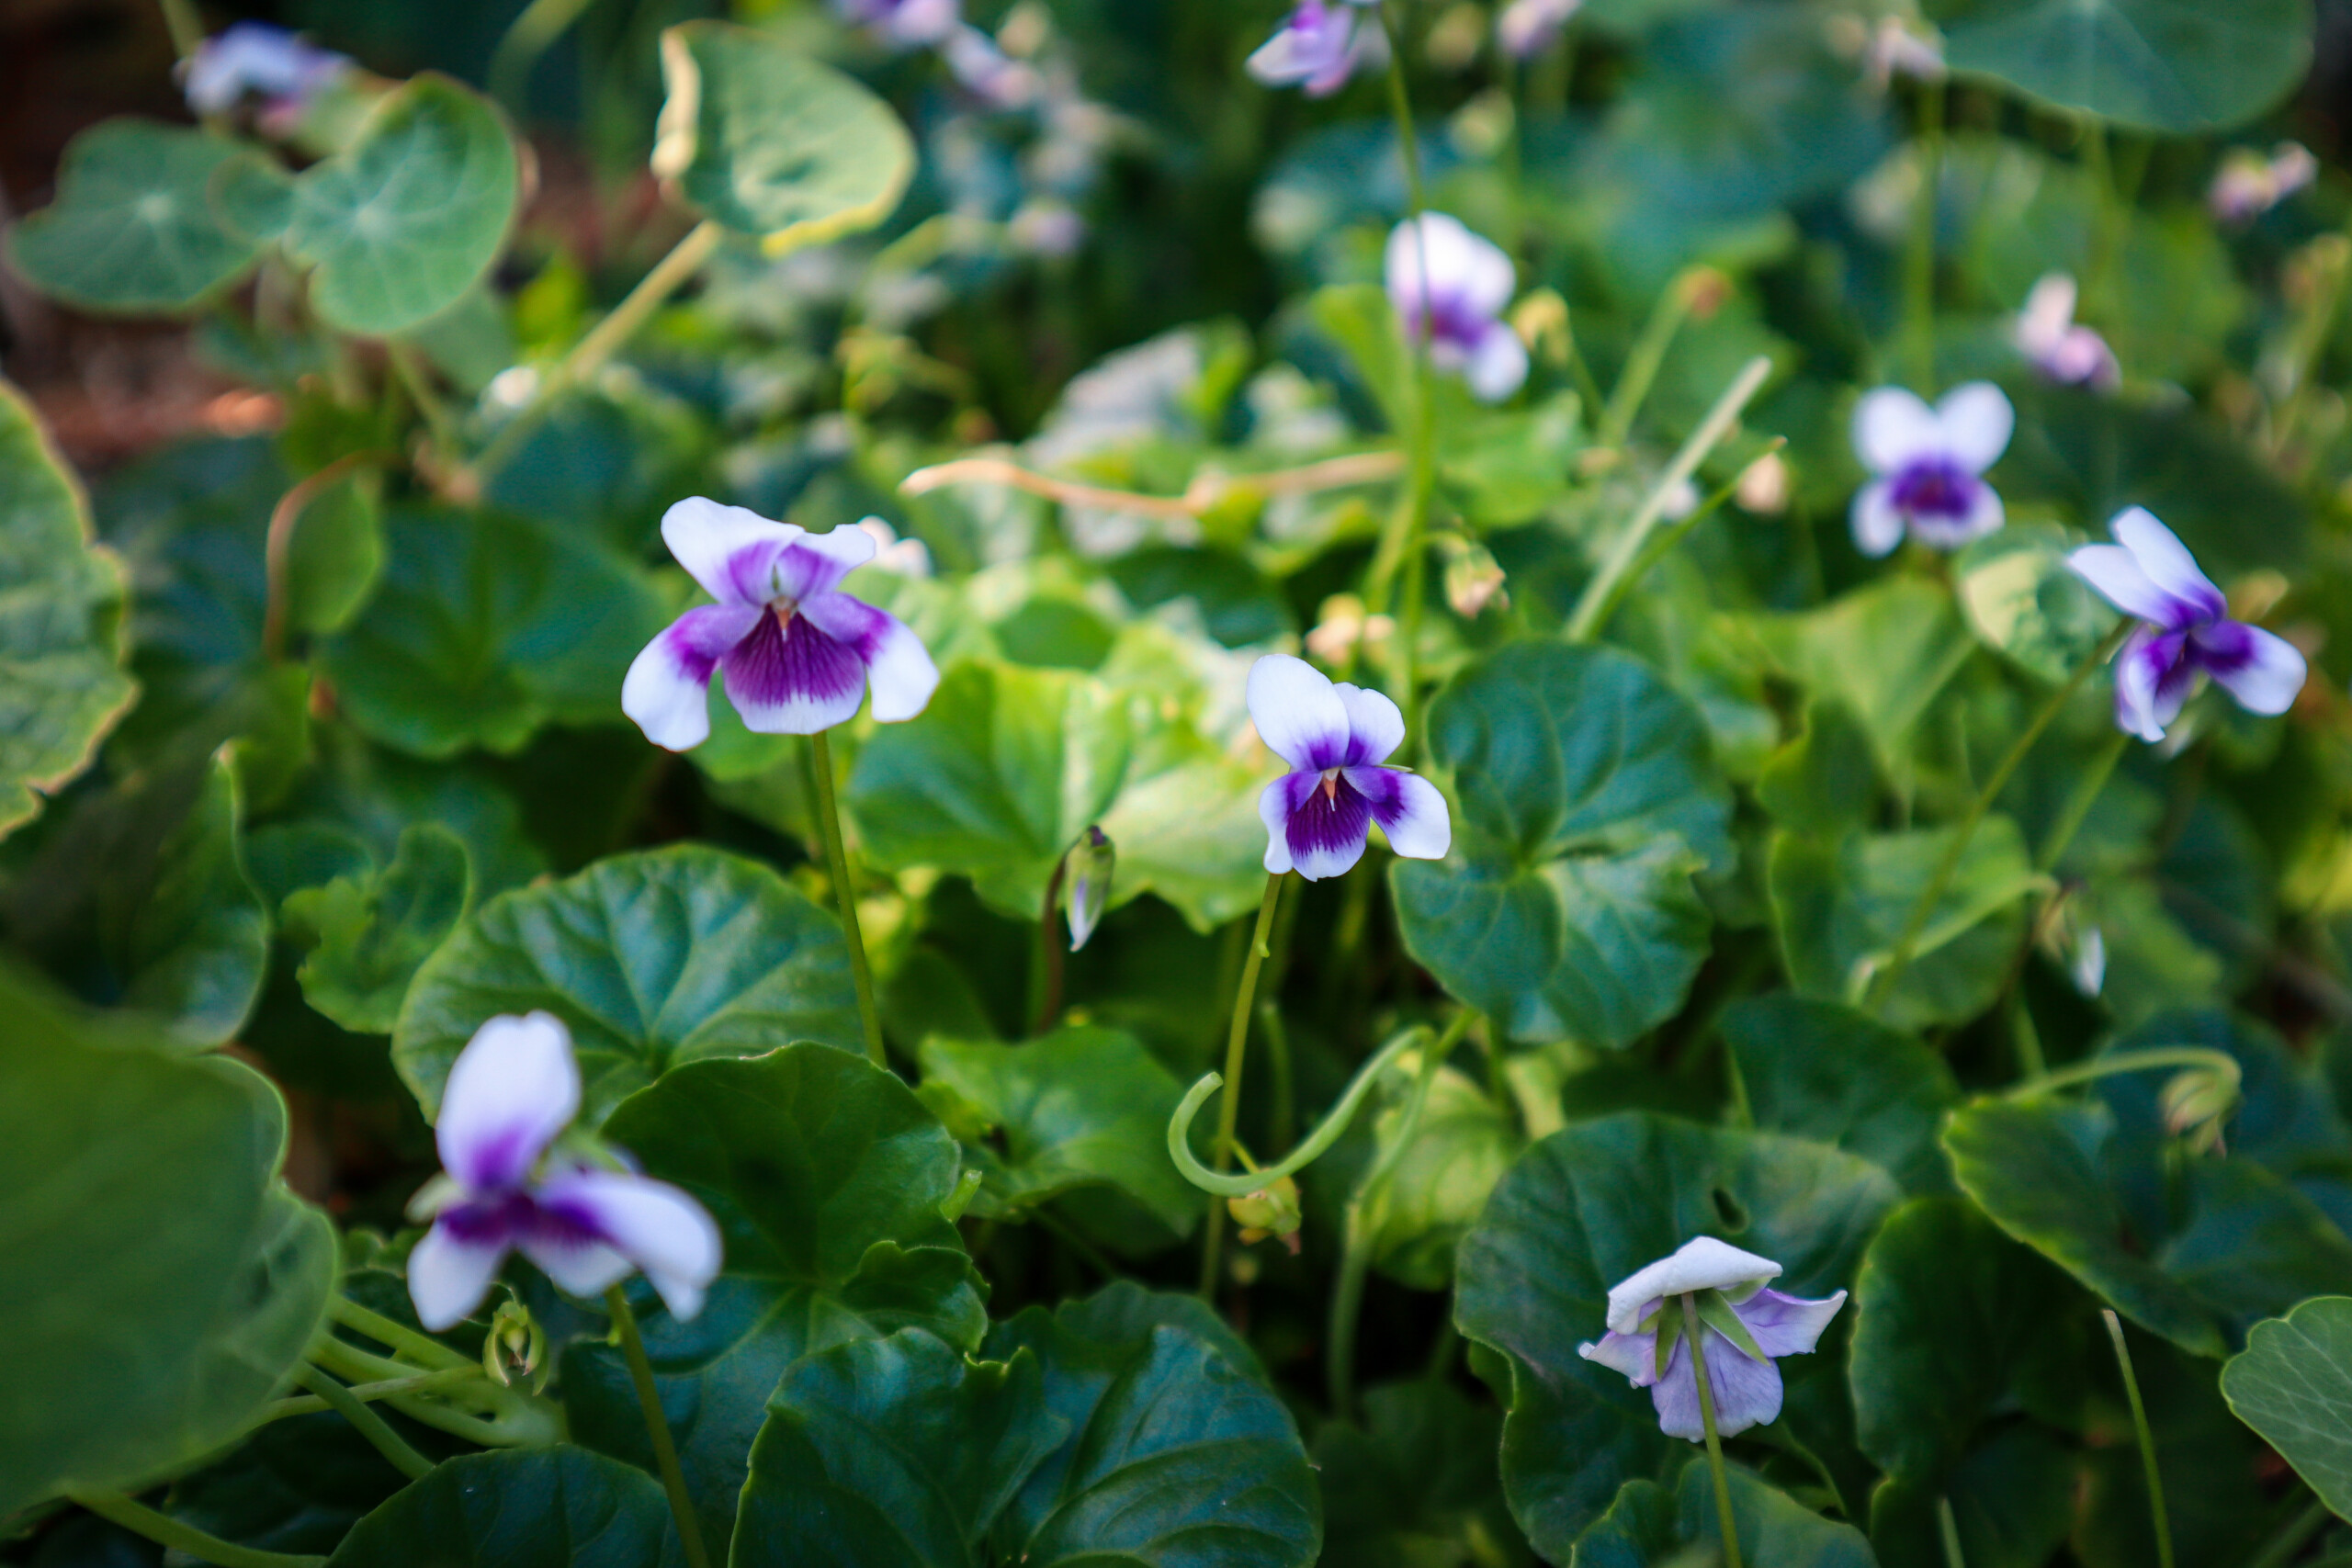
Sweet Violets – Viola odorata. Sweet violets, also known as English Violets, Wood Violets, or Common Violets, have cute little purple or white and purple edible flowers and make a beautiful carpeted edible ground cover.
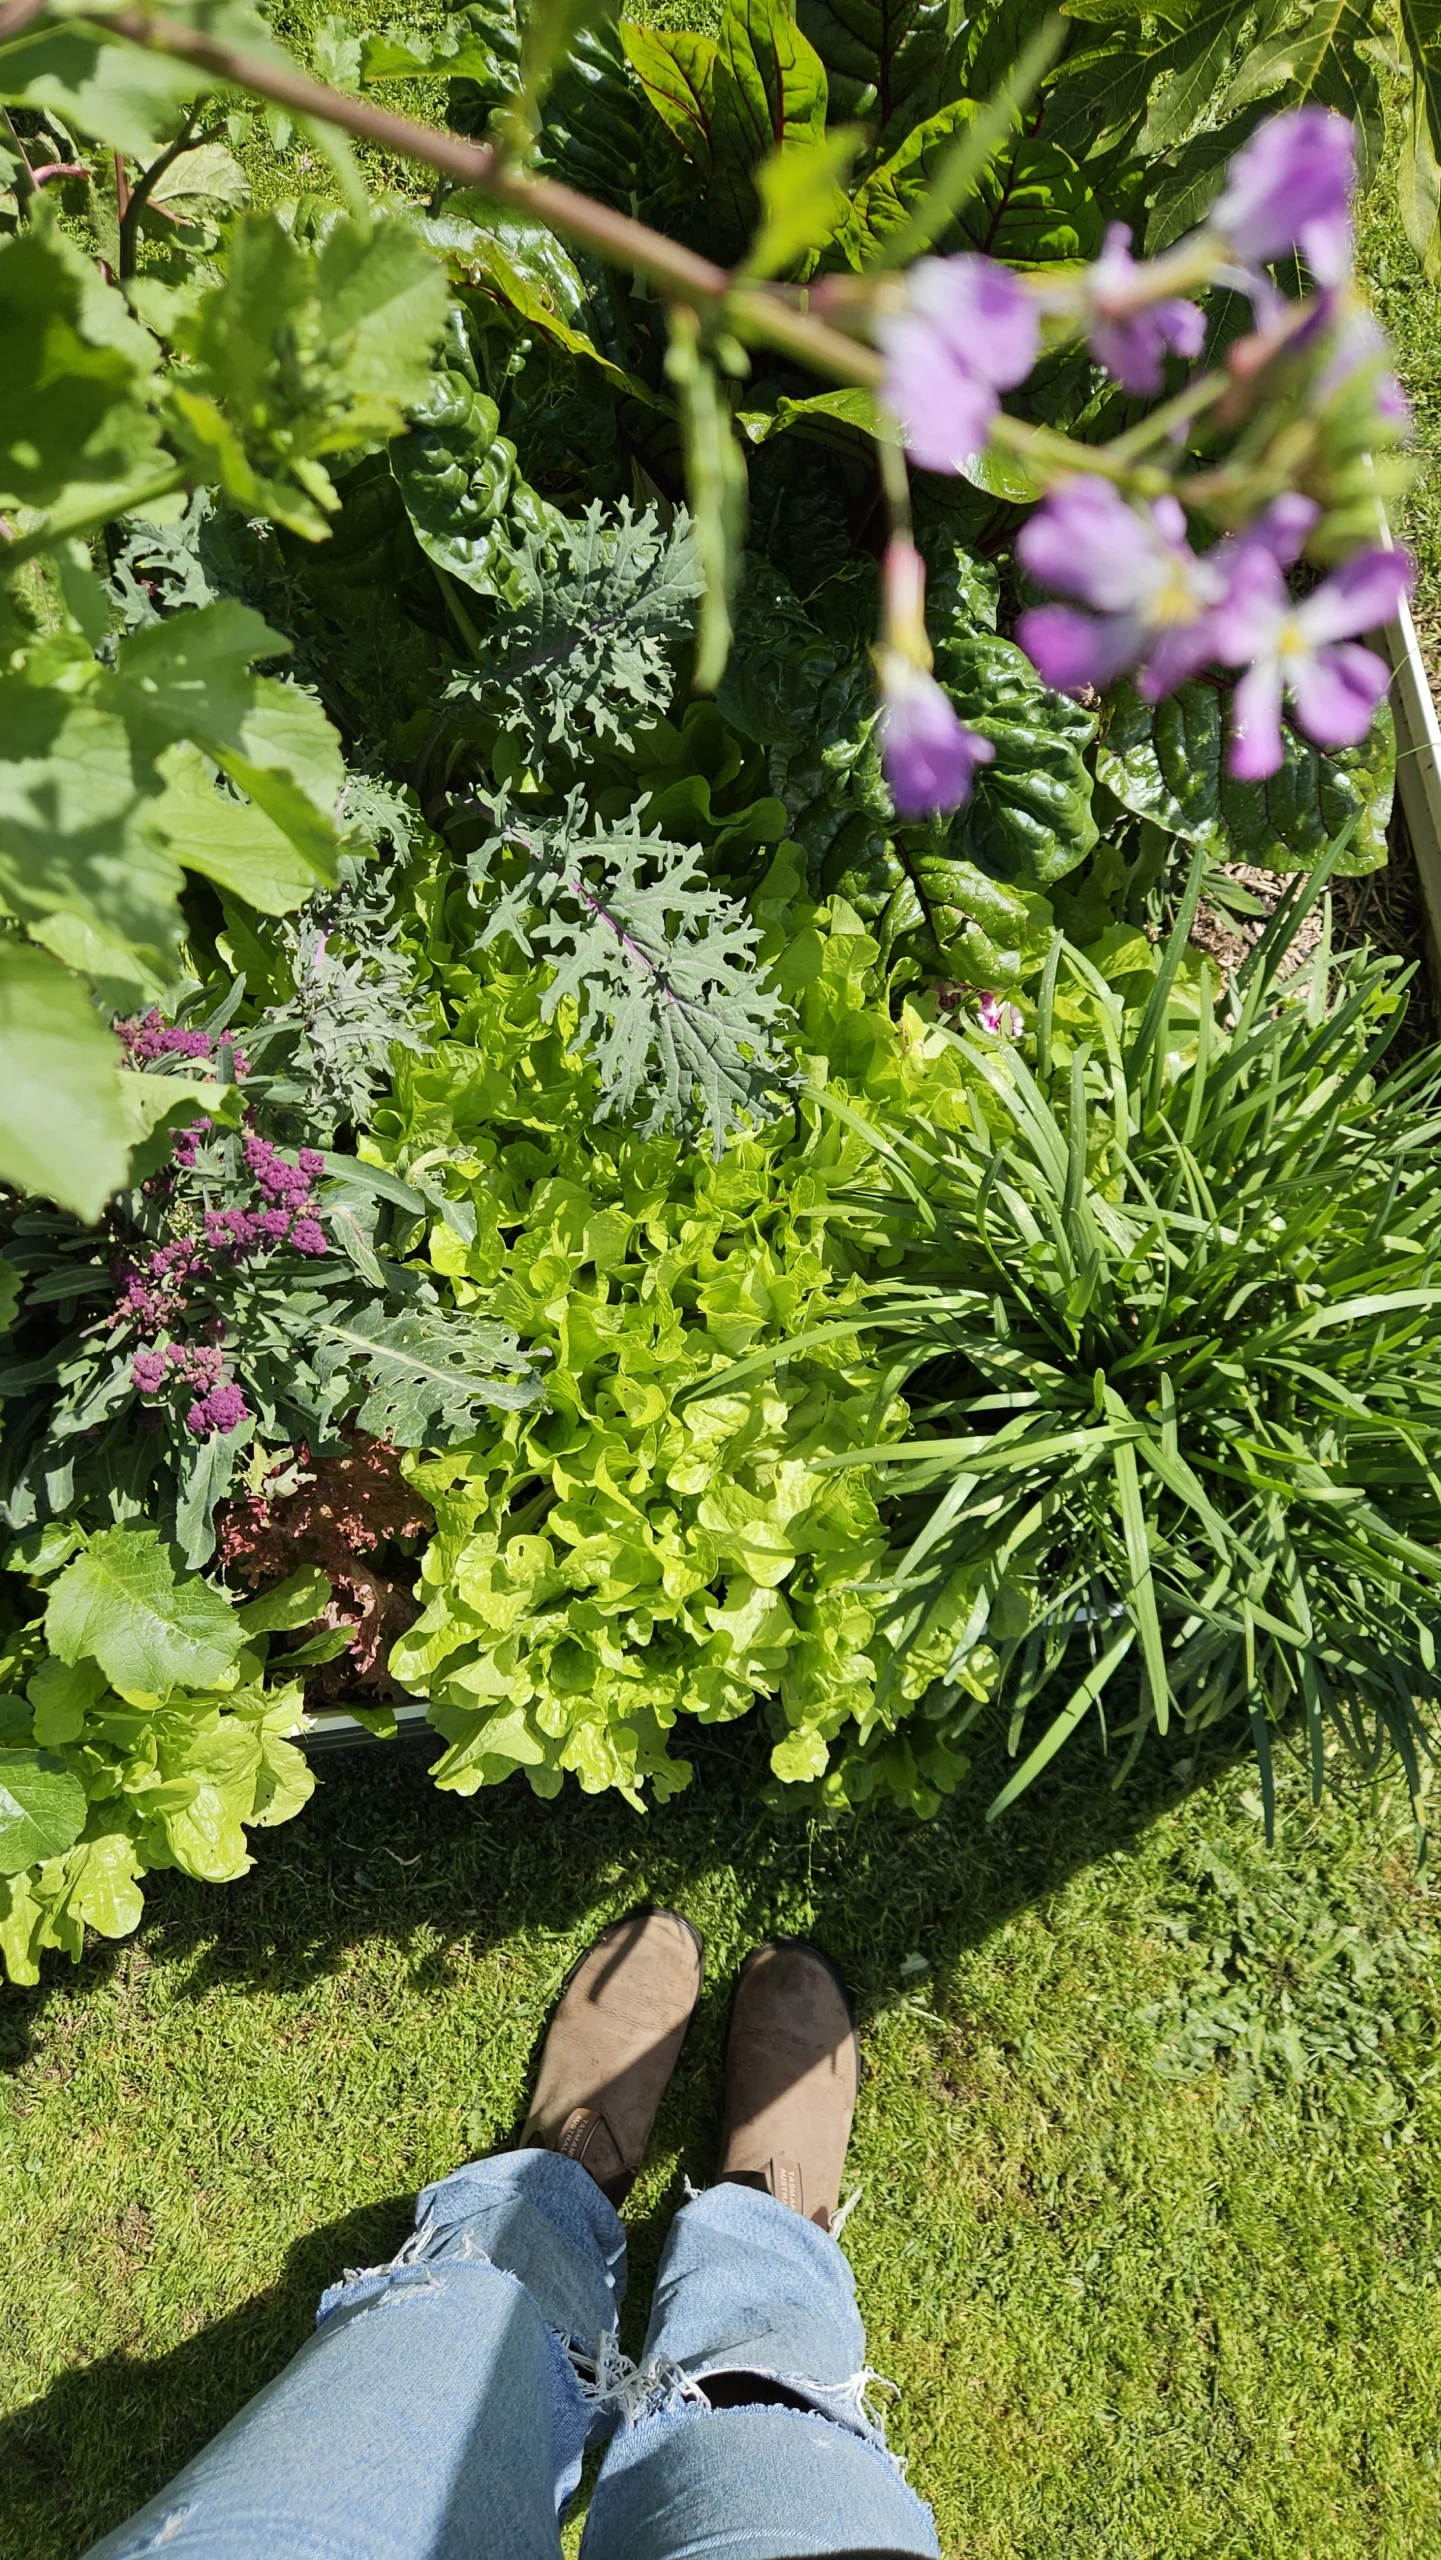
Lettuce – I grow many different varieties of lettuce, and they don’t seem to mind the shade. In fact, in Perth, WA, I find they do better in the shade.
Chives – Allium schoenoprasum. I have chives planted in the shade year-round, and they do well. They add great oniony freshness to omelettes, and the flowers are also edible.
Kale – Brassica oleracea var. acephala.Kale grows well in the shade due to its large leaves being able to sustain adequate energy. It does grow at a slower rate (like most plants in the shade), which I like because although I like Kale it is much easier to keep up with it.
Radish – Raphanus raphanistrum subsp. sativus. Radishes are fast-growing and will do well in the shade. They are a perfect fresh accompaniment to a salad or pickled.
Asian Greens – Bokchoy, Tatsoi, Choy Sum, these are some of my favourite Asian leafy greens, and they all do well in the shade or part shade.
Parsley – Petroselinum crispum. Parsley will tolerate shade, and I find it grows at just the right rate for me to use without having masses going to waste.
Sweet Potato – Ipomoea batatas. Although full shade is not ideal growing conditions, my Sweet Potato still does well. Slower growing but a great ground cover and still produces decent-sized crops.
Rocket – Eruca vesicaria ssp. sativa. Rocket (or Argula) does fine in the shade too and is a great addition to any salad, served with Pizza or make a delicious rocket pesto!
What to Plant in Winter in Perth
Winter is peak planting season for cool-climate crops here in Perth, Western Australia. My winter veggie patch is by far the most productive of the entire year!
Leafy Greens
These are fast, productive, and ideal for continuous harvest:
Lettuce
Spinach
Rocket
Rainbow chard/ Silverbeet
Kale
Asian Greens
Brassicas (Winter Power Crops)
These thrive in cool conditions and form the backbone of winter harvests:
Broccoli
Cauliflower
Cabbage
Kohlrabi
I have found the most success with mini cabbages and sprouting broccoli due to our shorter winters.
Root Vegetables
Perfect for deeper beds and sandy soils when well mulched:
Carrots
Beetroot
Radish
Turnips
Herbs
Winter herbs grow steadily without bolting:
Parsley
Coriander (if you like that soapy flavour 🙃)
Chives
Dill
Sage
Thyme
Oregano
Legumes
Great for soil improvement and early spring harvest:
Peas
Broad beans
Bush Beans
Planting a mix of these crops ensures continuous harvest throughout the season.
Fruit Trees
Winter can be a good time to plant many fruit trees such as:
Stonefruit
Apples
Citrus
Guava
Feijoa
But… there are a few I would avoid planting in winter. These are tropical or subtropical trees such as mango, avocado, papaya, and banana (although I still do, and they haven’t died). It’s best to be safe and wait until the last cold spell is over in spring.
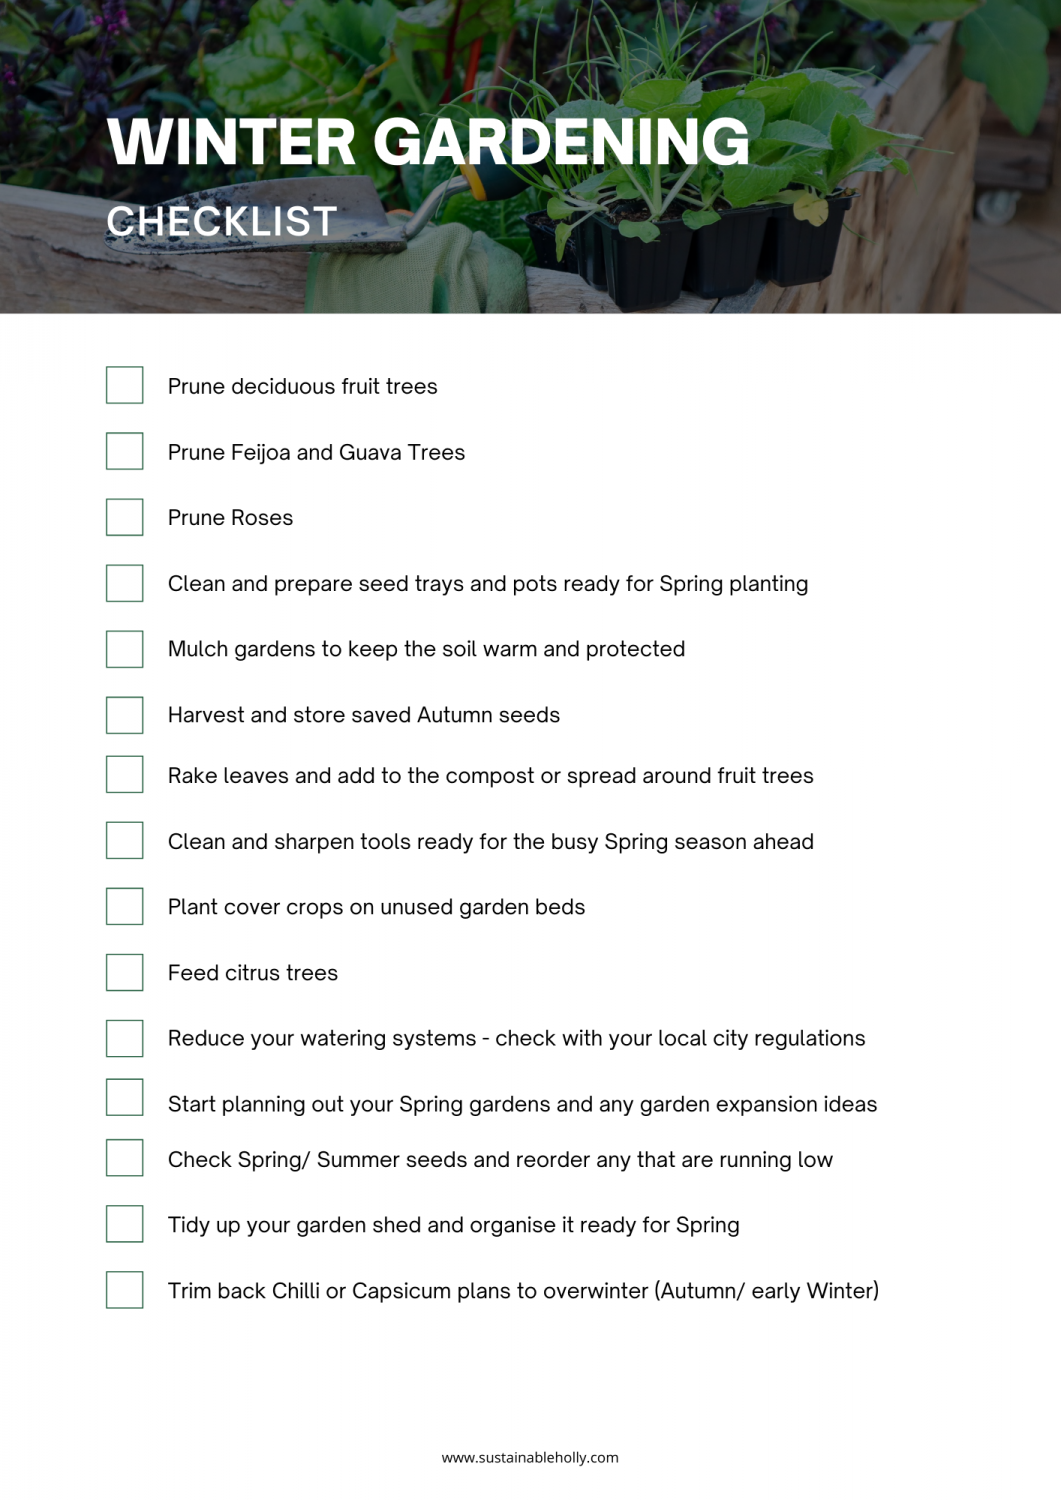
Winter Garden Maintenance Tasks
Winter is not just about planting… It’s also the perfect time to improve your soil and prepare for spring.
Feed Your Fruit Trees
Apply compost, mulch, and natural liquid fertilisers around established fruit trees. Winter is a rest period, so nutrients can slowly integrate into the soil.
Improve Your Soil
Add compost or worm castings to vegetable beds before planting winter crops. Healthy soil equals healthier plants.
Mulch Heavily
Mulch helps:
Retain moisture
Stabilise soil temperature
Suppress weeds
Protect soil biology
Chop and Drop
If you have shade or mulch plants, it can be a good idea to chop and drop these in early winter to allow more sunlight into your garden AND get lots of mulch.
Manage Watering
Winter rainfall usually reduces irrigation needs, but newly planted seedlings still need consistent moisture. Keep an eye on the weather as we still get plenty of dry periods during the start of our Perth winters.
Watch Out For Pests
Winter is also a busy time for pests! Keep on top of these naturally with used coffee grounds and natural pest management.
Plant Bare-Root Fruit Trees
Winter is the ideal time to plant deciduous fruit trees while they are dormant.
Prune Fruit Trees
Winter can be a good time to prune fruit trees such as Guava and Feijoa (early winter) and deciduous fruit trees (apart from Apricots – these are better in autumn).
Save the ends and scraps of your greens, herbs, onions, and root vegetables and make a batch of Veggie Scrap Stock
What to Harvest in a Perth Winter Garden?
Winter is surprisingly abundant in Perth gardens. If you feel like your winters are too lean, try adding some of the below fruit trees and edible plants to your garden.
A well-planned winter garden can provide continuous harvests even in cooler months.
Planning for Spring
Sometimes it can feel like you are always behind when it comes to planting seeds and seedlings. Here are some tips to do in Winter that will have you speeding ahead in your Spring and Summer gardens!
Check your seed collection and order your spring and summer seeds (tomatoes, pumpkins, zucchini, capsicum, chilli)
Start planting any early spring seeds inside or in the greenhouse. The last month of winter can be a great time to do this and get a few things growing to kickstart your spring garden.
Sprout Sweet Potatoes for sweet potato shoots.
Clean and organise seed trays ready for planting.
Pumpkin seedsFennel seeds
Winter gardening in Perth is one of the most rewarding times of the year. With the right plant choices and a good understanding of your garden’s seasonal sunlight patterns, it could be your most productive season in the garden!
Instead of slowing down, winter becomes a season of growth, planning, and building the foundation for year-round harvests.
If you found this post helpful, please consider sharing it with others 💚
Winter greens are in abundance and it is the perfect time of year to enjoy warm, nourishing soups. This garden green soup is full of greens that are only lightly cooked, so they retain as much of their nutrients as possible. This soup will make the perfect winter starter or lunch and can be made using any greens you have growing in the garden.
Nourishing Garden Green Soup
Packed full of fresh nutritious greens from the garden, this soup is delicious served both warm and cold.
1. Finely dice the onion. Add oil to a frypan on medium-low heat and cook the onion for 10 minutes or until slightly golden.
2. Add in the garlic and cook for 1 minute. Add in the cumin and cinnamon and stir to mix, cooking for a further 1 minute.
3. Add in the coconut milk, Tamari, and 3/4 cup of water. Cook for 5 minutes, stirring regularly. Remove from the heat and allow to cool.
4. Rinse your greens and remove the stems.
5. Fill a wide bowl with cold water and ice and place it beside the stove. Place a wide pan, (or wok) on medium heat with 3-4 inches of water. Heat until the water is simmering.
6. Blanch your leaves in the simmering water and then add to the iced water to cool. This will lightly cook the leaves and help them remain bright vibrant green. Do this in stages with each type of leaf. Blanch the thicker leaves such as Rainbow chard, Broccoli, Cauliflower leaves, and Sweet Potato leaves for 45 seconds. The more delicate leaves such as Mint, Nasturtium, and fennel for 20-30seconds.
7. Strain off the green from the water.
8. Blitz up the cooled onion mixture and greens in a blender or similar (stick mixer, Nutribullet).
9. Transfer the mix to a saucepan and add salt (to taste) and reheat to serve or enjoy cold.
OPTIONAL: Top with mixed seeds (sesame, pumpkin, sunflower), edible flowers, and baby mint and nasturtium leaves. Serve with buttered Toast.
Notes
The Sweet potato and Broccoli leaves can be substituted with other garden greens you have growing in the garden such as Spinach, SilverBeet, Asian greens.
The darker the greens are in colour, the more vibrant green the soup will be.
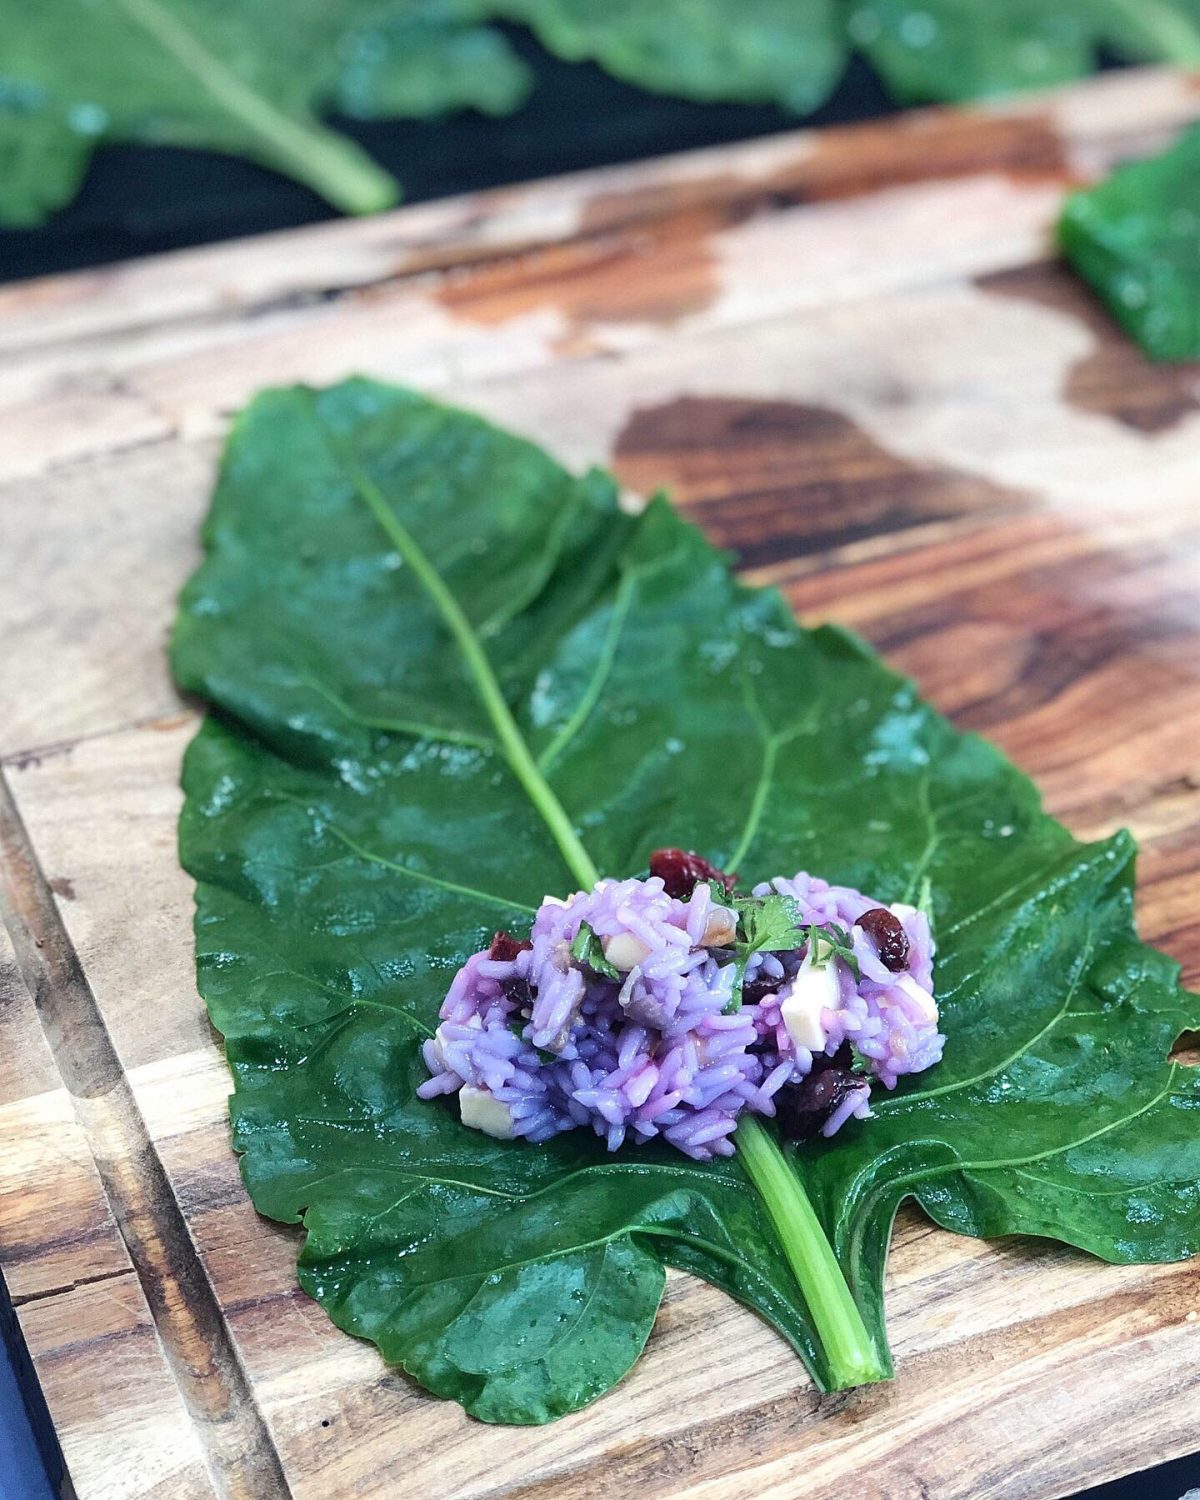
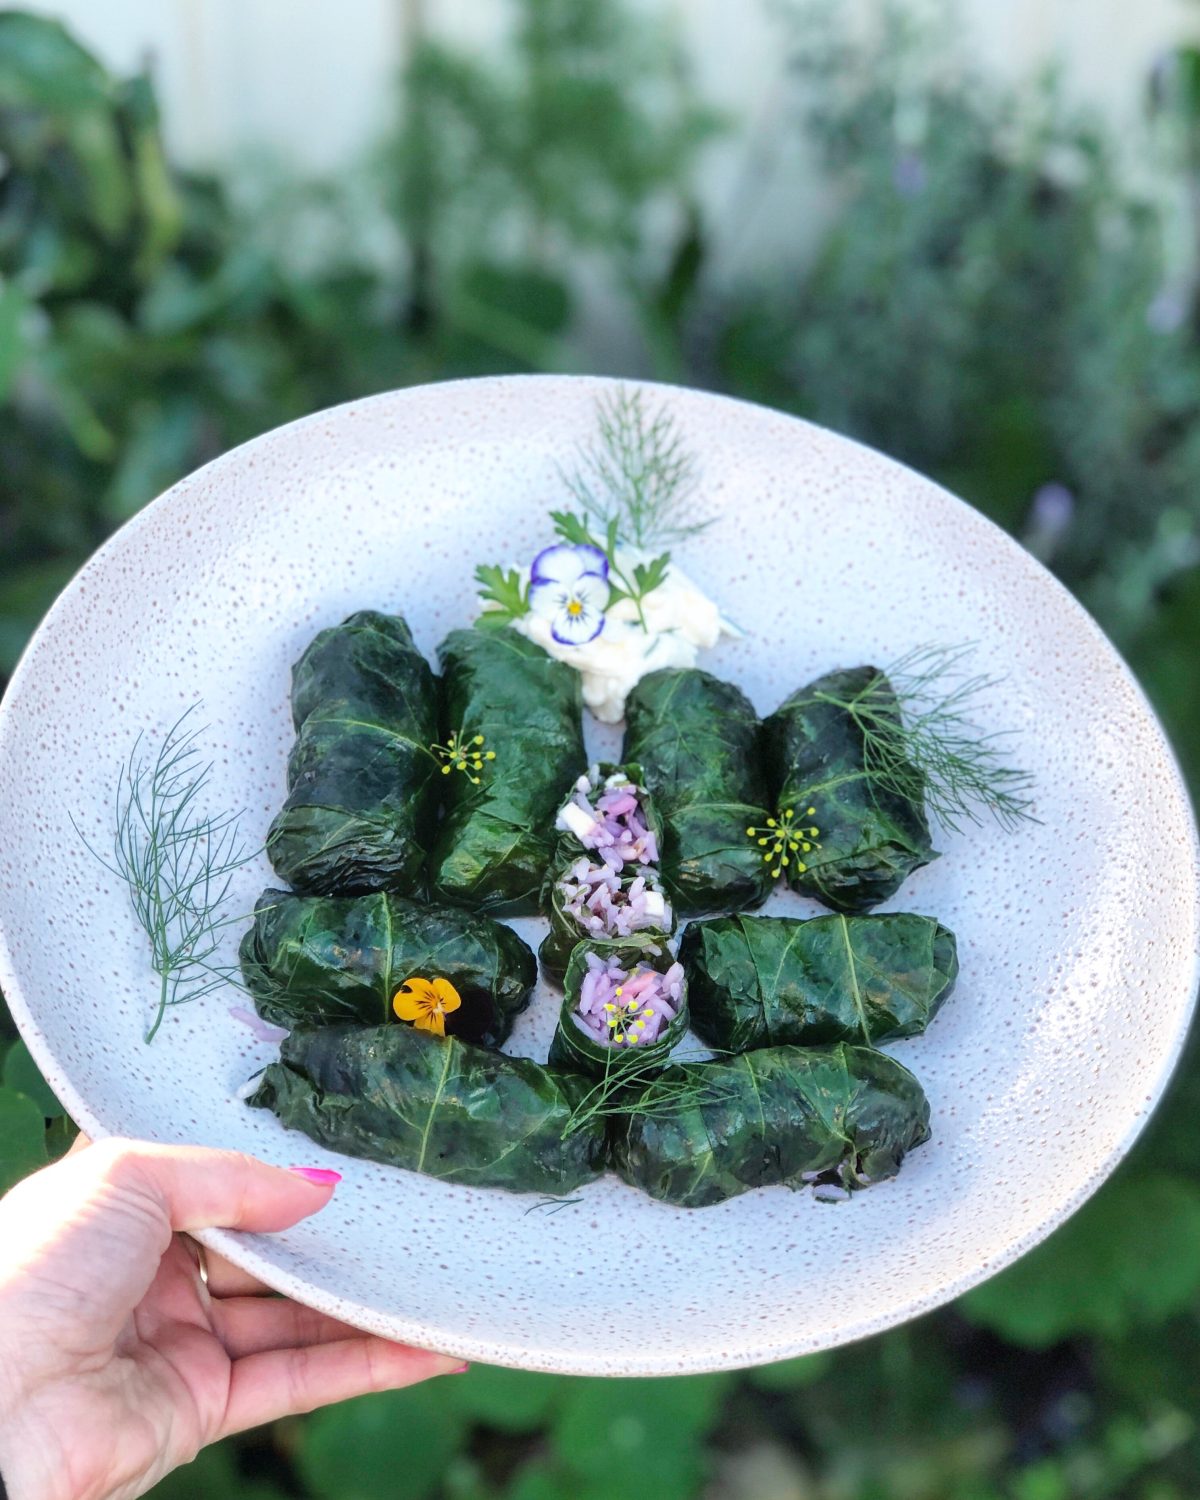
Satay Rainbow Rolls are healthy, delicious and so easy to make! Once you master the rolls you can mix and match ingredients with what is fresh and growing in your garden. Plus, feel free to swap the halloumi for your favourite protein. These Rainbow Rolls are made using Rainbow Chard but you could also use large Beetroot leaves, Cauliflower leaves, Broccoli leaves, Spinach or even Cabbage leaves. It is important to have flexible recipes that you can make using what you have available in your garden and these rainbow rolls are definitely a versatile option for your Garden to Plate meals.
Mix peanut butter, tamari, water, and sugar in a small bowl until fully combined.
Rinse Haloumi well in water, dry off and place on a plate to coat in a tsp of the Satay Sauce. Keep the remaining sauce for the rolls.
Finely slice your cabbage. Peel and cut your carrots into fine sticks. Slice capsicum, avocado, lettuce, and any other fillings you want into small strips. Squeeze a little lemon onto the avocado to stop it from going brown.
Rinse your Rainbow chard and remove the stems (keep these in a small jar of water and add to any other meal over the next day). Carefully slice off the back ridge of the stem so that it is thinner (see example image below).
In a small pan lightly fry your halloumi until it is slightly golden. About 1minute on each side. Set aside to cool while you prepare the leaf wraps.
Place a large pan of water to simmer. The pan needs to be big enough to fit your leaves. A wok or a wide frypan works best. Place a dish of water with a few ice cubes beside the stovetop to transfer the leaves to after they have blanched. Add your leaves one at a time to the simmering water for 40secounds and then transfer to the iced water. This will soften the leaves and keep them a vibrant green colour.
Once they have cooled place them on a tea towel and carefully dry off the excess water.
Lay the leaves flat with the top facing down. Add your filling to the widest part near the base of the leaves. Ensure there is about an inch of the empty leaf down the sides. Spoon on some sauce above the filling.
Start rolling the leave from the base and then fold the left side in. Do a half roll again and add the right side. Carefully keep rolling and tucking the sides in as best you can. The bigger the leaf and the more room you have, the easier this will be. At the end, you may need to dab some water on the tip of the leaf to allow it to stick.
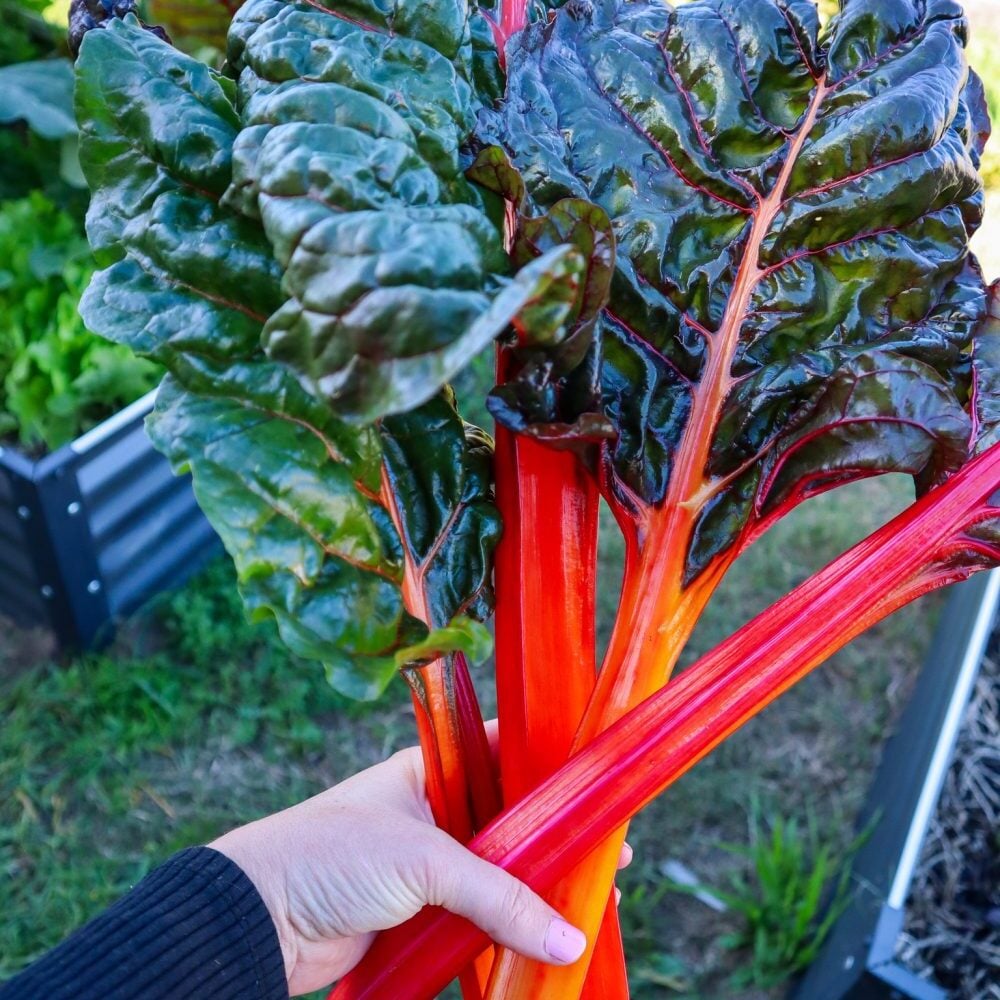
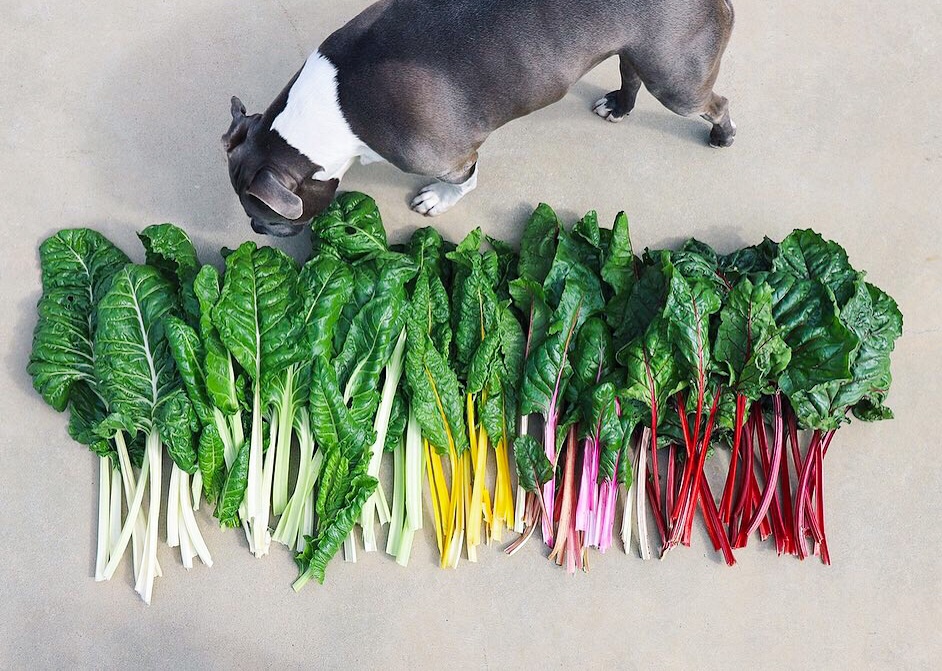
Rainbow chard is a standout plant in the garden with its vibrant coloured stems and lush green leaves. Chard is super easy to grow and will produce an abundance of edible leaves quickly. You can harvest the outer leaves as you need them and the plant will continue to produce more. This powerhouse vegetable is packed full of vitamins and minerals and can be used in many dishes. It is so versatile!
Watch out for slugs, snails, aphids and caterpillars.
HARVEST
8 + weeks. Harvest outer leaves throughout the season.
REPRODUCE
Biannual. Seed pods appear from a central flowers in the second year of growth.
Rainbow Chard
Rainbow Chard or Swiss Chard is actually part of the Beetroot family – Beta vulgaris. Although Rainbow Chard doesn’t form a root-like beetroot, it does have beautiful lush leaves with colourful stems. Rainbow chard is a staple crop to grow because it produces a lot of food on just a couple of plants. It also adds beautiful colour to your garden and dishes during the winter months.
How to Grow Rainbow Chard
Rainbow Chardlikes cool temperatures and a sunny location. It will also grow in dappled shade at a slower rate which can be good because it is such a generous plant. This slower growth can be a strategic move if you want to plant multiple colour varieties and not be overwhelmed with too much produce. Rainbow Chard grows best in rich, moist soil with a soil pH between 6.0 and 6.8. Plant your seeds or seedlings about 30cm apart in compost-rich soil, and water your seed or seedlings directly after planting. You can direct sow seeds in location or plant them in trays and transplant them when they have produced their first 4 leaves.
When to Plant Rainbow Chard
Rainbow chard can be grown all year round in some climates. It is usually best to grow Rainbow Chard over Autumn and winter as it does not like hot weather. Sow your seeds in the last few months of Summer or during Autumn. Choose a sunny location to plant your Rainbow Chard. You may get away with growing chard over summer if you plant it in a cool shaded area of your garden. In warm weather, the chard leaves will go limp and may get burnt or bolt and go straight to seed. Here in Perth, our summers tend to be too hot for Rainbow Chard but I have had success growing it in shaded areas and making sure it receives water in the mornings. Rainbow chard can handle some frosts.
Care/ Maintenance
Rainbow Chard grows in such abundance so it is best to pick the outer leaves regularly. Keep the plants well-watered on warm days.
Pests / Disease
Chard is pretty hardy against pests but slugs, snails and slatters can be a problem, especially while the plants are young. Plant a few extras throughout your garden and you will be sure to have more than enough chard to eat! Click here for more natural pet management to help keep the pests at bay.
Reproducing / Saving Seeds
Chard seeds can be saved but they usually will only go to seed after their second season as they are Biennial crops. Once the weather gets too hot they will send up flowers and these will turn to seeds. Save the seeds and keep them in a cool, dry, dark space to plant the following Autumn.
Cooking and using Rainbow Chard
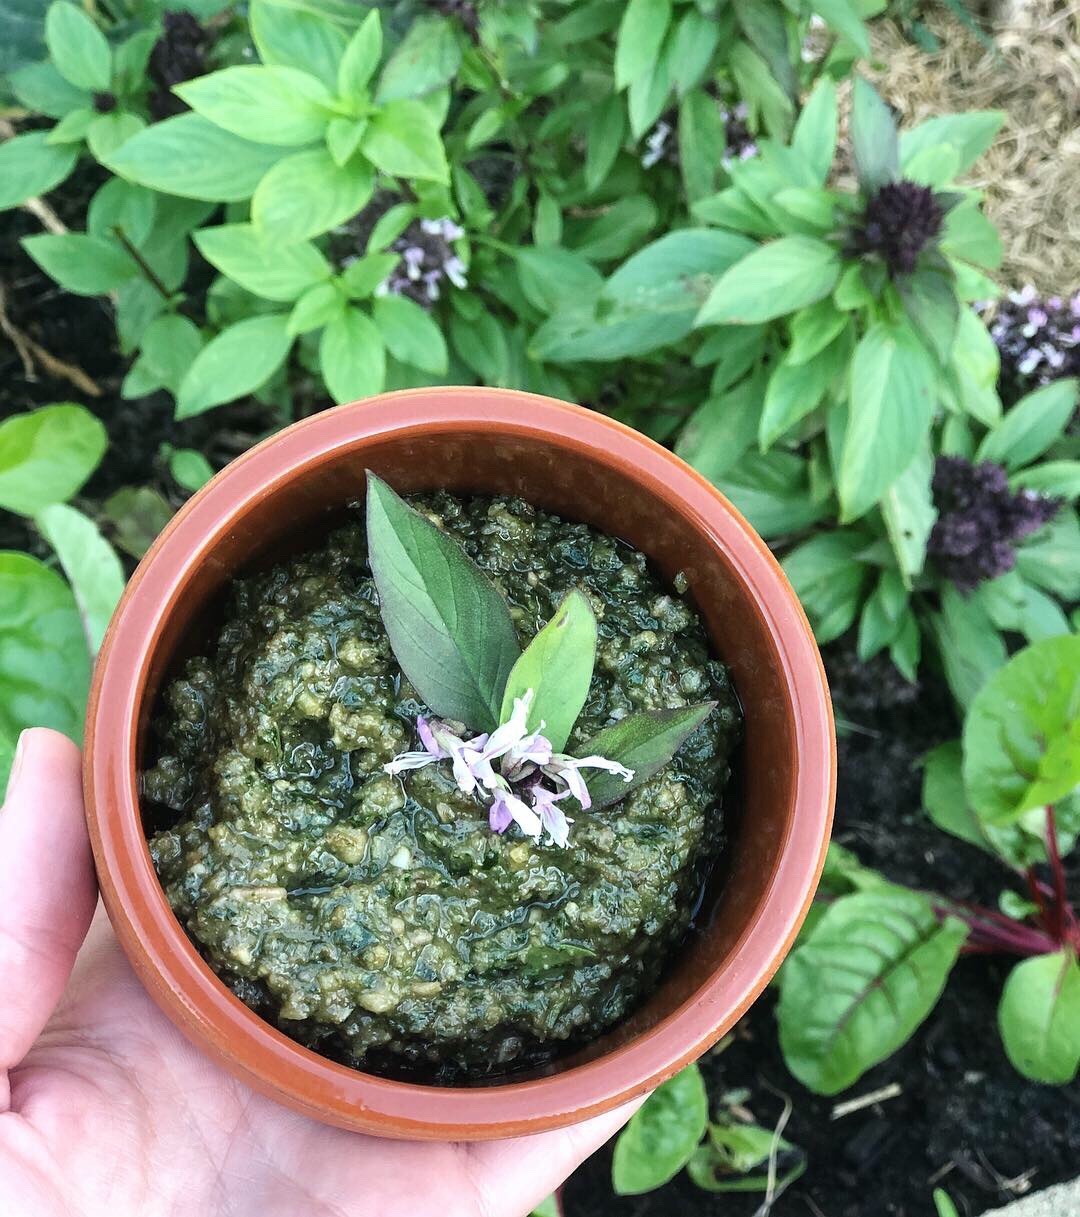
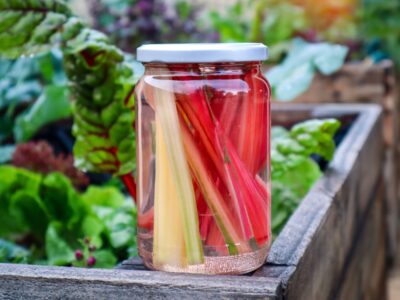
Rainbow chard not only brings colour to the garden, but also to the plate. Use chard leaves just like spinach and the colourful stems can be stir-fried, sautéed or even pickled. Add Rainbow Chard to the end of any meal such as curry, soup, stir-fry, omelette or in a salad. Just like spinach, chard cooks down to a small amount so don’t be afraid to add in a little extra. The leaves can be blanched and used to make wraps or dolmades. The Rainbow Chard leaves can be added to pesto. Sautéed Rainbow Chard in butter and garlic makes a quick and easy side dish.
Preserving the Harvest
Rainbow Chard can be frozen to add to soups and stocks. To prepare the Chard, rinse the leaves and remove the stalks. The stalks will take longer to cook so I like to freeze them separately. Blanch the leaves in boiling water for 40seconds – 1minute then add to a bowl of iced water. Do the same with the stalks but blanch for 2 minutes and then add to the ice water until completely cool. Shake off the excess water and add to freezer bags or ziplock bags. Try to remove as much of the air from the bags as possible to reduce freezer burn. Keep frozen and use within 6 months. The colourful stems can also be pickled and stored in the refrigerator. Another way to use up your harvest is to make pesto and freeze it in ice cubes. This is great to add extra greens to a dish or for a small serving of pesto for entertaining.
Make these Easy Organic Fertilizers at home using everyday ingredients so that you can feed your plants naturally and grow lots more food! It is important to feed your plants as they use up the nutrients in the soil to grow and produce food. It is also important to use organic, natural fertilizers so that we..
1 – don’t consume harmful synthetic toxins but also..
2 – don’t have harmful toxins upsetting the microbiology and killing off all the amazing beneficial insects and pollinators.
There are a bunch of natural ingredients you use every day that can be easily turned into natural, organic fertilizers to help feed and nourish your plants. There are also some plants that you can specifically grow to make your own organic fertilizers. Keep reading below to find out how you can level up your garden’s production with these easy organic fertilizers.
Plus, it’s a great way to reduce waste and get the most out of everything in your home. We can be so quick to throw things out or put them straight in the compost but many items can be used again first! This also means you are getting more bang for your buck and saving money on fertilizers. So you can spend more money on plants!
DISCLAIMER: Links included in this post might be affiliate links. If you purchase a product or service with the links that I provide I may receive a small commission. There is no additional charge to you! Thank you for supporting my page so I can continue to provide you with free content!
1. Rice Water
The water that is left behind after rice has been cooked makes an easy organic fertilizer for your plants. It contains starch and small amounts of NPK. Which are Nitrogen, Phosphorus, and Potassium. These are all essential for plant health and growth. In basic terms, Nitrogen is good for producing leaves and greens but if your soil is too high in Nitrogen, you will get all leaves and no actual fruit or vegetable. Phosphorus is good for cell growth and division, so it is essential for seedlings. Potassium is great for promoting fruiting and flowering in plants. Having a good balance of NPK in your soil is important. As your plants grow they will use up different levels of each so it is important to replenish with fertilizers.
The NPK in Rice water is low in quantity so you won’t have to worry about over-fertilizing and it helps you build healthy soil, whilst minimizing waste. Make sure that you don’t add salt to the water or this will not be good for your plants. It is also important to make sure the water has completely cooled down first. Use the rice water fresh as you make it as it doesn’t store well.
2. Pasta Water
Just like the rice water, pasta water will leave behind starch, which can be used to feed your plants. Dilute the mixture if it looks too cloudy or there is not much liquid and this will give you more fertilizer and ensure you don’t overfeed.
3. Potato Water
When you have boiled potatoes, the leftover water will be full of starch and beneficial nutrients. Again, similar to the Rice and Pasta, make sure you haven’t added salt and let the water cool completely.
4. Eggshell Water
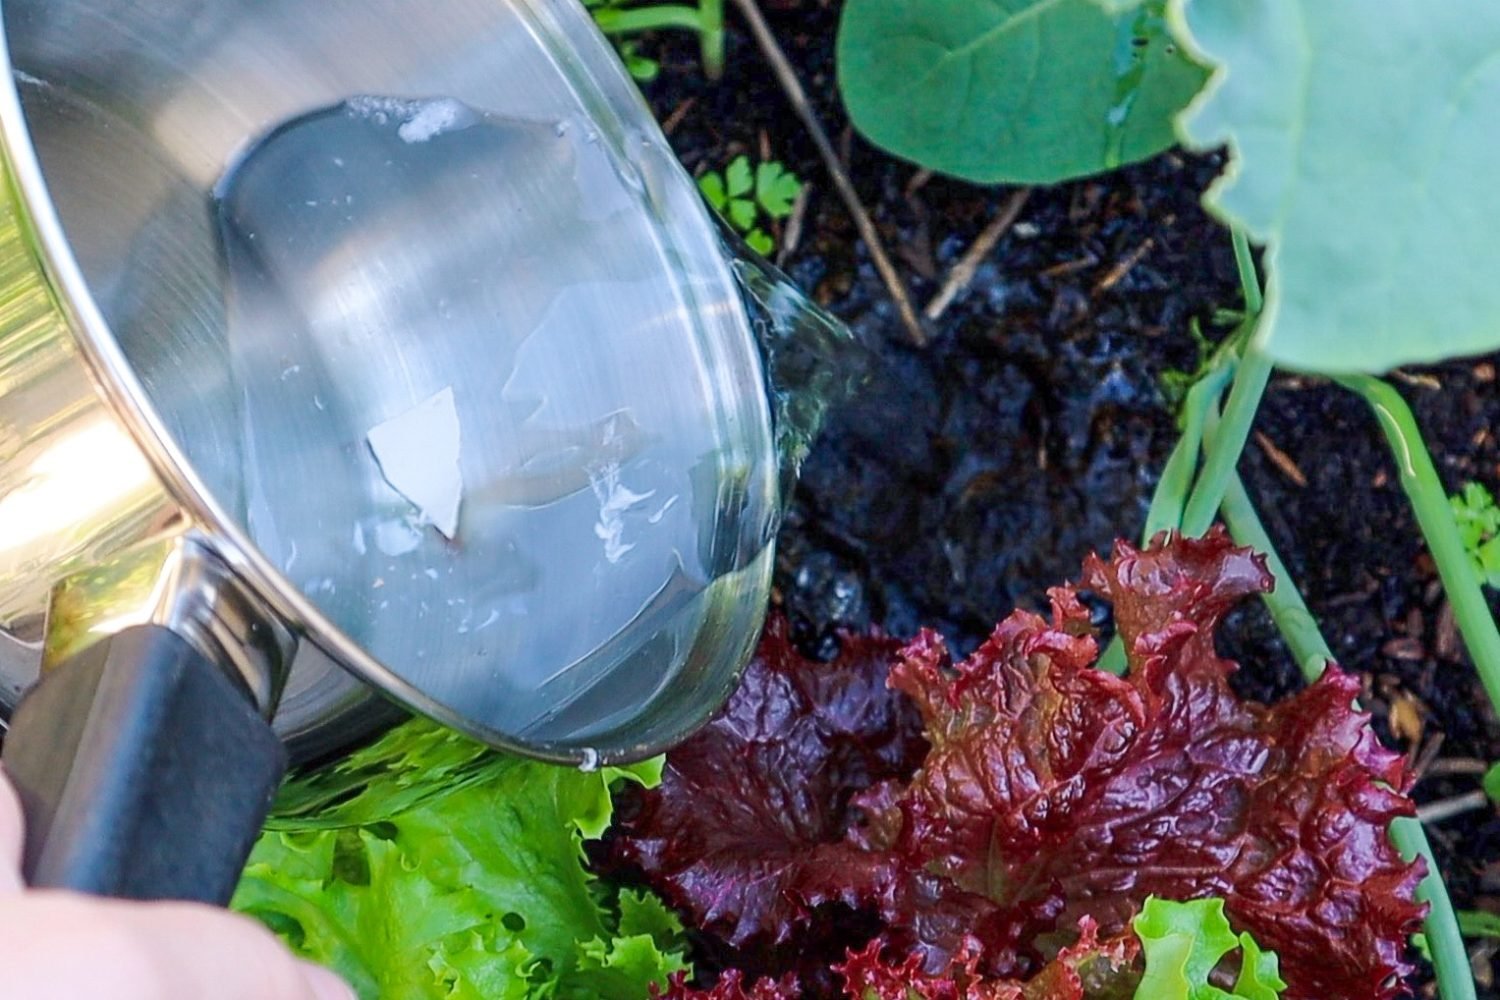
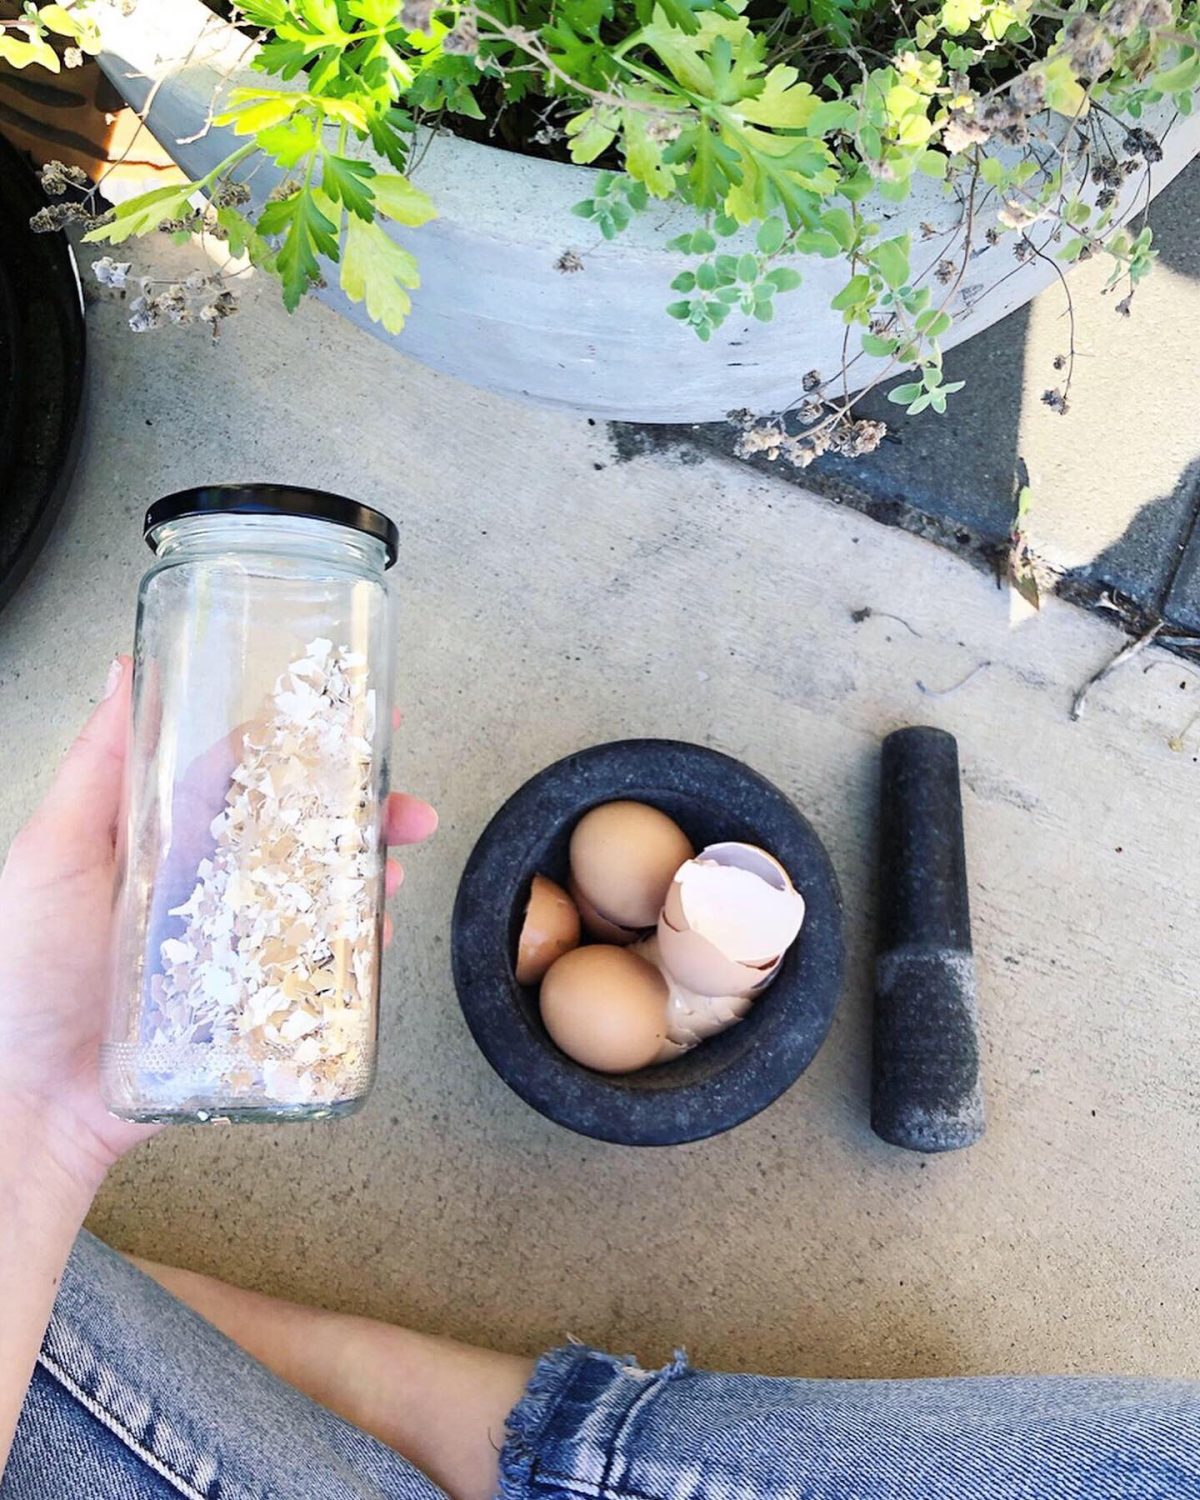
Don’t throw out the water left over after boiling eggs. Let it cool, and use it to feed and water your plants. This is such an easy organic fertilizer! This water will add a small boost of nutrients and calcium to the soil. You can also boil leftover eggshells that have been cracked to fry eggs or have been used for baking. Then after that, crush up the eggshells and add them to the compost for extra calcium or sprinkle them around your seedlings as natural pest control to help deter slugs and snails. There are so many ways eggshells can be used to boost your garden’s health.
5. Vegetable Water
Reuse the leftover water from boiling or steaming vegetables as a natural organic fertilizer. For most vegetables that you boil or steam, the water can be used to fertilize your plants. Just be aware that some ingredients may cause strong odors so for Brassicas, Broccoli, Cauliflower, or Cabbage. Only use on outdoor plants as the water will start to have a strong odour. No one wants their house to start smelling like farts!
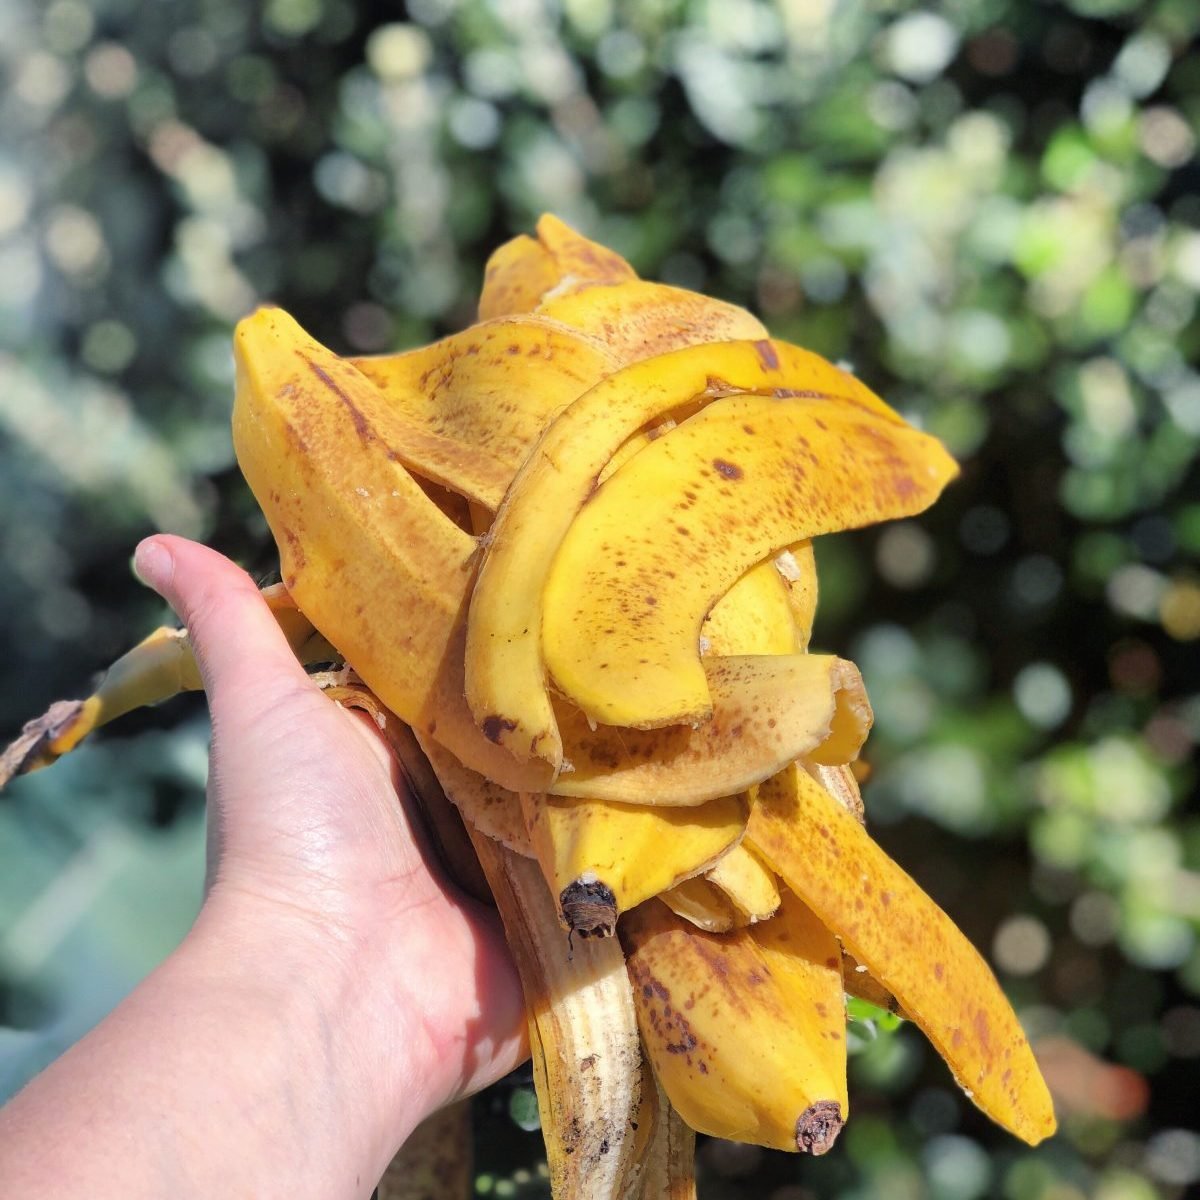
6. Banana Peels
Banana peels are something that many of us have at home, and they make a great natural fertilizer for your plants. As many of you might know, bananas are high in Potassium and in the plant world, Potassium is an essential nutrient for plant growth. Here in Perth, our sandy soils often leach out Potassium, so it is important that we add it back in regularly. Fruiting plants can often require extra Potassium to produce good yields, improve the flavour of the fruit, and increase flower production. Potassium also helps strengthen plants – it thickens their cell walls to make them grow big and strong. I will often prioritize feeding my fruit trees when I’m making this Banana Peel Fertilizer.
There are a few different ways to make Banana Peel Fertilizer and I rotate through using them all. The easiest way by far is just to put the peel in the compost or bury the banana peel in the garden. This will slowly break down and release nutrients into the soil to feed your plants. However, there are a few ways to speed up the process of extracting the nutrients.
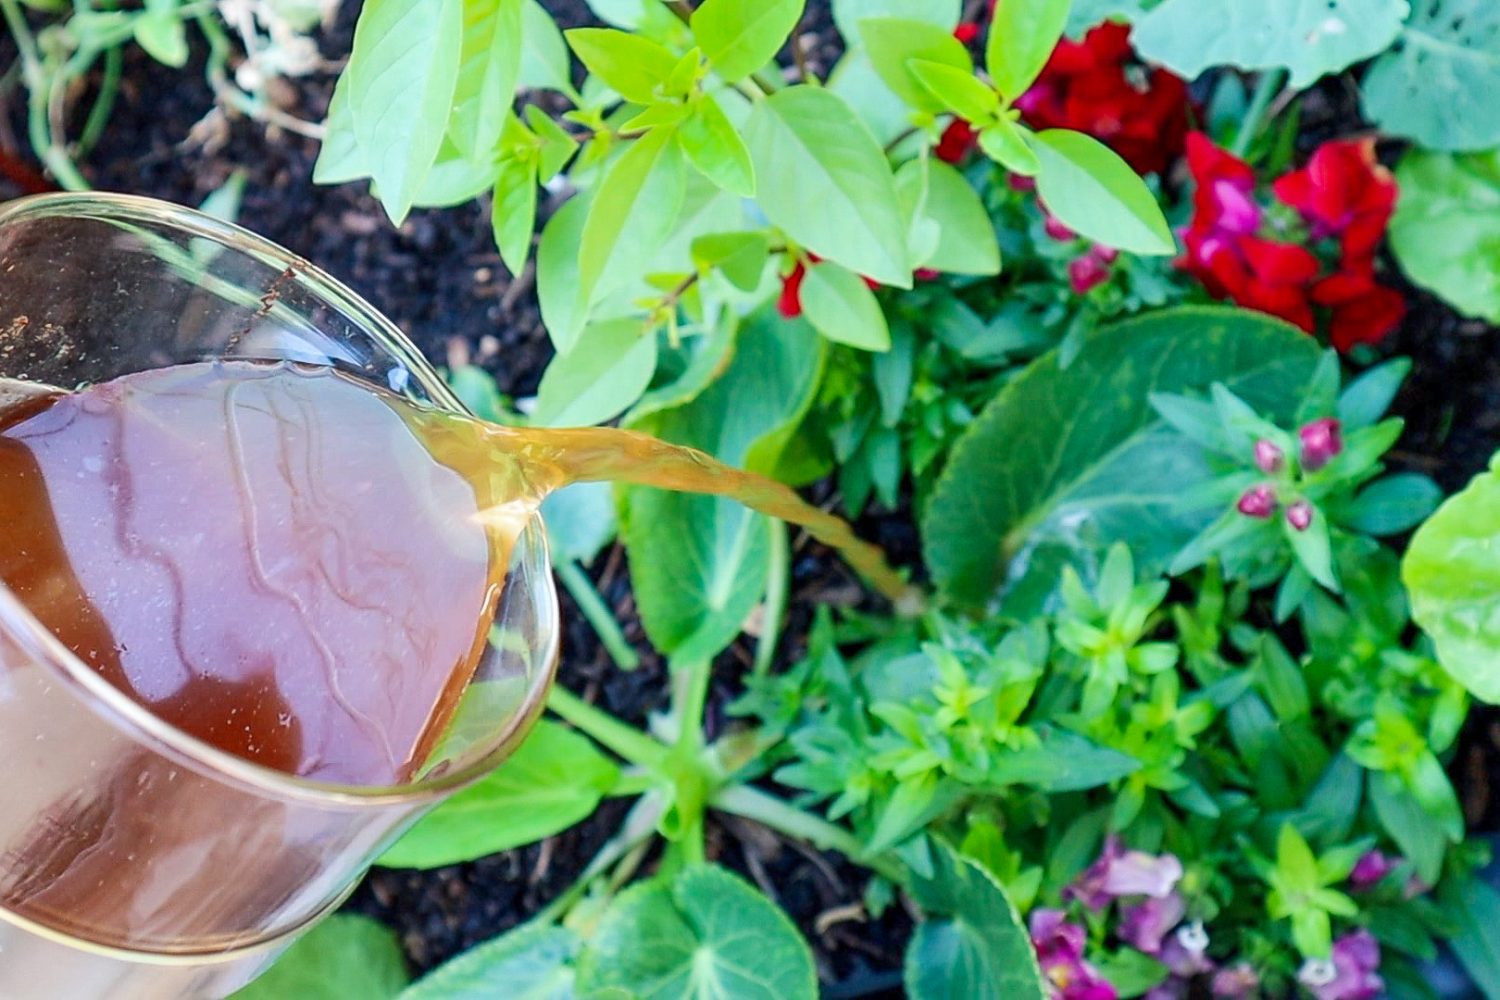
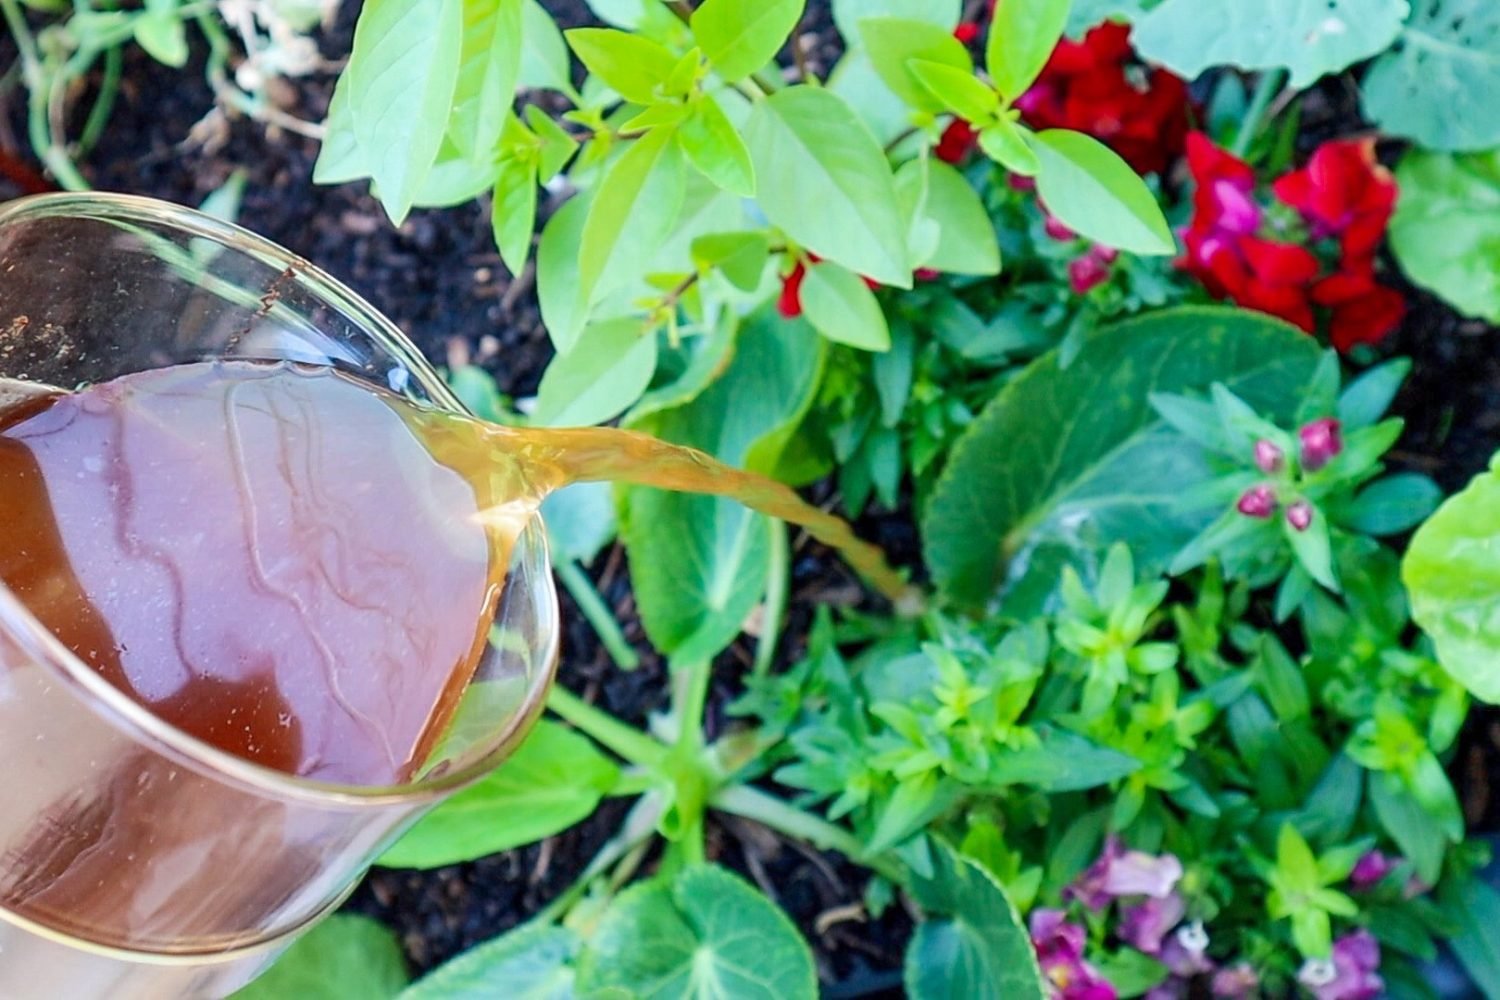
Chop up your banana peel and add it to a jar of water. I leave this on my bench with a cloth over the top. You don’t want bugs to get in, but you want it to breathe. Then, over the next few days, as I only eat one banana a day, I add it to the jar. You can start using this after one day, but I like to let mine go for about 3 days stirring it each time I add another peel. Then you can strain off the banana peels, keep them to add to the compost or bury them in the garden. Then dilute your water by 50% or more. If I just have one banana peel, I may not dilute I,t but with three, there are plenty of nutrients to be diluted and spread across more plants.
You can also chop up your banana peels and let them dry out in the sun and then blitz them up into a powder. Add this powder to water or just sprinkle it around your plants.
7. Coffee Grounds
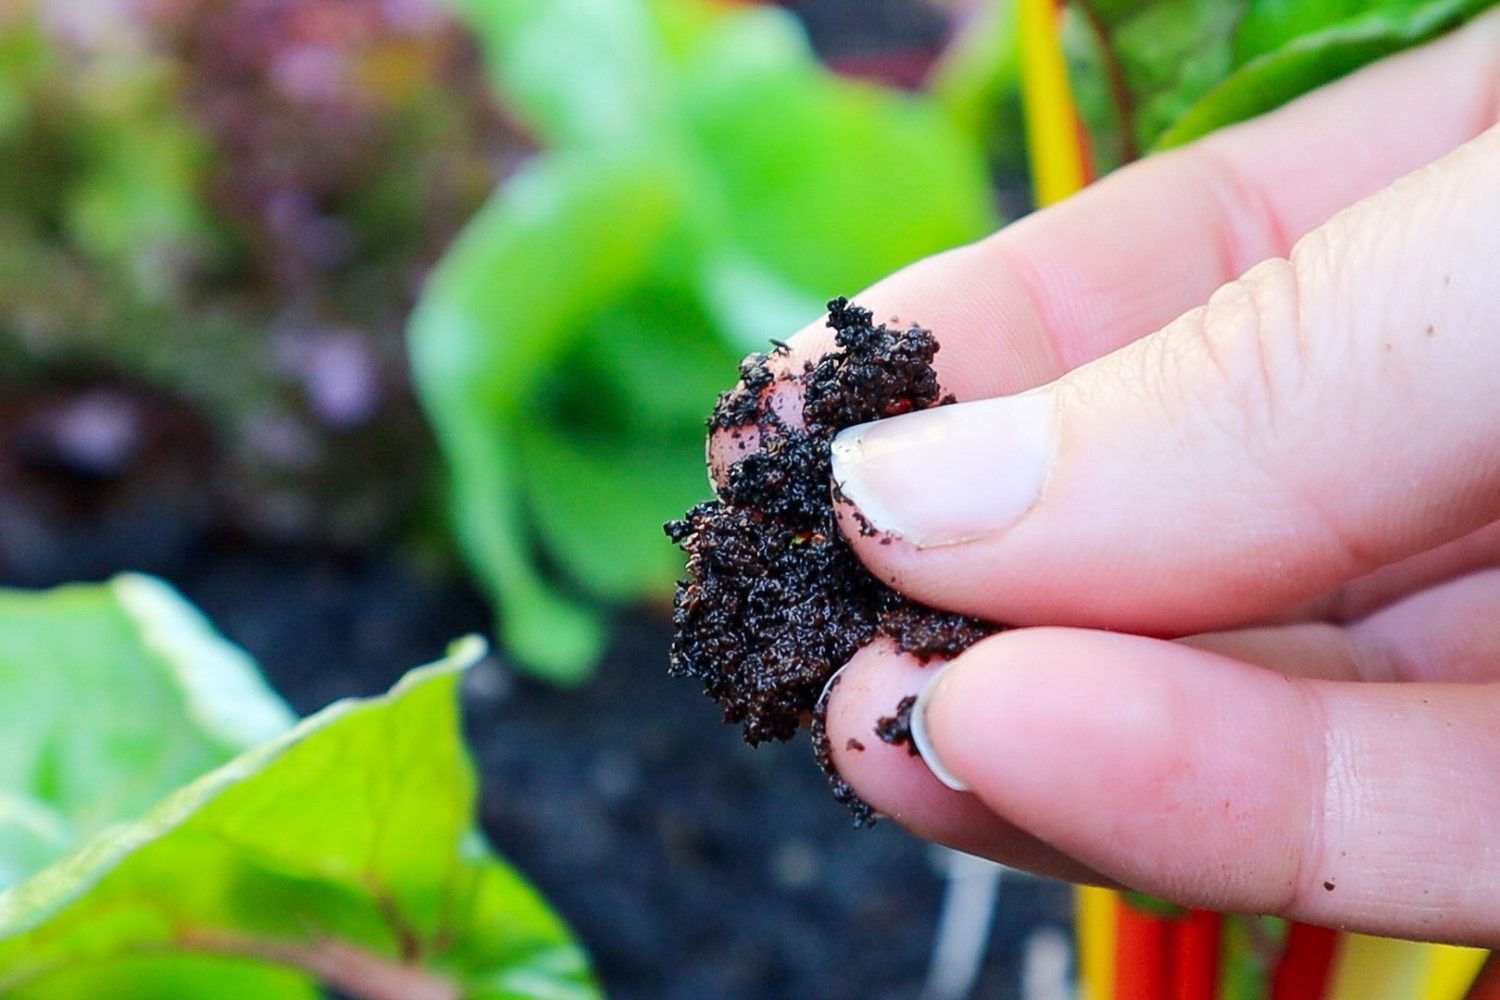
Used coffee grounds are great for the garden and can add a boost of nutrition to your plants while building healthy soil. Used coffee grounds ( filtered through water) are nearly pH neutral. They are rich in Nitrogen and Potassium, which are both essential nutrients. Although they are brown in colour, they are rich in Nitrogen, so coffee grounds are classed as “green” when you are composting.
There are heaps of ways to incorporate coffee grounds into your garden. You can add them straight to your compost, sprinkle them around your plants or dilute them with water for a liquid fertilizer. Coffee Grounds are also great for natural pest management and can deter lots of unwanted pests from your delicate seedlings. I have even read that coffee grounds can deter cats, so if you are having a problem with cats in your garden, this is worth a try as it only benefits the soil and the plants.
To make the liquid fertilizer from Coffee Grounds, add a cup of used coffee grounds to a bucket of water and let it sit for a day or so. Then you have a liquid fertilizer to feed your plants. If you don’t have any coffee grounds, try visiting your local barista or cafe as they often just throw away the grounds and would be happy for you to take them off their hands! A win for them, your garden, and the planet!
8. Fish Tank Water
If you have freshwater fish tanks, ponds, or aquaponic systems, the water is a great liquid fertilizer to feed your plants. The fish poop and plant matter will be great for your garden. Don’t use saltwater tank water as this will probably kill your plants, which we don’t want.
If you have freshwater fish tanks, ponds, or aquaponic systems, the water is a great liquid fertilizer to feed your plants. The fish poop and plant matter will be great for your garden. Don’t use saltwater tank water as this will probably kill your plants, which we don’t want.
9. Wood Ash
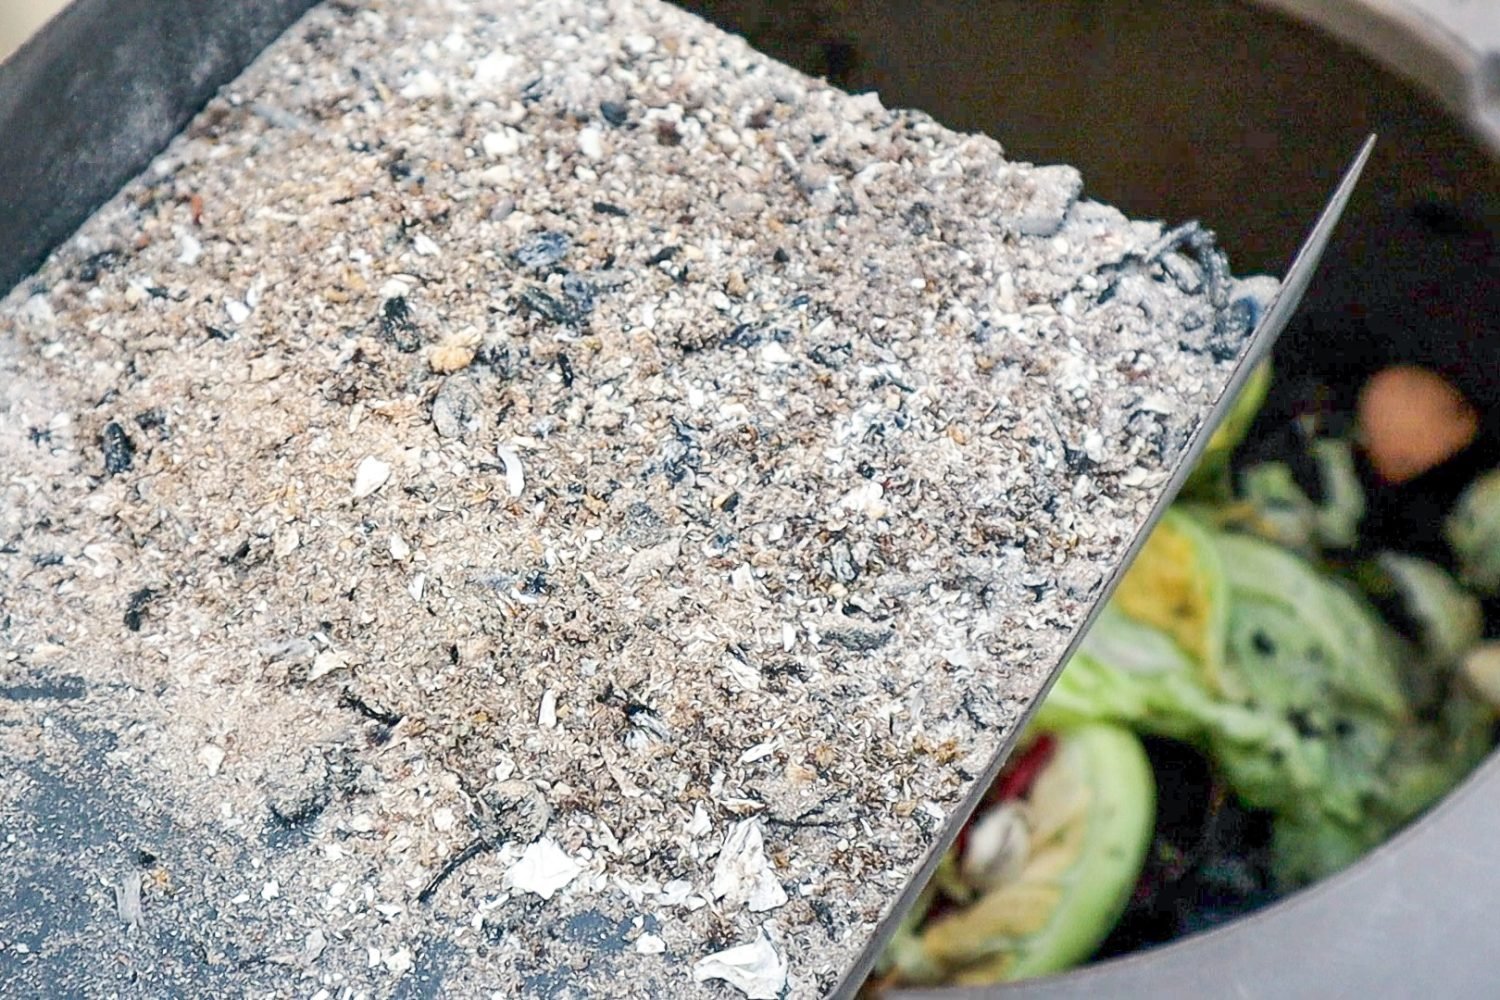
The leftover ash from your wood fire is great to feed your garden. Use the light grey coloured ash at the bottom of your fireplace not the black chunks of coal. This one can be a little more technical for beginner gardeners so it might be best to try the other fertilizer options first. Wood ash is high in Potassium and raises the pH of your soil. So do not use it on acidic-loving plants such as Blueberries.
It’s best to add wood ash in small quantities and mix it through your gardens or compost so as to not raise the pH of your soil too much (unless this is something you are trying to achieve). Also, it is very important to note: only use wood ash from chemical-free, untreated wood. Burnt wood that is treated with chemicals will still have traces left over and that is not okay for edible plants.
10. Compost Tea
Compost tea is great if you have potted plants and don’t have room to add extra soil to top up the nutrients. To make this easy organic fertilizer, place a few handfuls of compost in a bucket of water and stir. Allow it to sit for 2- 24 hours to mix and infuse into the water. With all fertilizers, use rainwater when possible, as tap water is often treated with chemicals that can actually kill off all the good bacteria that we are trying to feed. If you only have access to tap water, you can let it sit in a bucket for a day, and a lot of the chlorine will evaporate off. Next time it’s raining, chuck a bucket out and capture some of that amazing natural water to use. It really does make a big difference!
11. Liquid Seaweed
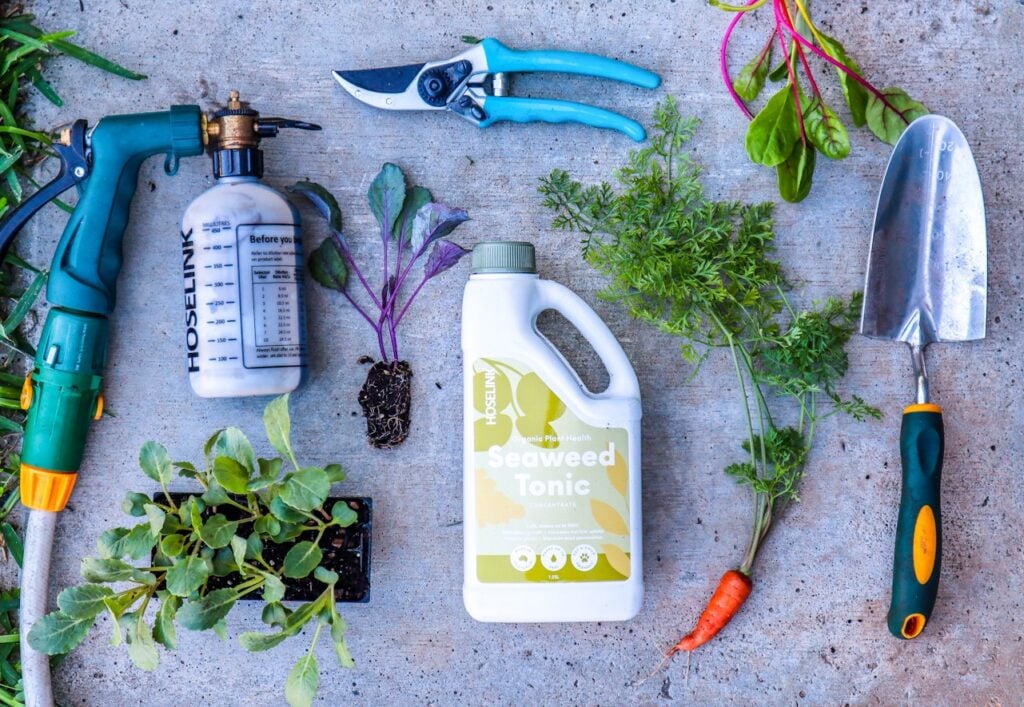
You can buy organic seaweed concentrates to mix with water and make liquid fertilizers. This is something that I always have on hand and is the only fertilizer that I buy.But, if you live near the ocean, you can make your own! Be aware of your local rules and regulations, as it is illegal to remove seaweed in some locations. Even if it has washed up on the beach. If you can source seaweed, ferment it in a bucket of water for a week or more, and brew up your own organic fertilizer to spray on your garden. Once the water is a dark colour, it will definitely have a strong, smelly pong to it! Strain off the liquid and dilute it with more water. Add the leftover seaweed to the compost or the garden to fully break down as a slow-release fertilizer.
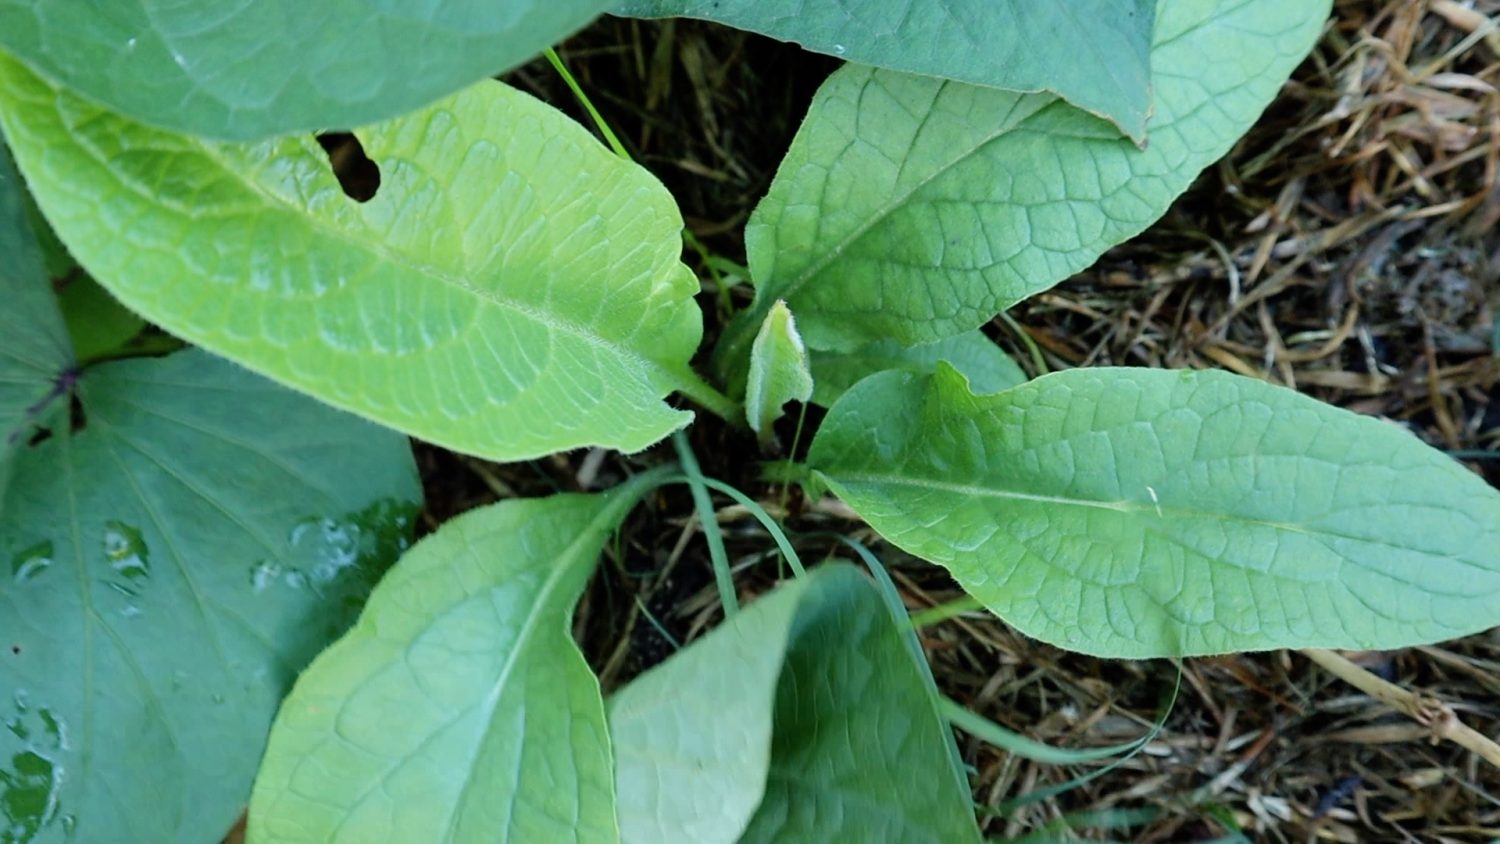
Comfrey is great to grow in your garden, purely to help you build good soil. The Comfrey plant contains high levels of NPK, which as we now know are essential for plant health. It also contains many other beneficial nutrients and minerals. Comfrey also provides a great cover for your soil and a habitat for beneficial insects. It also has beautiful flowers for pollinators. Because of all these great relationships, Comfrey is a top permaculture plant. If you plan on growing your own food, you may as well grow your own organic fertilizer!
Comfrey has deep roots that go deep down and draw up all the good nutrients. It produces lots of big, lush leaves, which can add great plant matter, nutrients and fibre to your soils. Sandy or clay-rich soils need lots of fibre added to either help retain moisture (sandy soils) or break up the soil and allow better drainage (clay-rich soils). Here in Perth, my soils are super sandy. I often chop and drop layers of mulch to add more fibre and help reduce the concentration of sand. Sandy soils let all the moisture and nutrients drain away and we don’t want that!
Just like the banana peels, there are multiple ways to extract the nutrients from the Comfrey plant. One way is to just “chop and drop”. That is a term I use quite a lot as it’s one of my favourite methods because so easy! It is important to have some easy methods when gardening so that you are more likely to do them regularly. To do the “chop and drop” method, simply chop the leaves off and spread them around your plants as a mulch.
The other way you can use Comfrey leaves is to bury them in the garden. This is great when you are creating new beds or replanting at the end of a season. Add a layer of Comfrey leaves under your compost or topsoil and they will break down and feed your plants.
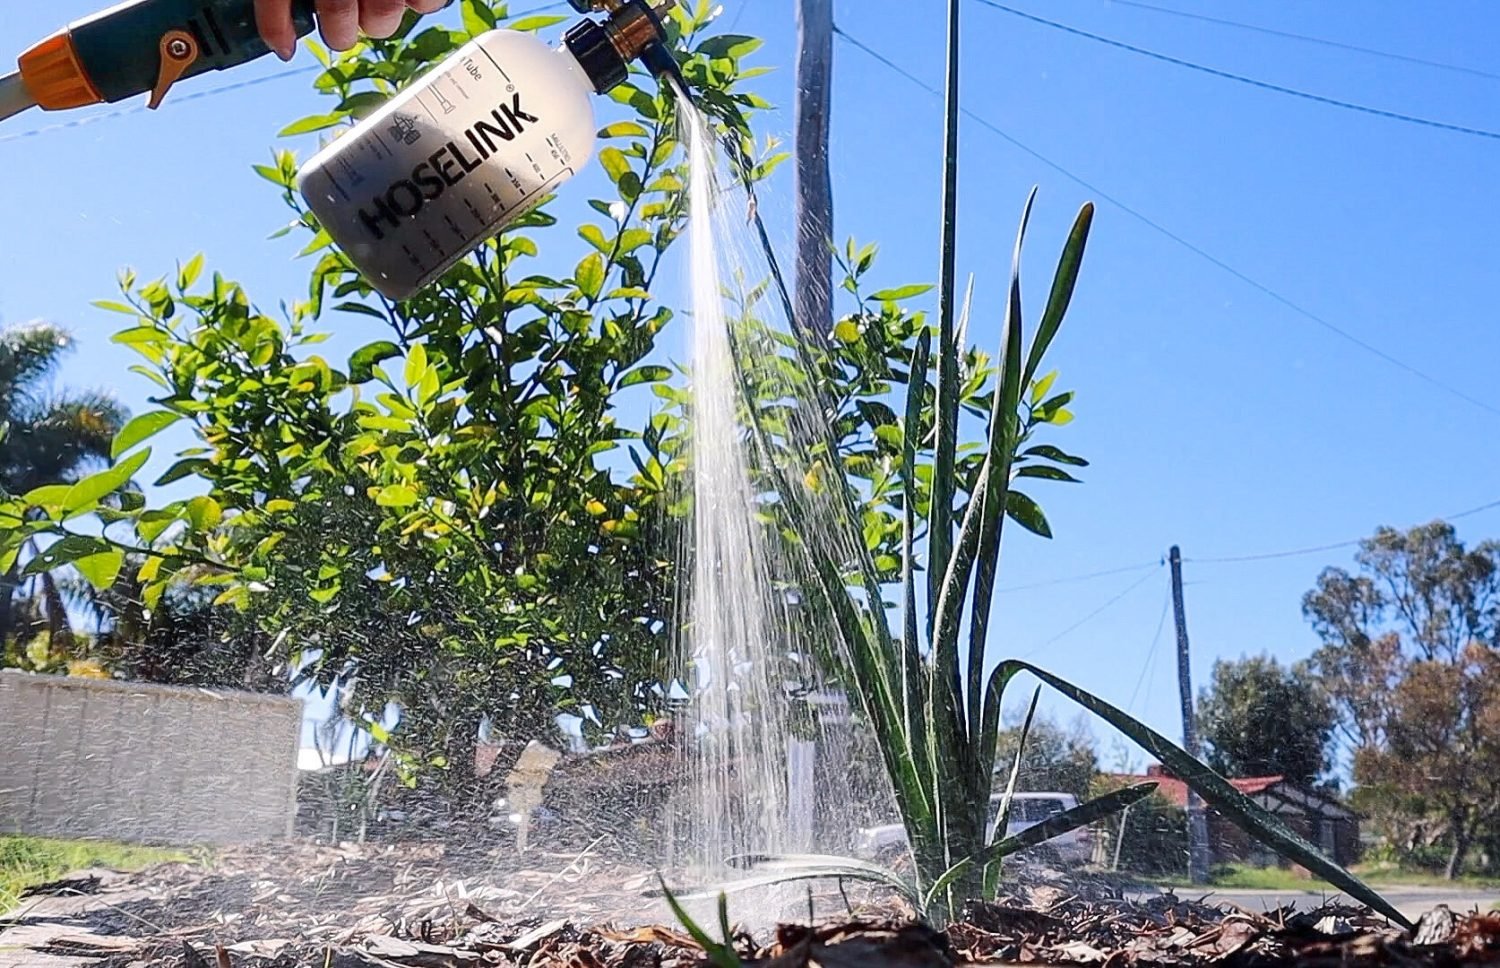
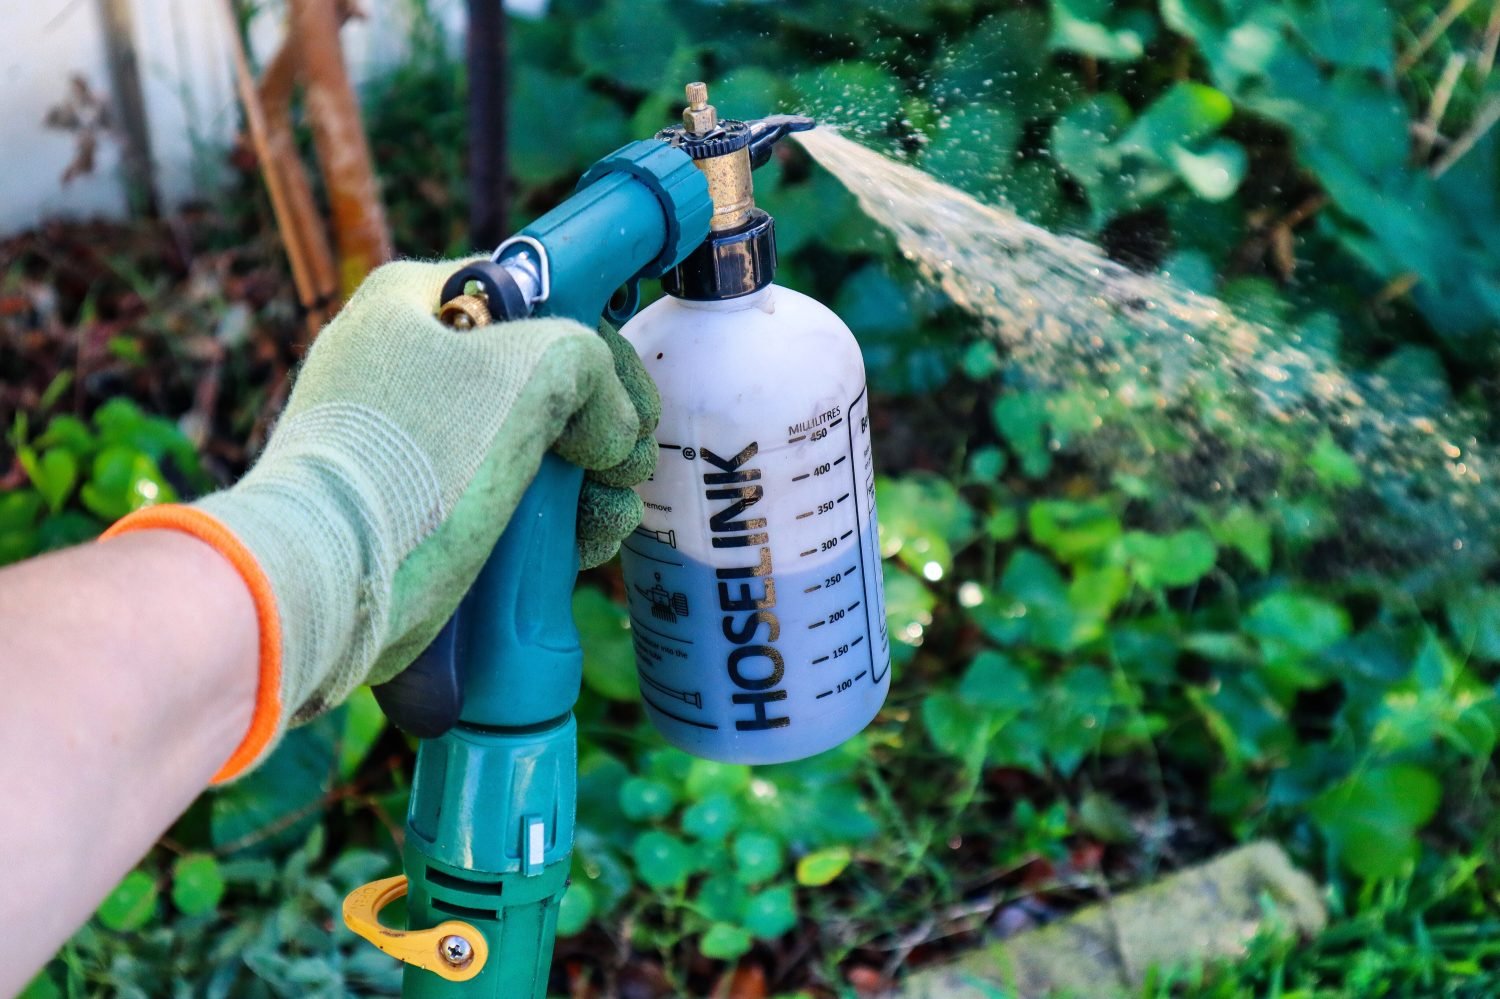
Another way to extract the nutrients from the Comfrey plant is to chop the leaves off and chuck them in a bucket of water to ferment. Make sure you place some sort of breathable fabric on top, otherwise, you may also breed some mosquitoes! Once they start rotting down over 1-2 weeks (yes, heads up… this will smell), give them a stir to help release the nutrients into the water. Then you can strain off the leaves – chuck them in the compost or garden and dilute your tea down to feed your plants. I use an easy fertiliser spray mixer that automatically dilutes the mix.
13. Worm Tea/ Wee
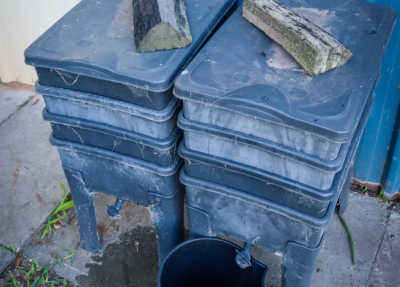
Worm farms are a great way to use up excess food scraps at home and they also produce liquid fertilizer for free! It is full of amazing nutrients that your plants will LOVE! Worms are absolute powerhouses for edible gardens and an incredible asset to any home garden. Plus, you can farm your own organic fertilizers with very little effort!
14. Poo Tea / Composted Animal Manure Fertilizer
Composted animal manure is great for feeding the garden. Don’t use fresh, raw manure as it is high in urea and will burn the roots of your small plants. Composted or aged manure is best to use in your home gardens. Ensure that it is organic manure so it doesn’t have residual pesticides, synthetic fertilizers, or antibiotics from the animals. It is also important that it is composted so that any grass seeds consumed by the animal are destroyed. Otherwise, you may have lots of grasses and weeds popping up in your garden.
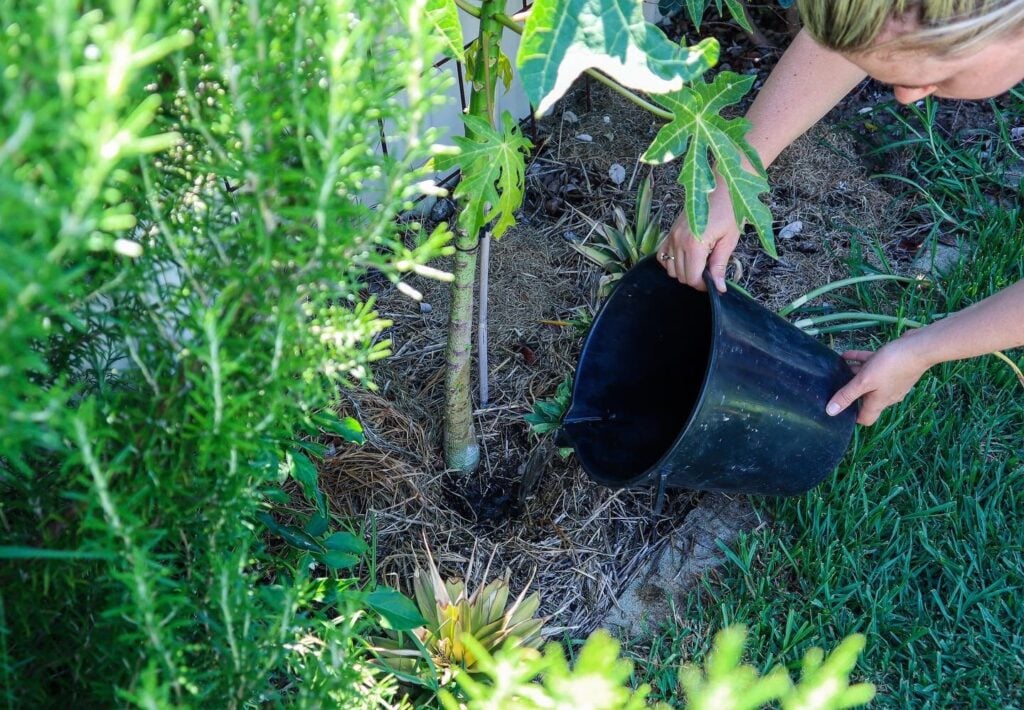
The composted or aged manure can be mixed into your garden beds or mixed with water to make a liquid fertilizer to spray on your gardens. To make easy organic fertilizers from manure, add a handful of aged manure into a bucket of water and allow it to mix and infuse for a day or so. Giving it a good stir every now and then. This water will then be ready to feed your plants.
15. Weed Tea Fertilizer
Weed tea is made just like comfrey tea. It is a great way to turn pesky weeds into something that actually benefits your garden! Weeds thrive and are full of good nutrients that can be turned into easy organic fertilizers. I have a video on how to make weed tea so I will link that here. The main thing to consider when making weed tea is to kill off and destroy any of the seeds. The rotting process will damage the seeds and stop grasses from being spread around your garden.
Click to WATCH or Read below – 15 Easy Organic Fertilizers to Make at Home
There are so many ways to make easy Organic Fertilizers at home to feed your plants, reduce waste and grow lots more nutritious food! Let me know what you use? Do you use any of these methods or do you have other natural fertilizers?
EXTRA TIP: When using fertilizers in the garden, pull back the mulch to apply the fertilizer. Otherwise, the bark or mulch may absorb all the nutrients and they won’t make it to the plant’s root systems. Pull back the mulch, apply the fertilizer and wait for it to absorb into the soil before recovering with the mulch.
Want to Grow Your Own Fertiliser?
Grab your 49-page digital guide for growing healthier plants without synthetic chemicals or expensive store-bought products. Helping save you money over time and get systems in place so that your garden does most of the work for you!
Spend less time fighting problems and more time harvesting food!
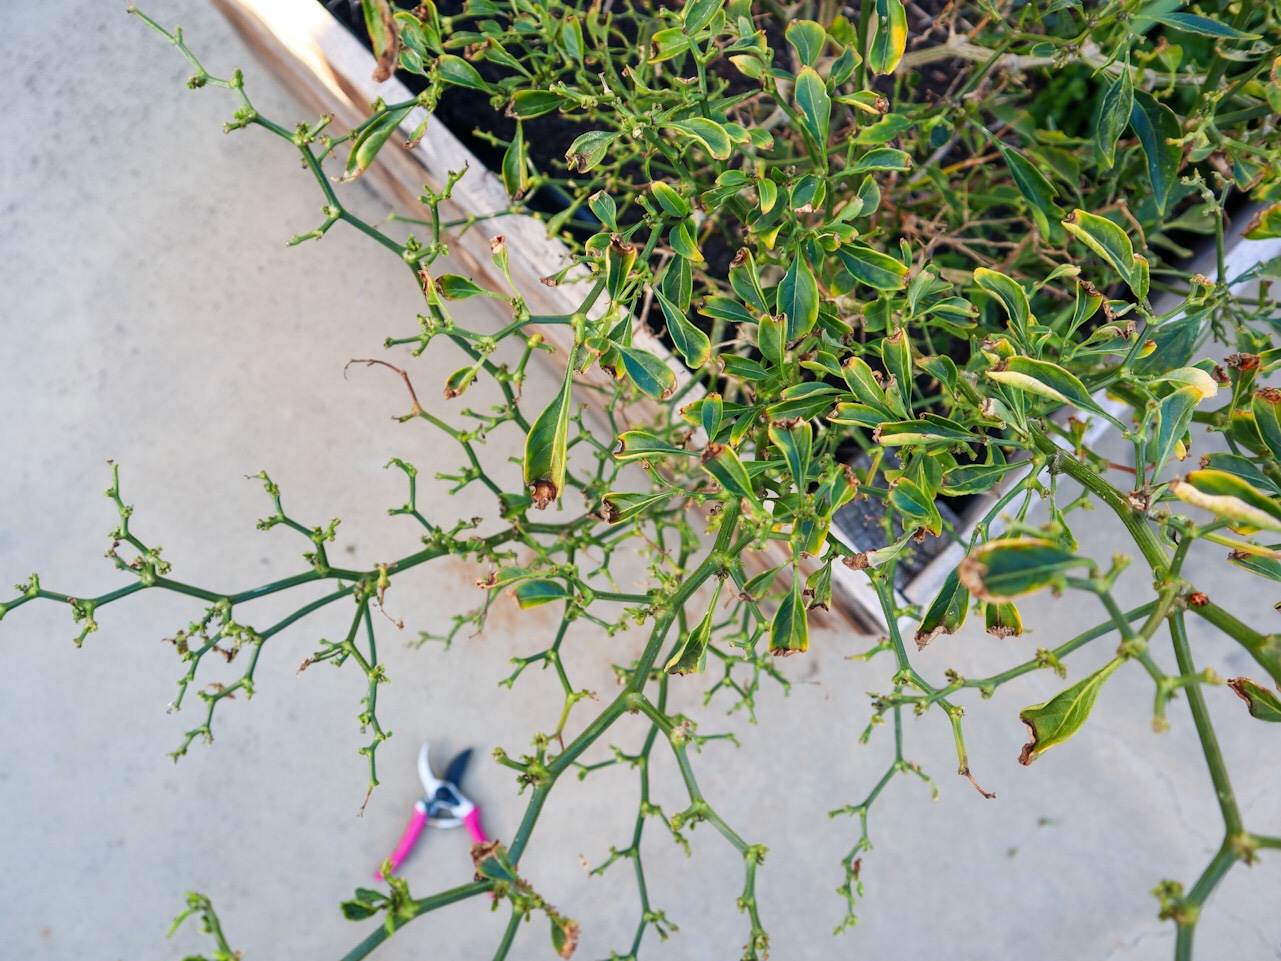
Easy steps on how to overwinter your chilli and capsicum plants to have mature plants and bigger harvests for next season. If you have grown chillies, peppers or capsicums over the summer months, you may be able to overwinter them to keep for the next season. Around this time of year, in Autumn, you will notice your chilli and capsicum plants start to die off, lose their leaves or stop producing full-sized fruit. Chilli or peppers are warm-loving plants and do not like the cooler days of autumn and winter. It is around this time that aphids and other bugs will arrive and attack your plants when they are in a vulnerable state. Rather than ripping them out and starting again next season, you can prepare to overwinter your plants.
What does “Overwintering” Mean?
“Overwintering” is a term used when you prepare your plants to keep them alive/ semi-dormant through winter, and then they will be able to be planted out during the warmer spring months. Some plants are classed as annuals because they die off in cool weather, and then you need to replant them in Spring and Summer. But if you overwinter them and keep them somewhere warm, you will be able to convert them into perennials and grow more food without spending any extra money next season.
Why do you Overwinter Chilli Plants?
There are some great benefits to overwintering your plants. They already have an established root system, and this means the plant will be able to start back up again when the conditions are right and will produce quicker and in more abundance than a new young plant. This means your second-year chilli or capsicum harvests will often be earlier and much more fruitful! Which is definitely something we want!
How to Overwinter Chilli Pepper Plants?
There are a few ways to overwinter your chilli and capsicum, and most of it comes down to how cold your climate is. Here in Perth, we get very little frost so I leave my plants where they are over winter. If you live in a colder climate where you get dramatic drops in temperature and frosts, then you will want to pot up your chilli and bring them into a warm spot in your patio, greenhouse or inside. I grow mine in my pallet planters, which, in winter, I move so they receive sun nearly all day. They are also in a sheltered spot close to the house and fence, so they seem to do well overwintering in situ.
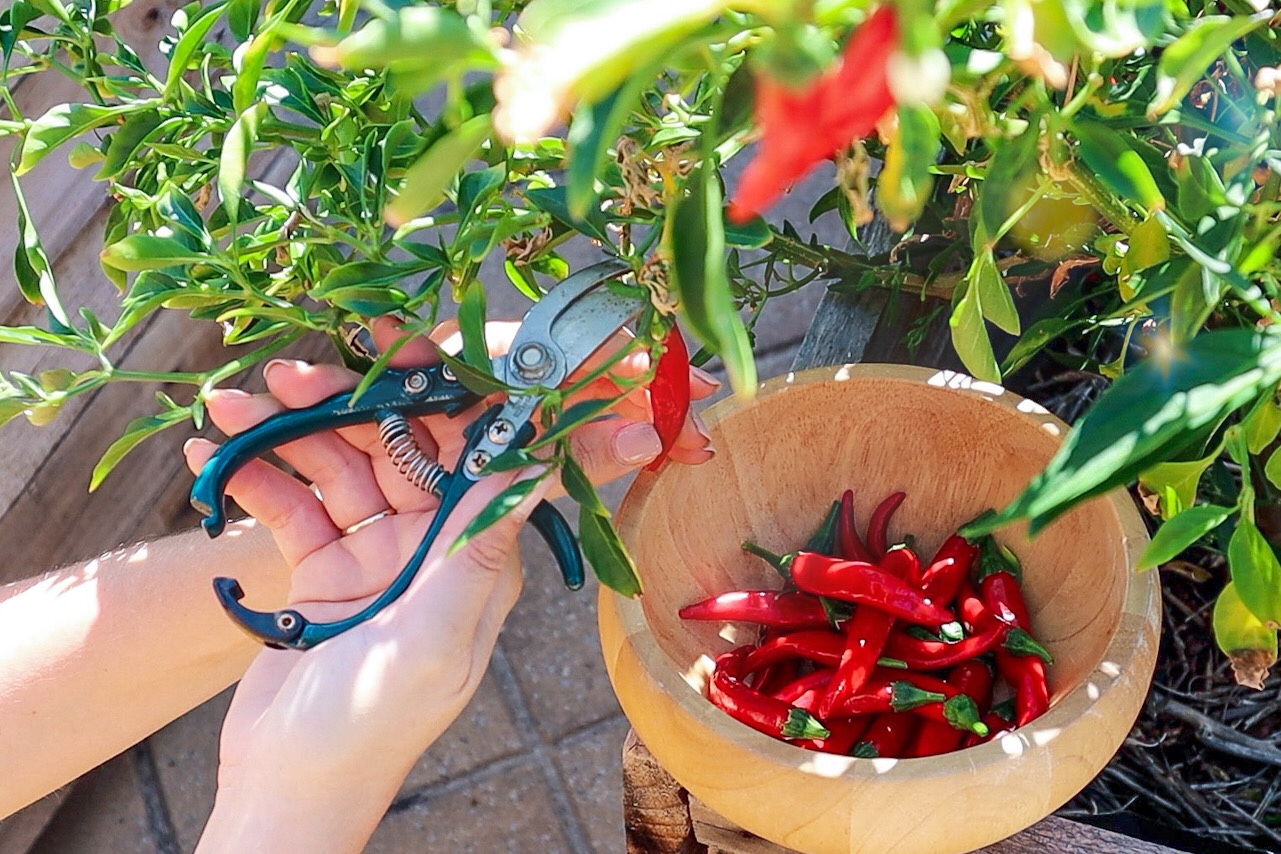
The two chilli plants I have in this planter have been here for 2 or 3 seasons and have produced so many chillies this summer!
To prepare them for winter:
1. Prune Your Plants
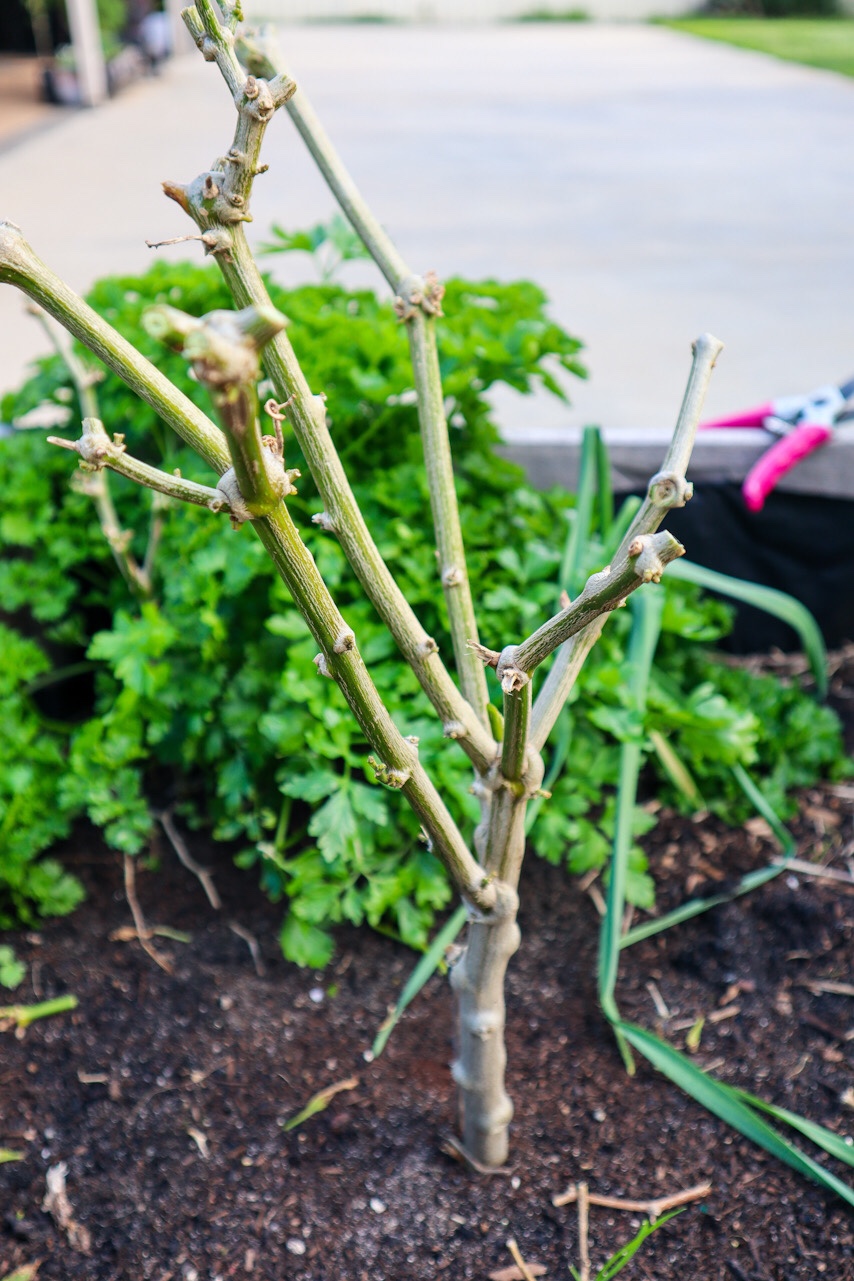
I cut the plants back to around 50% or about 20 cm high. This can seem brutal, but it means the plant has fewer branches to feed and can concentrate its energy on staying alive. Make your cuts at “major intersections”. This is where multiple stems shoot out from one node.
2. Keep Them Frost Free
If you live in a colder climate that gets frosts, then carefully dig your plants out of the garden and plant them in a pot. Keep your potted chilli plant somewhere warm and sunny until the last frost has passed in Spring before planting them back out.
How to Prepare Overwintered Chilli Plants for Spring?
Once spring arrives and there are no more frosty days, plant the potted Chilli plants back into a warm, full sun location. Give the plants a good feed of organic seaweed fertiliser and they will shoot off lots of new growth. It won’t take long until they will have new growth and will start producing flowers and fruit.
If you have any questions on how to overwinter chilli pepper plants, leave me a comment below 🙂
Links included in this post might be affiliate links. If you purchase a product or service with the links that I provide I may receive a small commission. There is no additional charge to you! Thank you for supporting my blog so that I can continue to provide you with free content.