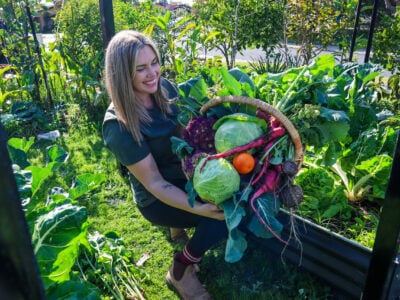
Beetroot Beta vulgaris is a vegetable that is grown for its root. It is easy to grow and the leaves are also edible. Below is a collection of recipes and posts including the beetroot so you can get the most out of your crop.
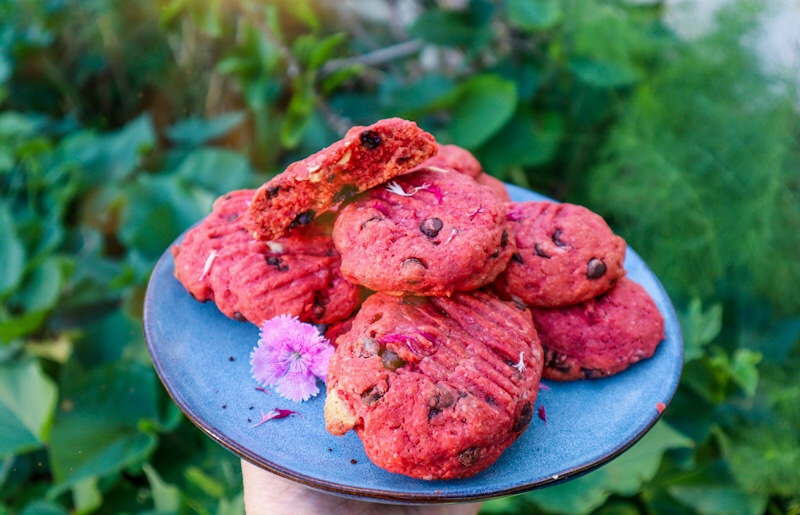
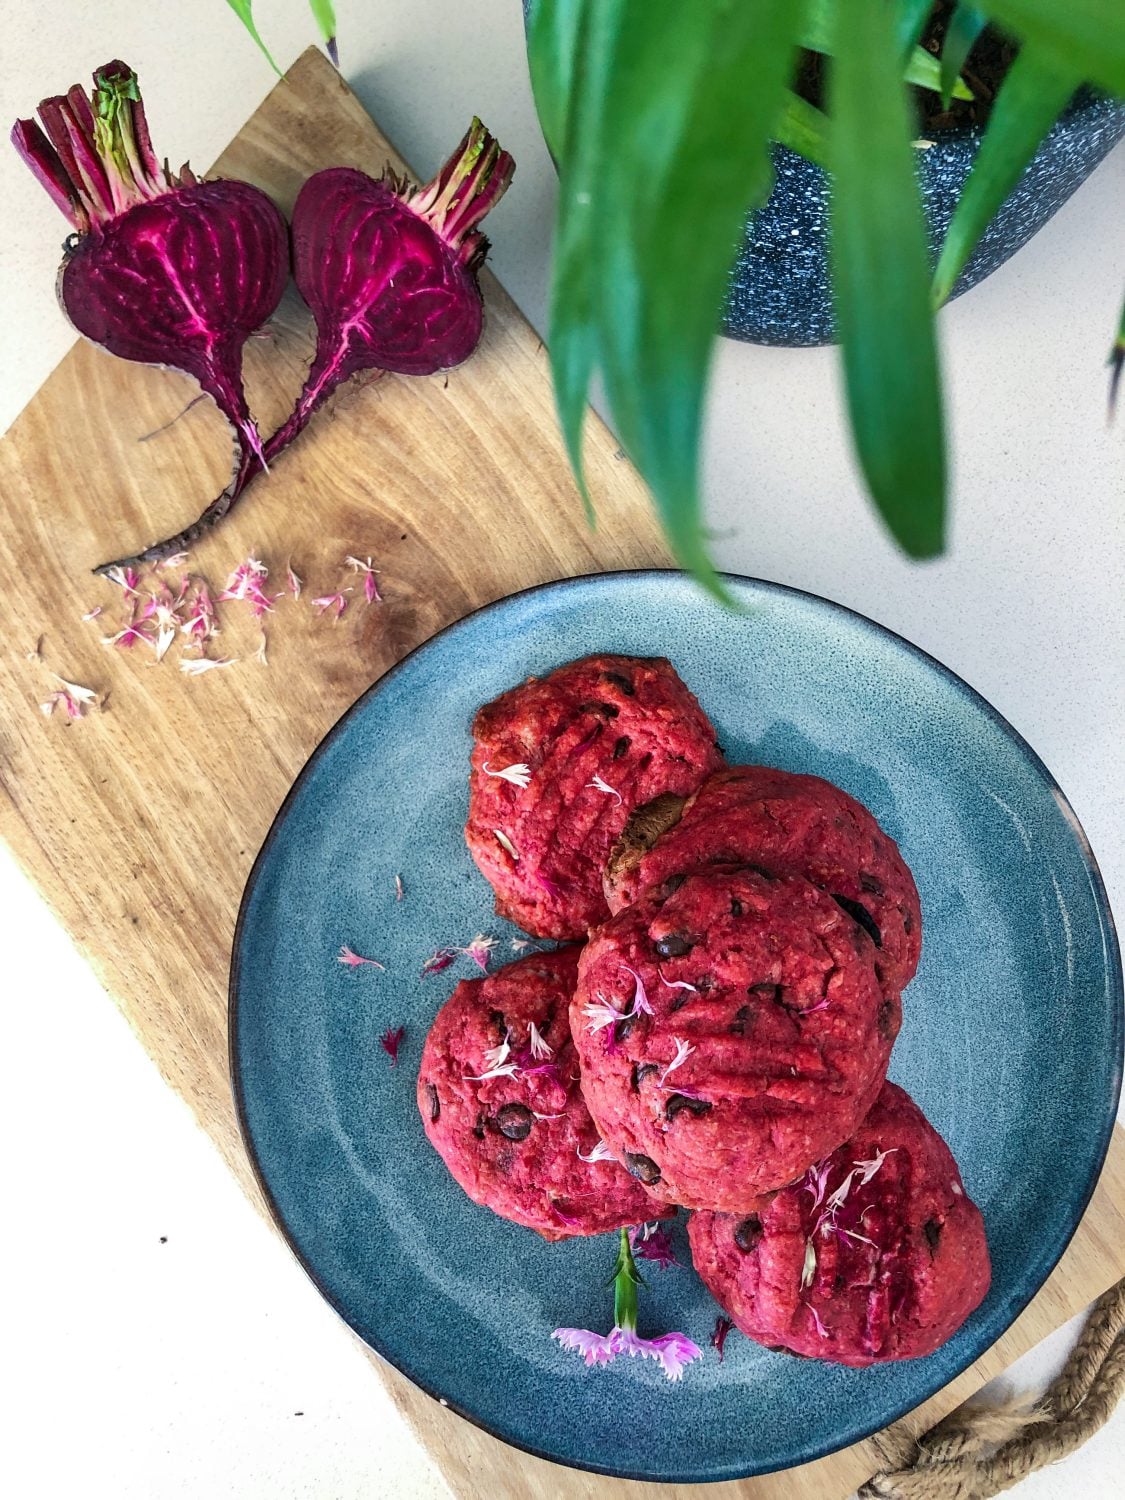
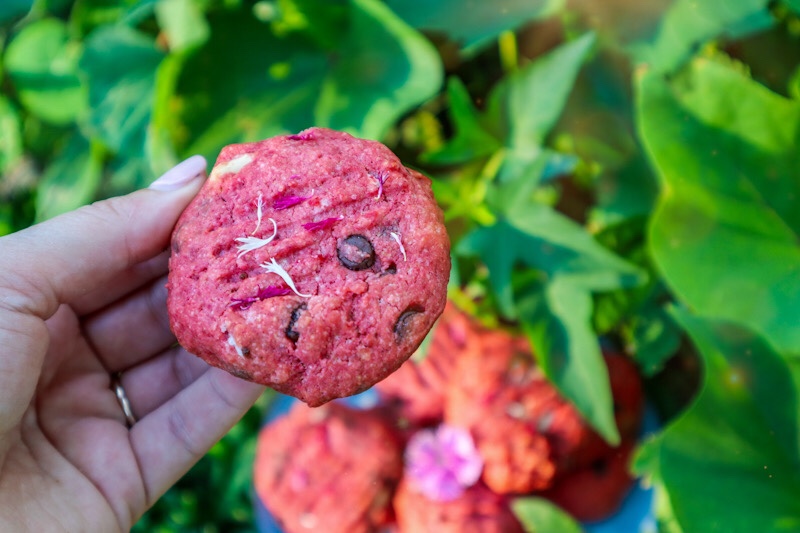
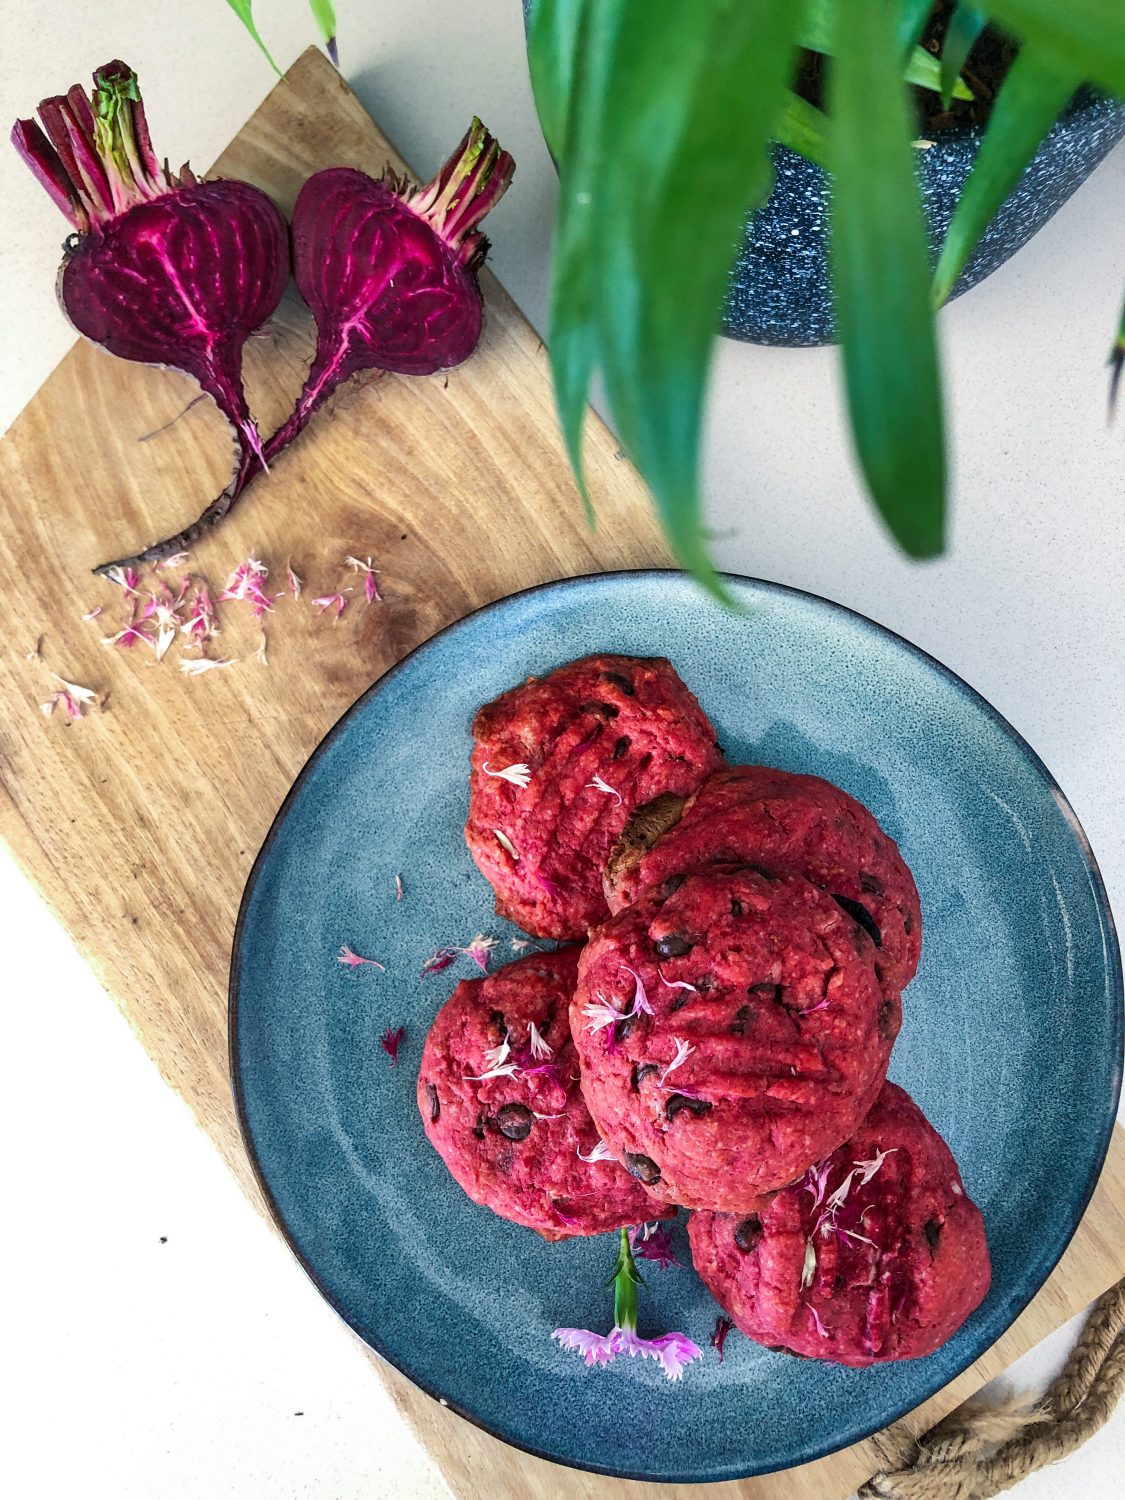
Beetroot is one of my favourite veggies to cook with. It is so versatile and can be used for both sweet and savoury dishes. Beetroot has also a vibrant natural pigment that I just can’t get enough of! Plus Beetroot is also a great source of fibre,folate (vitamin B9), manganese, potassium, iron, and vitamin C. Dark chocolate and beetroot go so well together and these choc chip cookies are so delicious. Plus with all the choc chippies the beetroot taste is very mild. The beetroot puree helps bind and keep the cookies moist plus the colour is just something else!
Cut the Beetroot into 4- 6 pieces, place in a saucepan and add enough water to just cover the pieces. Lightly simmer until you can pierce with a folk. Keep the water in and set it aside to cool.
In a mixing bowl add the sugar, salt and oil and mix to combine. Add 1 TBS of the water from the beetroot pot.
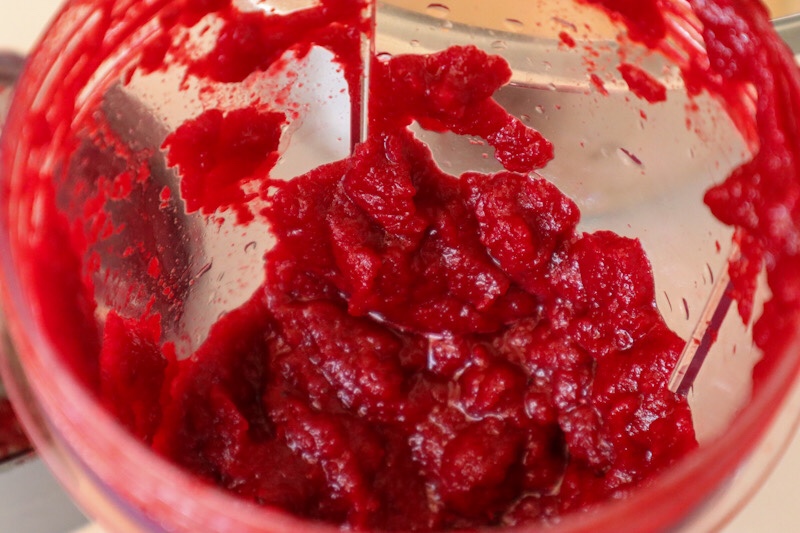
Add the beetroot to a blender or Nutribullet. Add a few teaspoons of the water from the saucepan. Enough to help it combine into a puree. Blend and add extra liquid if needed.
Add the beetroot Puree into the sugar and oil and mix to combine. sift and add flour and baking powder. Gently mix with a wooden spoon or spatular to combine. Don’t over mix.
Add your choc chips and gently stir through.
Place the mix in the fridge to cool for 10-20mins.
Preheat the oven to 180 degrees Celcius and place baking paper on a tray or grease the tray.
Make tablespoon-sized balls and place them on the tray leaving at least 5cm in between each one. Press down gently with a fork and bake for 12-15mins until slightly golden.
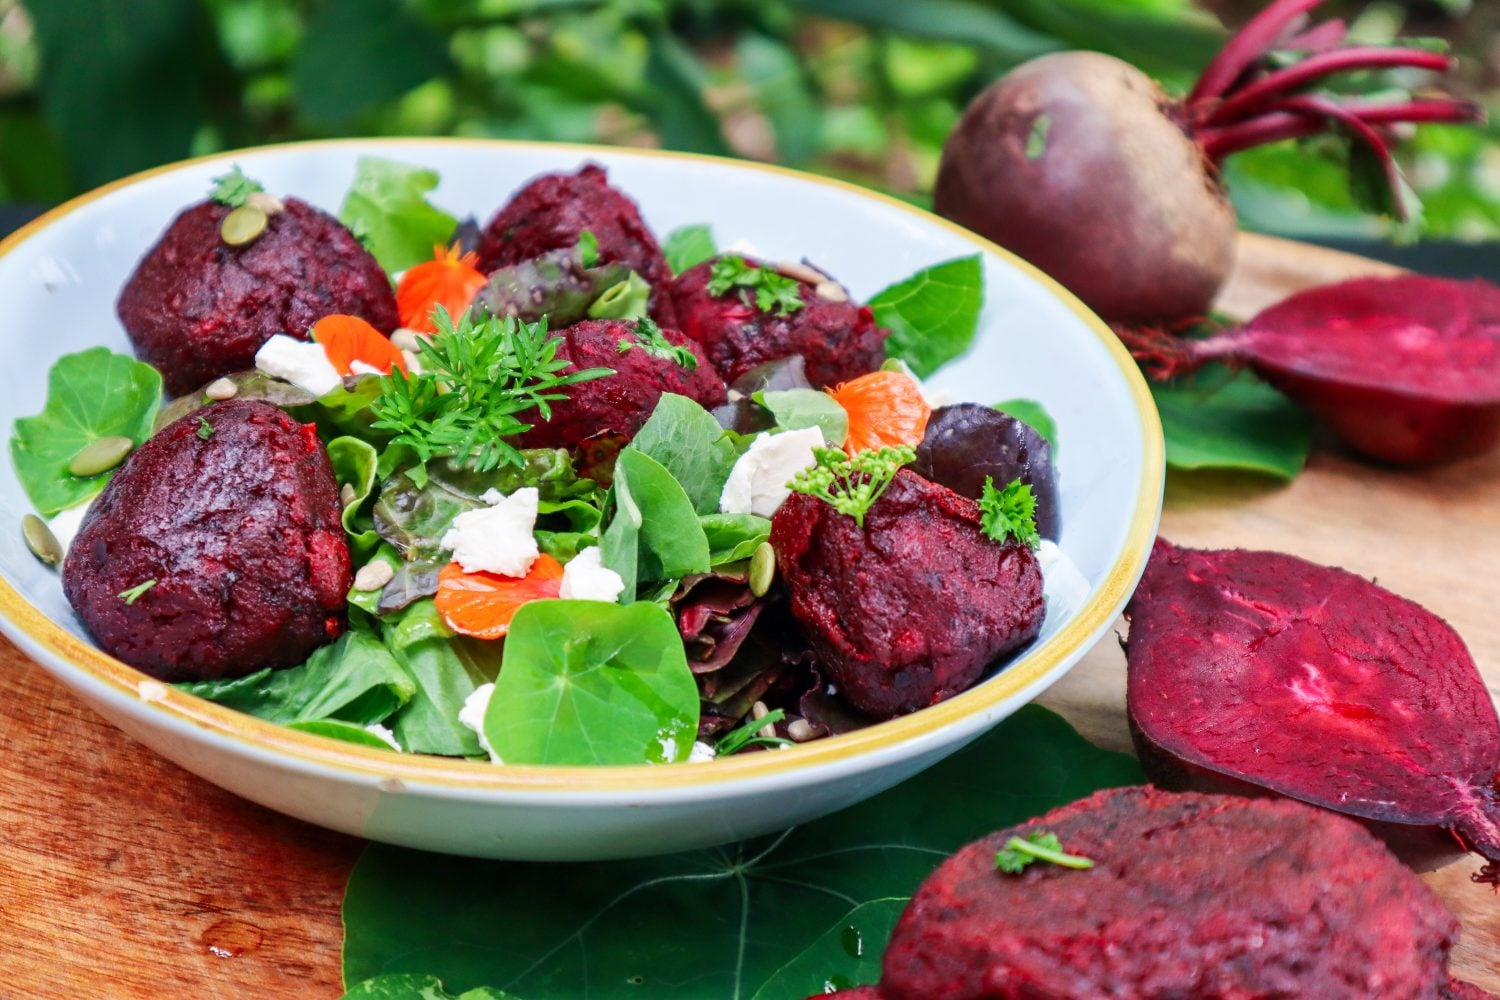
Beetroot falafel is a quick and easy way to make a delicious meal with only a few ingredients. I have included ways to use the whole vegetable from root to shoot. These beetroot falafels can be made into 12 small balls which are great for salads or wraps or moulded into larger burger patties.
Cut the leaves and stems of the beetroot and set them aside for later use. Cut the beetroot into 2-3cm cubes and place in a roasting dish. Drizzle with oil and bake in the oven.
Cook for 30-40mins or until beetroots are soft.
Remove and let the beetroot cool slightly. Blitz the beetroot, cumin and garlic. Then add chickpeas, salt and chopped parsley and blitz to combine and the chickpeas are broken into small pieces.
Add the bowl and mix flour and bread crumbs through. Taste and season with extra salt if needed.
Roll into tablespoon-sized balls or mould 1/2 cup into burger patties
Add oil to a pan and panfry until crispy.
Serve in a salad, burger, wrap or pita bread.
Serve these beetroot falafels with a salad using the beetroot leaves and the pickled beetroot stems make a great accompaniment and salad dressing. This salad can also be made and used for the burgers as well.
Growing Sweet Potatoes / Kūmara (Ipomoea batatas) in your home garden is a great step toward self-sufficiency. Sweet Potatoes are my favourite permaculture plant and are an easy crop to grow for beginner gardeners. It is important to grow plants that support and encourage other plants and beneficial insects in your garden. Creating a cohesive ecosystem that promotes the growth and success of your garden’s health and supports abundant harvests.
Many people do not know that the leaves of the sweet potato plant are also edible. This is most likely because the leaves provide no economical value in the mainstream food system and so they are discarded. Our learnt behaviours tend to come from what is around us but the key is to question things more often. Can I eat this? How do I cook this? We are very lucky to have so much knowledge available to us at the click of a button.
WATCH my top 12 Reasons to start growing Sweet Potatoes or scroll down to read more.
12 Reasons to Grow Sweet Potatoesfor Self-sufficiency
1. The Whole Plant is Edible
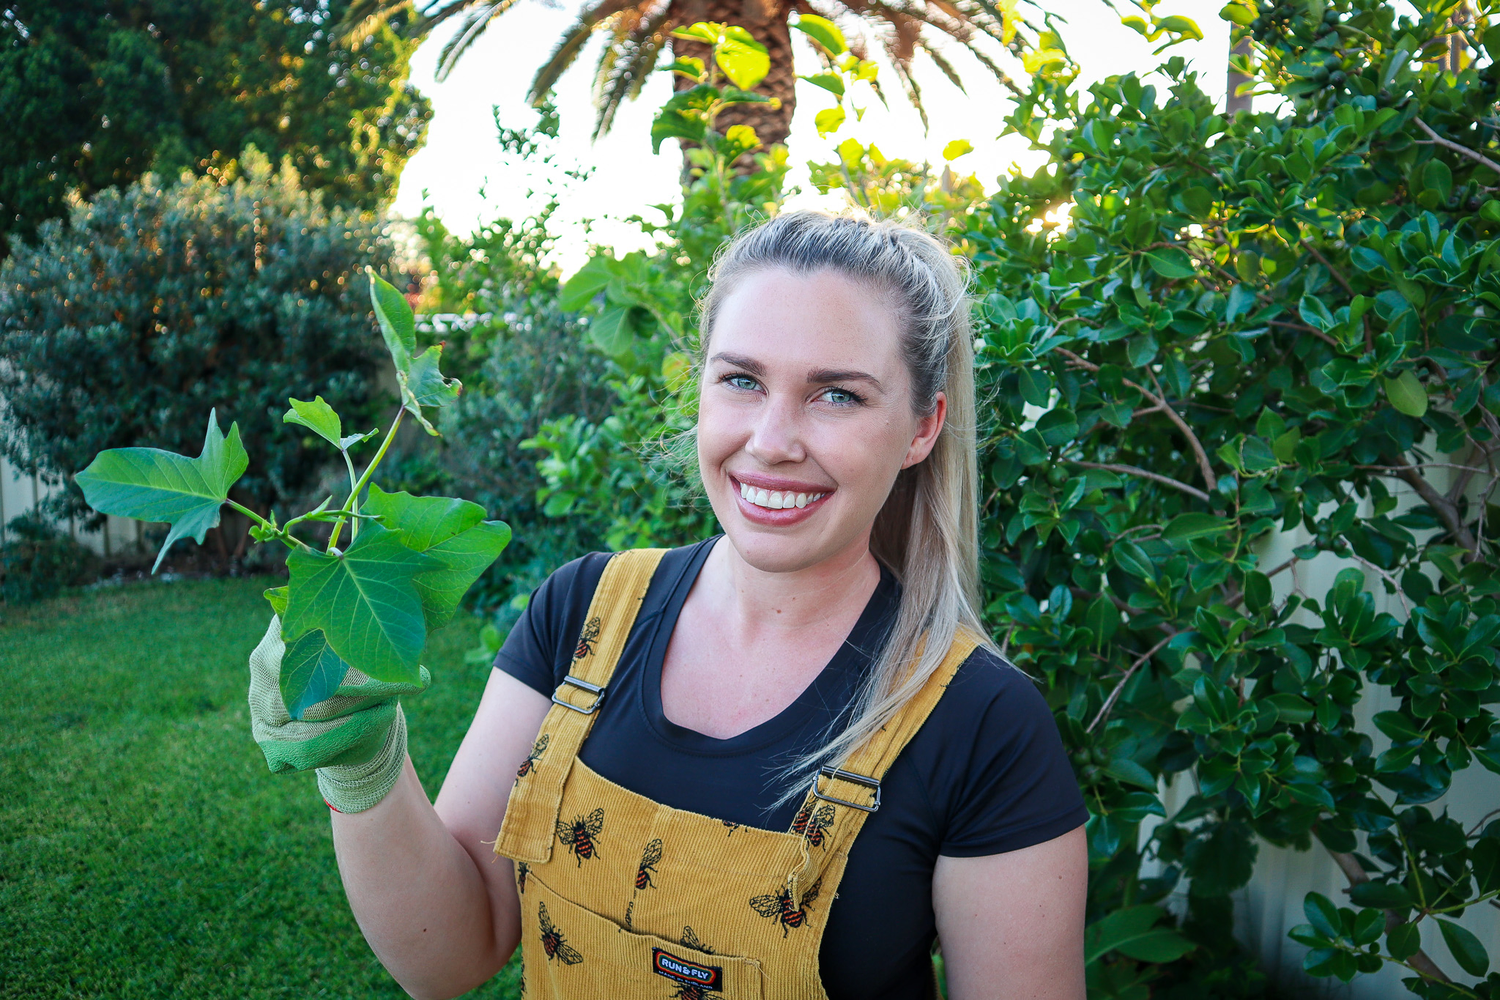
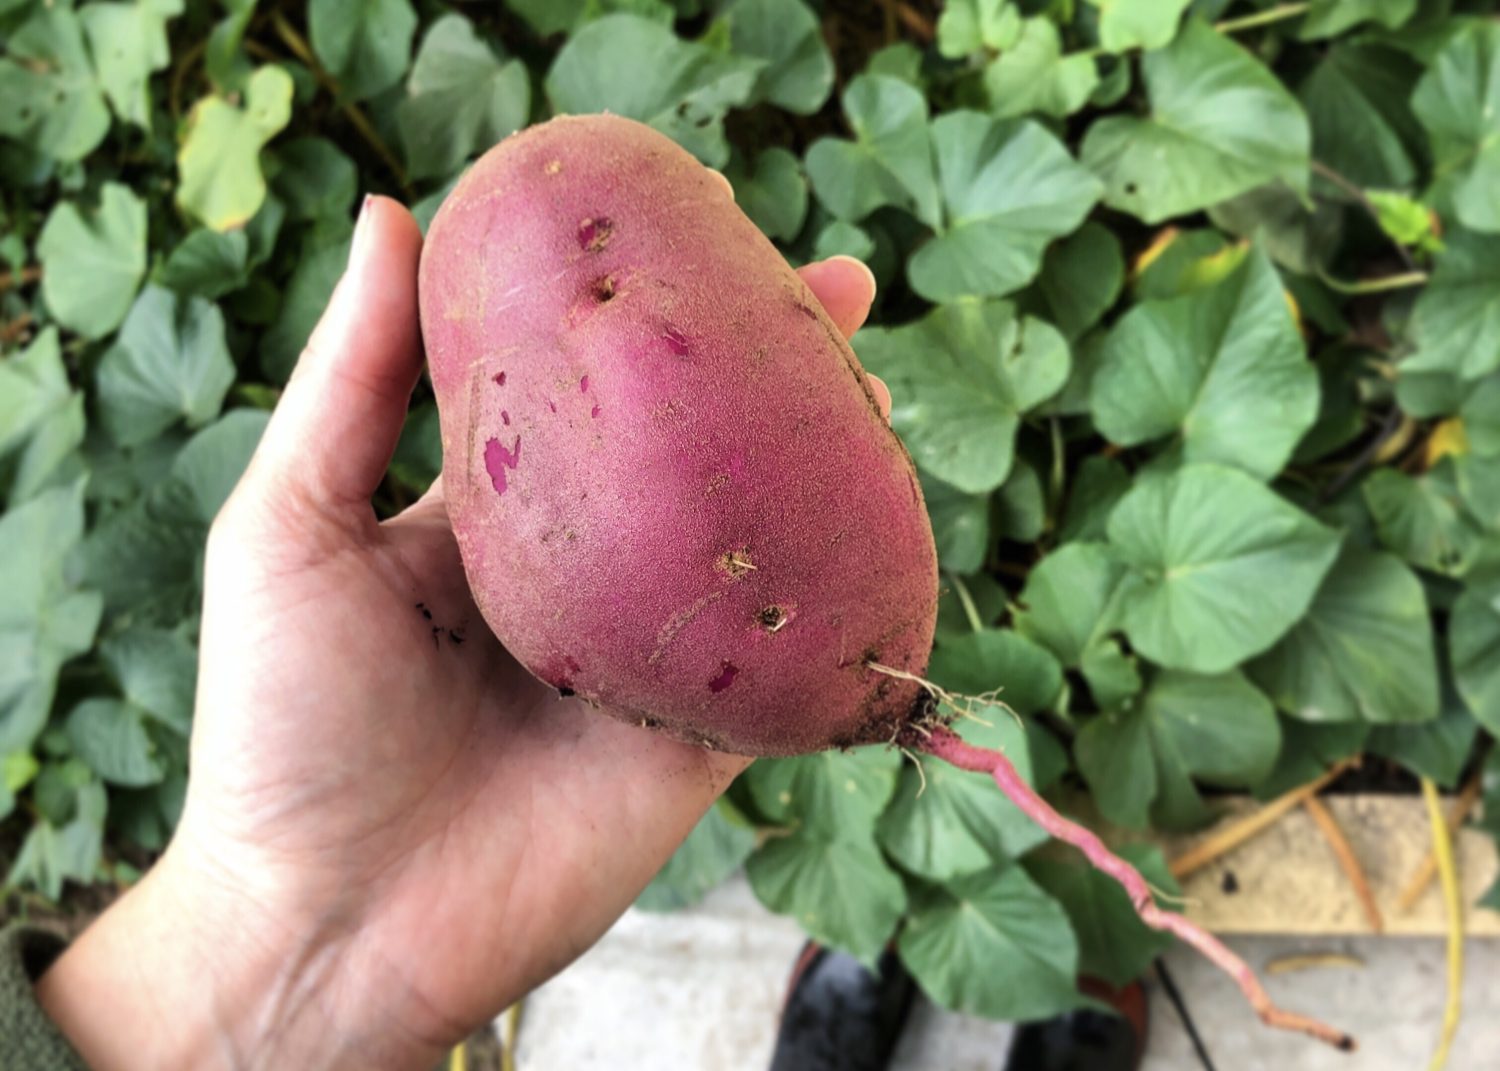
Not only does the Sweet Potato plant produce delicious edible tubers underground but, you can also eat the leaves and stems of the plant too. Sweet Potato is not actually part of the potato family but is part of the morning glory family. Sweet potato leaves are used in a similar way to spinach. The young leaves and shoots can be added to curries, stir-fries, and soups. They can also be sauteed to make a delicious side dish of greens. Sauté in butter and garlic or tamari, garlic, chilli and ginger is another delicious way to use sweet potato leaves.
2. Produces an Abundant Crop on each Plant
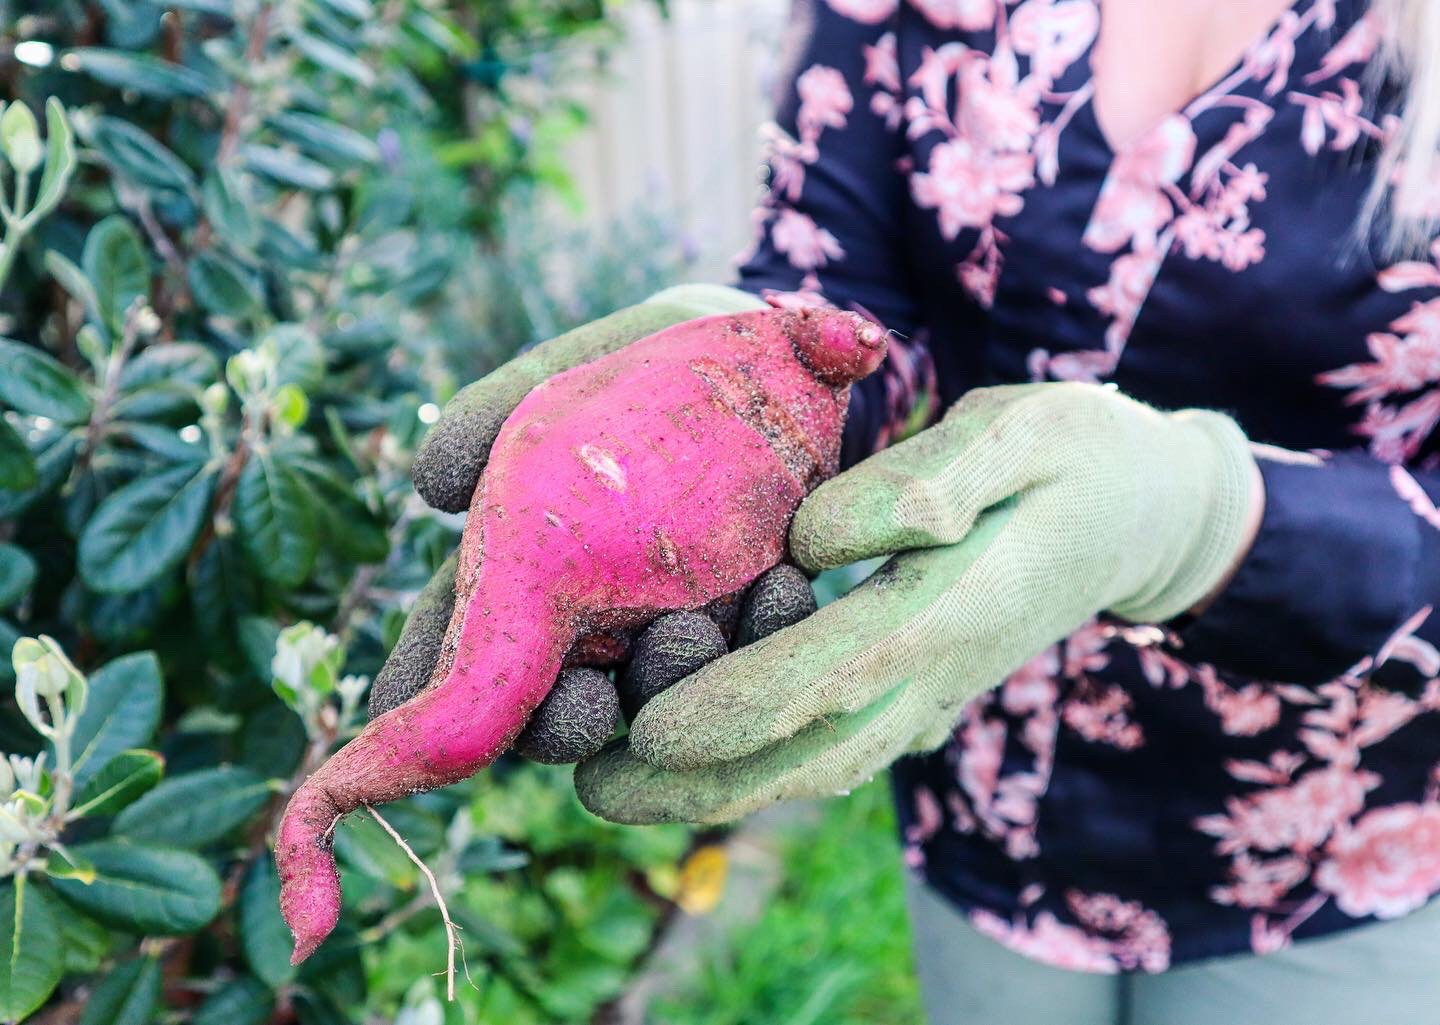
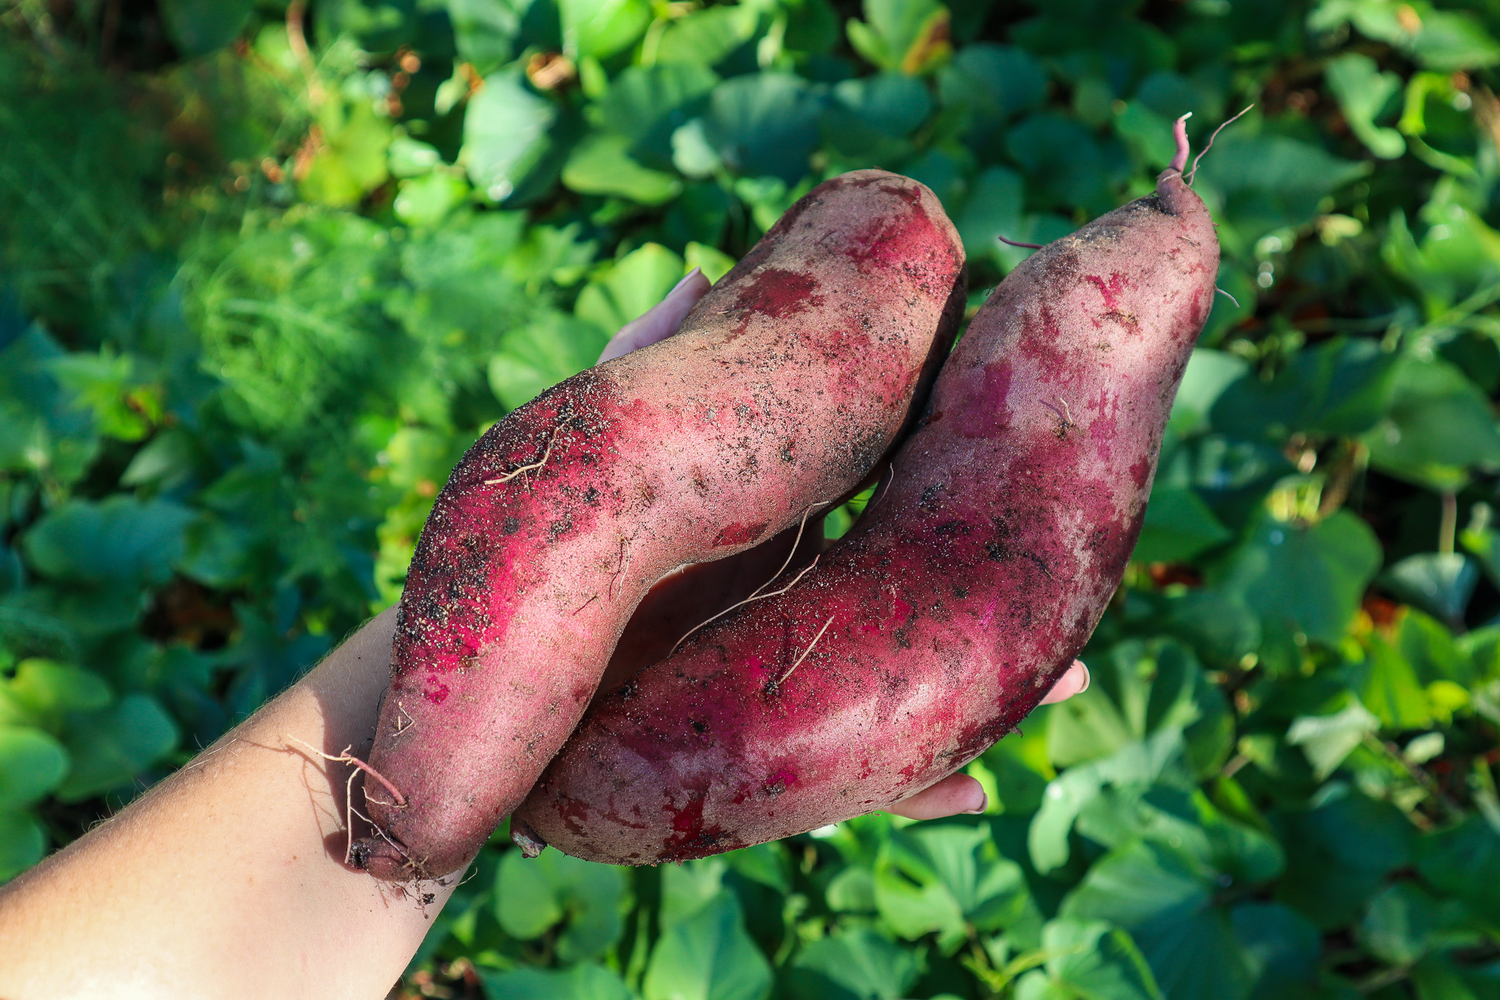
Sweet potatoes produce many large tubers underground from a single plant. These tubers are high in calories and carbohydrates which can form a great “base crop” on your journey to living more self-sufficiently. Growing base crops such as sweet potatoes or pumpkin can increase your ability to make wholesome meals entirely from the garden. You can store sweet potatoes by letting them harden off for half to a whole day in sunlight or diffused sunlight. Then store them somewhere dark and cool for a few weeks or up to a few months. They will keep until they start sprouting or start to go soft and spongy. It can be a good idea to make meals from them and freeze them to preserve your harvests that way. Curried sweet potato soup is one of my favourite ways to prepare and save my sweet potatoes.
Sweet potatoes like warm weather and once the soil warms up in spring and summer they will take off and grow vigorously. They are a very low-maintenance plant that can still produce well with neglect. They can handle low water or dry spells but will produce best when kept well watered. They require free-draining soil as wet, boggy or heavy clay soils may cause the tubers to rot. Promote healthy, free-draining soil with lots of compost. The leaves may get holes and be eaten by bugs but they are very hardy and it would take a lot to restrict their growth. Sweet potato is fairly pest resistant but as the tubers form they will get closer to the surface of the soil. If they are exposed to the surface, rodents such as rats and mice may find them. Check that you can’t see any above the soil and if so, rebury them.
4. Can be Grown all Year Round
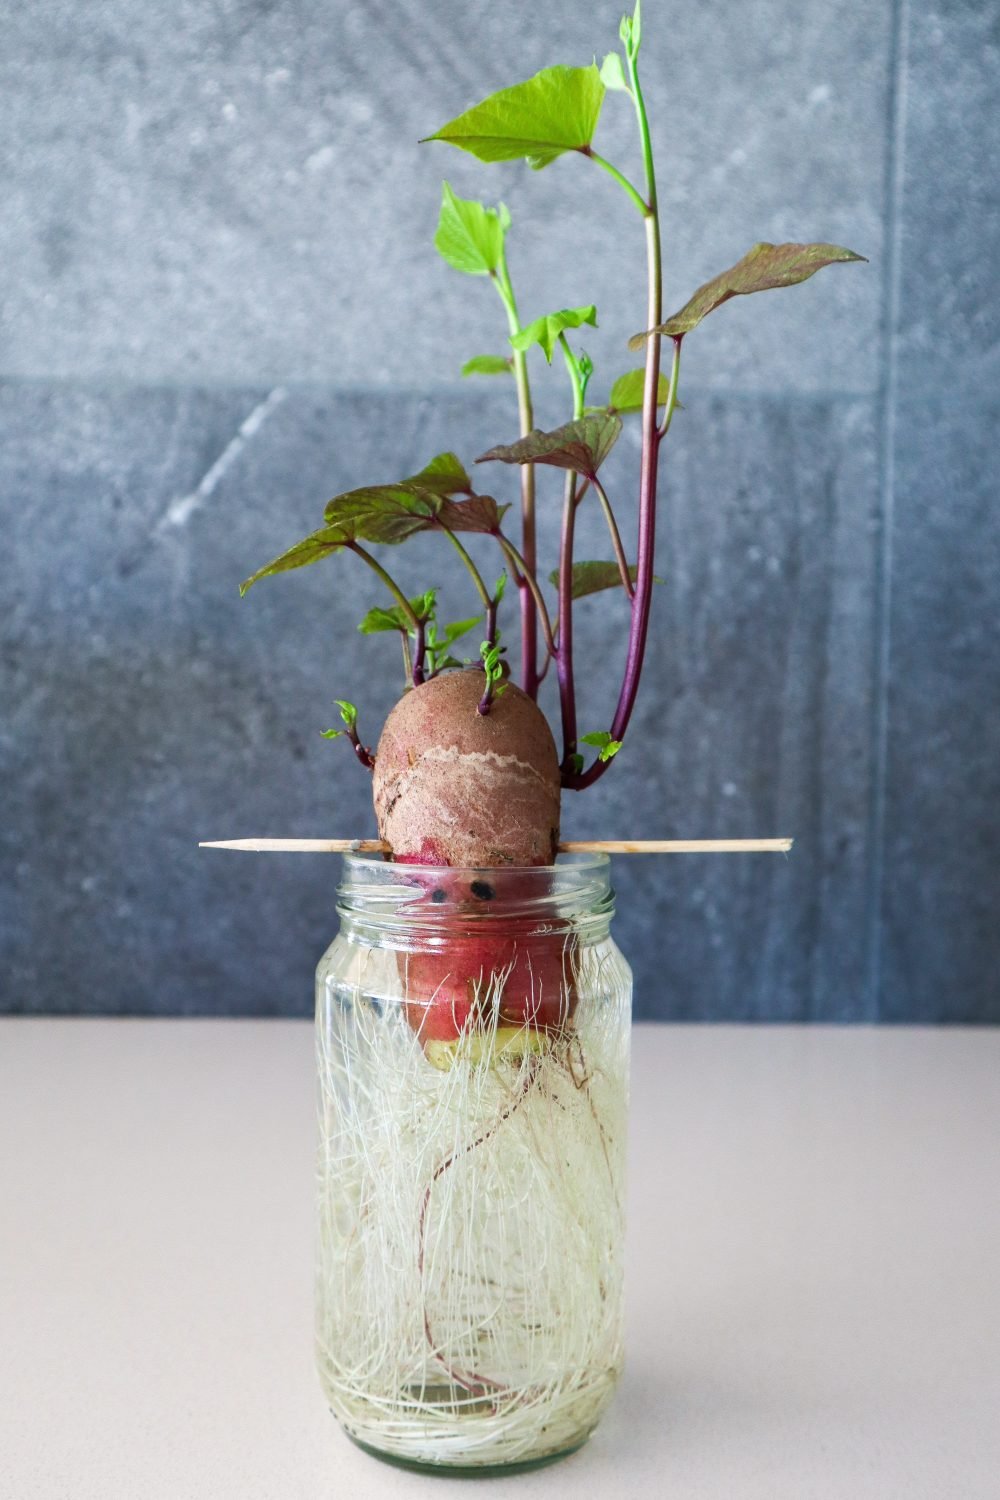
In warm climates with mild winters like we have here (Perth, Australia), Sweet potatoes can be grown all year round. It slows down in winter but you can still harvest the leaves. I have found the purple varieties grow best during winter. In cooler climates, it’s best to harvest your sweet potato before the winter sets in and grow it annually. You can, however, take cuttings and grow them indoors in jars of water or pot them up and have lush house plants over winter. Once Spring arrives and the soil warms up you can replant them back out into the garden. To get the most out of your tuber harvests it is best to harvest annually and then replant your patch. You can leave some tubers in the ground and they will remain dormant until the soil warms up and they will just pop and regrow by themselves!
5. You can Harvest in Stages
If you have a large sweet potato patch and multiple plants you can harvest your sweet potatoes in stages to get the most out of your harvests. When veggies are ready all at once it can be hard to utilise them and not get overwhelmed. Towards the end of summer and autumn, I will also just go out and harvest one or two for dinner. Here in Australia, we call it “bandicooting”. Bandicoots are marsupials that look kind of rat/rabbit-like, that fossick around for food. Find where the main stem of your sweet potato goes into the ground and have a light dig around to see if you can find any sweet potatoes near the surface.
6. Easy to Propagate
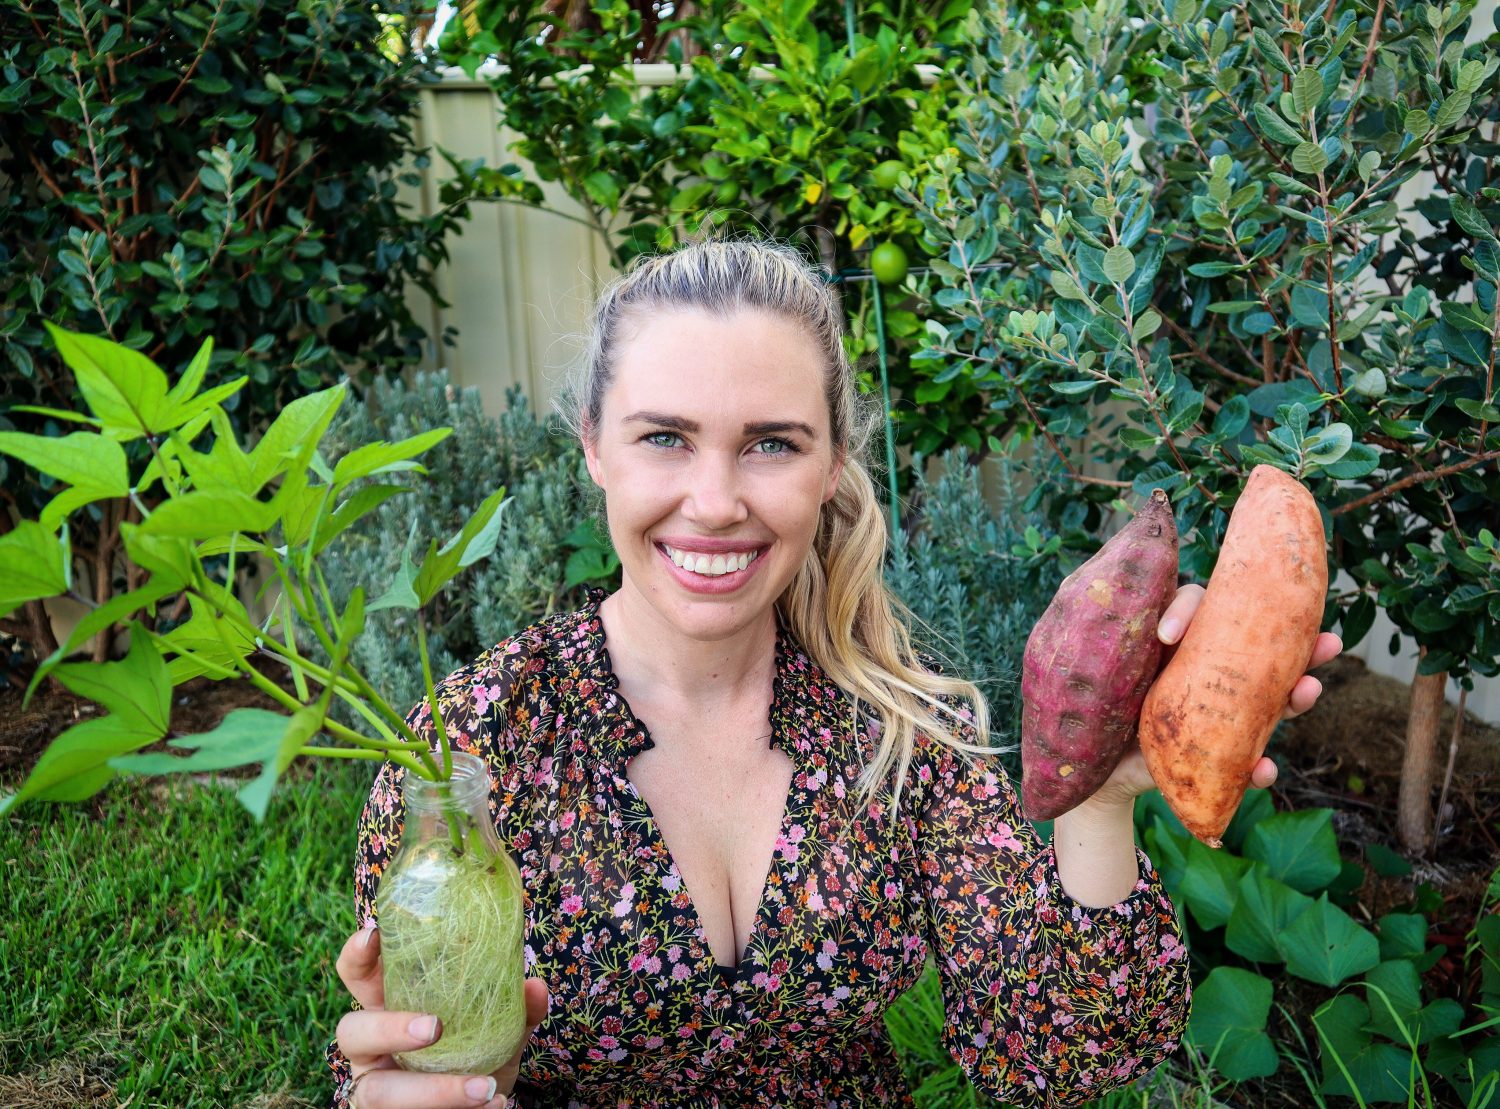
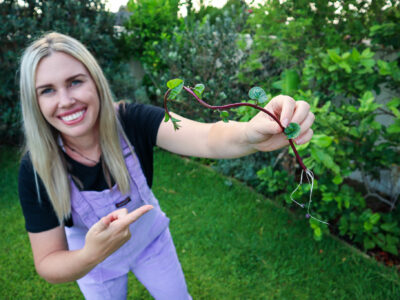
Propagating and growing more sweet potatoes is very easy and there are multiple ways to do this. If you do not already have sweet potatoes growing at home then you can start a patch with a single tuber from the farmers market. You can bury the whole tuber in the garden or cut it into 3-4 pieces and start multiple plants. Another way to grow a plant from the tuber is to place the tuber in a jar of water until it sends off shoots. The shoots can then be cut and placed in water to grow roots. Let the shoots get above 10cm before cutting them off. You can keep doing this and using your tuber to farm multiple plants.
Once you have an established patch you can cut sections of the vines off ( known as “slips” ) and regrow more plants. Either plant the slips directly into the soil or place them in a jar of water to form roots first. If you plant them directly into the garden make sure to keep them well watered while they strike roots.
To learn more about growing food from cuttings, check out my ebook. It’s a great way to establish an edible garden for little to no cost.
7. More Varieties Available
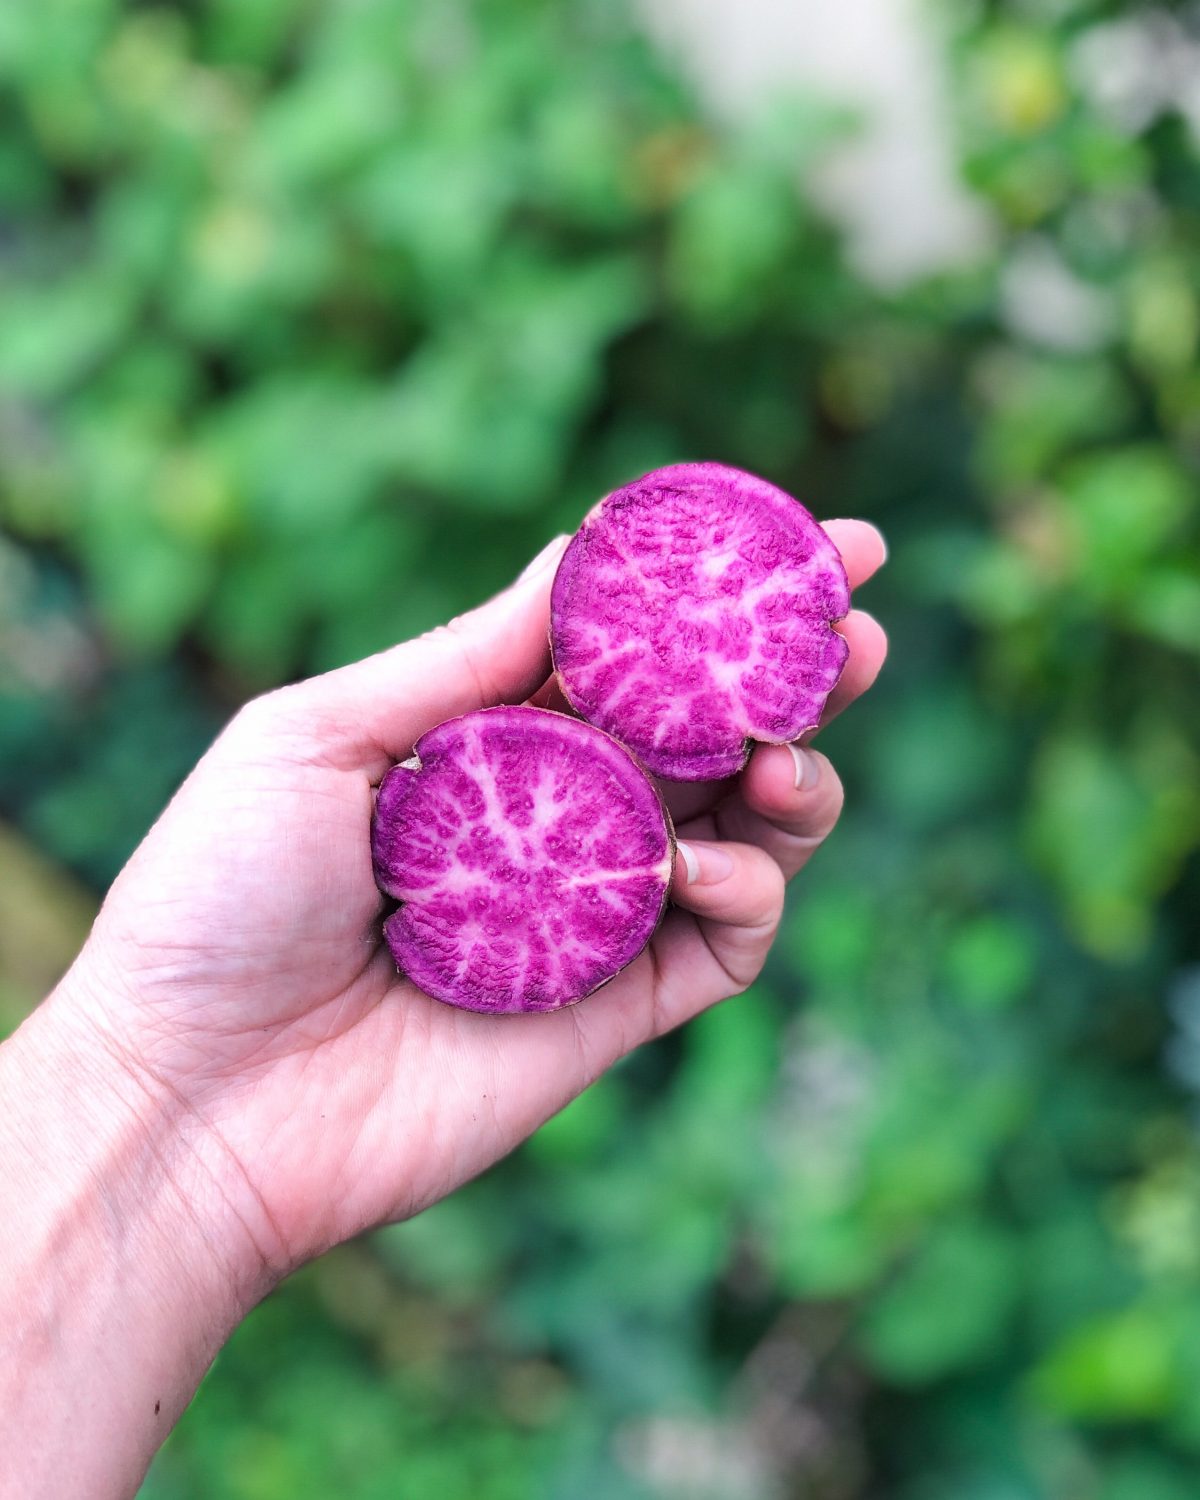
There are a lot more varieties of sweet potatoes than the ones you commonly see in the shops. Growing your own food opens up so many more exciting options and varieties of vegetables. The varieties available at the supermarket have been bred to aid in mass production, pest resistance and shelf life. Rather than on the quality of nutrients, texture and flavour. I know which ones I would pick! I am growing the Orange, Red and White, Hawaiian (white skin with purple flesh) and Purple skin with Purple flesh variety. They all have unique qualities and cooking properties. The Purple and White are deliciously roasted, whereas, the all-purple variety is not great roasted but delicious mashed. Once you have established some plants you can then swap and trade with others who may be growing different varieties to you.
8. Amazing Living Mulch/ Ground Cover
The Sweet Potato naturally grows as a vine along the ground. It will send off side shoots and quickly become a thick and lush ground cover. This protects the soil from the harsh sun and creates a healthy habitat for beneficial insects. Having lots of beneficial insects is an essential part of growing a natural, thriving garden. This lush ground cover provides an excellent bottom layer of a food forest system. I have Sweet Potato vines growing all in between and underneath my fruit trees.
9. Grows in Sun or Shade
Sweet Potato prefers full sun but will grow in a wide range of locations from full sun to full shade. The plants that grow in shade will be slower to produce but will still grow well. This means you have more options in choosing a location to grow your Sweet Potato. I actually find that during our harsh summers in Perth, my Sweet Potato prefers some shade. Versatile plants are great for the garden because you have more flexibility and options for choosing a location to plant them. It also means they are a little more forgiving for beginner gardeners because they won’t up and die if the sunlight isn’t just right.
10. Grows in Containers or in the Garden
Urban gardens often mean utilising container gardens and selecting plants that grow in both is amazing! Ok, you can see why I love this plant! It is just so easygoing. The Sweet Potato plant can take off quickly and grow very vigorously. This means it can shade out smaller plants and take over the garden. If you are short on space or have small space, or urban gardens, then it may be best to grow it in containers and train the vines vertically on a trellis. Don’t be afraid to cut off the edges if it starts to take over.
11. Can be Fed to Animals
Sweet Potato leaves can be feed to many animals including chickens, pigs and rabbits. When you are harvesting the patch or just trimming the edges, then this can be a great way to add feed to your animals. They are full of vitamins and nutrients to help boost your animal’s overall health. Plus, it promotes a sustainable cycle and the animal manure can then be composted to use on your gardens and grow more Sweet Potatoes!
12. Save Money!
Sweet Potatoes can be expensive! Especially if they are not the common variety. Recently the Red and White ones were over $9 p/k at my local store. With their ease of growth and abundant production, Sweet Potato is such an economical plant to grow in your home garden.
As you can see I could talk about growing sweet potatoes all day! They are my favourite permaculture plant because they are versatile and have so many benefits and interconnected relationships within the garden.
If you have any questions about growing, harvesting or propagating sweet potatoes please leave me a comment below. If you found this content helpful please share it with your friends. Sharing my articles will help me inspire and help more people to start growing their own food. Every little bit counts towards growing and inspiring a greener world.
DISCLAIMER: Links included on this page might be affiliate links. If you purchase a product or service with the links that I provide I may receive a small commission. There is no additional charge to you! Thank you for supporting my blog so I can continue to provide you with free content each week.
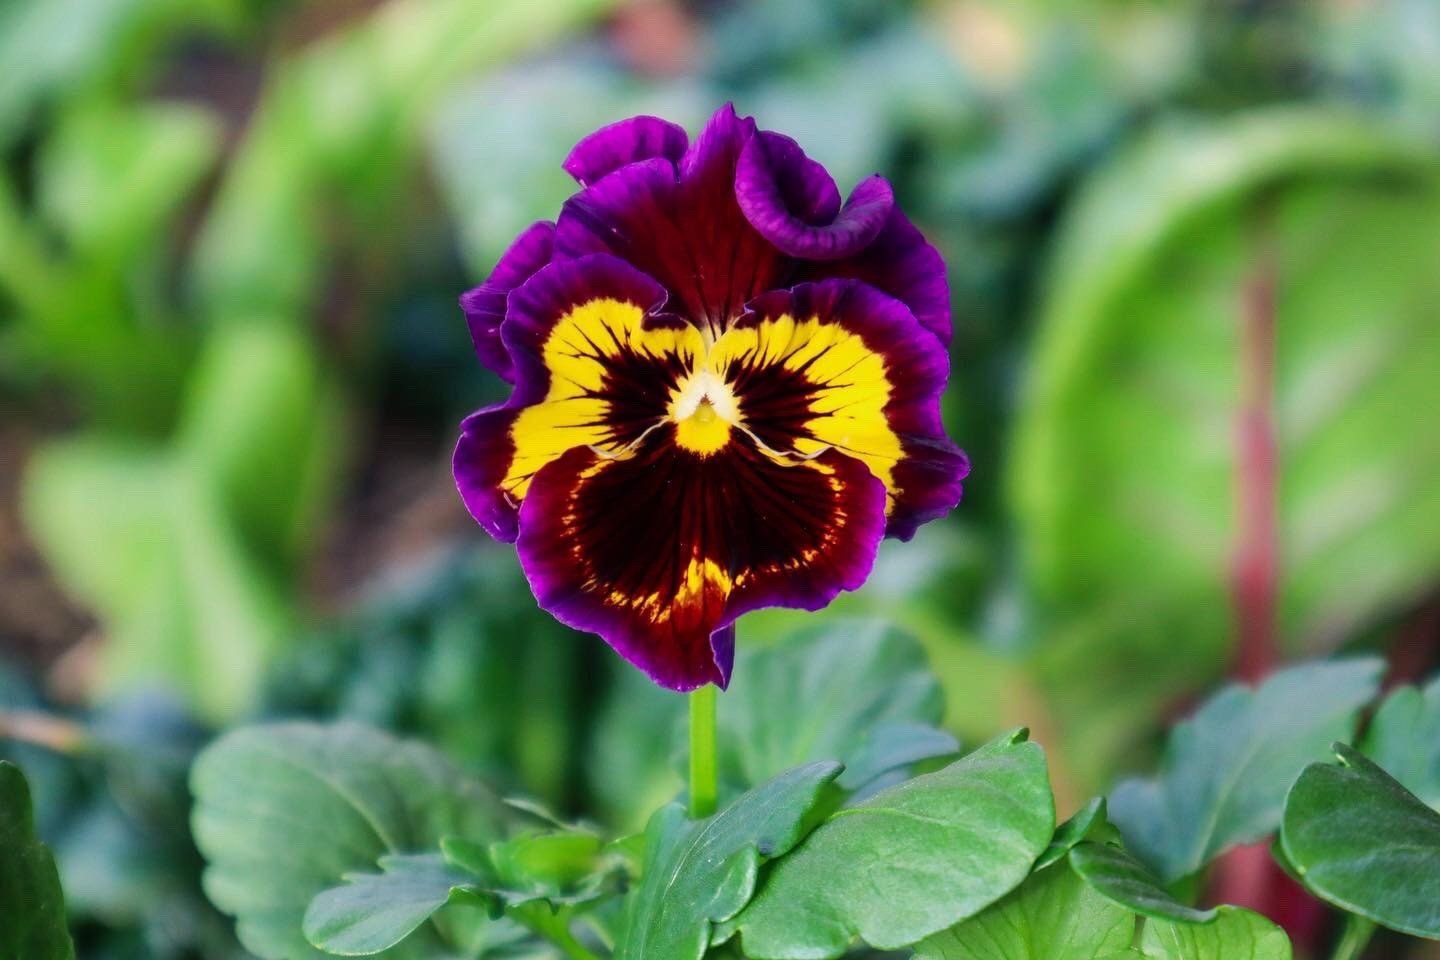
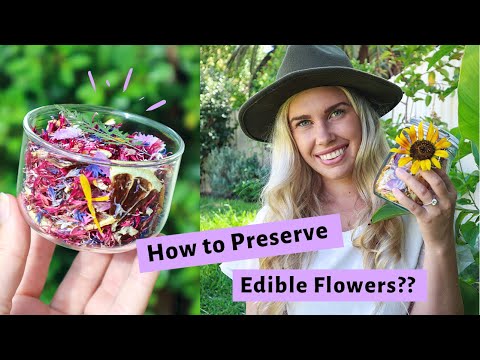
I grow a lot of edible flowers in my urban permaculture garden. That way, I not only have plenty of flowers for the bees, but also lots of beautiful edibles to brighten up any meal. Edible flowers have so many health benefits and valuable nutritional qualities. Flowers don’t often last long on the plant and a great way to preserve and harness their energy is to press or dry them. This way you can make infused oils, herbal teas and still have beautiful bright flowers to use throughout the year.
What Time of Day is Best to Pick Edible Flowers?
Pick your edible flowers in the morning but after the sun has come up. First thing in the morning the flowers will still be closed so wait until they fully open up. They will be at their best in the morning, full of life and well hydrated. Throughout the day they can lose moisture and become damaged by insects or wind. Make sure you select flowers that you know don’t have any chemicals or sprays on them. I only use flowers I have grown in my backyard as I can have more control over their surroundings.
Should you Dry the Whole Flower or just the Petals?
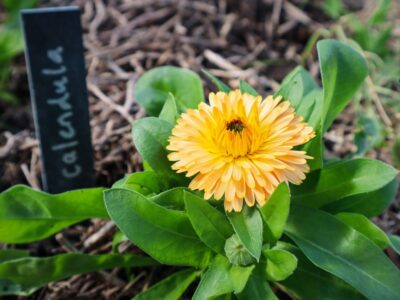
You can do both! If the flower has a thick base or bud I tend to remove the petals. Flowers such as Sunflower and Hibiscus, I usually remove the petals. The base will take a very long time to dry and most of the time will not be palatable/hard and bitter. Calendula has many healing properties in the base, leave this on if you are going to use it for infused oils and balms.
Air Drying Flowers Naturally
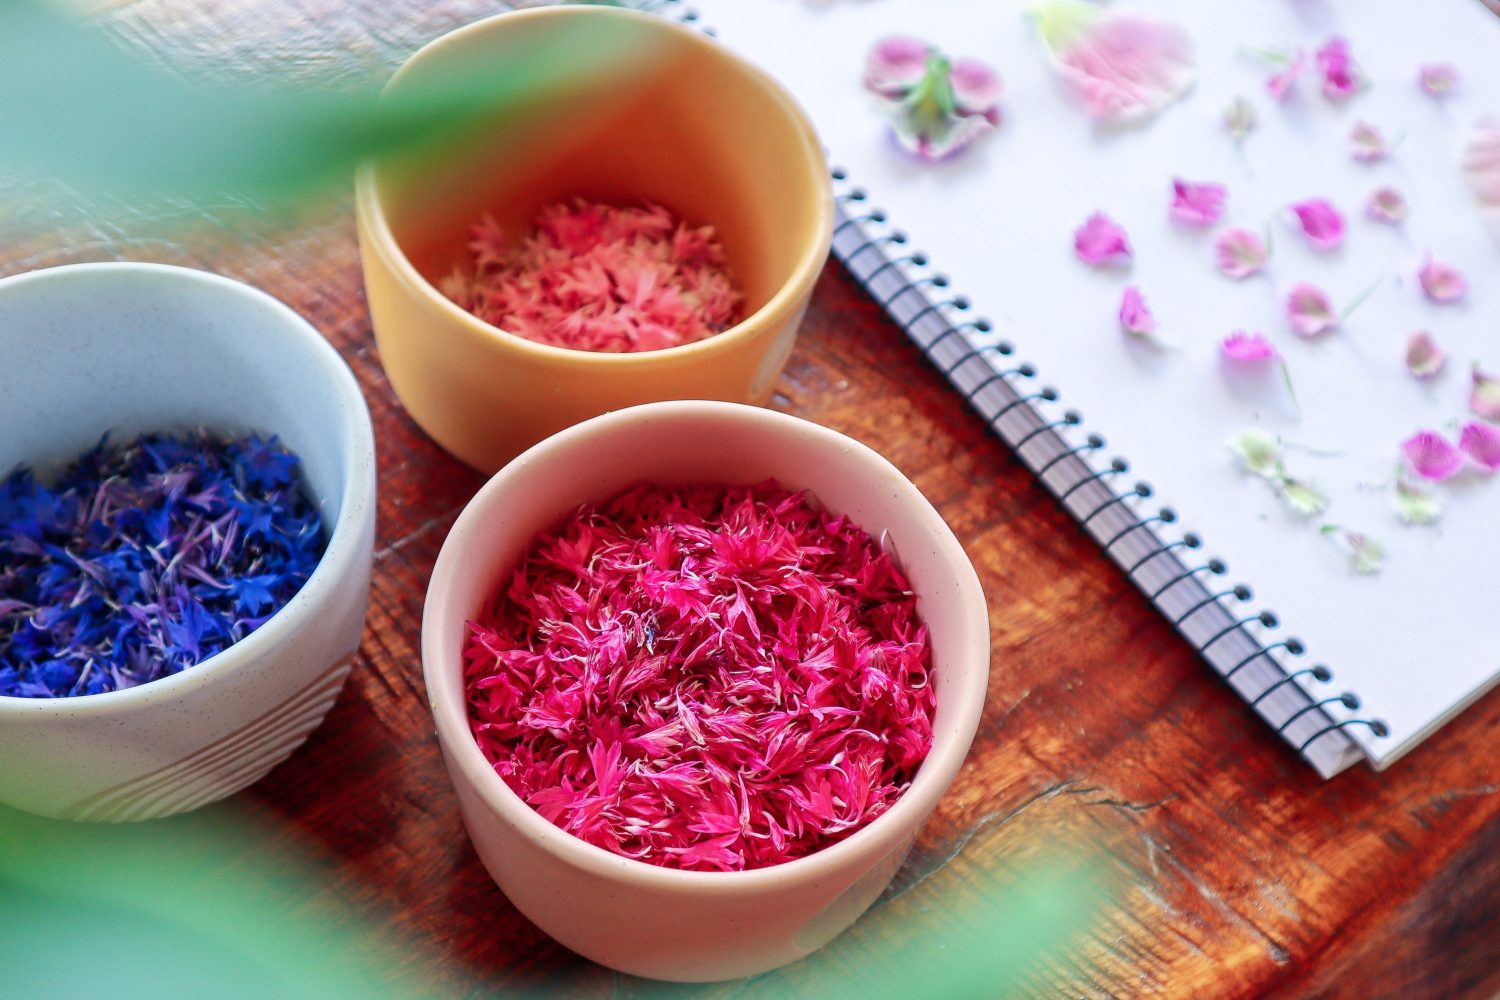
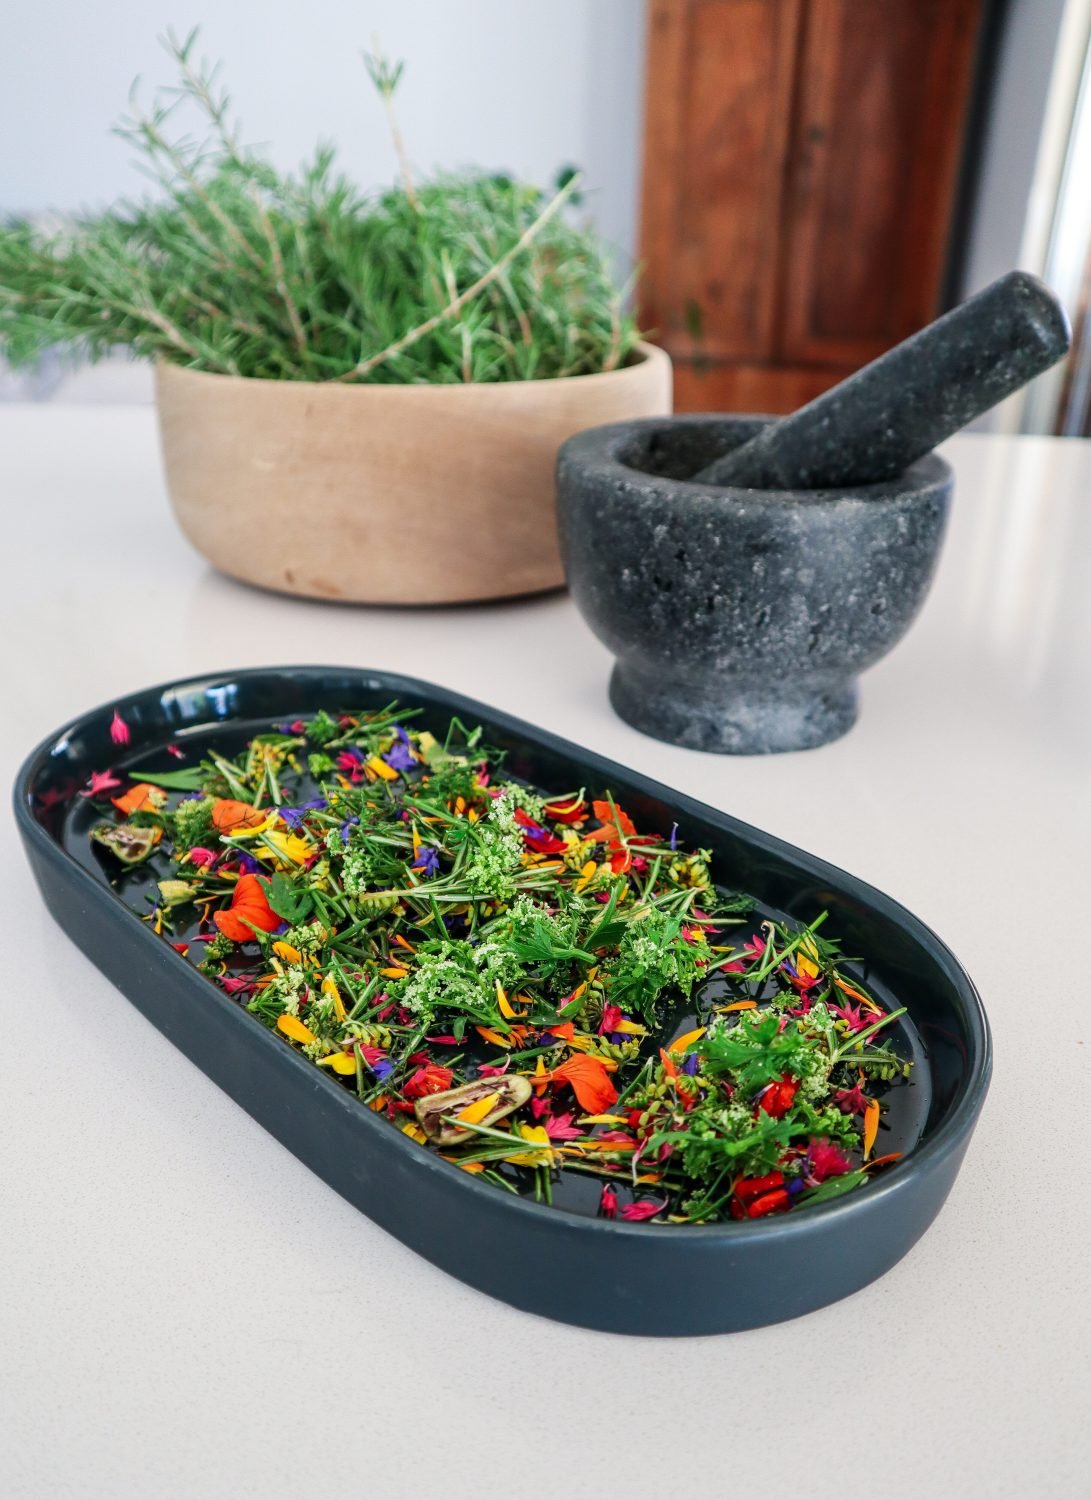
The main way that I preserve my edible flowers is to air dry them naturally. I keep a bowl or plate in my pantry and add petals and flowers to it regularly. Each time I go out to the garden to pick veggies, I will pick edible flowers as well. If I don’t use them fresh in my meals I will just pop them aside to dry. It is very hot and dry here in Perth, Australia during the summer, so they will dry within a couple of days. If you live in a humid or cool climate or it is winter, it would be best to oven-dry or use a dehydrator. You want to get the flowers as dry as possible with no moisture left. This is to prevent them from going mouldy or growing bacteria.
Oven drying flowers
Turn your oven on to 40-50degrees Celcius and spread your flowers out on a tray. If your flowers have thick buds or bases it will be best to separate them out and just dry the petals. This may take a while depending on the size and moisture levels of your flowers. It may take around 4-6 hours and gently turn and mix your flowers around during that time to help them dry evenly.
Drying flowers in the dehydrator
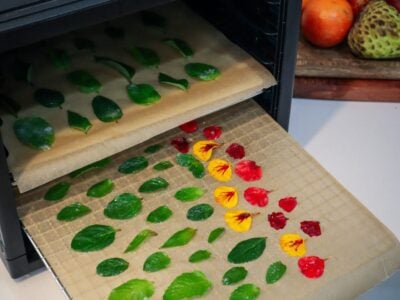
Lay your flowers out flat on a tray and turn your dehydrator on to 40-50 degrees Celcius. It will depend on the moisture levels and size of your flowers but it will take between 4-6 hours to dry. Make sure they are completely dry and they may sound crunchy to touch.
Pressing Edible Flowers
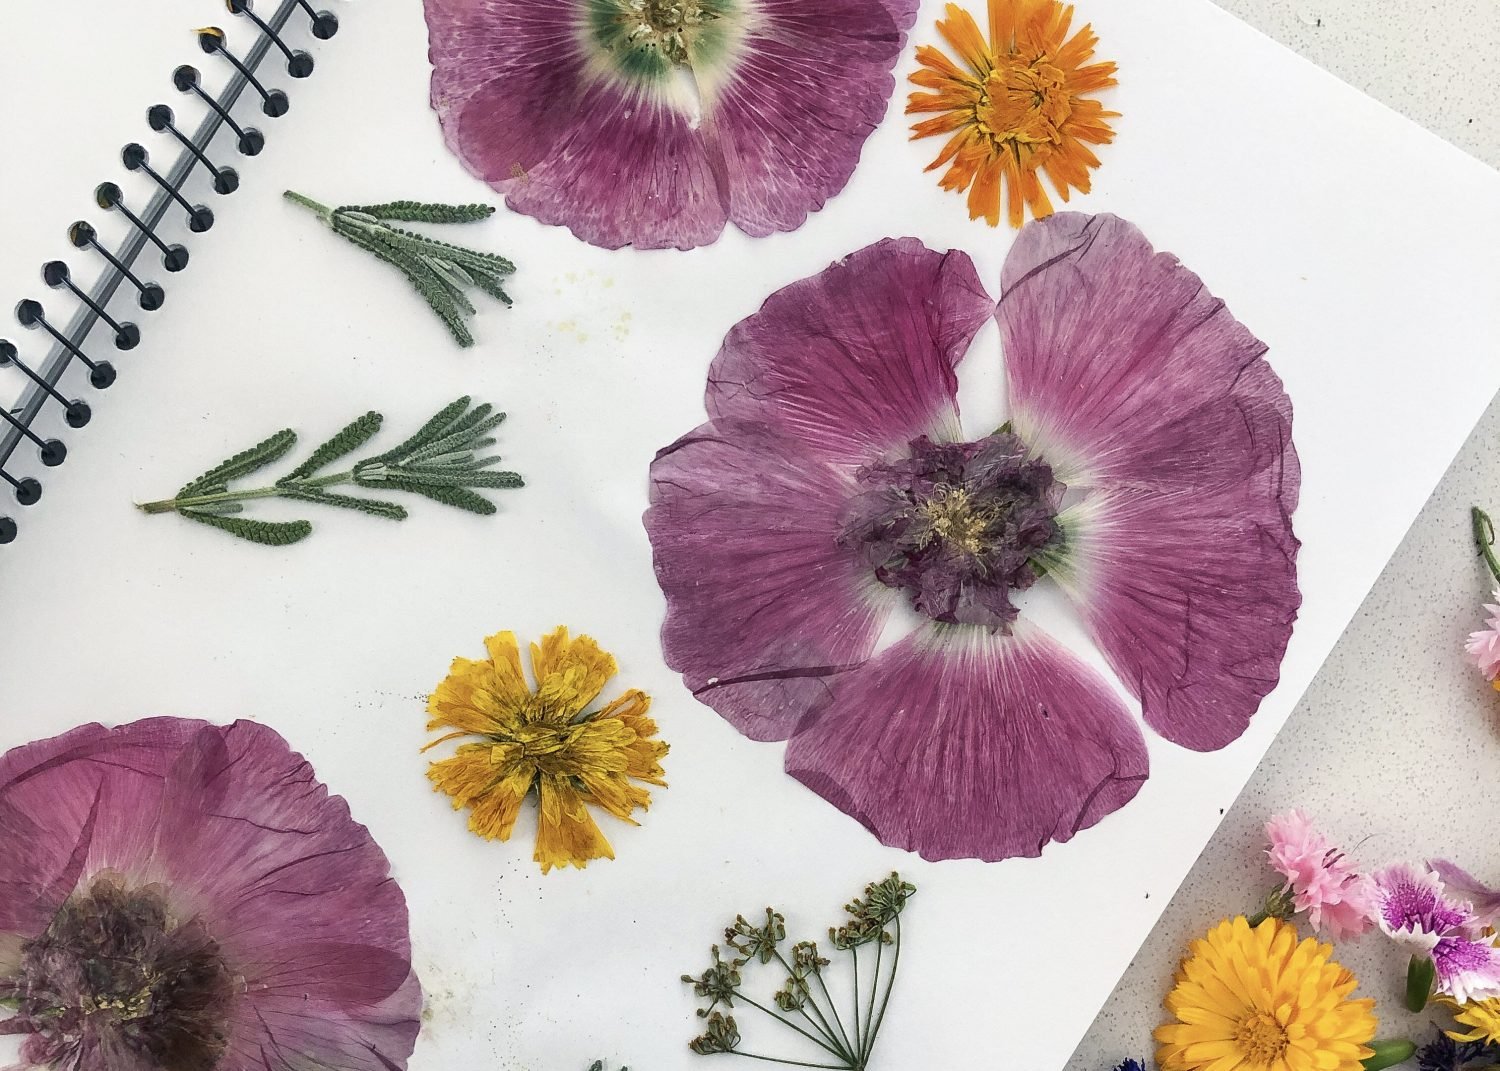
Another way I like to preserve my edible flowers is to press them. You can do this with any flower press or to press flowers without a flower press, simply place your flowers between sheets of paper or a notepad and stack some heavy books on top. Press whole flowers or petals but if the bud or base of the flower is quite thick, I would remove it and just press the petals. Pressing flowers will take a while to ensure that they are completely dry. Depending on your temperatures and climate it can take between 2-4 weeks to dry your edible flowers.
How to Store Edible Flowers
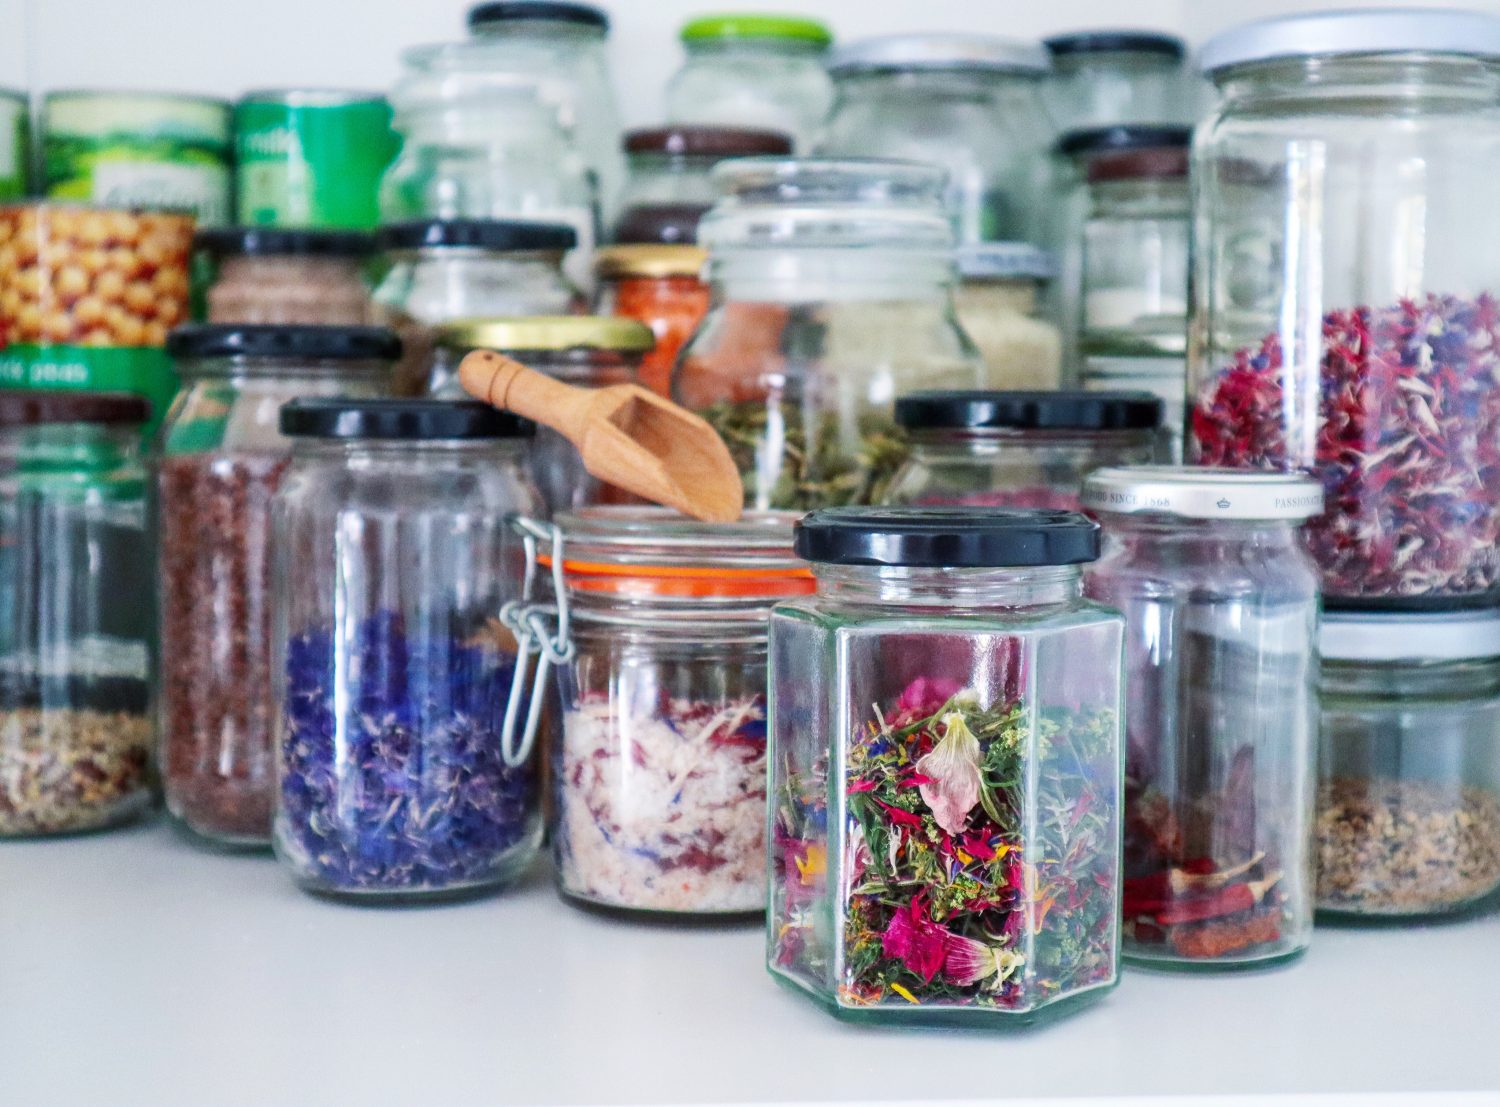
Once your flowers are completely dry you can store them in an airtight container out of sunlight. I keep all my air-dried flowers in jars in my pantry. My pressed flowers that I want to keep intact, I store in a glass container with a bit of paper towel. In dry conditions, these will last quite a while. I have some from a year ago that are still great.
How to use Dried Edible Flowers?
There are so many ways to use your dried flowers. Here are some of my favourite ways to use them.
MY GARDENING ESSENTIALS // Fertiliser spray gun: https://bit.ly/366nL1t Retractable Hose: https://bit.ly/2TSC0Bo More gardening tools: https://bit.ly/32IQmbD
DISCLAIMER: Links included in this description might be affiliate links. If you purchase a product or service with the links that I provide I may receive a small commission. There is no additional charge to you! Thank you for supporting my page so I can continue to provide you with free content!
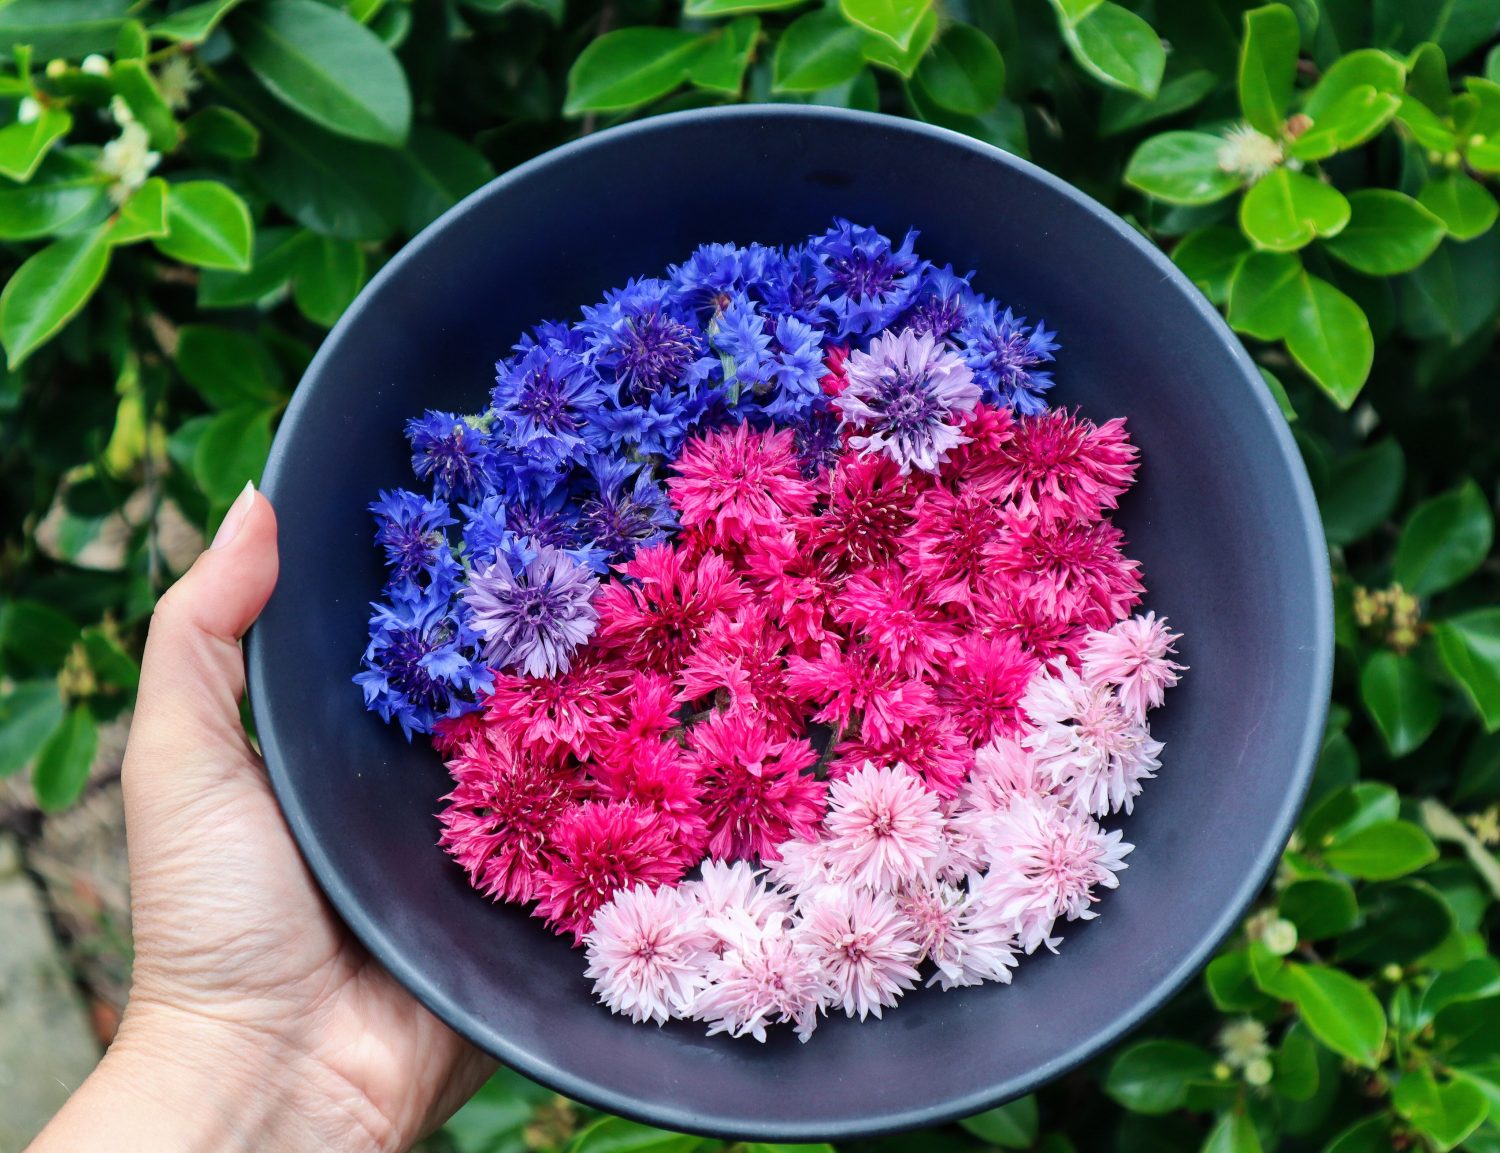
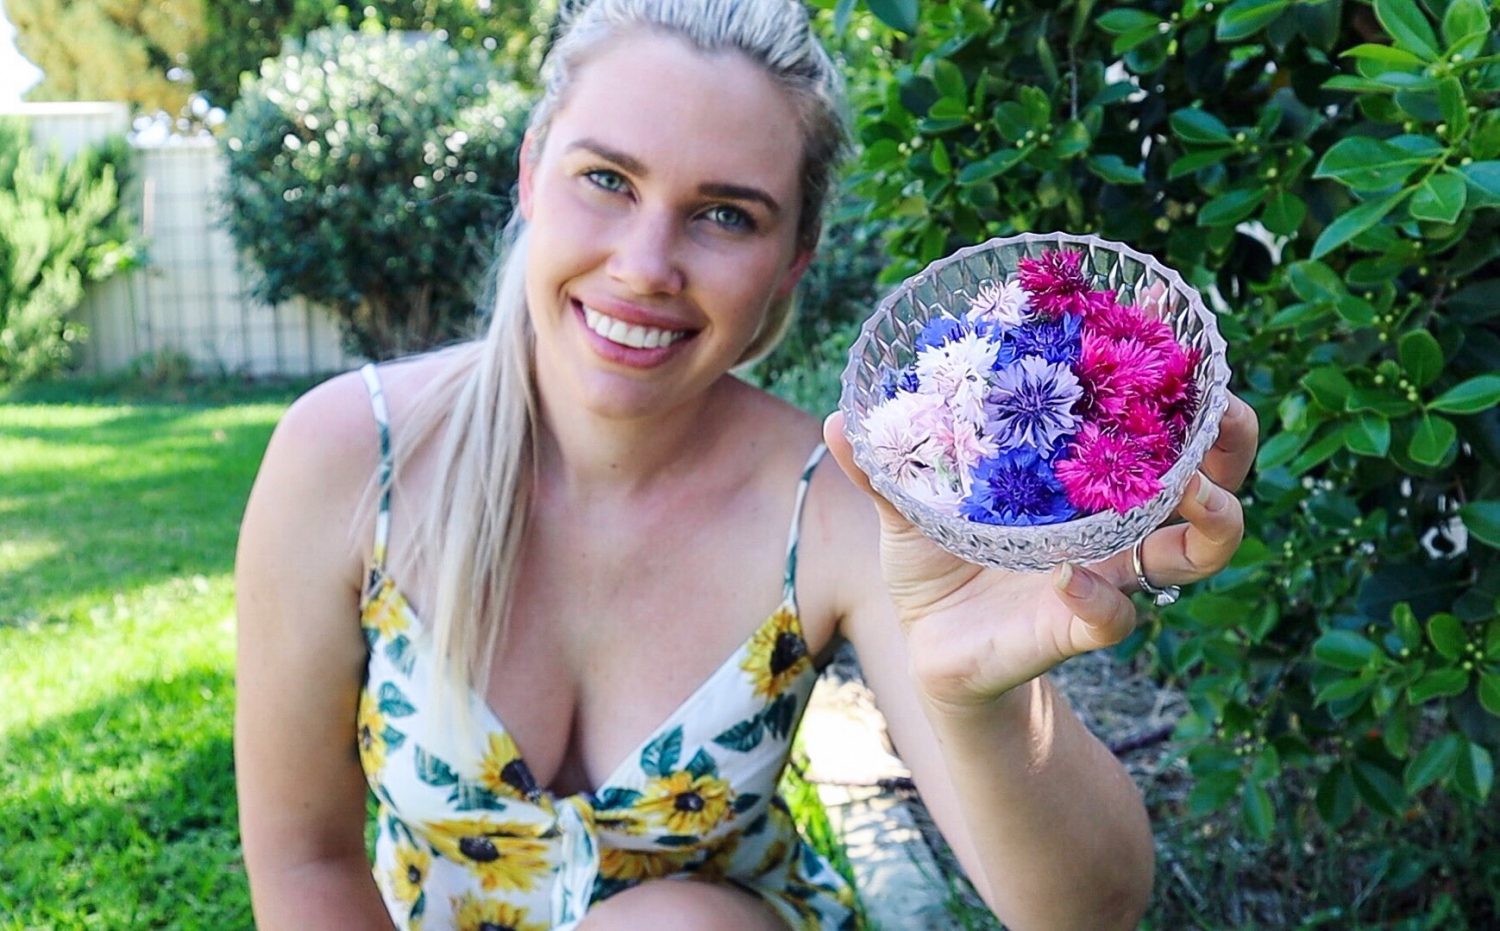
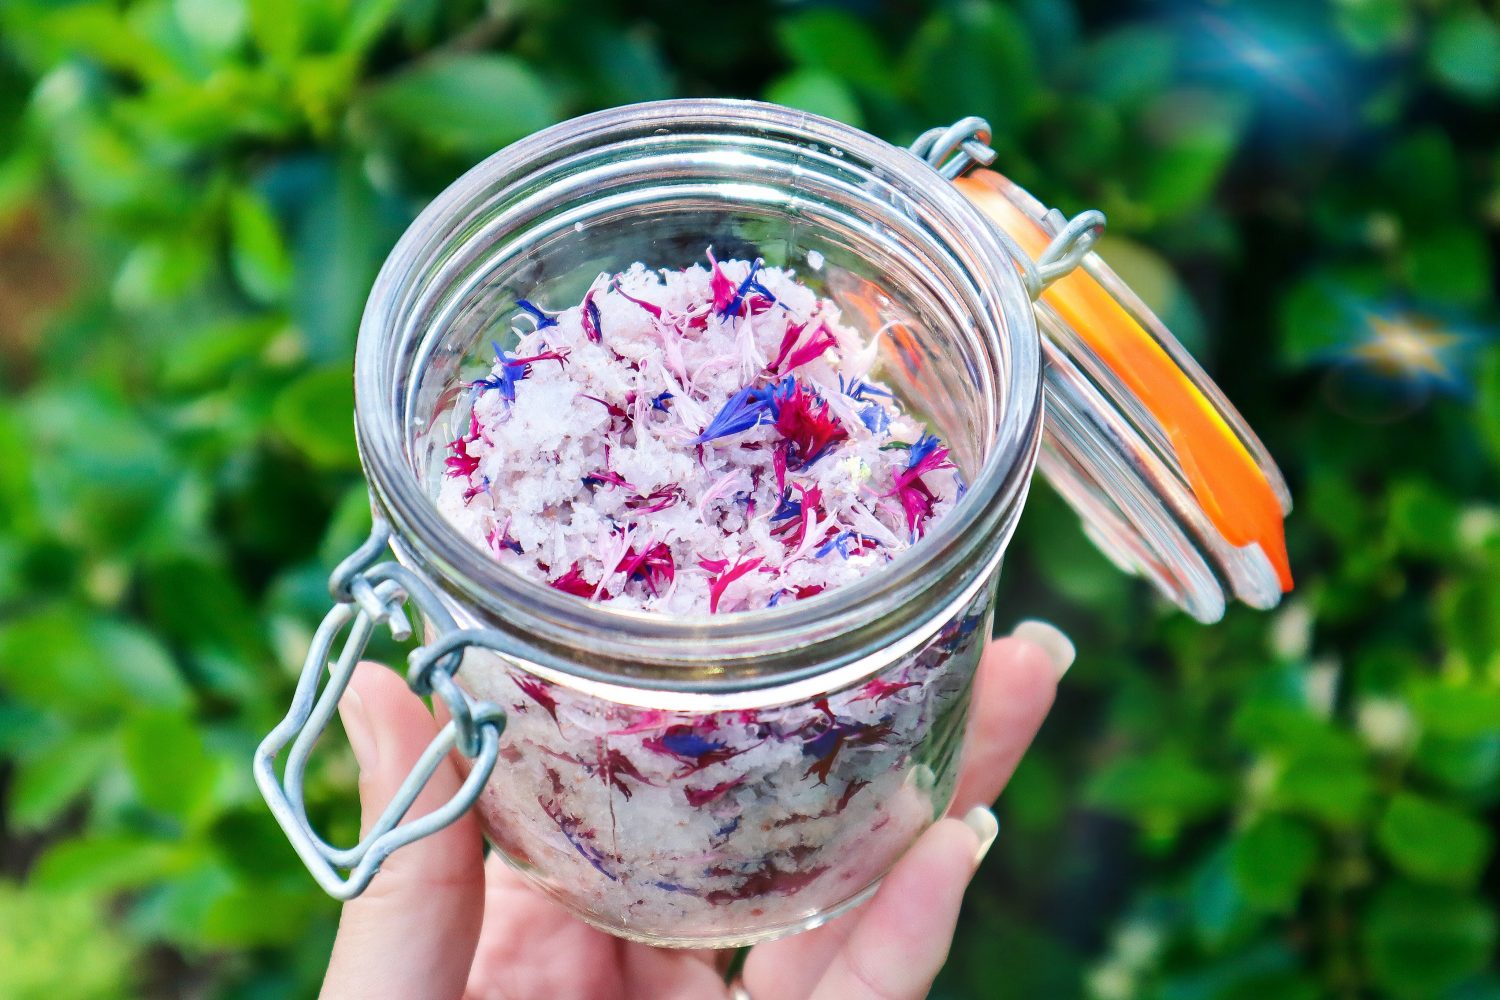
I jump at any chance to use edible flowers in my dishes and this edible flower fairy salt is one of my favourites! Edible flowers are a great, easy way to add wow factor to any dish. Cornflowers (Centaurea cyanus) are so vibrant and have been abundance in my garden this summer. This recipe helps preserve their stunning colours and I can use them on my dishes throughout the year.
Fairy salt would be a great way to get kids involved with garden to plate cooking. Foraging for edible flowers, drying them and making fairy salt.
Edible Flower Salt is so EASY with only two ingredients!
You could use any edible flowers for this but cornflowers are the perfect size and colour. They lose their colour when they are left to dry on the plant so I feel better about picking them.
Pick cornflowers (Centaurea cyanus) and gently pull the petals from the bud. Lay them out flat on a plate. Leave them to dry completely for 5 days turning them regularly to release moisture. To speed up this process you could put them in the oven on low (40-50degrees Celcius) to dry.
Place salt flakes into an airtight jar. Mix through the dried cornflowers.
Serve on meals as a finishing salt.
Serving Suggestions
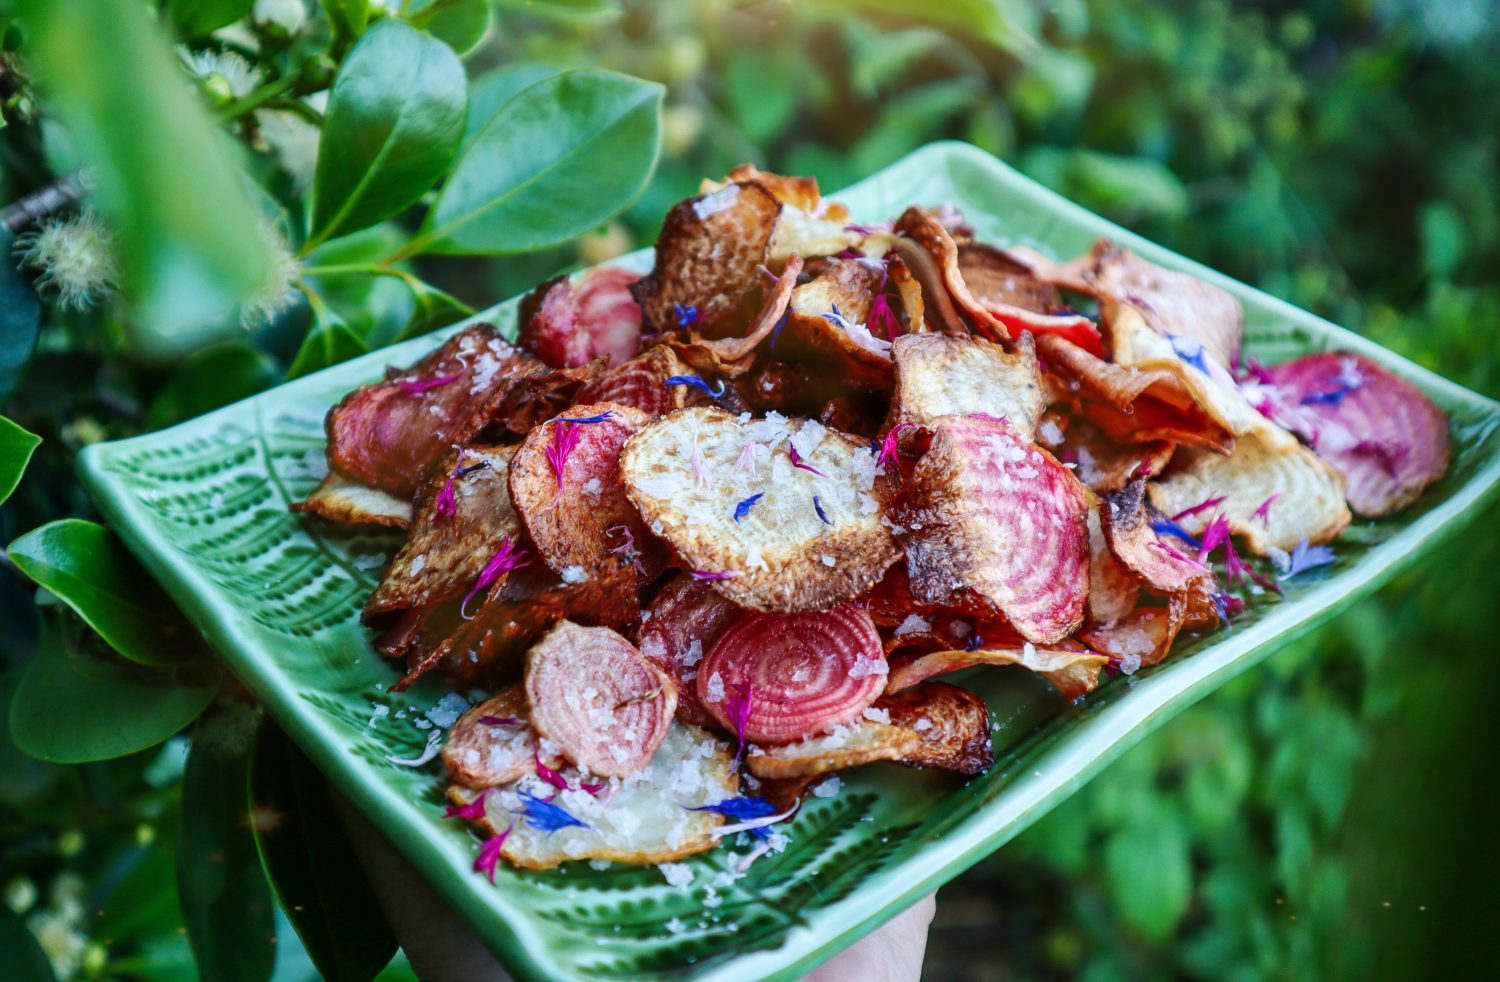
I have been using this edible flower salt to brighten up so many of my meals. Simple eggs on toast become a little more magical with a dusting of this flower salt. I also made some delicious salt and vinegar beetroot chips and this salt was the perfect addition.
Salt and Vinegar Beetroot Chips with Edible Flower Salt
DIY Gift Idea
I have also made up small jars as gifts to friends. A small simple gesture can go such a long way. I want to get in the habit of taking a small gift from the garden whenever I visit friends and family. Whether that is some preserved produce, cuttings, seedling or some saved seeds. You never know how much a spark of inspiration can cause a ripple effect in someone’s life.
In this video are 10 of the best edible flowers I grow…
WATCH Edible Flower Salt and Beet Chips Below
DISCLAIMER: Links included in this description might be affiliate links. If you purchase a product or service with the links that I provide I may receive a small commission. There is no additional charge to you! Thank you for supporting my page so I can continue to provide you with free content!
Composting is a great way to reduce waste, build soil and grow healthy thriving plants. Part of a naturally occurring cycle that feeds an ecosystem. Urban composting may mean smaller systems need to be used but they can still be very effective. I have a tumbler compost bin and now I have made a DIY worm tower to go in my Container Gardens. This tower is made from recycled PVC pipe we had left over and a recycled plant pot was used for the lid. The worms love it and so do my plants!
Urban Composting
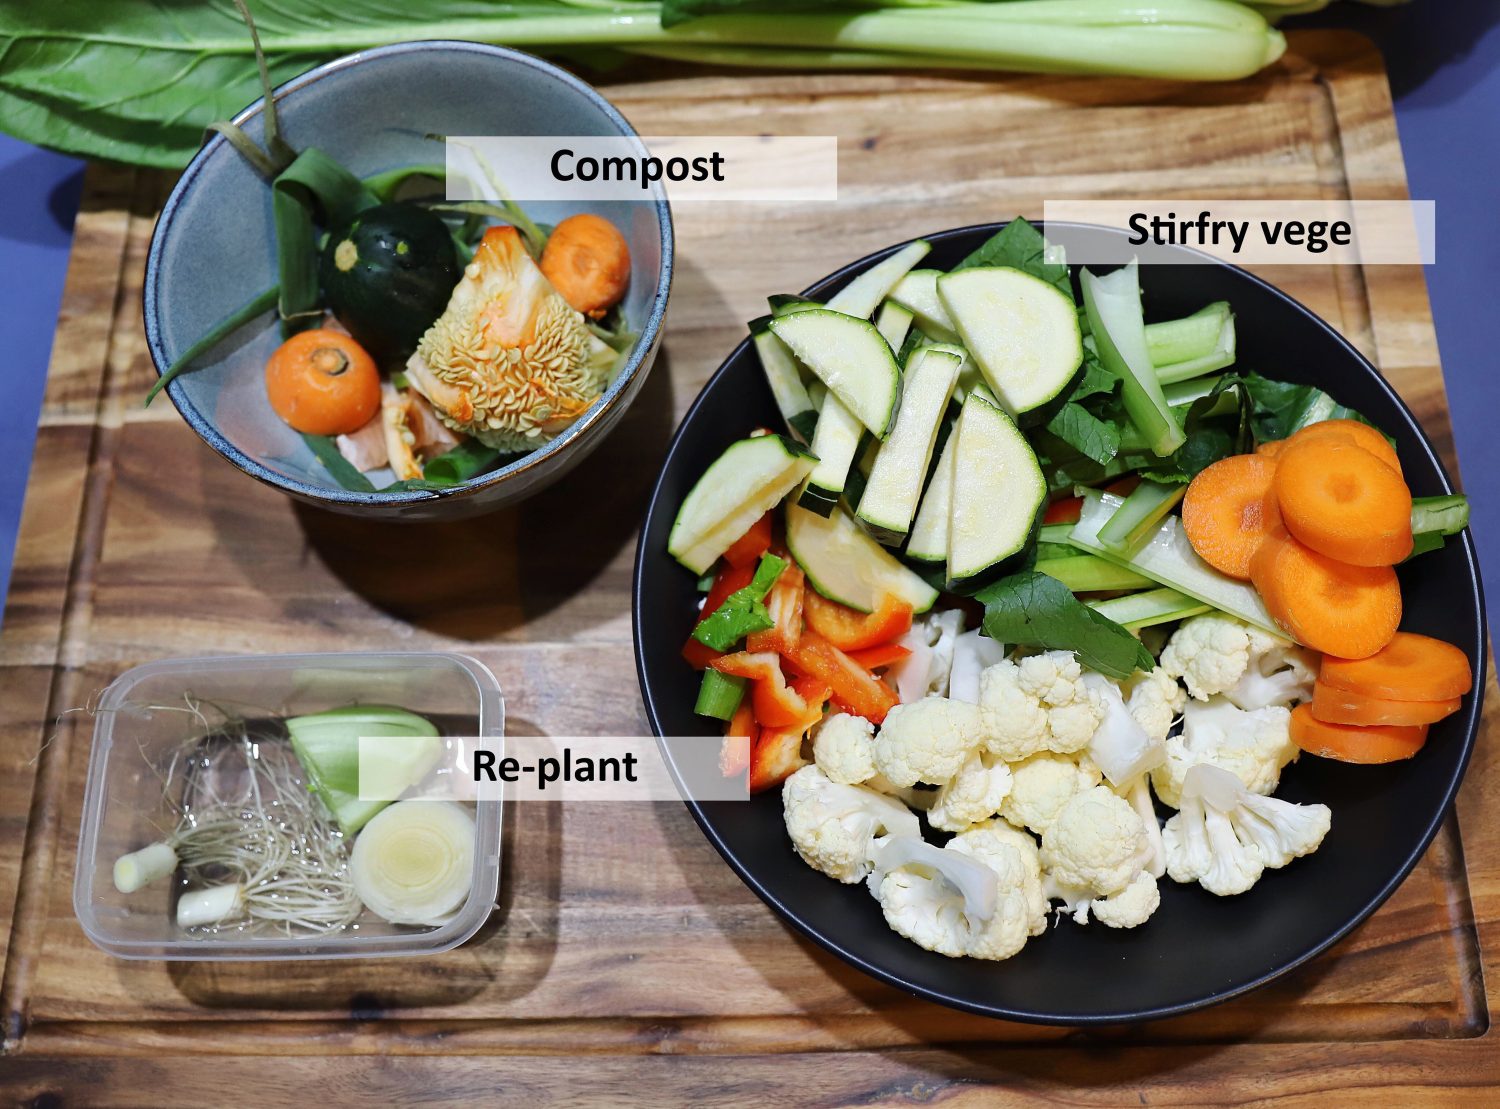
You don’t need to have a large garden to start composting your veggie scraps at home. There are some great urban composting solutions including Tumbler Composts, Bokashi and Worm Farms. There is even an app called Share Waste that connects people to others that have composts in your local area. Whichever solution you choose it is a fantastic way to reduce your waste and stop it from going to landfill. Food scraps that end up in landfill do not break down in the correct environment so they produce methane emissions that contribute to our climate change crisis. The more scraps you can use up or put back into the earth the better!
How to Make a DIY Composting Worm Tower?
Using things you already have at home is a great way to recycle and get the most out of everything you use. Left over PVC pipes are great for turning into worm towers. The worms can go between the garden and the worm tower to feed and help break down the veggie scraps. This will in turn provide natural fertiliser for the plants to thrive. Creating a balanced and diverse ecosystem is so import for healthy gardens.
To make these I used a 6 inch PVC pipe and cut it down so that it was the height of my pallet plants.
We then drilled holes around the bottom half of the pipe approximately 10mm in diameter. Big enough for worms to fit through.
I then dug a hole in the centre of my pallet planter and buried the pipe with the holes at the bottom and covered the sides back up with soil. Try to bury as much of the pipe as you can as to reduce it’s exposure to the sun.
A lid is important to stop any flies, rats, mice or household pets from getting in and eating the scraps. It will also keep any smells away so your gardens don’t give off a bad odour. The lid we made from the bottom of a plastic garden pot we had spare. I tested out a few for size and chose on that fit tightly over the pipe. It needs to be secure so that the wind won’t blow it off or animals cant easily overturn it. If your pot has drainage holes in the bottom cover them up too.
Once the pipe and lid are secured in place you can start adding your veggie scraps. Use only scraps that will break down relatively quickly and do not place any meat or dairy scraps. You can also add a sprinkle of soil on top of the layers to reduce odours if it is a concern.
IMPORTANT
Make sure your recycled materials are food safe and haven’t been used previously with any chemicals.
Healthy soil grows healthy vegetables!
Holly 🌱
MY GARDENING ESSENTIALS // Fertiliser spray gun: https://bit.ly/366nL1t Retractable Hose: https://bit.ly/2TSC0Bo More gardening tools: https://bit.ly/32IQmbD
DISCLAIMER: Links included in this description might be affiliate links. If you purchase a product or service with the links that I provide I may receive a small commission. There is no additional charge to you! Thank you for supporting my page so I can continue to provide you with free content!
Hi everyone, I thought I would do a bit of an intro and fill you in on my journey to sustainable living so far and where I am heading. This will be a great way to capture where I am and look back on it someday! I hope this inspires you to dream big and continue working towards your goals.
So grab yourself a tea or coffee as I have a lot of things to talk about, so let’s start from the beginning!
Dreams, Goals, Visions
My name is Holly and I was born and raised on a farm in New Zealand. I have been growing my own food in some capacity my entire life. I have also been working towards the same vision and goal for as long as I can remember. That is to own a chunk of land and build a sustainable eco-home that is more garden than it is house. This vision has become more elaborate over time with small eco-cabins, waterfalls, dams and food forests. But in essence, it has always been the same, a piece of land that I can rewild and transform into an edible self-sufficient haven. The land will help provide both food and income and I can feed my ducks, eat straight from the organic gardens, create art and talk to the bees all day.
Slow intentional living
Now…. that is not exactly where I am right now. But I want to touch on where I’m heading and how I intend to get there. Small achievable steps to create a life by design and not default.
Start where you are and use what you have
5 years ago my partner and I along with our dog Tama bought and moved into a suburban house in Perth, Australia. Since that day I have been converting the gardens into edible wonderlands using permaculture principles. I try to use as much recycled or second-hand things as I can with very little waste.
BEFORENOW
After living in our house for a year I realised that the best light and space for growing was down the side of the house which was actually a paved driveway. Not great for growing veggies….but this house is a stepping stone and not the end goal. It will potentially be an investment property or we will sell it to launch towards the next step. So ripping up concrete and pavers to plant veggies was not really on the cards. But, I wasn’t going to let that stop me, so I came up with an idea to grow a whole lot of food with space and resources I had available.
Start small but start now
The pallet planters on wheels were born! These worked out so much better than I could have imagined because they not only gave me control over the soil I was growing in but also allowed me to control the growing conditions by wheeling them in and out of the sun/rain. Perth climate can be so harsh it goes from one extreme to the other with summer and winter so these have been so good!
Investing in knowledge is investing in your future
I dove deep into experimenting with recipes and trying to build and expand my knowledge in growing, cooking and preserving my harvests. Buying vegetables I intended to grow in the future. Learning new ways to use and preserve them means I will be ready to hit the ground running when I do grow an oversupply.
Sustainable Income
The next part of my journey is sustainable income. Because how can I spend my days talking to the bees when I am bound to a corporate office job. This has been my career since leaving uni and it has never sat well with me. I have always been one to question and dislike the rat race.
Last year I was made redundant from my job and I took that as a sign and ran with it.
Since then I have built my website, Instagram, taken on ambassadorships, written paid blog posts and sponsored content. I have also written ebooks and gardening worksheets (CLICK HERE)if you want to learn how to grow your own thriving edible gardens. I have also been busy working away on my membership site and I will be launching that very soon! So make sure you hit sign up to my website to get notified when it opens. I will be opening it at a discount rate for founding members. The membership site will be all about how to grow, cook, preserve and start living more sustainably no matter whether you have a garden or not!
My goal is to build a community of like-minded people to share knowledge, learning to grow real food, save seeds, propagate & swap and trade those for other plants. I hope you join me on this adventure. I’m so excited for what is to come!
Sustainable Living Goals
So to finish off this post my goals for 2021 are to continue forging my own path and inspiring others along the way.
Learning to cook outside over the fire or harnessing the sun’s energy.
Preserving more jams and chutneys.
Experiment and learn from other cultures and cuisines to expand my knowledge of flavours and techniques.
Dive deeper into growing from cuttings, grafting as this will be a valuable skill for building my future food forest.
Make more time to do art and stay creatively inspired
Learn more handcrafting techniques such as weaving or woodwork.
Slow intentional living. We have become so used to instant gratification, being in a rush and always needing more. To start with it can be overwhelming but each time you learn a new skill or recipe it will become easier. Adapting to doing things and seeing things differently. Find the joy in growing and preparing wholesome food, learn how to make milk from nuts, buy second hand, fix and reuse broken items and stop spending all your money on things you don’t really need.
Holly 🌱
MY GARDENING ESSENTIALS // Fertiliser spray gun: https://bit.ly/366nL1t Retractable Hose: https://bit.ly/2TSC0Bo More gardening tools: https://bit.ly/32IQmbD
DISCLAIMER: Links included in this description might be affiliate links. If you purchase a product or service with the links that I provide I may receive a small commission. There is no additional charge to you! Thank you for supporting my page so I can continue to provide you with free content!
Grow food from cuttings and boost your garden’s sustainability. Do you want to grow more food without all the cost of buying seeds and plants to make it happen? This guide will show you some easy and quick ways to grow a tonne of food. Multiplying plants from ones you already have or making cuttings from friends gardens can help you set up and grow a sustainable garden without all the costs involved.
$18
30-page Digital Ebook featuring 10 detailed plants to grow from cuttings. Plus tips & tricks to propagate and grow a sustainable garden.
Homegrown food not only tastes so much better but it also provides you with much more nutrients than many store-bought fruits and veggies. You also can control what goes on your food and skip all the pesticides, chemical fertilisers and other nasty sprays that get used on commercially grown food. Many of the plants in this guide may already be in your garden, neighbours or friends and family’s. Learning to identify these plants and how to propagate and regrow them from cuttings will take your gardening and sustainability to the next level.
By the end of this guide, you will have a list of edible plants you can go out and reproduce to grow wholesome food for you and your family.
Water is a crucial part of any thriving garden and during summer many towns will experience water restrictions and droughts. This can add more stress to an already difficult growing period. Water restrictions can sometimes mean you cannot use hoses, irrigation or you may have limited days in which you can use them.
Do you rely solely on rainwater? Your tanks may be getting low or you are just conscious about preserving the water you have. Here are some tips and tricks to get the most out of the water you use and keep your gardens alive and producing food.
Water-Saving Tipsfor Water Restrictions
Make sure you check with your local council to see which restrictions are in place.
🌱 MAKE ECO SWAPS | Use eco, greywater friendly cleaning products so that you can start reusing the water you use in your home out into the garden. You can easily find many greywater friendly products these days or recipes to make simple cleaning products with no nasties. Not only is it better for your health to stop using nasty chemicals but it is also better for the environment – where the water will end up eventually. Products such as washing powder, dishwashing liquid, hand soap, shampoo, spray and wipe and anything you mix in with water.
🌱 GET PREPARED | Place a bucket or large watering can at your back door or somewhere that is both close to your house and in the direction of your gardens. This way you will have easy, convenient access to offload any water you have used and keep it to use on your gardens. Inform your family or housemates of where it is and what should be put in it (water with no nasty chemicals). Getting kids involved is a great way to teach them about the environment and how to be water-wise.
🌱 COOKING WATER | Pour any water used in cooking into your watering can. Water used to boil potatoes, rice, pasta, veggies etc can all go into your recycled water bucket.
🌱 OLD WATER BOTTLES | Pour any old water from water bottles that you don’t want to drink into your recycled water bucket.
🌱 DISH WATER | Depending on how involved you want to get, you could try washing your dishes in a bucket or tub in the sink to capture the water (making sure you’re using chemical-free, greywater friendly products). You could also use a bowl or pot to scoop out the majority of the water from the sink and place in your recycled water bucket. Or for a long term solution, you could direct your sink or dishwasher drain directly into the garden. IMPORTANT: Greywater can hold some pathogens so it is important to only use it on fruit trees and non-edibles and not straight onto your veggie patch. Check your local council restrictions.
🌱 WASHING MACHINE | The same as above you can either put the drainage hose in a container or bucket (ensure it’s large enough and only clean, eco-friendly products are used) or direct the pipes straight out into the garden for a long term solution. If your laundry is next to a window or door you could have a water container with a tap set up off the ground that you can place the hose into and then empty it into your watering can as needed. IMPORTANT: Greywater can hold some pathogens so it is important to only use it on fruit trees and non-edibles and not straight onto your veggie patch. Check your local council restrictions. Also, be aware that clothing will release microplastic if you have synthetic clothing.
🌱 SHOWER AND BATH | Showers can use a lot of water if you don’t restrict the flow and length of use. Place a bucket underneath to capture as much of the wastewater as possible or if you have a shower over bath set up, put the plug in and scoop the water out after. Make sure you have set up your shower with only eco, greywater friendly soaps, face washes and shampoo. IMPORTANT: Greywater can hold some pathogens so it is important to only use it on fruit trees and non-edibles and not straight onto your veggie patch. Check your local council restrictions.
🌱 RAINWATER CATCHMENT | Another great way to get more water is to set up catchments to harness the water that runs off your roof surface. Whether that is your house, garage or garden shed you can direct downpipes into water storage containers to use on your gardens. Rainwater is the absolute best kind of water for thriving gardens. Mains water that is provided by the City has chlorine and other additives in it that can slow or restrict growth.
MORE WATER-WISE GARDEN TIPS
Now that you have more water to use in your garden it is important to distribute that water in the most efficient and effective way. You don’t want to waste any of that precious water by evaporation or poor soil structure.
🌱 SLOW AND STEADY | The best way to get your plants to effectively absorb the water is to slowly distribute it and allow the plant time to absorb it. If you simply pour it on and walk away a lot of water will spread and run away across the surface and not be drawn down to the roots.
🌱 WATER UNDER MULCH | If you have a thick layer of mulch and only a limited amount of water, it is a good idea to pull back some of the mulch around the plant and pour the water directly onto the soil. Mulch can sometimes absorb ALL the water and not leave any for the plants. Mulch is great for protecting the soil and stopping evapouration so once the water is on the soil, push the mulch back around to keep the moisture locked in.
🌱 TIME IT RIGHT | Timing is everything. Choose cooler times to water your plants such as the early morning or late evening. This allows the plants to absorb as much of the water as possible before the sun and heat evapourate it. I tend to water any plants that are prone to mildew such as pumpkins, melons, cucumbers etc early in the morning rather than at night. That way they have time to absorb the moisture but they will also have all day to dry out if any moisture has reached their leaves. The rest of my gardens I tend to water in the evenings.
🌱 IMPROVE SOIL | Poor soil structure will be so hard to keep well watered as it will just let the water runoff or filter away. Sandy soils can become aquaphobic and be basically waterproof. Clay rich soils will become hard and compact restricting water flow to the roots. The best way to improve soil structure is to add fibre to your soils. Adding fibre means adding more plant matter by either compost of composted manure. Compost rich soil will retain more moisture and feed your plants. Healthy well-feed plants won’t require as much watering as their roots will be more developed and widespread to capture water more effectively.
🌱 SELECTIVE PLANTING | If you often have water restrictions or know there is likely to be a real water shortage in your area then make sure you are selective in what you choose to grow. Some plants will require more water than others so do your research and select plants that will work best for your conditions. Plants such as watermelons, tomatoes, cucumbers and lettuce will require a lot more water than plants such as chilli, natives, citrus, corn, sweet potato or mini eggplant.
My favourite watering tools are:
Retractable Hose with 7 spray nozzle and water flow adjuster: Control exactly how much flow you want to each plant with this flow adjusting hose. CLICK HERE for more info.
Deep root waterer and soil breaker: Helps get water directly to the roots without any runoff or loss of water from evaporation. CLICK HERE for more info.
Weeper hose works great for drip-feeding water and allowing the plants to absorb more. CLICK HERE for more info.
MY GARDENING ESSENTIALS // Fertiliser spray gun: https://bit.ly/366nL1t Retractable Hose: https://bit.ly/2TSC0Bo More gardening tools: https://bit.ly/32IQmbD
DISCLAIMER: Links included in this description might be affiliate links. If you purchase a product or service with the links that I provide I may receive a small commission. There is no additional charge to you! Thank you for supporting my page so I can continue to provide you with free content!