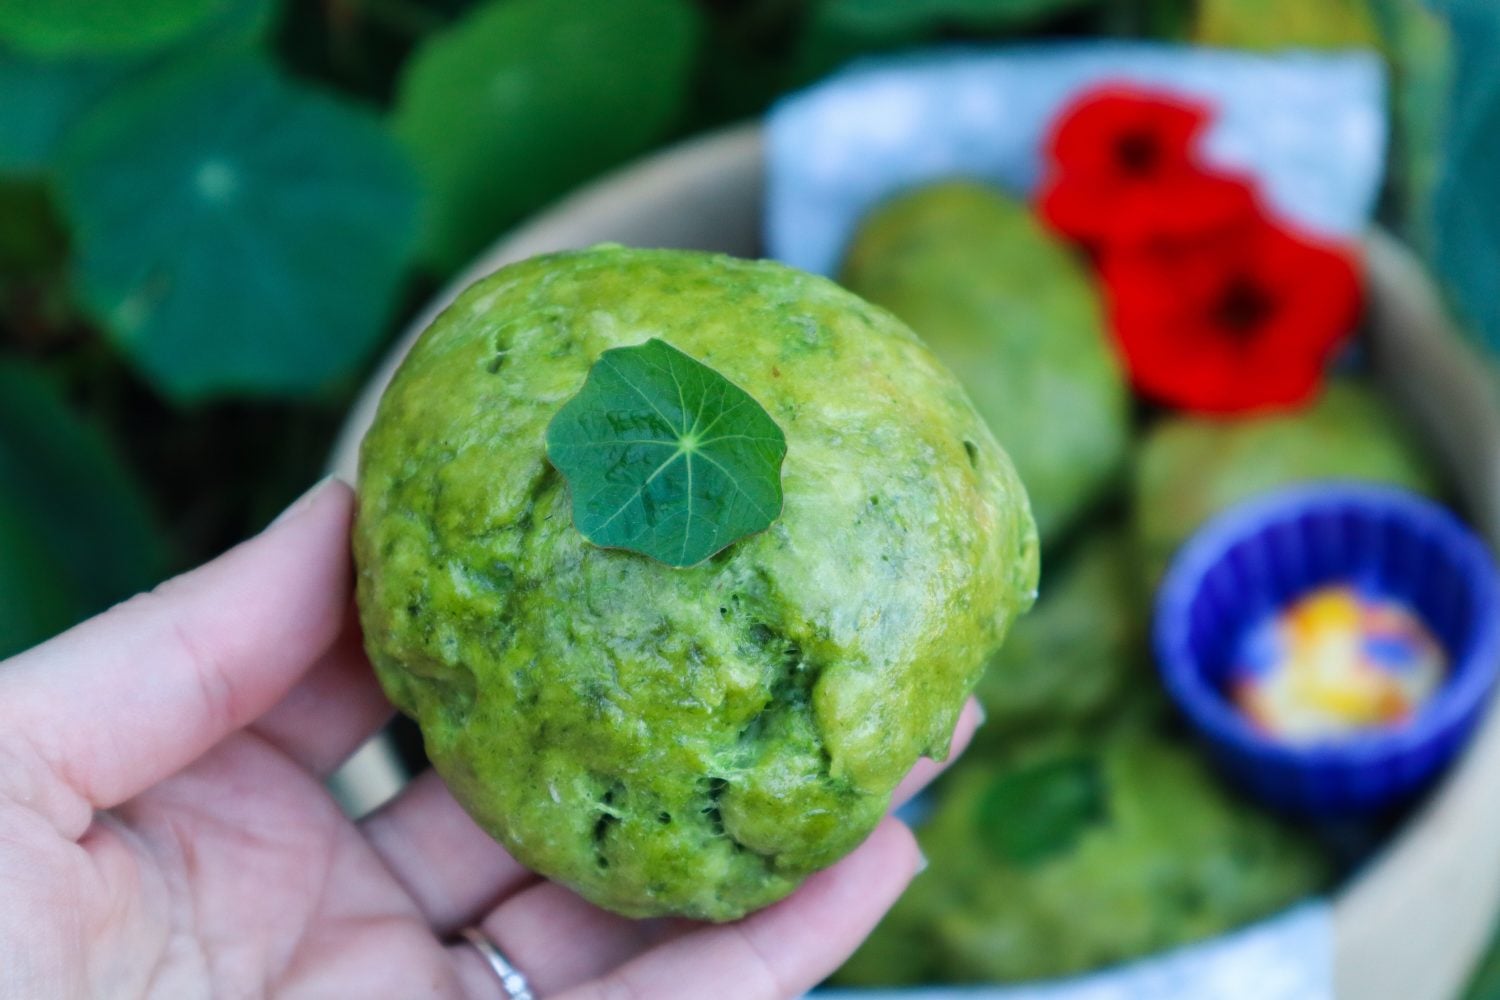
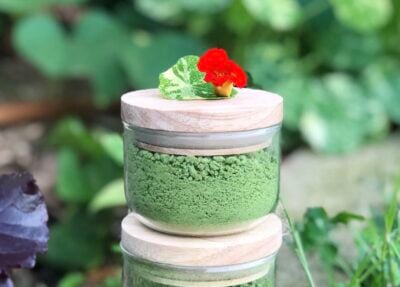
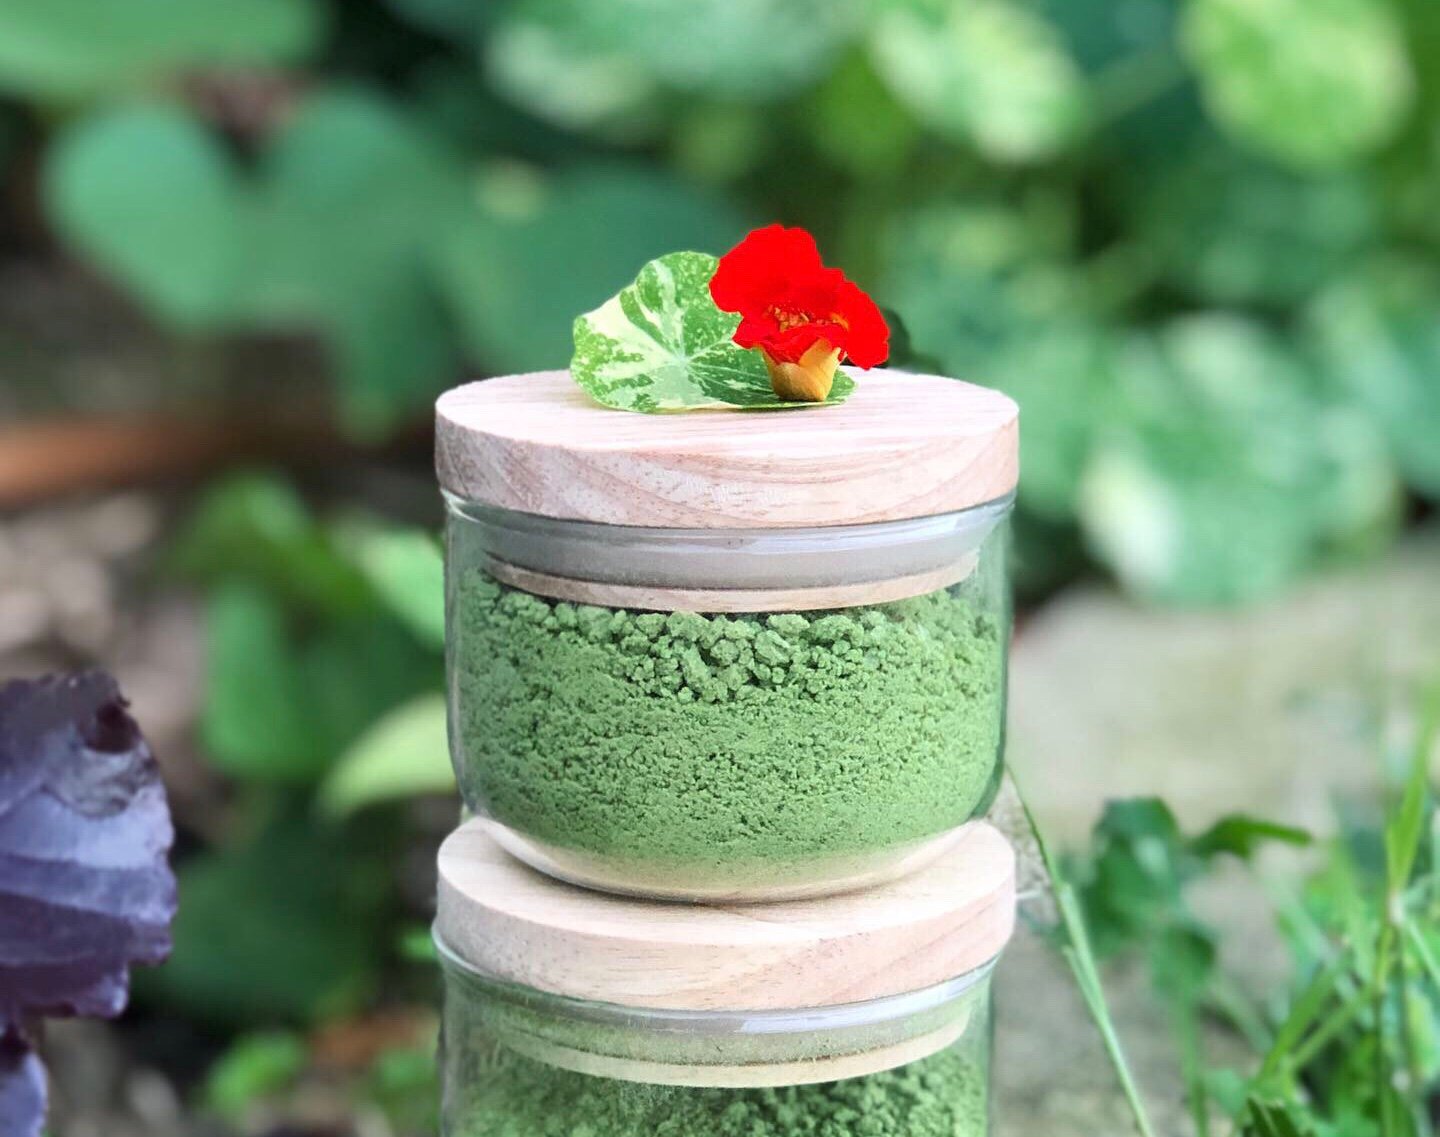
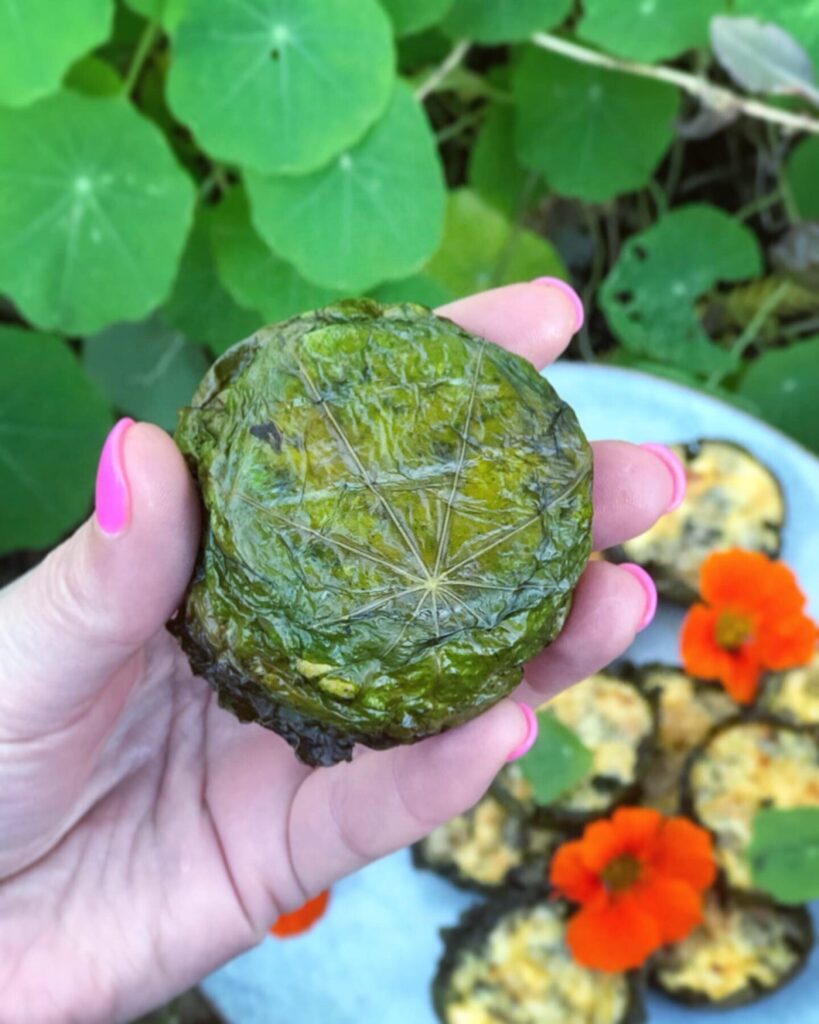
Nasturtium Bread Rolls are bright, vibrant and all-natural colouring. Create WOW factor food with this garden-inspired bread recipe.
Nasturtiums are the plant that keeps on giving! Nasturtiums make a beautiful, lush living ground cover and are so easy to grow! Once you have them in your garden, they will pop up every year without any effort on your behalf. They have so many uses and integrated relationships within your garden, which makes them one of my favourite permaculture plants. You can read more about growing Nasturtium and uses here.
I love trying to get the most out of the things I have growing in my Urban Permaculture garden and that means lots of kitchen experiments! These Nasturtium bread rolls do have a nasturtium flavour once cooked but once I added ingredients for a burger it was not very noticeable. Just beautiful, lush green tasty burgers!
sustainableholly
Nasturtium Bread Roll Recipe
These Nasturtium bread rolls were a fun kitchen experiment to make vibrant green bread naturally. They have a mild nasturtium flavour when eaten on their own but served with chutney or as a burger, the flavour is very subtle.
2cupsgreensi used Nasturtium leaves and fennel fronds
Method
Blend greens in 1/2 cup of lukewarm water using a Nutribullet or blender. Then add the remaining water and mix.
Pour greens and water into a bowl and add sugar and yeast. Whisk to combine. Set aside for 5 – 10 mins to activate.
In a large bowl mix flour, oil and salt. Add in your green mixture half at a time and mix. It may need more water to form a dough so add water to your green bowl to mix and use up any of the residual greens. Add to the mixture as needed to form a dough. Knead for 1-2 mins.
Rub some oil in a bowl and add the dough ball. Cover and set aside somewhere warm to rise for 1-2 hours.
Cut and lightly roll dough into round buns. 8 large or 10-12 regular size. Cover and allow to rise again for 30mins – 1hr.
Whisk an egg and brush a light coat on top of the bread rolls. This is just to make them shiny and is optional. Place them on a lightly greased or non-stick tray. Bake at 180 degrees Celcius for 20mins or until slightly golden.
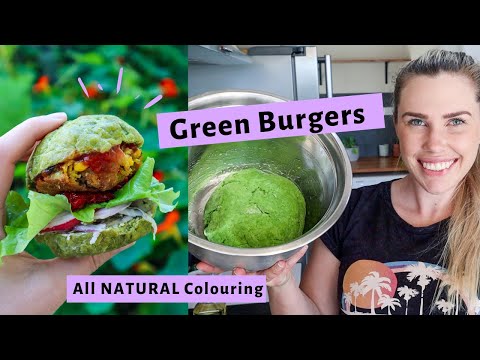
Video
Notes
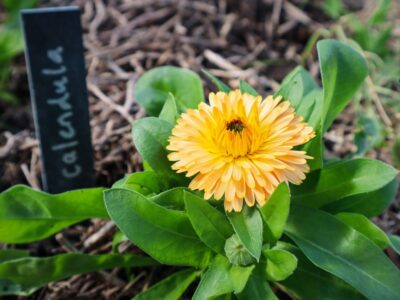
Best served fresh with butter. I rolled butter into a ball and coated with edible flowers (calendula and cornflower petals) for added WOW! Delicious on their own or as I have in this video make your favourite burgers using lots of salad and veggies from the garden!
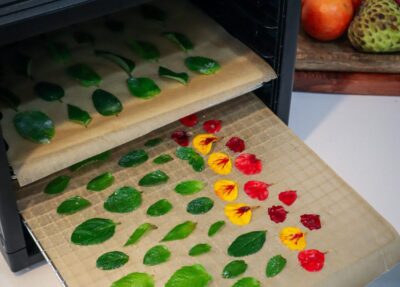
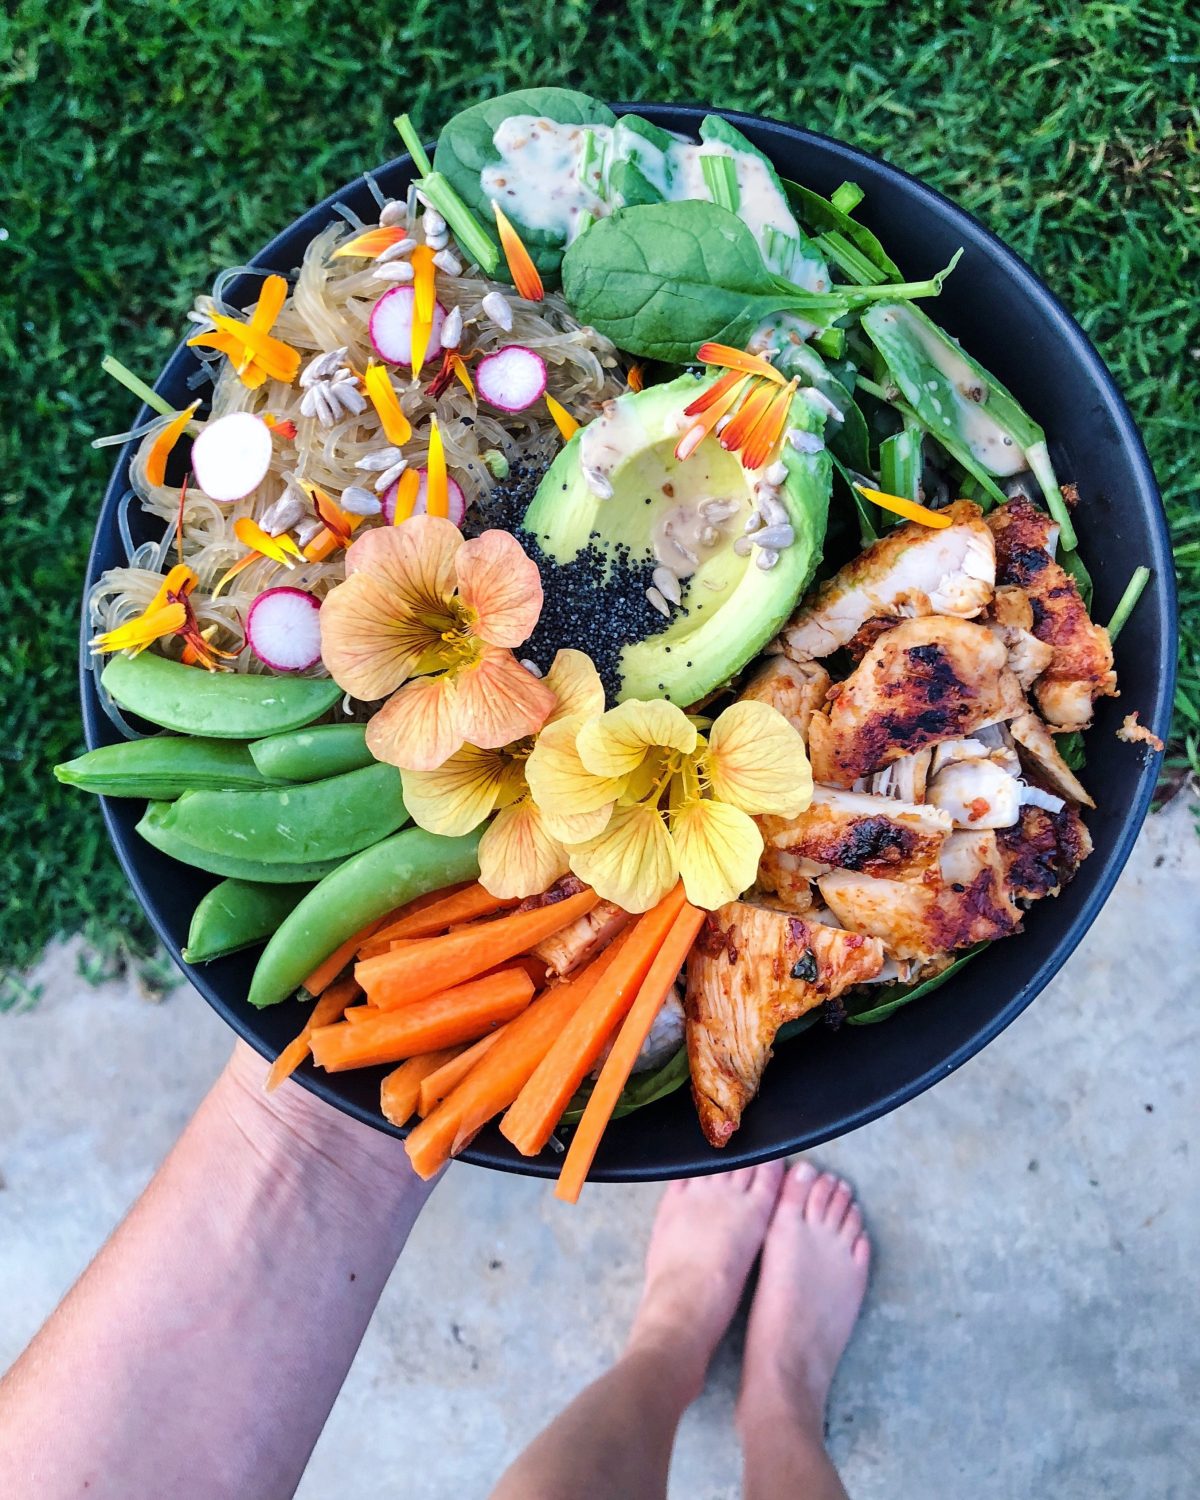
There are so many ways to use Nasturtiums and I have plenty more ideas to try out. The most common way to use Nasturtium is in a salad. The leaves, flowers and seed pods are all edible. The flowers have a mild peppery taste, and the leaves are a lot stronger in flavour. It is so important to learn how to use your edible plants so that you can get the most out of them! Especially in small-space gardening. Below is a list of Nasturtium Recipes I have made so far:
If you haven’t already, subscribe to my YouTube channel to get all my latest gardening tips, garden tours and kitchen experiments. Your support helps me create more free content so you can get the most out of your garden and sustainability journey!
If you have any questions, please leave me a comment below.
DISCLAIMER: Links included in this description might be affiliate links. If you purchase a product or service with the links that I provide I may receive a small commission. There is no additional charge to you! Thank you for supporting my page so I can continue to provide you with free content!
Turn this common GARDEN PROBLEM into something AMAZING! So you can Grow Healthy Organic Plants. Making this all-natural, organic weed tea fertiliser also means you can feed your plants without worrying about any chemicals harming the insects in your garden. A happy and healthy garden will produce more food for you and all the beneficial insects and pollinators.
Weeds weeds weeds
If you have an organic garden, you probably have some weeds! Especially at this time of year with spring just around the corner in Australia, the weeds are thriving. Weeds can tell us a lot about our soil and learning to identify weeds in your garden can help you fix soil issues. Weeds are so good at pulling nutrients out of any soil and therefore can be holding on to a lot of great nutrients that can be harnessed to make an organic weed tea fertiliser.
Making weed tea fertiliser is a great way to close the loop and return nutrients back to your fruit trees and plants in a form they can easily absorb. This liquid fertiliser is also completely FREE and using up unwanted weeds from your garden. Its WIN-WIN. Making weed tea fertiliser is so easy and requires very little equipment. I put the weed tea fertiliser back into the same garden that I pulled the weeds from.
Identify your weeds
Learning to identify weeds in your garden can also mean you have more edible plants available! Yes! Some weeds are actually edible! Make sure you do your research and identify weeds that are local to you. Having good soil is key to a thriving organic garden! So learning to identify common weeds and what kind of soil they like to grow in is a great way to find out what’s going on with your soil. The weeds I identified were all ones that like to grow in compacted soil. So that is something I can check and see if my soil getting too compacted.
Catsear Flatweed – Hypochaeris radicata
How to make weed tea fertiliser
To start off you are going to need some weeds! Map out an area of your garden and start pulling weeds out and try to get the whole root out as well. I like to listen to a podcast and multitask during this time. Use some good quality gardening gloves to protect your hands from sharp spikes or insect bites.
Evaluate and identify the most common weeds in your garden. I used a book with common weeds local to my area. See if you can notice any patterns and what kind of soil they like to grow in. This might help you identify what is going on in that particular patch of garden.
Put all your weeds in a large bucket and fill with water. Rainwater is best but if you only have tap water from your local council then just pour it into a bucket and let it sit for a day or two until the chlorine has dissipated.
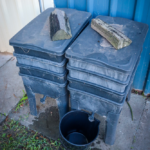
Roughly rip up your weeds and add to the water. Place a rock or something weighted on top so the weeds are all underwater.
Put a cover on top to stop insects like mosquitoes. I used a piece of rag cotton.
Let it BREW. stir with a stick once a week. You can brew your weed tea fertiliser for anywhere from a few weeks to a few months! The longer you leave it the more nutrients will be released but it will also start to really stink so it is up to you! Brew it longer if you have any seeds in there to try and destroy them before you put it back onto your garden.
Dilute up to 1:10 ratio and pour back on to your garden. If you want to ensure no seeds are there you can strain it through a sieve or piece of fabric. The leftover leaf material can go into your compost.
NOTE: Grass seeds can be hard to destroy so I would avoid using grasses or strain well before putting onto your garden. I use the hoselink spray mixer and strained it through a fine cloth before I used it so that the plant material doesn’t block up the nozzle.
Leave me a comment below if you have any questions.
Holly 🌱
MY GARDENING ESSENTIALS // Fertiliser spray gun: https://bit.ly/366nL1t Retractable Hose: https://bit.ly/2TSC0Bo More gardening tools: https://bit.ly/32IQmbD
DISCLAIMER: Links included in this description might be affiliate links. If you purchase a product or service with the links that I provide I may receive a small commission. There is no additional charge to you! Thank you for supporting my page so I can continue to provide you with free content!
In this video are 10 of the best edible flowers I grow because they are not only my secret ingredient to make all food look magical but, are also great for attracting pollinators to your garden. If you want a thriving, abundant permaculture garden, it is so important to create diversity and attract beneficial insects and pollinators. Important: Make sure you clearly identify which flowers you can eat and are safe before eating.
Watch My Top 10 Best Edible Flowers to grow
Why Grow Edible Flowers?
Edible flowers offer so much to your permaculture garden. Here are a few of the MANY reasons I LOVE growing them:
Create beautiful aesthetic dishes
Attract beneficial insects to your garden for pest control
Aid in pollination by attracting insects
Create diversity in the garden
Add colour to your garden
Have subtle, delicate flavours
Add nutrients to your meals
Flowers for the Bees
The best edible flowers are ones that have multiple benefits and interconnected relationships within your garden. Creating diversity in flowers will help bring in a diversity of beneficial insects and become part of a natural integrated pest management system in your urban permaculture garden. A diverse ecosystem is a healthy one.
How to use Edible Flowers?
Edible flowers are amazing natural ingredients that add nutritional value and will elevate any dish to create magical food. Create a “wow factor” by just letting nature shine. They are great for natural cake decorating, salads, cocktails, baking, pasta and just anything really! Add detail, pattern, vibrant colour, and celebrate your homegrown food. I believe that creating visually appealing food can make everyday meals so much more enjoyable. Every day should be special and celebrated and this is just one way I like to spark joy in everyday living. Add some to your peanut butter on toast and BOOM you have a masterpiece!
Important: Make sure you clearly identify which flowers you can eat and are safe before eating.
Which are your favourite? It was so hard to even narrow it down to 10!
Holly 🌱
MY GARDENING ESSENTIALS // Fertiliser spray gun: https://bit.ly/366nL1t Retractable Hose: https://bit.ly/2TSC0Bo More gardening tools: https://bit.ly/32IQmbD
DISCLAIMER: Links included in this description might be affiliate links. If you purchase a product or service with the links that I provide I may receive a small commission. There is no additional charge to you! Thank you for supporting my page so I can continue to provide you with free content!
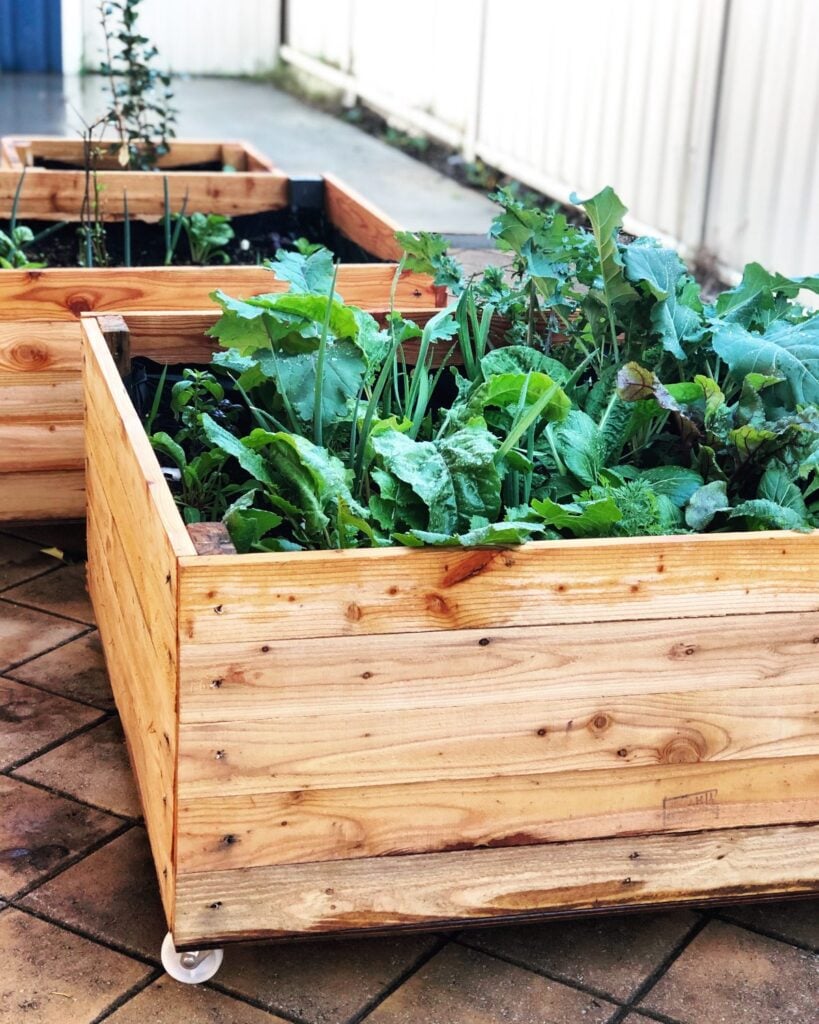
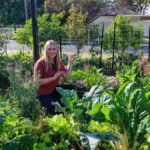
Hi everyone! Today I take you on a tour of my urban permaculture kitchen garden and show you what I have growing here in Perth, Australia. My kitchen garden is my permaculture zone 1 and really close to the kitchen so it is convenient to grab what I need for dinners. My Kitchen garden is growing in pallet planters and pots which means I can maximise the sun and shade to grow successfully all year round.
Watch myKitchen Garden Tour
Zone 1 Permaculture areas
My kitchen garden is located right outside my kitchen window so it’s very close and convenient which is key! Zone 1 permaculture areas are ones that are frequently used or pathways on the way to frequently used areas. If you can see your kitchen garden, you are more likely to utilise it and give it the love and care needed to make it thrive. This is where pots and containers can be a great option as you can create kitchen gardens in your outdoor living areas, balcony, windowsill or patio. I grow lots of herbs, chillies, edible flowers and greens in my kitchen garden that I can easily pick to add to salads and meals as needed.
Pallet Planter Boxesfor Urban Gardening
I am passionate about growing as much of my own food as I can and building my own urban permaculture homestead. These pallet planter boxes help me grow more food on my suburban block and provide so much fresh homegrown food. Urban gardening means trying to find creative ways to best utilise the space available to grow food. These DIY pallet planters can be made with recycled pallets that are often available for free. Use heat-treated pallets and not ones chemically treated. Make sure you do your own research.
Creating a cheap and efficient way to grow your own veggies and start a kitchen garden. Adding wheels means you can use them on concreted or paved areas and push them in and out of the sun/shade/rain as required. Perfect for growing in the heat of summer in Perth, Australia! You do not need to have the “perfect” place to grow food it is important to get to know your surroundings and just start by growing a few things. It’s all part of the journey and you will continue to learn and develop along with your garden. I hope you enjoy this video and get inspired to grow more of your own food.
Leave a comment below if you have any questions about my Urban Permaculture Kitchen Garden, Pallet Planter Boxes or anything I have growing in this video.
Holly 🌱
MY GARDENING ESSENTIALS // Fertiliser spray gun: https://bit.ly/366nL1t Retractable Hose: https://bit.ly/2TSC0Bo More gardening tools: https://bit.ly/32IQmbD
DISCLAIMER: Links included in this description might be affiliate links. If you purchase a product or service with the links that I provide I may receive a small commission. There is no additional charge to you! Thank you for supporting my page so I can continue to provide you with free content!
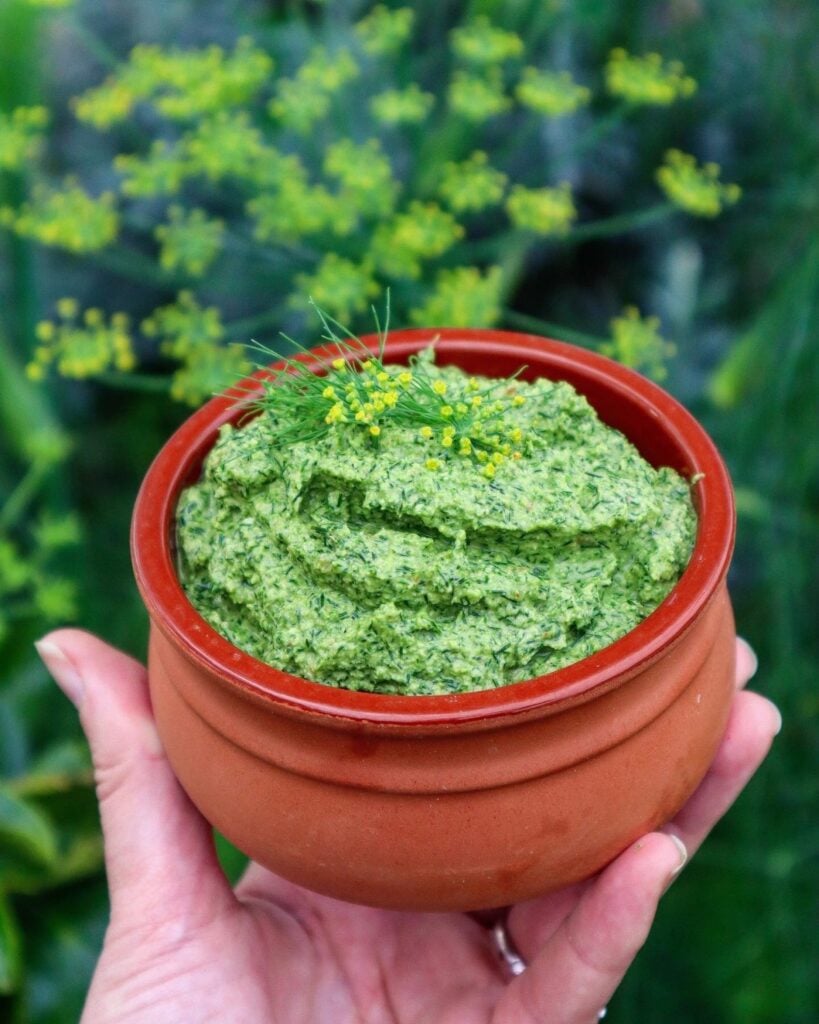
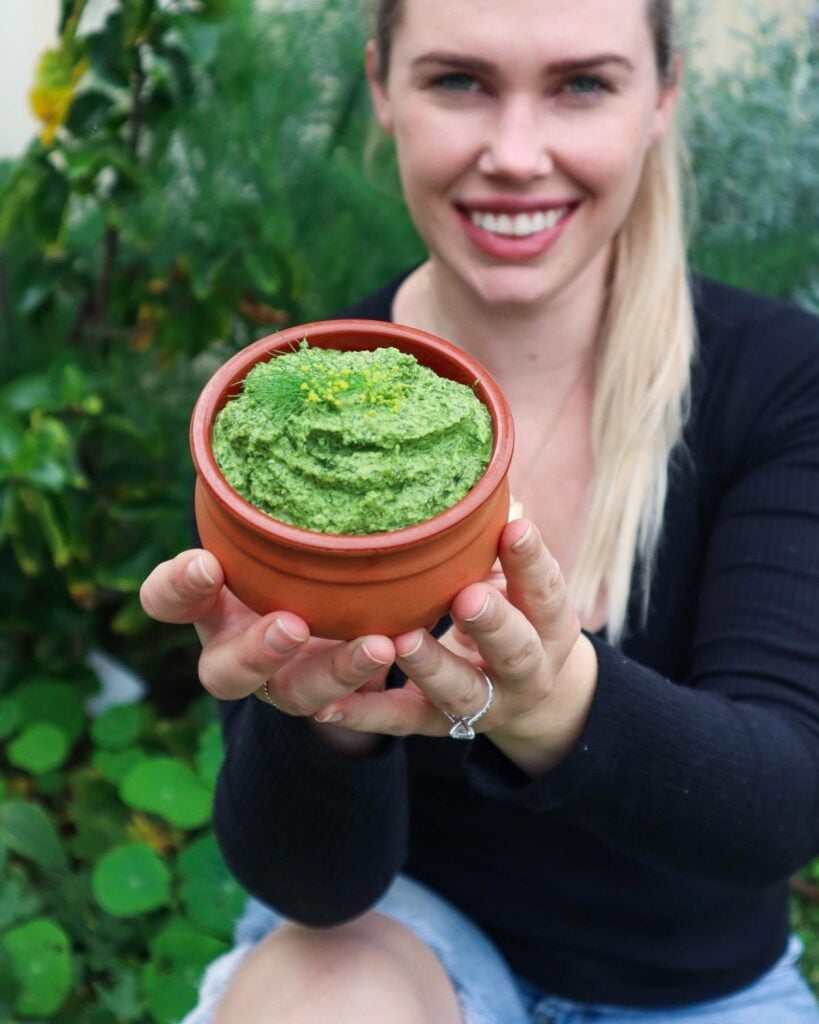
I made this delicious Fennel Front Pesto to use up the all the beautiful fresh fennel fronds I had. Super quick and easy to make! Are you growing fennel and not sure what to make with all those beautiful fennel fronds? I grew fennel for the first time this year so I had to start figuring out what to make with the abundance of greenery after harvesting the fennel.
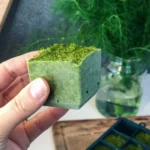
I often will portion out my extra pesto into ice cubes and freeze them in a container to preserve for future meals. Pesto is great to have on hand in the freezer to add to sauces, soups, quick and easy pasta sauce and even just defrosted as a dip for a cheese platter. Fennel Frond Pesto adds a fresh herbaceous flavour and saves buying dip in plastic containers!
More About Fennel
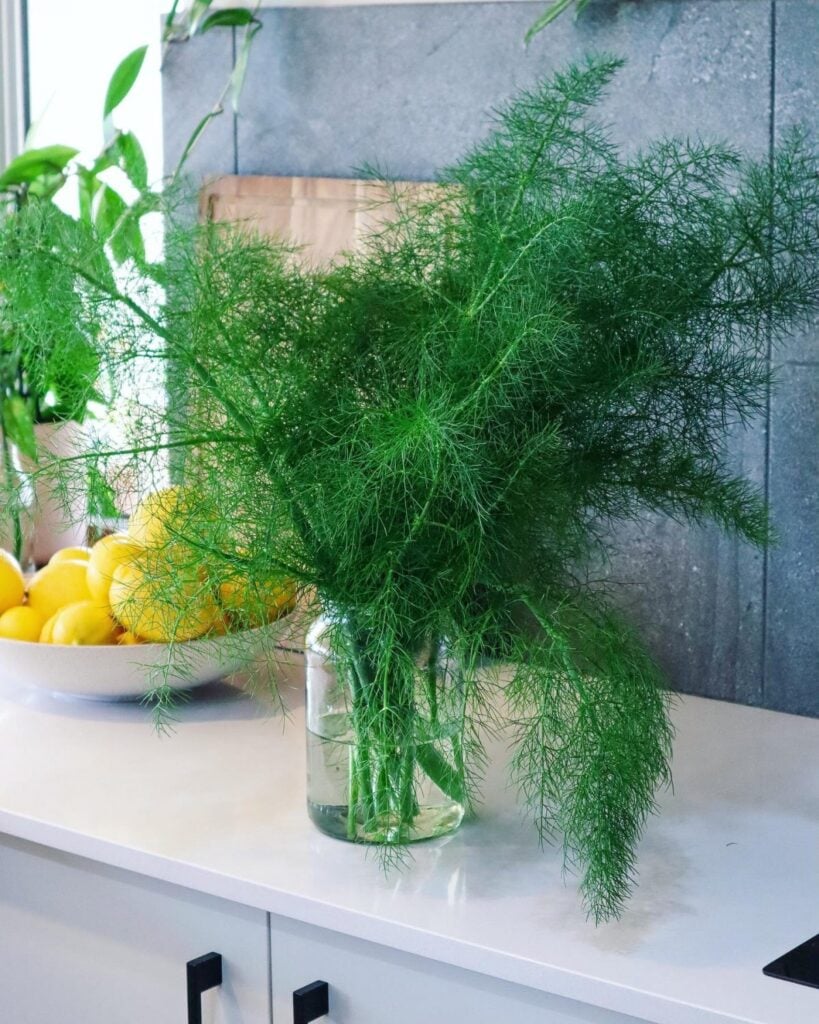
Fennel is such a great addition to your permaculture garden. The bulbs provide plenty of food, which can be eaten fresh in a salad, roasted or pickled. The leaves are a great addition to salads, soups and teas. It also has beautiful yellow flowers that have a mild liquorice/ aniseed flavour and are an amazing edible flower as well as to attract pollinators to your garden. Their lush fern-like fronds make a great haven for beneficial insects, and they look beautiful in vases as cut greenery and flowers. They self-seed very well so you will have fennel growing for many years to come with very little effort!
Wash Fennel Fronds and remove hard woody centre stem.
Place all ingredients EXCEPT Walnuts in a Nutribullet or food processor. Blitz until combined and fronds have broken up into small pieces.
Add the Walnuts and blitz to combine. If the mixture looks a little thick or dry add in an extra dash of water or olive oil.
Taste and add extra salt if needed and ready to serve!
Notes
If you want to preserve divide the extra mixture into ice trays and freeze. I use large Ice trays. Then once it has frozen place in an airtight, freezer-proof container until you are ready to use.I use a Nutribullet or stick blender as that is all I have. They work well but that is why I split the walnuts and greens up as it takes longer to blitz the greens.
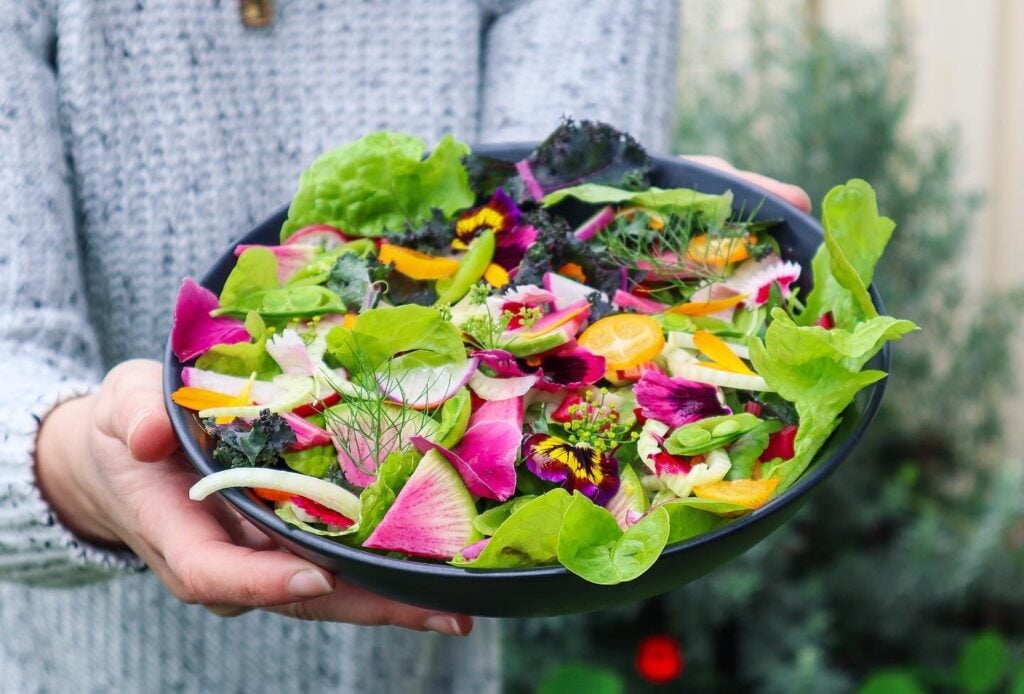
Fennel Salad with Kumquat, Watermelon Radish and edible flowers.
I am always learning new ways to use, cook and preserve everything I grow. I want to maximise my harvests, and I am doing that by continuously expanding my knowledge and recipe base. Fennel Frond Pesto is now added to my list.
Join me over on YouTube for weekly videos as I continue on my journey to live a more Sustainable Lifestyle.
I made this delicious Fennel Front Pesto by swapping out the greens from my garden pesto recipe. It is a super versatile recipe to use up any extra herbs and greens from your garden.
Watch my video below to find out more about my favourite edible flowers.
What do you use Fennel Fronds for? Leave a comment below 🌿
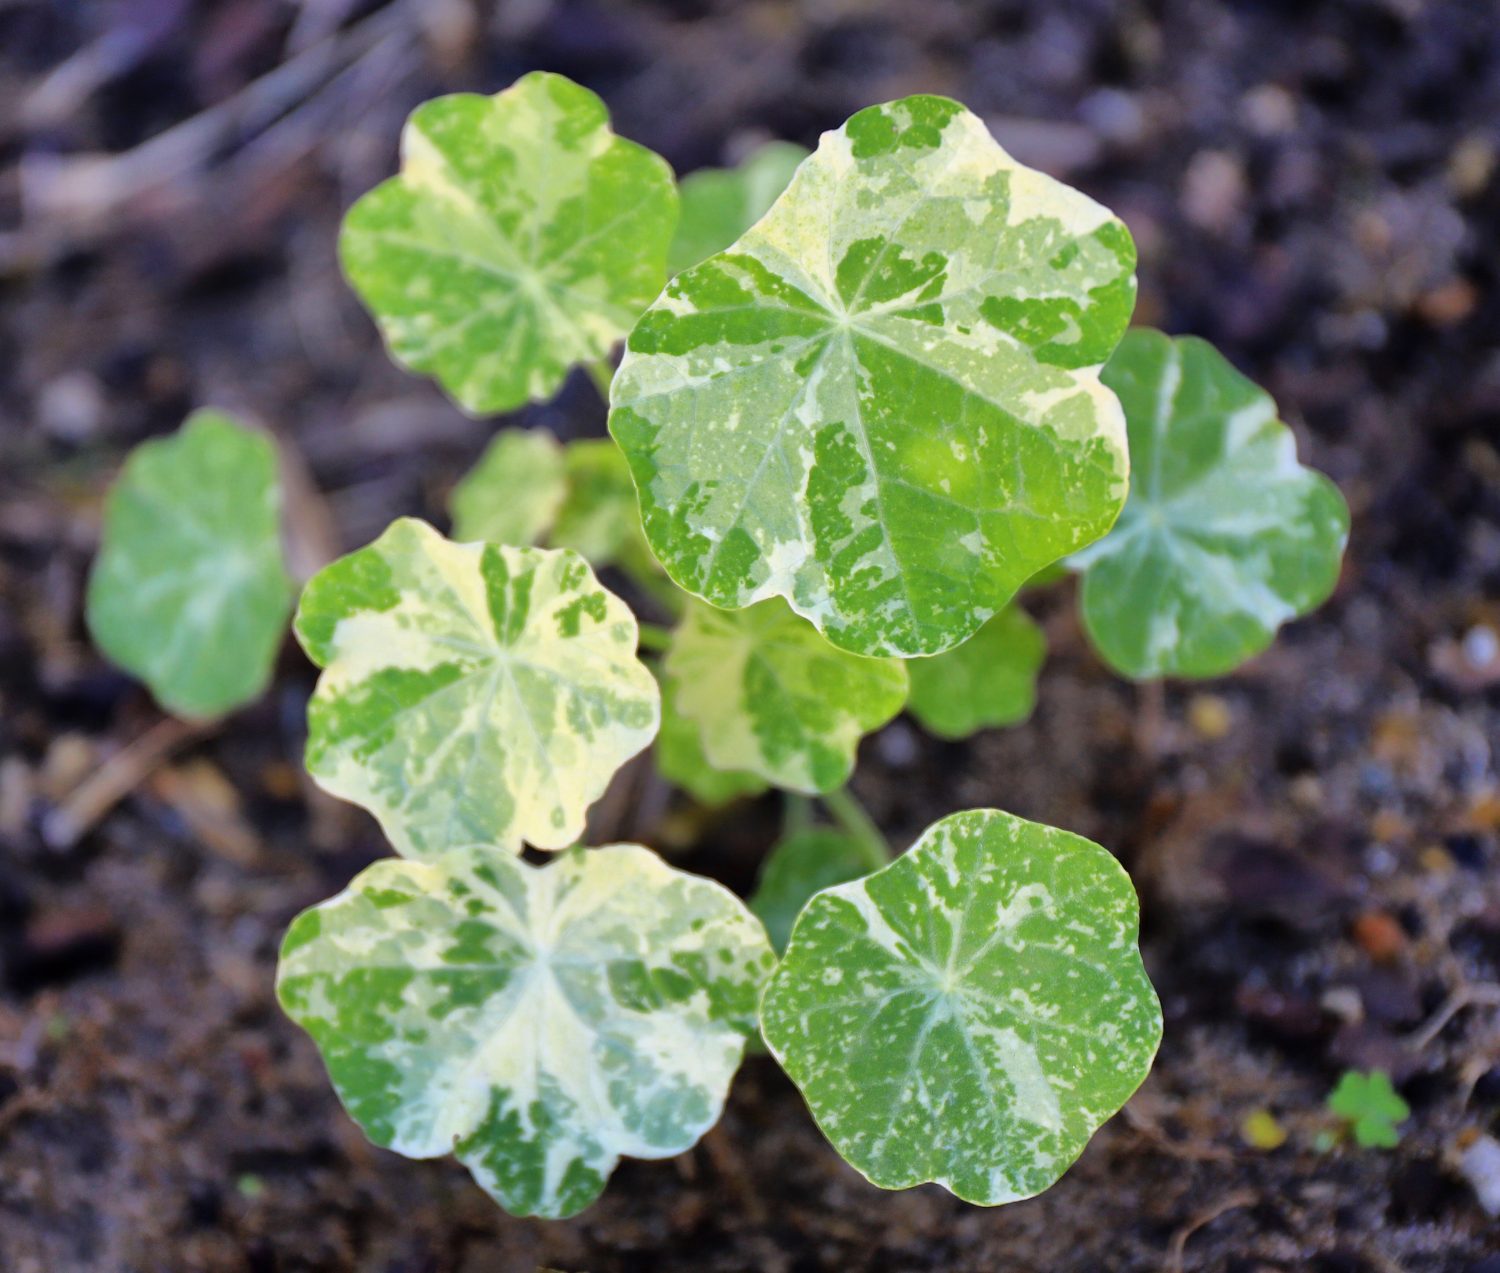
My nasturtiums are abundant again for the Autumn/ Winter season and are popping up everywhere! They make a beautiful lush ground cover and are so easy to grow! Once you have them in your garden they will pop up every year without any effort on your behalf. They have so many uses and integrated relationships within your garden which makes them one of my favourite permaculture plants. Their lily pad-like leaves also give all the magical fairy vibes.
Growing Nasturtiums
Nasturtiums seem to thrive well in most soil types and you will often see them spilling out onto the street from gardens or popping up in the wild. They have quite a weed-like growth because they are so easy to grow and self-seed. They come in a few different varieties and range in colours from yellow, red, orange, peach, white, and a beautiful scarlet red that I have my eye on.
They can also make a companion plant as they keep the soil protected and create a great space for beneficial insects to live. They are a great addition to any garden and one of my top permaculture plants due to the number of beneficial uses and positive relationships with other plants and animals.
Medicinal
Nasturtiums have many medicinal and healing qualities. They are rich in vitamin C, boost your immune system, as well as a natural aid to antibacterial and fungal infections. Plus most of the plant is edible which I love! Please note it is best to try things in moderation and I am by no means a medical professional. I did read that you should possibly avoid Nasturtium if you are pregnant, breastfeeding or have kidney disease.
Chickens
Growing Nasturtiums can also attract snails, aphids, and other bugs which keeps them away from your sensitive crops and then you can just harvest patches of affected plants and feed them to your chickens. The chickens will love the snails/bugs and the Nasturtium itself is a great natural medicine for the chickens. Nasturtium can improve reproductive health and immunity and help as a natural antibiotic.
Ways to Eat Nasturtiums
There are so many ways to use this plant and I have only tried a few so far. It is so important to learn how to use your edible plants so that you can get the most out of them! Here is a list of ways along with links to any recipes I have on my blog.
Are you growing Nasturtiums? Do you use Nasturtium in any other ways? I would love to know, please leave a comment below.
Holly🌱
Want to learn more about edible gardening?
Make sure you hit Subscribe to get notifications when new posts are live.
MY GARDENING ESSENTIALS // Fertiliser spray gun: https://bit.ly/366nL1t Retractable Hose: https://bit.ly/2TSC0Bo More gardening tools: https://bit.ly/32IQmbD
DISCLAIMER: Links included in this description might be affiliate links. If you purchase a product or service with the links that I provide I may receive a small commission. There is no additional charge to you! Thank you for supporting my page so I can continue to provide you with free content!
This easy Homemade Sweet Chilli Sauce is a fantastic way to use up a bunch of homegrown chillies. Growing Chillies is a great place to start for Beginner Gardeners or those with limited space, as they are easy to grow and can produce an abundance of chilli on one plant. Chilli plants like warm weather, but they can be grown throughout winter in a greenhouse or warm spot. I will cut back my chilli plants soon, place them in a warm area and let them go semi-dormant for the winter, which is called “overwintering”. That way come spring and summer, the plants are well established and will provide me with a decent crop.
This recipe can be adjusted to be as mild or hot as you like. You can use different chilli varieties, but obviously, the hotter the variety, the more your sweet chilli sauce will pack a punch! If you are concerned, I would remove and save the seeds from 3/4 of the chilli, and once it has cooked down a bit, taste and add more of the seeds to get the desired heat. I just went all-in with the seeds and used a hot Thai Chilli variety, so mine turned out quite hot, but I like that.
Easy Homemade Sweet Chilli Sauce
Yield: 500g
Prep Time: 10 minutes
Cook Time: 1 hour
Additional Time: 5 minutes
Total Time: 1 hour15 minutes
This easy Homemade Sweet Chilli Sauce is a fantastic way to use up a bunch of homegrown chillies. Growing Chillies is a great place to start for Beginner Gardeners or those with limited space as they are easy to grow and can produce an abundance of chilli on one plant.
This recipe can be adjusted to be as mild or hot as you like. You can use different chilli varieties but obviously, the hotter the variety the more your sweet chilli sauce will pack a punch! If you are concerned I would remove and save the seeds from 3/4 of the chilli and once it has cooked down a bit, taste and add more of the seeds to get the desired heat. I just went all-in with the seeds and used a hot Thai Chilli variety so mine turned out quite hot but I like that.
4.9 Stars (276 Reviews)
Ingredients
250 - 350g Chilli
8 Cloves Garlic
5 cm piece of Ginger
2 cups Sugar
2 cups White Vinegar
3 teaspoons Salt
Instructions
Wash chilli and cut off the green stems.
Roughly chop the Chilli, Garlic and Ginger and add to a mixing bowl or food processer.
Blitz the mixture into a rough paste using either a food processor or stick mixer. If using a stick mixer make sure you cover the bowl with a cloth to stop bits of chilli flying everywhere!
Add the blitzed chilli mixture to a pot and add Sugar, Vinegar and Salt.
Bring to the boil and then let it simmer on a low - medium heat until the mixture thickens (45min - 1hr).
The mixture will continue to thicken as it cools. Add a dash of water or extra vinegar if need be.
Heat oven to 130 degrees celsius and add your clean jars or bottles to sterilize for 15mins. Put the lids in a bowl of boiling water for 5 minutes.
Carefully pour the warm sauce mixture into your jars while they are still warm and secure the lids on.
Store in the fridge and use within 3-4 weeks*
* For long term storage place in smaller containers or jars and freeze or use canning methods for long term preservation.
Notes
If you want a mild sweet chilli sauce, remove 3/4 of the chilli seeds and set aside. Once the mixture has started to reduce, taste and add extra seeds as desired.
Serve with Sweet Potato Fries, as a Stirfry sauce, burger sauce or even add to noodles and vegetables for a deliciously tasty meal packed full of flavour.
If you have chilli plants that ripen at different times or a smaller amount to harvest, try freezing them whole until you have enough saved up to make the recipe. Other ways to preserve your chillies are to dry them out and keep them whole or try blitzing the dried chillies to make a chilli powder or flakes.
I hope you enjoy this easy homemade sweet chilli sauce!
Watch My Chilli Harvest and How to Make Sweet Chilli Sauce
DISCLAIMER: Links included in this description might be affiliate links. If you purchase a product or service with the links that I provide I may receive a small commission. There is no additional charge to you! Thank you for supporting my page so I can continue to provide you with free content!
Hi everyone! Welcome to my FIRST ever Urban Permaculture Garden tour! See what I have growing in my edible garden this Autumn (May 2020). My garden is constantly changing so I’m excited to finally document the growth! It’s amazing to look back at old photos and see how much has changed since we moved in. I am currently growing food in containers, pallet planters, makeshift garden beds in the driveway and slowly turning my grass into edible gardens. It is all a work in progress and I am constantly expanding my gardens and my knowledge to create my urban homestead. When we first purchased our property it had one tiny lemon tree and a few ornamental grasses along the back fence.
I now have over 15 fruit trees and many other edibles all throughout the garden. I have noticed so many insects and birds starting to frequent my yard and that makes me so happy! Diversity in plants and animals makes for a happy ecosystem.
You do not need to have the “perfect” place to grow food it is important to get to know your surroundings and just start by growing a few things. It’s all part of the journey and you will continue to learn and develop along with your garden. I hope you enjoy this video and get inspired to grow more of your own food.
Comment below if you have any questions about my Urban Permaculture Garden or anything I have growing in this video.
MY GARDENING ESSENTIALS // Fertiliser spray gun: https://bit.ly/366nL1t Retractable Hose: https://bit.ly/2TSC0Bo More gardening tools: https://bit.ly/32IQmbD
DISCLAIMER: Links included in this description might be affiliate links. If you purchase a product or service with the links that I provide I may receive a small commission. There is no additional charge to you! Thank you for supporting my page so I can continue to provide you with free content!
Garden toast is something I created one day when I was scraping together something for lunch and all I had was a crust and some cottage cheese in the fridge. I didn’t have any avocado, eggs or anything special to have with it. So I went out into the garden and found some inspiration! I picked two small tomatoes, herbs and edible flowers. It looked like a mini garden on toast and now I can’t stop making these beautiful, tasty creations!
Here are the creations I have made so far..
Original Garden Toast
My first addition with the last piece of bread I had left! I had fun making this and it definitely tasted delicious! Ingredients: Rye Multigrain toast, Cottage Cheese, Fresh tomato, Parsley, Rosemary, Rosemary flowers, Zinnia Petals and Basil leaves.
Fairy Garden Toast
It’s amazing what a little bit of Beetroot juice can do! Natural colouring and plenty of beneficial nutrients with an array of micro herbs and greens. You may even be able to convince your kids to eat more greens with this Fairy Garden toast. Get them involved in the process by having a bowl each to go outside and collect herbs. Ingredients: White Multigrain Toast, Cottage Cheese mixed with beetroot juice or fresh grated Beetroot, Baby Nasturtium leaves, Parsley leaves, Basil leaves, Sweet Violet flowers, Rosemary Flowers, Baby Pink chard leaves, Pink Zinnia Flower petals and Dill Flowers.
Jungle Garden Toast
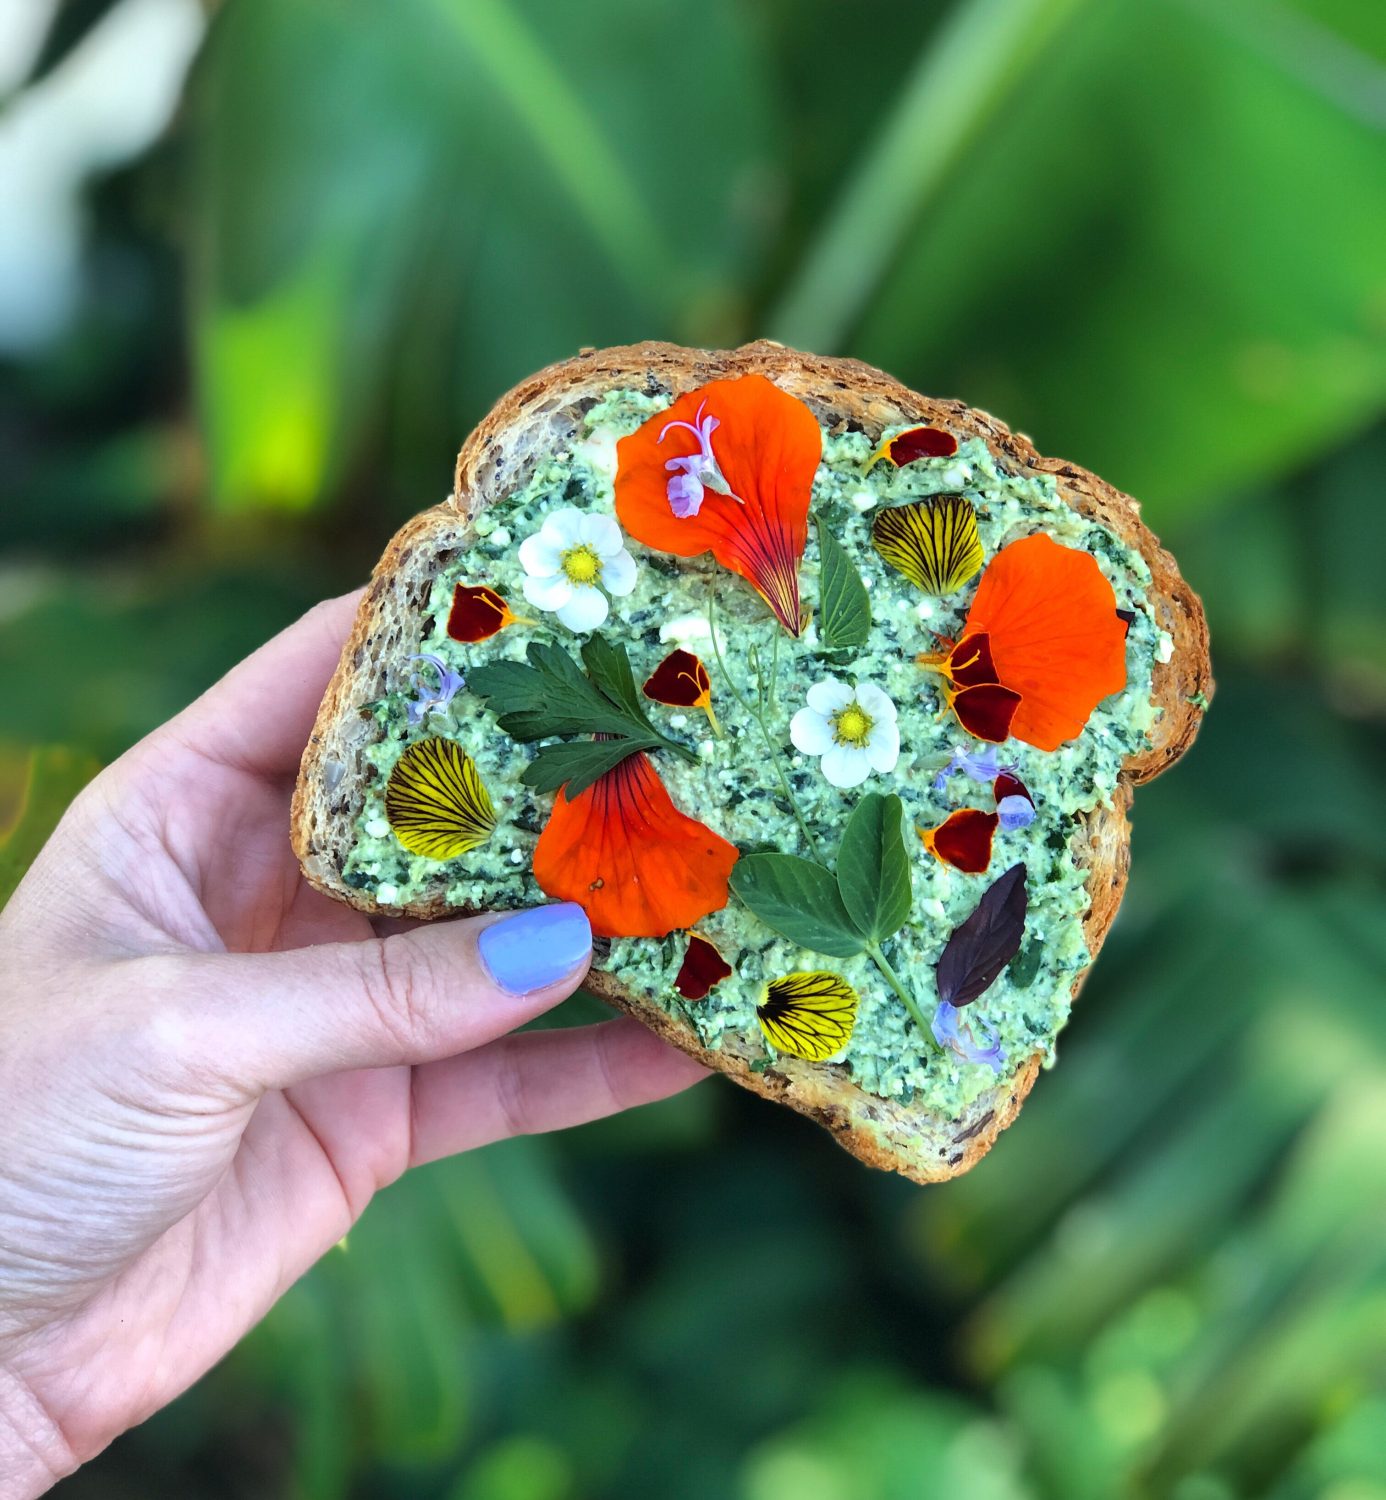
Packed full of herbs and flavour! Ingredients: Country Grain Toast, Basil Pesto, Orange Nasturtium petals, Tiger Eye Viola Petals, Strawberry Flowers, Parsley leaves, Rosemary Flowers, Pea tendrils, Burgundy Marigold Petals and Purple basil leaves.
Summer Garden Toast
Summer on toast! Homegrown tomatoes are so sweet and delicious and tomato on toast is one of my favourite ways to eat them! Ingredients: Rye Multigrain toast, Red, yellow, orange cherry tomatoes, Purslane, Red basil leaves, Strawberry Flower, Sweet Violet Flower, Dill flowers, Rosemary Flowers, chopped Purple Kale, baby Nasturtium leaves and Fresh Chilli.
Botanical Garden Toast
Pest on toast is so delicious! I made extra pesto and if you follow me on Instagram you would have seen that I ate this for breakfast for an entire week! It was also so good with a poached egg on top. Ingredients: Sourdough toast, Basil pesto, Cottage Cheese, Chopped walnuts, Fresh Chilli, Basil Leaves, Fennel Flowers, Pink and White Dianthus, Baby Pumpkin Tendrils, Parsley Leaves and Strawberry Flowers.
Unicorn Garden Toast
My latest creation and maybe my favourite yet! Purple sweet potato spread is a vibe! Ingredients: Sourdough Toast, Mashed Purple Sweet Potato and Cottage Cheese, Overnight Pickled Red Cabbage and Red Onion (1/2 cup water, 1/2 cup apple cider vinegar, a teaspoon of sugar heated to dissolve. Pour cooled liquid over Cabbage and Onion), Purple Kale, Grilled Baby Eggplant, Purple Pansy, Multicoloured Dianthus, Rosemary Flowers and Red Basil.
Get Inspired by your Garden
There is always something in my garden to make a toast topping and I love how easy and creative it is! Each piece is so unique and full of fresh garden nutrients! Having these ideas tried and tested means I know I can always whip up something even when my fridge is looking very lean.
Get creative and inspired by your own garden. There is something so satisfying about being able to walk outside and make a meal from your own fresh, homegrown veggies. This is a great meal idea for beginner gardeners who don’t have many established edibles. Just look out for baby leaves and edible flowers (make sure you research and clearly identify they are edible). Baby leaves and flowers can add subtle flavours and turn any dish into a work of art!
Be sure to tag me on Instagram or Facebook so I can see your creations!
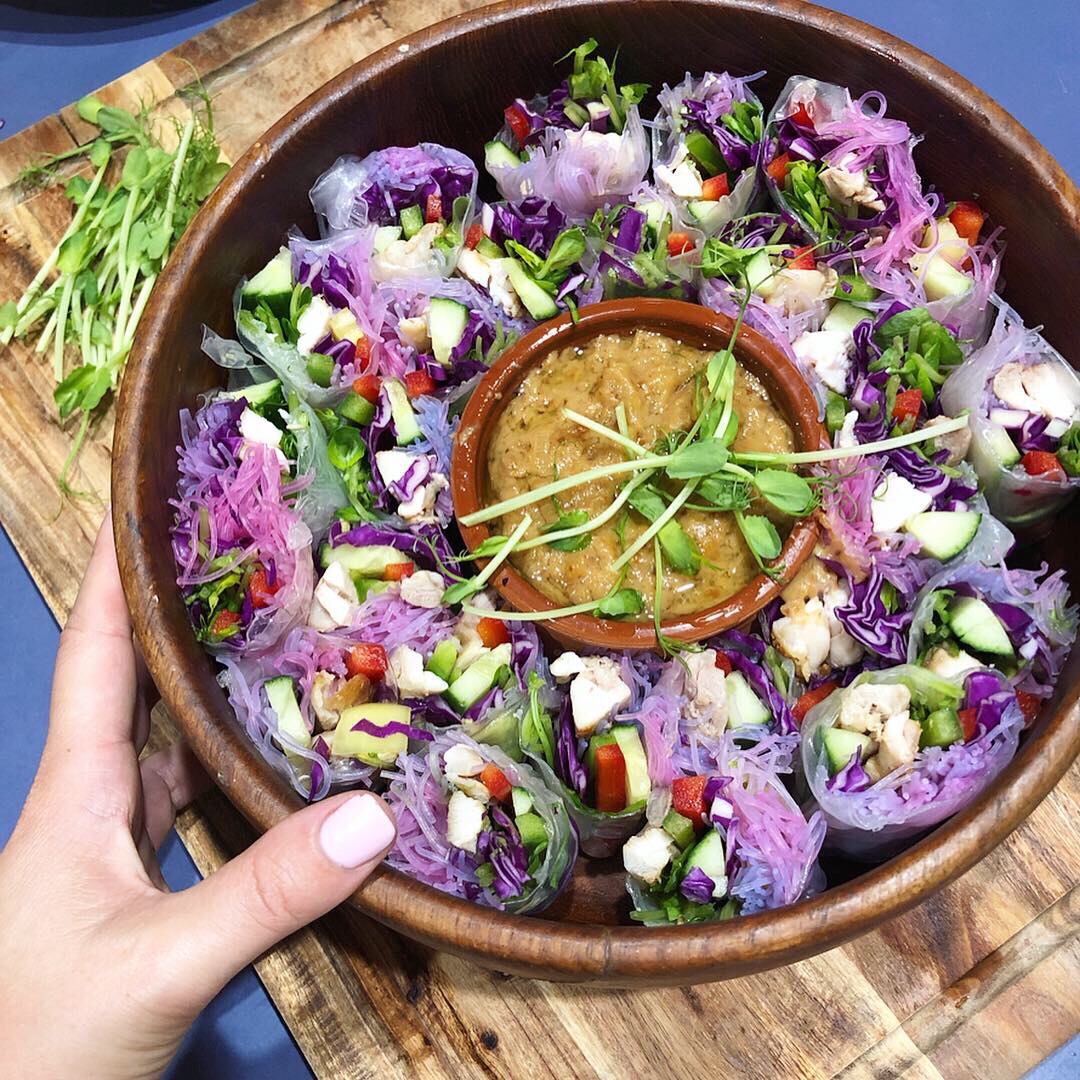
Colour-changing unicorn noodles are a simple but magical kitchen experiment that kids (and I) absolutely love. Using all-natural colouring, these noodles transform from deep purple to bright pink right before your eyes, making them feel like a real-life science experiment you can eat!
The colour change happens when the noodles react to a natural ingredient (lemon juice), creating a fun chemistry experiment. It’s a fun, hands-on way to introduce kids to cooking while also showing them how natural ingredients can create beautiful colours without artificial dyes.
With simple ingredients, you can turn an everyday bowl of noodles into something magical!
Whether you want to call them unicorn noodles, magic noodles, or colour-changing pasta, this is one of those recipes that always gets a “wow” moment at the table…perfect for parties or even a witchy Halloween trick..
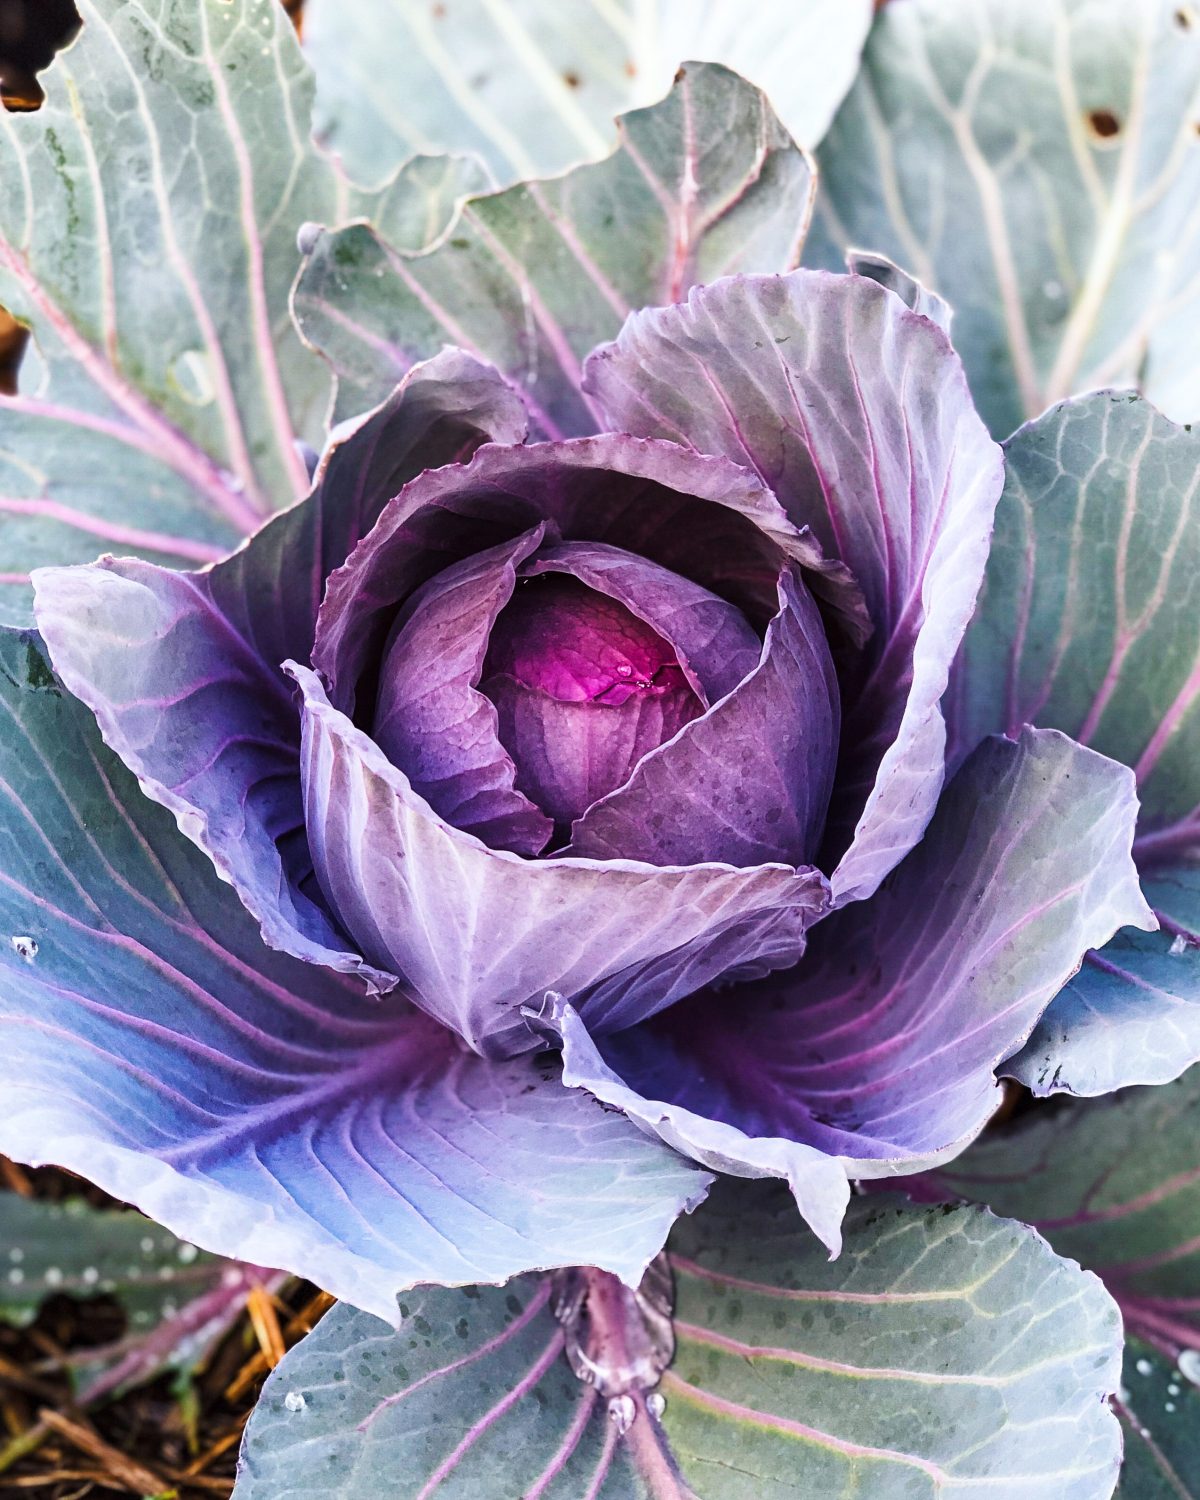
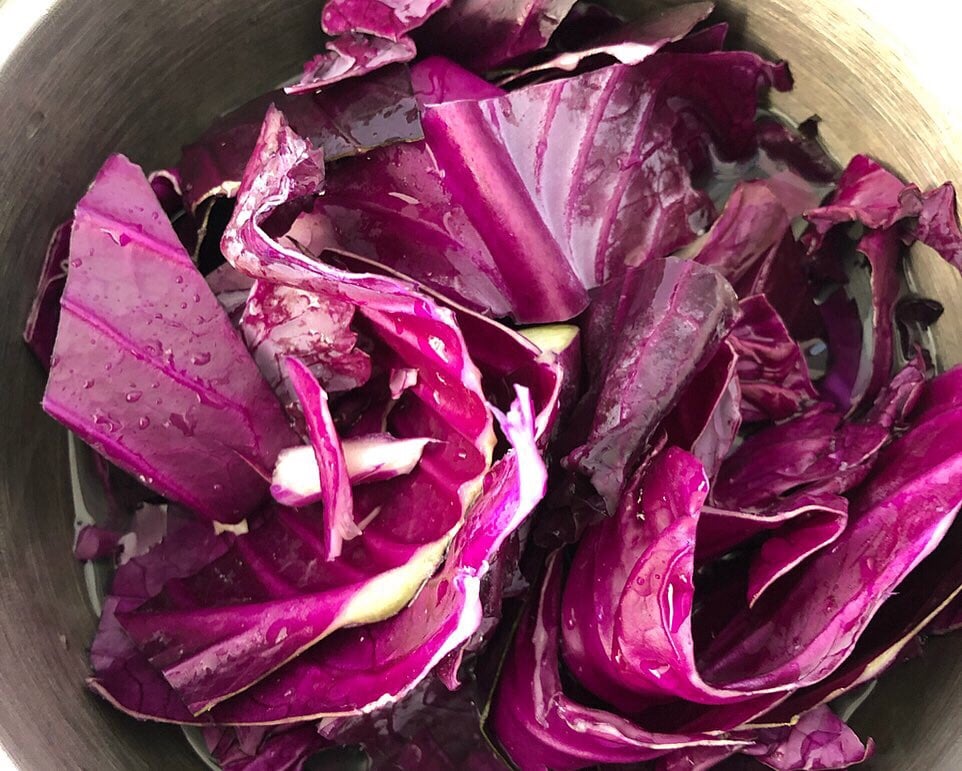
Roughly chop the red cabbage. Use the outer leaves with a deeper colour.
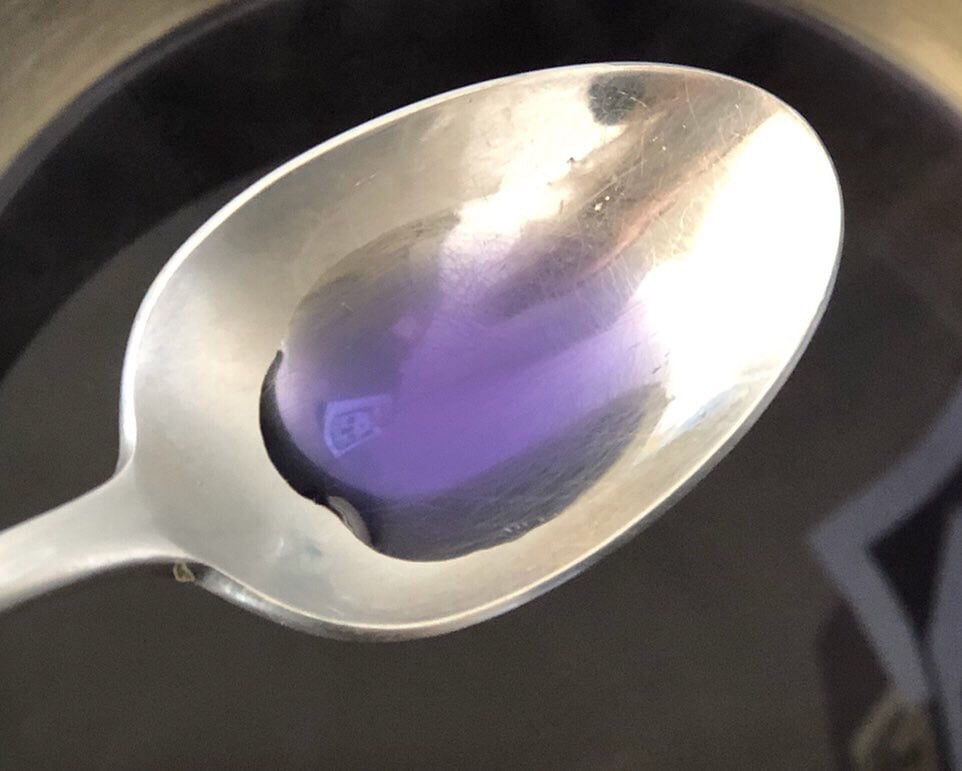
Add water and cabbage to a pot and bring to the boil. Let it simmer for 5-10 mins bruising the cabbage with a wooden spoon.
Remove the cabbage and discard (compost).
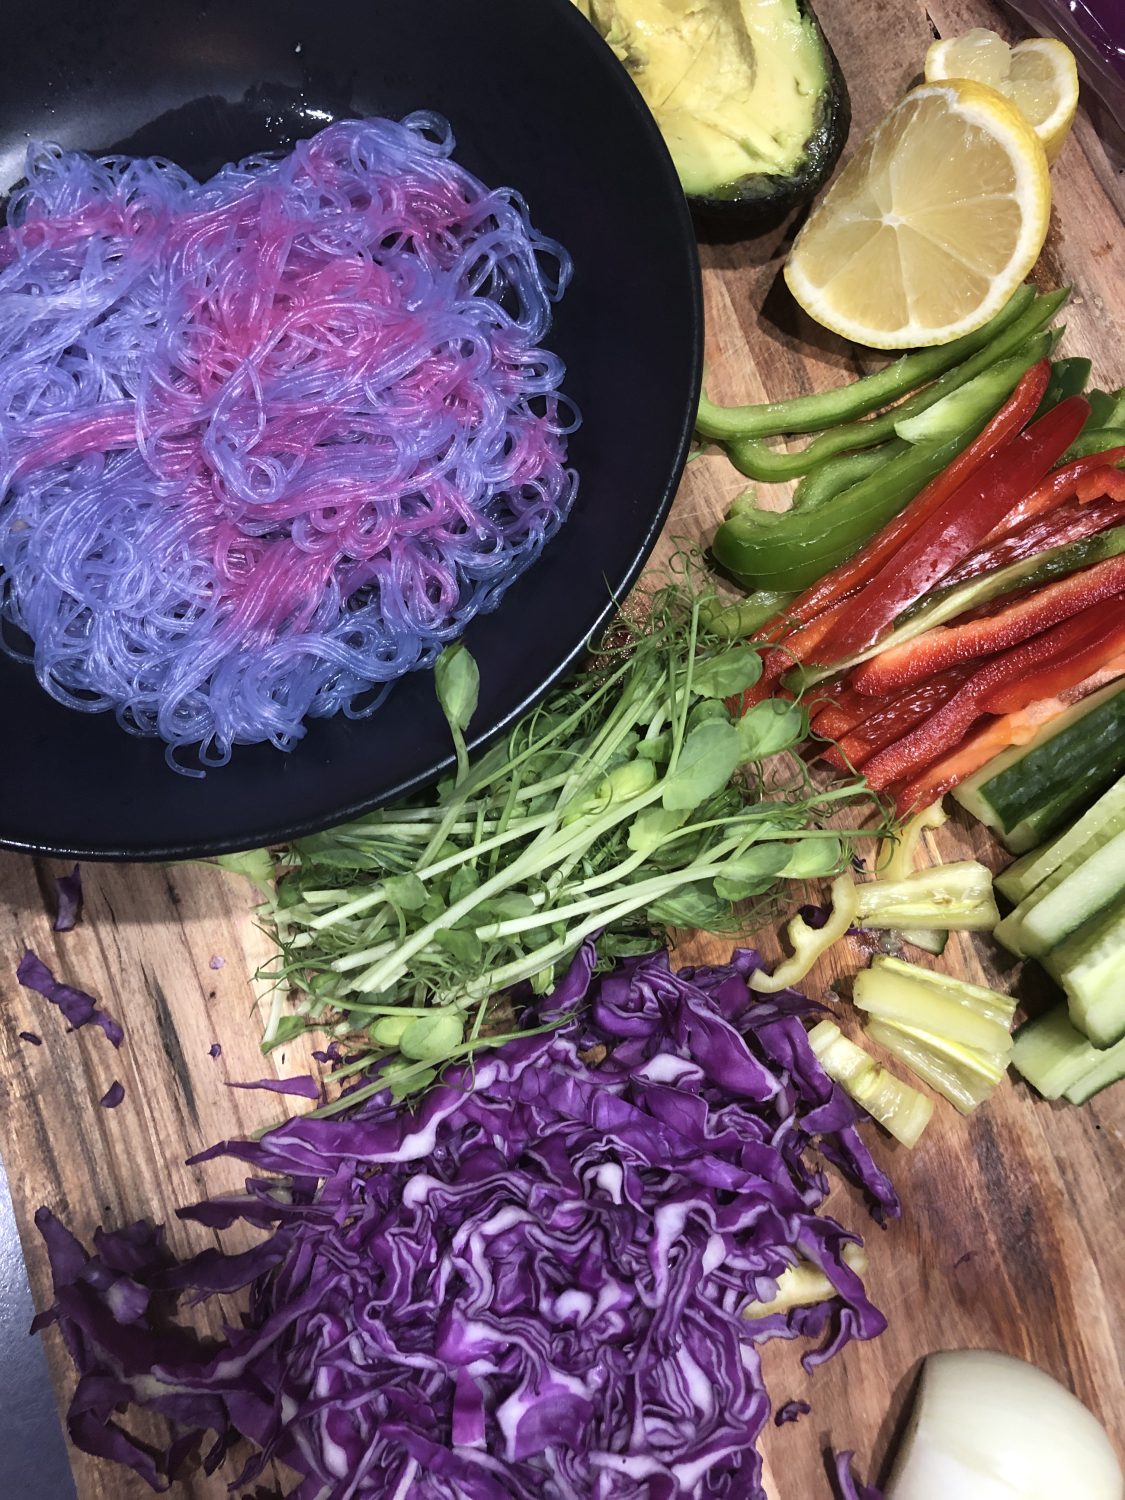
Add the noodles to the purple water and turn over until they spread out in the pot and are fully submerged in liquid.
Turn the heat off and cover the pot for 10-15 minutes until the noodles have absorbed all the liquid.
Stir the noodles and strain off the excess liquid if there is any.
Place your noodles in a bowl and before serving roughly squeeze the lemon over the purple noodles and the acidity will change the colour to pink.
Notes
The more cabbage leaves you use the deeper the colour will be. The key is to get the noodles to absorb all the liquid so don’t add too much water at the start.
Try using the noodles to make rice paper rolls or serve as a side dish to a Thai Curry.
Garden to Plate: A Fun Low-Waste Kitchen Science Recipe
These unicorn noodles are also a great example of a garden-to-plate, low-waste recipe. Instead of throwing away the outer leaves of cabbage, you can transform them into something magical!
The outer cabbage leaves are often tougher and less appealing for salads or stir-fries, but they are perfect for creating a natural colour-changing liquid. When simmered in water, red cabbage releases a deep purple pigment that can be used as a completely natural food dye!!!
The purple cabbage liquid reacts to acidity, which is what allows the noodles to shift colour from purple to pink! It’s a simple way to show kids how ingredients from the garden can be used in unexpected and creative ways.
If you grow cabbage at home, this is a perfect way to make the most of the whole plant..right down to the leaves you might normally compost.
Make a Lasting Impression
These Unicorn Noodles are a great way to get kids interested in cooking! Let their imagination run wild and give them their own slice of lemon to colour change the noodles. Not only for kids….these Unicorn Noodles are also a great way to add theatre to the dinner table if you are hosting family or friends. I love creating meals that stand out from the rest and get people talking. We eat with our eyes and colourful food always sparks so much more joy at the table.
You can also use the absorption method to cook white long-grain rice in the purple liquid as well. Check out my other recipes for Unicorn Rice below.
I would love to see your Unicorn noodle creations, so be sure to tag me on Facebook or Instagram and let me know how you go!
Colour-changing unicorn noodles are a simple but magical kitchen experiment that kids (and I) absolutely love. Using all-natural colouring, these noodles transform from deep purple to bright pink right before…
Unicorn Rice Salad is the perfect dish for entertaining! It’s such a fun dish and so easy to prepare! I’m not one for strict recipes so this one is super…
For more colourful Recipe ideas and Garden tips be sure to subscribe.
DISCLAIMER: Links included in this description might be affiliate links. If you purchase a product or service with the links that I provide I may receive a small commission. There is no additional charge to you! Thank you for supporting my page so I can continue to provide you with free content!