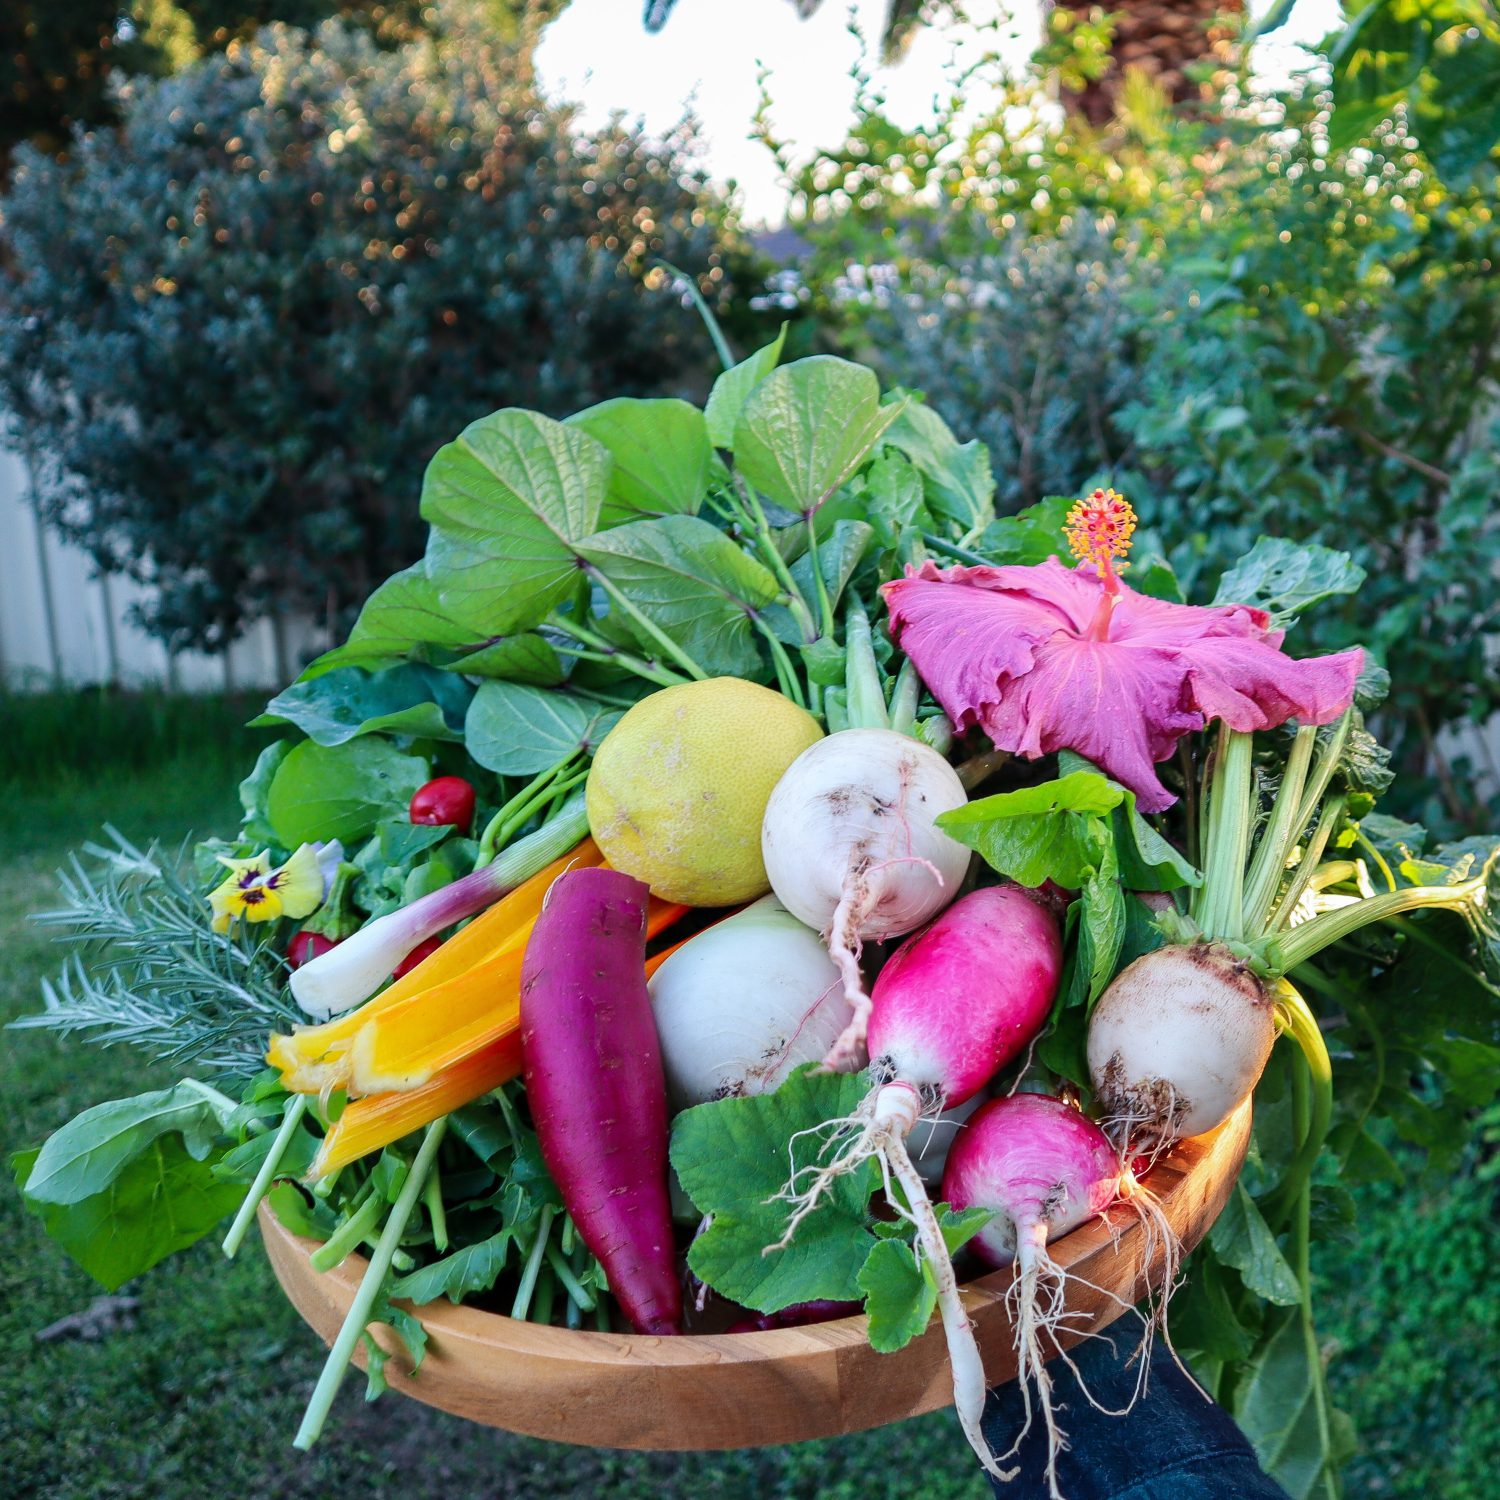
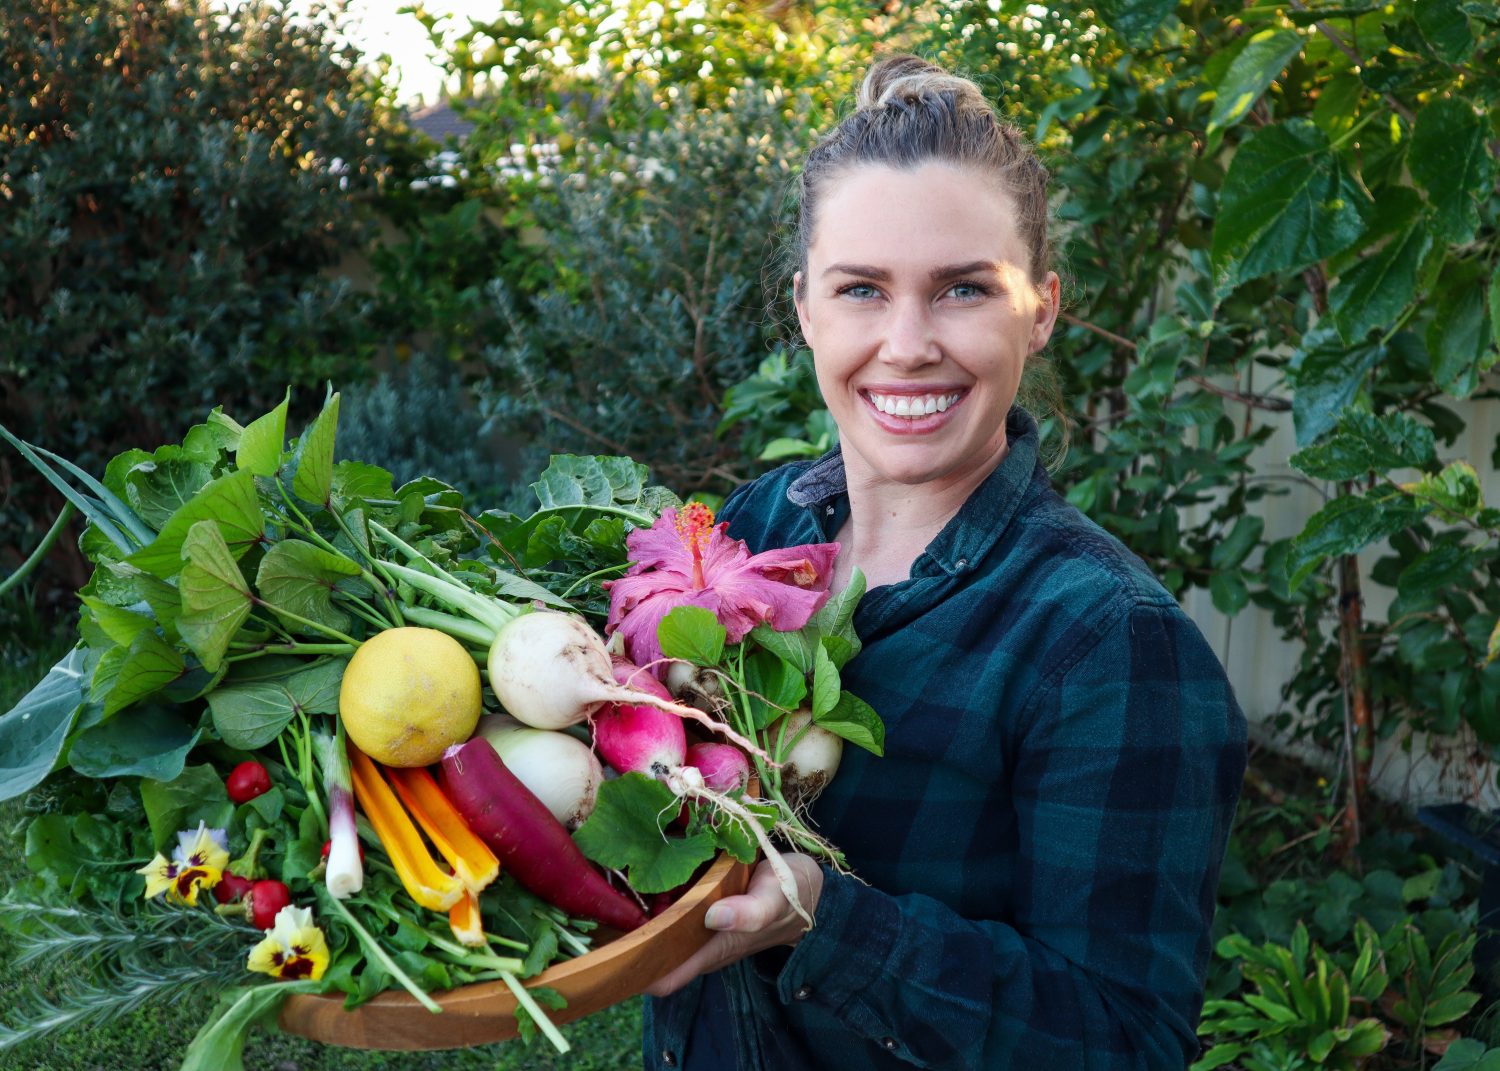
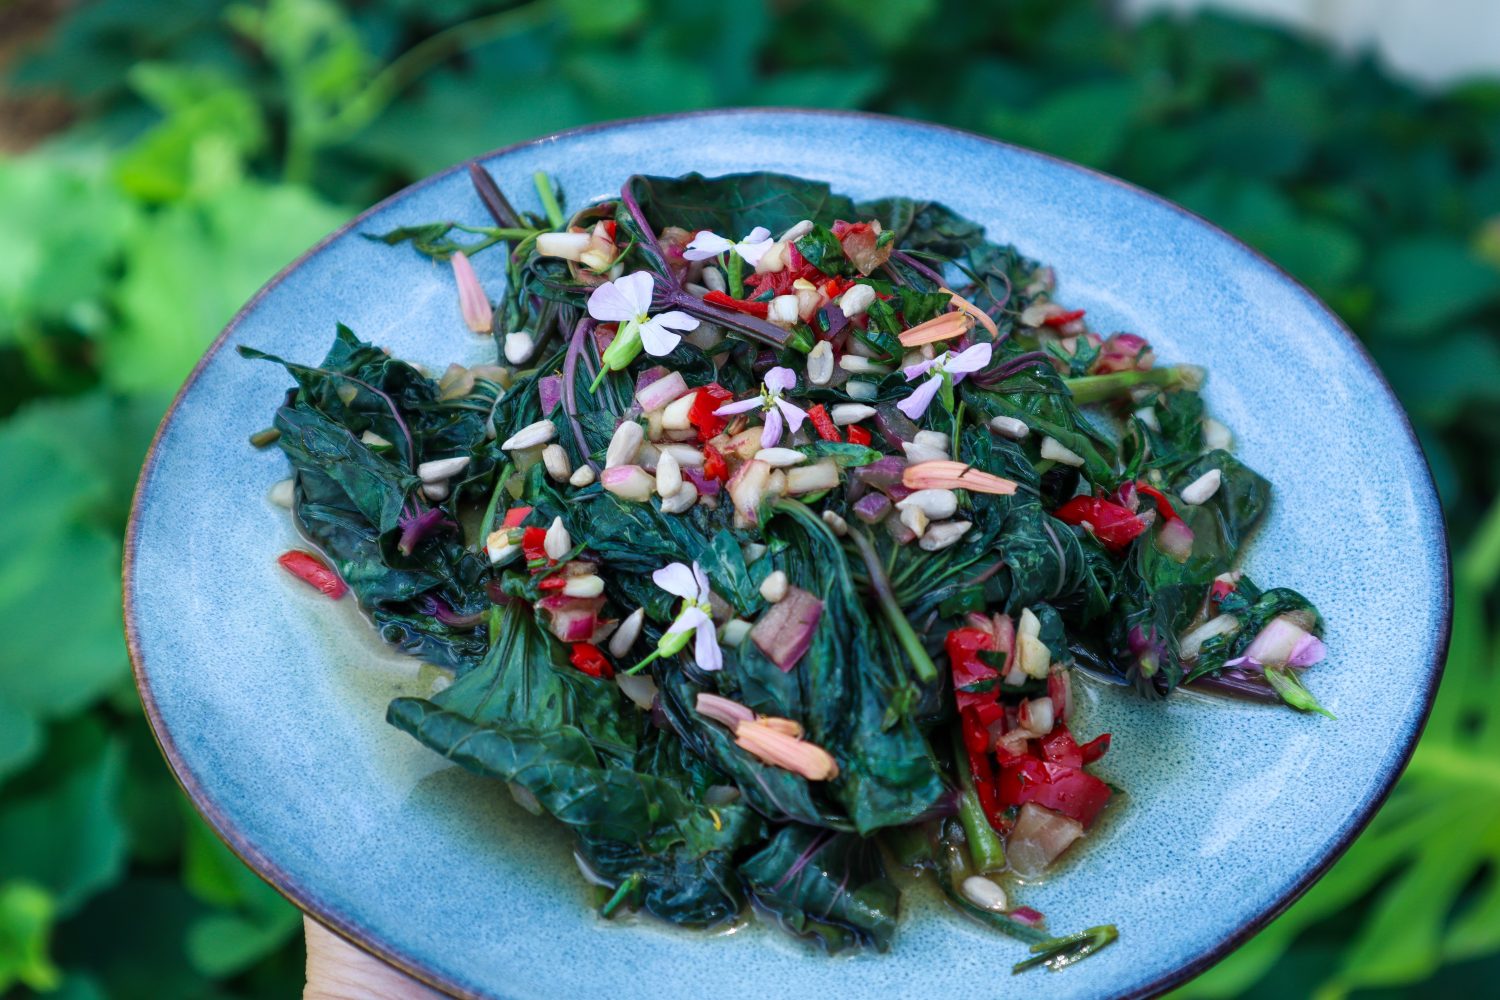
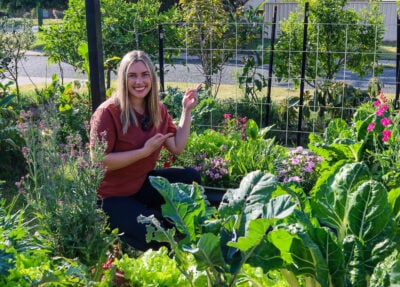
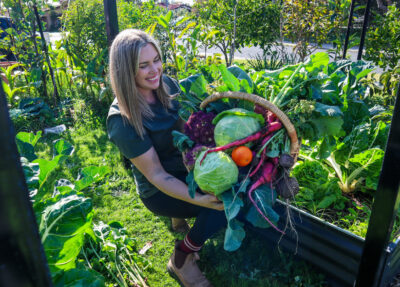
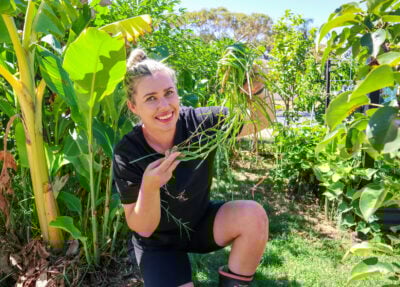
I am loving growing my own fresh Beetroots but I had no idea how to use the leaves other than adding a little into a stirfry or composting. I am passionate about creating ways to get the most out of everything that I grow! After all, a lot of time, patience and effort went into growing it! These Dolmades completely blew my mind – absolutely delicious! I made this with my purple unicorn rice but you can use plain rice. These can also be made using Rainbow Chard leaves.
Also if you only have liquid vegetable stock just replace with the water in step 1.
Ingredients
1 large freshly picked Beetroot
3/4 cup Long-grain Rice
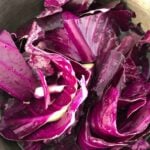
2-3 Red Cabbage leaves
4 teaspoons Vegetable Stock Powder
1/4 Red Onion
1 small Lemon
1/2 cup Parsley
1/2 packet Haloumi
1/4 dried Cranberries
Ricotta (or greek yoghurt), lemon juice and chopped parsley to serve.
Method
Add 1 1/2 cups of water and the cabbage leaves to a saucepan with a lid and bring to the boil. Simmer for about 5-10 minutes and gently stir and bruise the cabbage with a spoon a few times to release the colour.
While your purple water is boiling, finely chop your red onion and fry in a small saucepan. Set aside to cool.
Strain the cabbage water into a bowl and discard the leaves (compost). Measure the purple water back into your saucepan and make sure you have 1 cup. Add a little more if it has evaporated.
Quickly rinse your rice under water to remove some of the starch and then add to your purple water along with 2 teaspoons of vegetable stock powder and lighter simmer for 10minutes. remove from the heat and set aside to cool. The rice should be nearly cooked and most of the liquid should be absorbed.
Rinse your beetroot leaves and cut off the stems ( i will work on a recipe for these next but for now future stirfry).
Get a dish (casserole size) and fill with cold water and ice.
In a large saucepan add water and bring to the boil. Place your beet leaves into the boiling water and submerge for about 1 minute. The colour will change to a vibrant green.
Carefully remove the leaves and place directly into the ice bath so that they stop cooking and retain their vibrant colour.
Once they have cooled down after a minute or so remove the leaves and lay them flat on to a tea towel to dry off a bit. You may need to use a couple of tea towels depending on how many leaves you to have and how big they are.
Into a bowl add the zest of one lemon, chopped parsley, cooked red onion, haloumi chopped into small pieces, cranberries and purple rice. Mix to combine and then squeeze over 1/4 wedge of lemon juice.
Lay your beet leaves shiny side down and add a small amount of mixture to the base near the stem. Fold the sides in and then roll-up.
Once all your mixture is used, place your rolled Dolmades with the end piece on the bottom into a large saucepan.
Drizzle with oil and mix the last two teaspoons of vegetable stock with one cup of water and add to the saucepan. Cover and simmer for 10-15mins.
Serve with greek yoghurt, tzatziki or I used Ricotta mixed with lemon juice and chopped parsley.
If you have any ideas for using Beetroot Leaves leave me a comment below! Tag me on Instagram if you make these delicious Dolmades, I would love to see your versions.
Holly 🌱
MY GARDENING ESSENTIALS // Fertiliser spray gun: https://bit.ly/366nL1t Retractable Hose: https://bit.ly/2TSC0Bo More gardening tools: https://bit.ly/32IQmbD
DISCLAIMER: Links included in this description might be affiliate links. If you purchase a product or service with the links that I provide I may receive a small commission. There is no additional charge to you! Thank you for supporting my page so I can continue to provide you with free content!
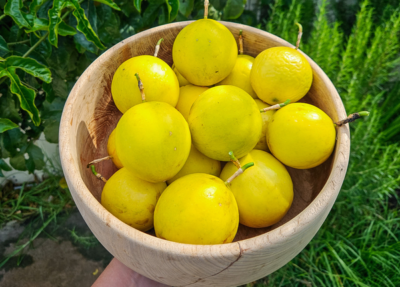
What to do with lemons?! Lemon and citrus season is in full swing and if you are lucky enough, you may be struggling to use up all your produce before it goes to waste. A great problem to have! Below are a few of my favourite ways to use up lemons. I love how the lemon season coincides with the flu season and lemons are a fantastic natural remedy, packed full of vitamin C for colds and flu! Nature really is amazing. If you have a ton of lemons, below are some great ways to preserve your lemons so you can use them throughout the year.
Fresh off the Tree
One of the best ways to extend your harvest is to leave them on the tree for as long as you can. As soon as you pick them they will start to ripen and deteriorate much quicker than if they remain on the tree. I love fresh lemons especially walking out to my garden and picking a lemon and cutting it up for a fresh cup of hot lemon water or in summer, iced lemon water! This is also the best way to get the most vitamin C as once you cook or dehydrate lemons, the Vitamin C levels reduce significantly. But there is only so much fresh lemon I can eat…
Gifting or Swapping
Gifting or trading your excess lemons is a great way to make friends with your neighbours! Your friends, family and work colleagues may also love some fresh lemons if they don’t have a tree at home. This can open up some great conversations and people may even start bringing and gifting their own excess produce.
Dehydrated Lemons
It’s winter and I love a hot water lemon drink in the morning to warm up! The only thing is that often I put the remaining half a lemon in the fridge and it will end up at the back of the fridge until it gets thrown out 🙁 So if I want lemon for my tea I pick a small one and put it somewhere front and centre so I can see it! This is why I love using dehydrated lemons because you can use a couple of slices as needed. Dehydrated lemons can also be used in baking, cake decorating, or finely chopped to add some lemony flavour to your cooking. They rehydrate once they get wet so they work quite similarly to fresh lemon but have a more caramelised flavour.
Lemon Zest Sprinkles
Zest the skins and dehydrate. Place in a jar and use in cooking and baking to as some lemony flavour!
Lemon Juice
You can then juice the lemons and freeze into ice cubes. Once the cubes are frozen, place into a container or freezer bag and label. These can be used in cold drinks, cocktails, cooking, baking and added to boiling water for a delicious hot lemon tea at just the right temperature! (can you tell I like lemon tea).
Citrus Cleaner
Ok, so you have now used the zest and the juice of the lemons, what do you do with the remaining flesh?! Place all the lemon scraps in a jar and fill with White Vinegar. Place in a dark spot in your pantry and leave for two weeks. You can then strain the liquid off and add the same amount of distilled water and you have a natural all-purpose cleaner. This is a great way to get the most out of your lemons with as little waste as possible.
You can also simply throw a few slices into your jug/kettle and add a few dashes of white vinegar and water. Simply boil the jug and then let it sit for 30mins. Rinse and clean. This will help remove the limescale and calcium build-ups on your jug.
Baking
Lemon slice, lemon meringue pie, lemon cheesecake. I’m not one for baking recipes but I have been doing some trial and error lately!
Roasted Lemons
In winter I like to make a roast vegetable salad because it’s a little bit more of a winter warmer but not too heavy. I chop up my root vegetables (carrots, sweet potato, beetroot, potato etc) along with some wedges of lemon and oven roast with oil and herbs. This is a great way to use up those half lemons in the fridge or some lemons that are getting too ripe. Once the vegetables are roasted I serve in a bowl of chopped up greens and top with feta cheese, pumpkin seeds, and aioli dressing. The roasted lemon wedges can then be squeezed on top and they add beautiful mellow caramelised lemon flavour.
Lemon Butter
Lemon butter or curd is heaven in a jar! This is a super luxurious and delicious way to use lemons and can also make great gifts! Enjoy on toast, pancakes, meringues or add to the centre of lemon muffins for a delicious surprise.
Other ideas
There are still so many different ways to use lemons that I haven’t tried yet. Here are a few below:
Marmalade
Lemonade!!
Preserved Lemons
Lemon cake
Limoncello
Let me know what you use lemons for in the comments below!
MY GARDENING ESSENTIALS // Fertiliser spray gun: https://bit.ly/366nL1t Retractable Hose: https://bit.ly/2TSC0Bo More gardening tools: https://bit.ly/32IQmbD
DISCLAIMER: Links included in this description might be affiliate links. If you purchase a product or service with the links that I provide I may receive a small commission. There is no additional charge to you! Thank you for supporting my page so I can continue to provide you with free content!
I had homemade Garden Pesto on my (Giant) list of things to try and when I finally did… omg I will never buy pesto again! Quick, easy and so delicious!! Also, you can really just add whatever garden greens and herbs you have growing in your garden. I even use the ones with holes from bugs. Just wash and check there are no bugs before using.
Garden Pesto Recipe
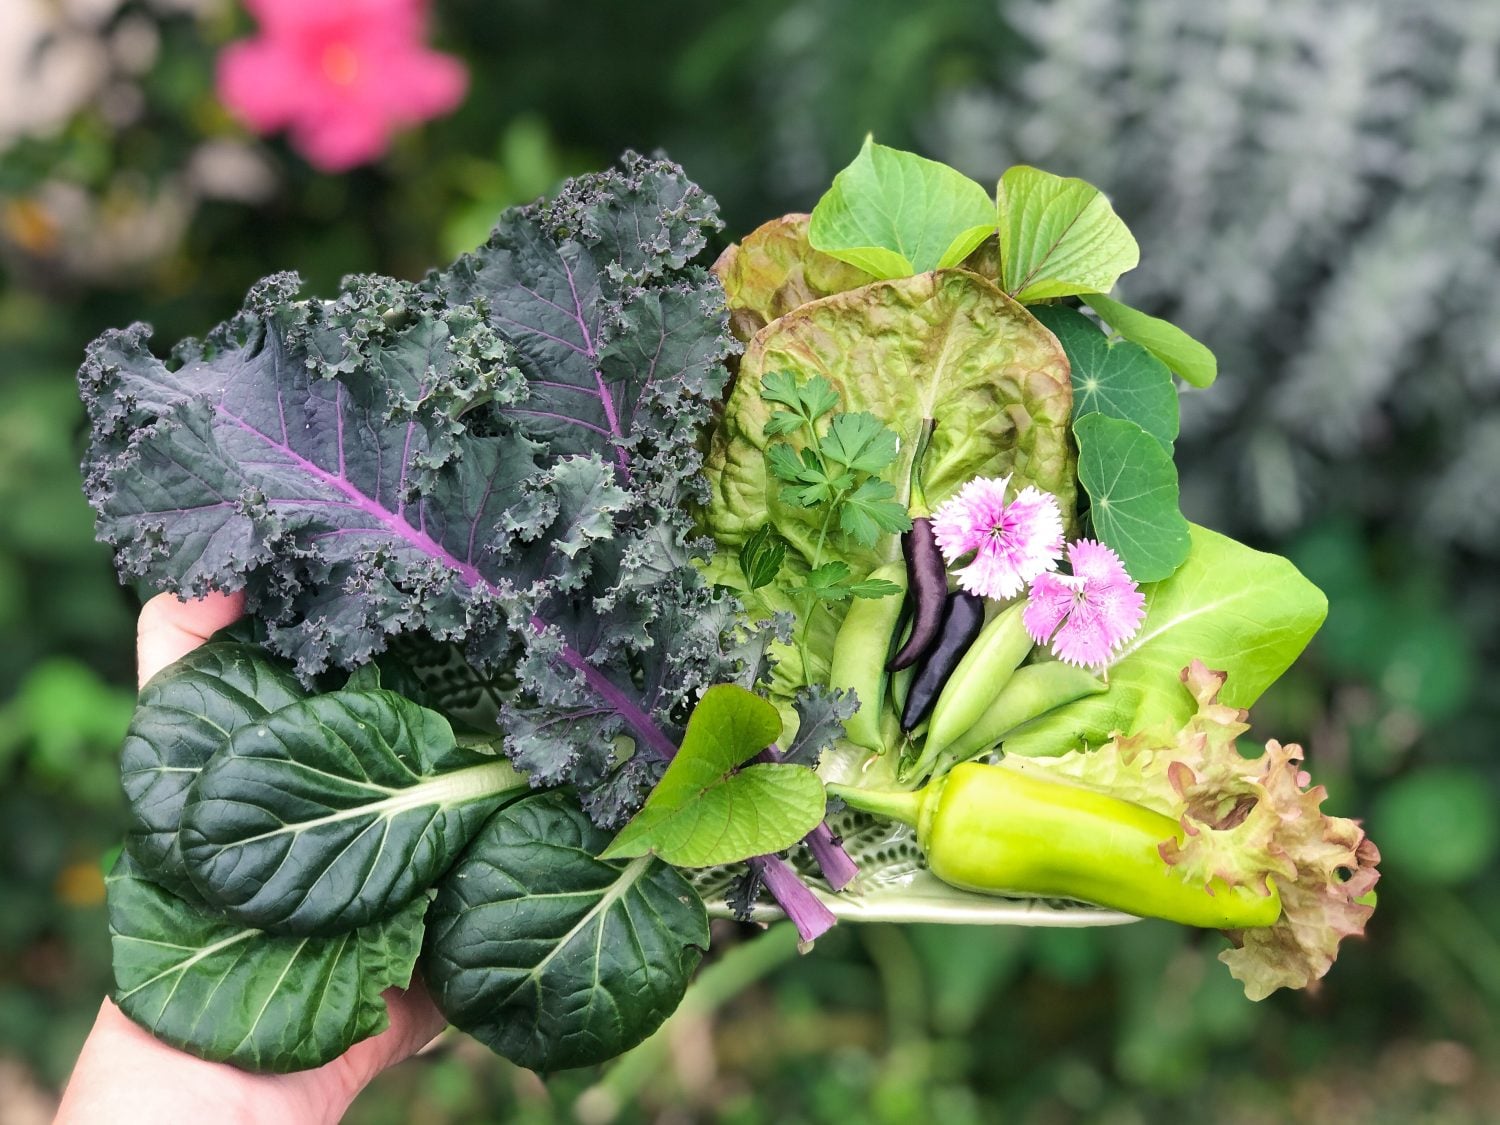
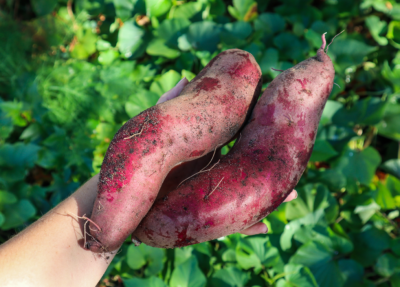
2 cups of greens and herbs. I used Nasturtiums (flowers and leaves), young sweet potato leaves, basil, cauliflower leaves, kale, bokchoy, tatsoi, rainbow chard, and parsley.
1 Small garlic clove
1 cup walnuts
1/4 cup Olive Oil
Splash of water
1TBS Lemon juice
Pinch of salt to season
Wash and quickly blanch the greens in boiling water for 30secs then add into iced water. This will help them keep their vibrant green colour.
Strain off and then blend all ingredients except the nuts until combined.
Then add in the nuts and blitz until mixed or chunky if you prefer. I just have NutriBullet and it’s OK, I just need to stop and mix quite a few times. A mixer would be better. Then place it in a recycled glass jar. I kept mine in the fridge and used it that week. You could freeze smaller portions in IceCube trays for later.
Mix your Garden Pesto with some pasta for a deliciously easy, low-waste meal!
Holly 🌱
MY GARDENING ESSENTIALS // Fertiliser spray gun: https://bit.ly/366nL1t Retractable Hose: https://bit.ly/2TSC0Bo More gardening tools: https://bit.ly/32IQmbD
DISCLAIMER: Links included in this description might be affiliate links. If you purchase a product or service with the links that I provide I may receive a small commission. There is no additional charge to you! Thank you for supporting my page so I can continue to provide you with free content!
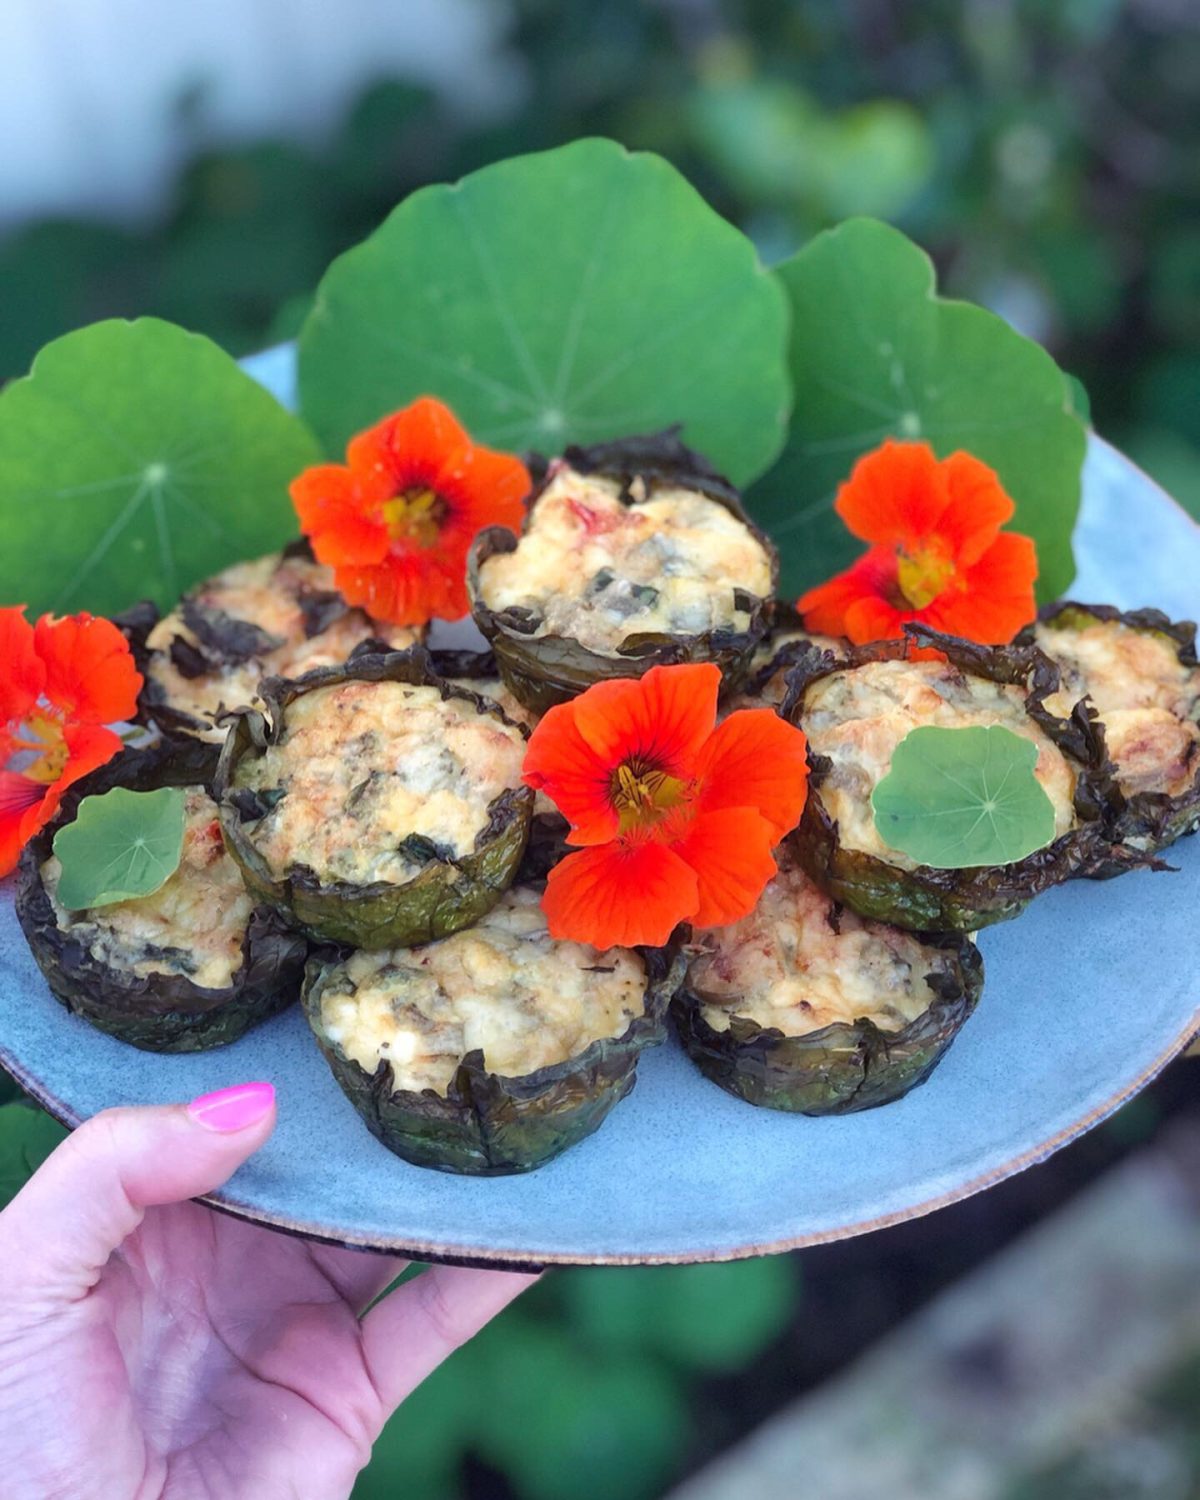
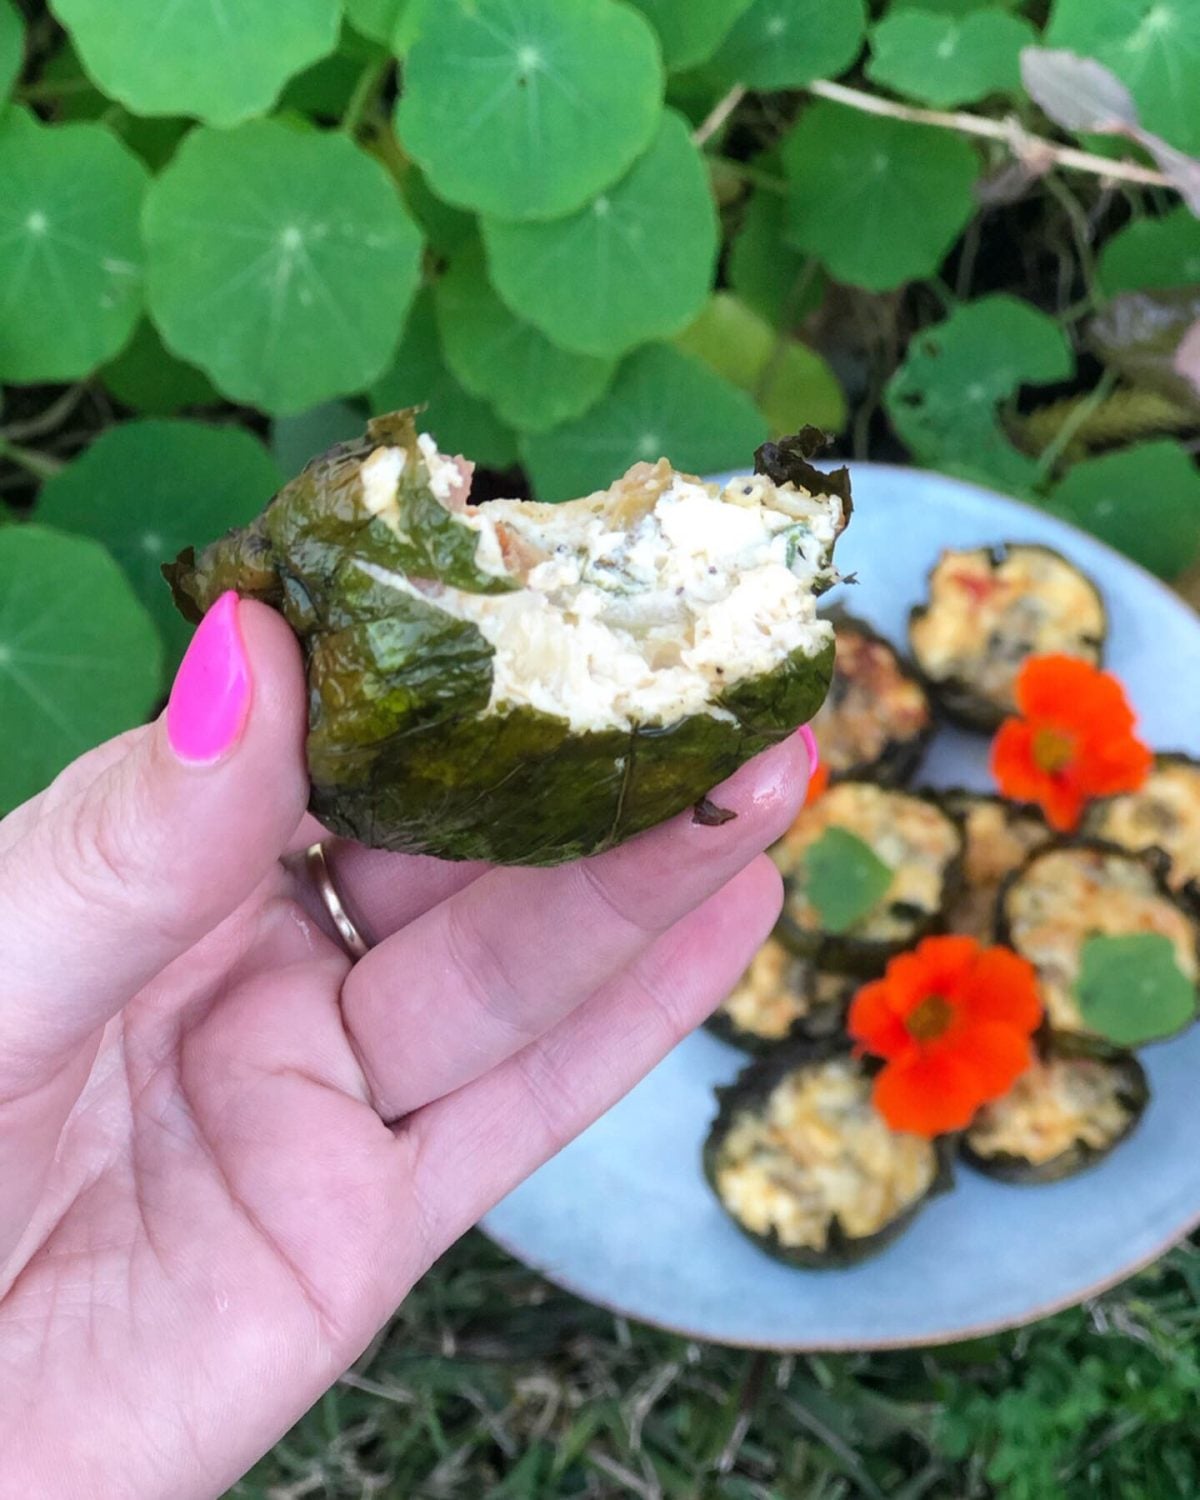
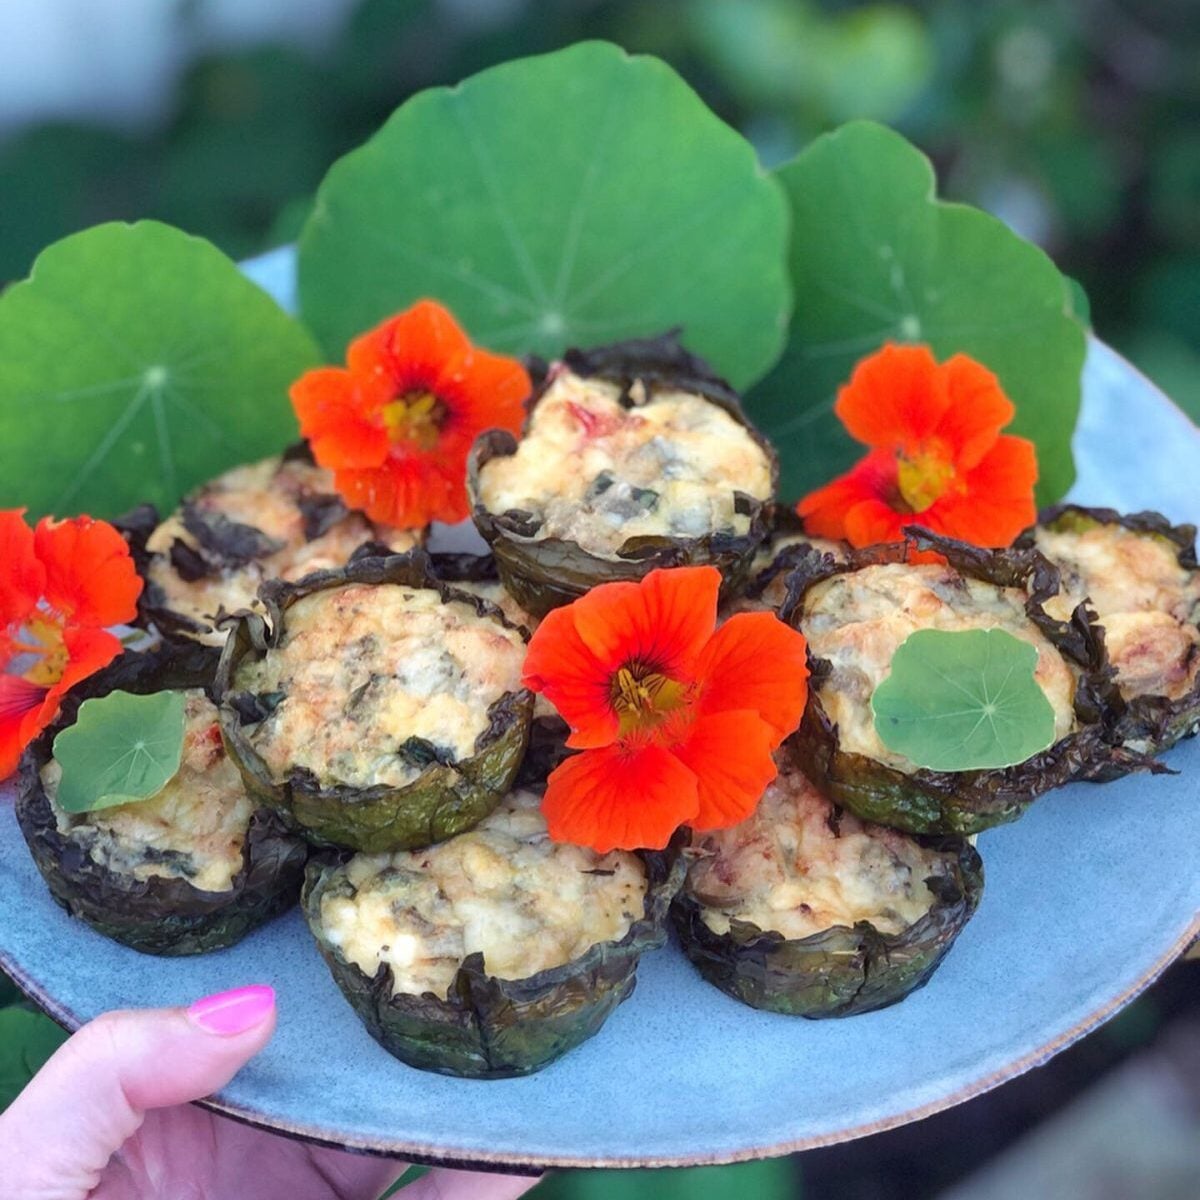
These nasturtium leaf mini quiches are a quick, easy way to use up an abundance of nasturtium leaves straight from the garden. They’re simple, flexible, and packed with seasonal garden veggies.
What to Make with Nasturtium Leaves
Nasturtiums are in absolute abundance in my garden during autumn and winter, and I honestly think learning how to use a plant is just as important as learning how to grow it.
If you’ve ever had nasturtiums take off in your garden, you’ll know they don’t do anything by halves. The leaves, flowers and even seed pods all show up at once, and suddenly you’re looking for ways to actually use them. Nasturtium leaves can be used in so many ways! But these nasturtium mini quiches are one of my favourite quick recipes. They’re easy to throw together, perfect for lunchboxes or snacks, and a great way to turn a handful of garden greens into something really tasty.
It’s also part of how I like to garden, growing plants that have multiple uses, so nothing goes to waste and every part of the plant has a purpose.
Nasturtium Leaf Quiche Ingredients
Makes 12 mini quiches
Base:
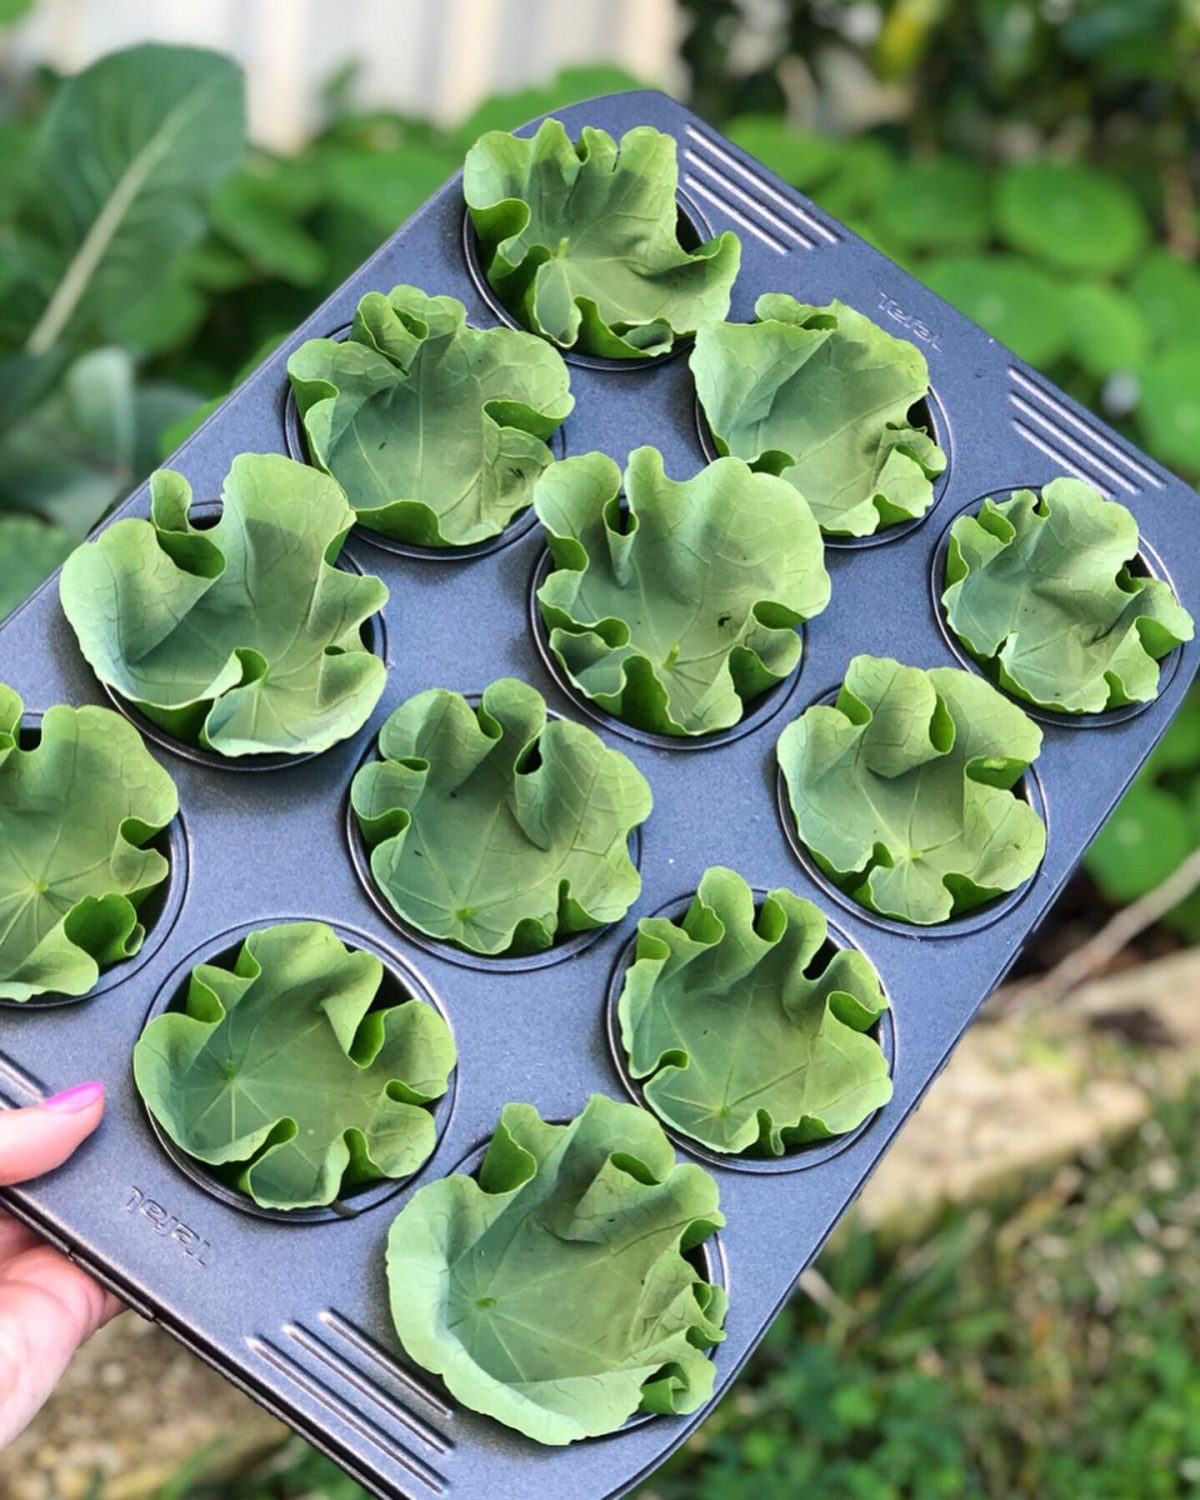
12 medium–large nasturtium leaves
5 eggs
¼ cup milk or cream (I used coconut cream)
½ cup water
Salt and pepper, to taste
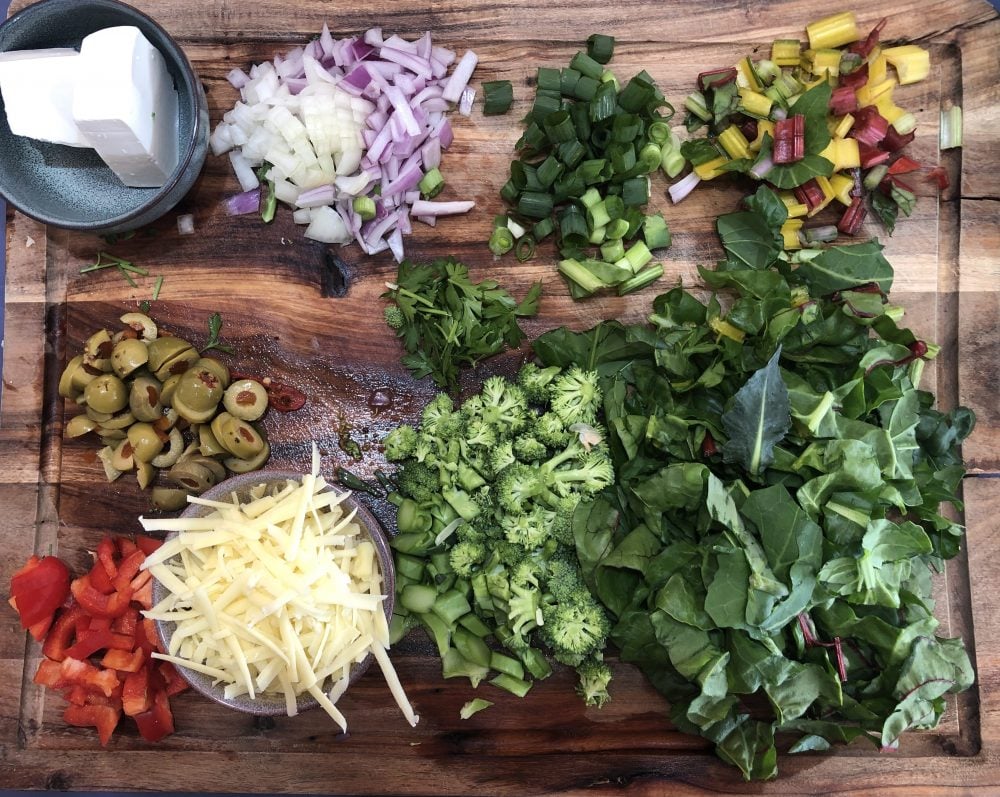
Filling (flexible — use what you have):
½ red onion
1 spring onion
3 tbsp feta cheese
½ cup marinated olives
½ red capsicum
½ cup chopped fresh parsley
½ cup broccoli
1–2 rainbow chard stalks and leaves
1 cup grated cheese
How to Make Nasturtium Mini Quiches
Step 1: Prep your filling
Finely chop all your vegetables. You don’t need much…. I actually made too much the first time! A little goes a long way in mini quiches.
Step 2: Preheat oven
Preheat your oven to 170–180°C. Grease a muffin tray really well with oil or butter.
Step 3: Prepare the nasturtium leaves
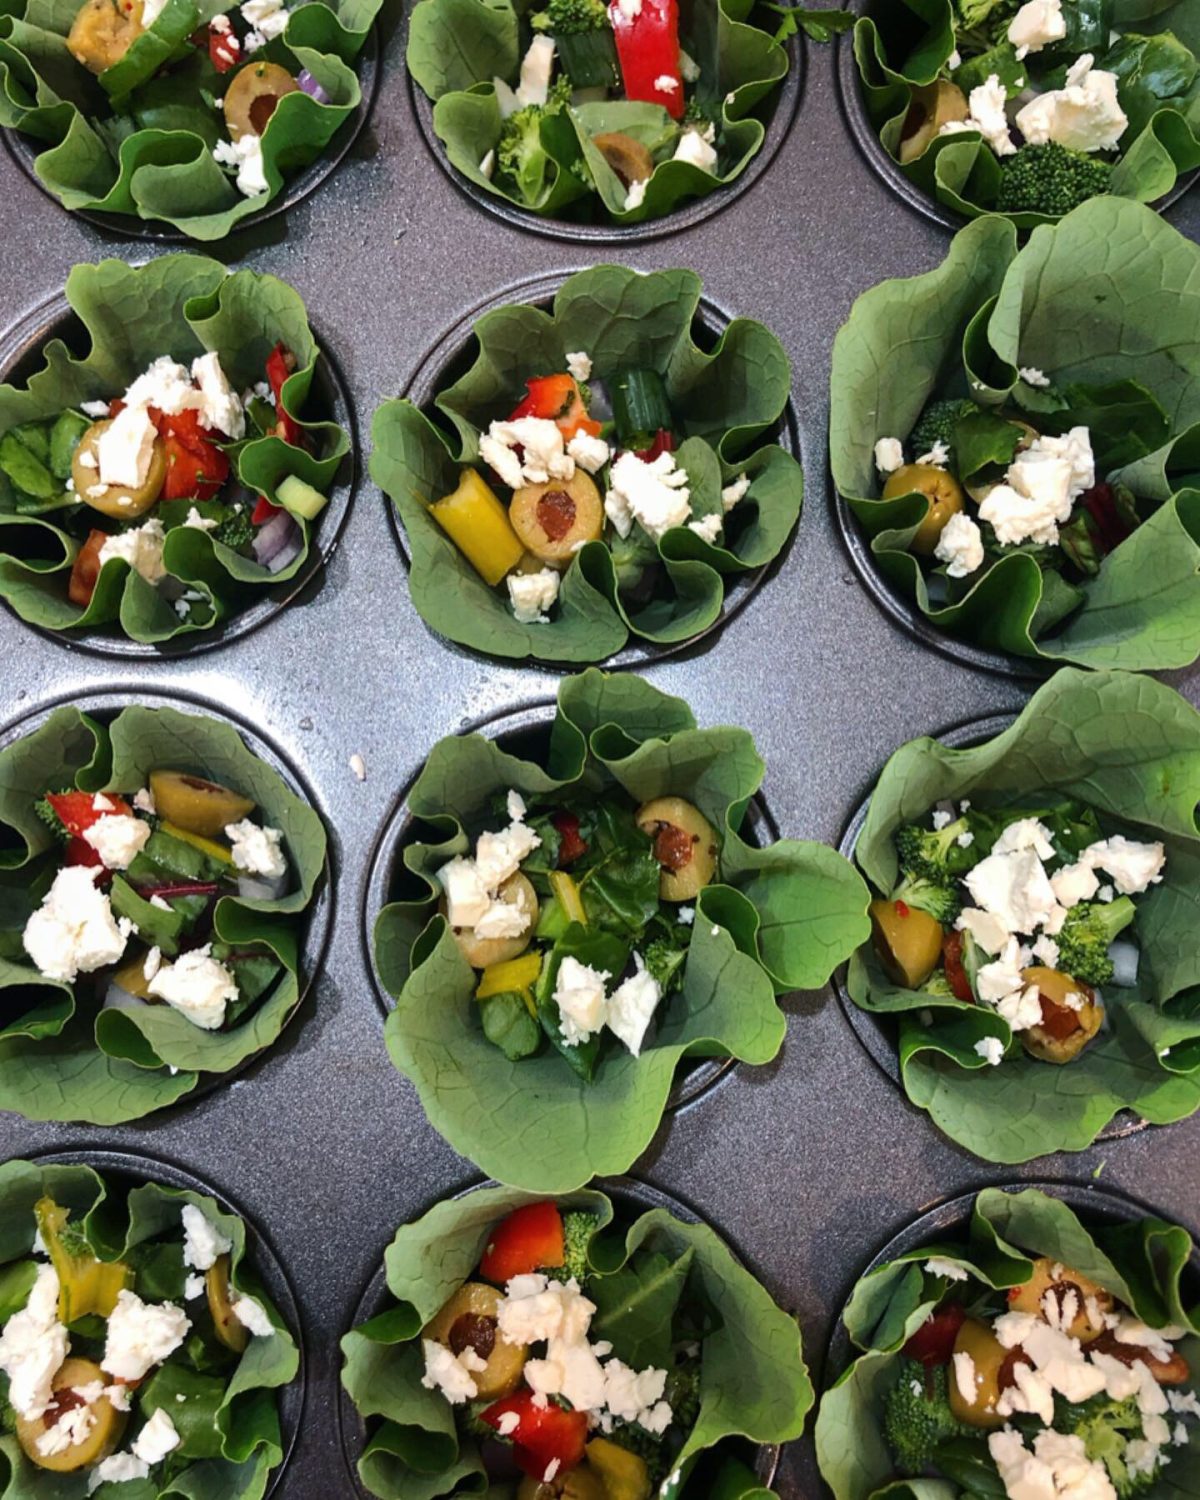
Rinse and gently dry your nasturtium leaves. Place one leaf in each muffin hole, top side down, so it forms a natural little cup.
Step 4: Add filling
Add a small amount of your chopped vegetables and feta into each quiche cup. Don’t overfill — they will fill up quickly once the egg mix goes in.
Step 5: Make the egg mix
In a bowl, whisk together:
eggs
milk or cream
water
salt and pepper
Step 6: Fill and bake
Carefully pour the egg mixture into each muffin hole. Top with grated cheese. Bake for 30 minutes, or until the quiches are set and lightly golden.
Step 7: Cool and remove
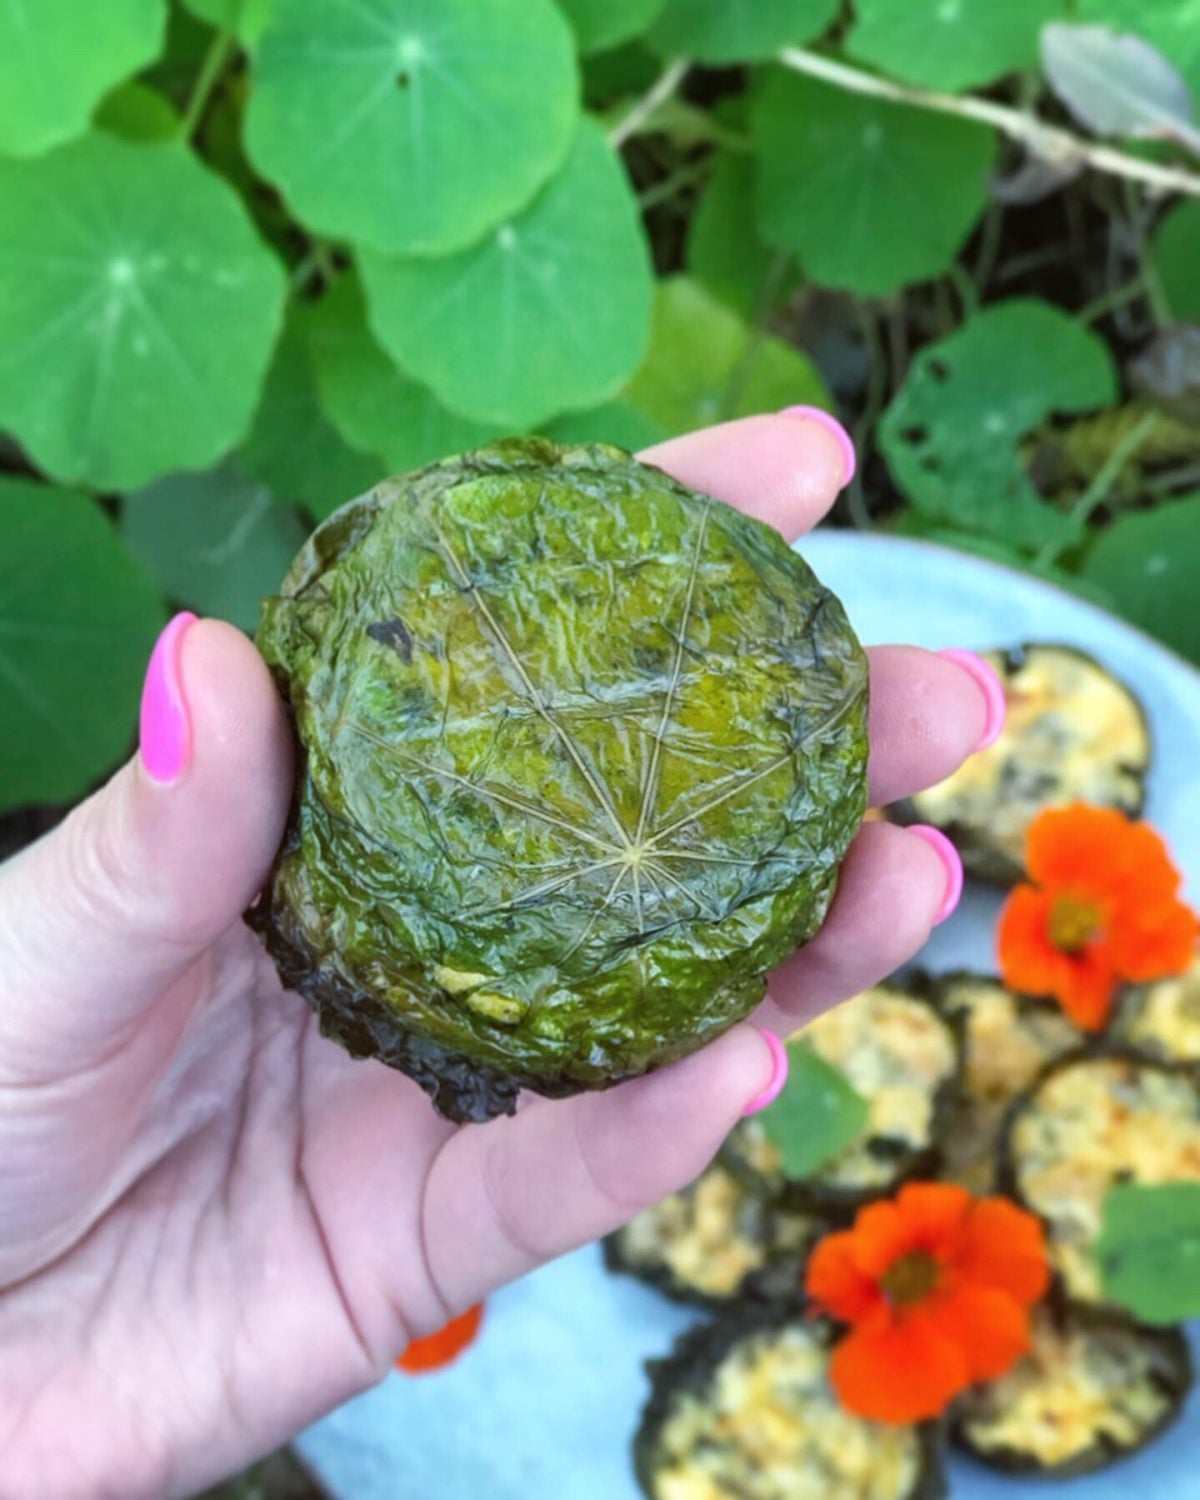
Let them cool for about 10 minutes before gently removing from the tray. Use a spoon or knife if needed to loosen the edges.
Tips for Best Results
Nasturtium leaves from shaded areas are often larger and work best
Don’t overfill the quiche cups — they rise as they cook
You can swap vegetables based on what’s in your garden
These store well in the fridge for a few days
What Do Nasturtium Leaves Taste Like in Quiche?
Nasturtium leaves add a mild peppery flavour, similar to rocket, but softer once baked. They also create a beautiful edible (gluten-free) “cup” that holds everything together and adds a garden-fresh twist to a simple quiche.
How to Use Extra Nasturtiums
If you’re growing nasturtiums, you’ll quickly realise how much you can actually eat.
They’re one of those plants that reward you the more you harvest them.
sustainableholly
Nasturtium Mini Quiche
Easy mini quiches made with edible nasturtium leaves and seasonal vegetables. A quick, flexible garden recipe perfect for using up fresh homegrown greens.
Finely chop your filling vegetables. I overshot how many veggies I needed. My muffin trays are on the smaller side and you don’t need much to fill them. So just chop a little bit and you can always chop more if needed. You could add any vegetables you have available these are just what I had.
Preheat Oven to 170-180 degrees celsius.
Grease a muffin tray well with oil.
Rinse and dry off your Nasturtium leaves
Place your Nasturtium leaves top side down in the muffin tray.
Add your filling (except grated cheese), just a couple of pieces of each as it will soon fill up.
Make your quiche mix by adding eggs, milk, water and salt and pepper to a bowl and whisk until combined.
Using a measuring cup or jug pour your Quiche mix in and try not to fill over the top of the leaves.
Sprinkle with grated cheese.
Bake for 30mins or until the filling has been set.
Remove and allow to cool for 10mins.
Carefully remove from trays using a spoon. You may need to run a knife around the top of the cheese has stuck to the sides.
Video
Notes
Nasturtiums that grow in the shade often have larger leaves that work well for this recipe.
If you have plenty of Nasturtiums, check out my other recipes below.
DISCLAIMER: Links included in this description might be affiliate links. If you purchase a product or service with the links that I provide I may receive a small commission. There is no additional charge to you! Thank you for supporting my page so I can continue to provide you with free content!
Planting Flowers for the Bees is high on my current list of gardening goals. Bees are such an important element in the garden and it wasn’t until I really started trying to grow my own food that I realised just how important they are! Previously, although, I knew they were important for pollination, I had mixed feelings towards bees because my dad is deadly allergic. One Bee sting will quickly send him into anaphylactic shock and growing up this was such a scary reality. Today, I continue to learn more and more about bees and I am amazed at how incredible they really are.
Trying to grow food without pollinators can be hard and sometimes impossible without intervention. If you have ever tried growing pumpkin or watermelon you will understand what I mean! It is so important that we try and look out for our bee friends and provide them with healthy, organic, pesticide-free gardens. I am constantly planting flowers for the bees and also letting things go to seed, so there is always an abundance of flowers and bees in my garden.
Having water available for the bees is also another great idea, especially in Perth’s warm climate. If you have a bird bath you can place a flat rock in it so that the bees can stop by for a drink. Below are some of the plants that I grow and the Bees love!
Top 5 Flowers for the Bees
1. Rosemary – This is my number one plant for the bees. There is always a hive of activity on my rosemary plant and I love seeing so many bees in my garden. Of course, it is a staple in the kitchen as well!
2. Borage – Bees love borage flowers and they are so pretty and edible too! They are usually blue, pink or white but often you get this fantastic tie-dye effect!
3. Lavender – is such a great fragrant addition to the garden and you can make natural perfumes, beauty products and it is also edible! Lavender is so easy to grow from cuttings so you can just cut off a stalk and plant it in other areas of your garden or pot up and give as a gift to your family and friends.
4. Sunflowers – These have to be one of my favourite flowers! The bees love them and they are an absolute show stopper in the garden. Sunflowers are also known to be soil remediators and extract any toxins in the soil.
5. Zinnia – I am new to growing zinnia but I absolutely love them! They come in so many amazing colours (even green!) and the flowers are also edible! These are now a much-loved staple in my garden. I even grew them down the side of a fence with very poor soil and they thrived.
Bonus – The other thing I do let some of my veggies go to seed. Diversity in the garden is important and you will see different types of bees like different flowers. Radish flowers for example, always attract our native Blue Banded bees which are amazing to watch! Having a diversity of plants and insects in your garden will help create a thriving ecosystem.
Take the time to slow down and observe your garden and you will start to recognise which flowers are attracting beneficial insects. You may even find some you have never seen before! Most weekends I have my morning coffee in the garden and just spend some time observing without any distractions. We are often so busy trying to do something that we lose sight of all the little things going on.
This weekend I challenge you to give it a go! Make a coffee and spend just 10 minutes or so sitting in the garden or nature and observe. And if you can plant some more Flowers for the Bees.
Holly ✨
MY GARDENING ESSENTIALS //
Fertiliser spray gun: https://bit.ly/366nL1t
Retractable Hose: https://bit.ly/2TSC0Bo
More gardening tools: https://bit.ly/32IQmbD
DISCLAIMER: Links included in this description might be affiliate links. If you purchase a product or service with the links that I provide I may receive a small commission. There is no additional charge to you! Thank you for supporting my page so I can continue to provide you with free content!
Absolutely! Growing edible plants in the shade is not only possible but can also be beneficial for many crops. One of the most important aspects of designing a productive edible garden is observing your environment and understanding your garden’s unique conditions.
Understanding how sunlight and shade move across your garden throughout the year will help you plan your planting strategy. Rather than planting a full-sun-loving tree in an 80% shaded area and wondering why it struggles (been there, done that!), thoughtful observation will lead to better plant selection and higher yields.
Why Grow Shade-Tolerant Edible Plants?
Many gardens have areas that receive limited sunlight due to trees, buildings, or fences. Instead of letting these areas go to waste, take advantage of them by planting shade-loving edible plants. While growth may be slower in the shade, this can be an advantage, as it reduces bolting in leafy greens and extends harvesting periods.
If you’re looking for productive plants to grow in shady spots, here are my top recommendations.
Tips for Growing Edible Plants in the Shade
Growing shade plants requires some adjustments to maximize success:
Expect slower growth – Less sunlight means plants will take longer to mature.
Use shade strategically – Leafy greens often thrive in partial shade, especially in warm climates.
Improve soil quality – Shade gardens benefit from rich, well-draining soil and plenty of organic matter.
Water less frequently – Shady areas retain moisture longer, reducing water needs.
10 Best Edible Plants for Shade
1. Nasturtiums (Tropaeolum majus)
A personal favorite! Nasturtiums thrive in the shade and are incredibly versatile. The leaves, flowers, and seeds are all edible, adding a peppery kick to salads. They also attract beneficial insects and act as a natural pest repellent.
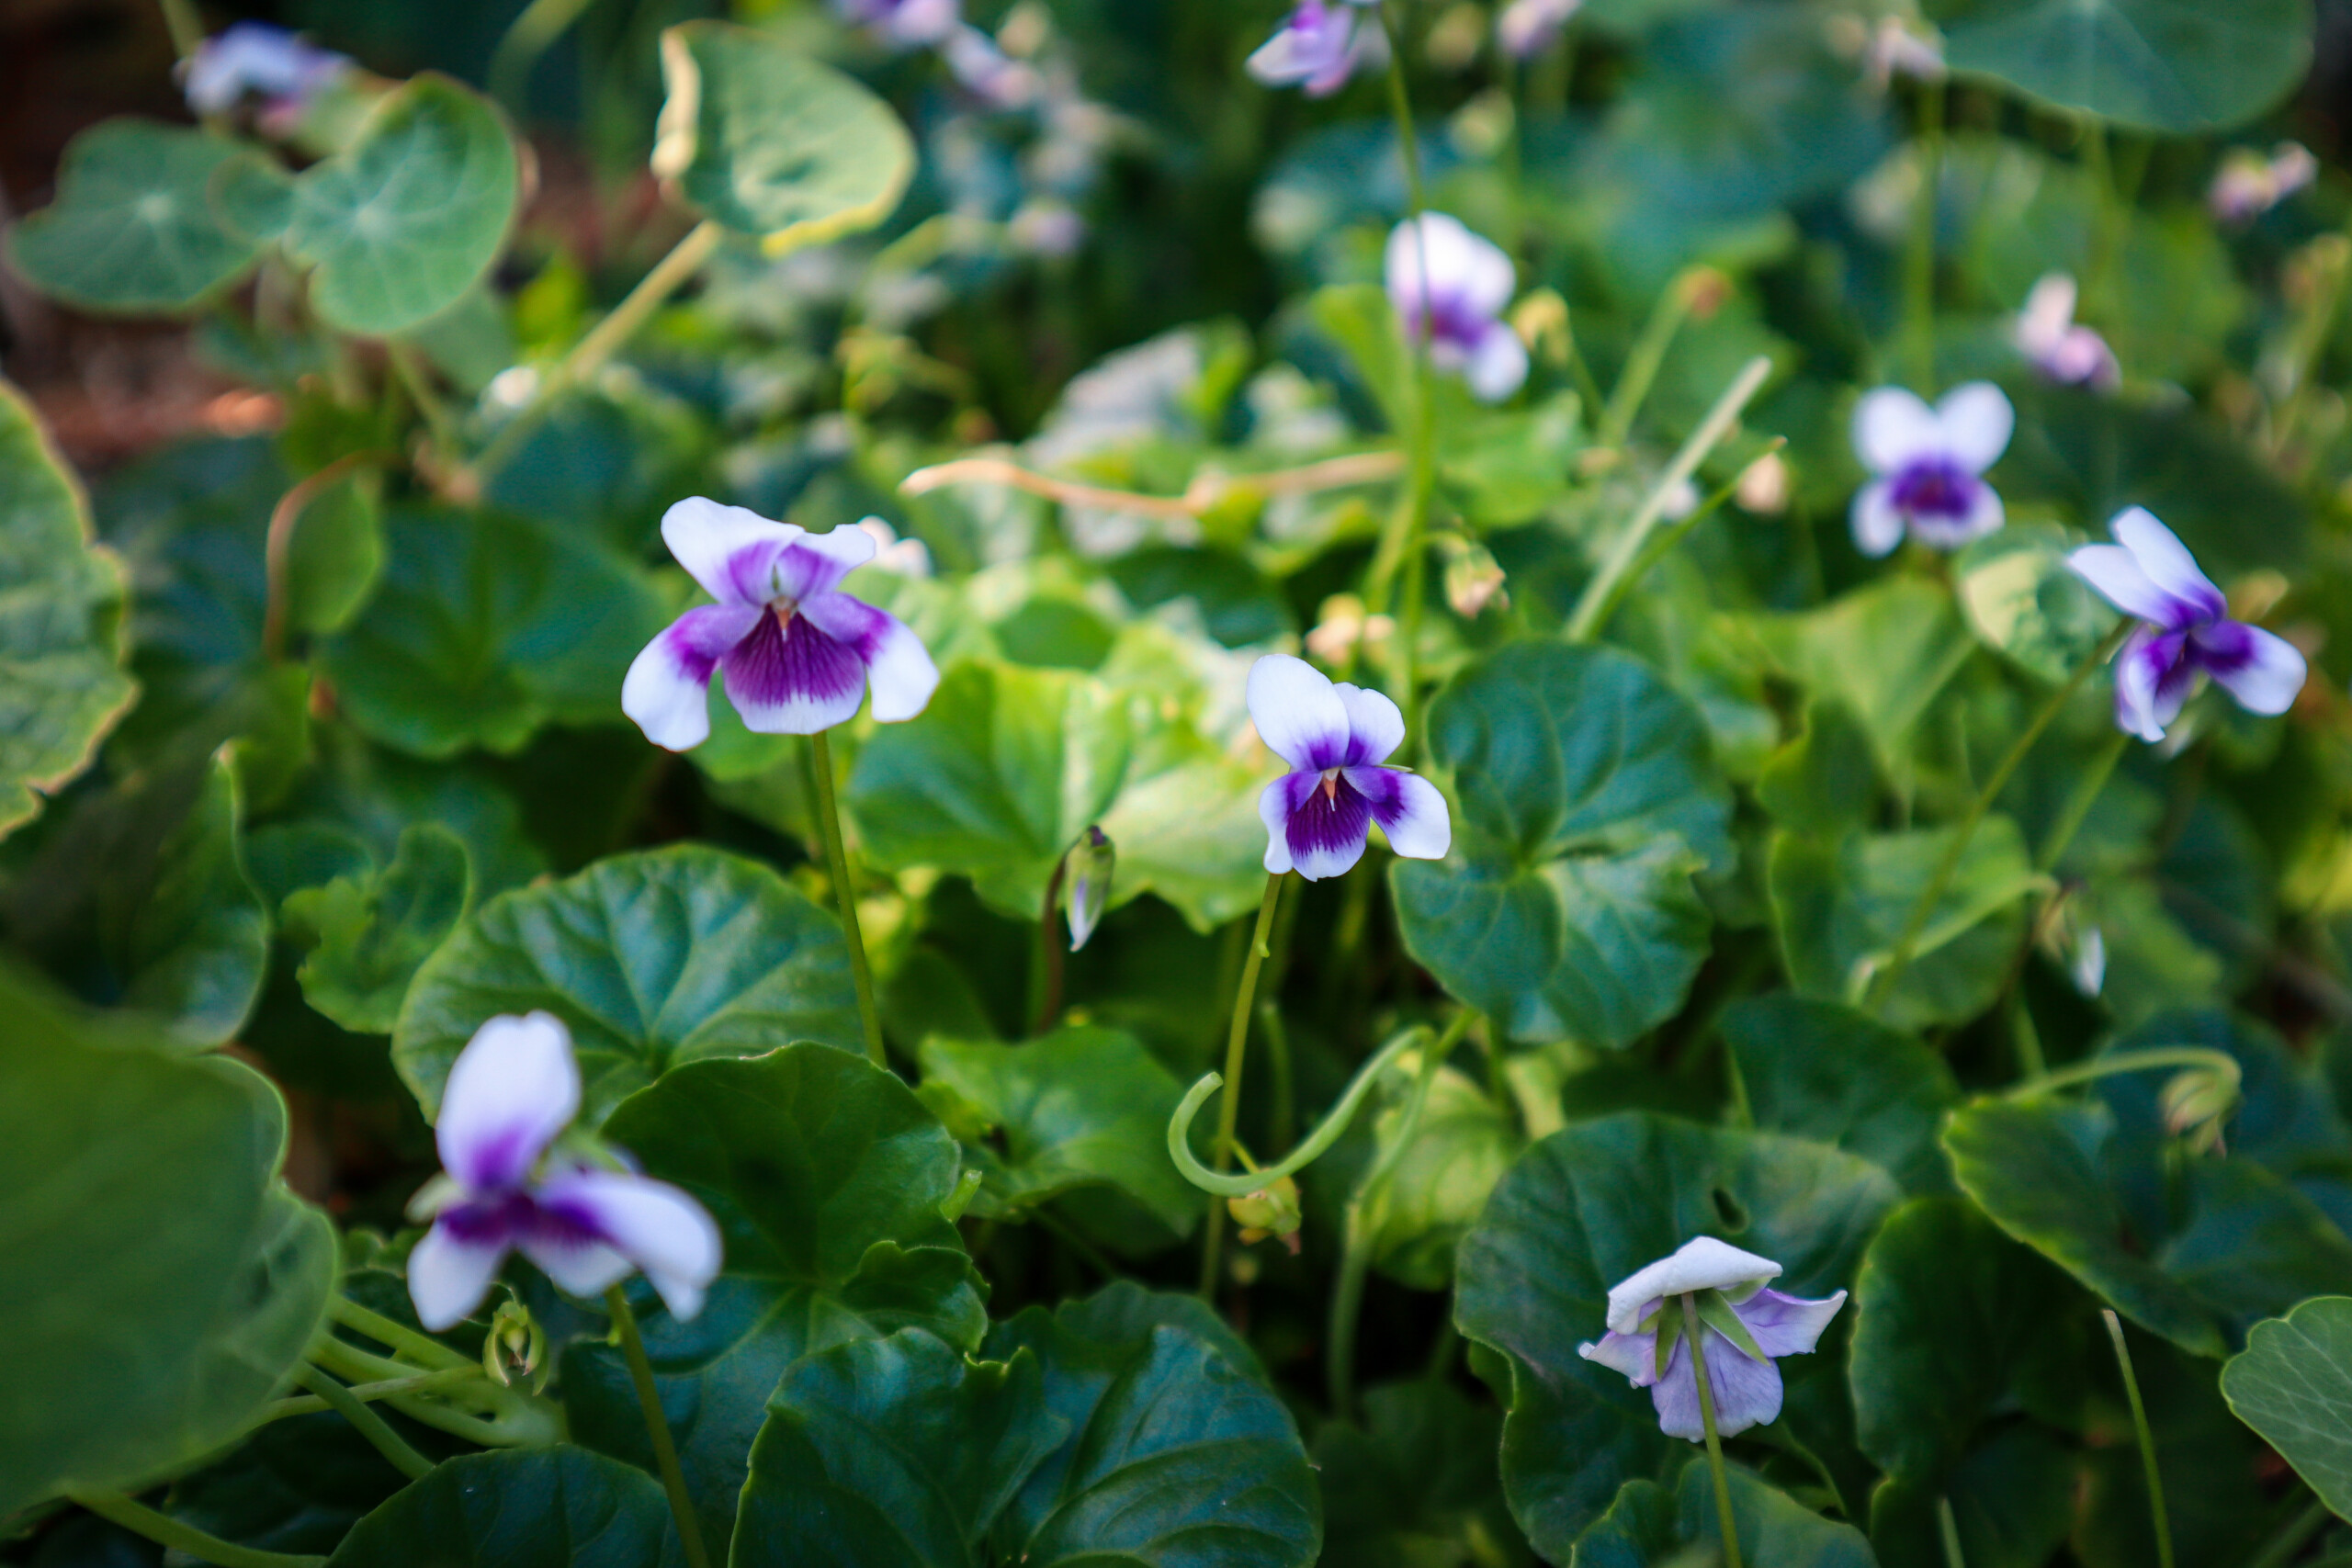
2. Sweet Violets (Viola odorata)
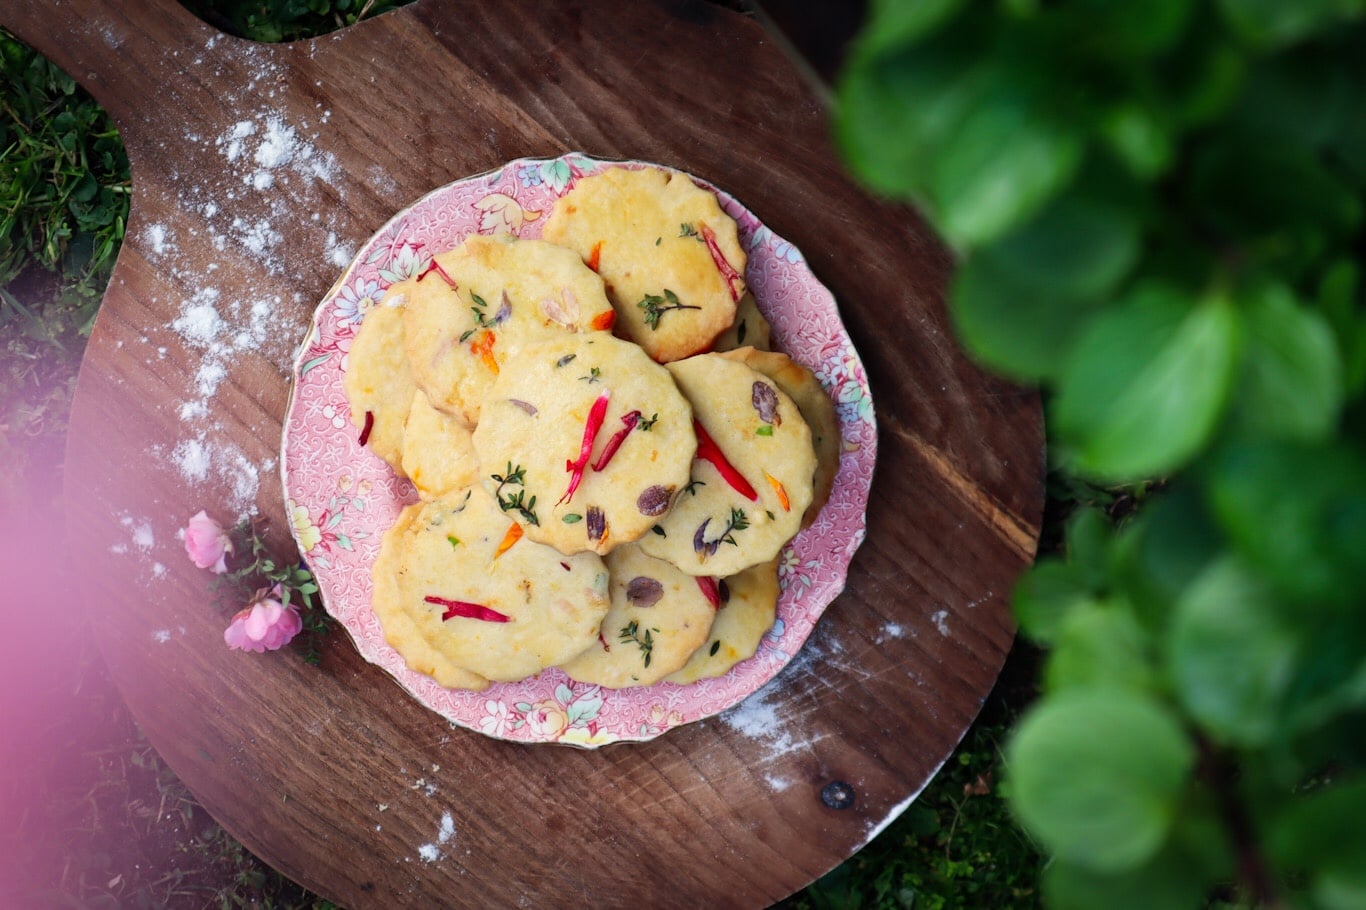
Also known as English Violets, these beautiful little plants make an excellent edible ground cover in shady areas. The flowers are edible and can be used in salads, desserts, herbal teas or these shortbread cookies.
3. Lettuce (Lactuca sativa)
One of the easiest crops to grow in the shade! Inhot climates, lettuce actually performs better in partial shade, as it prevents the leaves from wilting or becoming bitter. It may grow slower so plant extra to havest a few leaves off each plant.
4. Chives (Allium schoenoprasum)
Chives do well in both sun and shade, making them a versatile addition to any garden. Use them to add a mild onion flavor to omelets, salads, and soups. The flowers are also edible!
5. Kale (Brassica oleracea var. acephala)
Kale grows well in low-light conditions due to its large, energy-efficient leaves. While it may grow a bit slower in the shade, this can be a positive if you prefer a steady, manageable harvest and not be overwhelmed with tonnes of Kale 😅
6. Radish (Raphanus sativus)
Radishes are quick-growing and shade-tolerant, making them perfect for filling gaps in the garden. They thrive in partial shade and add a crunchy, peppery flavor to dishes. The great thing about Radishes is that they are ready to harvest from seed in just 30 days! Don’t love Radishes raw? Try this delicious Roasted Radish Salad! Game Changer!
7. Asian Greens (Bok Choy, Tatsoi, Choy Sum)
These fast-growing leafy greens thrive in the shade and produce a continuous harvest. They are excellent in stir-fries, salads, or soups.
8. Parsley (Petroselinum crispum)
Parsley tolerates shade well and grows at a steady pace, preventing waste from overproduction. It’s packed with vitamins and minerals, making it a nutrient-dense choice for shady gardens.
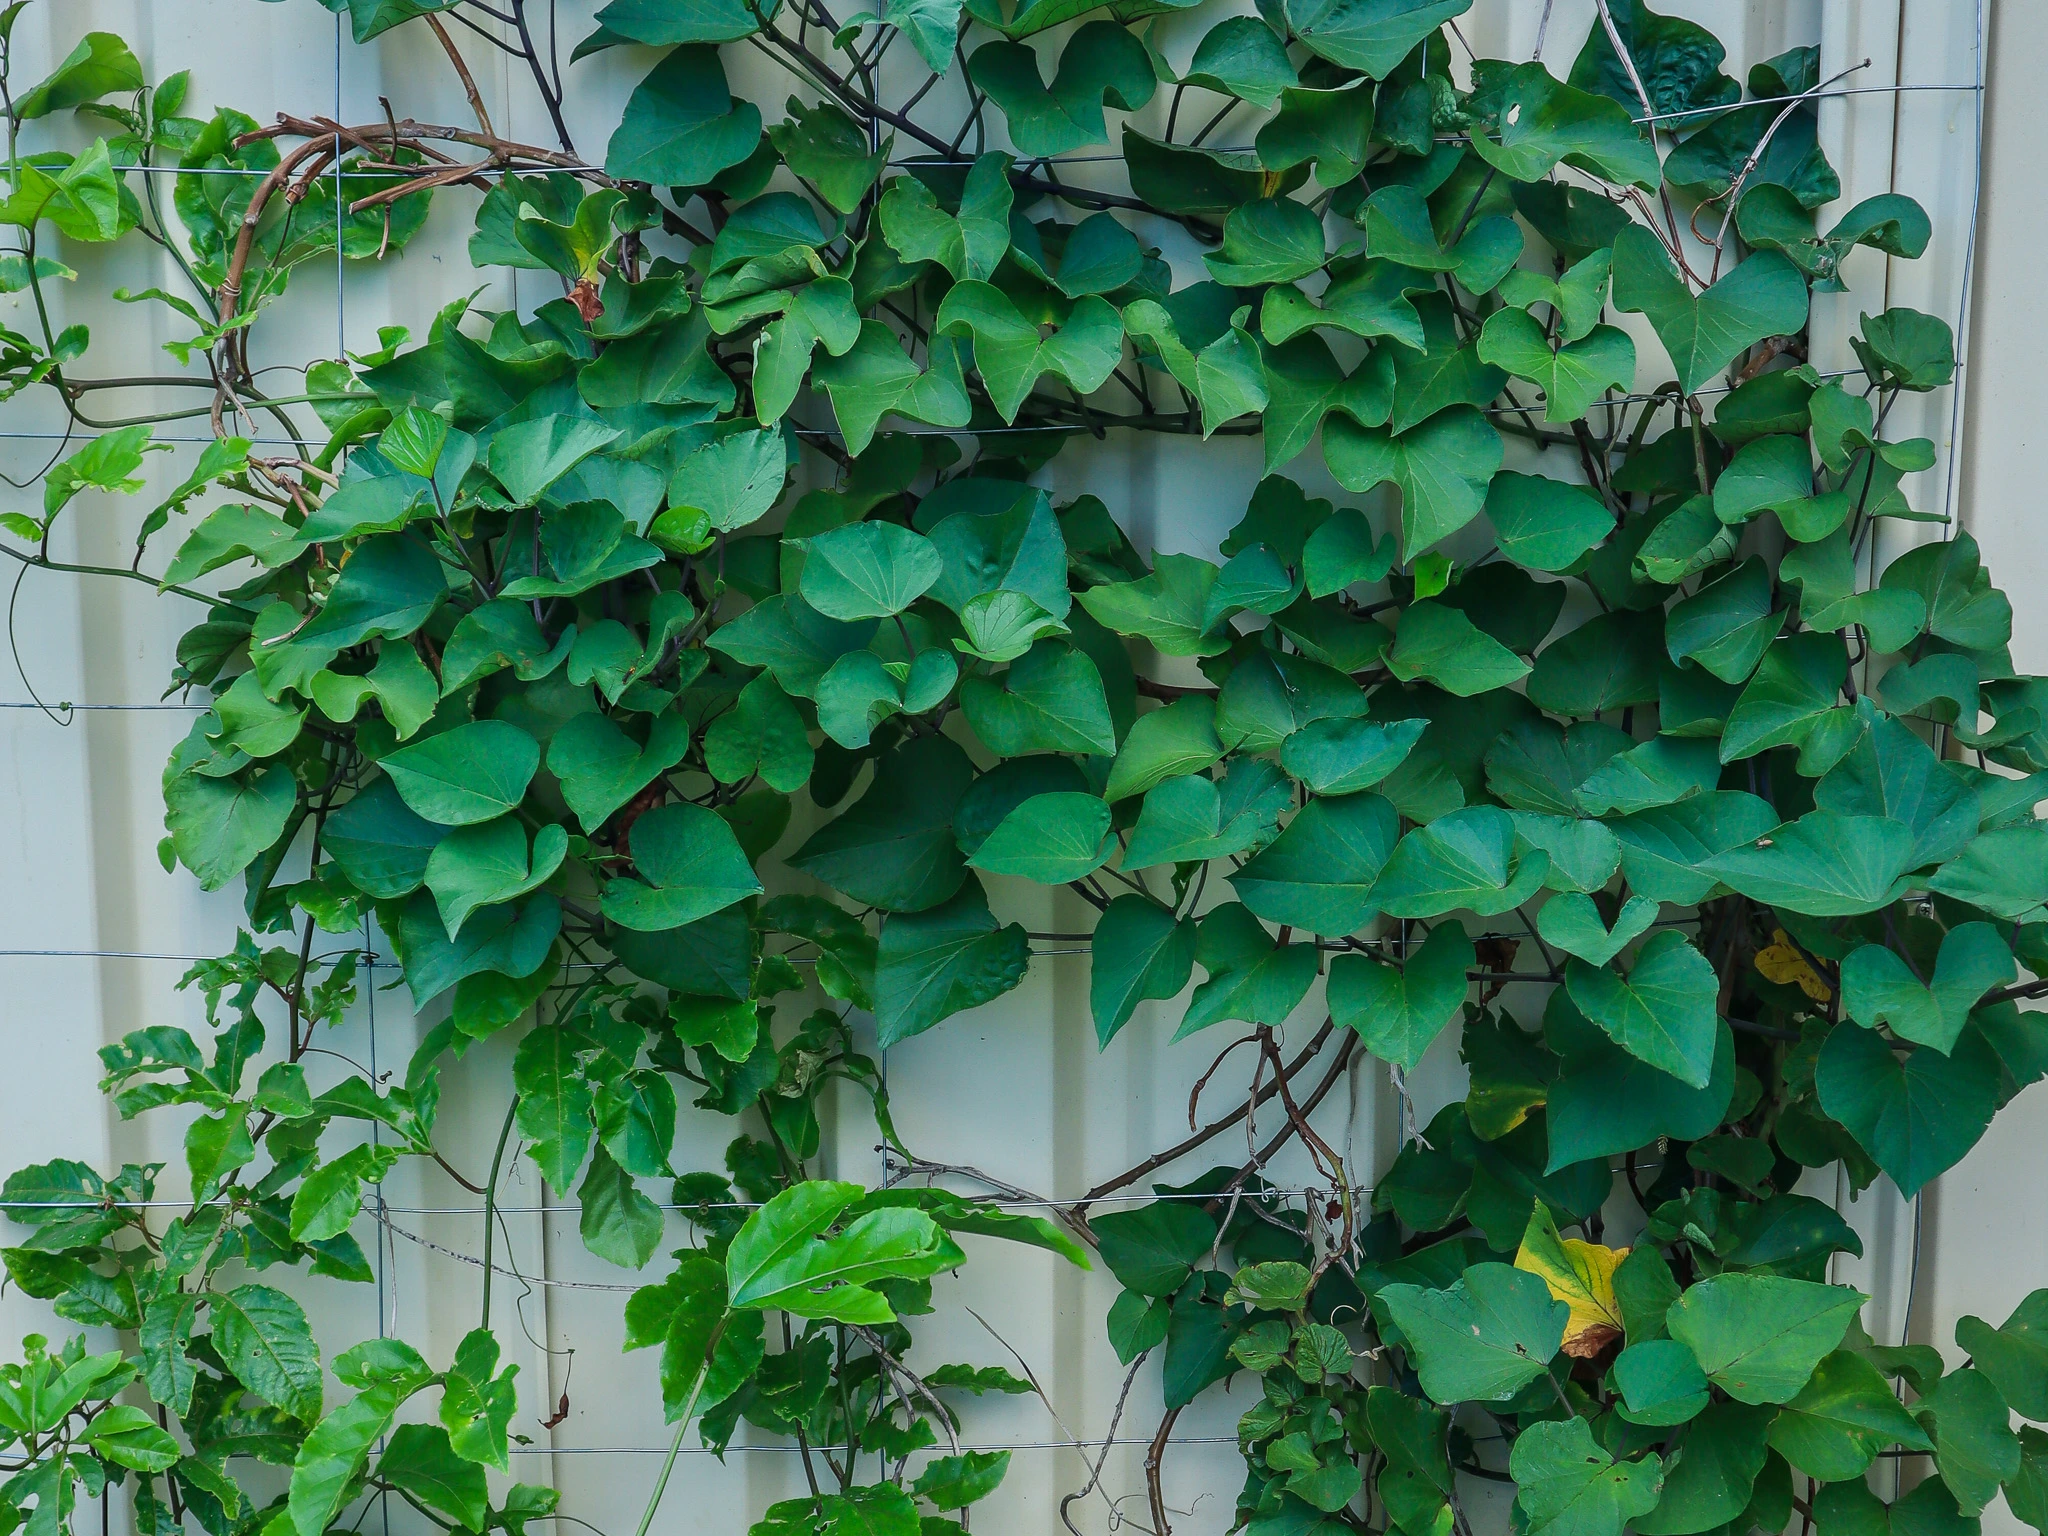
9. Sweet Potato (Ipomoea batatas)
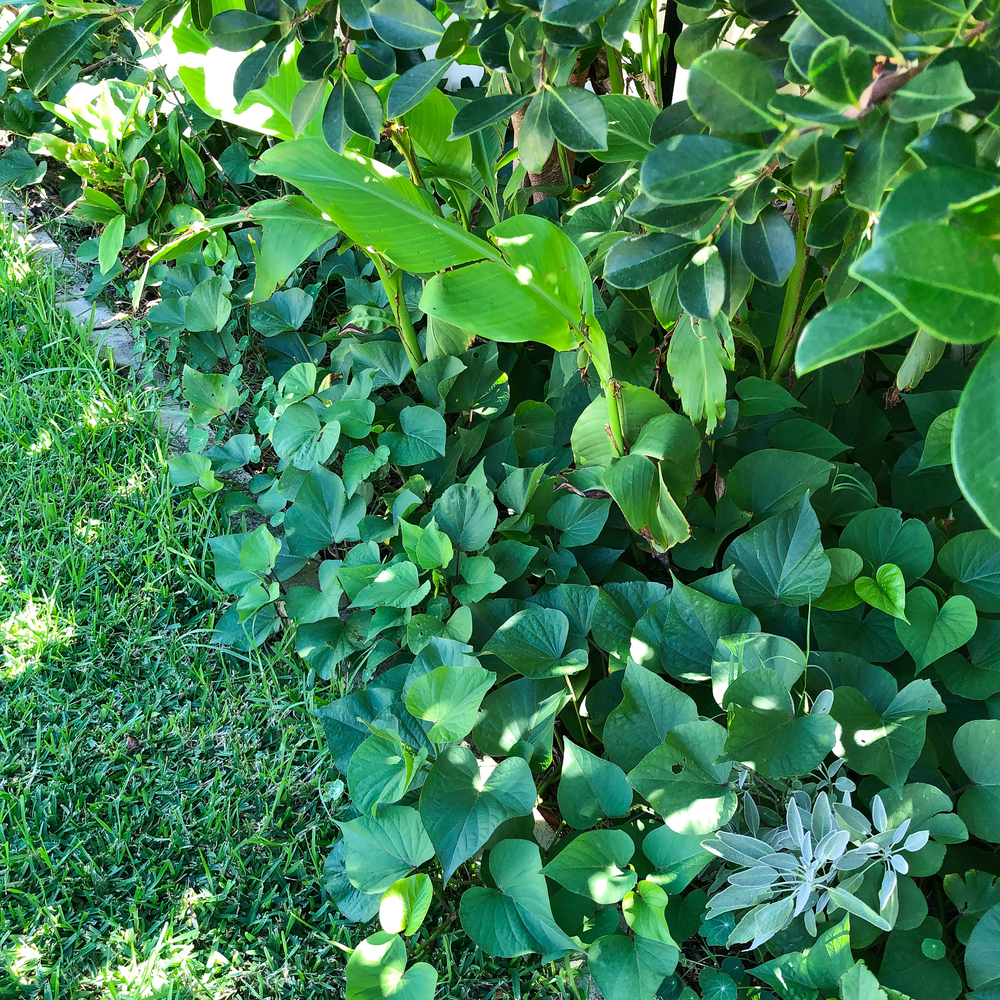
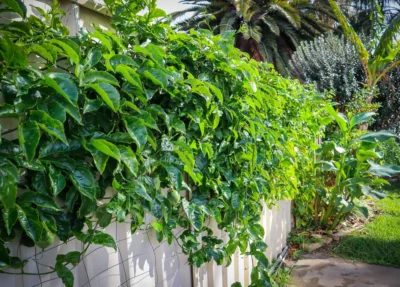
While full shade is not ideal for large tubers, sweet potatoes can still produce a decent harvest in partial shade. They can also be trained to grow vertically which could allow the leaves to reach more sun.Their sprawling vines make a fantastic ground cover, suppressing weeds and protecting the soil. The leaves of sweet potatoare edible too!
10. Rocket (Eruca vesicaria)
Also known as arugula, rocket grows well in shade and has a strong, peppery taste. It’s a great addition to salads, pizzas, and pestos.
Want more Plant ideas? Watch my Video for 21 Edibles to grow in the Shade
Growing edible plants in the shade is a smart way to make the most of every inch of your garden. Whether you have dappled shade under trees or a fully shaded wall, there are plenty of delicious and nutritious plants you can grow successfully. Want even more ideas? Watch my video for 21 edible shade plants! 🌱
What shade-loving edible plants do you grow? Leave a comment below! ⬇️
DISCLAIMER: Links included in this description might be affiliate links. If you purchase a product or service with the links that I provide, I may receive a small commission. There is no additional charge to you! Thank you for supporting my page so I can continue to provide you with free content!
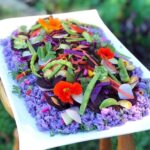
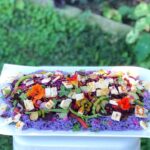
Unicorn Rice Salad is the perfect dish for entertaining! It’s such a fun dish and so easy to prepare! I’m not one for strict recipes so this one is super flexible and you can adjust the vegetables to whatever is in season or available.
Unicorn Rice
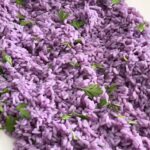
3-4 Red Cabbage leaves (Use the outside leaves you would normally discard. They are richer in colour and you can get some use before they hit the compost).
1 1/4 Cups White Jasmine Rice
Pinch of Salt
2 1/2 Cups water
To make the Purple Rice roughly chop the red cabbage leaves into quarters. Place in a saucepan with 2 1/2 cups of water and a pinch of salt.
Bring to the boil and then reduce the heat and let it simmer for 5 minutes. Stir and bruise the cabbage a few times to release the colour.
Strain into a bowl and discard the cabbage leaves to the compost.
Measure the liquid back into the saucepan in relation to how much is needed for the rice. You may need to top up with a little water if your purple liquid has evaporated. I used the absorption method so that the rice absorbed all the liquid and colour (If you have a rice cooker use that).
To cook the rice I first rinsed the 1 1/4 cups of rice with water to remove some starch and then added to the purple liquid. Bring to the boil. Reduce the heat and simmer with a lid on for about 5 minutes stirring regularly. Reduce heat right down to the lowest setting and let the rice absorb all the liquid. You may have to add a little more water if needed.
Once the unicorn rice is cooked quickly rinse under water to remove extra starch. The colour should stay but try to rinse minimally.
Salad
2 cups of finely sliced red cabbage
2 orange carrots peeled and grated
1/2 Beetroot peeled and grated
1/2 Cup of parsley roughly chopped
1-2 Cups of chopped garden greens I used colourful Rainbow Chard.
1/2 pomegranate
1 Watermelon Radish (optional)
5 Snow Peas finely sliced
2 Purple Carrots peeled and thinly sliced on Mandoline
Edible Flowers to serve (Nasturtium, Pansey, Marigold, Calendula)
1/2 Lemon cut into 2 wedges
1 Packet of Haloumi, fried and cut into cubes (any protein could be added)
Your favourite Salad Dressing ( Mine is Japanese Sesame Dressing)
The Salad is totally flexible and just use whatever colourful vegetables you have growing in the garden or available to you. The above is just what I used and had in my garden at the time.
Add the sliced Red Cabbage, grated Beetroot and Orange Carrots into a bowl and mix well.
Lay your purple rice out on a platter and make a well in the centre (push more rice to the edges so you can see it when the salad is on top).
Sprinkle the chopped parsley on the rice.
Place your Red Cabbage mix along the centre of the rice.
Top with the rest of your veggies, Haloumi, Pomegranate, and edible flowers.
Serving
To serve up your salad add your dressing. In front of your guests squeeze quartered lemon wedges over the salad and rice. This will start to turn the rice hot pink!
Magic 💖
If you make my Unicorn Rice Salad be sure to tag me on Instagram @sustainable_holly so I can see your beautiful creations! Get Creative!
MY GARDENING ESSENTIALS //
Fertiliser spray gun: https://bit.ly/366nL1t
Retractable Hose: https://bit.ly/2TSC0Bo
More gardening tools: https://bit.ly/32IQmbD
DISCLAIMER: Links included in this description might be affiliate links. If you purchase a product or service with the links that I provide I may receive a small commission. There is no additional charge to you! Thank you for supporting my page so I can continue to provide you with free content!
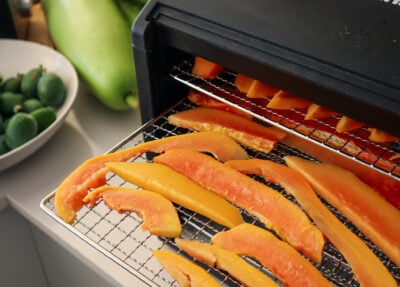
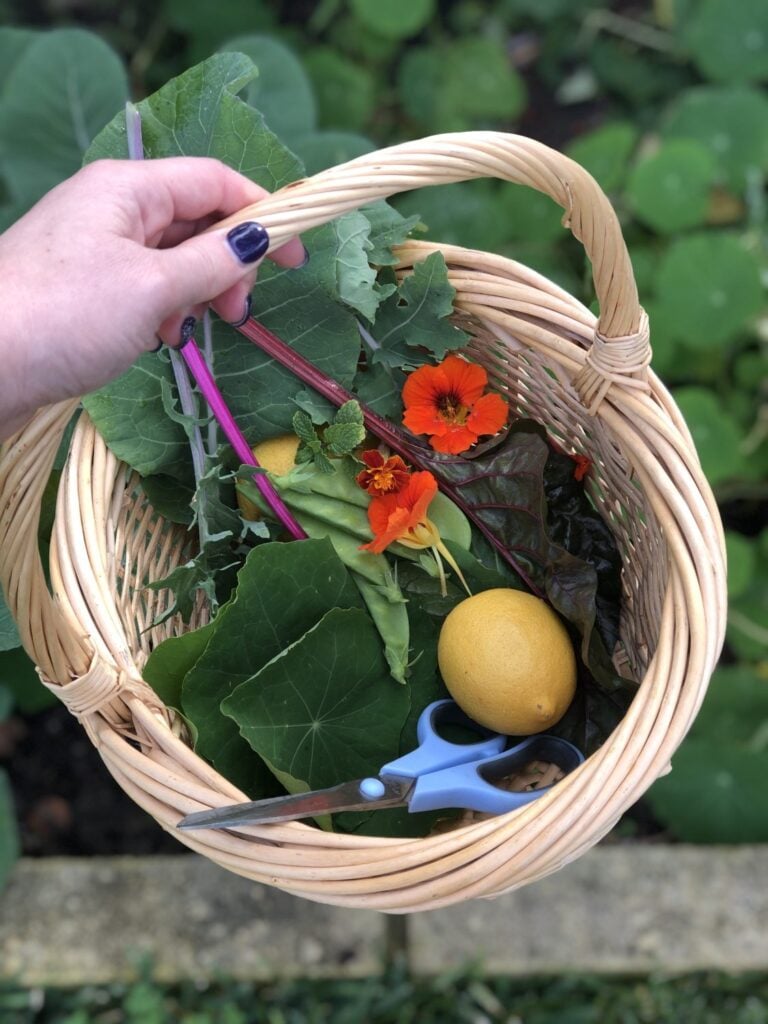
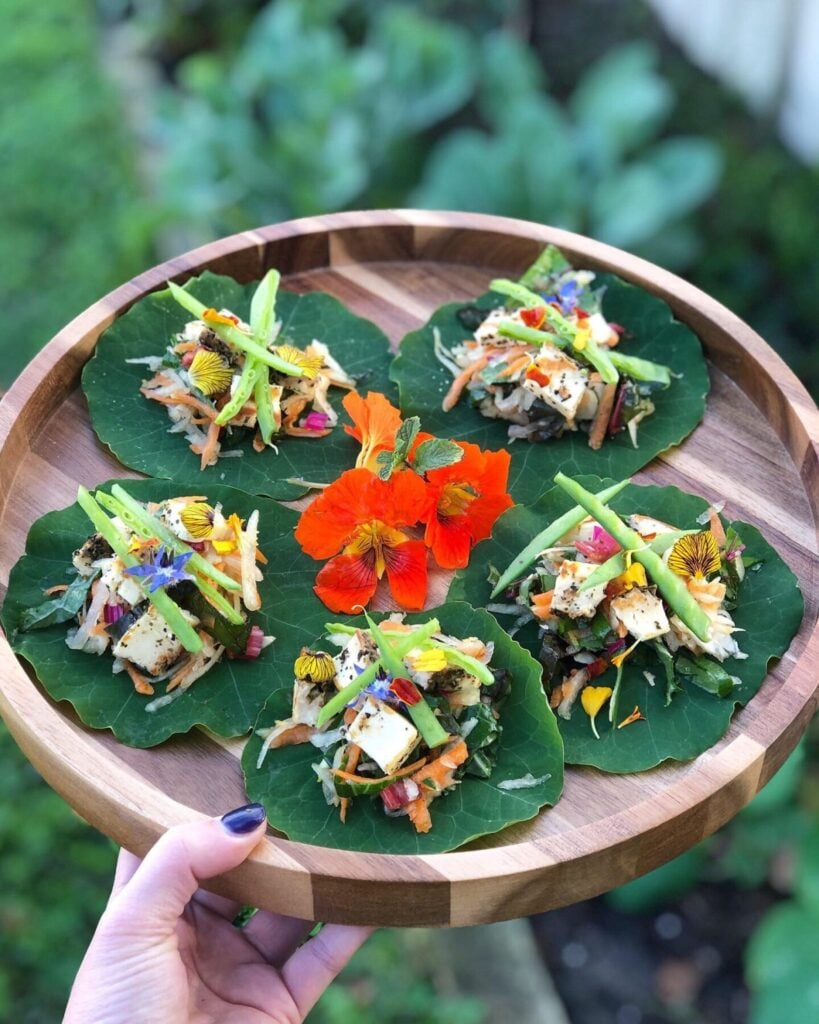
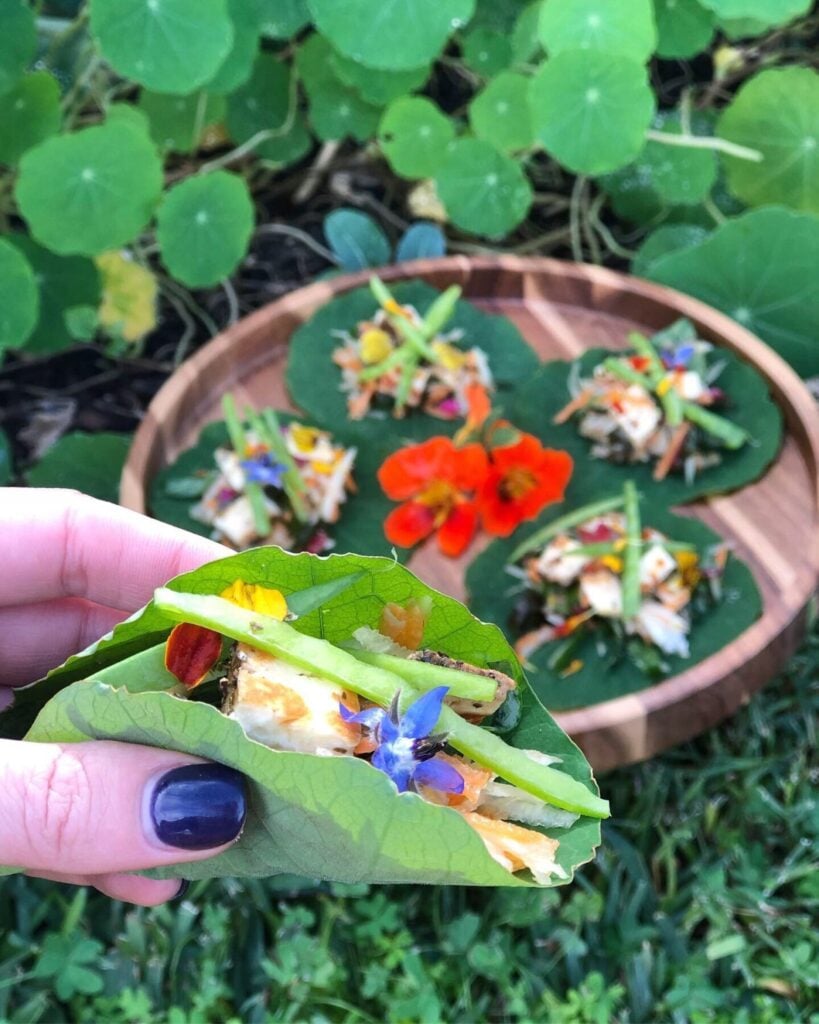
Nasturtium wraps with green papaya salad, Haloumi, garden greens, and edible flowers. I can’t even describe how incredible this tastes! The sweetness from the salad, salty Haloumi, and mild peppery nasturtium is an absolute combo I’m telling ya!! Get amongst it ⚡️
Nasturtium Wraps
This recipe will serve about 4 people so halve it if necessary or just store the leftover salad for another meal!
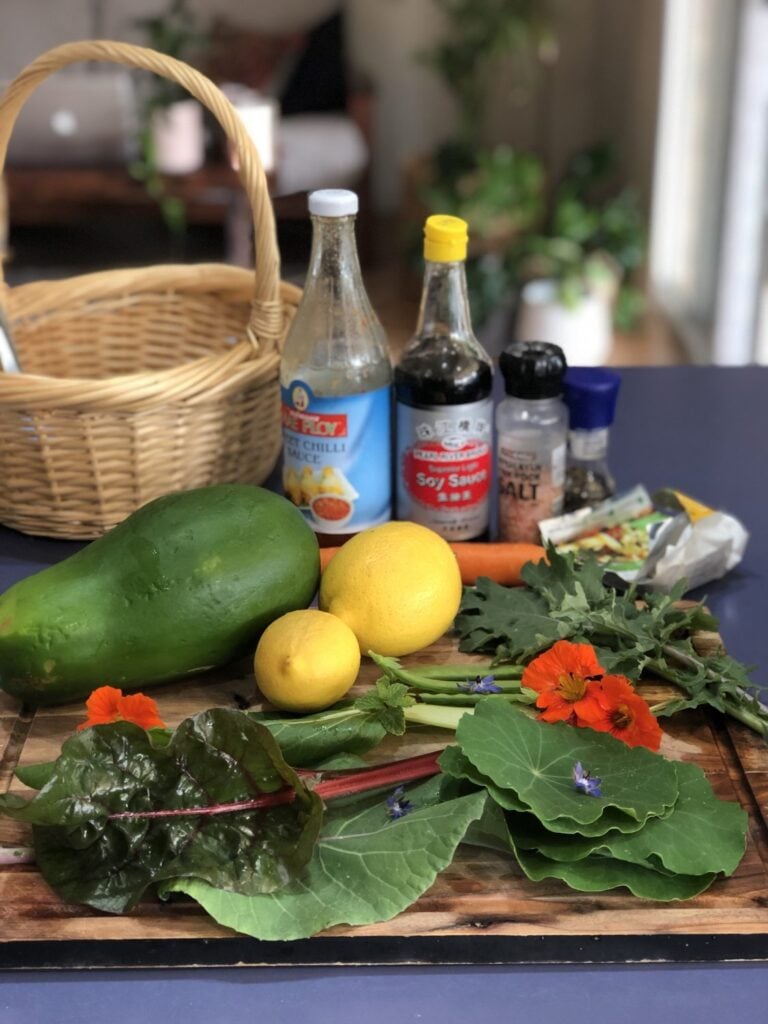
Papaya Salad
2 cups grated green papaya
1 carrot
1 cup garden greens ( i used rainbow chard and kale)
1 packet of halloumi
8-10 fresh sugar snap pea pods
Dressing
1 TSB soy sauce
1 TBS sweet chilli sauce
1 garlic clove
1 TBS lemon juice
1 tsp lemon zest
3-4 mint leaves
Nasturtium Wraps for Serving
10-15 medium-sized nasturtium leaves
edible flowers to garnish
Method
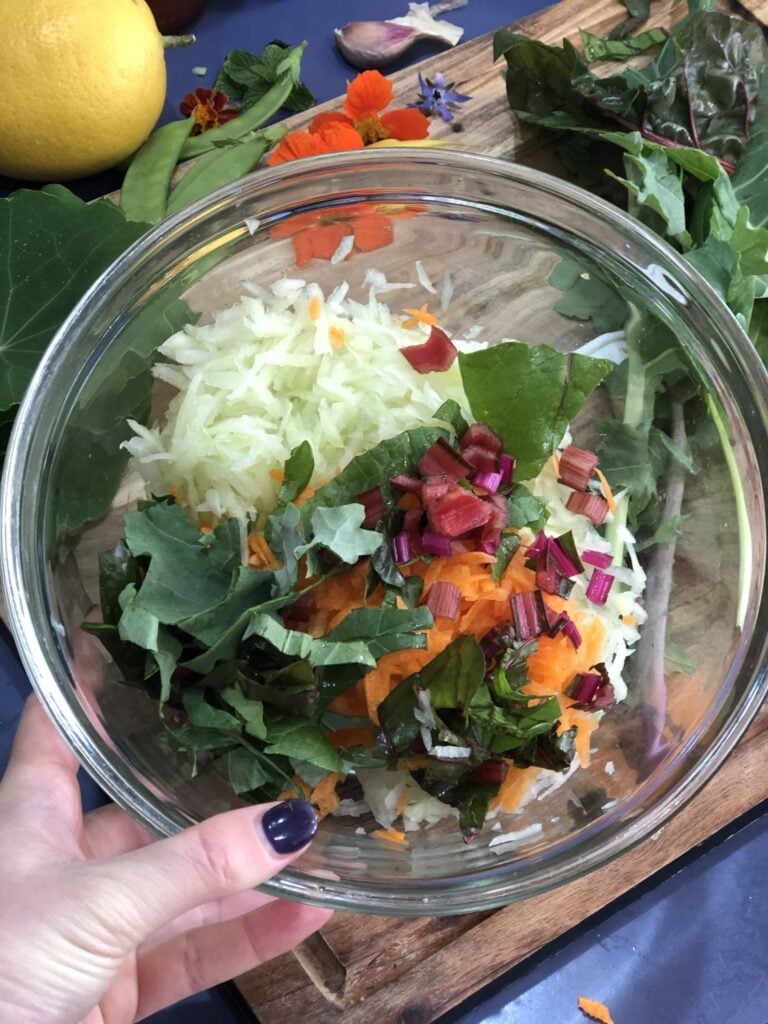
Grate the green papaya and carrot and place in a salad bowl.
Slice up the garden greens (roughly 1/2cm wide strips) and add to salad.
Finely chop or mince garlic and add to a small bowl.
Slice mint leaves and add the remaining dressing ingredients and mix.
Pour dressing over the salad, mix and leave to marinate while you cook the Halumi.
Rinse nasturtium leaves and layout to dry on tea towel.
Finely slice pea pods and set aside.
Slice the haloumi into 1cm wide strips and add to a heated frypan on medium-high heat until lightly browned on each side. Slice in to bite size cubes and set aside.
Place nasturtium on a serving board and add a heaped tablespoon of salad to the centre of each. Add 3-4 cubes of haloumi on top.
Finally, place pea pod strips and edible flowers on top to serve.
Nasturtium wraps could be used for many different flavour combinations. They are so versatile and a completely underrated plant in my opinion! What have you used Naturtium leaves for? Let me know in the comments below.
Holly 🌿
DISCLAIMER: Links included in this description might be affiliate links. If you purchase a product or service with the links that I provide I may receive a small commission. There is no additional charge to you! Thank you for supporting my page so I can continue to provide you with free content!
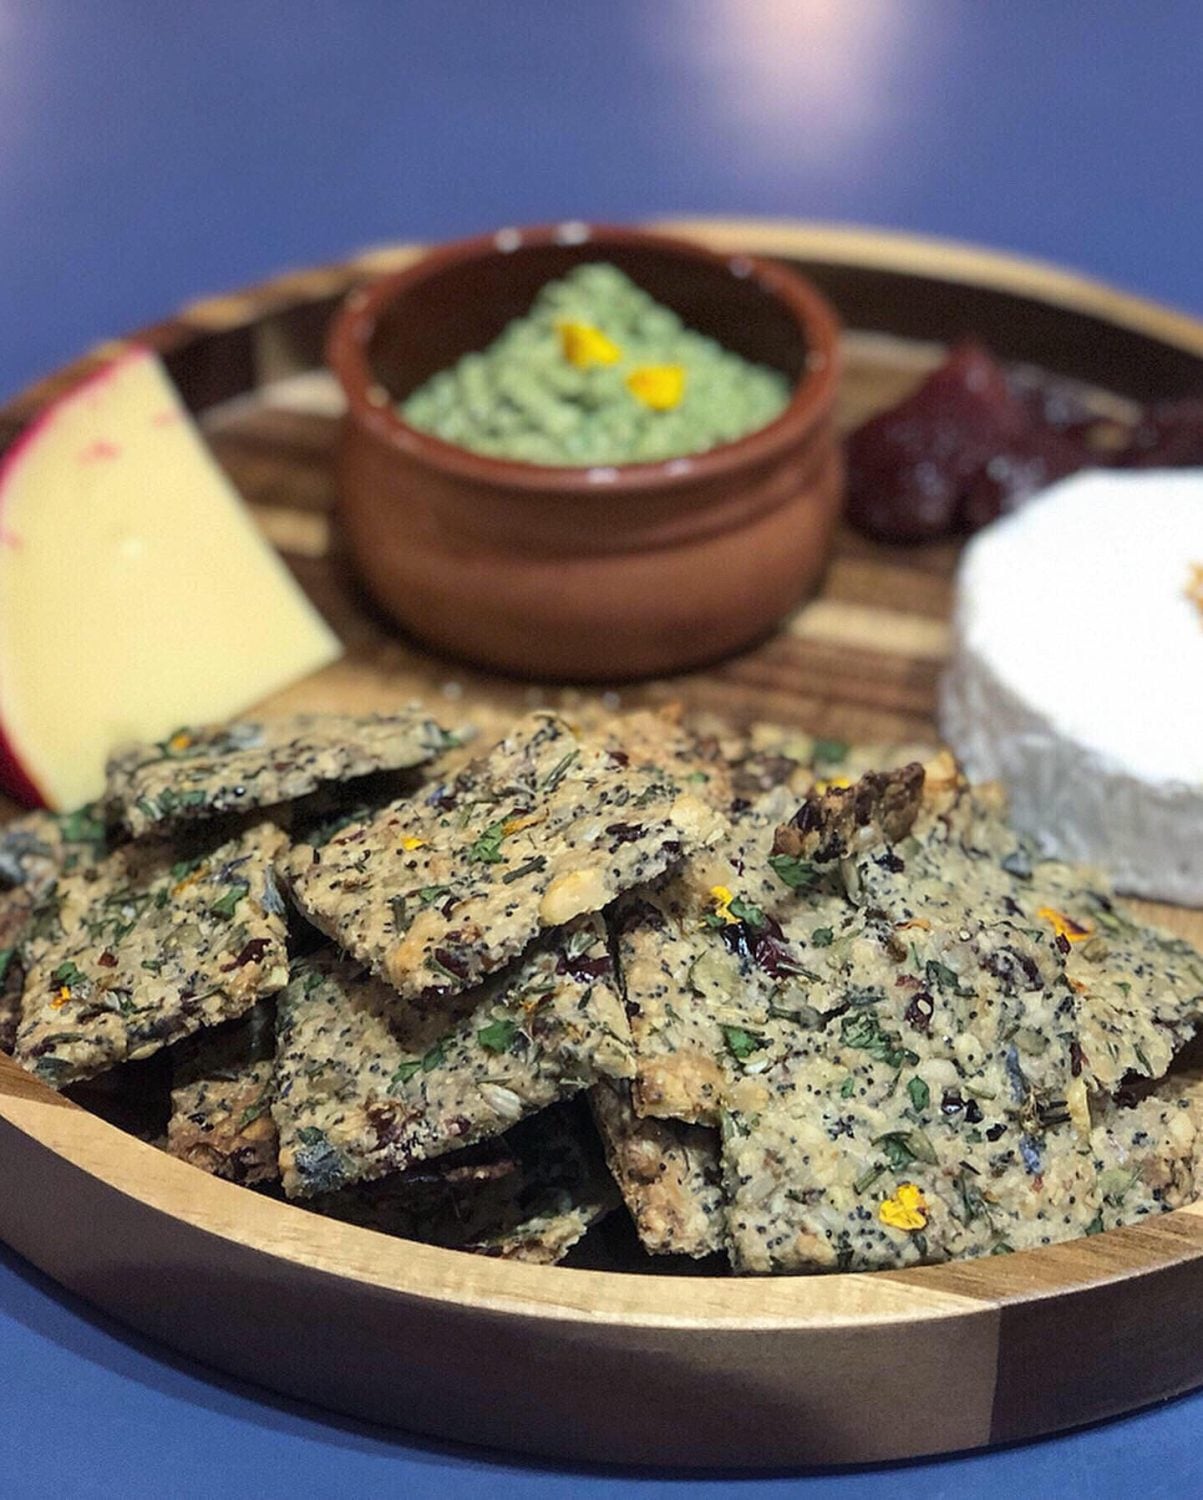
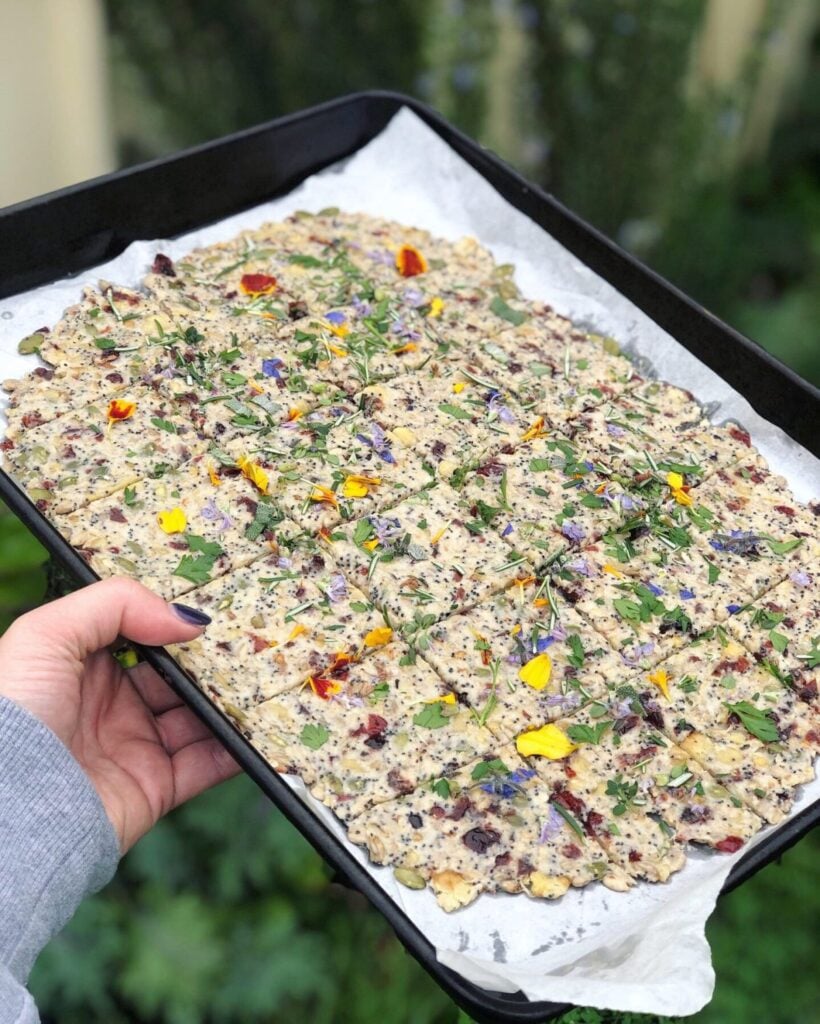
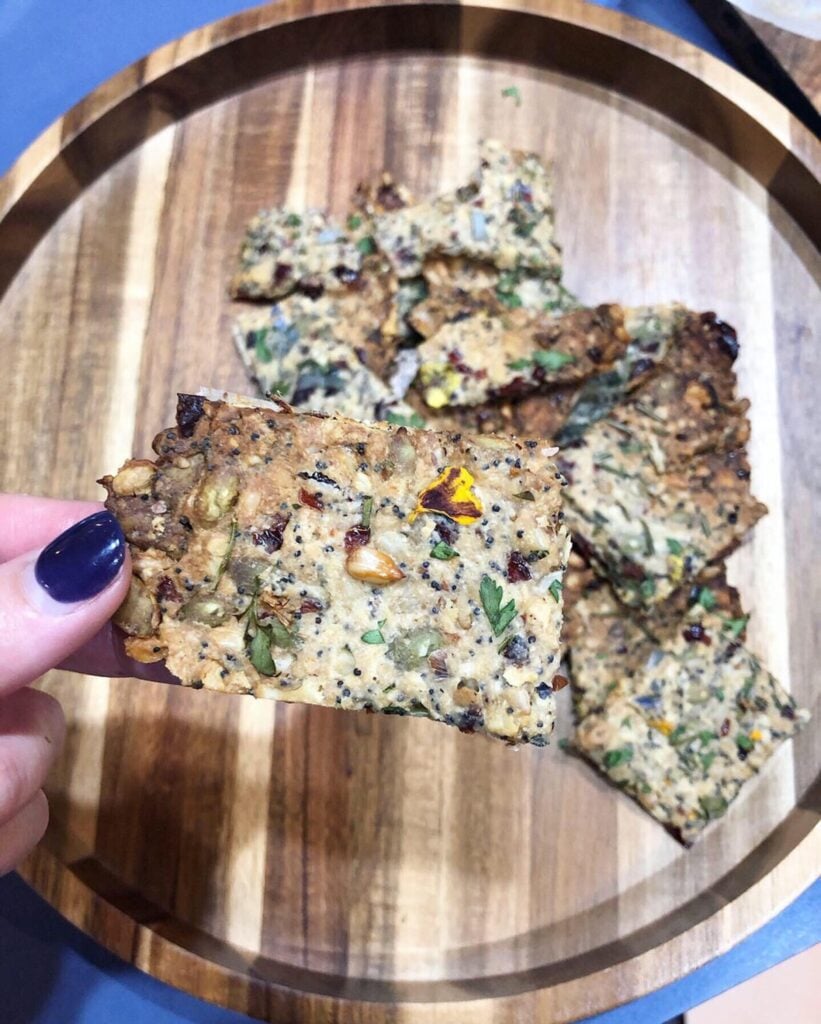
These Flower, Herb and Seed Botanical Crackers are the perfect addition for any cheese platter! The nuts and seeds could be adjusted to whatever you have available. I’m all for kitchen experiments! Homemade Botanical Crackers are such an easy recipe to make! Once you have tried making your own crackers, you will never go back to bought ones!
The best part is that no two batches are ever the same. You can use whatever herbs, edible flowers, nuts and seeds you have available, making this a great seasonal recipe for gardeners and home cooks looking to make something special.
What Are Botanical Crackers?
Botanical crackers are homemade crackers decorated with edible flowers and herbs before baking. The flowers create beautiful natural patterns while the herbs add a delicious flavour. They’re perfect for entertaining, homemade gifts or simply making the most of a garden harvest.
Best Edible Flowers for Botanical Crackers
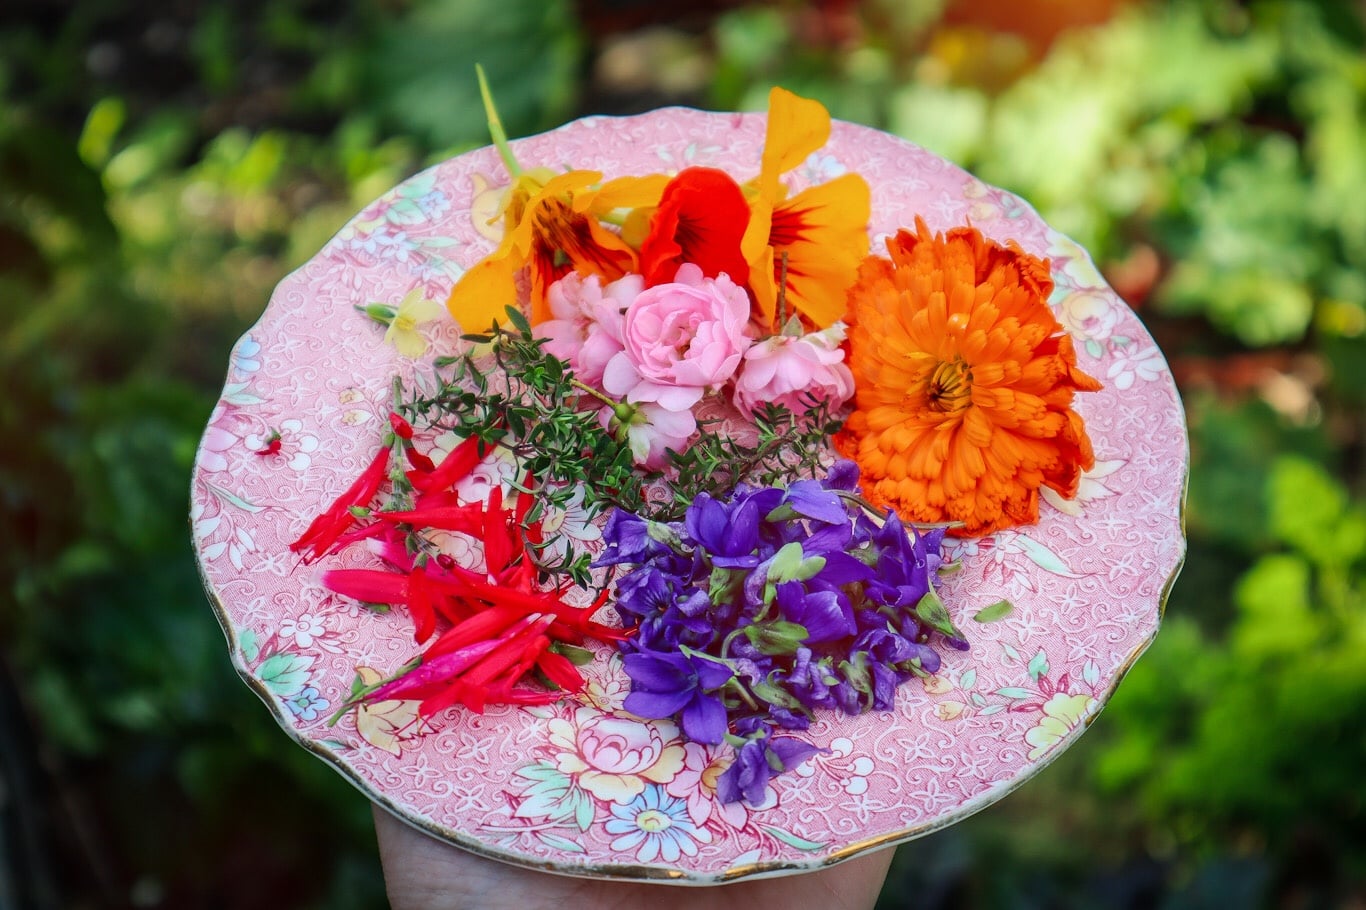
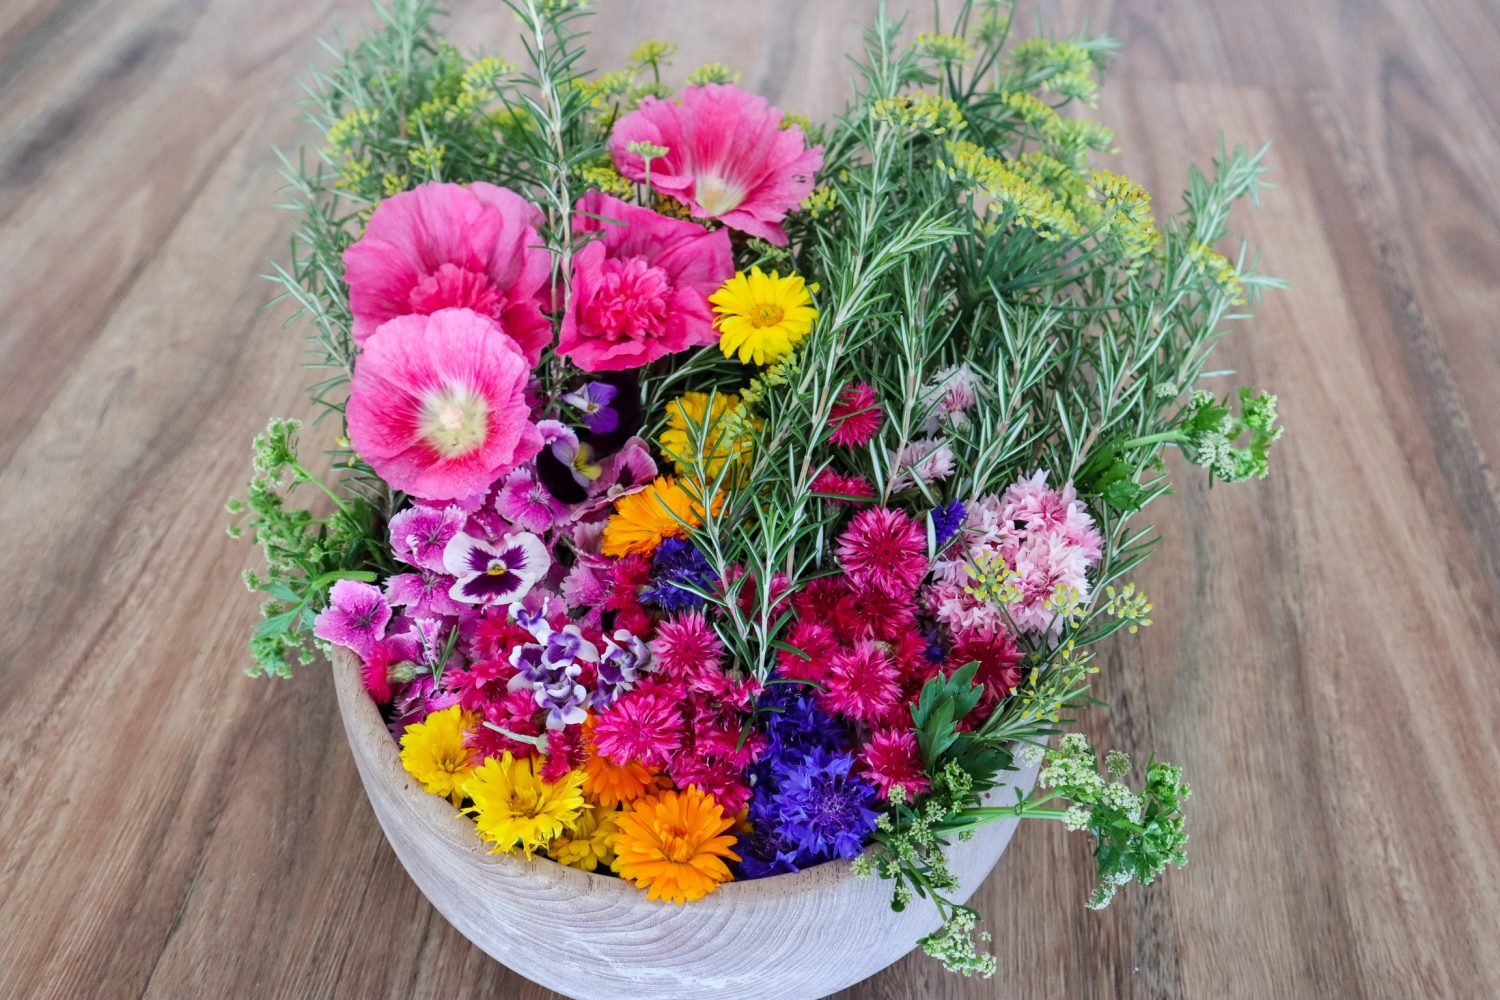
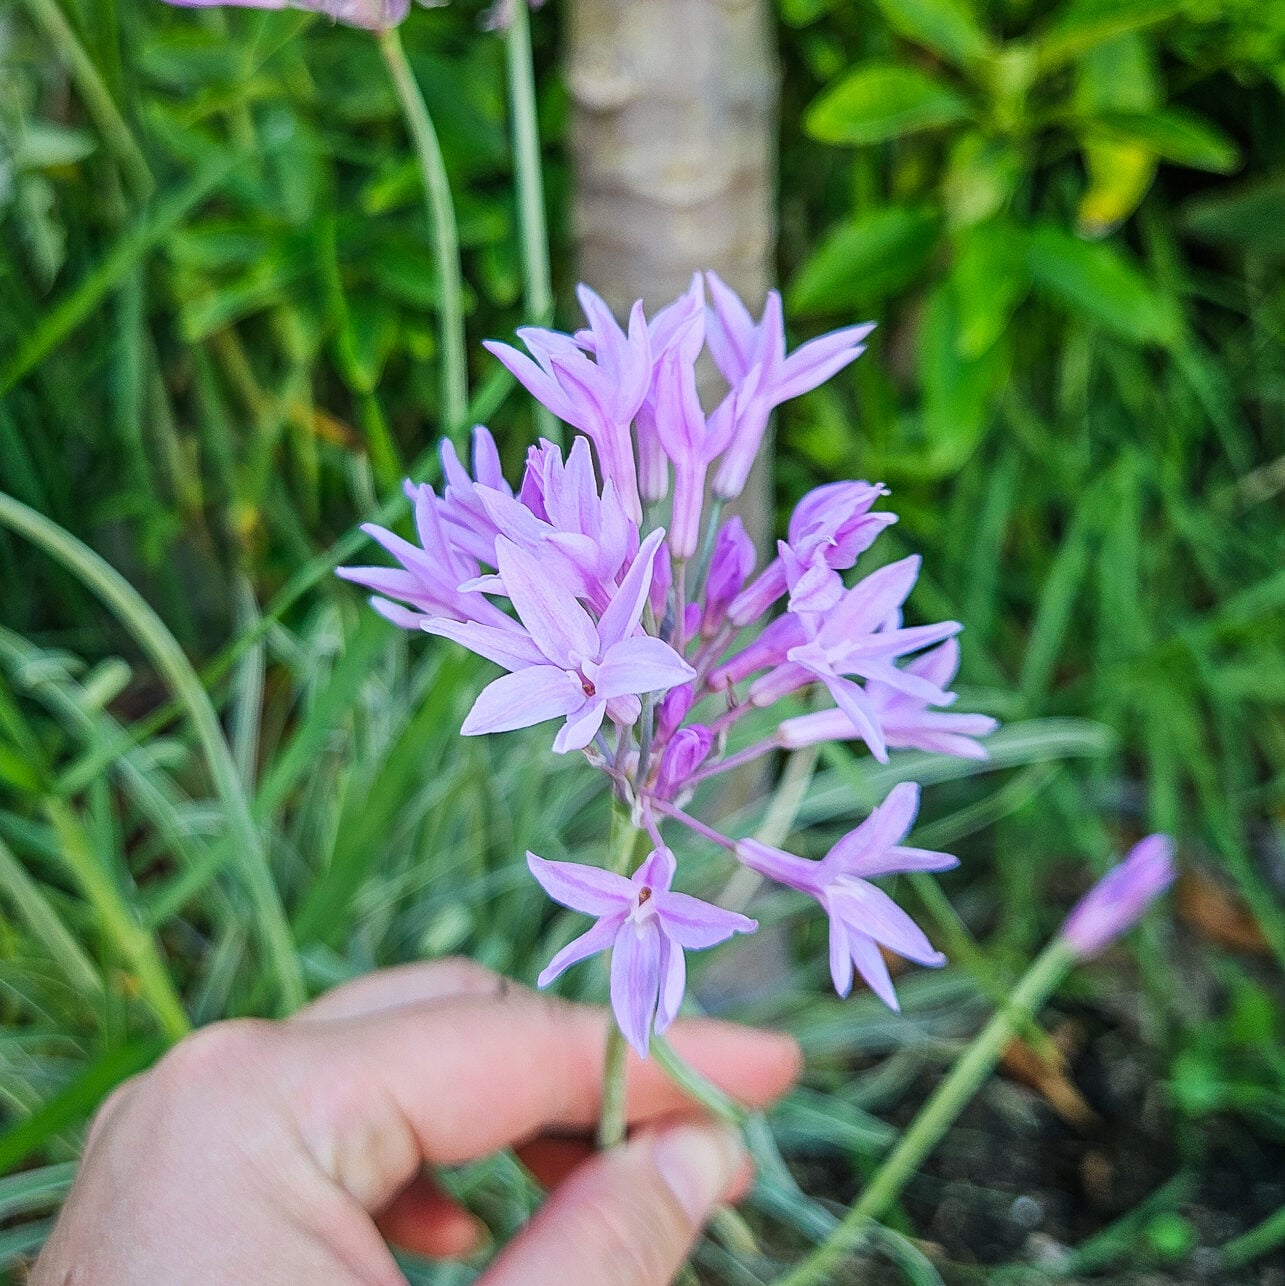
One of the easiest ways to create your own magic with botanical crackers is by using flowers from your garden. Some of my favourites include:
Mix and match depending on what’s growing in your garden and what flavours you like.
Growing Your Own Botanical Cracker Ingredients
One of the things I love most about this recipe is how many ingredients can come straight from the garden. Herbs, edible flowers and even some seeds can be grown at home, making these crackers a simple way to create something beautiful from your harvest. Plus, you don’t need to have a massive garden to be able to create this recipe. Herbs and edible flowers can easily be grown in pots and containers.
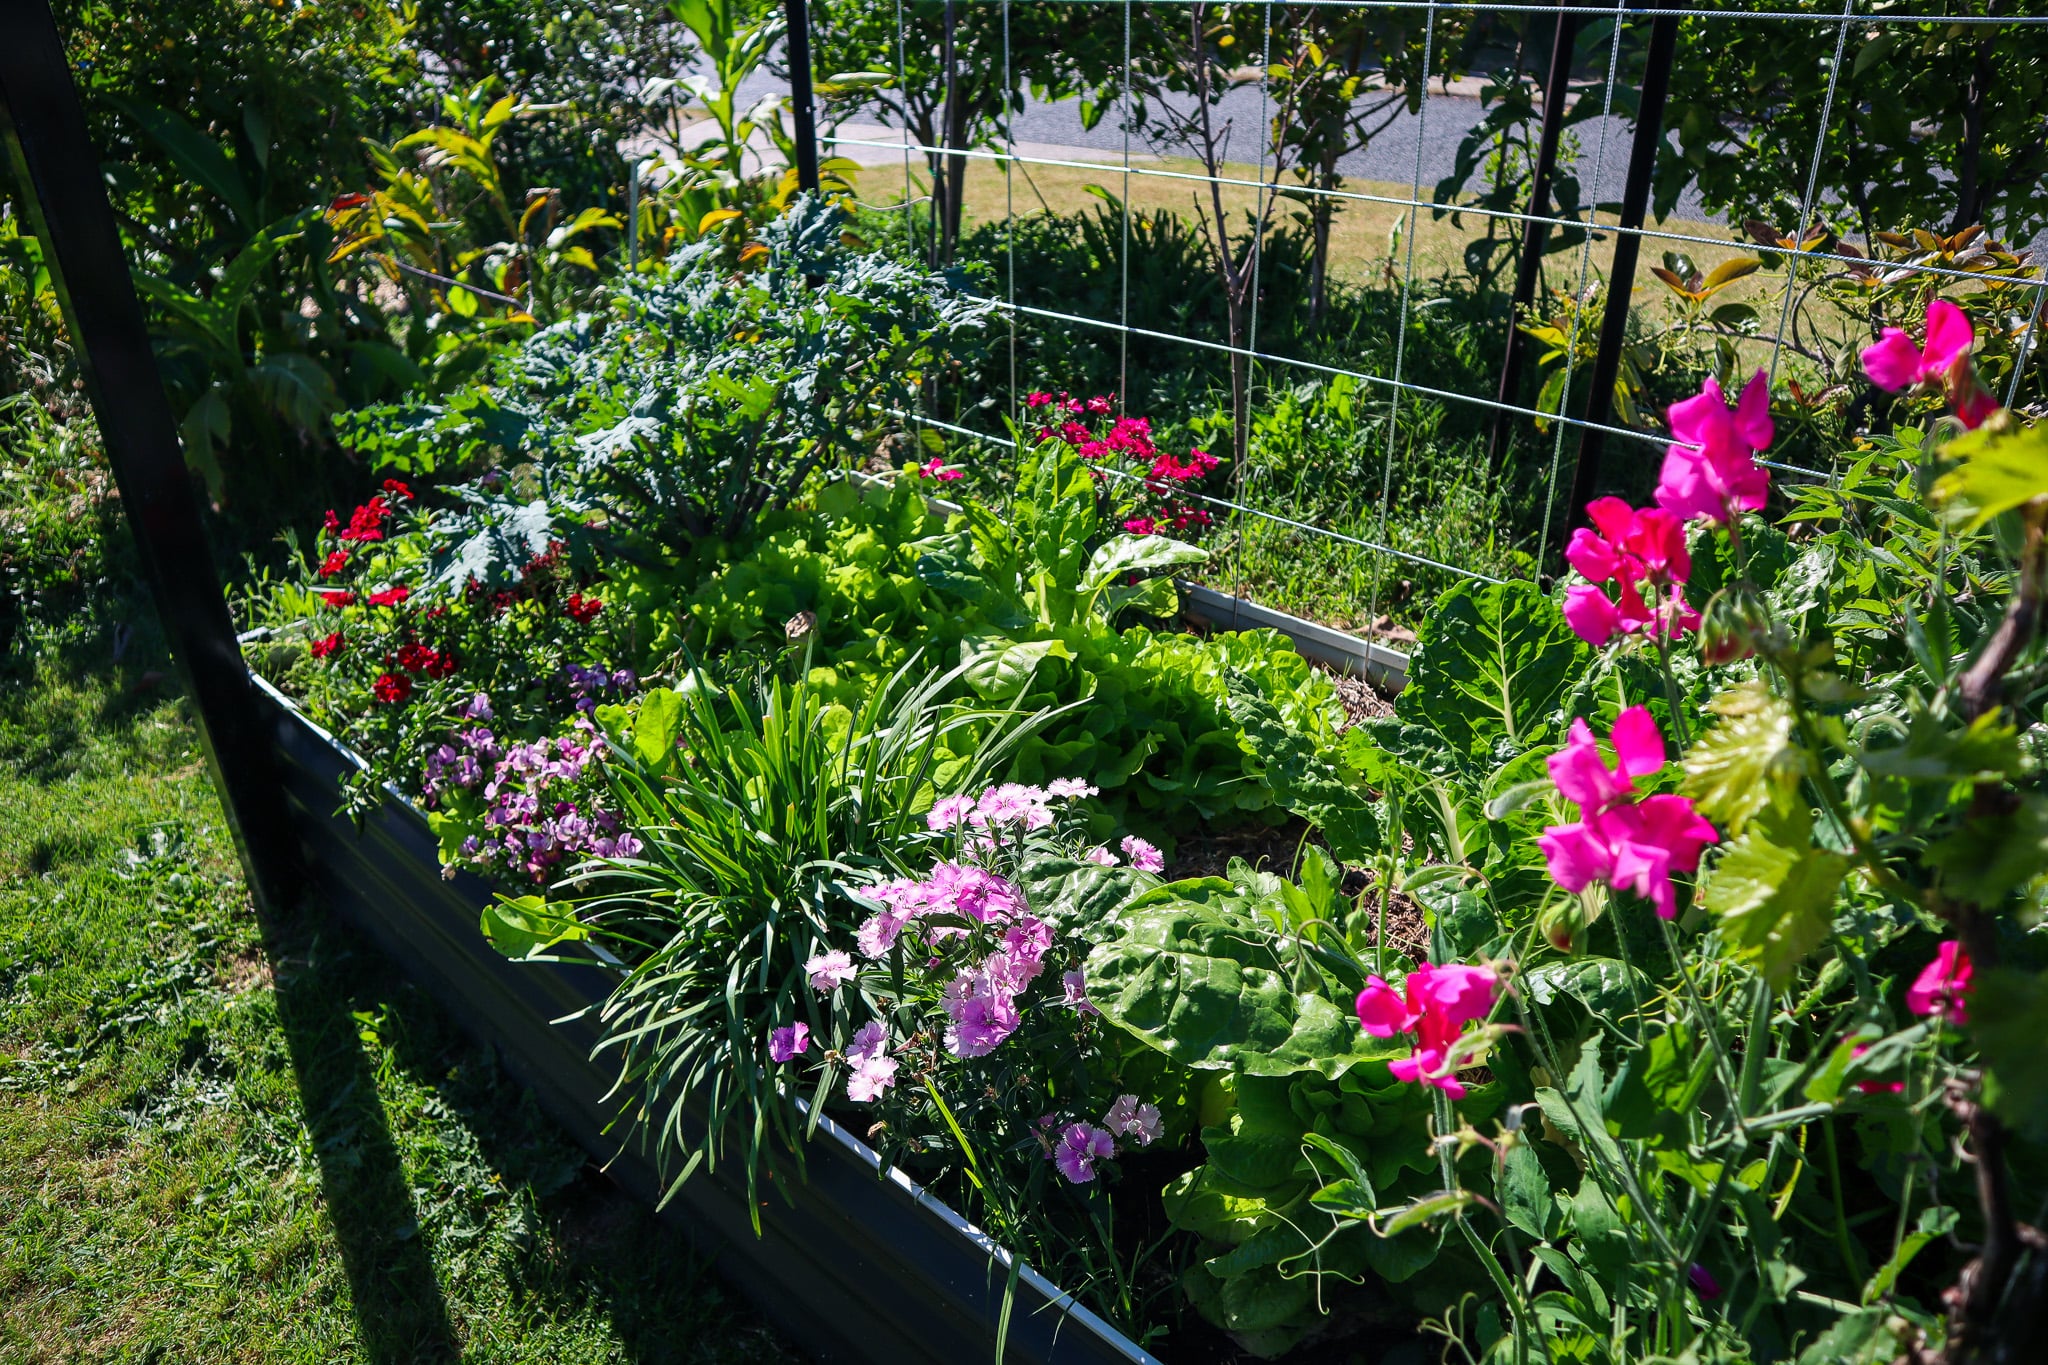
You will notice that all of my garden beds have edible flowers! This not only brings in more pollinators to the garden but also allows me to create exciting recipes like these homemade crackers.
What You’ll Need
Dry Ingredients
1/2 cup flour
1/3 cup oats
1/4 cup sunflower seeds
1/4 cup pumpkin seeds (pepitas)
1/4 cup walnuts, chopped
1/4 cup dried cranberries, chopped
2 tablespoons poppy seeds
1/2 teaspoon salt
1/4 teaspoon cracked black pepper
1/8 teaspoon baking powder
Wet Ingredients
2 tablespoons olive oil
1 tablespoon honey
4 tablespoons cold water
Herbs and Flowers
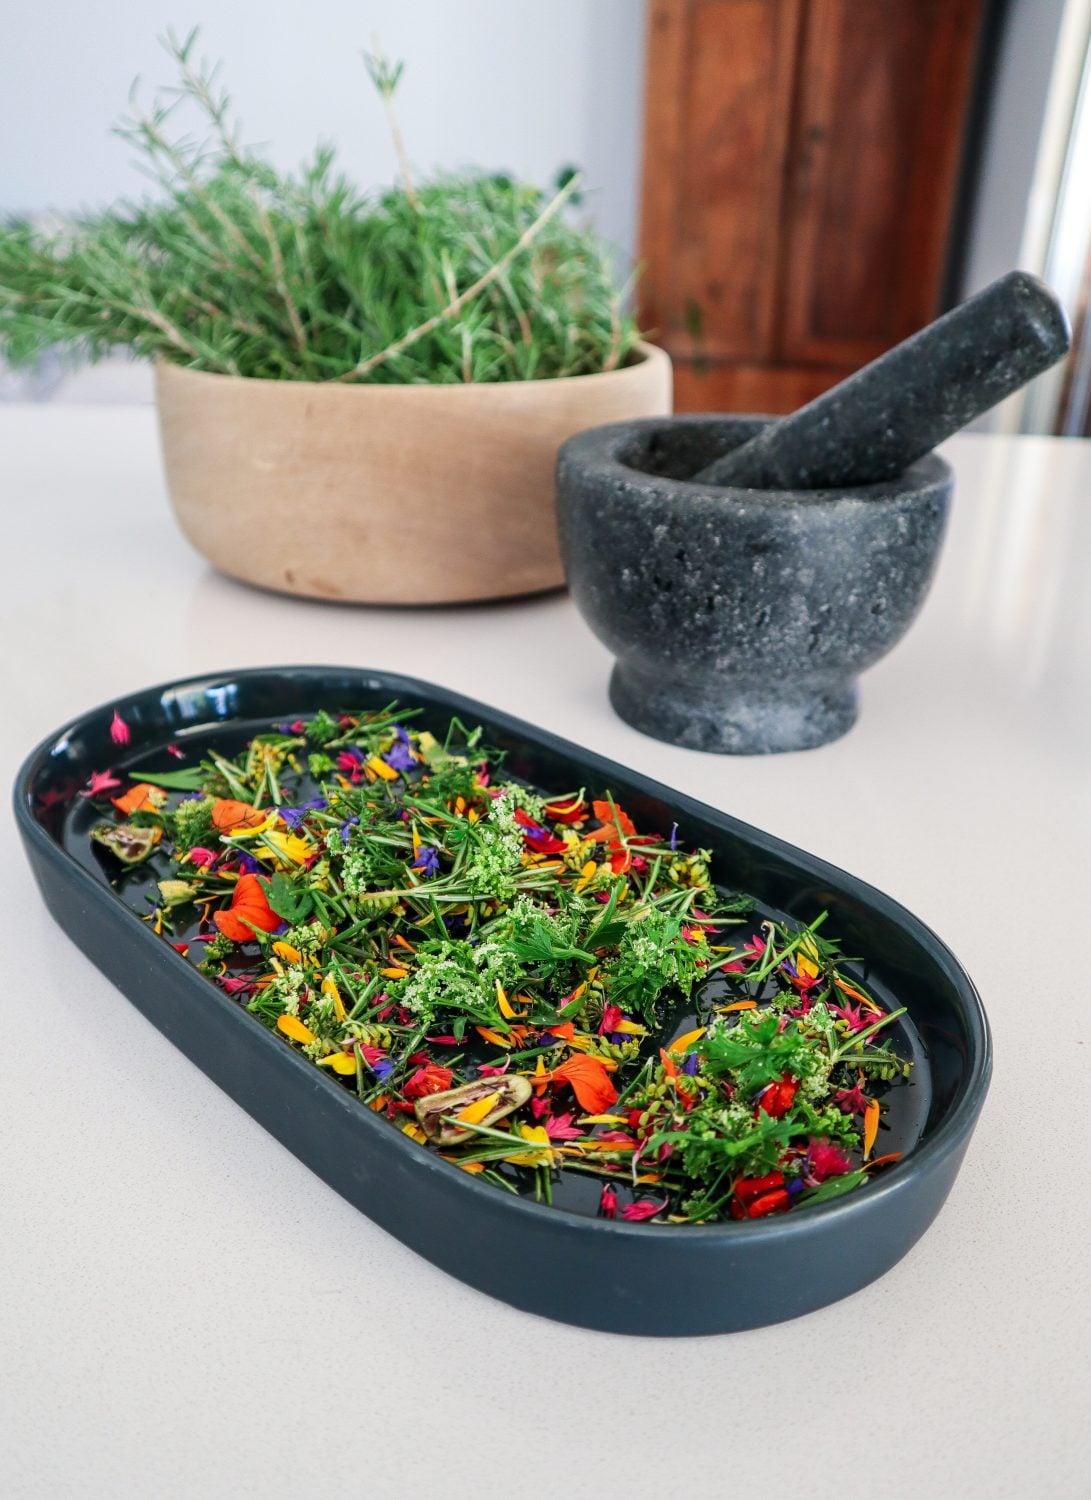
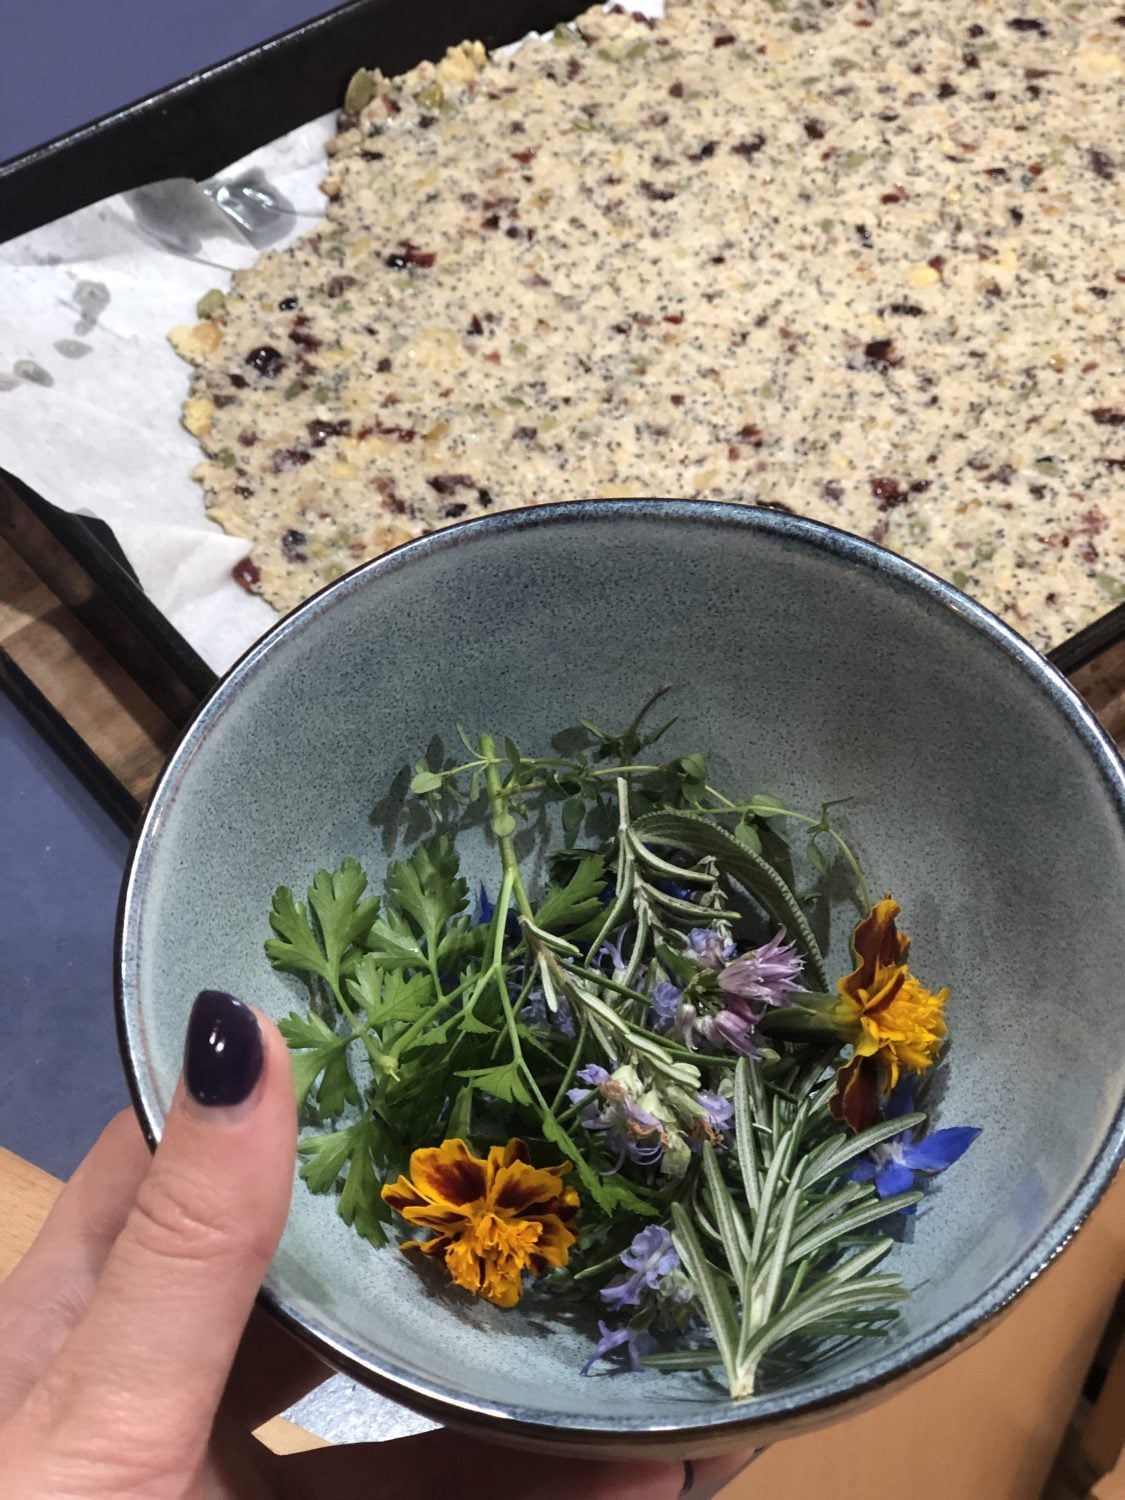
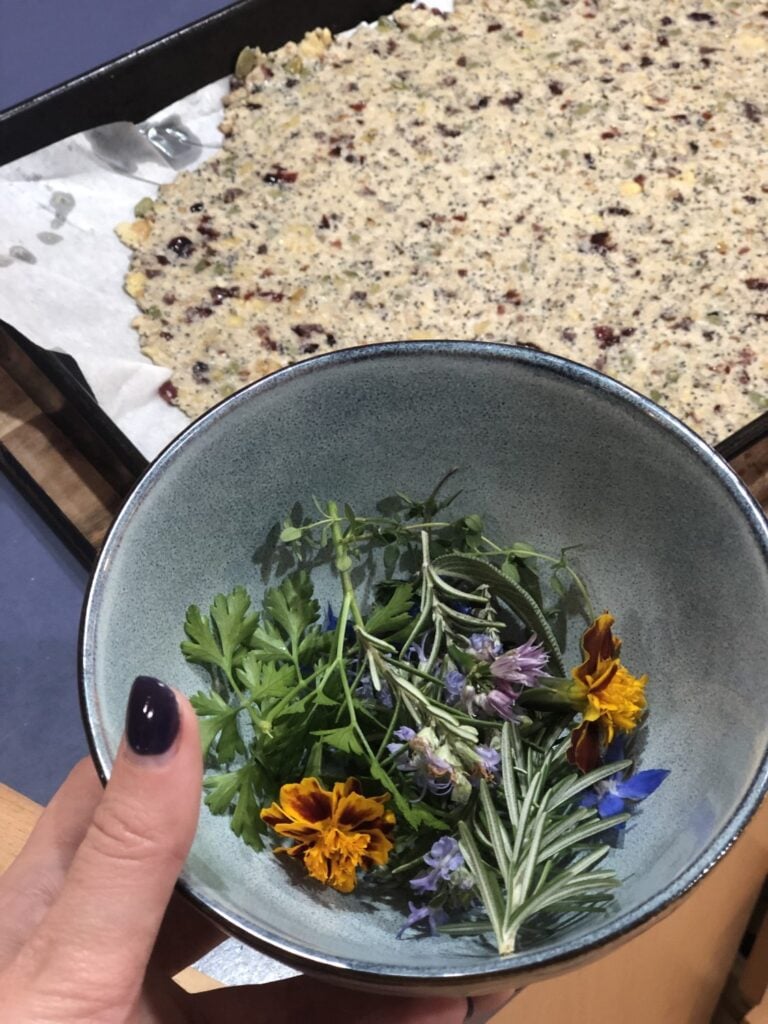
1 cup edible flowers and fresh herbs, roughly chopped
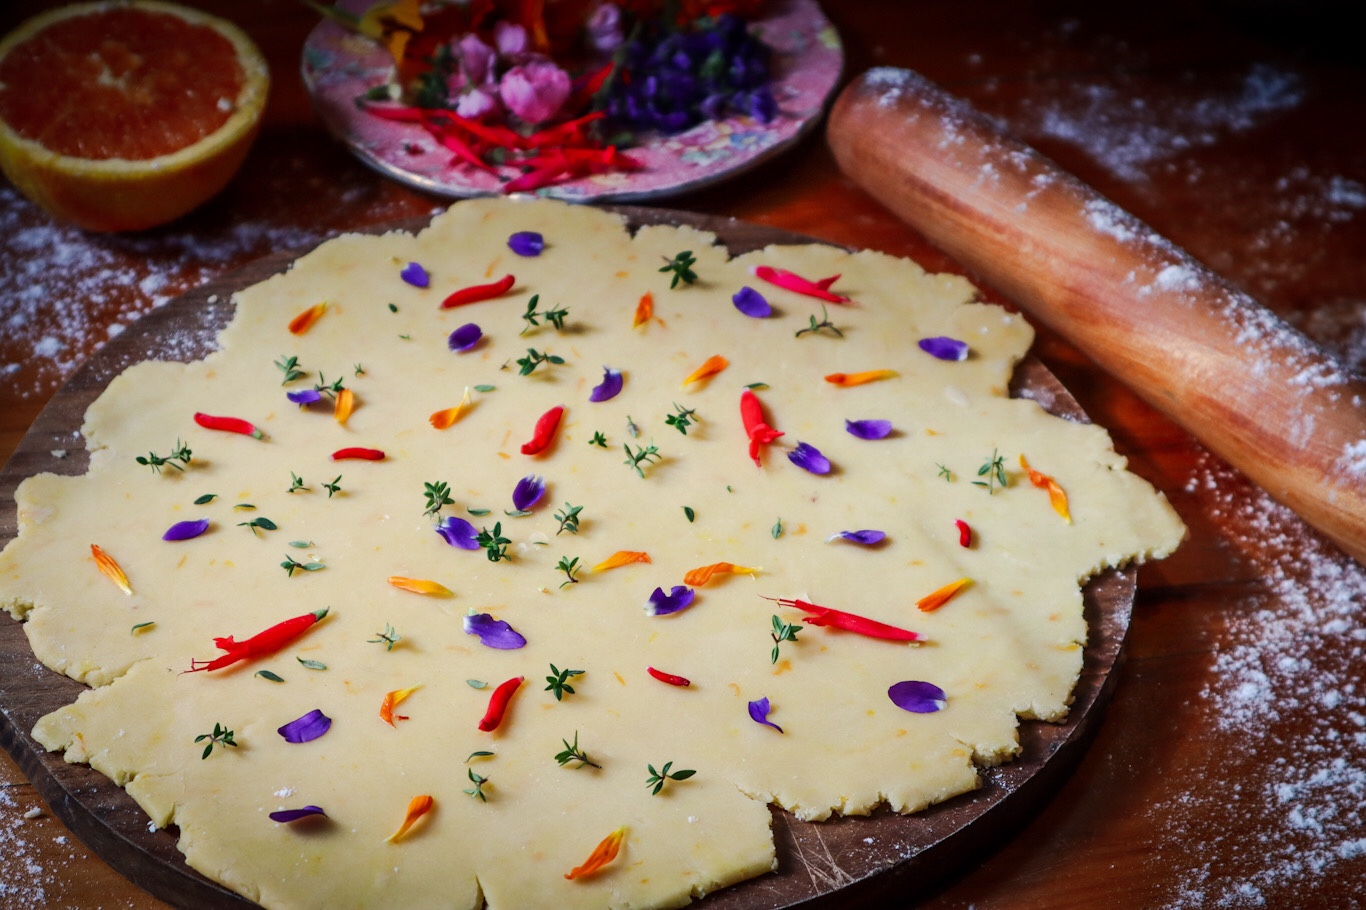
I used marigold petals, parsley, thyme, rosemary and chive flowers. Borage is edible, but I found it lost its visual appeal after baking.
How to Make Botanical Crackers
Step 1: Mix the Dough
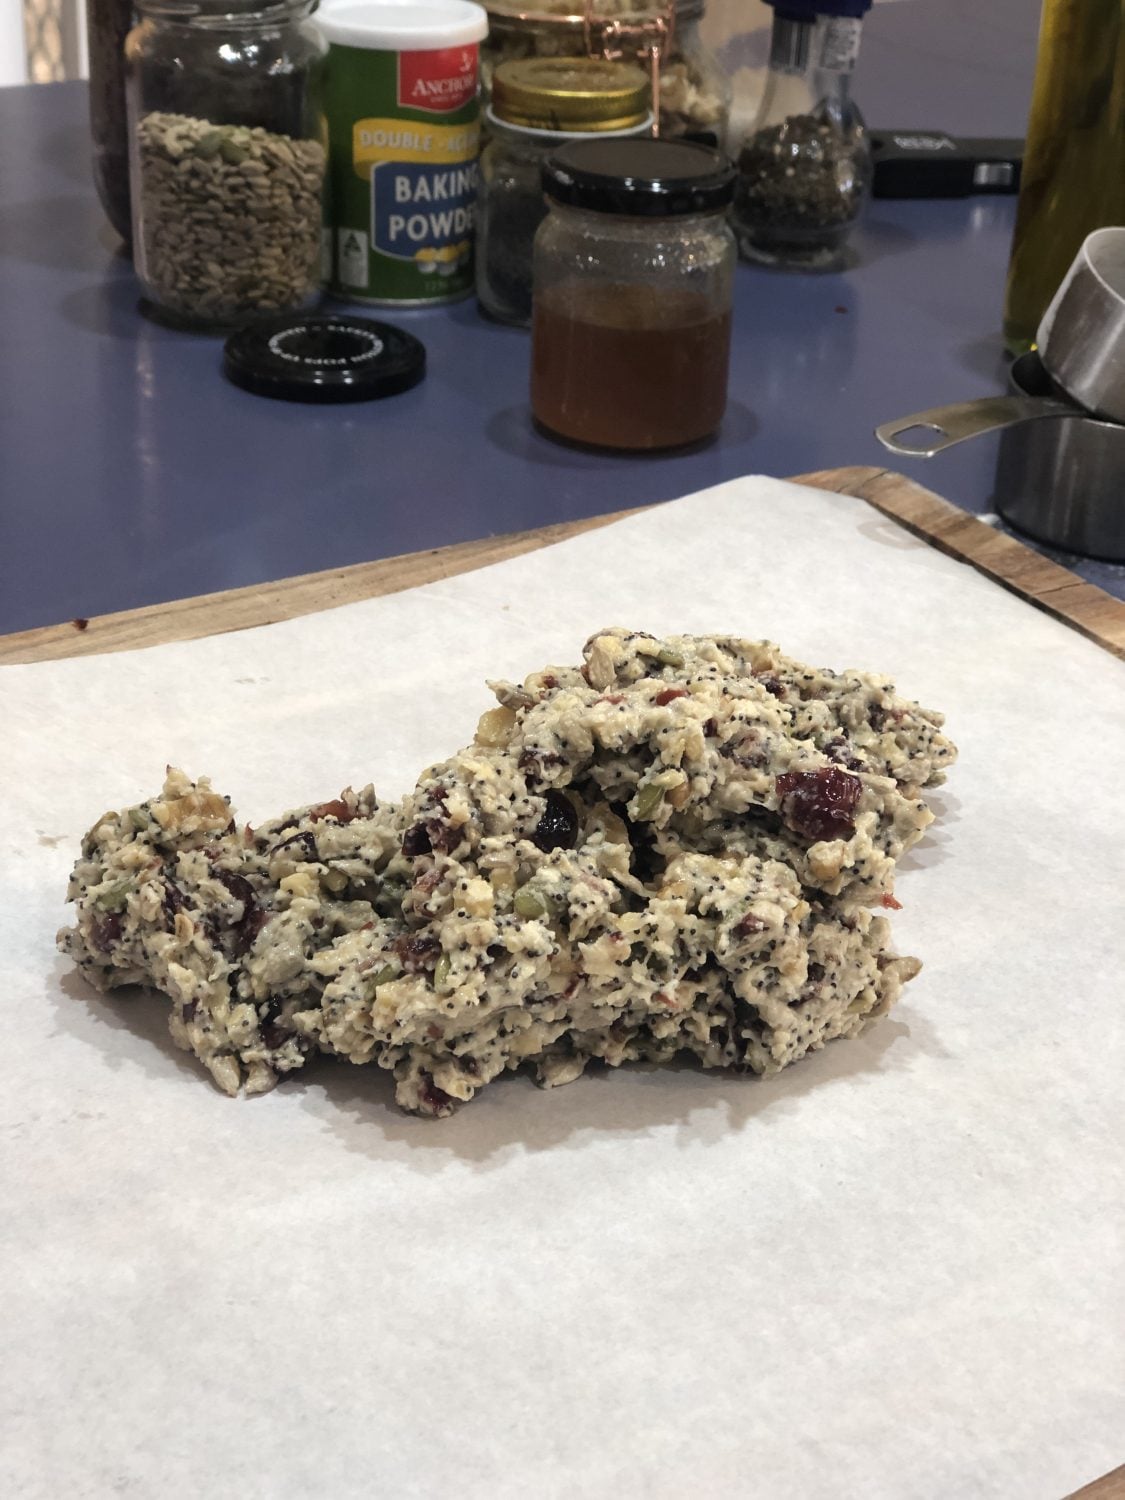
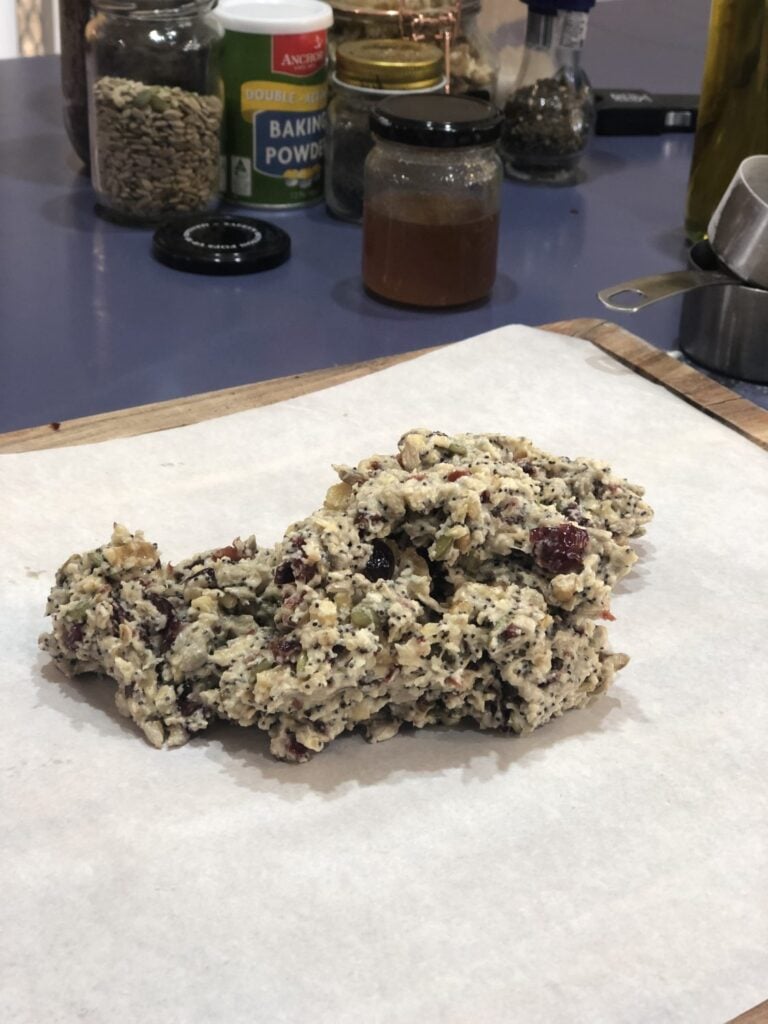
Preheat your oven to 200–220°C (390–425°F). Place all ingredients except the flowers and herbs into a mixing bowl. Stir until a sticky dough forms.
Step 2: Roll Out the Dough
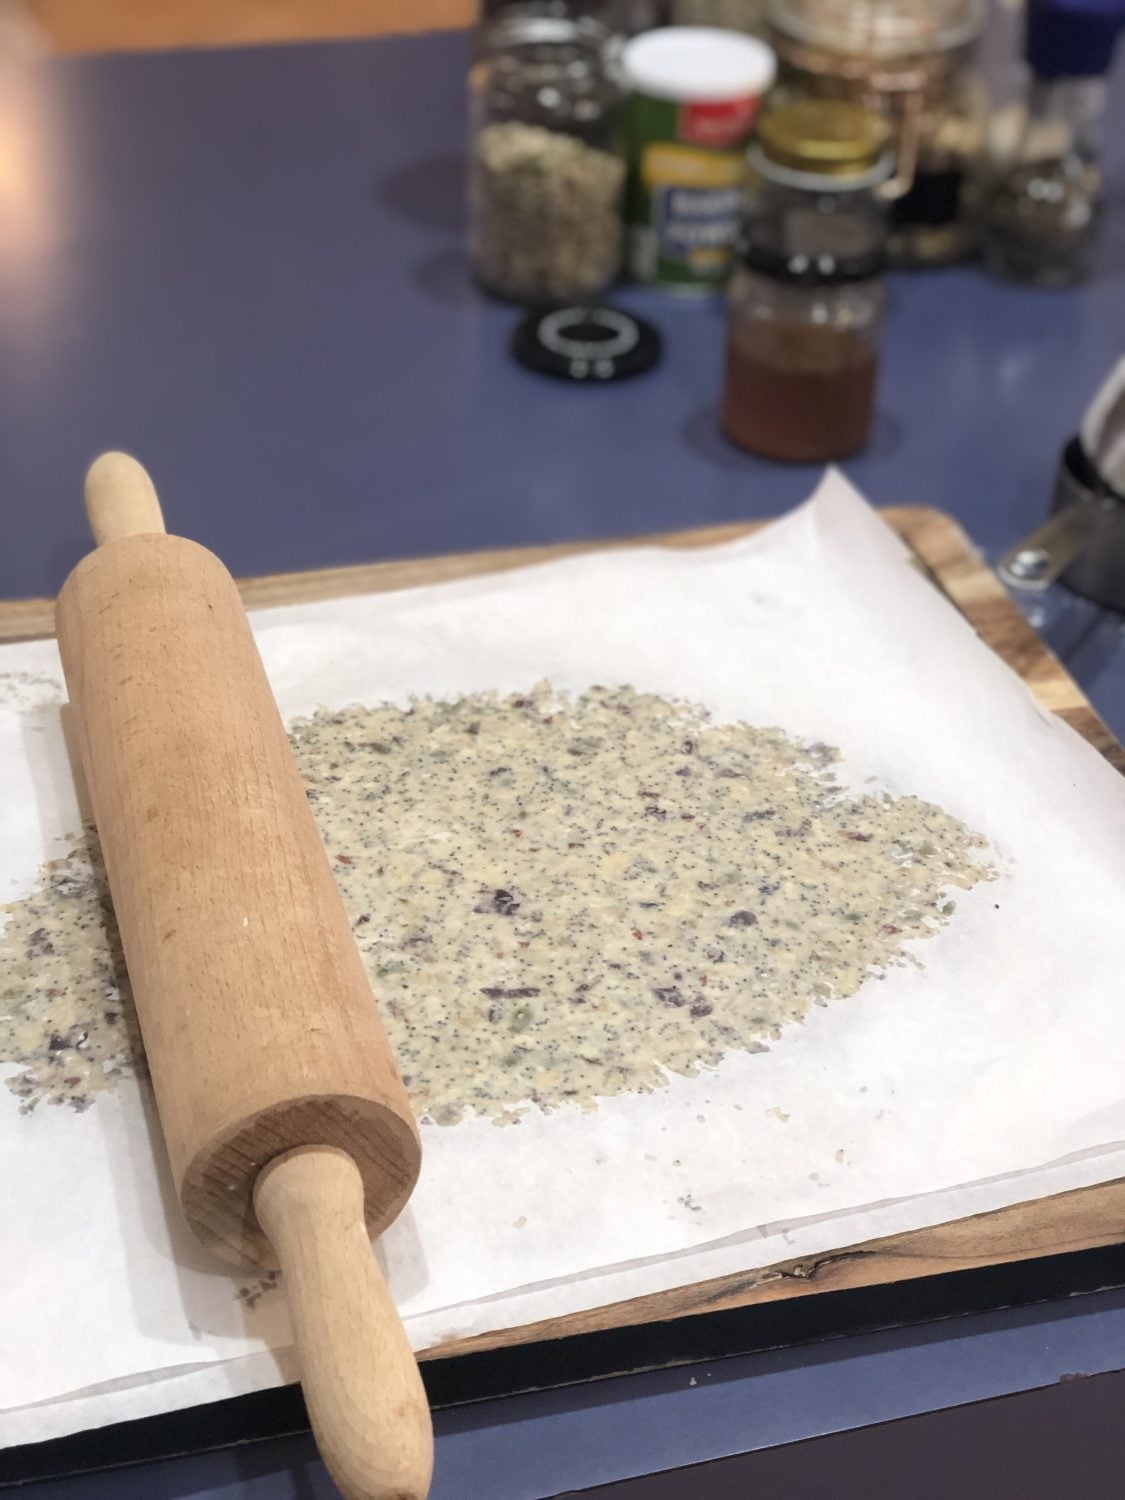
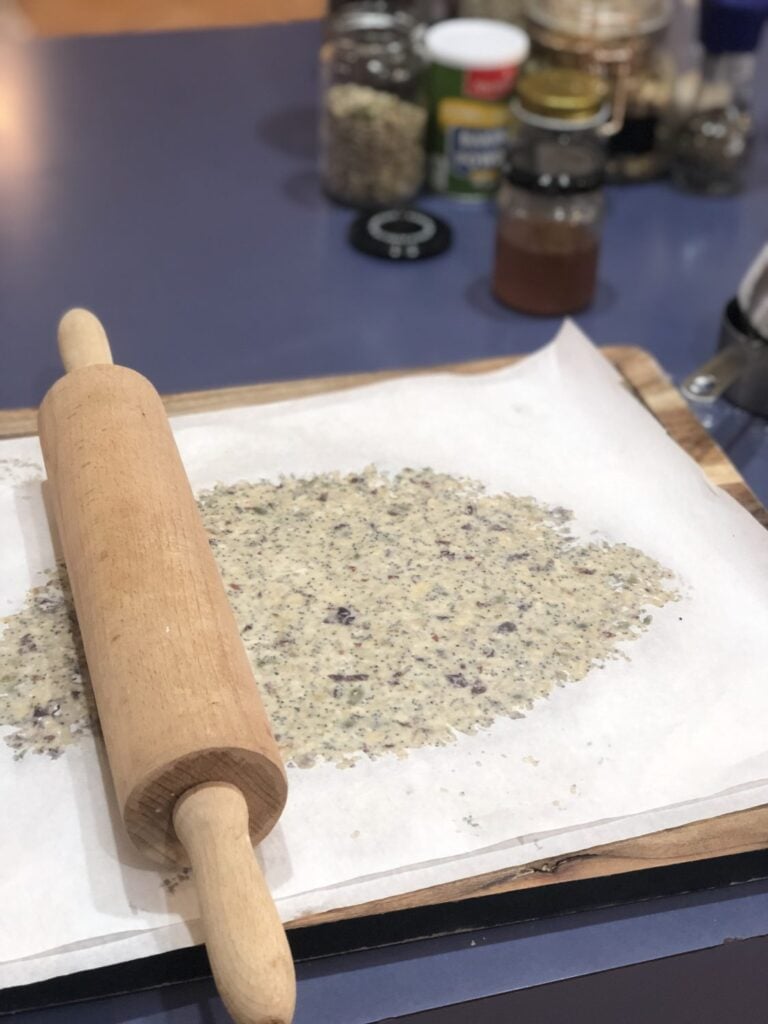
Place the dough onto a sheet of baking paper/parchment paper and shape it into a rough ball. Lay a second sheet of baking paper over the top and use a rolling pin to roll the dough as thinly as possible. Aim for an even thickness so the crackers bake evenly.
Step 3: Add the Botanicals
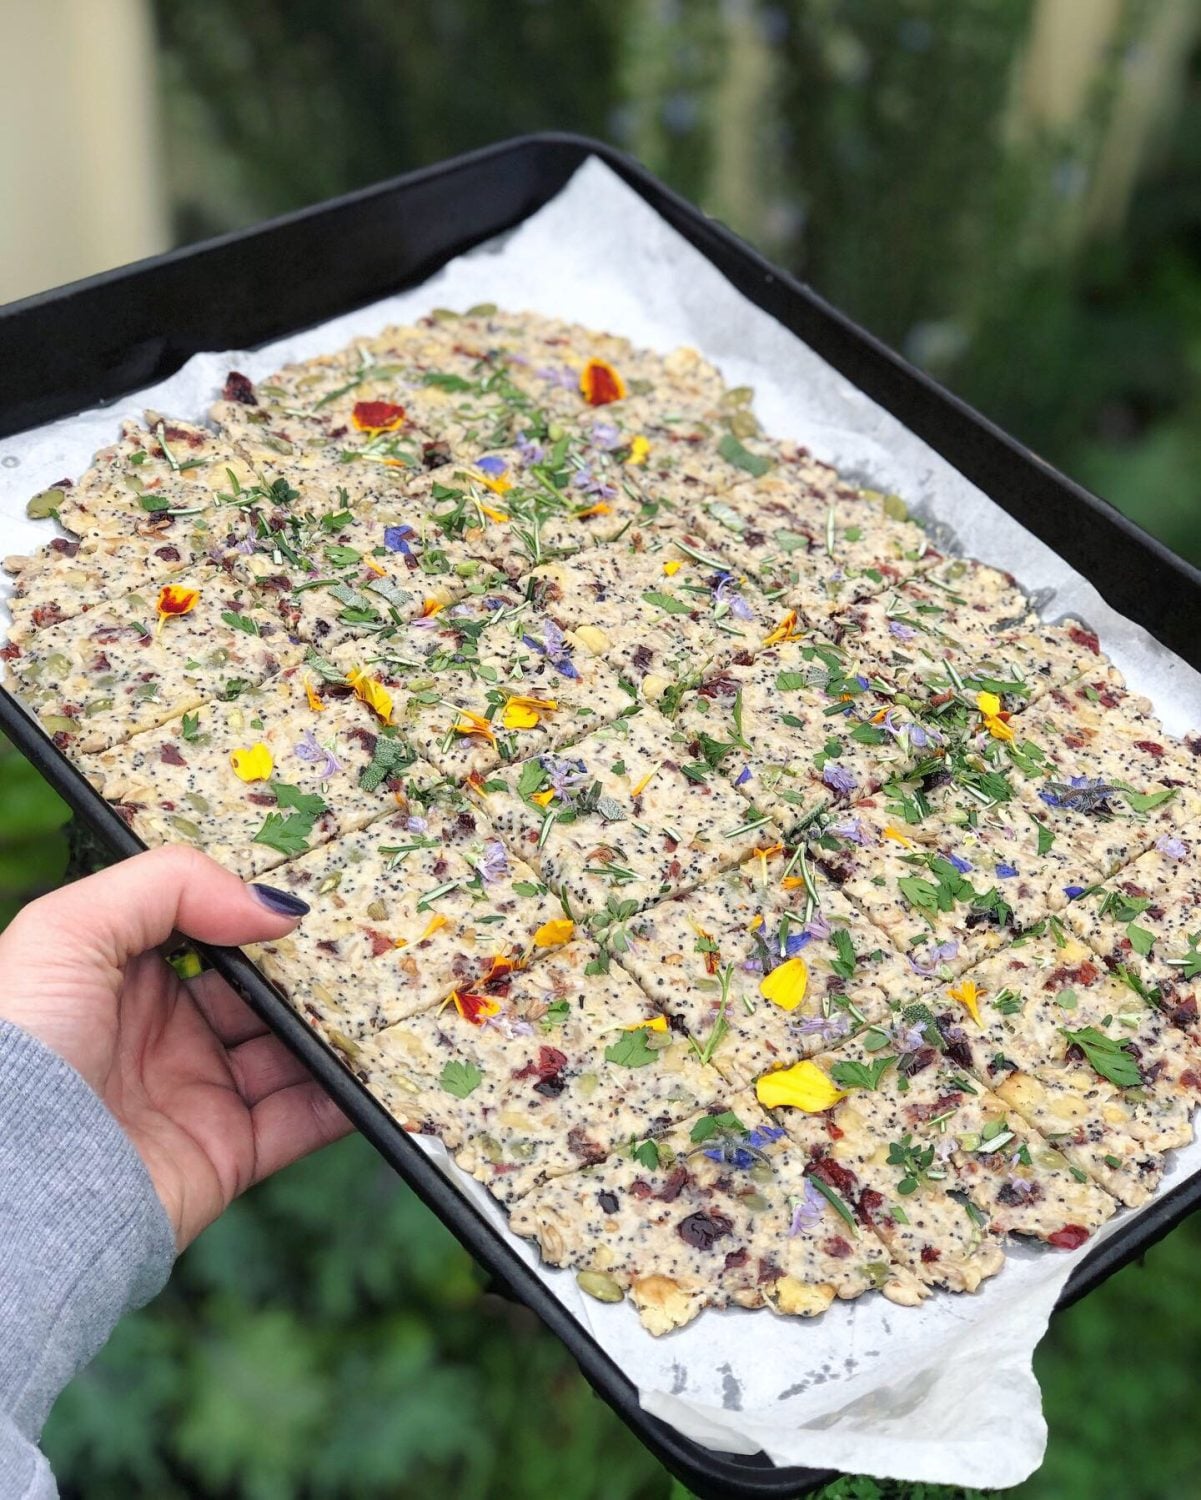
Remove the top sheet of baking paper. Scatter the chopped herbs and edible flowers over the surface of the dough and gently press them in with your hands or rolling pin. Finish with an extra sprinkle of salt and cracked pepper.
Step 4: Cut the Crackers
Using a sharp knife or pizza cutter, score the dough into cracker-sized pieces. I usually make mine around 6 cm x 4 cm. Cutting before baking makes the crackers easier to separate later.
Step 5: Bake Until Crisp
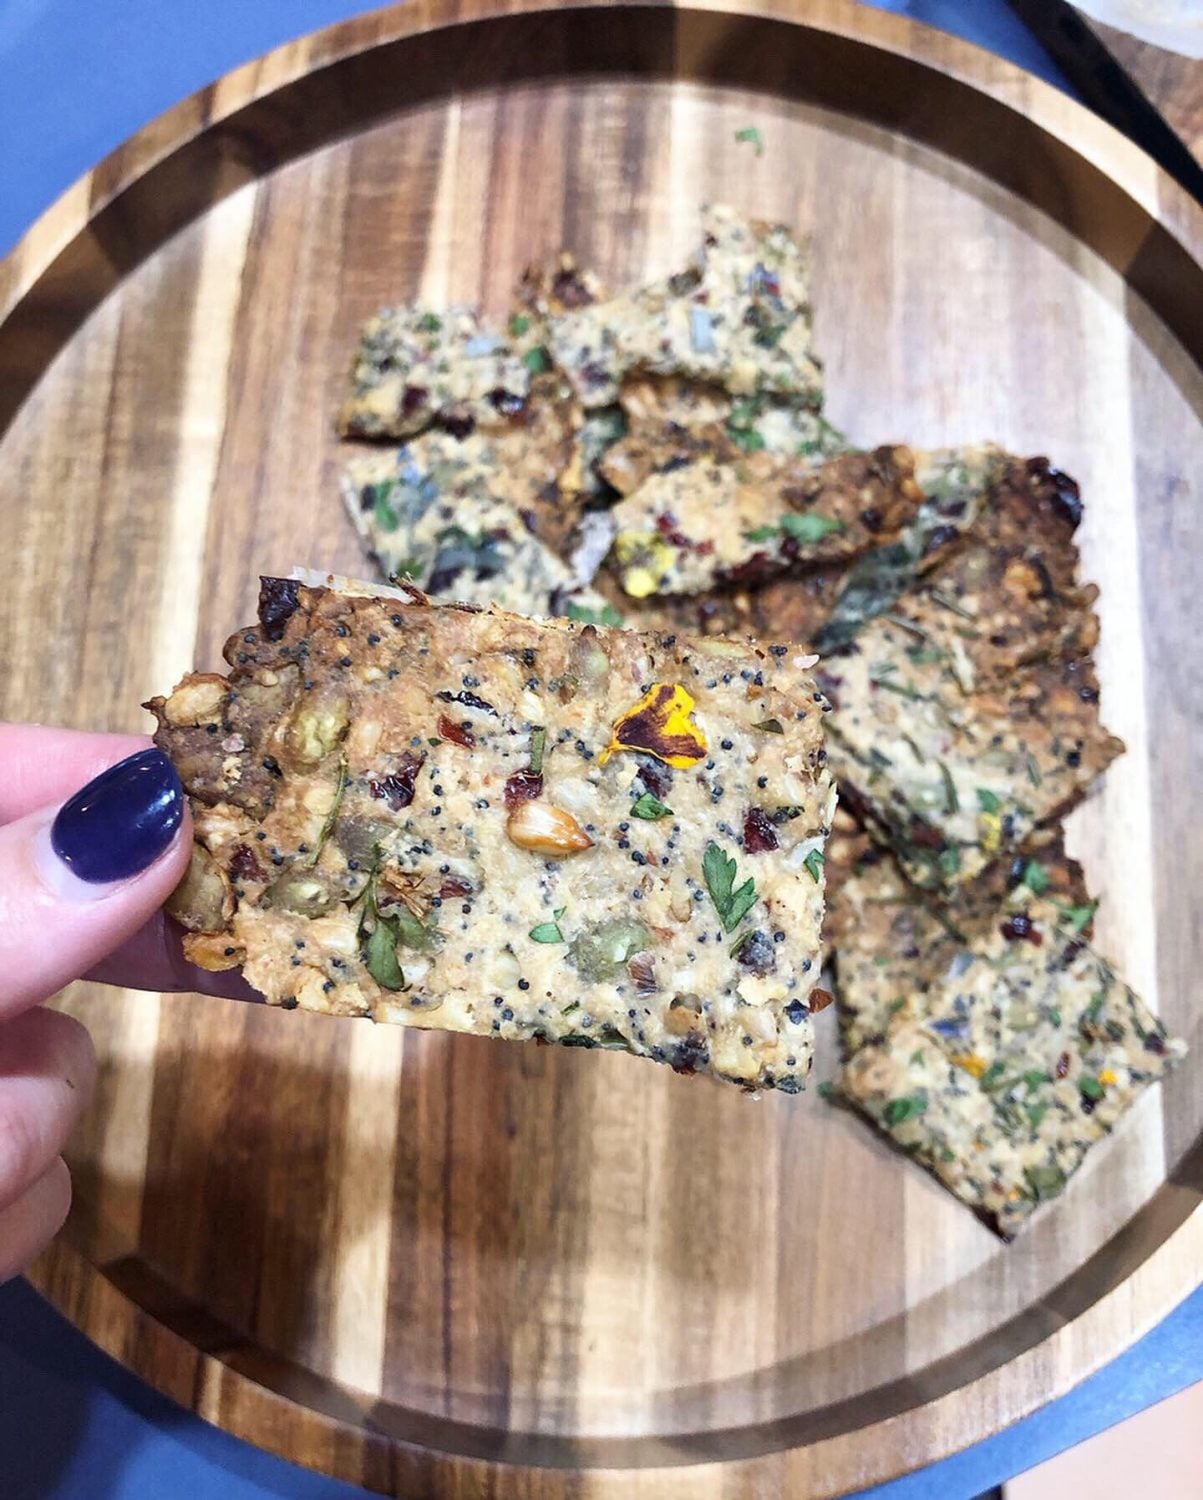
Transfer the baking paper and dough onto a baking tray. Bake for 12–14 minutes or until golden and crisp. The edges may cook faster than the centre, so keep an eye on them. If needed, remove the crisp edges and return the centre crackers to the oven for a few extra minutes.
Step 6: Cool and Serve
Allow the crackers to cool completely before serving. They will continue to crisp up as they cool. Serve on a cheese board, grazing platter or alongside your favourite dips or hummus.
sustainableholly
Botanical Crackers
These botanical crackers are made with edible flowers, fresh herbs, seeds and nuts for a beautiful homemade cracker that's perfect for cheese boards, grazing platters and entertaining.
1cupherbs and edible flowers roughly chopped. I used Marigoldparsley, thyme, rosemary, chive flower. Note: I did use borage but I wouldn’t recommend as it doesn’t look appealing after being cooked..
Method
Preheat oven to 200-220 Degrees Celcius.
Place all ingredients in a bowl and mix to combine. Should be a sticky dough consistency.
Place mixture on a sheet of baking paper in the centre and make a rough ball.
Place a second sheet of baking paper on top and using a rolling pin roll out as thin as you can. You should try and roll out to a rectangle or a shape that will fit onto your baking tray. It is important to try and get the centre rolled out nice and thin so it can crisp up.
Once rolled out remove the top layer of baking paper.
Scatter the chopped flowers and herb on top of the rolled dough and gently press in so they stick.
Grind some extra salt and pepper on top.
Cut the dough into the size you want your crackers. I did roughly 6cm x 4cm.
Place the baking paper with your dough onto an oven tray and bake for 12-14 minutes until golden. The ends may crisp up before the centre so I kept an eye on it and cut off the end rows with scissors and allowed the centre to cook for longer.
Yes, many edible flowers can be baked into recipes such as crackers, cakes and biscuits. Some flowers hold their colour better than others during cooking.
What flowers are best for botanical crackers?
Marigolds, nasturtiums, violas, pansies and chive flowers are all excellent choices because they add colour and remain attractive after baking.
How long do homemade crackers last?
Stored in an airtight container, homemade botanical crackers will usually stay fresh for up to one week.
Can I use dried herbs?
Fresh herbs create the most attractive crackers, but dried herbs can be used if that’s what you have available.
Making Homemade Crackers
Once you have made your own Homemade Botanical Crackers, you will never look back. The great thing about this recipe is that you can mix and match the ingredients to whatever you have available! Get creative and try new versions each time. Remember, it is important to get the mixture rolled out as thin and even as possible.
Let me know if you make your own version of these Botanical Crackers! Or try my super seed cracker recipe
DISCLAIMER: Links included in this description might be affiliate links. If you purchase a product or service with the links that I provide I may receive a small commission. There is no additional charge to you! Thank you for supporting my page so I can continue to provide you with free content!
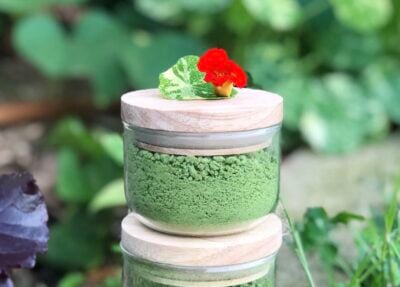
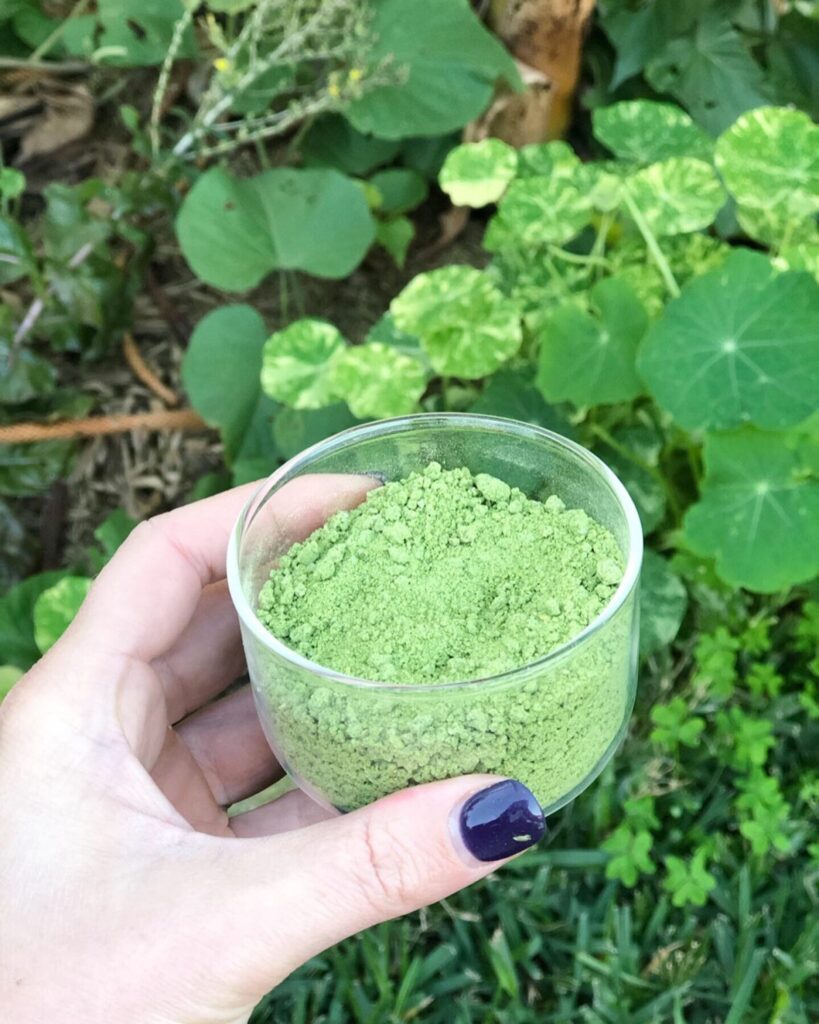
Delicious and beautiful Nasturtium Leaf Salt is a great way to add some fun and flavour to your meals. The wildly abundant Nasturtium is back for the Autumn/ Winter season, and I have been creating lots of Nasturtium recipes to help you get the most out of your nasturtium plants.
It is so often under-utilised and I will admit that previously I have only ever used the flowers and leaves in a salad and as a garnish but…this nasturtium salt is a great way to make something creative from garden-to-plate.
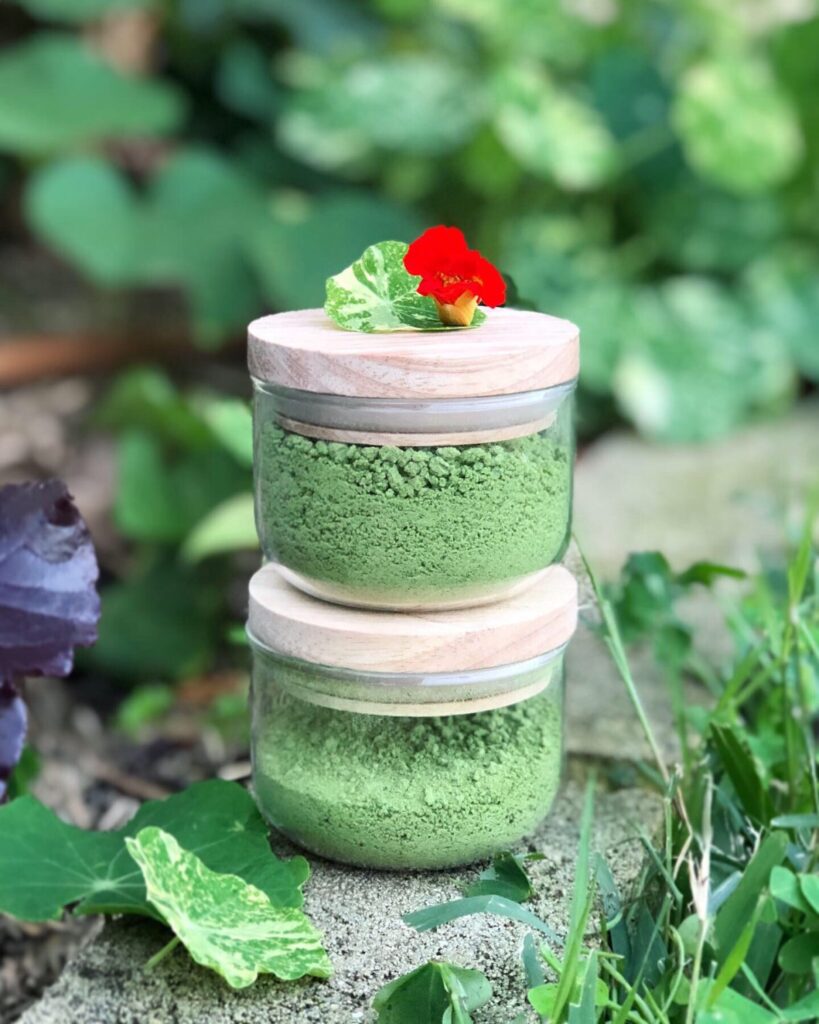
Nasturtium salt has a mild peppery flavour. The lemon zest adds a subtle citrus note, but it still has a very distinct Nasturtium scent. It is a versatile finishing salt for everyday meals or add to other Nasturtium recipes. The flavour is similar to watercress or rocket but much milder once dried and combined with salt.
Why Make Nasturtium Salt?
If your nasturtiums are producing more flowers and leaves than you can use fresh, making flavoured salt is an easy way to preserve some of the harvest. It transforms an abundant garden plant into a beautiful homemade seasoning that can be enjoyed for months.
Yes. Using only flowers creates a milder, more floral-flavoured salt, but it will change the colour. I have made a full-flower salt, and it was a subtly orangy pink colour. However, combining both leaves and flowers is a great way to make use of the entire plant and provides a slightly stronger flavour. You can also use other edible flowers like calendula.
How Long Does Nasturtium Salt Last?
When completely dry and stored in an airtight jar, nasturtium salt will typically keep for 6–12 months. Store it in a cool, dry place away from direct sunlight to help maintain its colour and flavour. However, the colour does dull and fade over time, so I try to utilise it while it is freshly made.
Nasturtium Salt Ingredients:
Easy to make with only a few ingredients
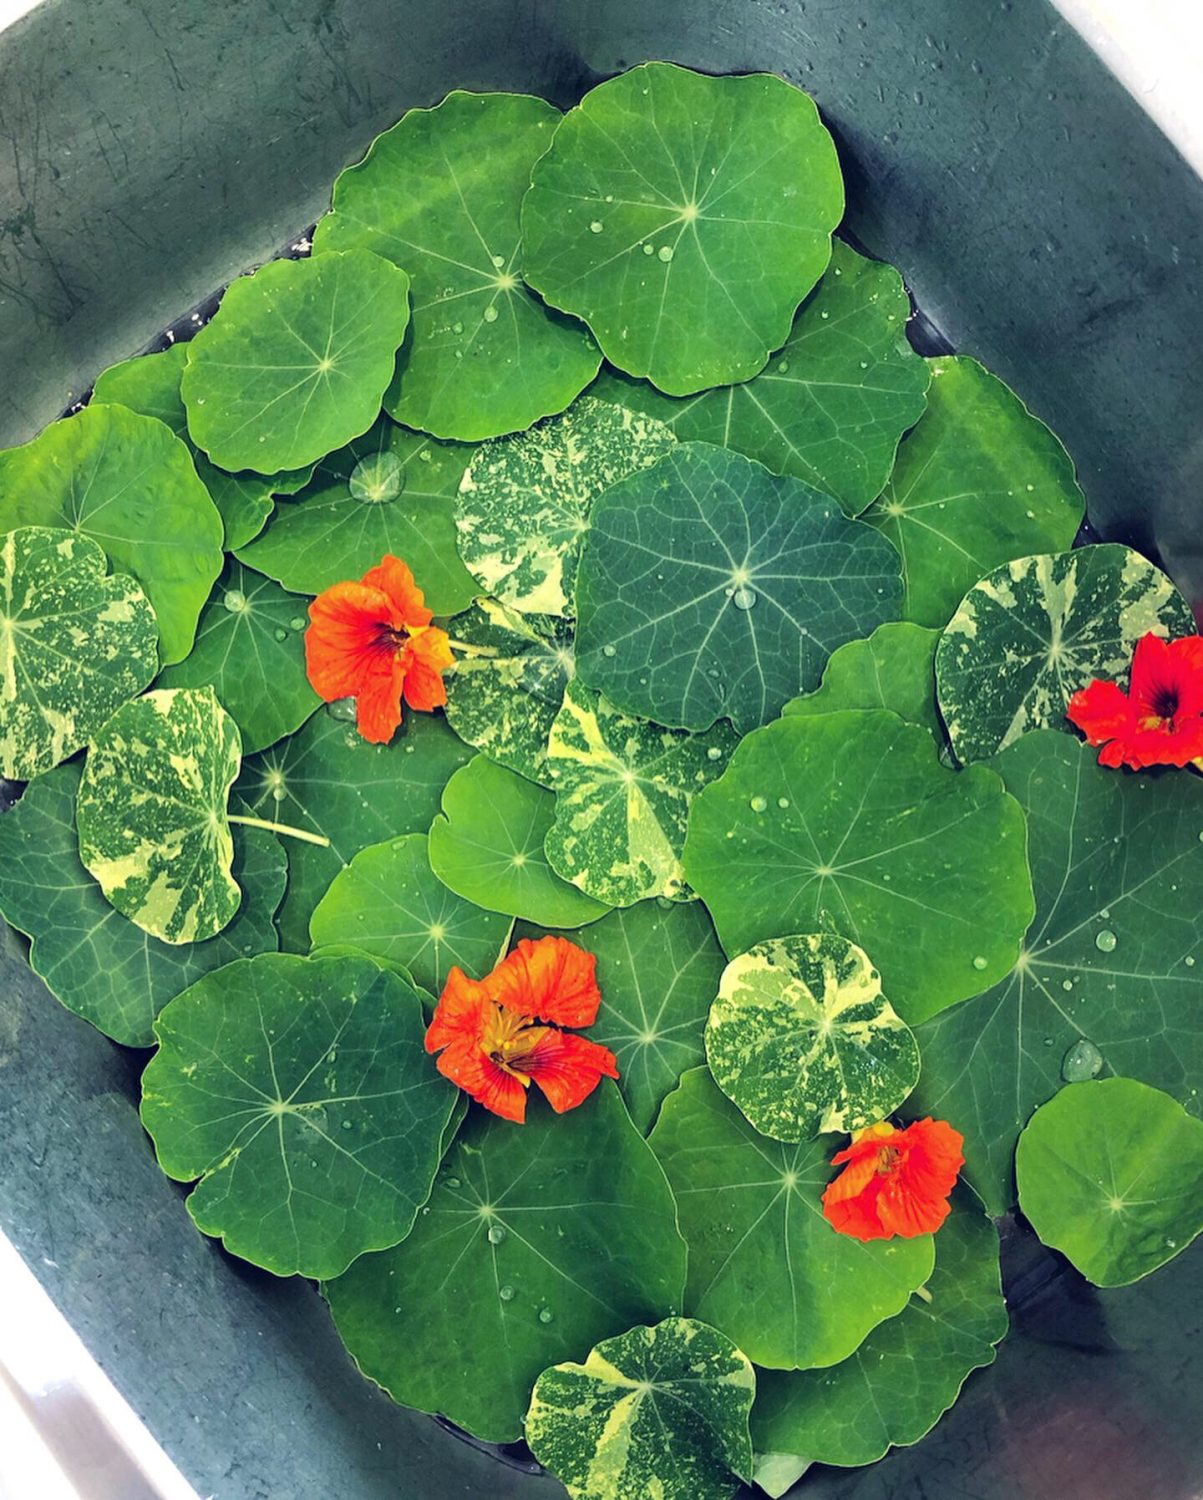
Two cups/ handfuls of Nasturtium flowers and leaves
1 cup of Salt – I used a mix of Australian blossom salt and pink Himalayan rock salt
1 teaspoon lemon zest
Step-by-Step Method for Nasturtium Salt
Step 1: Harvest and Wash the Nasturtiums
Pick approximately 2 cups of fresh nasturtium leaves and flowers. Choose healthy, vibrant growth and avoid any damaged foliage. Rinse thoroughly under cool water and inspect for any insects that may be hiding among the leaves or flowers. Pat dry or spin dry before using.
Step 2: Prepare the Ingredients
Add the nasturtium leaves, flowers, salt and lemon zest to a food processor, blender or NutriBullet. You can also just finely chop and use a mortar and pestle too. The lemon zest adds a fresh citrus note that complements the naturally peppery flavour of the nasturtiums.
Step 3: Blend Until Combined
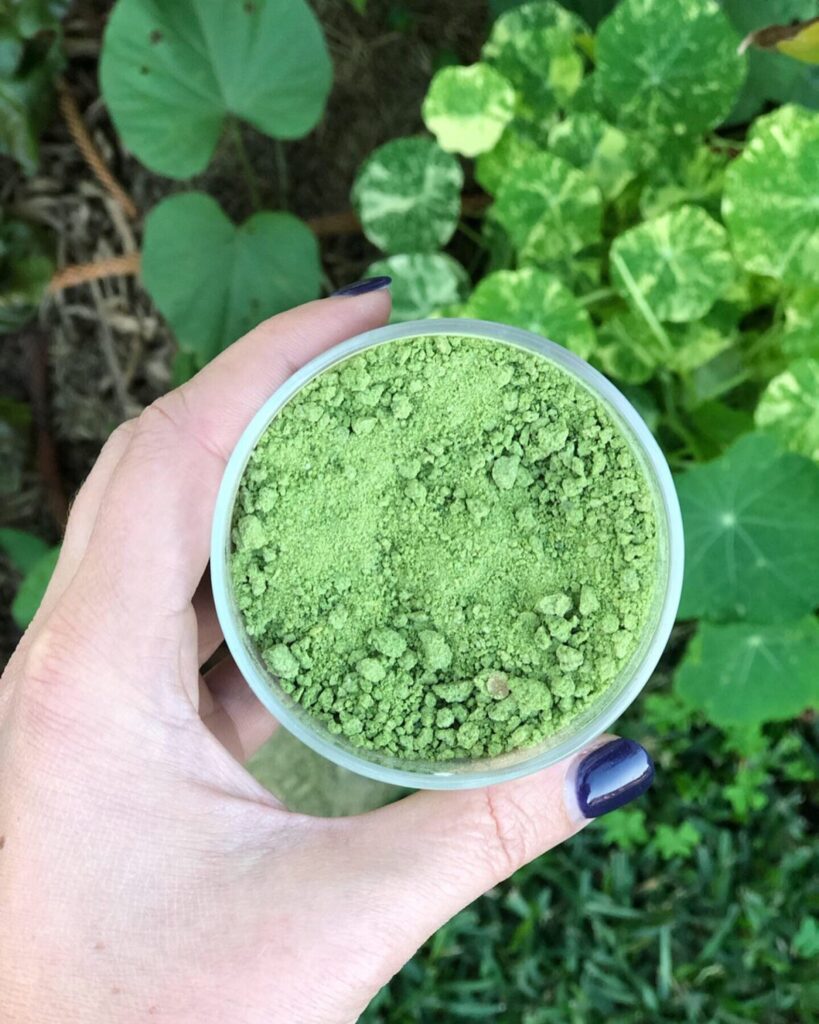
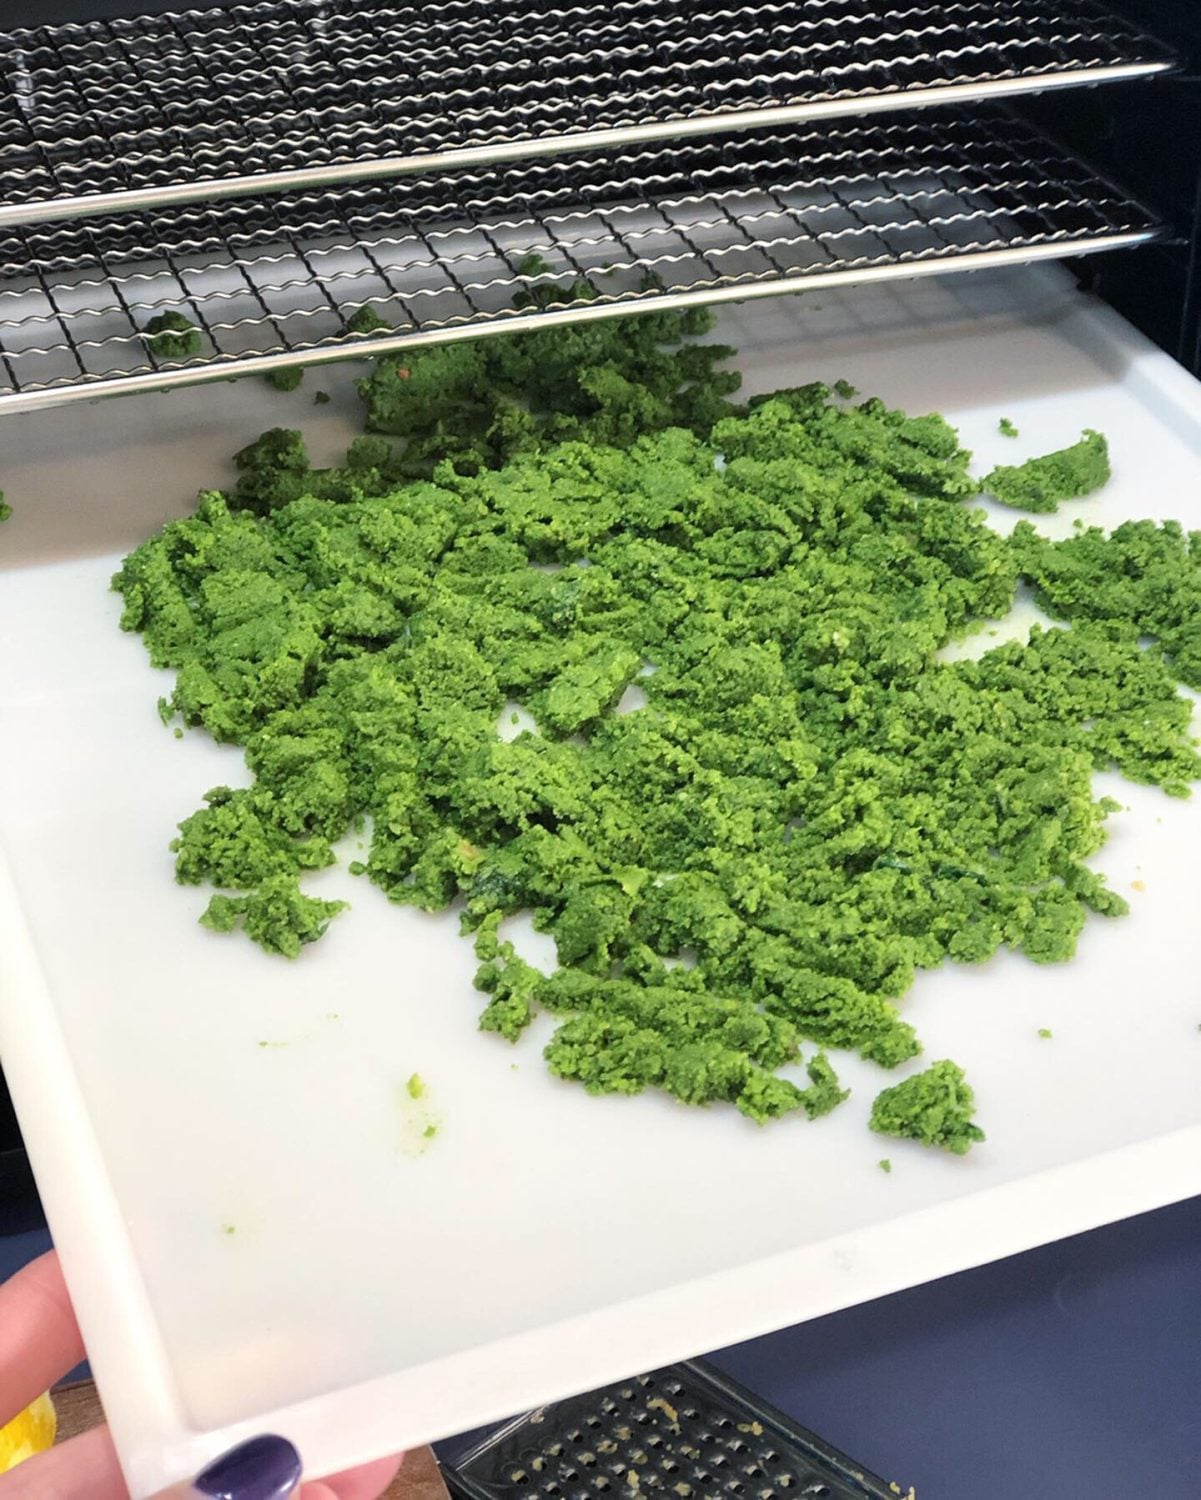
Pulse the mixture until the leaves and flowers are finely chopped and evenly distributed through the salt. The mixture should be bright green and slightly damp from the fresh plant material.
Step 4: Spread onto Drying Trays
Spread the mixture in a thin, even layer over dehydrator trays or a baking tray lined with baking paper. Breaking up any large clumps now will help it dry more evenly.
Step 5: Dehydrate Until Completely Dry
Dry the nasturtium salt at 30–40°C (85–105°F) until completely dry. This took around 3 hours in my dehydrator, but drying times may vary depending on humidity and the thickness of the layer. If using an oven, set it to the lowest possible temperature and leave the door slightly ajar to allow moisture to escape. You can also air-dry, but this may take a day or two.
Tip: The salt will become lighter in colour as it dries. If you break apart a clump and the centre is still dark green or damp, continue drying until completely dry.
Step 6: Break Up Any Clumps
Transfer the dried mixture to a bowl or use a mortar and pestle to gently crush any remaining larger pieces. This creates a finer, more even seasoning.
Step 7: Store and Enjoy
Pour the finished nasturtium salt into a clean, airtight jar. Stored in a cool, dry place, it can last for many months and is ready to sprinkle over eggs, roasted vegetables, salads, soups and homemade bread whenever you need a little garden-inspired flavour.
sustainableholly
Nasturtium Leaf Salt
A vibrant garden-to-table seasoning made from fresh nasturtium leaves and flowers blended with salt and lemon zest, then gently dried into a peppery finishing salt. Perfect for adding colour and flavour to everyday meals
Two cups/ handfuls of Nasturtium flowers and leaves
1cupof Salt – I used a mix of Australian blossom salt and pink Himalayan rock salt
1teaspoonlemon zest
Method
Rinse and check Nasturtium for any bugs.
Blitz all the ingredients in a mixer, blender or NutriBullet until the leaves are all broken down.
Then spread on to a tray and dehydrate on low 30-40 degrees Celcius until completely dry. It will lighten in colour so if you break up any larger pieces and they are still dark green it needs longer. Mine took 3 hours in the dehydrator. You can use the Oven too if you do not have a Dehydrator.
Pour into a bowl or mortar and pestle and break up any larger pieces.
Place in a jar and you have a beautiful, nutrition-packed salt! I used the Pink Himalayan salt for added beneficial minerals. A mild peppery salt to enjoy on your morning eggs on toast and add a nutritious flavour boost to any cooking.
Frequently Asked Questions
Are Nasturtium Leaves Edible?
Yes, nasturtium leaves are completely edible and have a fresh, peppery flavour similar to watercress or rocket. Both the leaves and flowers can be eaten raw or cooked and are commonly used in salads, sandwiches, pestos and other garden-to-table recipes. The flowers are milder in flavour, and the leaves are spicier.
Can You Eat Nasturtium Flowers?
Absolutely. Nasturtium flowers are one of the most popular edible flowers. They add a mild peppery flavour and a splash of colour to salads, cakes, drinks and savoury dishes. The flowers can also be used to make flavoured salts, vinegars and infused oils.
What Can I Do With Lots of Nasturtiums?
If your nasturtiums are producing more leaves and flowers than you can use fresh, there are plenty of ways to enjoy them. Try making nasturtium salt, pesto, herb butter, infused vinegar or tea. The leaves and flowers can also be added to salads, sandwiches, omelettes and savoury baking. Nasturtium seeds can even be pickled and used as a caper substitute.
What Type of Salt Is Best for Nasturtium Salt?
Most coarse salts work well for this recipe. Pink Himalayan salt, sea salt, solar salt or flaked sea salt are all excellent choices. Avoid iodised table salt if possible, as it can sometimes affect the flavour. Coarser salts also create a more attractive finished product and blend well with the fresh nasturtiums.
Do I Need a Dehydrator to Make Nasturtium Salt?
No. While a dehydrator makes the process simple, you can also dry the salt in an oven set to its lowest temperature. Leaving the oven door slightly open helps moisture escape and prevents the herbs from overheating. The key is ensuring the mixture is completely dry before storing.
Preserving the Flavours of My Food Forest
There’s something really special about finding simple ways to capture what’s growing in the garden and bring it into the kitchen. I love that it turns something so abundant into something edible and long-lasting. If you’ve got nasturtiums growing right now, add this recipe to your list of things to try. It’s easy, it’s beautiful, and it’s such a fun way to make the most of what your garden is giving you.
What ways do you like to use Nasturtiums? Another great way is these delicious Nasturtium Wraps – Recipe Here.
DISCLAIMER: Links included in this description might be affiliate links. If you purchase a product or service with the links that I provide I may receive a small commission. There is no additional charge to you! Thank you for supporting my page so I can continue to provide you with free content!