Worms are an amazing addition to a self-sufficient homestead as they turn scraps into nutrient-rich organic fertilizer to help you grow more food. Creating a sustainable lifestyle is all about taking small steps and changes to close the loop and nurture thriving ecosystems. You don’t have to do it all at once, and I highly recommend starting small, mastering a manageable garden, and then start adding layers one by one. If you overwhelm yourself and don’t have habits and systems in place, it won’t be sustainable long term…and you can end up with unproductive chaos.
Click to watcha worm farm tour
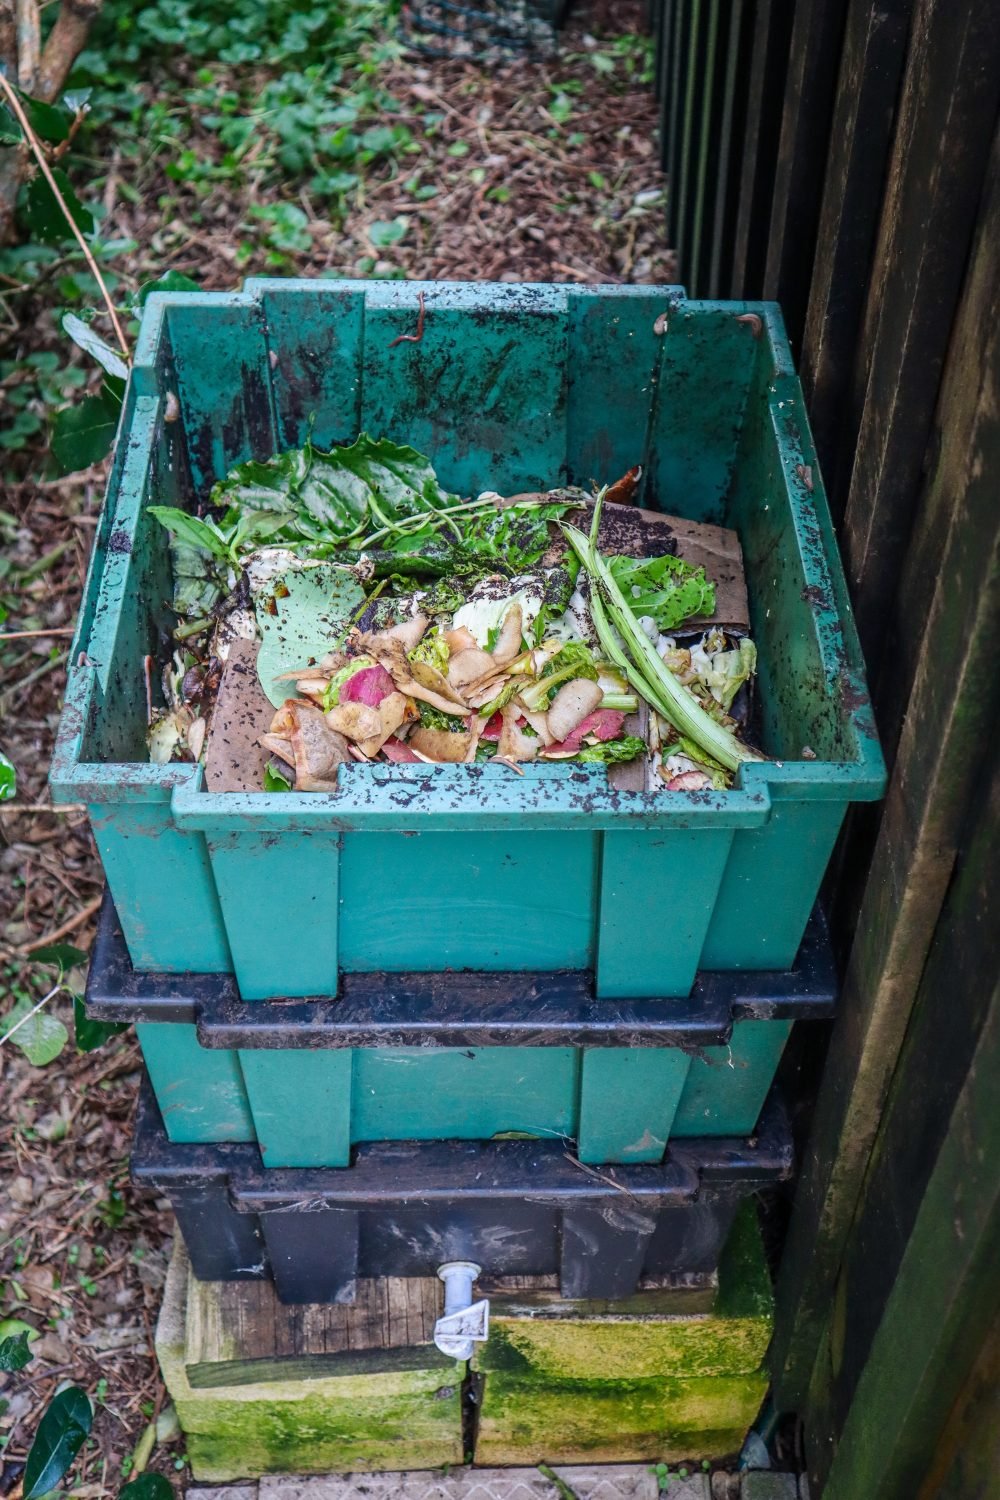
Tips for setting up a backyard worm farm
1. Source a Worm Farm or Home for your Worms
There are many options for backyard worm systems from kit-set to DIY. You will also more than likely be able to pick up a second-hand worm farm so keep an eye out on your local listings and marketplace. Be mindful of your local climate and do a little research. In Perth, Australia, we have extremely hot summers that reach over 40 degrees. Cool shady locations are a must for worms. If you do live in a hot climate there are some great DIY options using old fridges and freezers to offer more protection. This is something I will be creating very soon!
2. Choose a Location
Choose a location for your worms that is out of direct sunlight and is well protected. On the flip side if you get snow or cold temperatures, you would need to make sure you can bring your worm farm somewhere warmer in winter.
The other important consideration to make is to keep it close and convenient. Worms like to be fed a little and often so you don’t want them down the back of your property where they may get forgotten about. Permaculture zone 1-2 would be great or have them located on a path that you frequent regularly. For example: on the way to the chicken coop or the washing line. Having things in convenient locations is the absolute key to being consistent! Plus, having systems in place that easily become habits means you don’t even have to think about it just becomes part of everyday life.
3. Source Composting Worms
There are many types of worms in your garden and they all play different roles. It’s important to get the right worms for your worm farm to make sure they are happy and thriving. Tiger worms or Red Wigglers are two popular type of worm for this system. They can be purchased at many plant nurseries or hardware stores that sell worm farms. You may also be able to get set up with worms from friends that have their own form farms established.
4. What to Feed Your Worms
Feed your worms little and often! Be consistent.
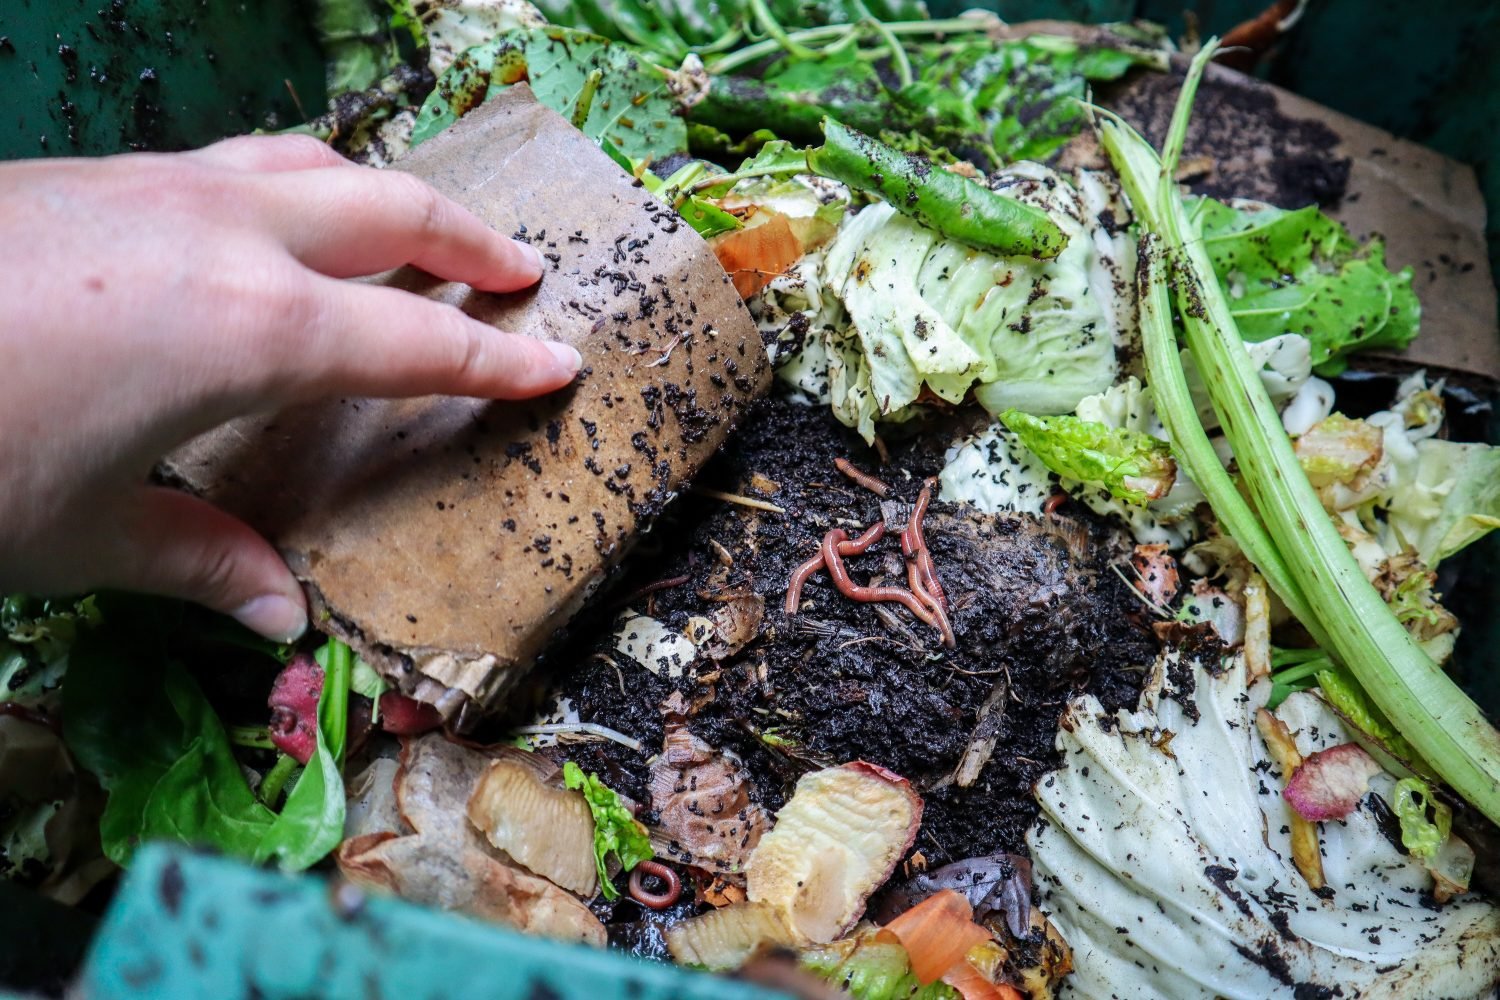
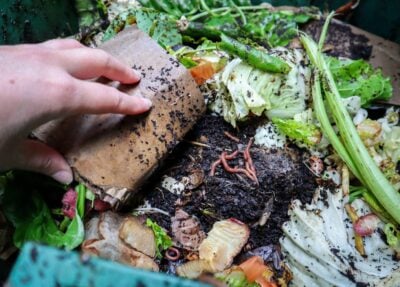
What to feed: Coffee grinds, tea leaves, vegetable scraps, egg shells, banana peels, shredded paper or cardboard, dried leaves, greens, vacuum dust. The more variety, the better as this will help keep a balanced pH. Add a little sprinkle of soil when you feed as the grit can help the worms break down the scraps. Keep the food scraps in smaller pieces if possible.
What to avoid feeding your Worms?
Avoid citrus, garlic, or the onion family as this will create an acidic environment that will harm the worms. No meat – as this can create bad bacteria and attract rats and other unwanted pests.
5. Water your Worms
Worms like a moist environment of around 70% moisture, so it’s important to give your worms a regular drink. Keep a damp sheet of cardboard, hessian sack, or newspaper on top of the food scraps to retain moisture and regulate temperatures. This also acts as a slow-releasing food source.
6. How to care for Worms when you go on Holiday
If you are going away for a few weeks your worms should be fine if you get them prepared. Flush water from the top tray, add plenty of food and some slow-release food such as pea straw, hay, and place some layers of wet newspaper or cardboard on top. This will help keep the worms nice and moist. If you are worried or going away for longer ask someone to stop by and feed your worms.
7. How Often to Feed Your Worm Farm
☀️ Summer
In summer, worms are more active and can process food scraps much faster, so most worm farms can be fed every few days. The key is to monitor how quickly scraps disappear and adjust feeding amounts to match the worm population.
❄️ Winter
In winter, worms naturally slow down and eat less, so feeding should be reduced to avoid food building up in the system. If you’re unsure how much to feed… read my guide on winter worm farm careto learn how to keep your worms healthy and producing fertiliser through the colder months.
How to Harvest Worm Tea and Worm Castings
The by-products of worms are both castings and worm tea. Castings are the worm poo which is your food scraps converted into soil. Add scoops of worm castings to your garden beds to feed and enrich the soil. Warm castings are quite concentrated so it’s best to mix this through with other soil first.
Multi-layer Worm Farms
Once the worm bin starts to fill up with worm castings and the worms start trying to get out…it may be time to change the bins over. Depending on the size of your worm farm and the population of worms this can be done 2-4 times a year. The active worm bin should be in the top layer so it is time to move this down and place an empty bin on top. Lift out as much of the uneaten food as possible and add it to the empty tub. Put in some fresh food and bedding and pour water over the top to moisten it all down. The worms will start to come up to the top layer to access the food. Leaving the castings behind.
This may take a while for the worms to move up, depending on how much uneaten food is left behind and how dense the population of worms is.
Single Layer Worm Farms
If you don’t have multiple layers in your worm farm. Another way to harvest the castings is to tip it all out onto some cardboard. The worms don’t like sunlight, so they will move to the bottom of the pile. Then you can harvest off the top layer before putting the worms back in.
Worm Tea
Worm tea can be watered down 10:1.Especially on young seedlings. But we also use a much more concentrated version of 50:50 on fruit trees. Just be careful when using it around young plants as they will be more sensitive. Like with everything in the garden, when you are unsure or just starting out do sections and test it out first.
Use the worm tea within a month or two as you want to ensure the living organisms stay alive! That is the key to healthy soil!
If you have extra worm concentrate, bottle it up for gifts or this could be a great little side hustle.
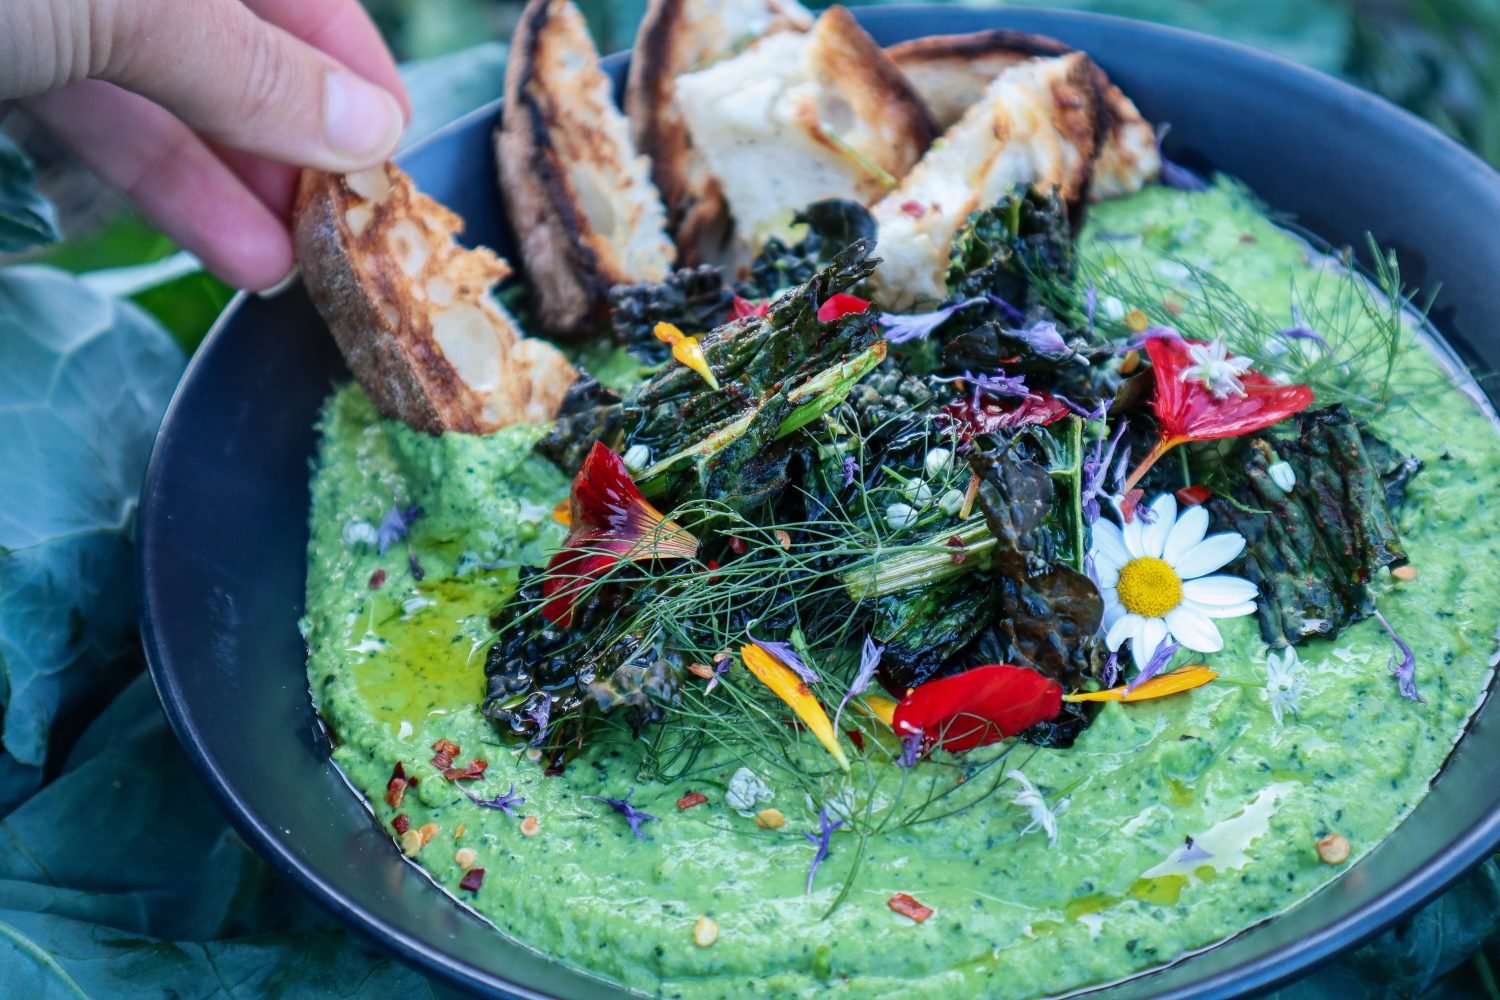
Creamy hummus loaded with crispy kale chips and edible flowers, this is a great way to use up your excess Kale harvest. Perfect for entertaining, served with toasted bread, pitas, or spooned onto a salad wrap. If you’ve got kale growing like crazy in your winter garden, this one’s for you! This Loaded Kale Hummus is a fresh, vibrant twist on classic hummus and one of my favourite ways to use up a big harvest of leafy greens. It’s packed with flavour, rich in nutrients, and makes the perfect colourful addition to snack platters, wraps, grain bowls or a simple piece of sourdough.
Ingredients from the Garden
Kale: Use any variety you have! I often mix curly and Tuscan kale for colour and texture.
Fennel fronds: Optional but adds a soft, aniseed freshness.
Edible flowers: Calendula, viola, nasturtium, or blue cornflower all work beautifully for a colourful finish.
Easy Swaps
Swap chickpeas for white beans or lentils if you’re using what you’ve got on hand.
Add a little cumin, za’atar, or preserved lemon for extra flavour.
1½cupscooked chickpeasdrained and rinsed (or 1 can)
⅓cupsmooth tahini
2tablespoonsolive oil
½teaspoonsea salt
2 1/2tablespoonsfresh lemon juicemore to taste
2-3Roasted garlic cloves
6tablespoonswateror as needed to blend
Crispy Kale Topping
2cupschopped Kale
1TBSPOlive Oil
1/4tspSalt
1/2tsppaprika or smokey seasoning
Edible flowers to serve*
Fennel fronds to serve
1/4tspchilli flakes
Method
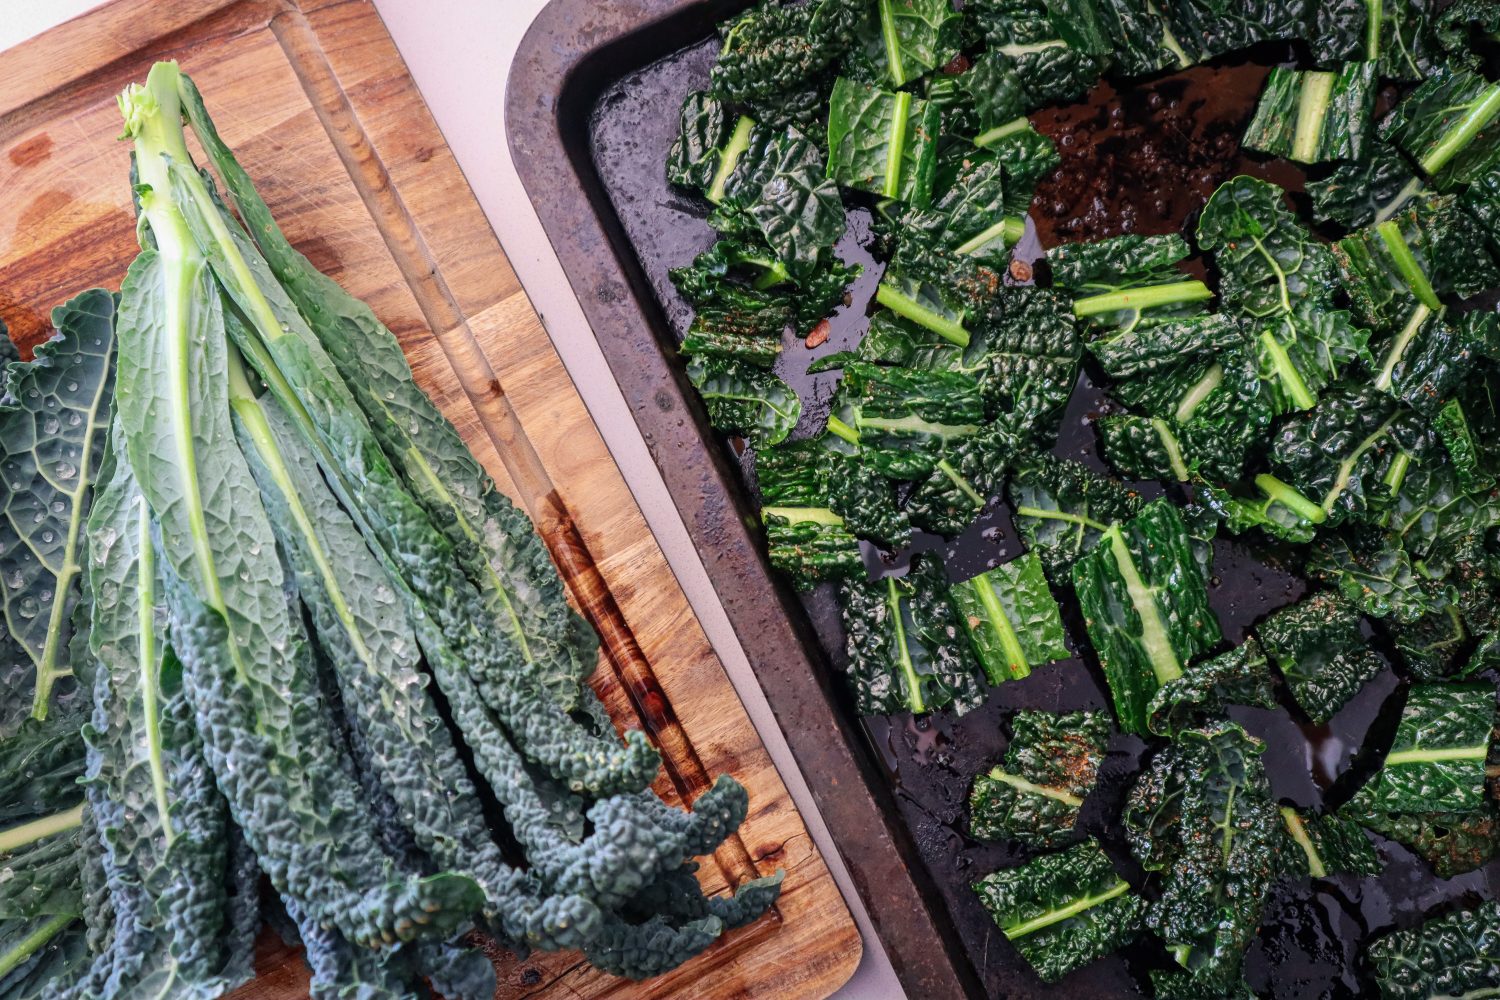
Preheat oven to 180 degrees. Wash and dry off Kale.
Add two cups of chopped Kale (approx 2cm square chunks) to a mixing bowl.
Add 1 TBSP oil and massage into the Kale. Sprinkle on the 1/4 tsp salt and the paprika and stir to combine. Add to a baking tray along with the whole cloves of garlic (unpeeled lightly coat in oil).
Bake until Kale is crispy (10minutes). Check if the garlic is soft and if not remove the kale and cook the garlic for a further few minutes.
Set the crispy kale aside in a bowl.
Add all the hummus ingredients into a mixer or blender including the roasted garlic (remove the peels first). Blitz to combine. Taste and add extra salt or lemon juice if needed.
Pour the hummus into a bowl and load up the crispy Kale chips on top. Sprinkle over edible flowers and optional chilli flakes and serve with warm toasted bread.
Notes
Edible flowers I used are: Onion flowers, pansies, calendula, cornflower, chrysanthemum, and nasturtium.
Toasted nuts and seeds would also be delicious additions.
Drizzle a little extra olive oil to serve.
Storing Kale Hummus
This hummus keeps in the fridge for up to 5 days in an airtight container. The crispy kale topping is best enjoyed fresh, but you can make a fresh batch quickly if needed. You can also freeze the base hummus (without toppings) for up to 3 months, perfect for quick snacks or lunch prep.
Garden to Plate
If your kale is getting ahead of you this season, blanch and freeze chopped kale in small handfuls so you’re ready to make this hummus (or green smoothies, soups, etc.) anytime. You can also substitute other leafy greens like silverbeet, beet greens, or parsley if you’re harvesting those instead.
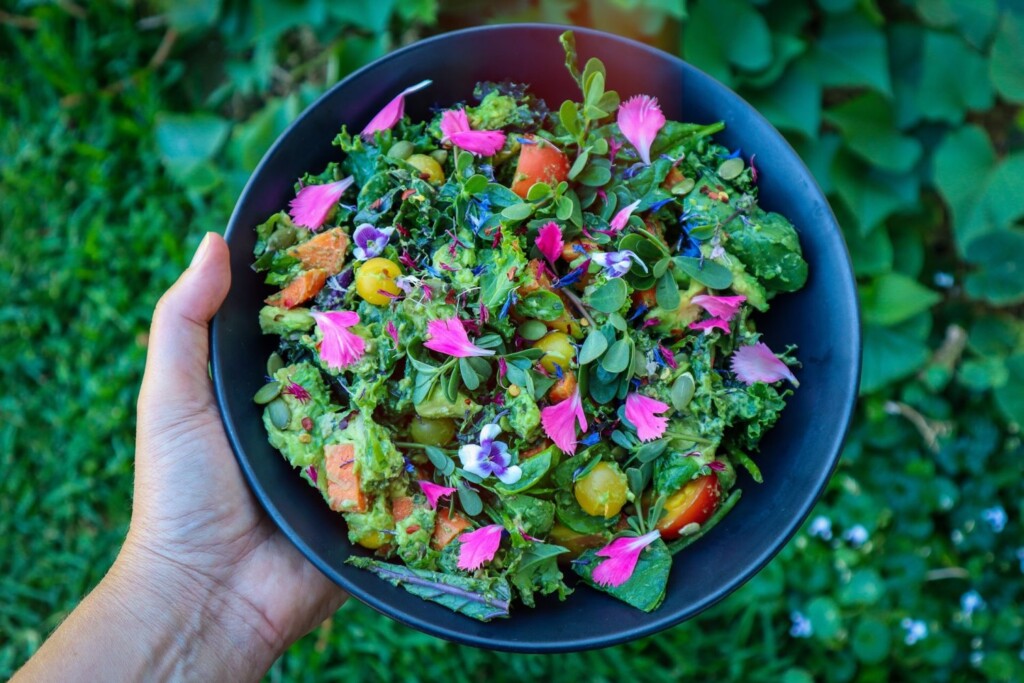
Simple and so delicious this really is the best Kale salad! Garden-to-plate in a couple of minutes. Kale can be a struggle for many people to like but the curly edges and small dimples are amazing for holding on to flavours. This dressing is so easy and full of flavour it can be used on any of your garden salads.
The Best Kale Salad
5 from 1 vote
Simple and so delicious! This Kale salad is a staple garden-to-plate recipe.
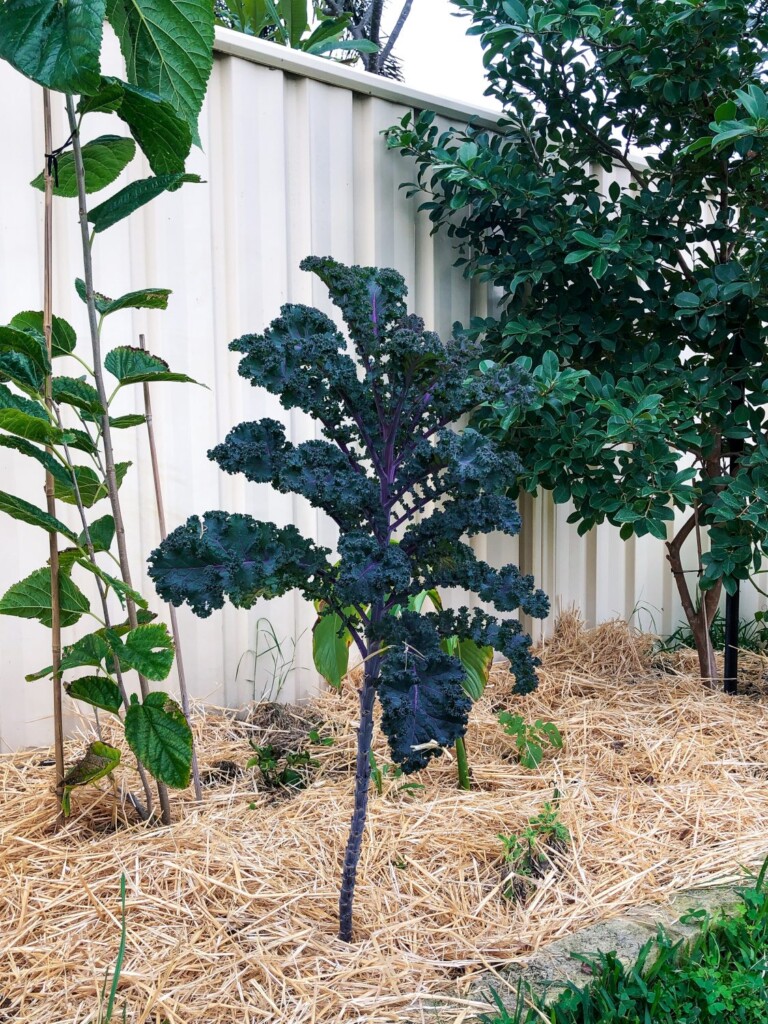
Kale (Brassica oleracea) is a member of the Cabbage family and produces an abundance of leafy greens. The great thing about Kale is that it grows vigorously and is much more pest-resistant than cabbages. Kale is packed with nutrients and antioxidants and can be used raw or cooked similar to lettuce or spinach.
Benefits from regular compost and natural fertilizers.
PESTS
Slaters, slugs, aphids, snails, and green caterpillars/ cabbage moth.
HARVEST
Harvest the outer leaves as the plant grows or cut the mature plant off and allow new growth to form.
REPRODUCE
Kale is Bi-annual so seeds usually form in the summer or second season.
Why Grow Kale?
Kale is a fantastic crop for beginner gardeners or those wanting a low-maintenance edible garden. Kale is hardy and grows well in many different conditions.
Here are some of the many reasons to grow Kale:
Easy to grow
Versatile produce
Low maintenance
Bulk up salads
Nutritious smoothies
Less susceptible to pests
Visual Aesthetics
Supports Immune health
Rich in Vitamin C,K,E
Can be eaten raw or cooked
Popular Kale Varieties
‘Tuscan / Tuscano’ – Heirloom variety. Produces long dark green, palm-like leaves. Popular for flavour and texture.
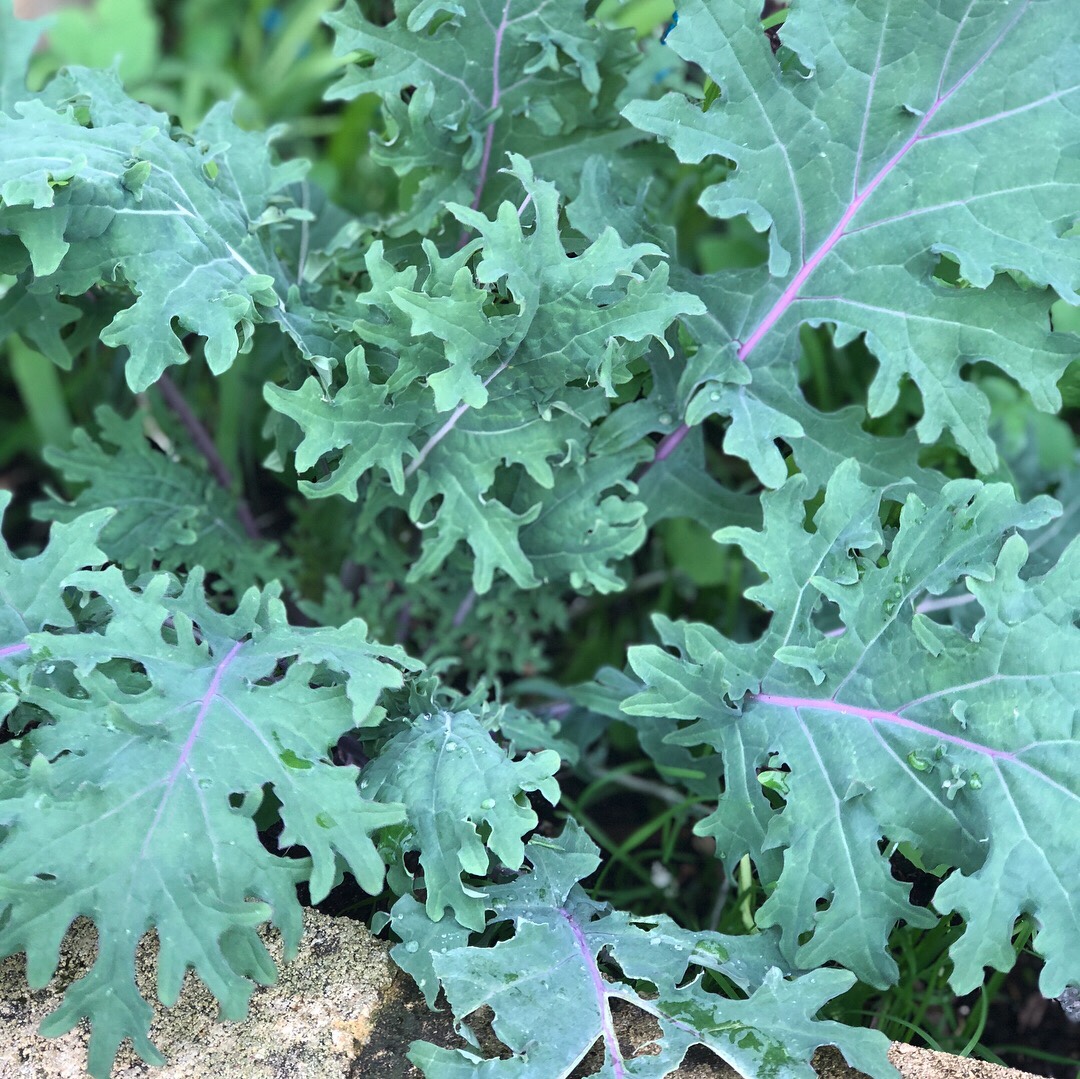
‘Red Russian’ – Silvery green curly leaves with striking purple veins. Young leaves are good raw and older leaves are better cooked. Great for microgreens.
‘Siberian‘ – Green curly leaves. Mild sweet flavour. Hardy and prolific.
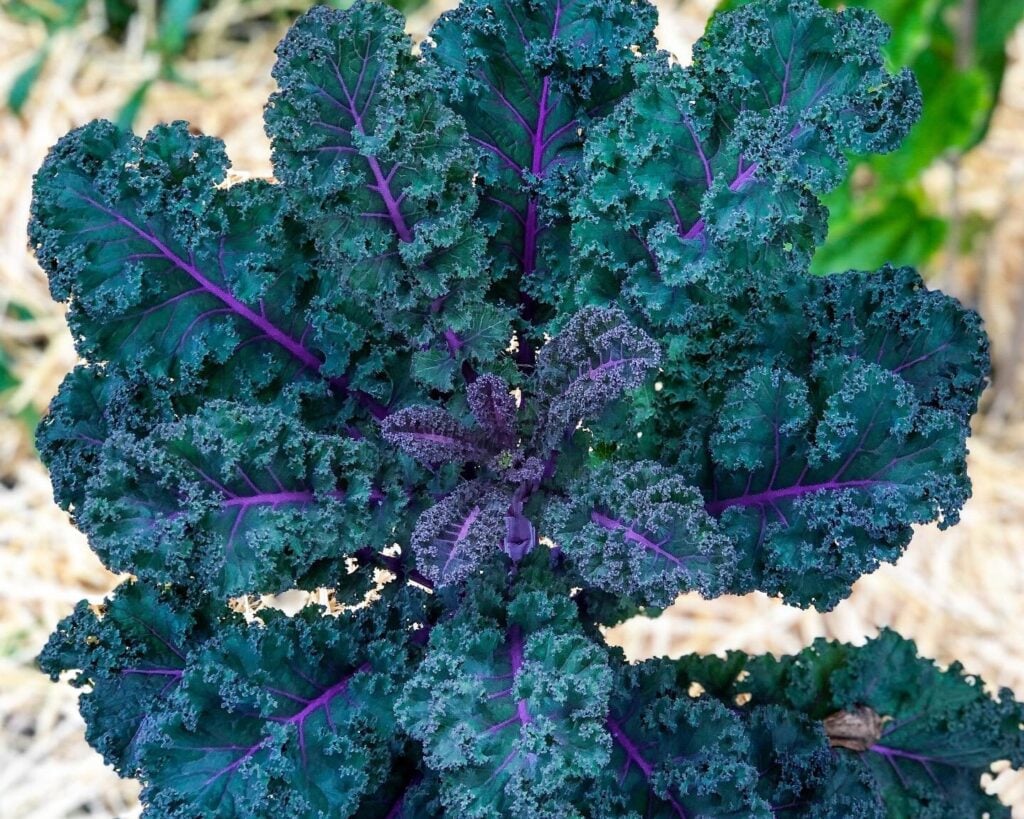
‘Scarlet‘ – Bright purple frilly leaves. Colour deepens with cool weather. Nutritious and ornamental.
When to Plant Kale
Kale is best planted from the end of Summer to Spring. Flavour improves with cool weather. In summer plants can get covered in aphids and caterpillars and the flavour is less palatable.
How to Grow Kale
Plant seeds into seed trays first (young kale is popular with pests) and transplant them in a sunny location once they have 4-5 leaves.
Dig in compost and composted manure to feed the soil.
Kale has shallow roots so add mulch to keep retain moisture and regulate temperature.
Care/ Maintenance
Keep Kale well-watered and keep an eye out for pests.
Pests / Disease
Slugs and snails may eat young seedlings. Older plants can suffer from aphids and green caterpillars, especially in warmer months. Use natural pest management.
How/ When to Harvest
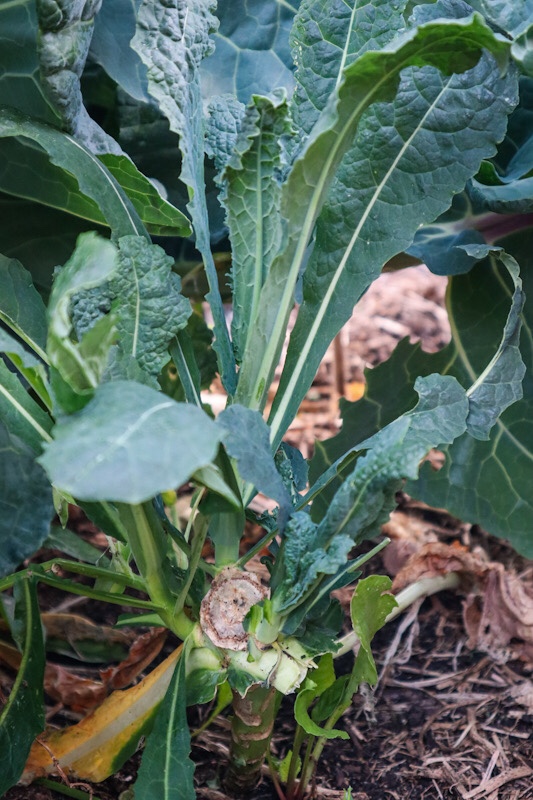
The best time to harvest your Kale is during the coldest months. This is when the flavour is at its best! Harvest a few of the bottom leaves off each plant to allow continuous growth. Towards the end of winter/ early spring, you can cut the Kale plants off just leaving the stalk in the ground. This will reshoot multiple side shoots for a new harvest into Spring.
Reproducing
Kale is biennial so it will go to flower and produce seeds in its second season/ year or if the weather gets too warm. If your Kale does go to flower, wait until the flowers turn into seed pods and once they start to dry and turn brown they can be harvested. Keep the seed pods somewhere warm and dry until they have completely dried out. Pop open the seed pods to reveal the small Kale seeds. Keep your seeds in a dry, dark cool location.
Cooking and Using Kale
Kale can be eaten raw or cooked.
Kale pairs well with: Garlic, onion, chilli, apple, lemon, potato, beetroot, sweet potato, cauliflower, cabbage, tomato, mustard, honey, radish
Kale ideas:
Salads
Smoothies
Quiche
Pie
Curry
Pastries
Stirfry
Pesto
Preserving the Harvest
Kale can be easily preserved to use throughout the year.
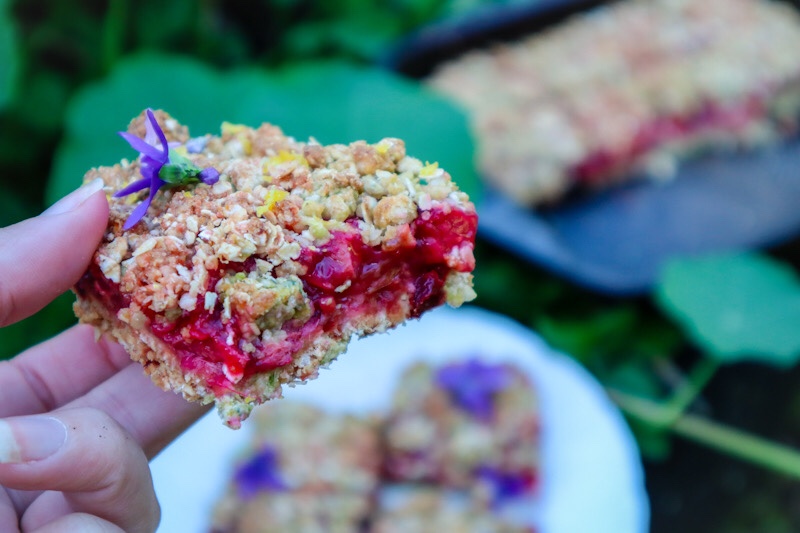
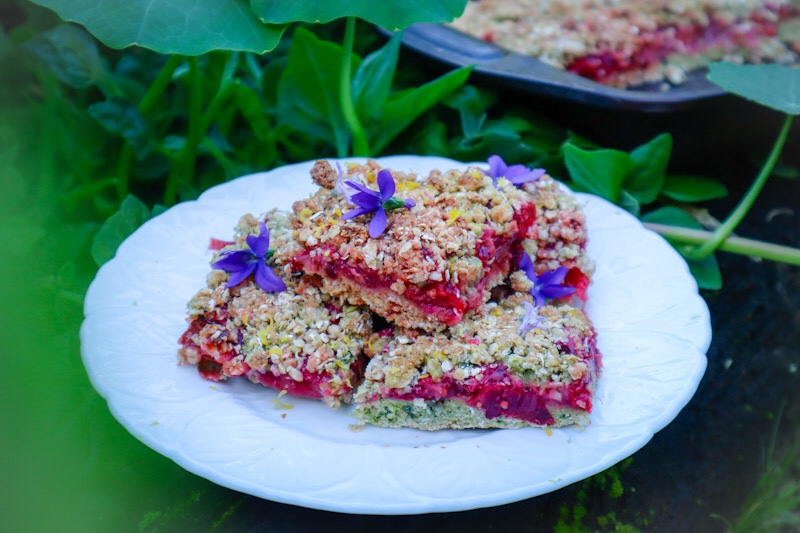
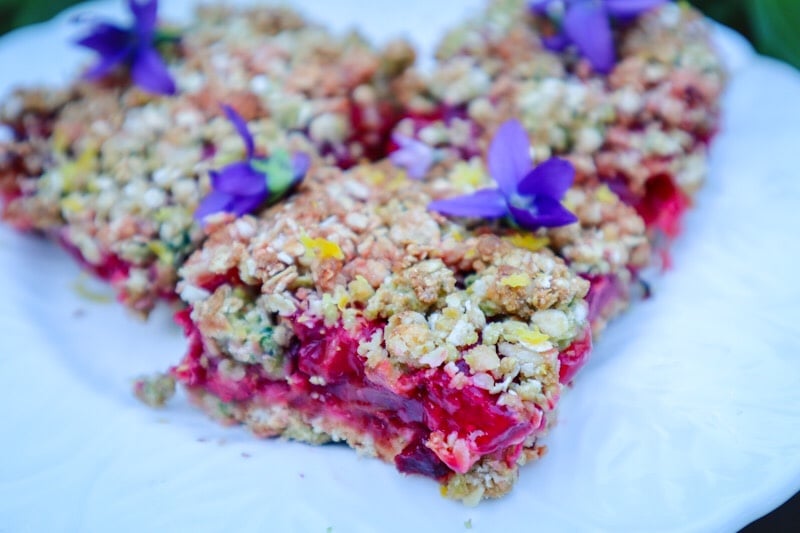
Deliciously sweet, and tart Rhubarb Crumble Slice with hidden garden greens. This gooey-centered slice is easy to make and will make a yummy dessert or sweet treat for lunches.
Rhubarb Crumble Slice
Delicious sweet and tart slice with refreshing hints of lemon. An easy snack for lunches or serve with yogurt or icecream for a yummy dessert!
Preheat the oven to 180degrees Celcius. Grease a 25cm square dish.
Add all the filling ingredients into a saucepan on medium-low heat until the Rhubarb has softened. Add a little extra water if it is too thick. You want it to be thick but still be able to roll off the spoon.
Allow to cool while you prep the base.
Mix together all the dry ingredients for the crumble. Add in the melted butter and greens. (You can skip the greens and add an extra TSPB of butter).
Press 3/4 of the mixture into the dish to form the base. Bake for 10 minutes and remove from the oven.
Pour over the filling and sprinkle the remaining crumble on top.
Bake for 30-40minutes until slightly golden.
Grate extra lemon zest on top to serve.
Notes
*Blanch greens such as spinach or chard leaves, blitz to puree, and add into crumble for added nutrition.
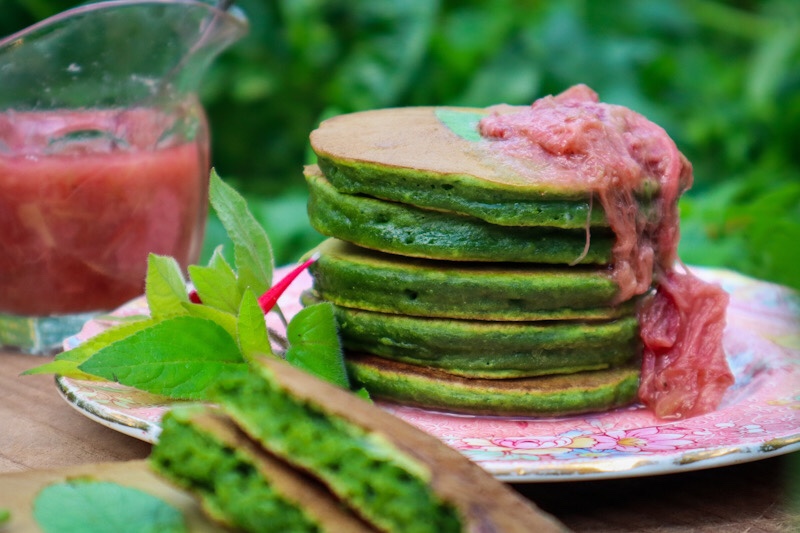
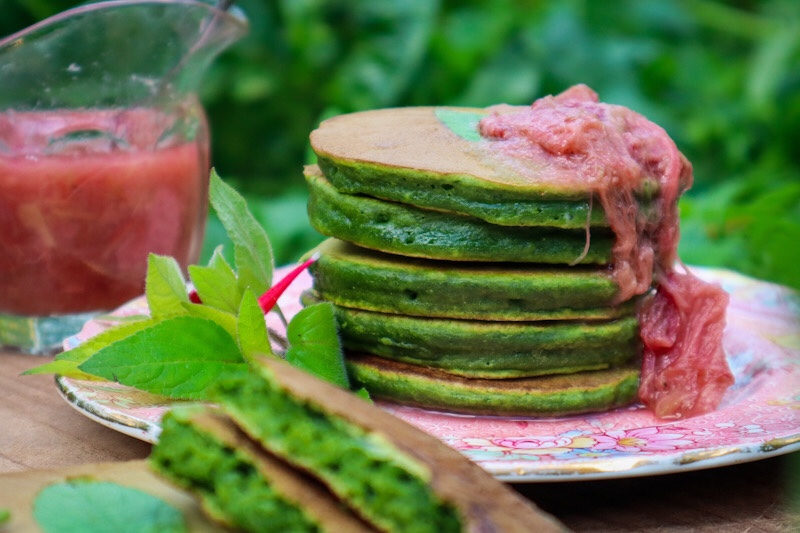
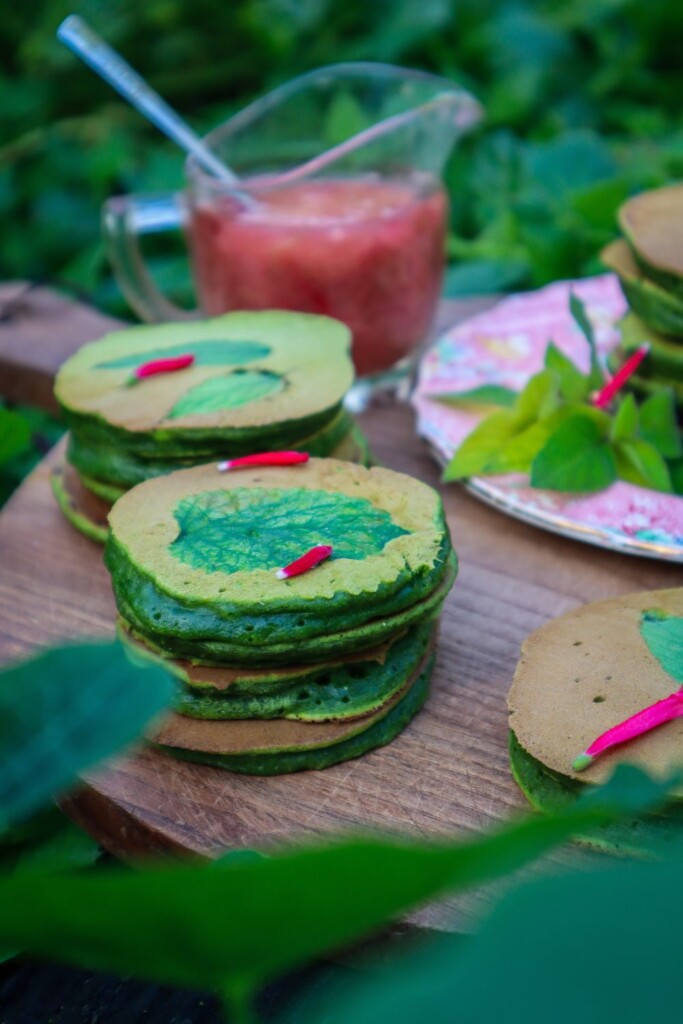
Packed with fresh greens from the garden these garden green pikelets are so fun to make. With subtle, fragrant herb flavours and vibrant green colour these pikelets are a delight to eat. Served with a delicious Rhubarb compote.
Garden Green Pikelets
Vibrant green pikelets packed with fresh greens from the garden.
Rinse the leafy greens and remove any hard stems. Blanch the leaves by submerging them in a pot of simmering hot water for 30-40 seconds and then add them straight to a bowl of ice-cold water. This step will help the pikelets retain their vibrant green colour. Skipping this step may result in a duller green.
Strain the greens and place them in a blender or mixer along with the milk. Blitz until all the greens are combined to create green milk.
Add in the egg and lightly blitz to combine.
In a mixing bowl add flour, baking powder, and sugar. Stir to combine. Add the green mix slowly and stir to combine. Add about 1/4 cup of water to the empty green mixer or blender jug and shake to clean the residual green mix from the sides. Use this if the mixture needs a little more liquid. It should fall from the spoon quite easily.
Clean your herb leaves and remove any hard stems. have these laid out ready to add while cooking your pikelets.
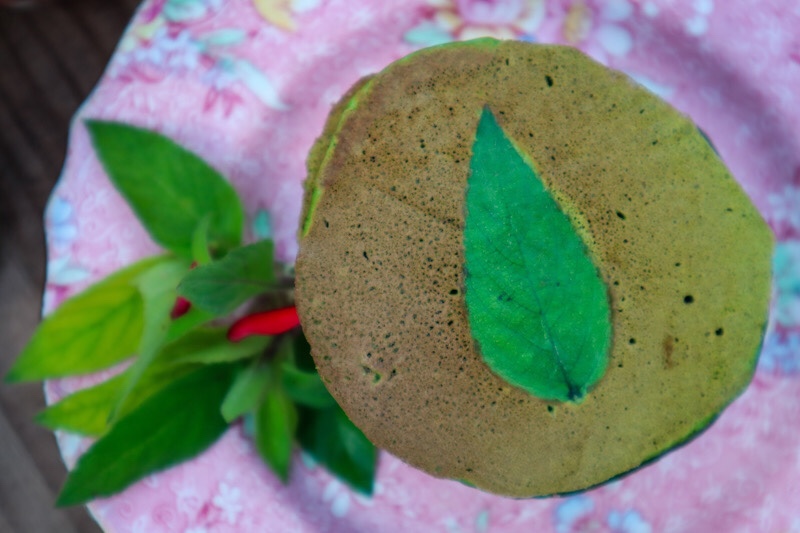
Place a frying pan on low-medium heat and coat with a little vegetable oil. Spoon in your pikelets and add a leaf to the top. Once the pikelet has 3-4 bubbles appear carefully flip and cook for a further minute.
Serve with Rhubarb compote and yogurt or cream.
Notes
Leafy Greens – I used Warrigal Greens (NZ Spinach) and a few Nasturtium leaves. You could use any mild flavoured leafy greens such as spinach or chard.
Herbs – Pineapple Sage and lemon balm worked the best as they handled the heat. I also tried Mint and pineapple sage flowers and they were ok too.
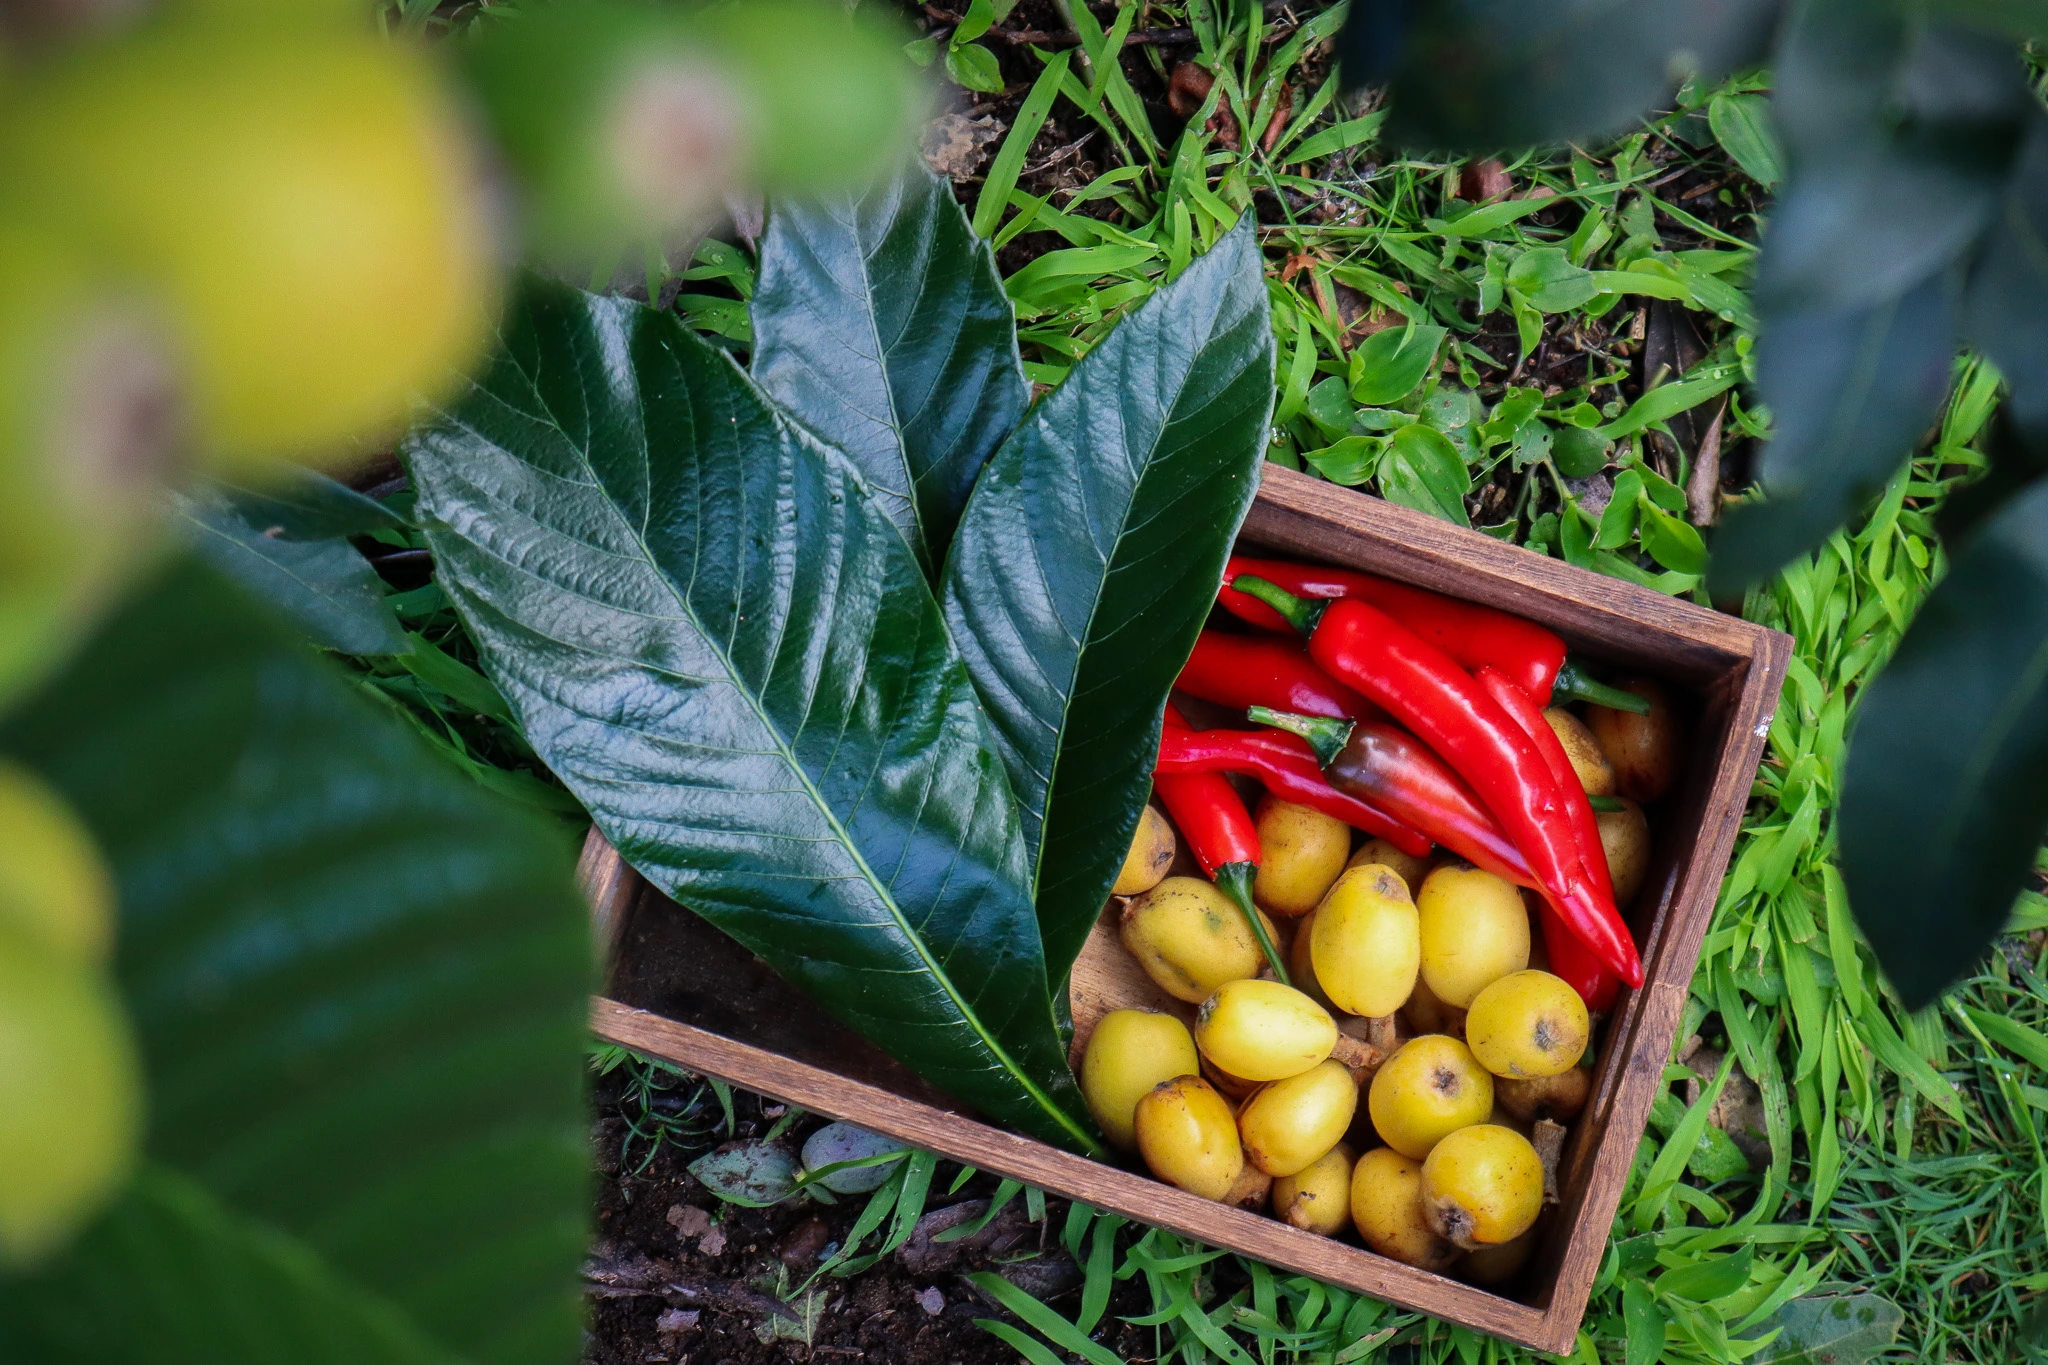
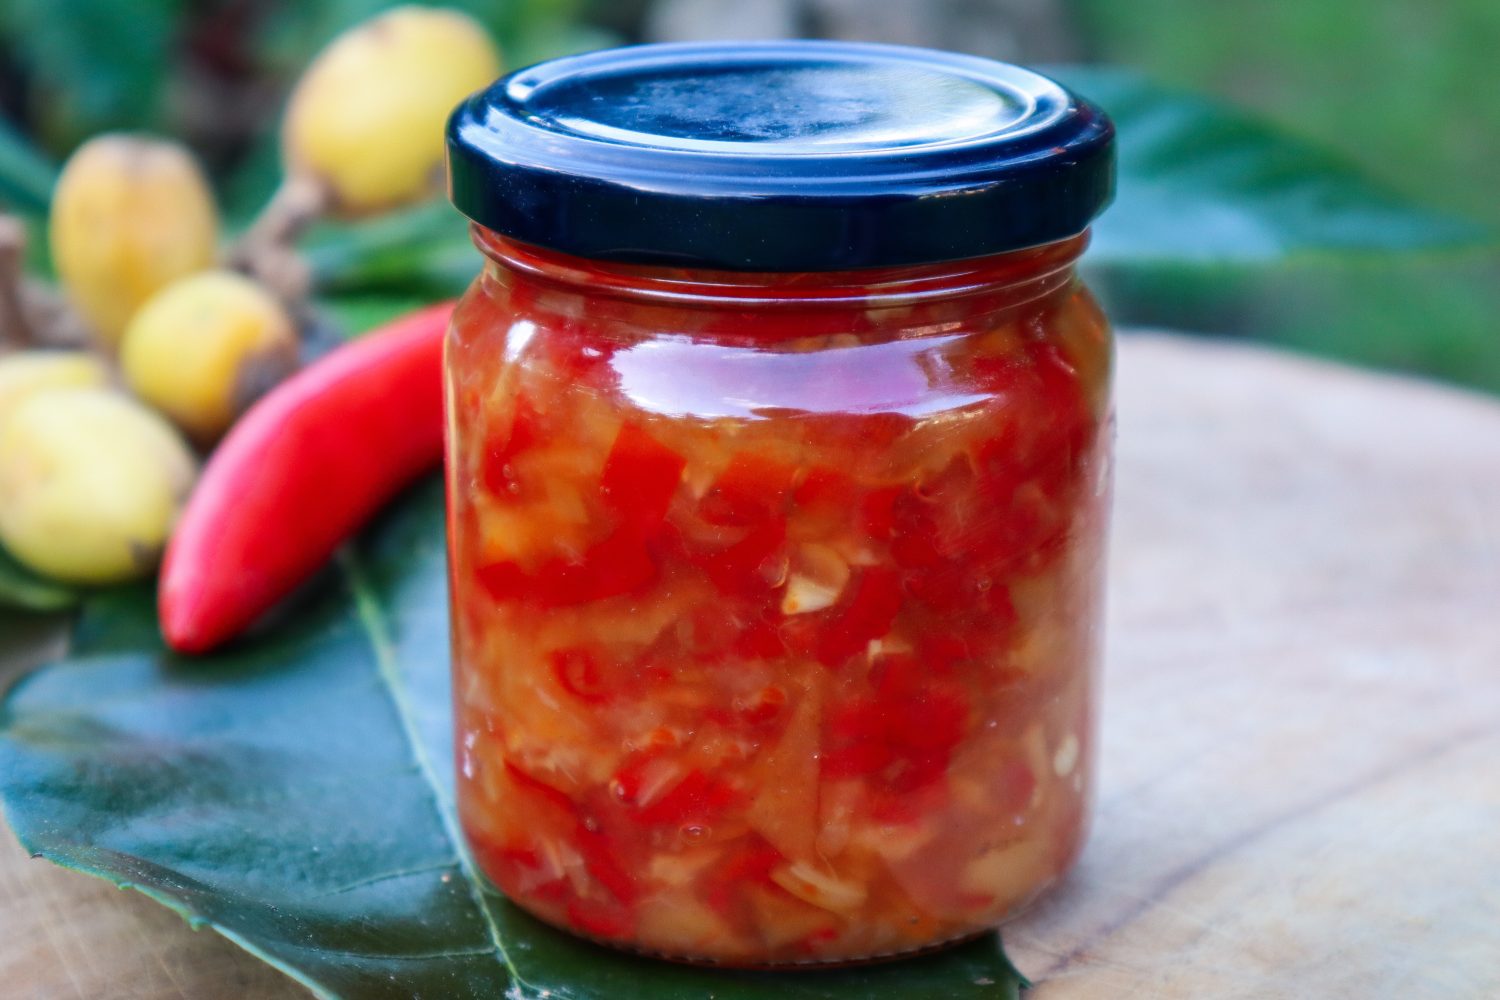
Loquat trees are incredibly productive, often producing more fruit than you can eat fresh! If you’re lucky enough to have a tree loaded with fruit, this homemade loquat sweet chilli jam is one of the most delicious ways to preserve the harvest.
The natural sweetness of ripe loquats pairs with the heat of fresh chillies, creating a sweet, sticky, and slightly spicy jam that is perfect for cheese boards, sandwiches, burgers, and grazing platters. It also makes a wonderful homemade gift during loquat season.
One of the best things about this recipe is that Loquats and Chillies are often ripe and in season at the same time! One of my main goals is to create seasonal recipes that help you get the most out of each harvest. It is also so easy to adapt! Prefer a mild sweet chilli jam? Remove the seeds and use a mild chilli variety. Looking for something with a bit more spicy kick? Leave the seeds in or choose hotter chillies to suit your taste.
Whether you’re trying to reduce food waste, preserve an abundant harvest, or simply try something new, this homemade loquat sweet chilli jam is a simple and rewarding recipe that captures the flavours of the season.
What Do Loquats Taste Like?
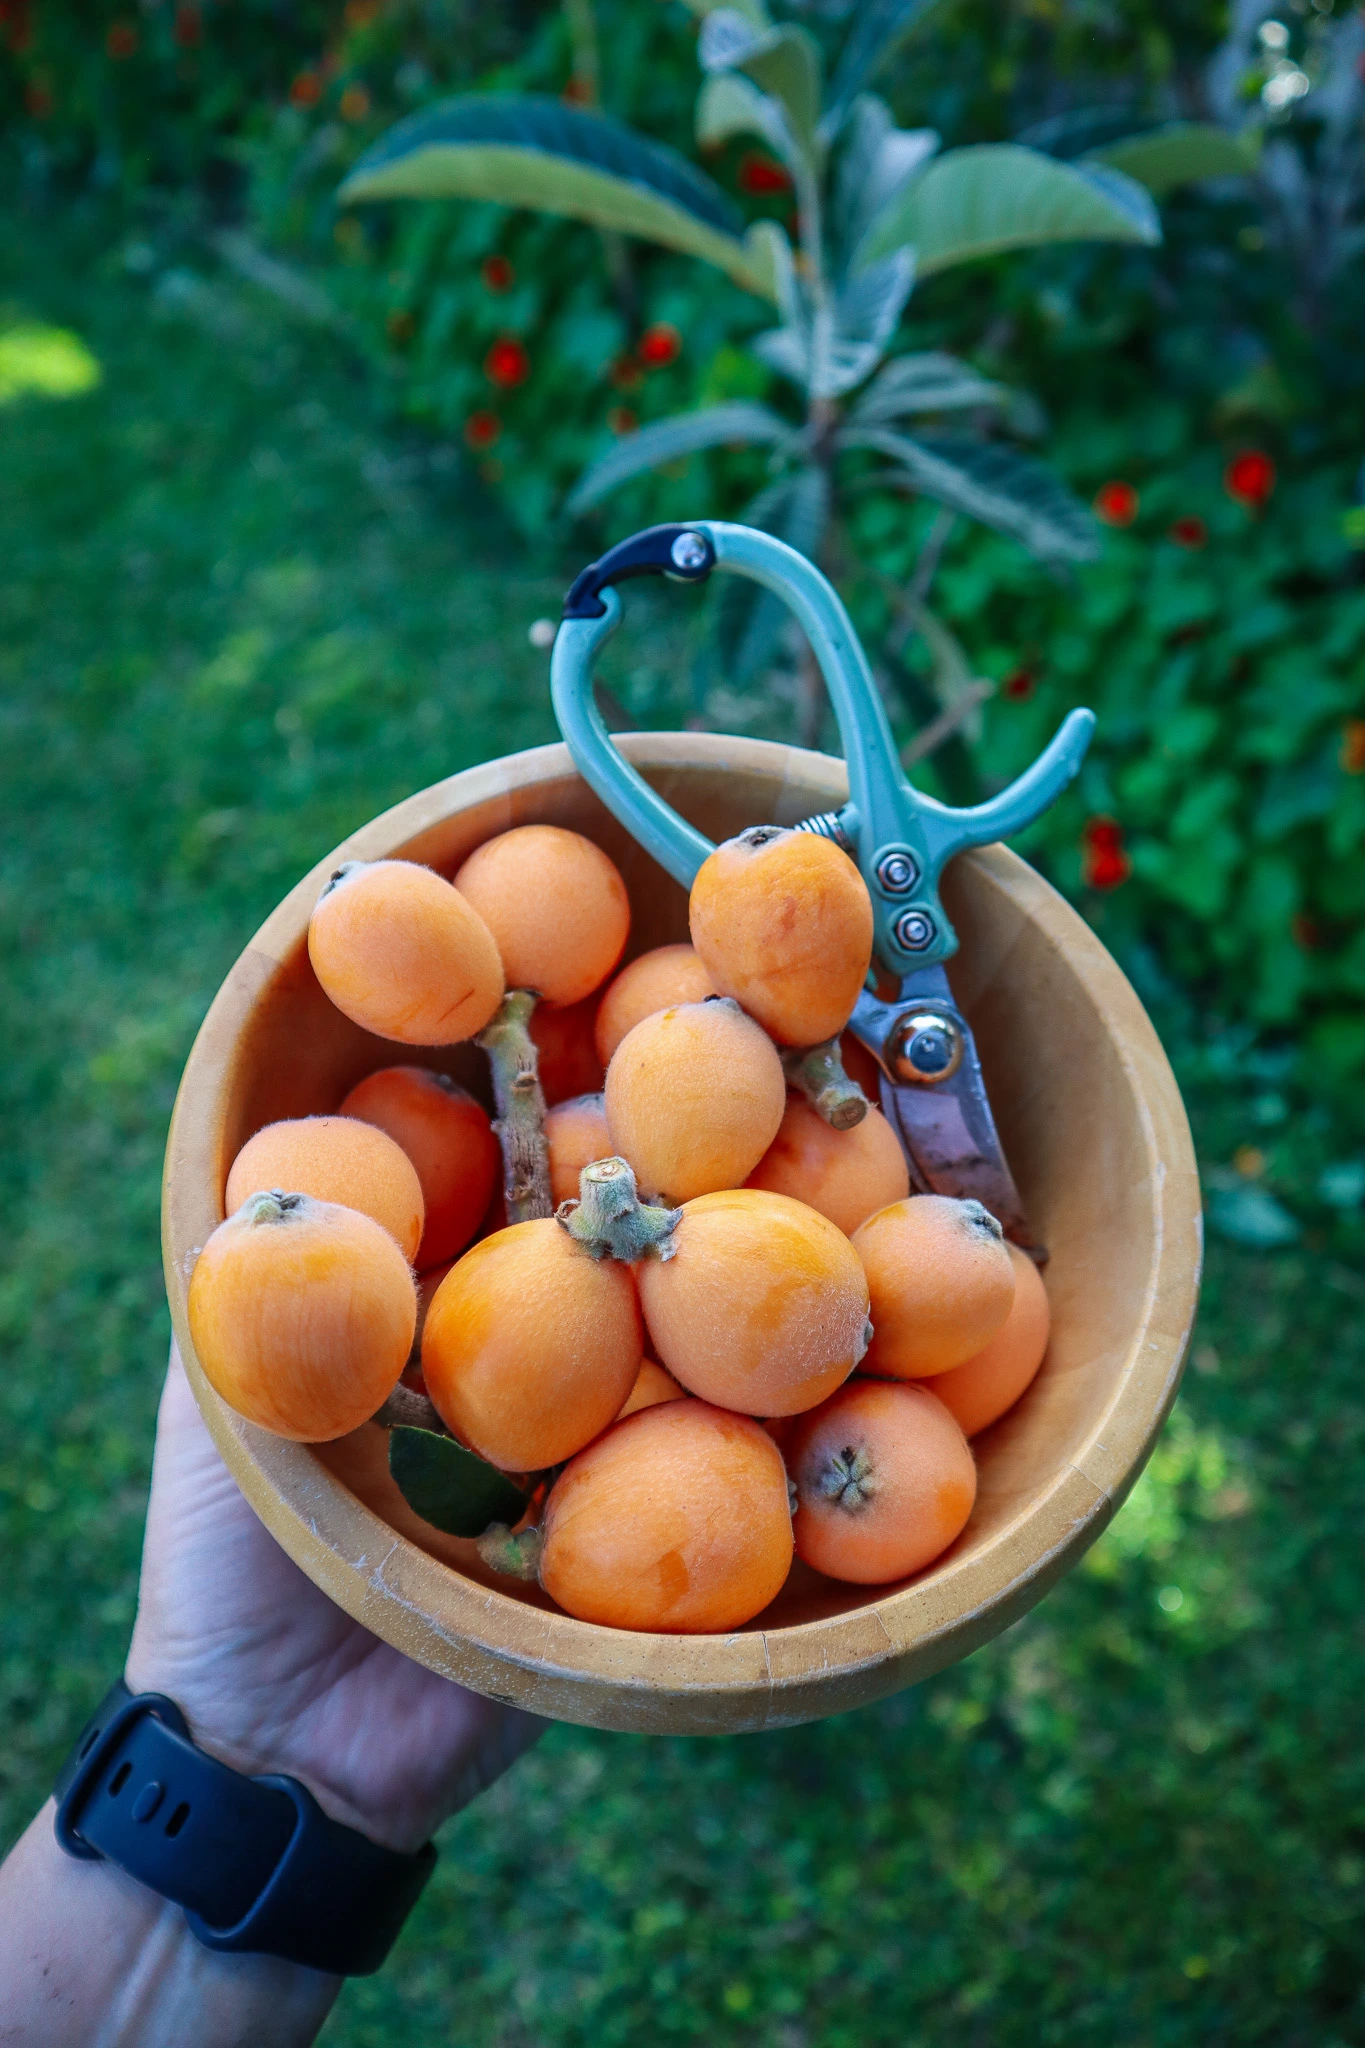
Loquats have a sweet and sour flavour that is often described as a combination of apricot, peach, citrus and mango. Their natural sweetness makes them ideal for jams, chutneys and preserves. They have a few seeds inside, but they are large, and easily pop out. The skin is thin, and they don’t need to be peeled so they are easy to prepare for the sweet chilli jam.
Use Fully Ripe Fruit
Ripe loquats have the best flavour and the most natural sweetness. Fruit that is slightly soft and deep orange will generally produce the richest jam. Yellow fruits will have more tart flavour and require a little more added sweetness.
What Chillies Should You Use?
One of the best things about making homemade loquat sweet chilli jam is that you can easily adjust the heat level to suit your taste. Almost any chilli variety can be used, from mild and fruity through to seriously hot.
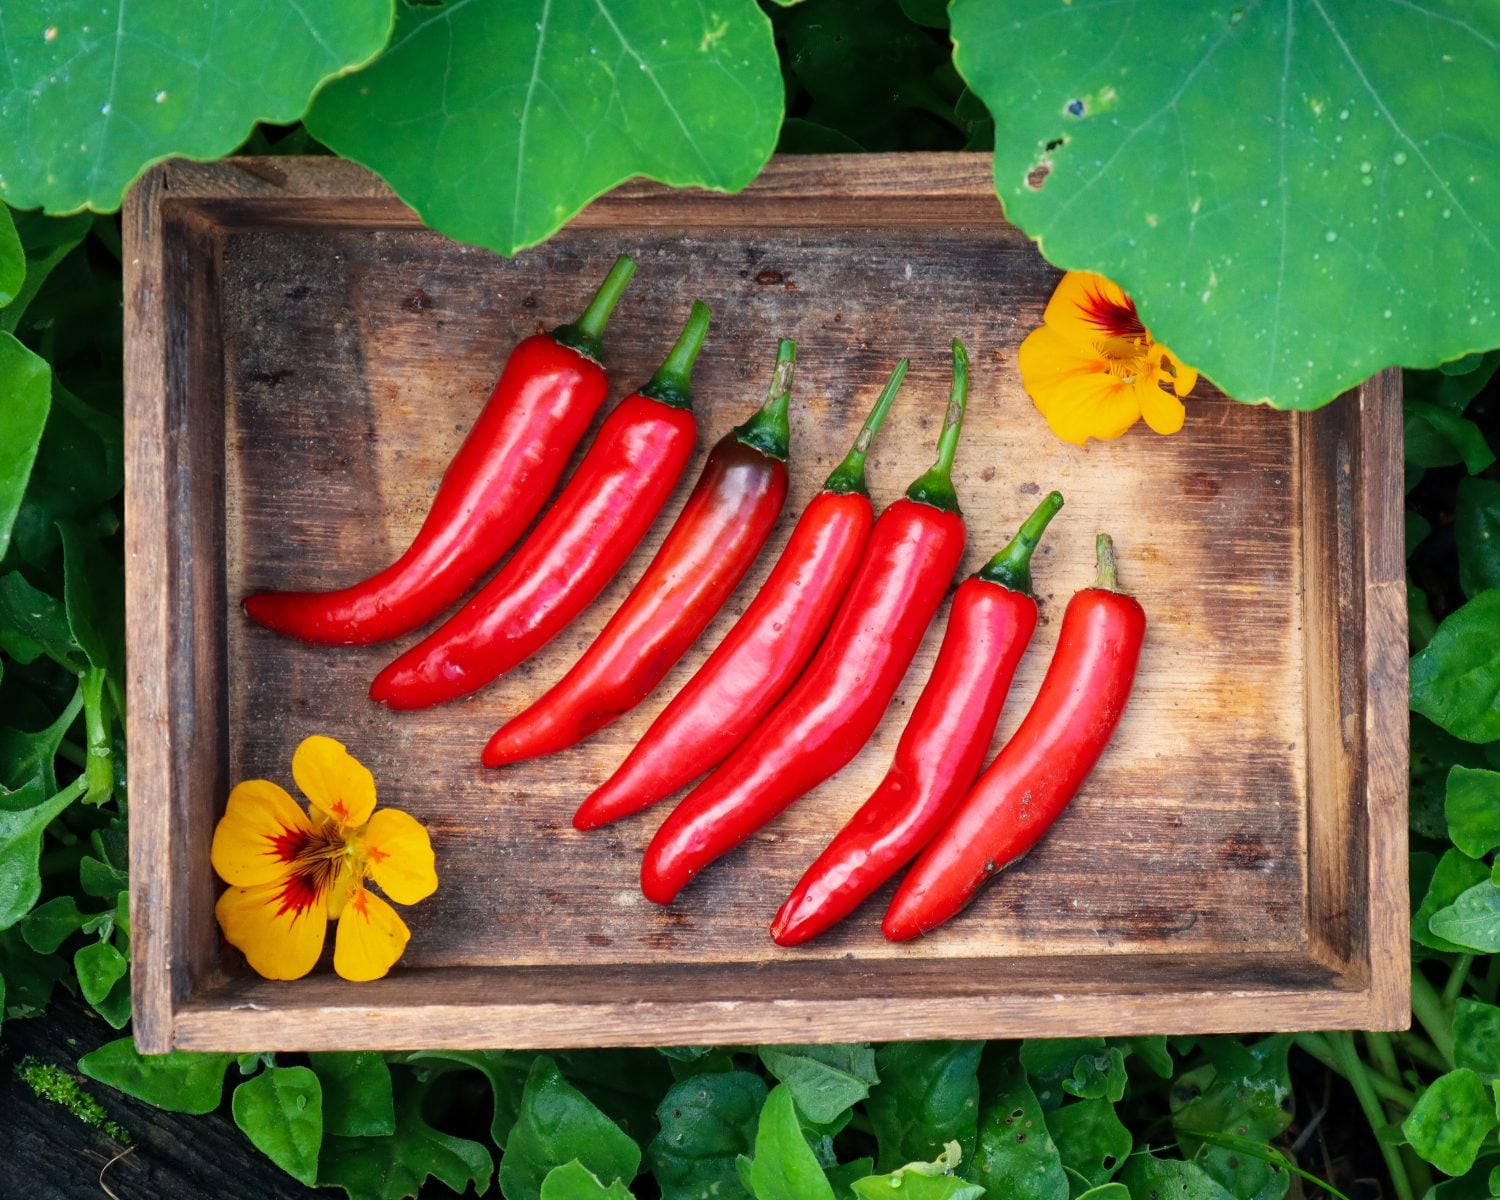
I prefer mine more on the mild side, so I use cayenne and remove most of the seeds. They provide a medium heat that can be controlled with the sweetness of the loquats without overpowering them. Long cayenne chillies also have a great flavour, making them an excellent all-round choice for sweet chilli jams and sauces.
If you prefer a milder jam, remove the seeds and membranes before chopping the chillies. For extra heat, leave the seeds in or choose a hotter variety.
Some good chilli options include:
Long cayenne – medium heat with excellent flavour (what I recommend)
Jalapeño – mild to medium heat and slightly fruity.
Serrano – hotter than jalapeño with a fresh flavour.
Bird’s eye chilli – small and very spicy!
Red banana chilli – mild and sweet.
Habanero – very hot with tropical fruit notes.
If you’re unsure, start with fewer chillies (and less seeds). You can always increase the amount in future batches or add seeds into the final mix once you know how spicy you like your jam.
Loquat and Chilli Jam
Sweet and spicey Chilli jam that is great for serving on platters.
1cupchopped Red Chilliesapprox 6 large whole chilli
1cupchopped Loquats
1/2cupof Vinegar
1/2cupof Sugar
1/4tspSalt
1cmcube of fresh Ginger
Method
Wash the Loquats and remove the seeds including the seed membrane. Cut the hard end pieces off and dice them into small pieces.
Place the Loquats in a saucepan with the sugar and mix to combine allow to sit while you prepare the Chillies.
Chop the Chilli and remove the seeds. Keep them to the side as you can add them extra if you want to increase the heat later. Dice into small pieces or use a food processor.
Peel the ginger and finely dice.
Add the chillies, vinegar, salt and ginger to the saucepan and turn on a low heat. Cover and allow to lightly simmer for 20-30minutes. Keep an eye on it so that the mixture doesn't burn or get too thick. Add a 1/4 cup of water if it does start to clump together or stick to the bottom. Once the chilli and loquats have softened taste and add extra chilli seeds if you like.
Spoon the hot mixture into a sterilized small preserving jar. Invert for 5 minutes to help the seal. Allow to cool. Store in the refrigerator and use within 2 months.
Notes
If it is too sweet add a splash more vinegar or a pinch of salt.
This Chilli Jam is quite spicey so I did not add any seeds. If you want it to be more mild add more loquats and less Chilli.
I used large red Cayenne Chillies.
Seasonal Abundance
Every year, most loquat trees produce far more fruit than can be eaten fresh, and recipes like this homemade loquat sweet chilli jam help transform that abundance into something special. The combination of sweet fruit and warming chilli creates a preserve that feels right at home on a cheese board, spread on a sandwich, or shared with friends and family.
If you’re looking for a unique way to preserve loquats, this sweet and spicy jam is well worth making while the fruit is in season.
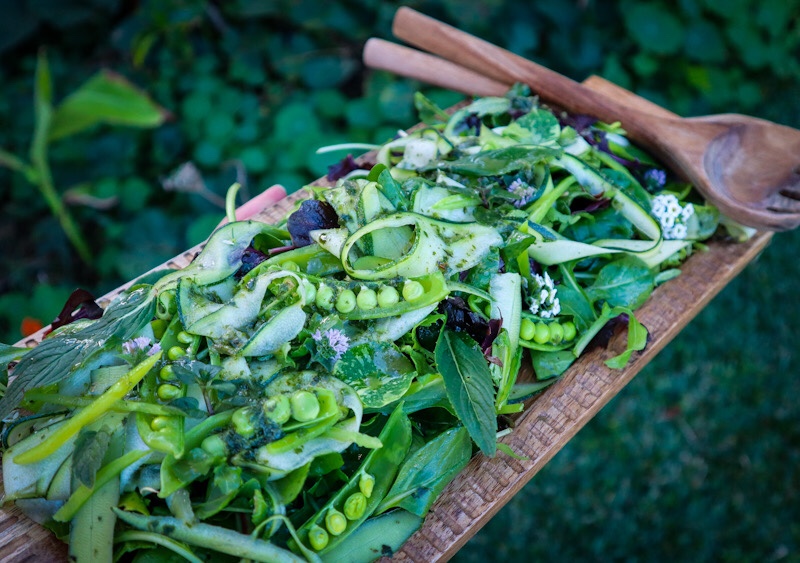
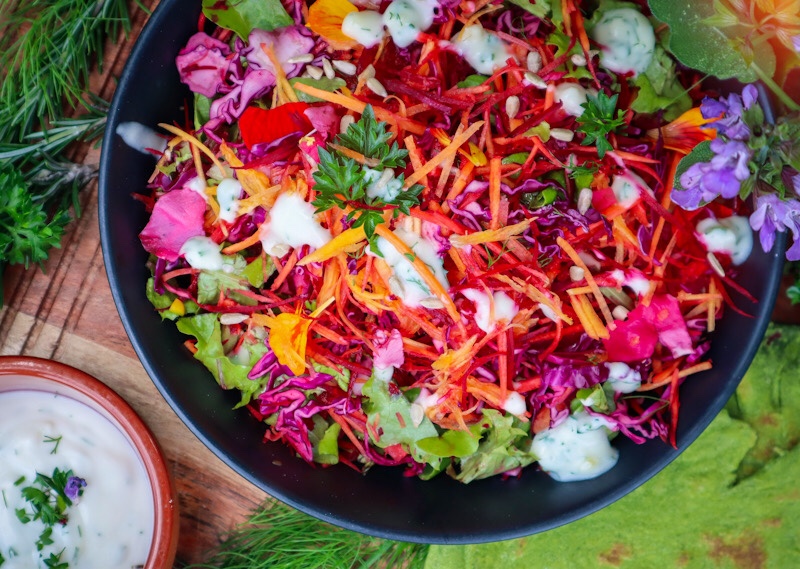
It’s no secret in Australia and New Zealand that the price of lettuce has lost the plot.. $7.50 – $12 for a whole lettuce or $7 a bag 150gram mixed leaves. Now, obviously, this varies from place to place but these 18 substitutes for lettuce will allow you to have salad and sandwich greens all year round! You may already have some of these growing in your garden.
Many of these 18 lettuce substitutes have more nutrients and multiple uses so you can get more out of the food you grow. Lettuce is often used in sandwiches and salads so for today’s lettuce alternatives I will share which ones are best for these two main uses.
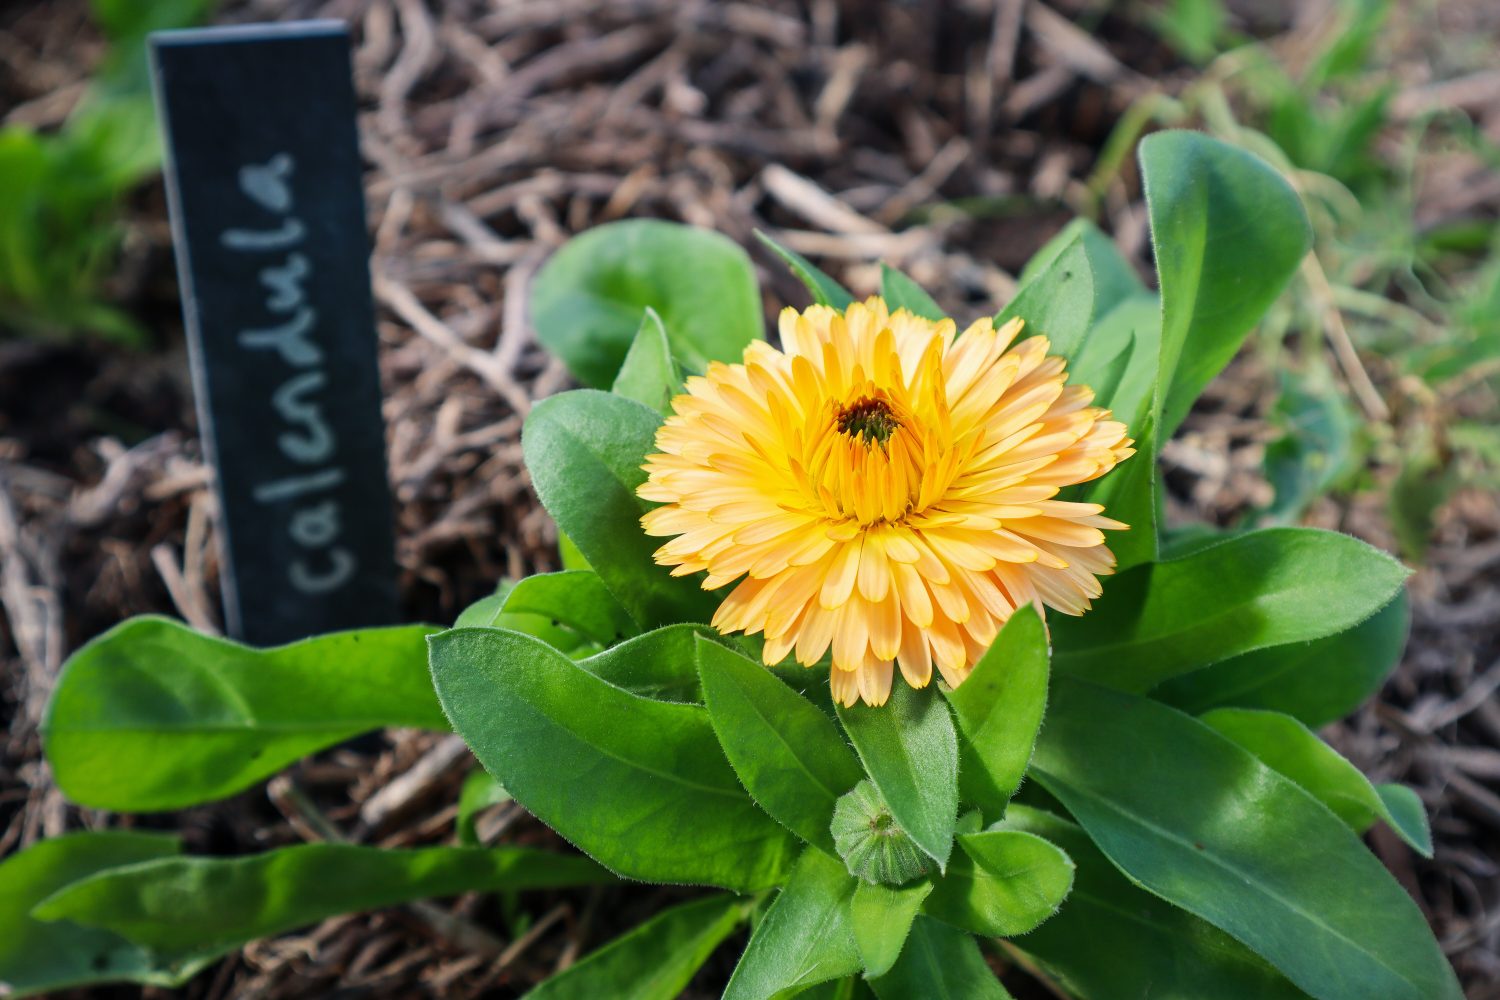
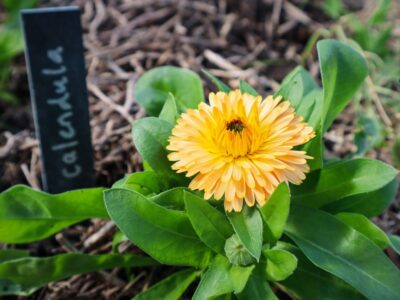
Calendula is an edible flower and the leaves are also edible. Calendula leaves do have quite a strong flavour but you can add a few of these to your salads or sandwiches. Calendula flowers also have many healing qualities as well as attract pollinators to the garden. An amazing multi-use plant to add to your edible garden.
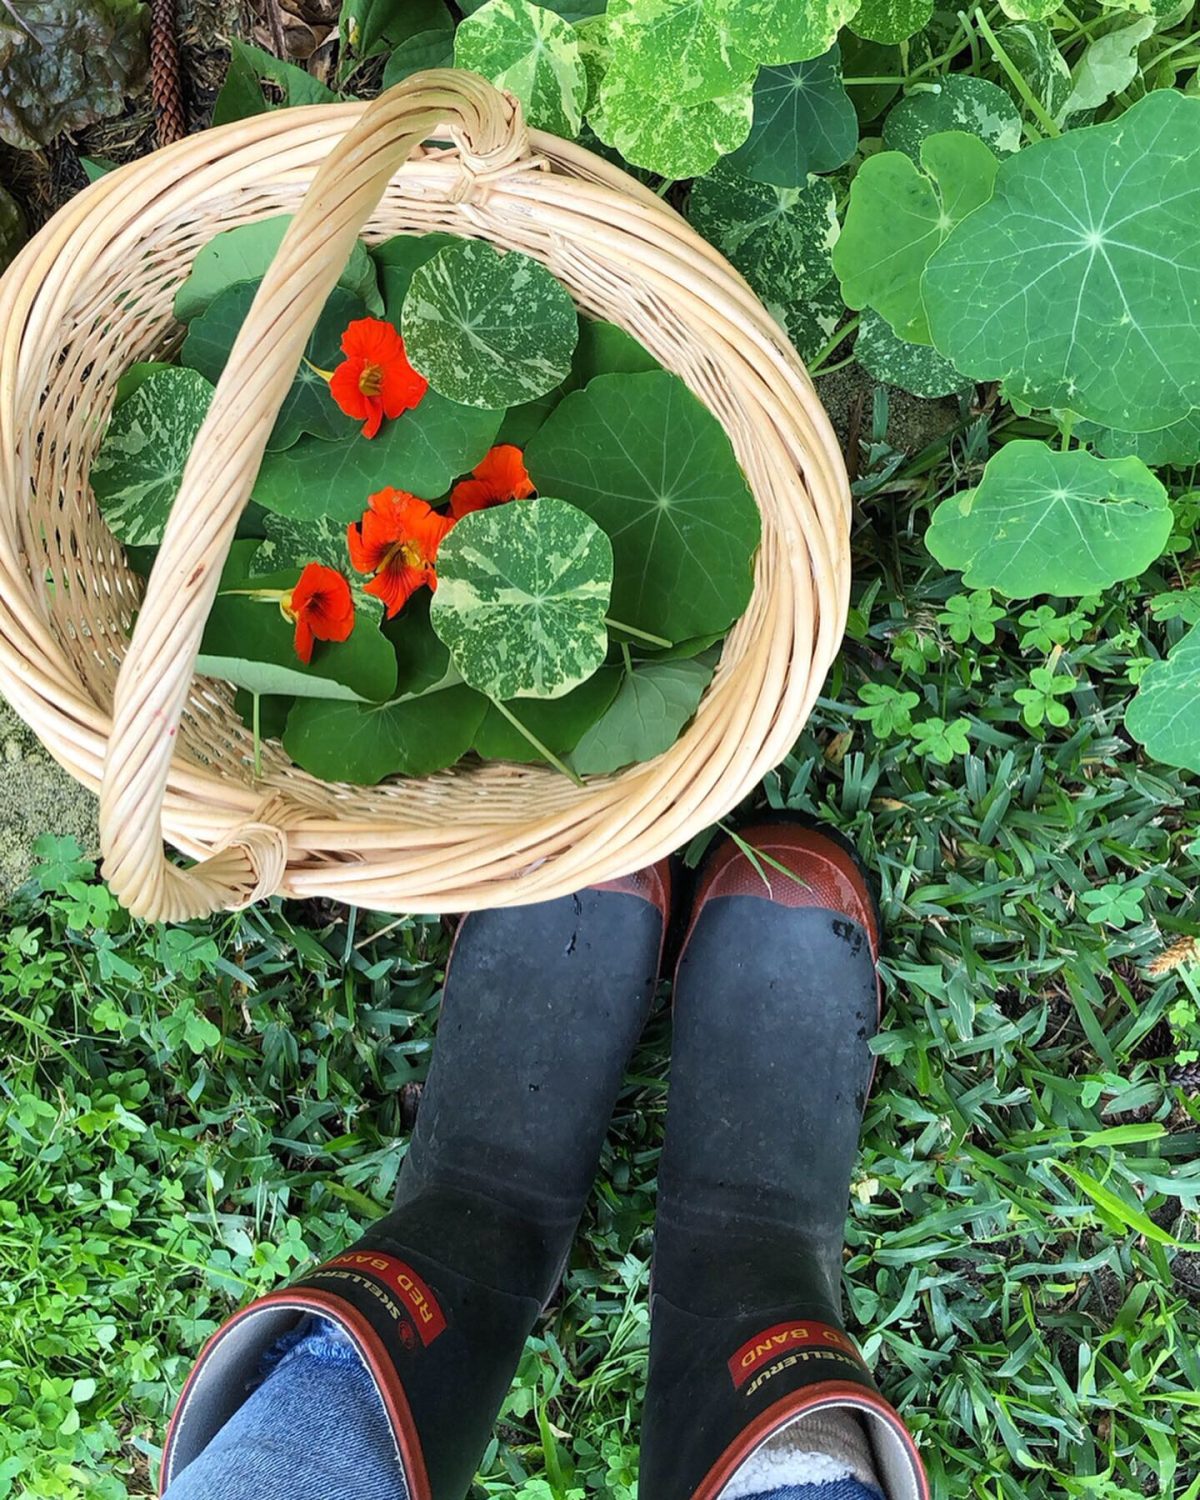
Nasturtiums thrive well in most soil types and you will often see them spilling out onto the street from gardens or popping up in the wild. They have quite a weed-like growth because they are so easy to grow and self-seed. The whole plant is edible including the leaves, flowers, and seed pods. Nasturtium leaves are great for salads and are also the perfect size and shape to add to sandwiches. With a natural peppery flavour, Nasturtiums are a great substitute for lettuce.
3. Baby Beetroot Leaves
Baby Beetroot leaves can be harvested a few off each plant to use in salads and sandwiches. Beetroot leaves can have beautiful red veins or be entirely red depending on the variety. A beautiful and nutritious substitute for lettuce.
4. Rocket / Arugula
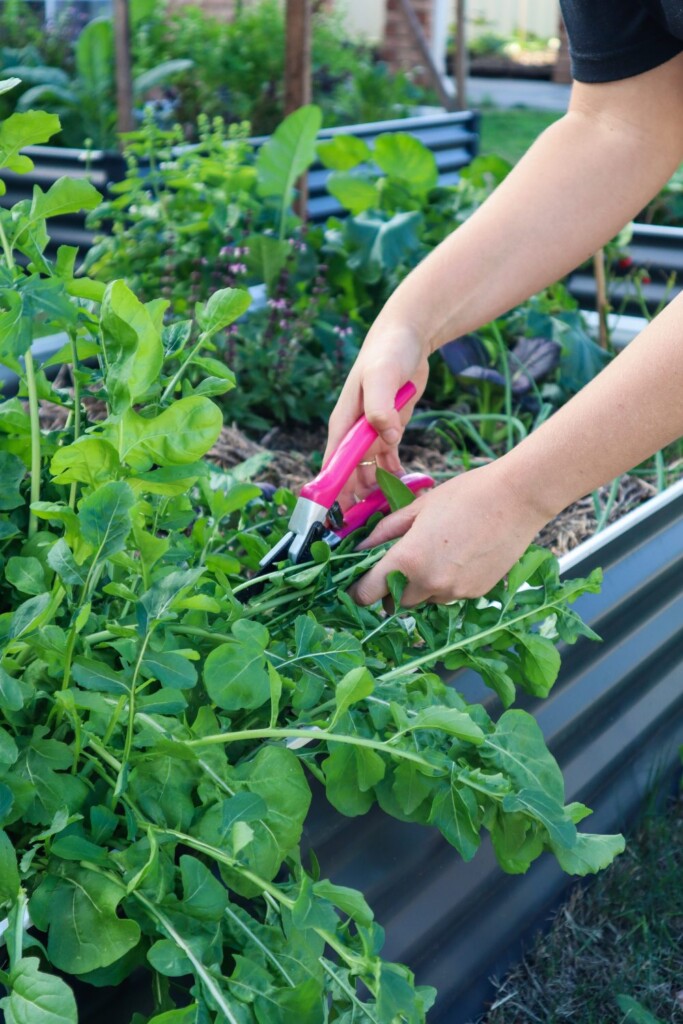
Rocket or Arugula is a popular substitute for Lettuce. Rocket has a distinct peppery taste and is delicious in salads, sandwiches and served on top of pizzas. Rocket grows quickly so if you plant both Rocket and Lettuce seeds you will have Rocket ready to eat while you wait for the lettuce to get established.
5. Kale
Kale is a popular substitute for lettuce and can be grown all year round in many climates. Kale comes in many varieties some are better than others for salads and sandwiches. My favourite is the Tuscan Kale as it has a softer texture. Choose the smaller leaves and chop Kale up finely to add to salads and sandwiches.
6. Purslane
Purslane is an edible weed that has succulent-like leaves. Purslane thrives in dry climates and is often popping up in my gardens in Perth. Purslane is a great addition to salads and sandwiches as an alternative to lettuce.
7. Sweet Violet
Sweet violets are known for their delicate purple or white flowers and beautiful fragrant scent. The sweet violet leaves are also edible and can be added to salads and sandwiches. They do have a bitter flavour so it can be a good idea to mix a few with other greens.
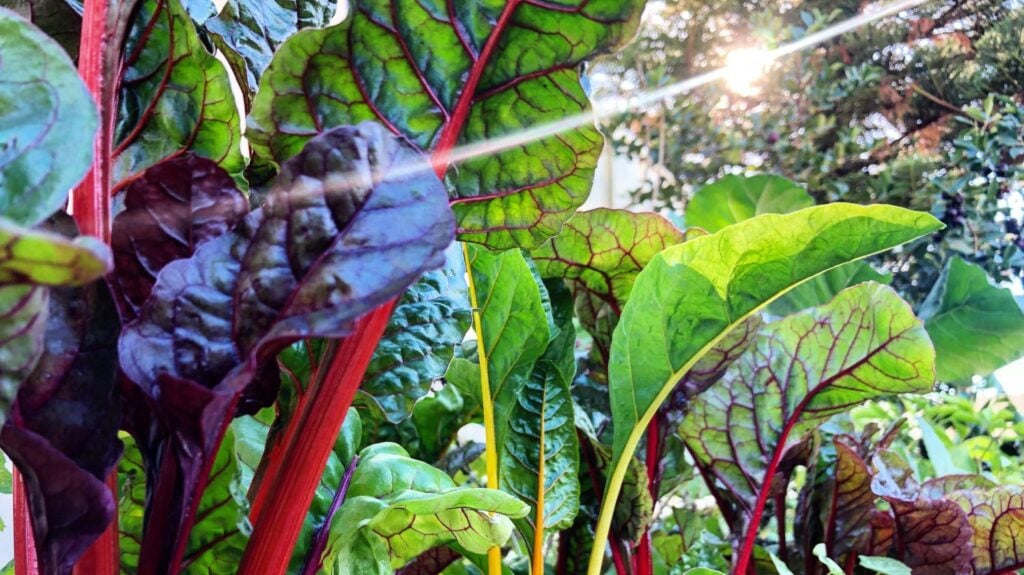
8. Rainbow Chard
Rainbow chard is a fantastic versatile green to grow during the colder months of the year. Baby rainbow chard leaves can be picked and used in salads and sandwiches. Larger leaves contain more oxalic acid so it is recommended to blanch them first.
9. Celery
Celery is a fresh, crunchy and hydrating vegetable just like lettuce. Celery leaves and stalks can be used in both salads and sandwiches.
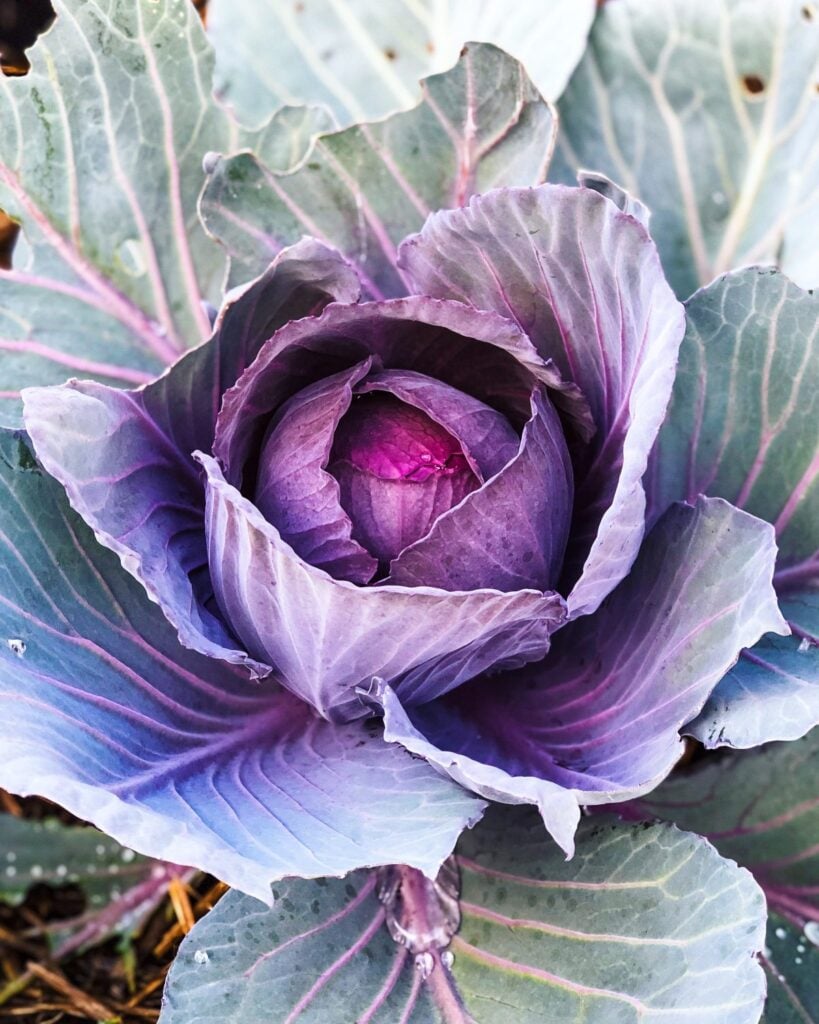
10. Cabbage
Cabbage is a great all-around vegetable that has many culinary uses. Finely sliced cabbage is a deliciously fresh and crunchy substitute for lettuce. A little bit of Cabbage goes a long way so it is a very economical vegetable.
11. Asian Greens/ Bok Choy, Tatsoi, Choy Sum
Asian greens such as Bok Choy are great additions to your edible garden because they grow fast, can be harvested multiple times from each plant and are versatile in the kitchen. Use the softy leafy ends in salads and sandwiches and the thicker stems in soups or stir-fries.
12. Dandelion Greens
Dandelions are another edible weed. Choose young dandelion greens to add to salads and sandwiches as a substitute for lettuce. Always make sure you identify weeds correctly and only forage from places you know have not been sprayed with chemicals.
13. Sweet Potato Leaves
Sweet Potato Leaves are abundant green in the garden. Use the young leaves in a salad or blanch or stirfry the larger leaves.
14. Spinach
Spinach is another popular substitute for lettuce and is a versatile plant to have in the garden. Baby spinach leaves are best for raw salads or sandwiches due to the oxalic acid contained in the plant.
15. Chickweed
Chickweed (Stellaria media) is an edible weed that grows in abundance during winter. Chickweed has small delicate leaves and flowers and loves to grow in moist shady spots during winter. Chickweed has a mild fresh flavour similar to sprouts and makes a delicious lettuce substitute. Chickweed is also a popular feed for chickens.
16. Carrot & Radish Tops
Carrot tops and Radish tops can be finely sliced to add to salads. The younger leaves will be more tender than the older larger ones. Finely slice and drizzle with salad dressing. They can also be wilted down in the pan to soften first. The tops also go great in a Garden Pesto to dress your salads.
17. Watercress
Watercress grows in abundance during the winter months and is a great substitute for lettuce. Watercress does have a strong peppery flavour so it can be good to mix a little with other more mild greens and a dressing. Watercress is also good for soups and stir-fries. Watercress can be foraged but always ensure you have a safe source with no chemicals contaminating it.
18. Parsley
Parsley is a common herb that is often under-utilized. Parsley can be delicious chopped up fine in a salad or added to a sandwich! Flat leaf parsley is my favourite variety for this.
Sustainable Living Alternatives
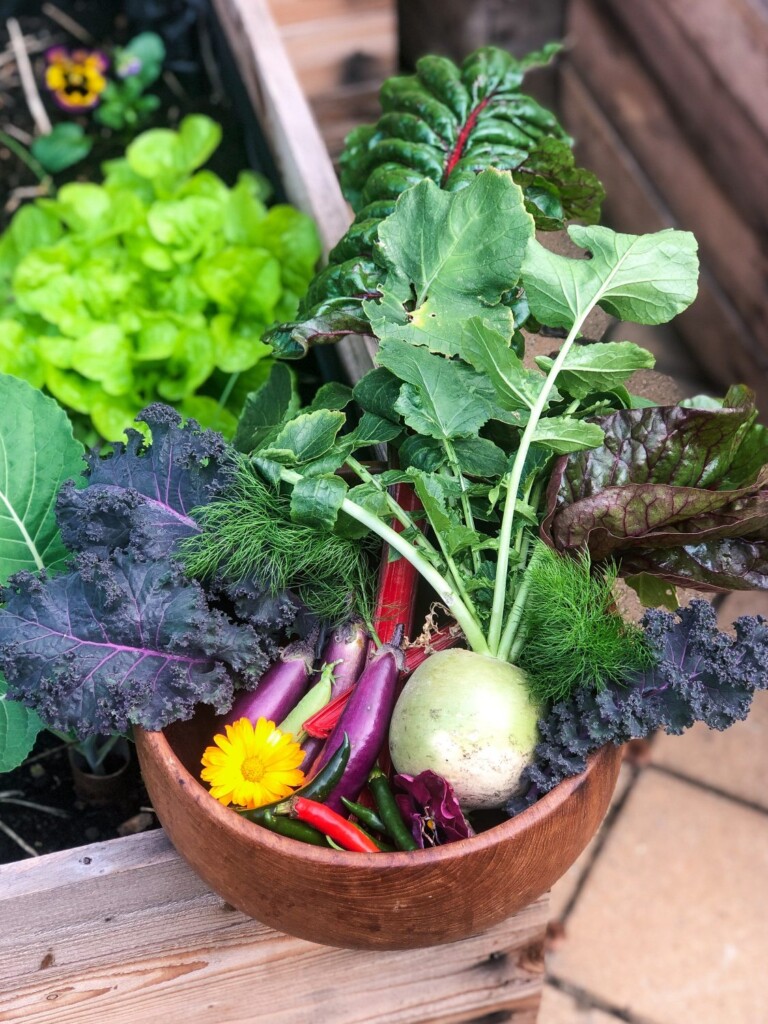
The great thing about growing food is you have access to so many parts of the plant that are often discarded. Learning what parts of the plant are edible and how to use them can help you double your food supply overnight!
There are many more options than this so let me know in the comments if you use any of these or if you use other plants as lettuce substitutes in your garden. That will help others that find this post and are looking for more ways to expand their food source.
Of course, grab yourself some lettuce seeds too, and get your own little salad bar growing. I like to grow mixed loose leaf varieties and then I pick one or two leaves of each plant. Combined with other greens from your garden you can make your salad greens go a whole lot further.
NOTE: It’s important to note that some greens from the garden do contain higher levels of oxalic acid than others. This can block the absorption of some nutrients. Oxalic acid is reduced by cooking which is why many leafy greens such as spinach and chard are cooked first. This is mainly only a problem if you eat a lot of that plant. So by chopping up a little from each and choosing the younger leaves you can reduce the amount of oxalic acid consumed.
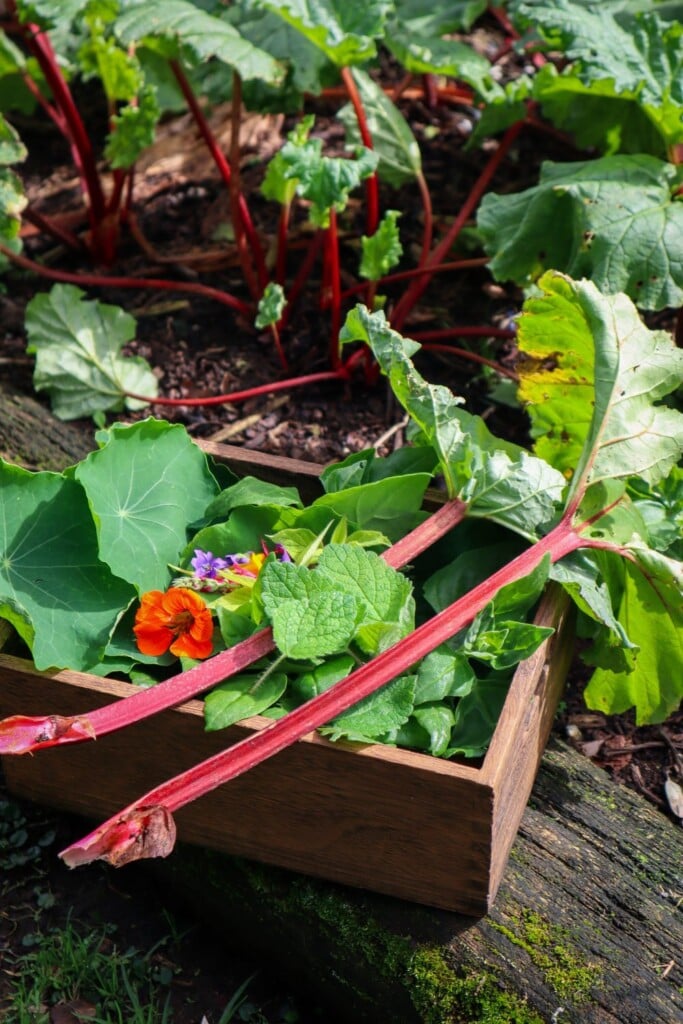
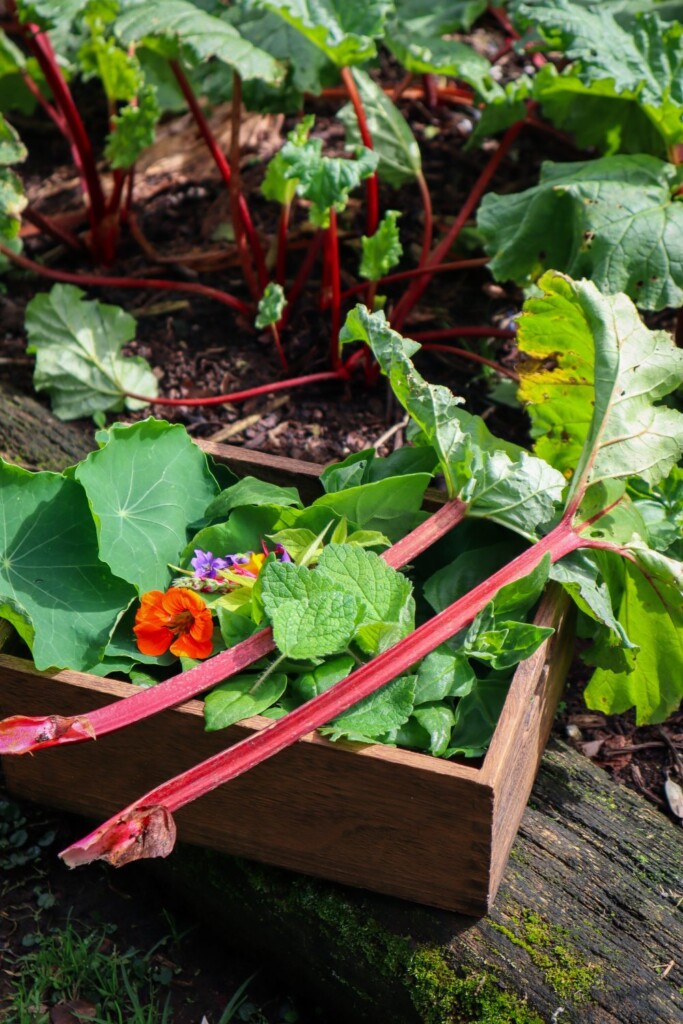
Rhubarb (Rhubarb rharbarmarum) is a long-living herbaceous perennial. Rhubarb is a hardy cold tolerant plant and many varieties have beautiful red stems to bring colour and aesthetics to your garden. Older heritage varieties can be saved for 100s of years and passed down through generations.
Rhubarb stems are the edible part of the plant and the leaves are poisonous. It is easy to grow and is often left alone by pests so it makes the perfect addition to a low-maintenance section of the garden.
Benefits from regular compost and natural fertilizers.
PESTS
Slaters, slugs, aphids, snails, and green caterpillars.
HARVEST
Harvest once established (1 year at least). Pull outer stalks rather than cutting.
REPRODUCE
Rhubarb can be split from the crown to reproduce. Seeds can also be collected from mature plants.
Why Grow Rhubarb?
Rhubarb is an edible that is easy to grow and looks beautiful and ornamental in the garden.
Here are some of the many reasons to grow Rhubarb:
Easy to grow
Delicious for baking
Low maintenance
Jams and preserves
Cold tolerant
Less susceptible to pests
Visual Aesthetics
Anti-inflammatory
High in vitamin K
Leaves can be used to make natural insecticides.
Popular Rhubarb Varieties
‘Victoria’ – Oldest heirloom variety. Produces large pinkish-red stalks.
‘Winter wonders’ – Stems are green in summer and red in winter. Cold tolerant that produces after many other varieties have gone dormant.
‘Ever Red‘ – Year-round producing. Stalks remain red all year round.
‘Wandin Red‘ – Hardy year-round producing rhubarb with red stalks.
‘Next Generation‘ – Hybrid with bright red stalks. Easy to grow all year round.
When to Plant Rhubarb
Rhubarb is best planted from Autumn to Spring. Plants can go dormant during winter in very cold locations.
How to Grow Rhubarb
Choose a sunny location that will be available as a long-term home for the Rhubarb. Rhubarb will need a bit of space so choose a location that is roughly 1m per plant although you can plant multiple plants a little closer. Rhubarb can overshadow surrounding plants.
Dig in compost and composted manure to feed the soil.
Plant roots or seedlings at least 0.5m apart as the leaves will grow large. If planting from a root ball ensure the eye or parts where the leaves will come out from is just above the surface.
Add mulch to keep retain moisture.
Care/ Maintenance
For abundant harvests, you can feed Rhubarb every 2-3 weeks with liquid fertilizer over Spring and Summer. Rhubarb may go dormant over winter so you can stop feeding and stop harvesting. Mature Rhubarb plants may send up large flowers on a stalk. These suck all the plant energy and as Rhubarb is easily propagated from splitting the plant the seeds are not really necessary. Rhubarb seeds will not grow true to type so the results may be varied. It is recommended to cut the flower off as you see it forming (unless you want to try and save the seeds).
The best time to harvest Rhubarb is once the plants are mature enough to support their growth and can handle having stems removed. This is usually best to wait 1 year after planting. Remove one or two outer stalks from each plant. Hold the stalk near the base and gently pull and twist to remove the stalk. Do not cut the stalks as the small remaining piece may rot and cause disease to the plant. Remove the leaves as just the stalk is edible.
Reproducing
Wait until the plants are mature and have many stalkings forming from the main crown. It is best to split the plants every 3-4 years to reset and renew the plant. Split your Rhubarb in early Spring before the new growth has started. Dig up the whole plant and using a clean, sharp knife cut the main root ball into sections. Ensure each section has at least one bud or point where new leaves will form from. Place the root sections back in the soil to regrow new plants.
Cooking and Using Rhubarb
Rhubarb stalks can be eaten raw or used in baking.
Beautiful and delicious floral shortbread with subtle flavours of orange and thyme. This basic shortbread recipe can easily be adjusted to add seasonal edible flowers and herbs from the garden. I created this recipe when I was home (New Zealand) in my mum’s garden. Although she has very limited baking equipment….she made up for it with her inspiring gardens and the perfect eclectic set of vintage floral tea cups and saucers. I hope you also find some inspiration. The perfect treat to spoil your friends and celebrate spring with a tea or coffee in the garden.
Orange and Thyme Botanical Shortbread
Fresh, subtle flavours infused in soft melting biscuits. These botanical shortbread biscuits can be made using seasonal edible flowers and herbs.
Beat sugar and butter until very pale yellow/white and creamy.
Grate the zest of one large orange and add to the mix along with 2 TBSP of juice.
Mix through the flour to make a soft dough.
Wrap or cover the bowl and refrigerate for at least 1 hour.
Preheat the oven to 140 degrees. Lightly dust a baking tray with flour.
Remove the dough and lightly knead to bring it together.
Roll out the dough on a lightly floured surface to approximately 1 cm thick (easier to manage using 1/2 the dough at a time)
Sprinkle over edible flower petals and fresh thyme leaves (removed from the stalk).
Gently roll over the flowers. Some may not stick, so just lightly press them into place. Cut out shapes using a cookie cutter and place them onto the baking tray.
Merge the leftover edges and re-roll out, and continue to cut shapes. The second roll will incorporate the flowers into the dough, so you may want to add extras on top.
Bake for 15-20mins or until very slightly starting to go golden. You want to keep them pale so they don't become too dry and crumbly. Remove and allow to cool on a wire rack.
Notes
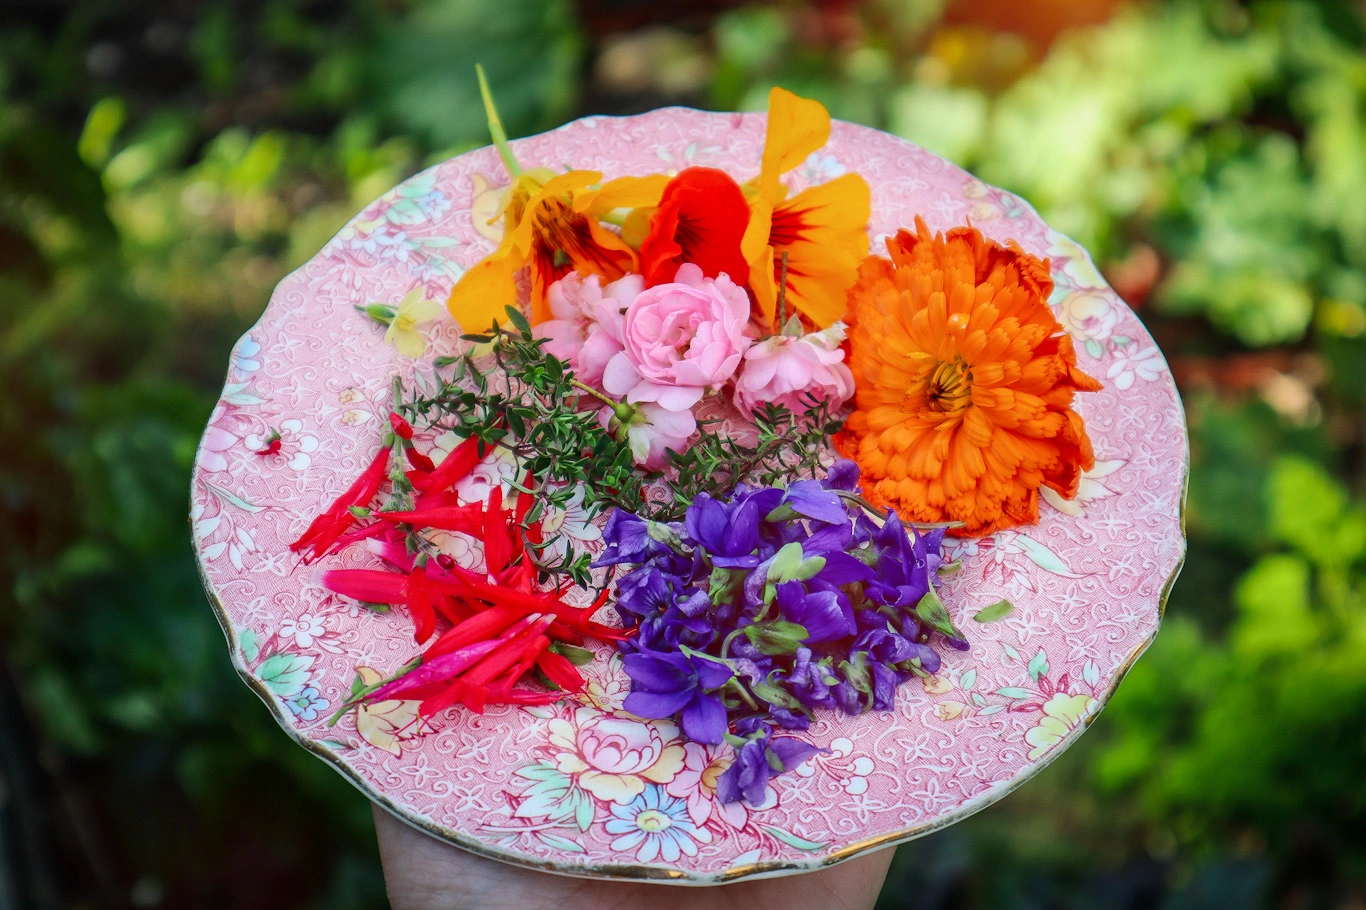
Edible flowers I used: Pineapple Sage (red flowers), Calendula, Rose, Sweet Violet, and Nasturtium.
Use seasonal edible flowers and herbs: other options to try are Lemon and Lavender, Lemon and Rosemary, or Mint.