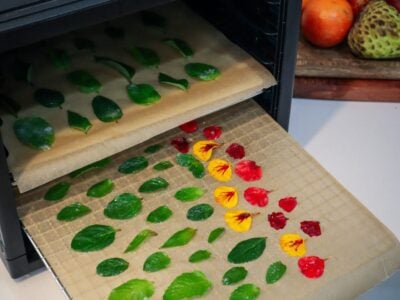
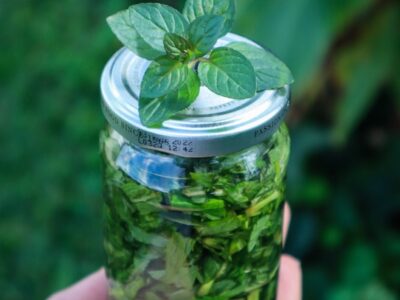
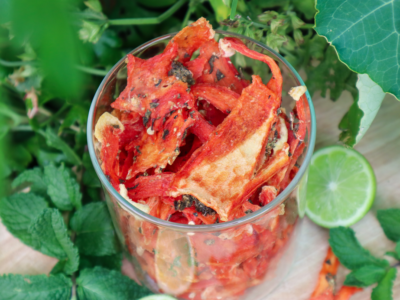
Mint (Mentha) is a classic staple herb to grow that provides your kitchen garden with an abundance of fragrance and flavour. Mint can be used for both sweet and savoury dishes as well as medicinal, cleaning products, teas, and more.
Mint can be very invasive so it is important to choose the right location to grow mint so that it doesn’t take over your garden. Below will be more tips on where and how to grow mint along with creative ways to use your abundant harvests!
Sunny Position 6rs. Contain the roots in a pot or container.
CARE
Water regularly.Protect from the harsh summer sun.
FERTILISE
Feed with compost and with liquid seaweed fertiliser.
PESTS
Slaters, slugs, snails, green caterpillar, aphids. Rust.
HARVEST
Trim regularly. Harvest in the mornings.
REPRODUCE
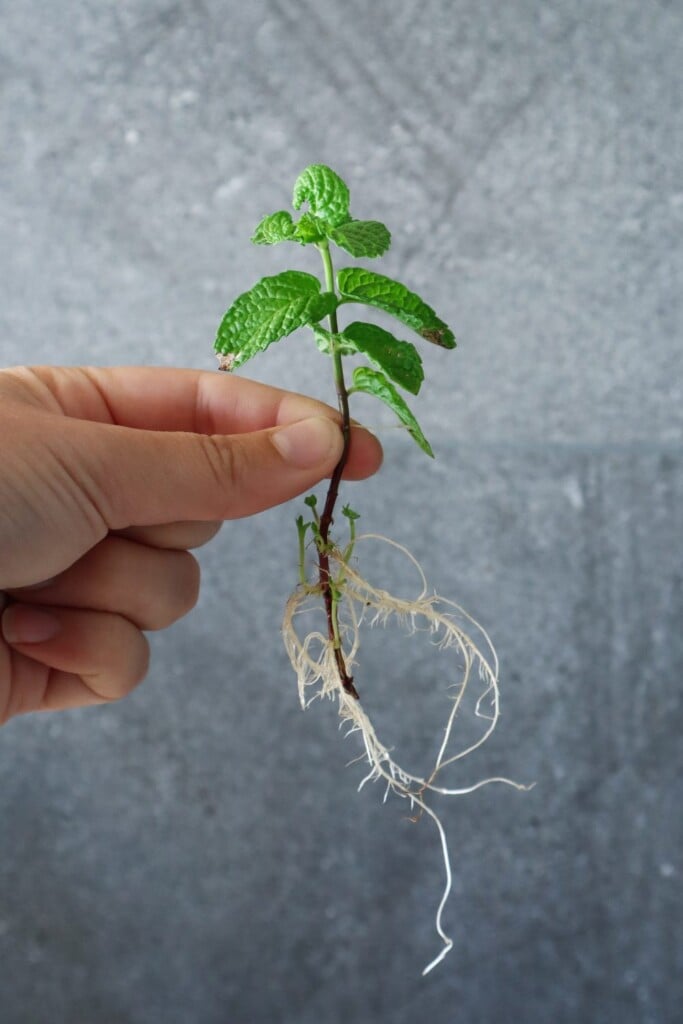
Mint grows quickly from cuttings or dividing the plant up.
Why Grow Mint?
Mint is refreshing and packed full of flavour. Below are just a few of the amazing reasons to grow mint at home.
Here are some of the many reasons to grow Mint:
Easy to grow
Low maintenance / hard to kill
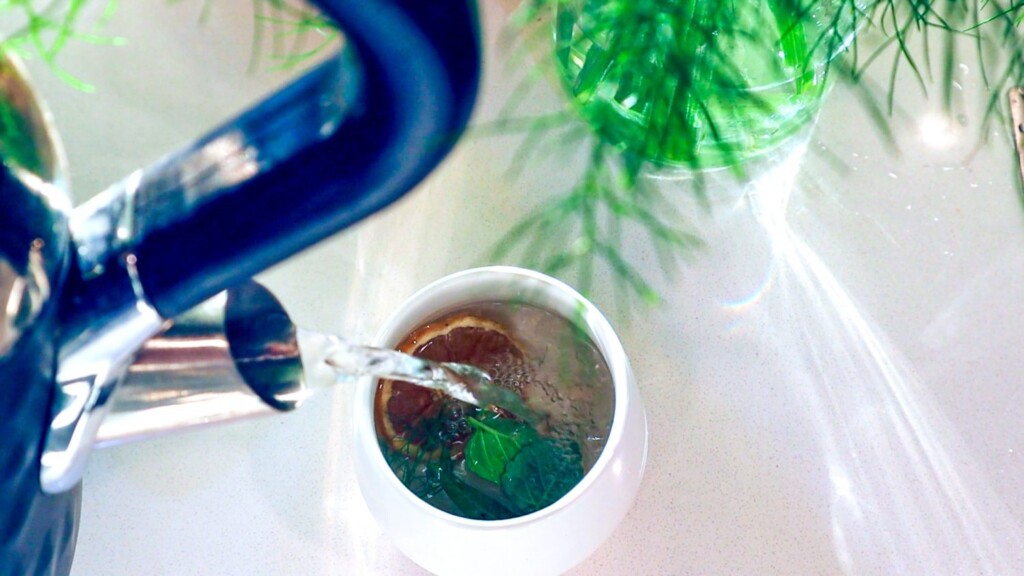
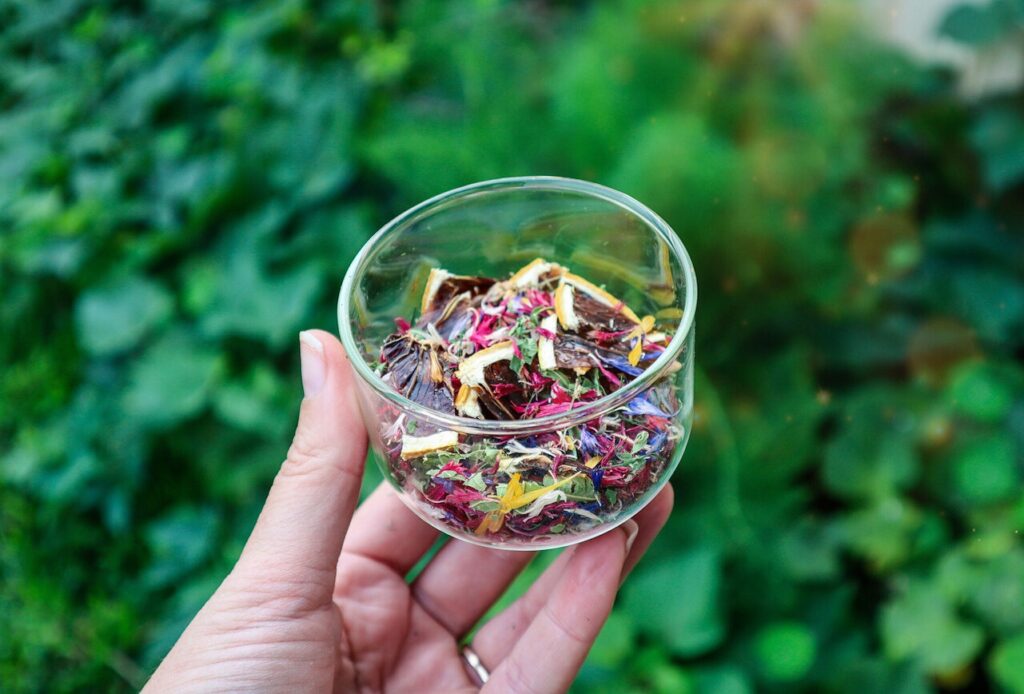
Flavour Teas or drinks
Natural insect spray
Aids in digestion
Calming qualities
Rich in vitamin A
High in anti-oxidants
Aid in upset stomachs
Nutrient-dense
Easy to propagate
Flowers for the bees
Condiments, dressings and dips
Popular Mint Varieties
‘Peppermint’ – Classic mint variety. Sharp flavour. Often larger leaves. Great for sweets, cocktails, teas and scented products.
‘Spearmint’ – Popular mint variety. Rounded leaves. Great for Roasts, sauces, teas, baking and fresh in salads.
‘Chocolate Mint‘ – Fun flavoured mint to grow with a mild chocolate flavour. Dark reddish tinted leaves and stems.
‘Morrocan Mint‘ – Fragrant mint with subtle spiced flavour. Great for roasts, salads and teas.
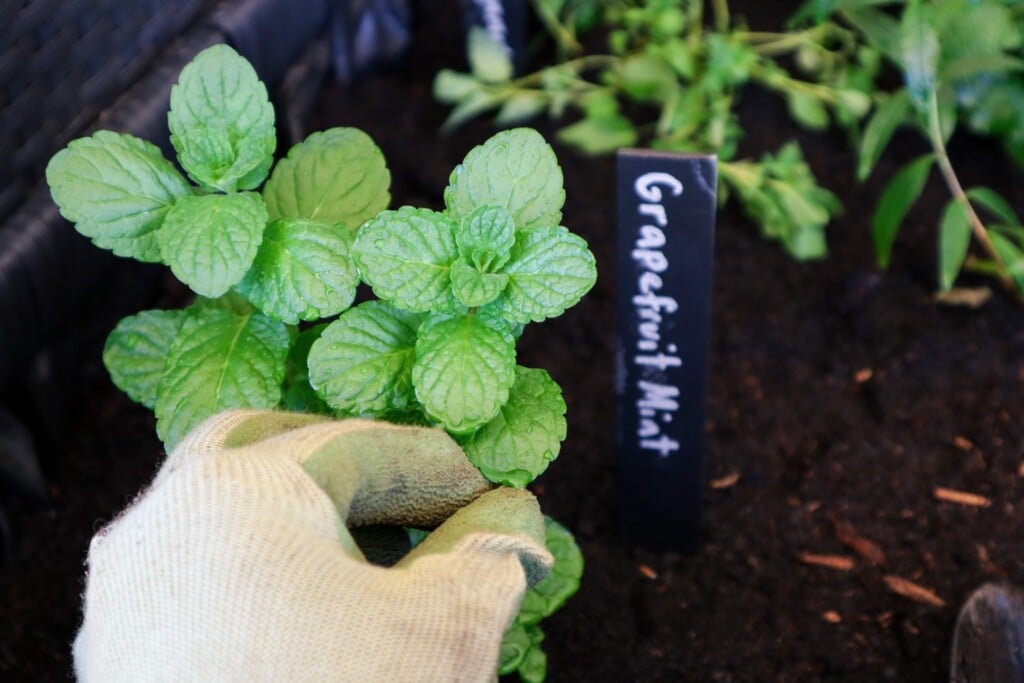
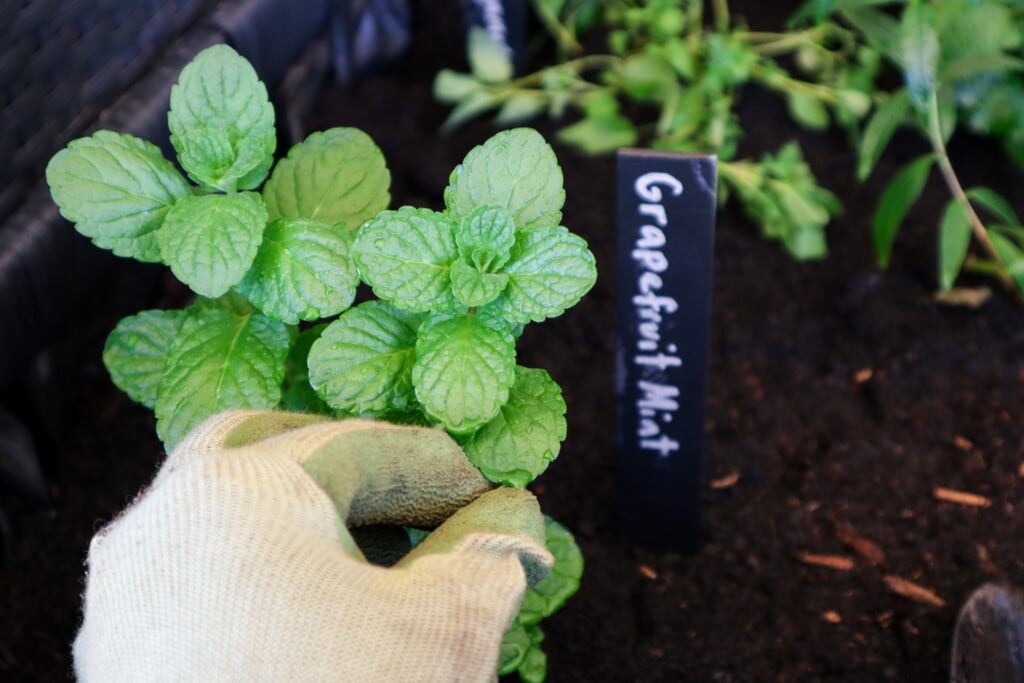
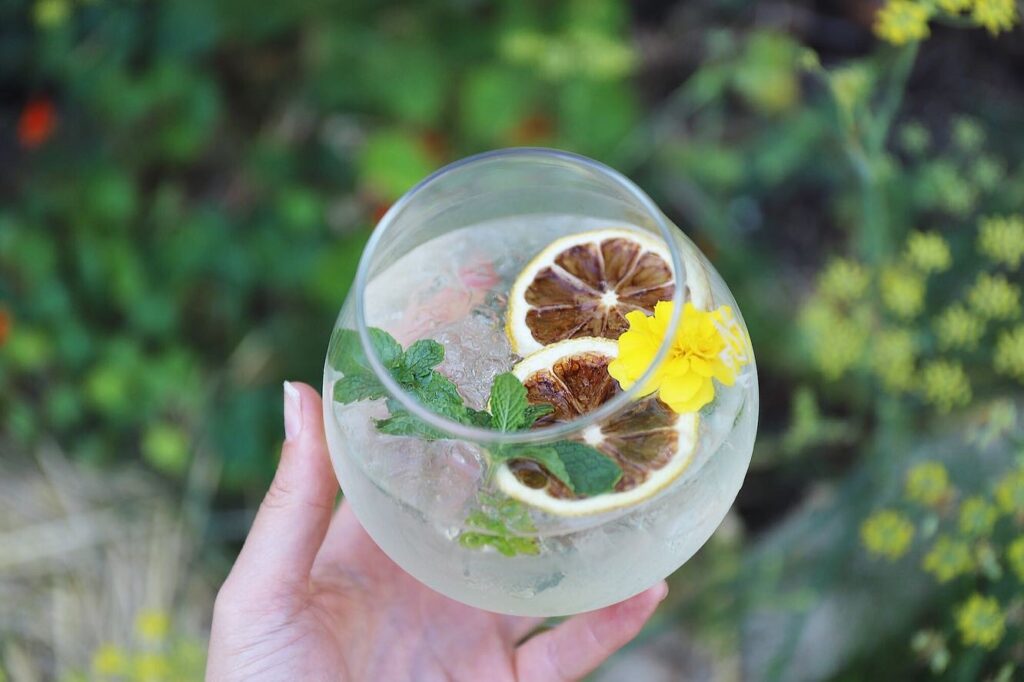
‘Grapefruit Mint’ – Fresh with Grapefruit notes. Summer drinks, salads, teas, cocktails and dressings.
‘Varigated Applemint‘ –Small green and white variegated leaves. Slight fluffy leaves. Sweet apple flavour. Gret for drinks and salads.
‘Ginger Mint’ – Fresh and vibrant flavour. Great for teas, salads and dressings.
‘Berries and Cream’ – Sweet berry notes. Great for desserts, teas and cocktails.
When to Plant Mint
To start off growing Mint it can be best to plant in Spring after the last frost. Mint will do well all year round in most moderate climates.
How to Grow Mint
Choose a sunny location.
BE AWARE – Mint sends out runners under the soil and can become invasive quickly. It is always advised to grow mint in a pot or container. A repurposed garden such as a wheelbarrow also works well!
Mint will grow in nearly any soil but it’s always good to add fresh compost. Ensure the soil is free-draining so that the roots do not get waterlogged.
Protect mint from the harsh summer sun and keep well watered in hot weather.
Trimming the mint regularly will help it stay low and bushy.
Care/ Maintenance
Mint can become root bound in containers quickly so if it starts to look sad it may need to be split up and divided to allow more room for the roots.
Feed with liquid seaweed or homemade fertilizers to help add nutrients into the contained space.
Pests / Disease
Slugs and snails may eat young seedlings. Use natural pest management. Aphids can also be an issue on young shoots. Dip them in soapy water. Green caterpillars can be a problem in summer and are hard to see against the green leaves.
How/ When to Harvest
Use sharp snippers or scissors and cut the tops off regularly. This will stop the plants from getting too leggy and stay low and bushy. Harvest Mint and herbs first thing in the morning when they are hydrated and full of life. You can keep them in a jar of water until you are ready to use.
Reproducing
The best way to reproduce Mint is to take cuttings or pull up a section with roots already attached. This will start growing immediately.
Cooking and Using Mint
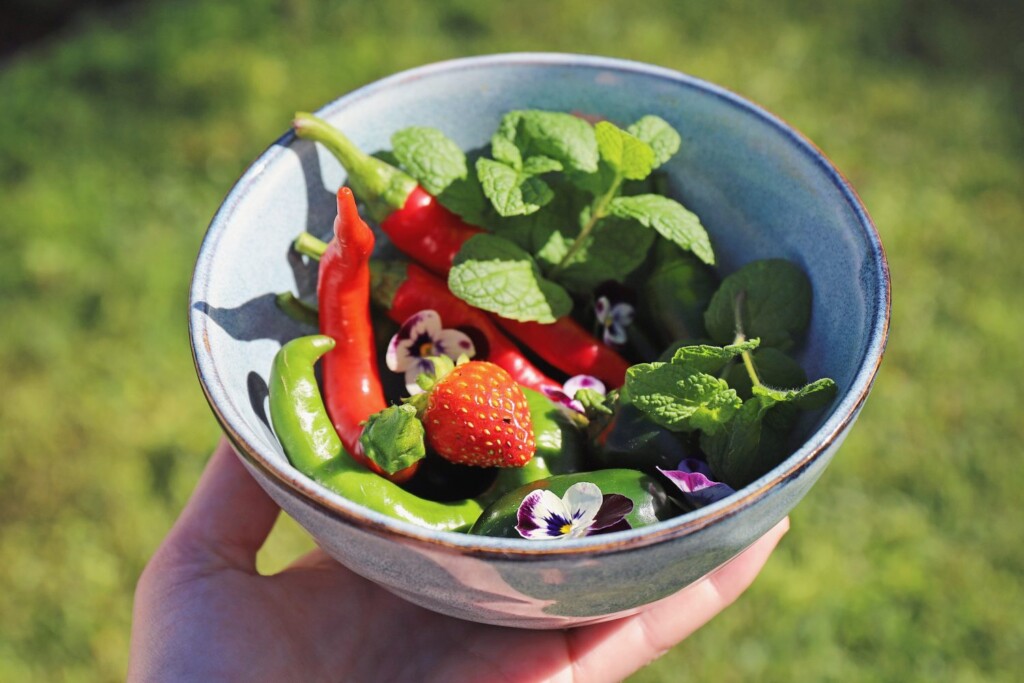
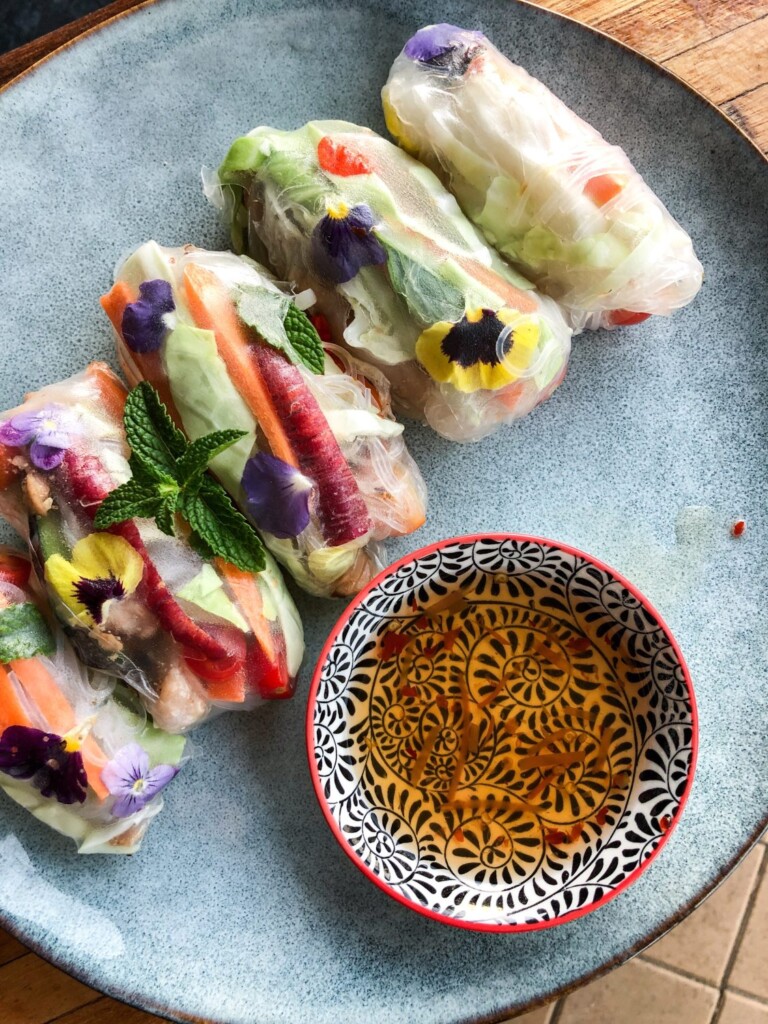
Mint is a great flavour enhancing herb for many different dishes.
Pumpkins are a great base crop to grow and can provide you with a large amount of food. Pumpkins come with their very own packaging and can be stored as they are for 3-8 months if they are prepared and stored correctly. Having a supply of pumpkins in the pantry can supplement your meals throughout the year. Different varieties of pumpkins will store for varying amounts of time. This is usually due to the toughness and thickness of the skin. If you want to grow pumpkins for storage choose a variety that has longer storage qualities. Varieties such as Jarradale, Queensland Blue, and Blue Hubbard have great storage qualities.
STEP 1: HARVESTING
The first step to preparing your pumpkins for storage is to harvest them correctly. Follow the tips below.
Harvest the Pumpkins once they reach maturity to ensure the skin is as hard as it can be.
Pumpkins are ready to be picked when the closest curly tendril to the stem is brown and going dry. The vines will be starting to die off slightly. The pumpkins should be slightly hollow when you knock on them and have hard skins.
Use sharp secateurs and cut the stem as close to the vine as you can. This ensures you don’t damage the pumpkin and creates a handle to carry them with.
STEP 2: CLEANING
Wash the excess soil off and ensure the pumpkins are clean. Use a mix of 1:1 vinegar and water to wipe them down and remove any bacteria.
While washing the pumpkins check for any damage or areas that pierce the skin such as holes, or scratches. These won’t store well so it would be best to start using these first.
STEP 3: CURING
Curing allows the pumpkin skins to dry and harden before storage.
To cure the pumpkins place them somewhere sunny and sheltered for 1-2 weeks. This can be outside if there are no frosts or rain otherwise a sunny porch or deck will do. Just be careful if you have rats or other critters around.
Ensure they are spaced out and not stacked on top of each other.
STEP 4: STORAGE
Once the pumpkins are cured choose a dark cool location to store them. 10-16 degrees Celcius.
Pumpkins may leak sticky residue from the bottom flower or stem so don’t be alarmed. Also, consider this when choosing a location to store.
Ideally place them on cardboard, wood, or plywood. Do NOT store them on carpet, lino, or concrete as this will promote bacteria and moisture.
Allow space between the pumpkins and do not stack them to allow airflow.
Roll the pumpkins over and check the cardboard for mold regularly.
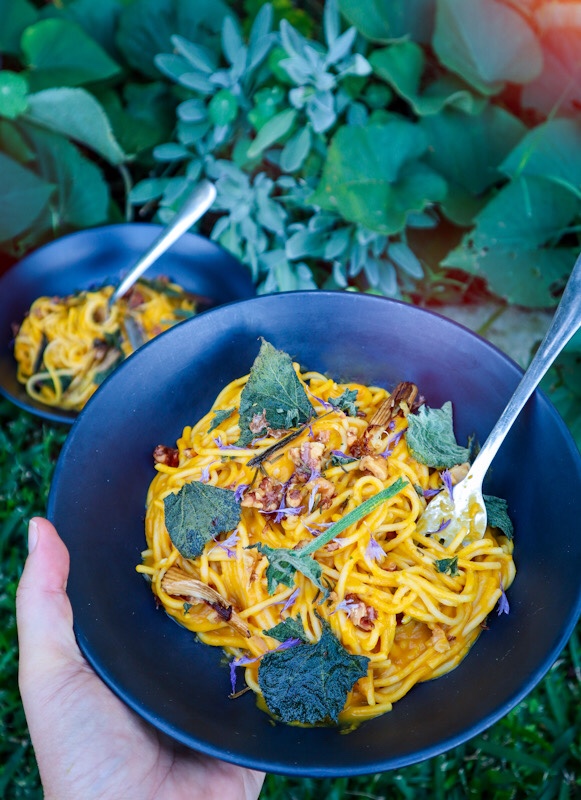
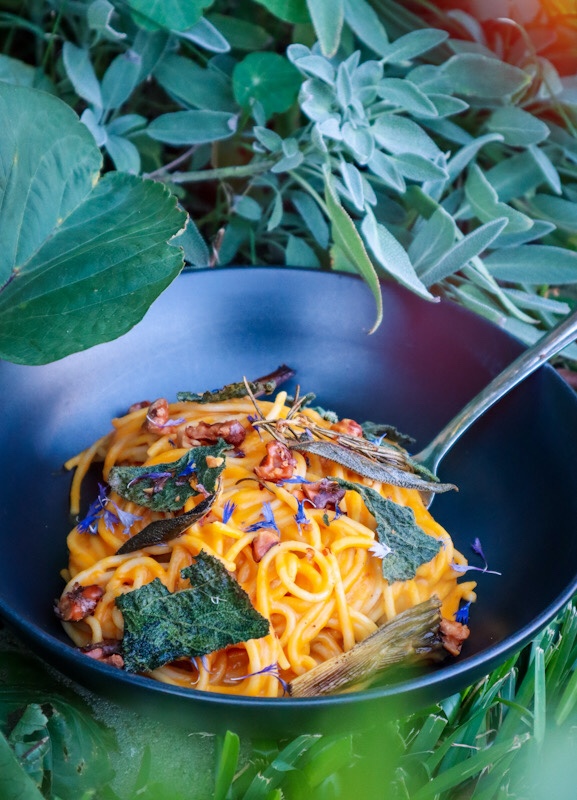
This Creamy Roast Pumpkin Pasta is the ultimate comfort food. The crispy pumpkin leaves make a delicious crunchy addition. The perfect Autumn and Winter meal. Make extra sauce and freeze for quick and easy meals.
Creamy Roast Pumpkin Pasta with Crispy Pumpkin Leaves
Slice the pumpkin into 1-inch wedges. In a roasting dish add the pumpkin, unpeeled garlic, rosemary, sage, and spring onion ( sliced into 1-inch pieces). Drizzle with olive oil and mix to coat.
Sprinkle over paprika and cinnamon and cook for 45min or until the pumpkin is cooked and slightly caramelized.
Cook the spaghetti as per instructions. Strain but do not discard the pasta water.
Once the pumpkin is cooked, remove and allow to cool.
Place the washed pumpkin leaves and walnuts on a baking tray, drizzle with olive oil and sprinkle with sea salt. Bake at 190 degrees celsius for 5 minutes or until crispy.
In a mixer add the pumpkin flesh, roast garlic, coconut cream, tamari, and 1/2 cup of the reserved pasta water. Season with salt and blitz until creamy.
Return the pasta and creamy pasta sauce to the saucepan and heat until warm. Taste and season with salt and pepper as required.
Place the pasta in a bowl and top with roasted seeds or nuts, crispy pumpkin leaves, crispy spring onion, and sage leaves.
Enjoy!
Notes
Freeze extra pasta sauce for quick and easy future meals.
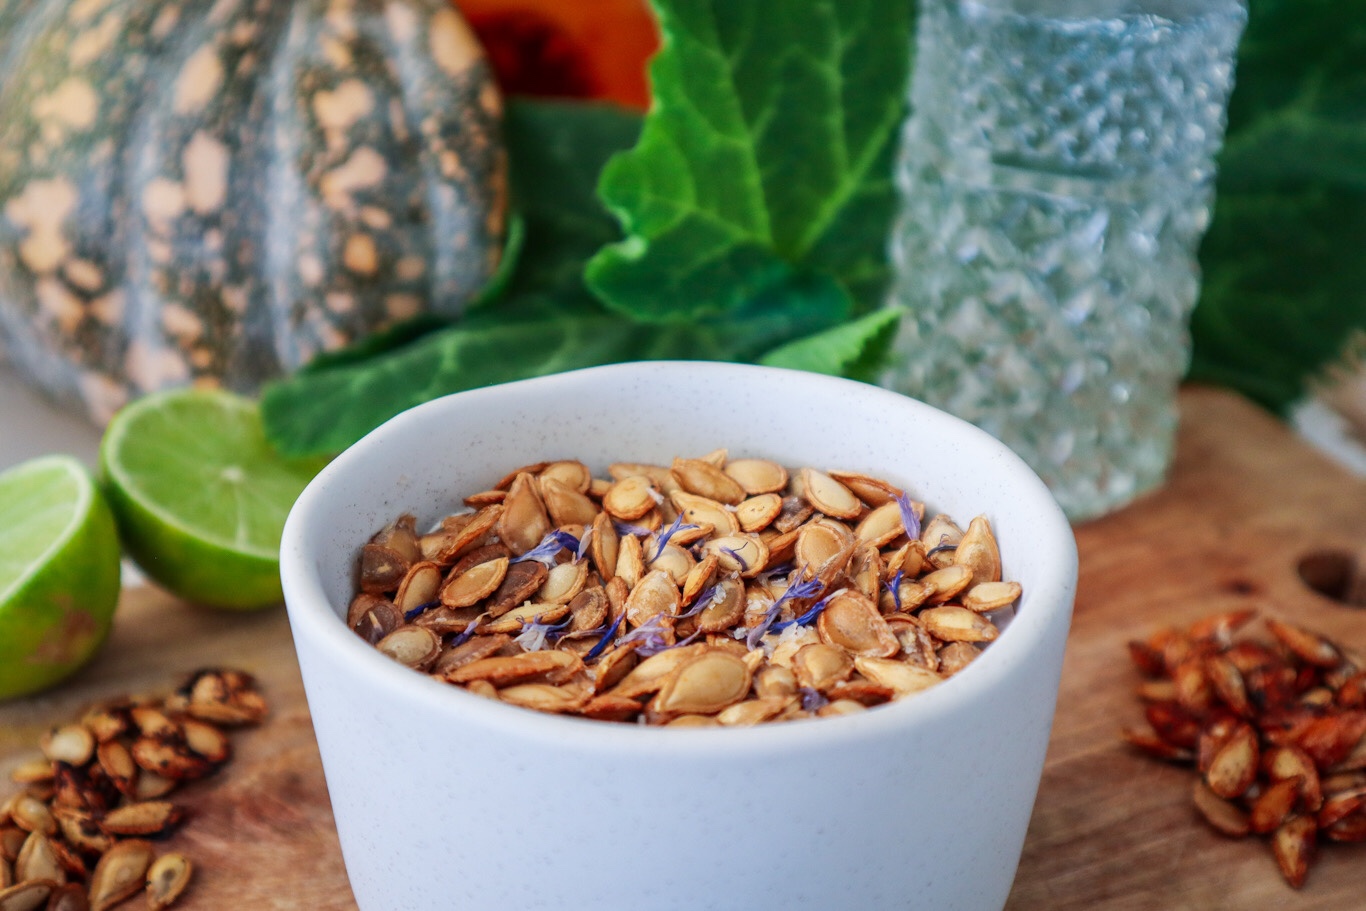
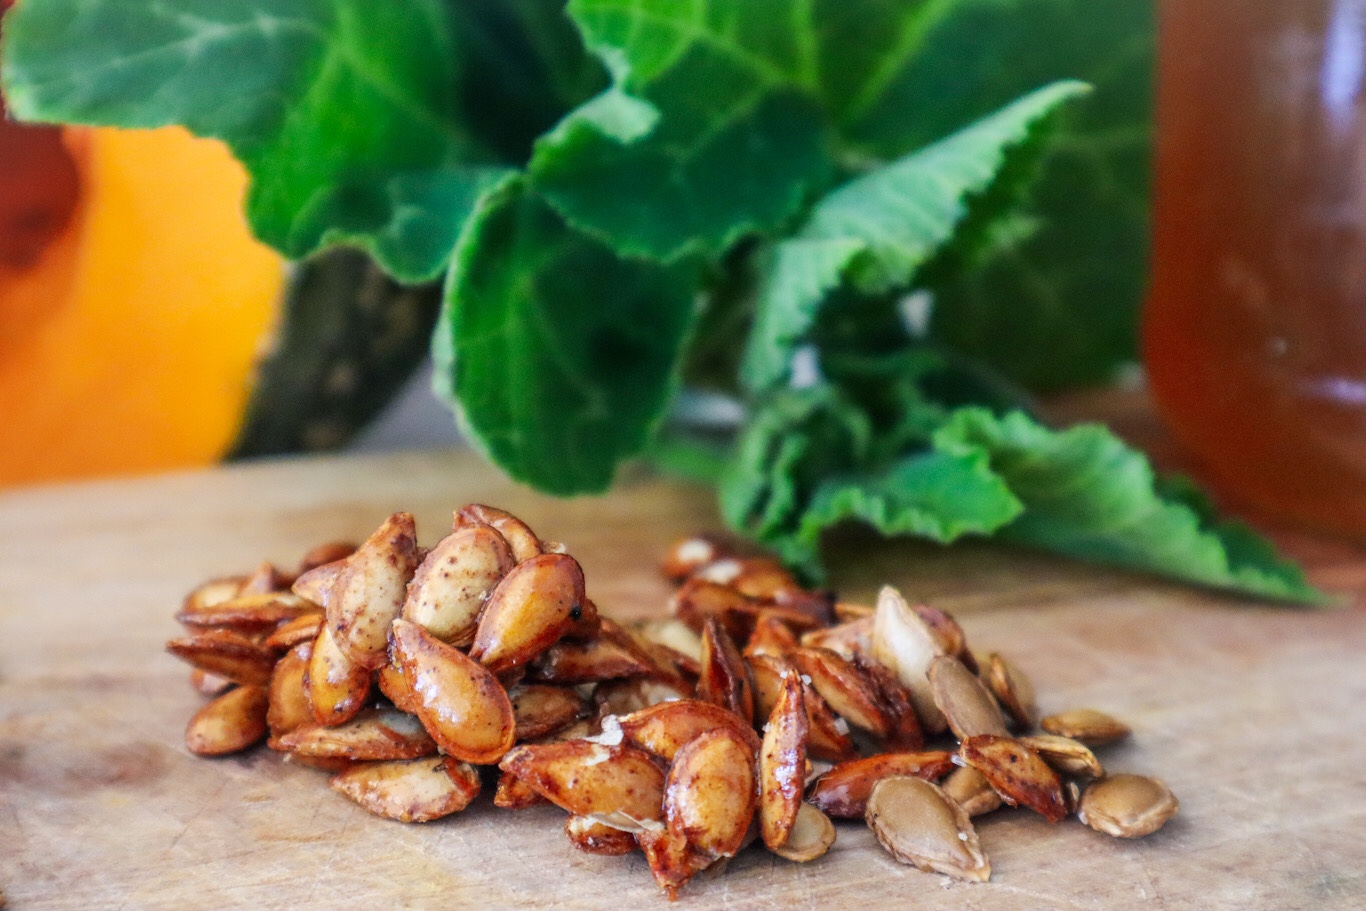
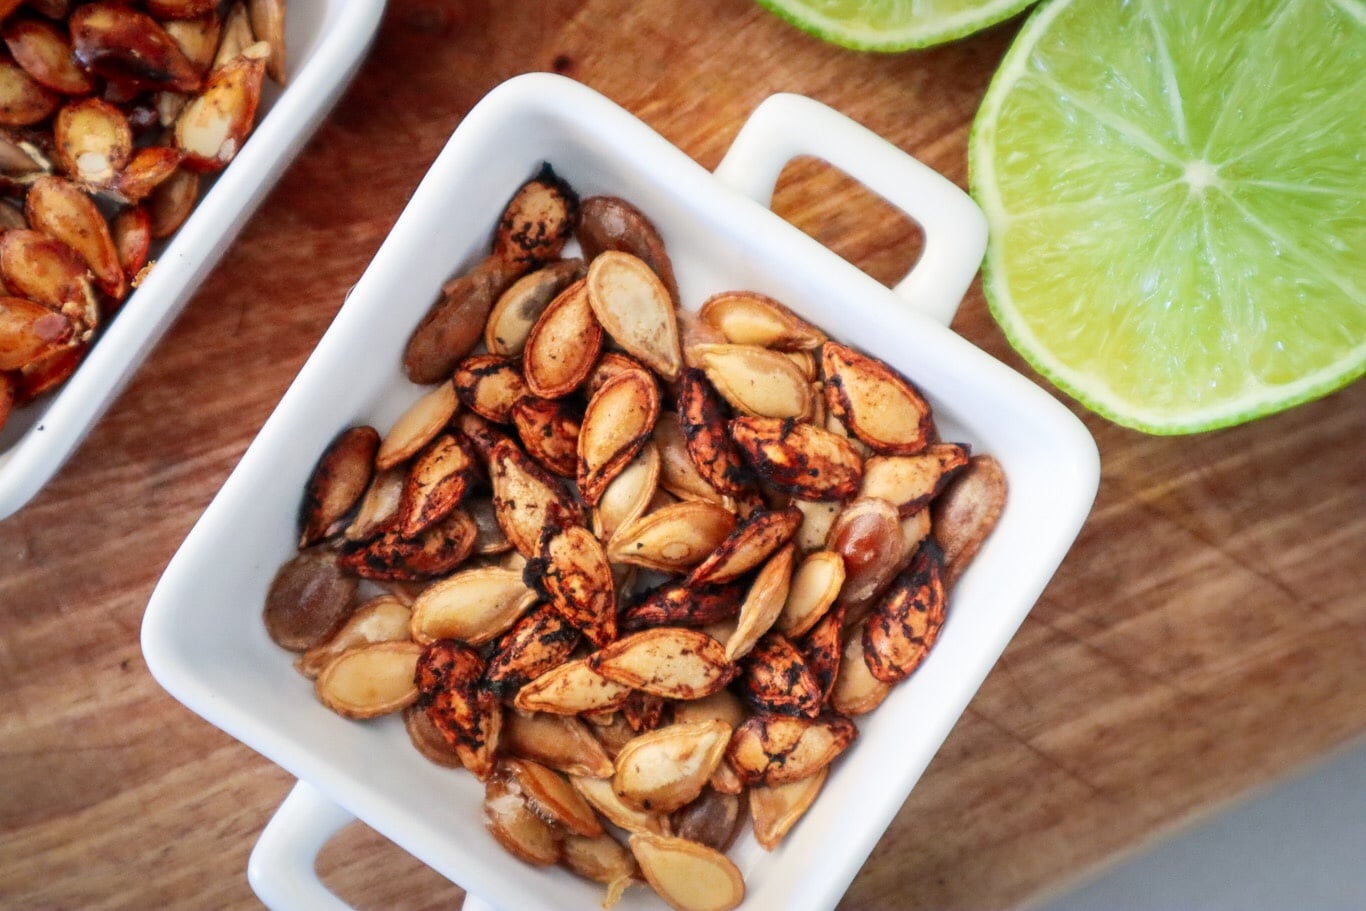
Roasted Salt and Vinegar Pumpkin Seeds make a delicious snack that once you start you won’t be able to stop! Below are three delicious flavours: Salt and Vinegar, Cinnamon and Honey and Lime and Cracked Pepper. Get more from your harvests by using the whole pumpkin. After harvesting your pumpkins save the seeds from the best ones – select for the best flavour, biggest size, or whatever traits you desire. With the remaining pumpkins and seeds, you can make these snacks to add crunch to salads, soups, or just enjoy them on their own.
Roasted Salt and Vinegar Pumpkin Seeds
Reduce your food waste and turn extra pumpkin seeds into delicious snacks.
Drizzle enough honey to coat the seeds and sprinkle with cinnamon and a pinch of sea salt.
Spread the seeds out on a roasting tray and separate them. Roast for 4-5 mins check regularly the honey will caramelize quickly. Remove the seeds from the tray while they are still hot.
Enjoy!
Notes
Add on top of ice cream, and cakes, or enjoy them as they are.
Grate lime zest over the pumpkin seeds and squeeze enough lime juice to coat the seeds. Season with a pinch of sea salt and grind over crack pepper.
Spread the seeds out on a roasting tray and separate them. Roast for 4-5 mins check regularly. Remove the seeds from the tray while they are still hot and allow them to cool on a plate.
Pumpkin (Cucurbita maxima.) is a great base crop to grow that provides your homestead with an abundance of food. Pumpkins can be stored to use throughout the year and provide a variety of uses both sweet and savoury.
Pumpkin is easy to grow if you get these key things right: Rich compost, Sun, Water, and plenty of space to roam.
Pumpkins come in three main species, known as
Cucurbita maxima – Thick skin large pumpkins (eg. Jap, Queensland Blue)
Cucurbita moschata – Winter Squash (Butternut)
Cucurbita pepo – Summer Squash
Depending on where you live in the world different species will be known as Pumpkin or winter squash. In this plant of the month, we will just be focusing on the Cucurbita maxima.
Feed with compost and with liquid seaweed fertiliser.
PESTS
Slaters, slugs may get young plants.Rats can get to the pumpkins.
HARVEST
From 70-120 days.
REPRODUCE
Save seeds from the best-tasting pumpkins.
Why Grow Pumpkins?
Pumpkins are easy to grow and can provide a large amount of food. They are a great base crop to build complete dishes with both sweet and savoury.
Here are some of the many reasons to grow Pumpkins:
Easy to grow
Low maintenance
The whole plant is edible: Fruit, flowers, seeds, young shoots, and leaves
A large source of food
Have their own “packaging” with a hard exterior
Rich in vitamin A
High in antioxidants
Aid in upset stomachs
Nutrient-dense food source
Easy to store
Save seeds easily for sustainable gardening
Popular Heirloom Pumpkin Varieties
‘Jarrahdale’ – Australian heirloom. Ribbed blue/grey skin and orange flesh. Sweet and smooth flesh. Weight approx 5kg. Great storage.
‘Queensland Blue’ – Popular Australian heirloom. Large grey/blue skin. Easy to grow. Great storage.
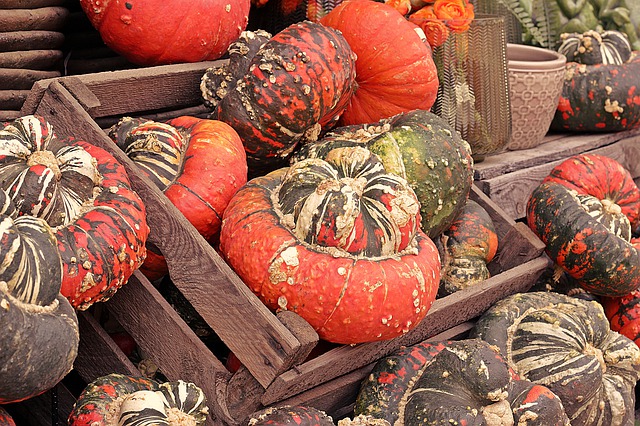
‘Turks Turban‘ – Heirloom from the 1800s. Fun to grow for its interesting shape. Orange, green and white colours. Good storage.
‘Bohemian‘ – Australian heirloom once thought to have been lost. Great for roasting. Stores well.
‘Golden Nugget’ – Small compact bushing plant – great for small spaces. Good for stuffing. Small round orange pumpkins. 1kg per pumpkin.
‘Blue Hubbard‘ –Large heirloom from the 1700s. Long vines. Great stored up to 12 months. 10kg per pumpkin.
‘Dills Atlantic‘ – Giant Pumpkin grows up to 220kg! Best used for pies and soups or winning competitions.
‘Lakota’ – Orange and Green skin with bright orange flesh. Bell-shaped. Nutty flavour. Decorative and great for storage. 2.5kg per pumpkin.
When to Plant Pumpkins
For an early season, you can start your seed off in a tray indoors or in a greenhouse. This is best at the end of winter or the start of spring. If you are sowing the seeds directly in the soil, it is best to wait until spring after frost. In warm, frost-free zones, you may be able to grow pumpkins all year round.
How to Grow Pumpkins
Choose a sunny location with plenty of space. Most pumpkins can ramble several metres but 1sqm per plant is enough.
Pile on the compost. Pumpkins are heavy feeders so mound up a pile of compost to plant your seed or seedlings on top of.
Apply mulch around the seedlings to retain moisture.
Poke a stick or stake near the mound. As the vines grow and take off you will have a locater to know where to water. Avoid watering the leaves as this can cause powdery mildew. Water around the stake.
Pumpkins can also be grown vertically if you are short on space. Provide robust trellis support and direct the vines in the direction you want. Once the pumpkins start to form, it is a good idea to place a sport underneath to that the stem can support the pumpkin as it grows. A stretchy “hammock” style support works well.
Care/ Maintenance
Try to avoid watering the leaves.
The fruit requires pollination to set and grow to maturity. If you notice the small pumpkins shrivel and die off it may be due to a lack of pollination. You can hand-pollinate by wiping pollen from the male flower onto the female flower. See more details on how here.
Feed with liquid seaweed for added nutrition if you have poor soil.
Pinch the ends of the vine off if it gets too long and wild.
Pests / Disease
Slugs and snails may eat young seedlings. Use natural pest management. Aphids can also be an issue on young shoots. Dip them in soapy water. Rats and mice may also nibble on your pumpkins. If you have issues with this you can build a crate or mesh around the pumpkin until it is ready to harvest.
How/ When to Harvest
Your pumpkins will be ready when the vine starts to die off. The closest curly tendril to the stem will be brown and going dry. The pumpkins should be slightly hollow when you know on them and have hard skins. Use sharp secateurs and cut the stem as close to the vine as you can. This will help with storage (see below).
Reproducing
The best way to reproduce pumpkins is to save the seeds. Save the seeds from your best-tasting or largest pumpkins. See the seeds saving guide here. wash and dry your seeds and store them somewhere dry and cool to replant next season.
Cooking and Using Pumpkins
Pumpkin is a great base for many sweet or savoury dishes. It can even be used as a base for many sauces and preserves.
The young leaves and shoots are also edible. These can be added to soups, curries and stir-fried. The flowers are great stuffed or used in salads. The seeds can be coated in spices and roasted for snacks or added on top of soups.
Depending on the variety, some pumpkins can be cured and stored for up to 12 months. Most will be around 6 months. The thicker the skin, the longer they last. Check the variety for a guide.
To prepare your pumpkins to store:
Cut the stem as close to the vine so that you do not damage the pumpkin.
Wash any dirt off using a hose.
Wipe the pumpkins down with a mix of Vinegar and water (1:1) This helps remove any further dirt and bacteria. Check for holes or damage to the skin. These will not store well so they should be eaten first.
Place your pumpkins somewhere dry with diffused sunlight to cure for two weeks. On the deck or porch is often a good place. This helps to harden and dry the skin.
Store your pumpkins in a cool and dark space between 10-16 degrees Celsius. Place them on a piece of cardboard or ply to protect them from bacteria or moisture on the floor.
Check your pumpkins regularly for any signs of mould or softening. Discard them so that they don’t affect the others.
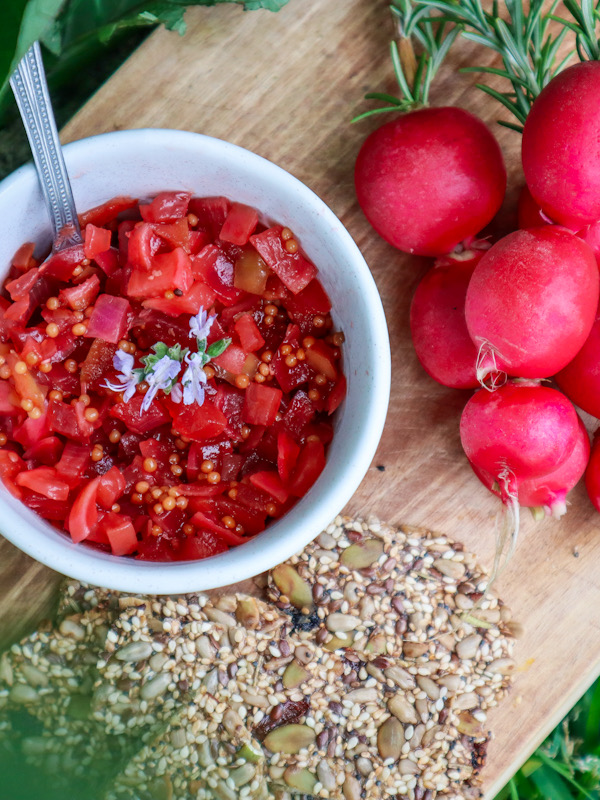
This Radish and Apple Relish is a delicious addition to any garden platter. Served with crackers and a slice of cheese this relish is sure to impress! Radish are easy to grow and you can plant them in between your other vegetables.
Radish and Apple Relish
Vibrant and delicious radish relish to add flavour to a platter or BBQ meal.
Place the radish, apple, and onion into a food processor to cut into small pieces or finely dice using a knife.
Add the cut vegetables to a saucepan with the vinegar, salt, sugar, chill flakes, and crushed garlic.
Simmer until cooked and liquid has reduced (1.5 hours).
Sterilize a jar using boiling water or in an oven at 120 degrees for 15 minutes. place the hot relish mix into the hot jar. Secure the lid and allow to come to room temperature before placing it in the fridge.
Notes
*Use 5% vinegar for the correct level of acidity. You can use both White and Apple Cider as per the recipe or swap to just use the one type if you prefer.
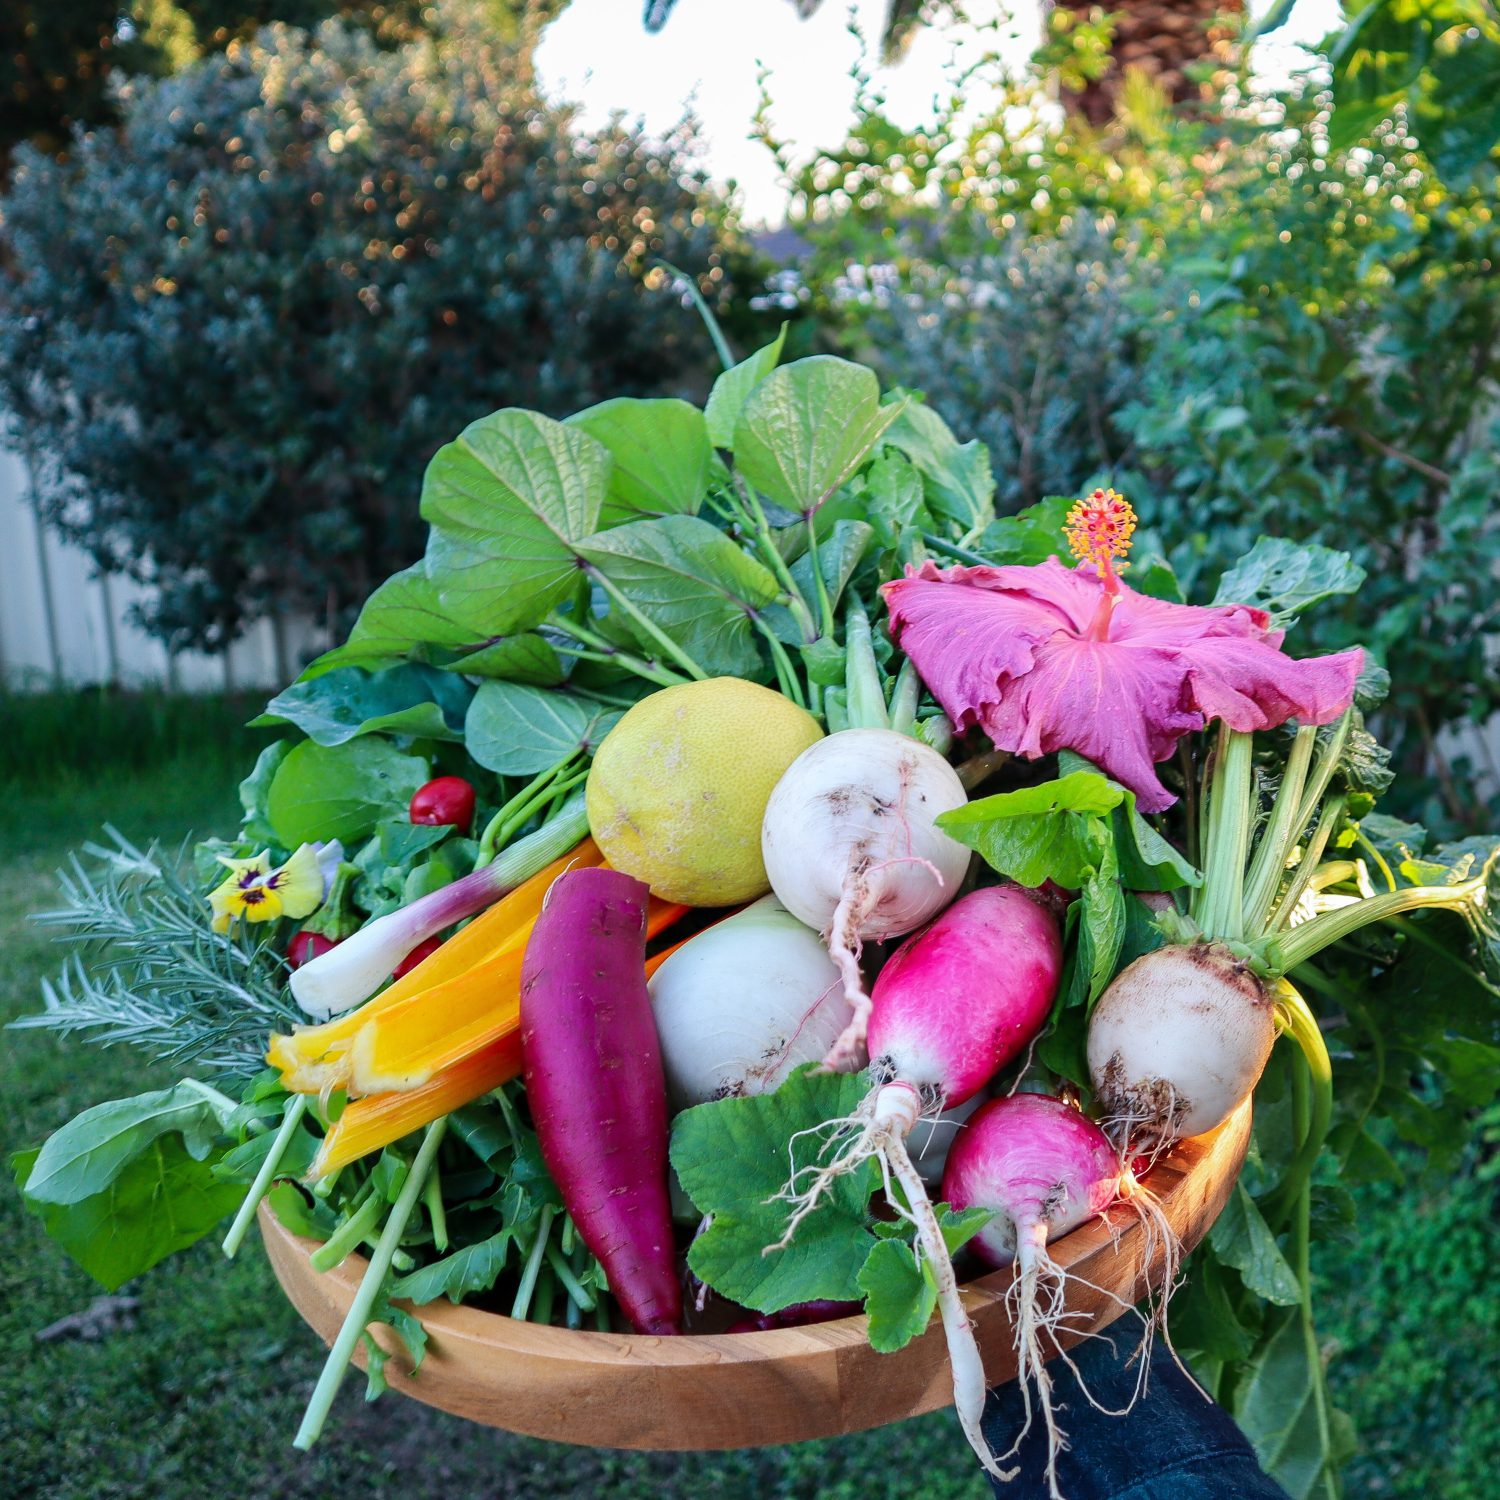
Delicious Roast Radish and Carrot Salad with Radish Top Chimichurri dressing for a low waste recipe to get the most your of your harvest. Roast Radish is just something else! They are sweet, juicy, and delicious additions to a roast veggie salad. Radish are a quick crop to grow and can fill up gaps in your garden beds to get maximum production out of each space. There are so many delicious ways to use Radish and this salad is a wholesome and easy way to eat Garden to Plate.
Roast Radish and Carrot Salad
5 from 136 votes
Wholesome and delicious roast veggie salad using root to tip.
3cupschopped Greenscombination of what is available Spinach, Kale, Sweet Potato Leaves, Chard
Olive oil to drizzle
Salt Flakes or Seas Salt
Chilli Flakes or fresh Red Chilli
Chimichurri Dressing – See Recipe card below
Method
Wash the radish and carrots and remove the tops. Set aside for the Chimichurri Sauce.
Cut the larger carrots in half-length ways. The small or thinner ones can remain whole. So that all the carrots are of a similar thickness.
Cut the larger Radish in half and leave any small ones whole so that they are all roughly the same thickness. Optional – add scores with a knife 1/3 the way through the radish. This allows for the dressing to soak in later.
Add the Carrots and Radish to a roasting dish, drizzle in olive oil, sprinkle with salt, and cook for 35mins or until slightly brown. I like my roast veggies a little crisp still. Cook for 45 minutes if you want softer roast veggies.
Whilst the veggies are roasting prepare the Chimichurri Green Sauce – Recipe card below. Use the Radish and carrot tops in place of parsley.
Remove the roast veggies from the oven whilst you prepare the rest of the salad.
In a large saucepan add 1/4 cup water and 3 cups of chopped greens. You can also use any leftover radish and carrot tops not needed in the dressing as part of your greens. Toss and allow to wilt then remove from the heat. Drain and add to a serving bowl. Drizzle over 2-3 TBSP of the green sauce liquid and toss to mix through the greens.
Add the Radish and carrots on top of the greens. Spoon and drizzle over the remainder of the green sauce.
Add fresh red chilli or chilli flakes, salt and edible flowers to garnish and serve.
Notes
Edible flowers I used – Sweet violets, fennel flowers, dried purple and blue cornflowers.
Chimichurri Dressing using Radish Tops
This recipe below can be adapted to make using the leftover radish and carrot tops. Swap out the parsley and fennel fronds or use a mix of both.
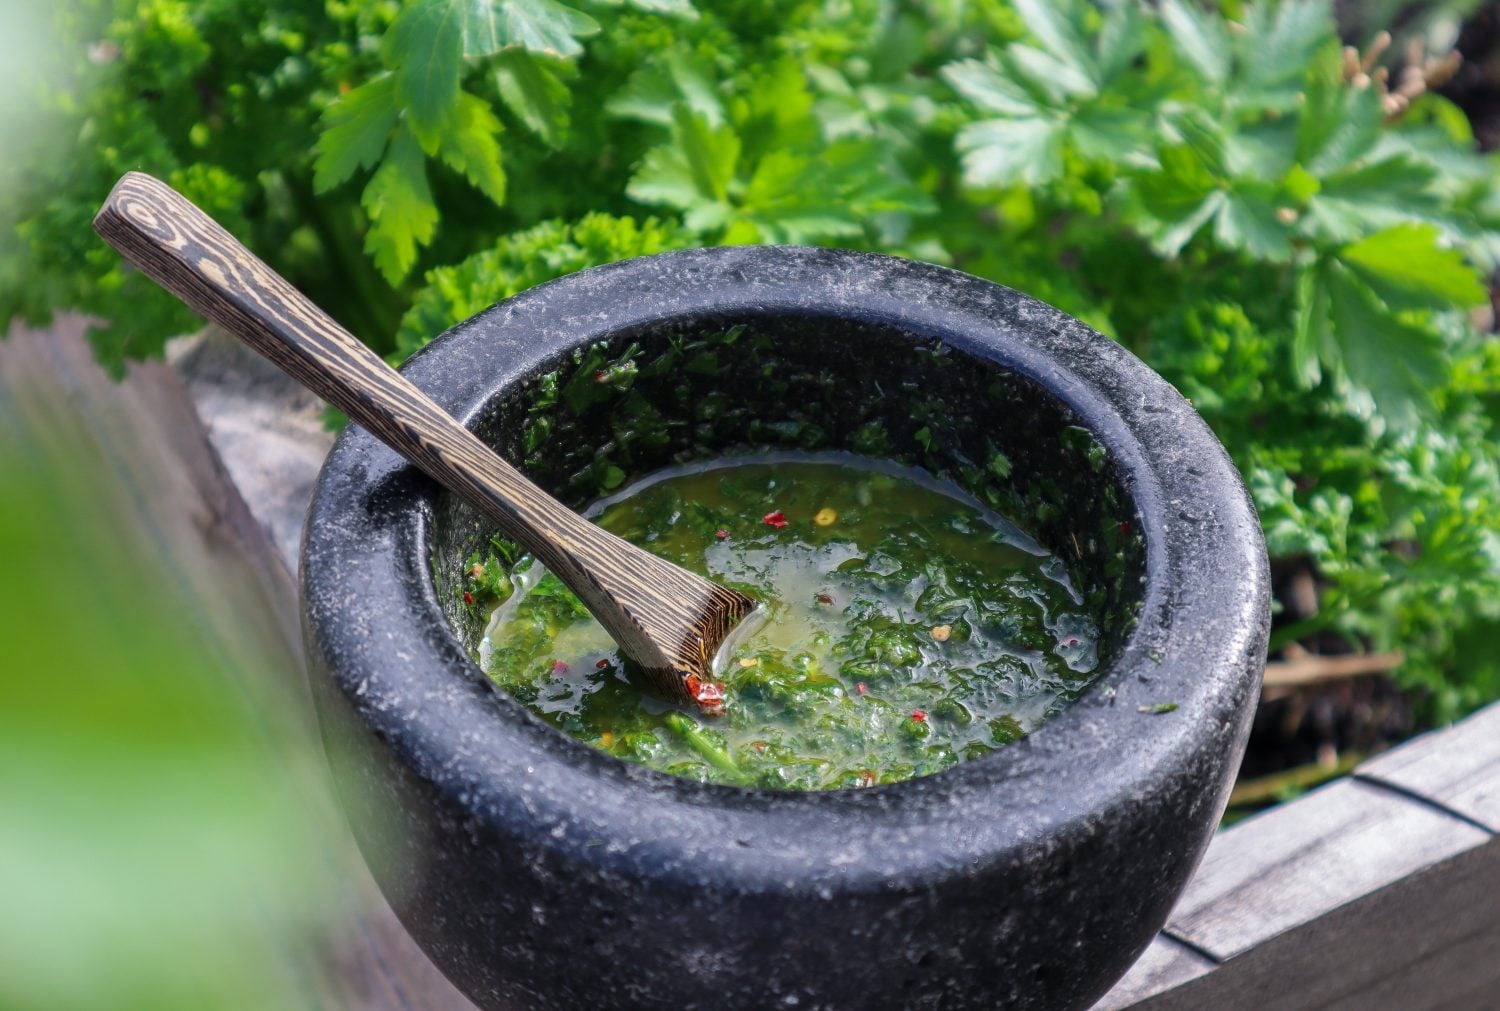
Chimichurri Dressing
This vibrant green dressing is packed full of flavour and is a delicious way to add a fresh zing to your meals.
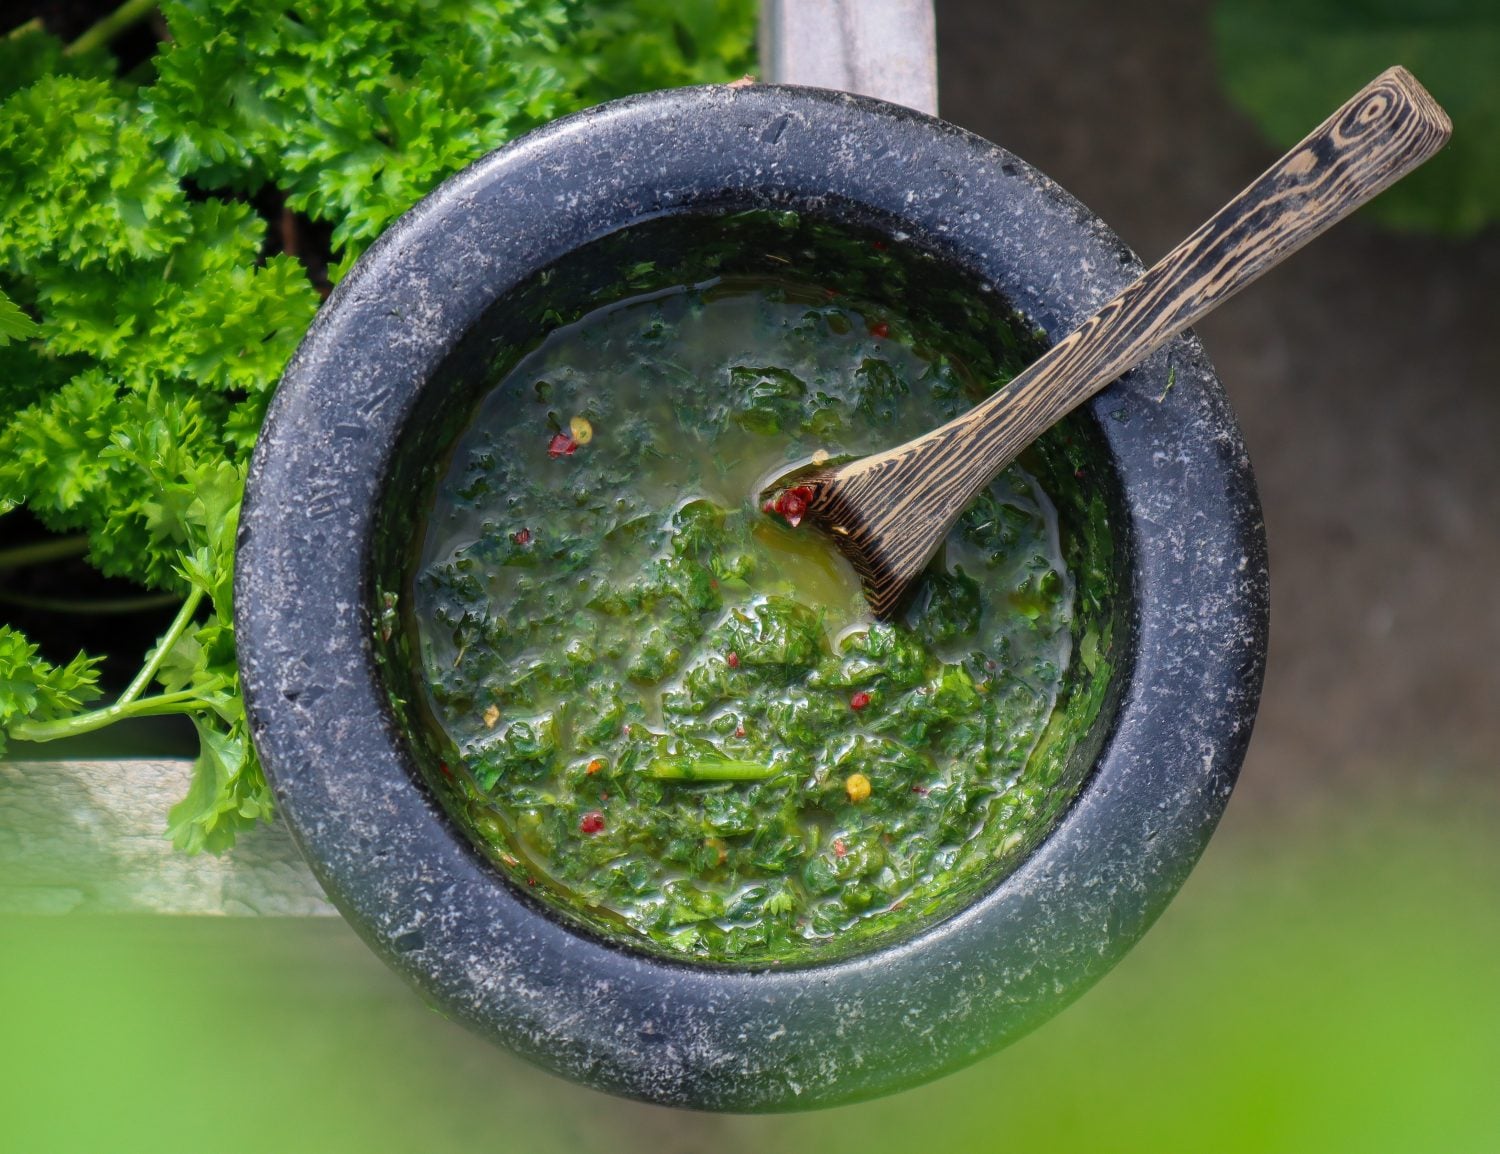
Add Parsley, Lemon juice, Vinegar, Sugar, Fennel Fronts, and Garlic to a mixer or mortar and pestle. I prefer a mortar and pestle as I like it chunky and not to blended. Blitz or crush to combine and make a green sauce.
Then gradually add oil to combine. Add Chilli flakes and a pinch of Sea Salt Flakes. Taste and balance with more salt if needed.
Drizzle over the green sauce. Garnish with sliced red chilli, fennel fronts, and edible flowers.
Notes
* Swap Parsley or Fennel fronds for Radish tops, Carrot tops, Corriander, or a mix.
There may be a little extra sauce than needed so you can keep it in the refrigerator to use within a few days or freeze it in ice cubes to use in cooking.
Chimichurri sauce is one of the easiest ways to transform homegrown herbs into a flavour-packed dressing. I love this chimichurri recipe because you can adapt it to use throughout the year with different herbs and greens that are in season. While parsley is the classic herb, I often use whatever is growing abundantly, including carrot tops, radish tops, celery leaves or mixed garden herbs. It’s an amazing way to reduce food waste while turning garden harvests into something delicious!
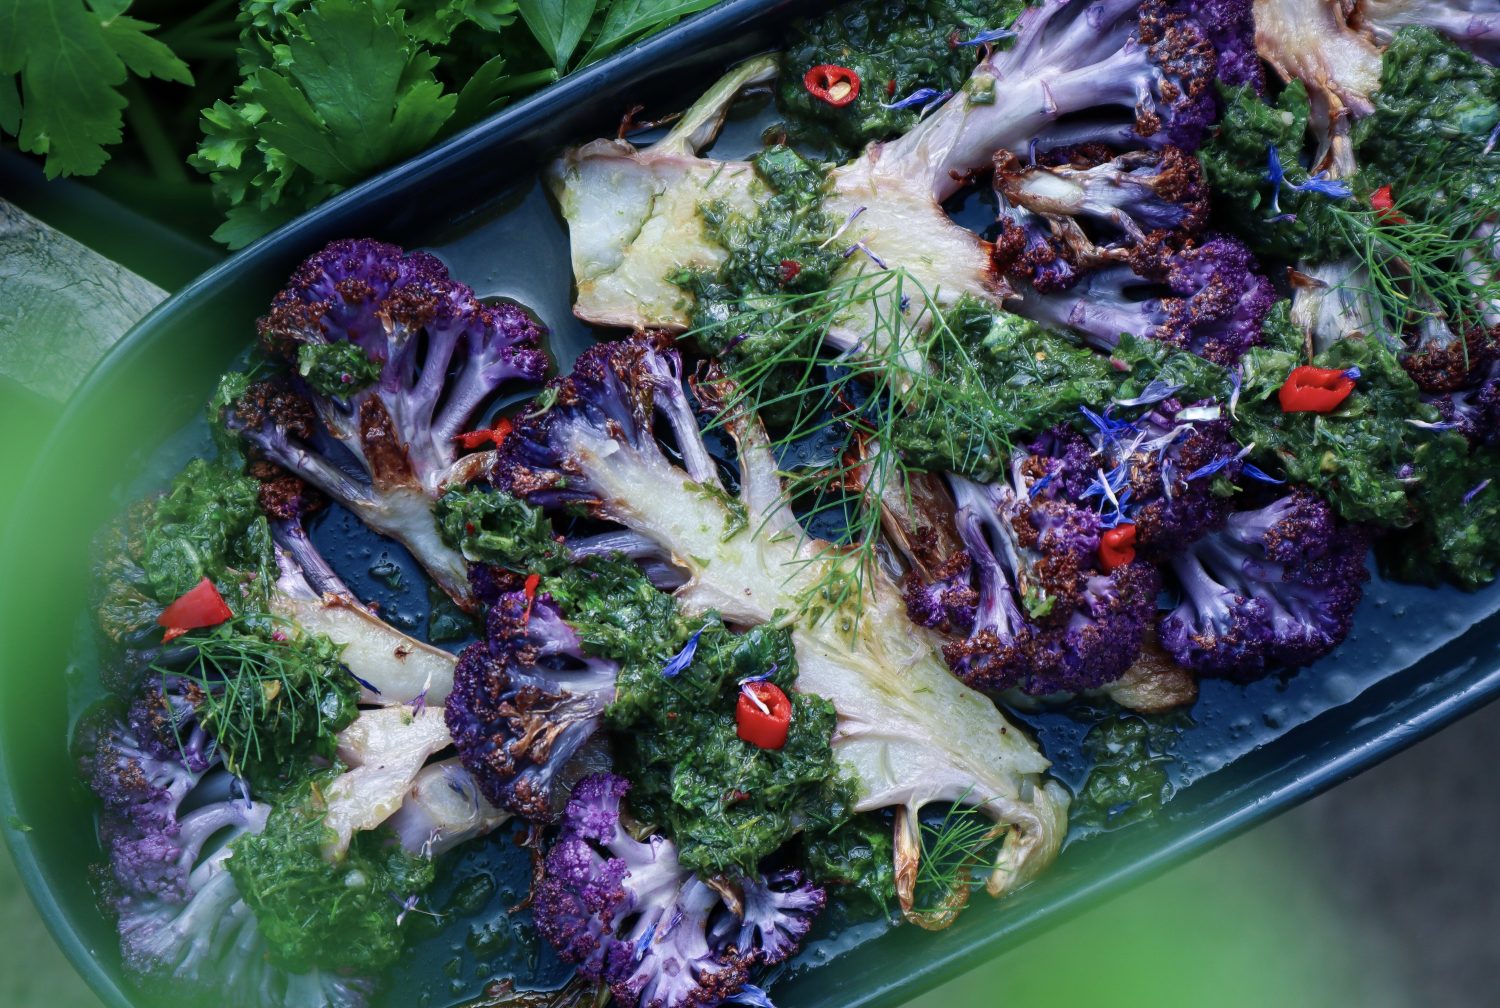
The combination of fresh herbs, garlic, and vinegar creates a dressing that cuts through rich foods and adds freshness to simple meals. I especially love drizzling it over roasted veggies, baked potatoes, grilled zucchini, and my favourite roasted cauliflower steaks.
One of the best things about homemade chimichurri is how quickly it comes together. In less than five minutes, you can create a vibrant sauce that instantly takes everyday meals to the next level! It’s also highly adaptable, allowing you to use what you already have growing in the garden rather than following a strict recipe..i am a huge fan of a bit of thos …a bit of that cooking!
If you’re looking for a simple garden-to-table recipe that celebrates fresh herbs, this chimichurri sauce is a must-try.
Chimichurri is a traditional Argentinian herb sauce typically made from parsley, garlic, olive oil, vinegar, and chilli. Unlike creamy dressings, chimichurri relies on fresh herbs and simple ingredients to create bold flavour. The result is a bright, tangy sauce that complements everything from roasted vegetables to grilled meats.
While classic recipes use parsley as the main herb (great when you have excess growing!), you can easily adapt chimichurri to so many edible greens and herbs harvested straight from the garden!
Why Gardeners Should Make Chimichurri
Every gardener knows the feeling of harvesting more herbs than they can immediately use. A single parsley plant can produce handfuls of leaves every week, while carrot tops, radish greens and celery leaves are often overlooked despite being completely edible.
Chimichurri is one of the easiest ways to make the most of these harvests. Because the recipe is flexible, you can use small amounts of several different herbs and greens together. Rather than letting extra herbs bolt, wilt or end up in the compost bin….you can turn them into a flavour-packed sauce in just a few minutes.
It’s a simple garden-to-table recipe that celebrates seasonal abundance while helping reduce food waste.
A Sustainable Garden Twist
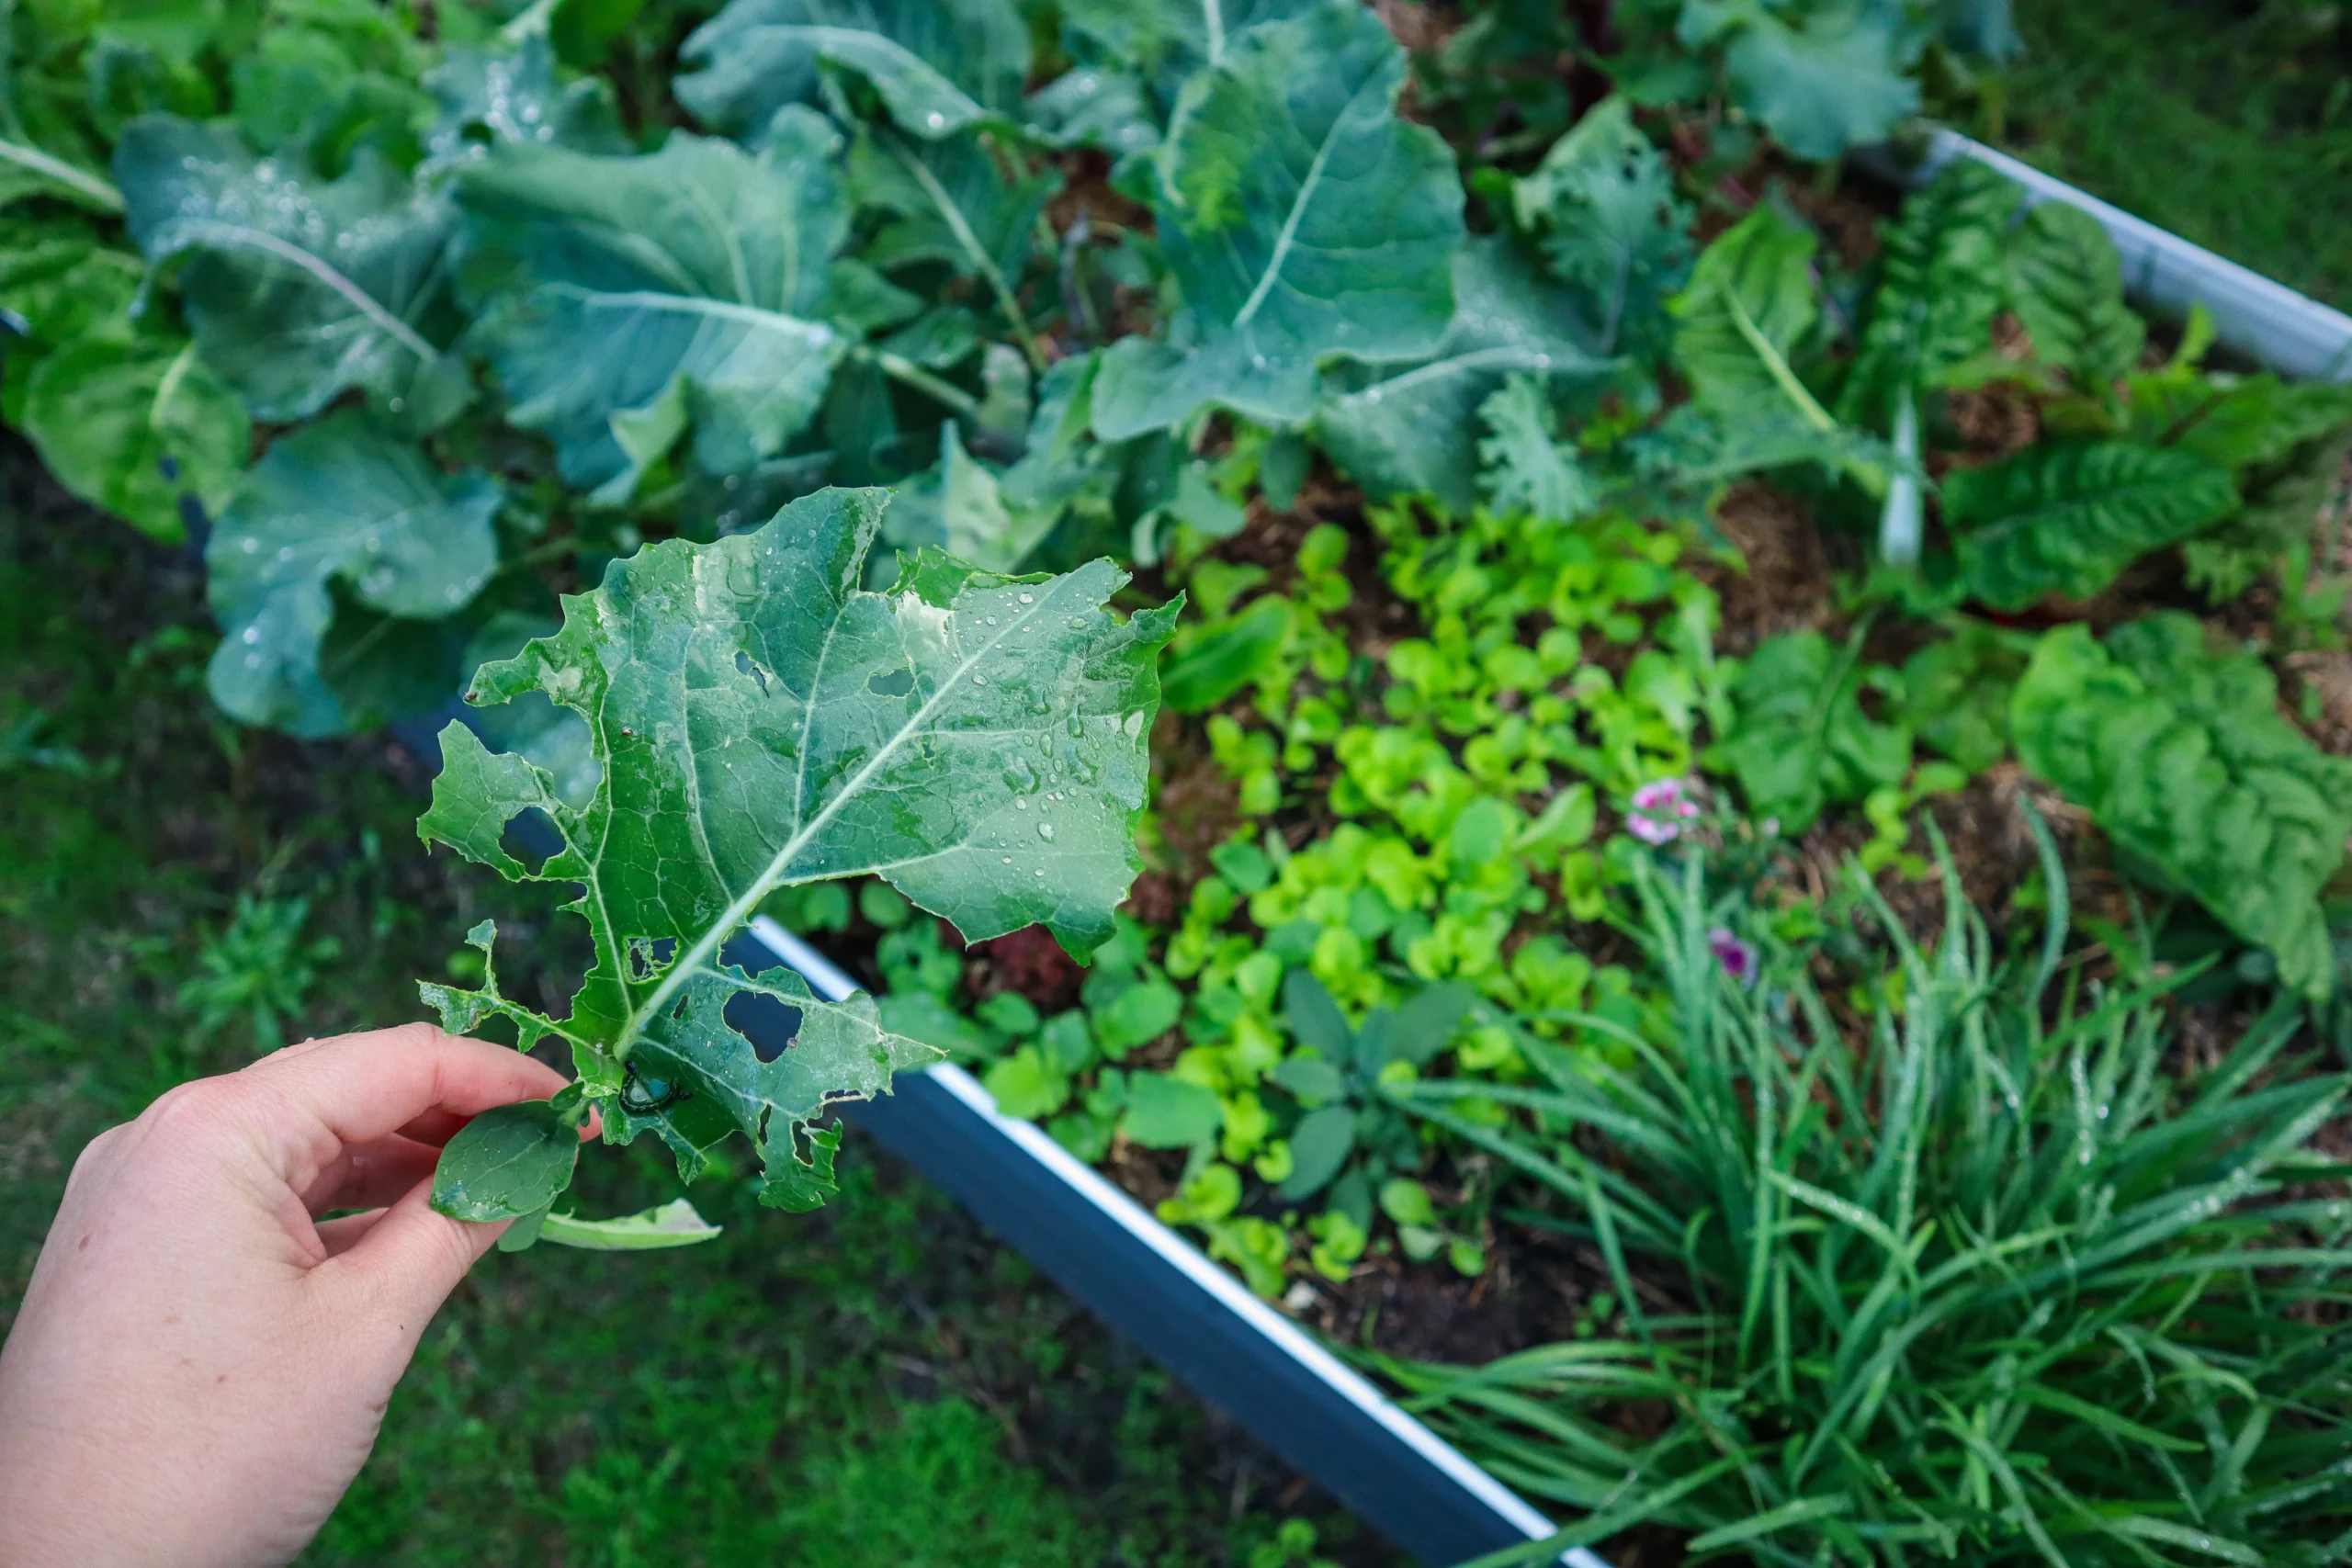
One of my favourite things about this recipe is how adaptable it is. Chimichurri sauce is an easy way to use extra garden greens, slightly holey leaves before they become compost. One of the biggest lessons I’ve learned from growing food is that many plants produce far more edible parts than we realise.
Try replacing some or all of the parsley with:
Carrot Tops
Carrot tops have a fresh, slightly earthy flavour that works beautifully in chimichurri. If you’ve harvested a bunch of carrots and don’t know what to do with the greens, this is one of the easiest solutions.
Radish Greens
Radish leaves have a mild peppery flavour that adds extra character to the sauce.
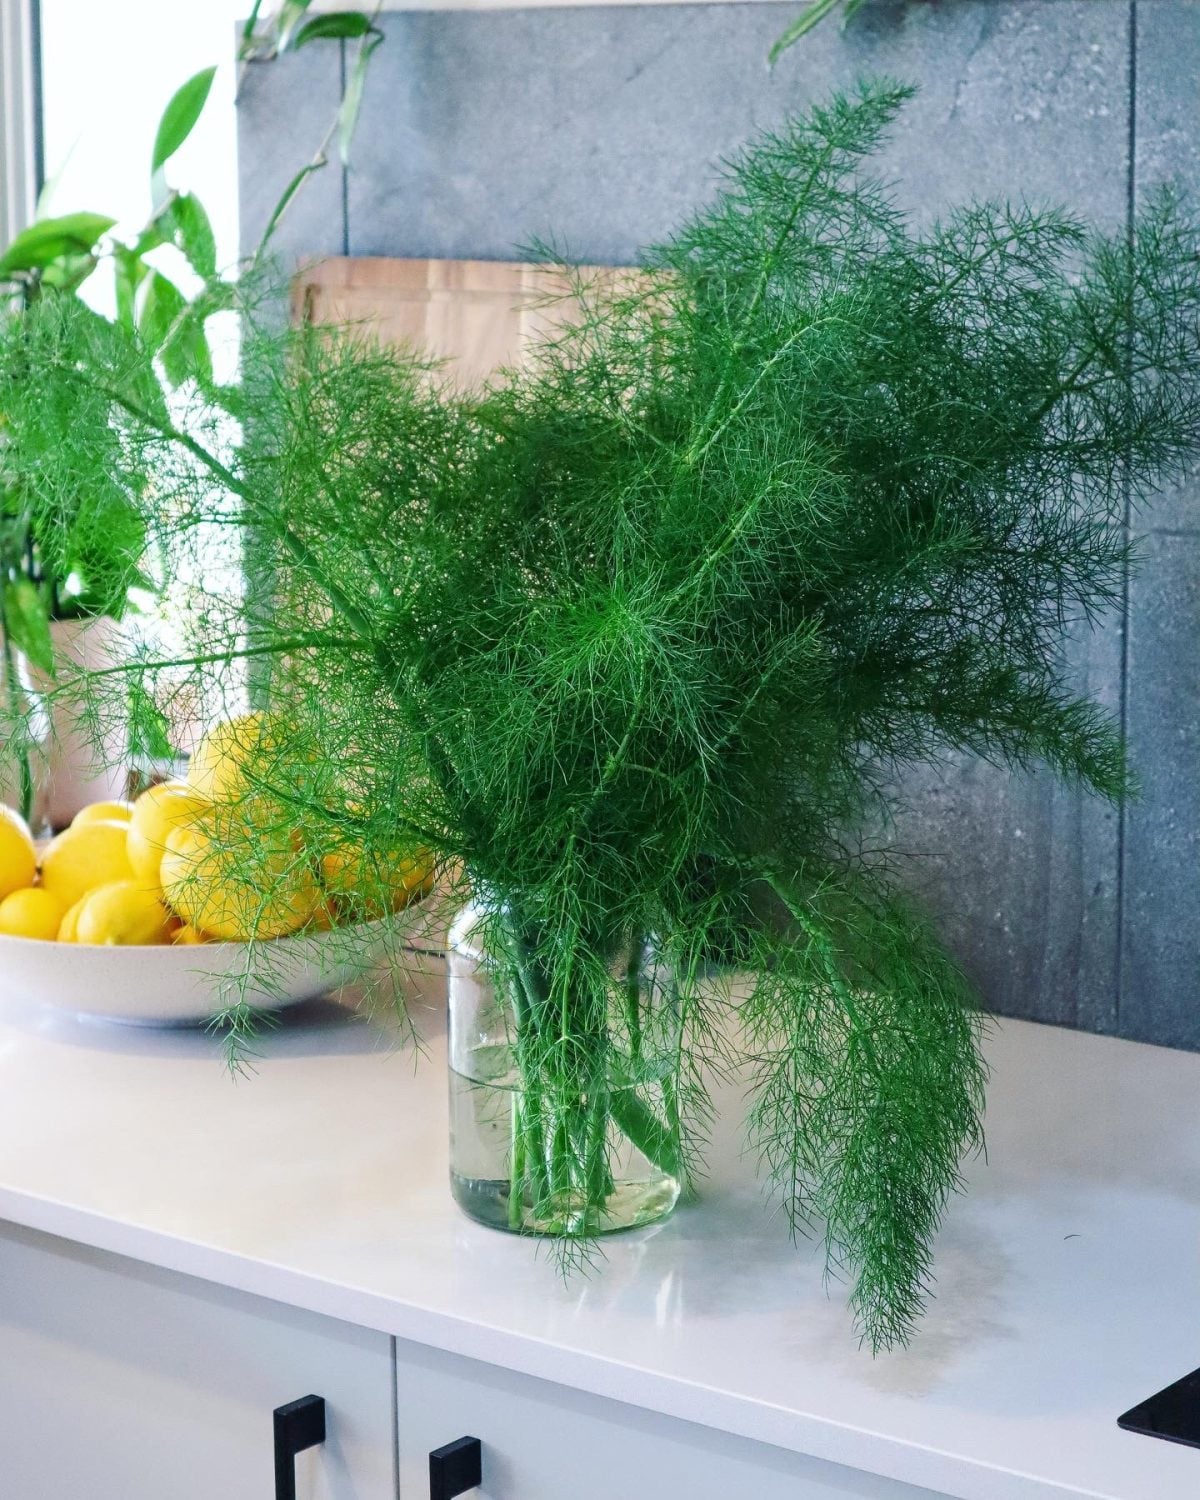
Fennel Fronds
Light, feathery and subtly sweet with a gentle anise flavour. Fennel fronds add a unique freshness and work especially well when mixed with stronger herbs like parsley or coriander.
Coriander (Cilantro)
Coriander creates a brighter, citrus-like version that’s especially delicious with roasted vegetables. Personally, not a fan (soap gene), but if you like coriander, it would be a great combo.
Celery Leaves
Often discarded, celery leaves add incredible flavour and blend beautifully into herb sauces.
Mixed Herb Harvests
Parsley, coriander, basil, chives, oregano and celery leaves can all work together in different combinations. Don’t be afraid to experiment with whatever is growing abundantly in your garden.
Chimichurri Dressing
This vibrant green dressing is packed full of flavour and is a delicious way to add a fresh zing to your meals.
Add Parsley, Lemon juice, Vinegar, Sugar, Fennel Fronts, and Garlic to a mixer or mortar and pestle. I prefer a mortar and pestle as I like it chunky and not to blended. Blitz or crush to combine and make a green sauce.
Then gradually add oil to combine. Add Chilli flakes and a pinch of Sea Salt Flakes. Taste and balance with more salt if needed.
Drizzle over the green sauce. Garnish with sliced red chilli, fennel fronts, and edible flowers.
Notes
* Swap Parsley or Fennel fronds for Radish tops, Carrot tops, Corriander, or a mix.
There may be a little extra sauce than needed so you can keep it in the refrigerator to use within a few days or freeze it in ice cubes to use in cooking.
How to Make Chimichurri Sauce
Finely chop the herbs and garlic.
Add the vinegar, olive oil, chilli and seasonings.
Stir until well combined.
Allow the sauce to sit for at least 10 minutes before serving to let the flavours develop.
For a smoother consistency, pulse the ingredients briefly in a food processor. For a more traditional texture, chop everything by hand – I like to use a mortar and pestle.
Store leftover chimichurri in an airtight container in the refrigerator for up to five days. A thin layer of olive oil on top can help keep the herbs fresh for longer. You can also freeze chimichurri in ice cube trays for convenient portions ready to use whenever the garden is overflowing with herbs. But because it is such a quick and easy sauce to make i prefer to make a fresh batch as needed.
From Garden to Table Abundance
One of the joys of growing food is finding creative ways to use every part of the harvest. I mean, you put all that effort into actually getting a harvest, it is only fair you get to utilise every single part!
This garden herb chimichurri is a simple reminder that abundance doesn’t have to be complicated. A handful of herbs, a few edible greens and a few pantry staples can become a fresh, flavour-packed sauce that brings homegrown meals to life.
Whether you’re harvesting parsley from a container garden or pot, gathering carrots from the veggie patch or trimming herbs in a thriving food forest, chimichurri is one of the easiest and most delicious ways to turn garden surplus into something worth sharing.
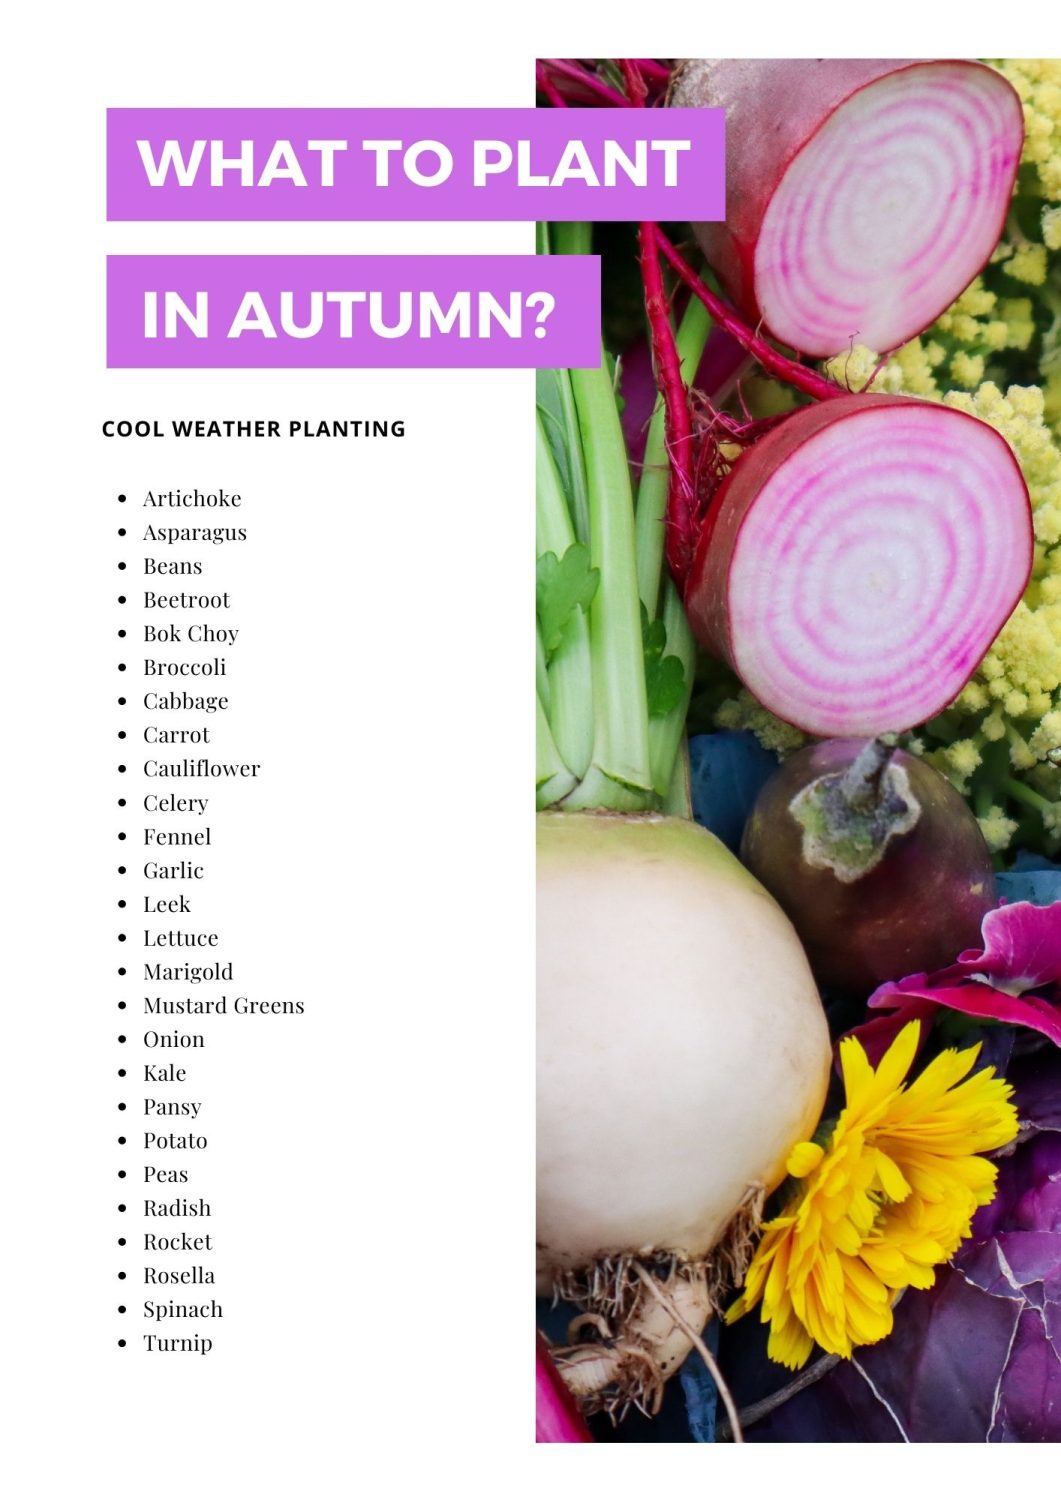
Autumn is a busy month in the garden and it is time to prepare your garden beds for new plants by adding compost and fresh mulch. Autumn is also the season to sowyour cool-season seeds. Create succession planting by sowing seeds in batches 2-3 weeks apart. Autumn is also when our summer fruit and vegetables will be finishing up. This is a great time to harvest as much as you can and preserve any extra food.
What to Plant
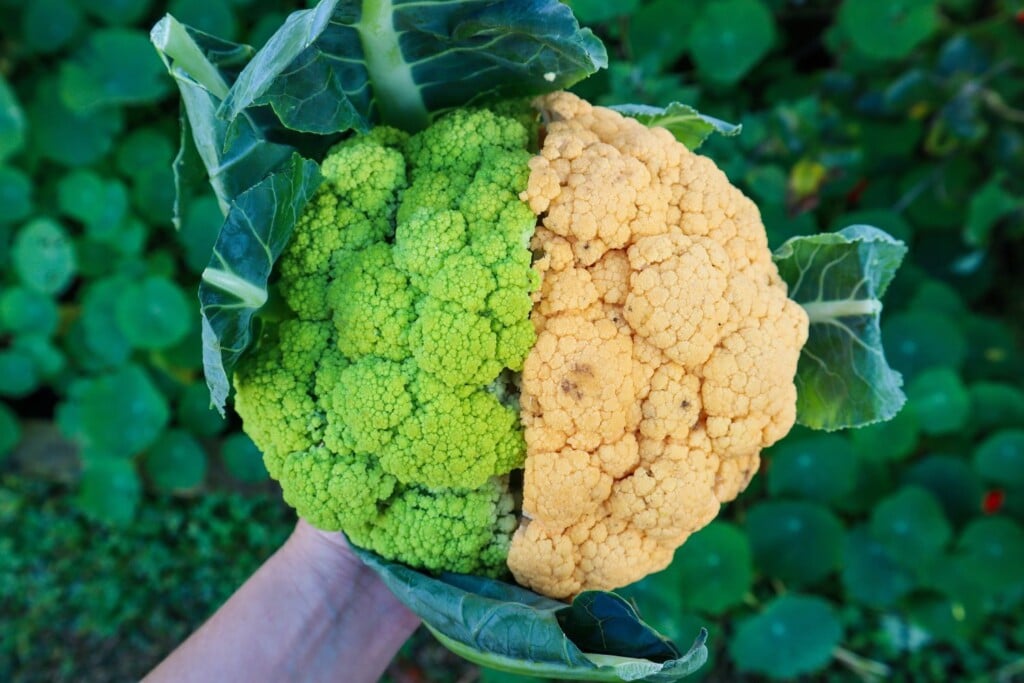
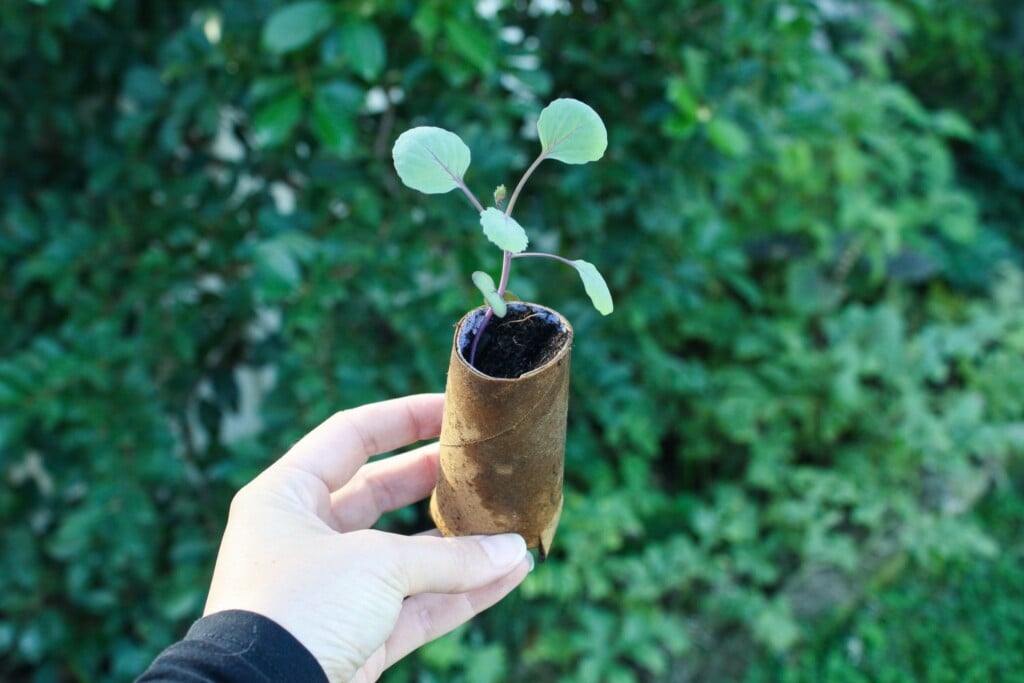
Autumn is a great time to start planning and planting out your winter seeds. If you are planting seedlings that are already small plants, it may be too hot still for many cool-season plants. Check out these 10 edible plants to sow at the beginning of autumn. These 10 edibles are great to sow for that in-between stage. Your cool-season crops such as broccoli, cabbage, and cauliflower are great to start from seed in late March because, by the time they are small seedlings and ready to plant out into the garden, the temperatures will be cool enough.
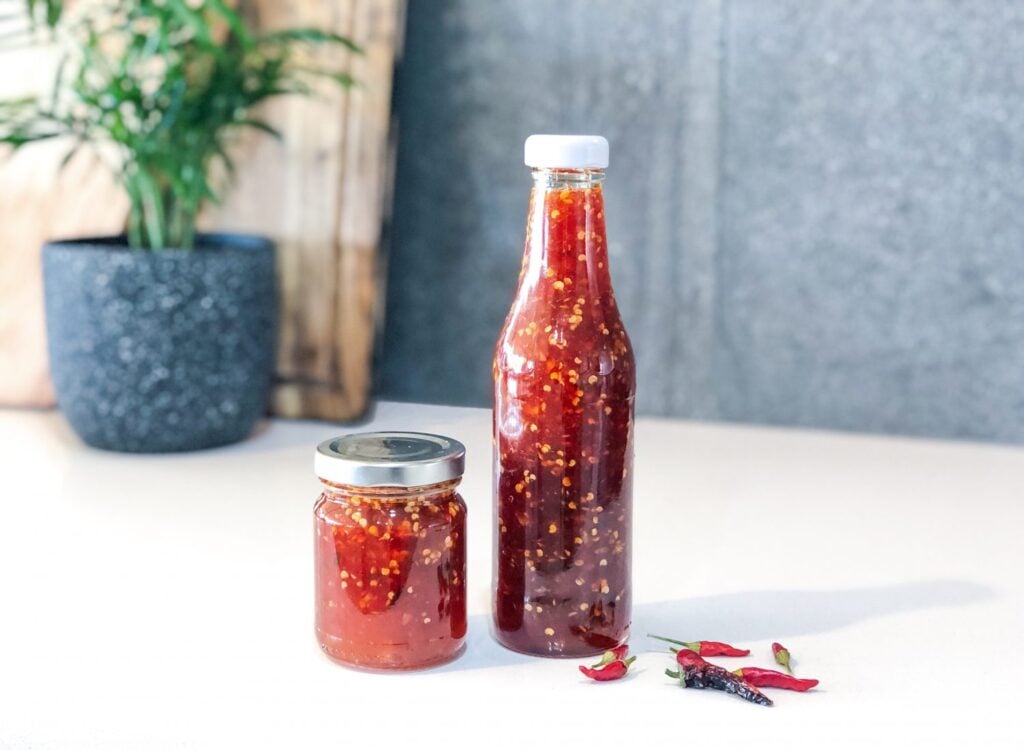
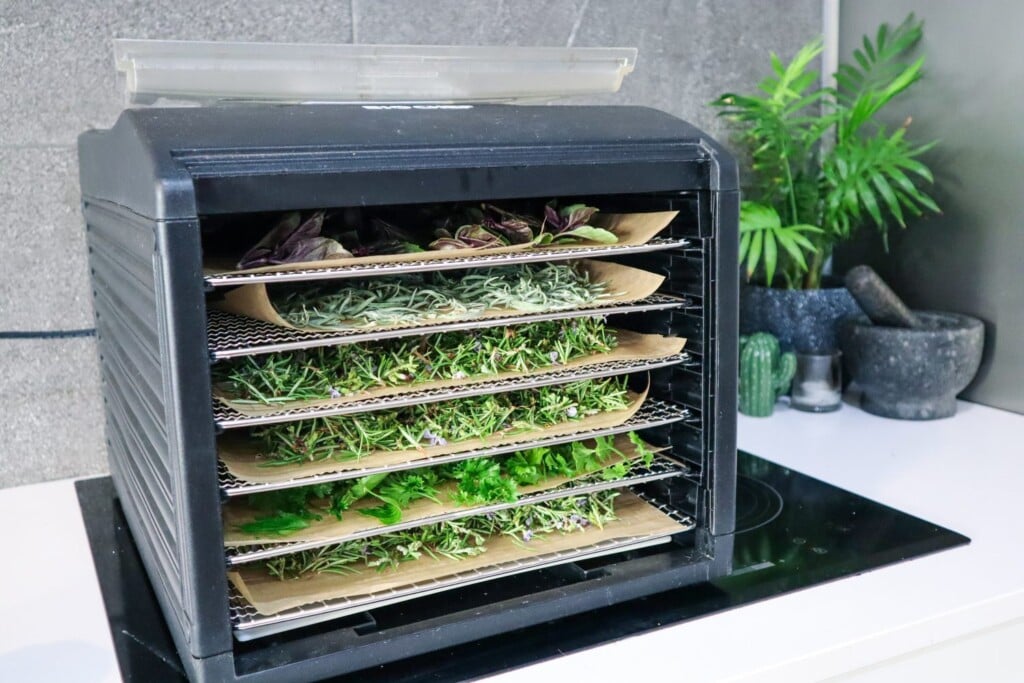
The end of Summer and the start of Autumn is often when your fruit and vegetable production is at its highest. This can be a busy time in the kitchen preparing jams, chutney, dried fruits, and preserves. If you find it hard to keep up with the production of fruit and vegetables (an amazing problem to have!) gifting or freezing excess can be a great idea.
The cooler days of autumn can be a welcomed relief after a hot summer. The nights are still warm and light so it is a great time to dine outside and enjoy your garden. Set up a meal outside and celebrate your summer harvests with family or friends. Below are some inspiring ideas to embrace Autumn.
Hang fairy lights and dine outside
Create Sculptures or garden structures using pruned trees
Pack a picnic and enjoy the balmy nights
Host a preserving night and have your friends help process your ecxess harvests in return for homemade goodies
Swap and trade cuttings with friends
Planning for Winter
The key to easy and successful gardens is to plan ahead. This can help you maximise your food production and help maintain momentum. Autumn can be a busy season in the garden to prepare beds and seeds for winter production. Plants tend to grow slower in winter with decreases in sunlight and temperature. Getting your plants in the ground in Autumn and the start of winter will allow you to focus on harvesting food and dreaming up new garden ideas.
These 10 edible plants to sow in March will get your Autumn garden off to a productive start. These edible plants can all be grown in containers or the garden so you can grow more of your own food at home. I am gardening in Perth, Australia and these 10 edible plants to sow in March are great transition plants to bridge the gap between summer and winter to help you produce a continuous supply of food at home.
There is nothing better than walking out into your garden to pick and harvest your own fresh, nutrient-rich food. No chaotic shops are needed!
WATCH 10 Edible Plants to Sow in March
Top 10 Edible Plants to Sow in March
1. Radish
Raphanus sativus
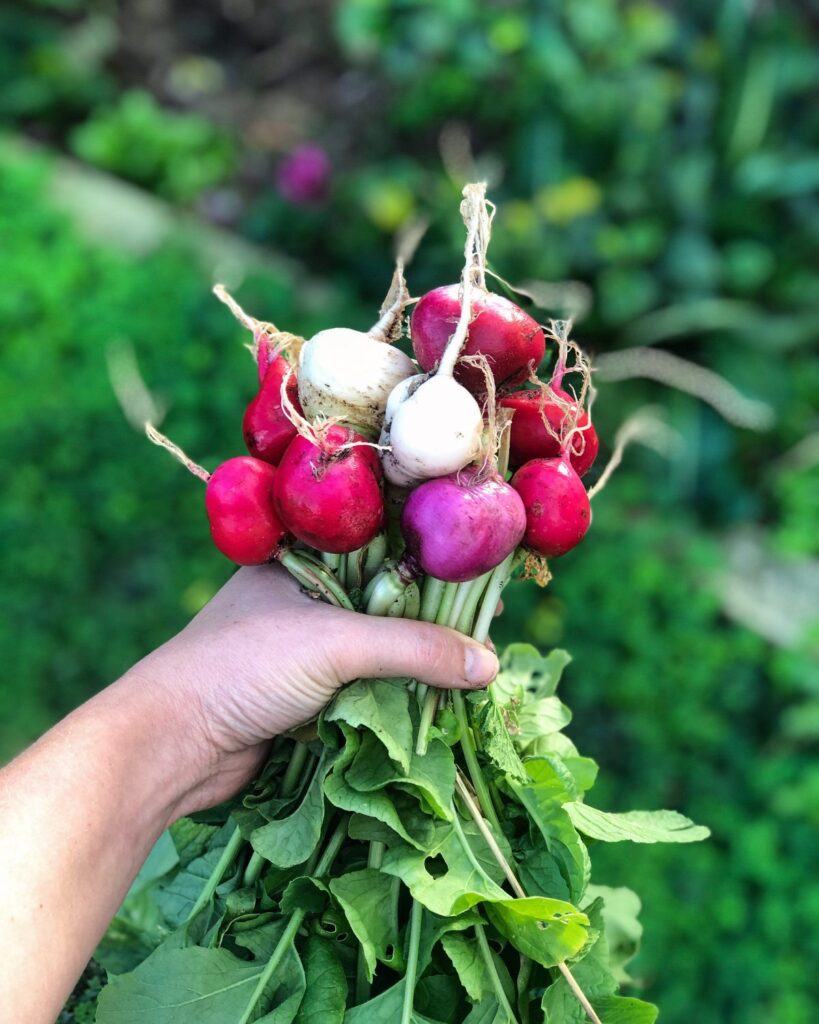
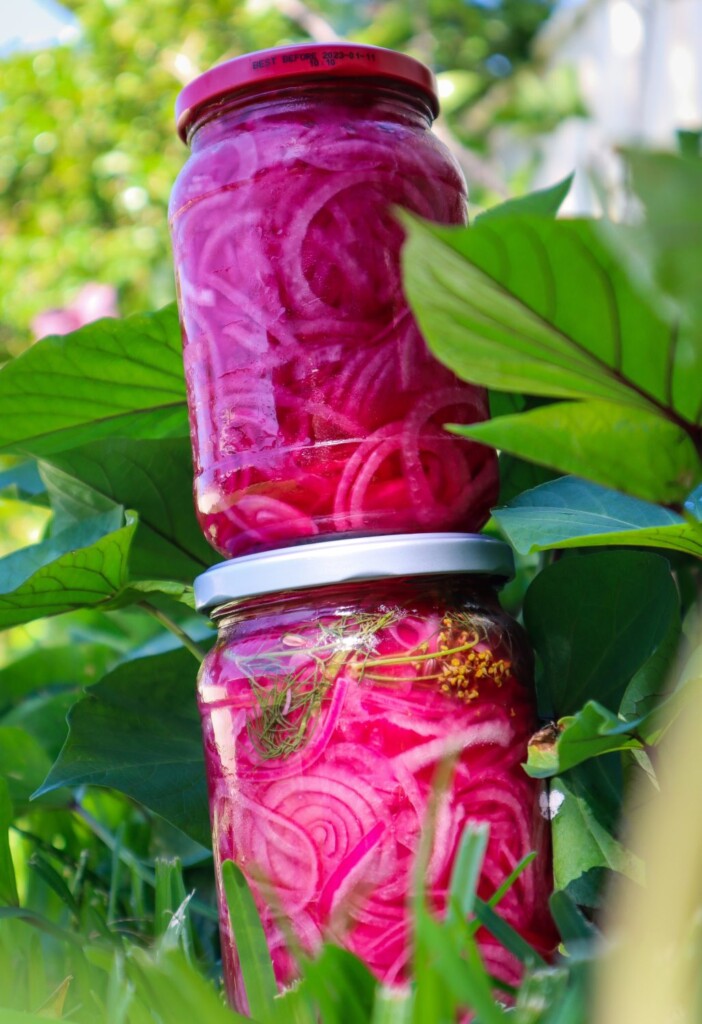
Radish are so easy to grow, they can handle a range of soils and environments, and they are also one of the quickest veggies to grow! From seed to table in just 4 weeks. Also, the whole plant is edible. The roots are delicious fresh in a salad, or, added to your roast veggies, and the leaves can be chucked into stirfries or blitz to make pesto or chimichurri to dress your salads and meals. There are a lot of different varieties of Radish that range in flavour, so if you don’t enjoy the pepperiness of Radish, choose the white or light coloured varieties. Radish also makes delicious pickles and you all know I’m obsessed with pickles.
If the Radish is not harvested it will send up a flower and create seed pods. The seed pods are also edible when they are young or they can be left to dry and save the seeds for a sustainable food supply.
The thing I love most about Radish is you can plant them in between your veggies. They grow so fast that they are ready to pick before the other vegetables take up too much space. This means you maximise your space to grow more food.
2. Rainbow Chard
Beta vulgaris
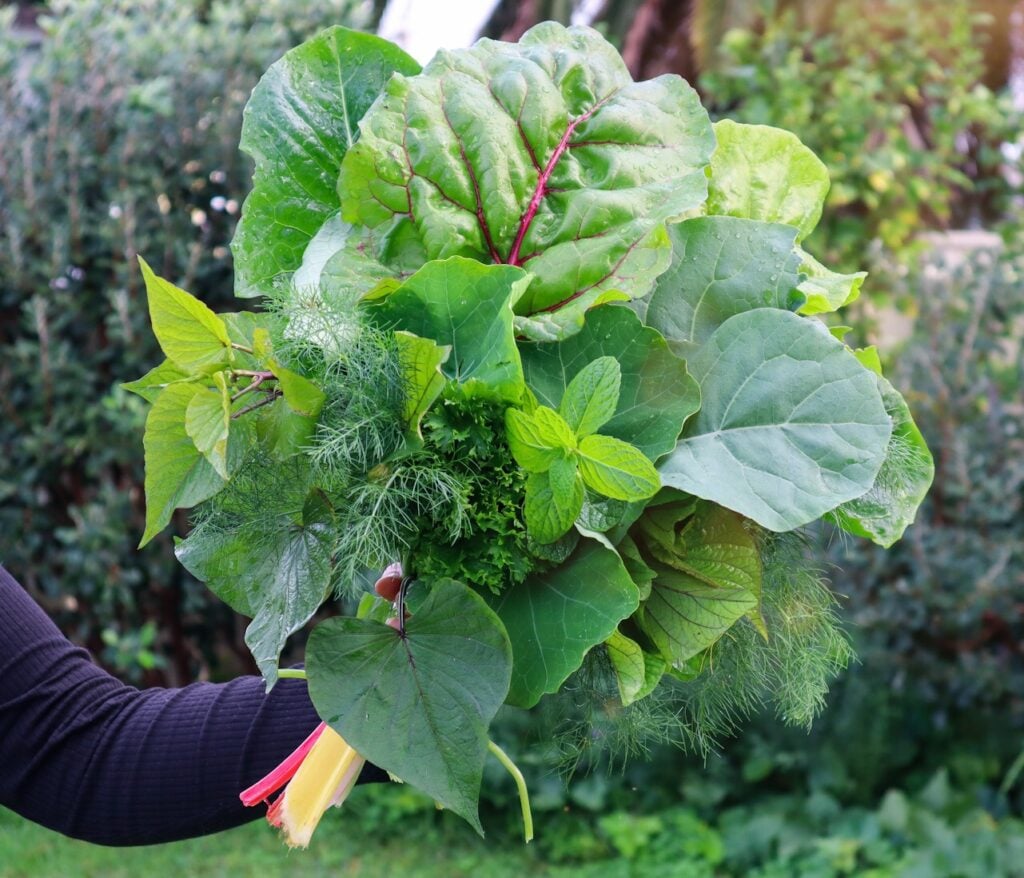
Rainbow chard doesn’t do too well in the heat of summer so most climates will only grow chard over the cooler months. Rainbow chard has large leaves so it can lose moisture and wilt quickly. If you plant Chard over the summer choose a shady location. Autumn is a great time to sow your Rainbow Chard seeds. Rainbow Chard is super versatile in the kitchen and it brightens up the winter garden with its’ neon coloured stems.
Rainbow Chard can be used in nearly every meal as a substitute for spinach.
3. Lettuce
Lactuca sativa
Lettuce can be a delicate plant to grow and doesn’t tolerate the heat well. Autumn is a great time to plant lettuce in the garden. If you want to grow lettuce during summer then find a cool spot that receives shade during the hot afternoons. Otherwise, it will just go to flower and seed if it gets too hot and then it tastes awful and bitter. Due to its’ delicate nature, lettuce is best sown in seed trays and planted out into the garden when it is a seedling. Little seeds and seedlings will be susceptible to pests such as slugs, snails and slaters. Check out natural pest management for tips on how to reduce loss from pests.
4. Beetroot
Beta vulgaris
The whole Beetroot plant is edible and the leaves can be used just like chard or spinach. You can pick off the outer leaves just one or two from each plant while they grow to get a prolonged harvest.
Fun fact: Rainbow chard is actually part of the beetroot family!
You can use the roots grated fresh in a salad, roasted beetroot is sooo good, especially the yellow and white varieties they are so sweet! Beetroot is also delicious pickled and canned to preserve the harvest.
I have planted the White, Golden, and Chioggia varieties. The Chioggia has beautiful candy cane stripes. It is also very sweet.
5. Spinach
Spinacia oleracea
Spinach is another great Autumn veggie to plant and will offer you an abundance of greens for the rest of the year. There are many different types of spinach and a few that I like to grow are the Malabar Climbing Spinach – it seems to do well here in Perth as it is more like a succulent type of plant. Perpetual Spinach is also another great producer that can offer you greens for most, if not all of the year.
6. Onions
Allium cepa
Onions are a staple vegetable to grow for adding flavour to meals and there are many different varieties. Planting onions randomly throughout your gardens can help deter pests due to their strong scent. Egyptians walking onions are a great perennial onion variety. They grow onion bulbs on the base like most onions but the difference is, they also grow mini bulbs on the tips too and as these grow they get heavy and bend over to touch the ground and then this bulb will start growing so they sort of move around the garden which is pretty neat! Plus, they just regrow on their own which supports a sustainable garden.
7. Rocket
Eruca vesiculate
Rocket or Arugula is a great leafy green to grow because it is fast-growing and it can be added to a range of meals. Add fresh baby rocket leaves on top of your meals for added flavour and nutrition. Rocket will get quite bitter if it doesn’t get enough water and also will bolt if it’s still too warm. If you are sowing it early in the season or in summer, grow it somewhere with a little shade. I sow little patches of Rocket throughout my garden at different times to have a continuous supply.
8. Rosella
Hibiscus sabdariffa
Rosella is a type of hibiscus that has edible leaves that you can use as a substitute for spinach. The flower buds are edible and are great for making tea, syrups and jams.
9. Fennel
Foeniculum vulgare
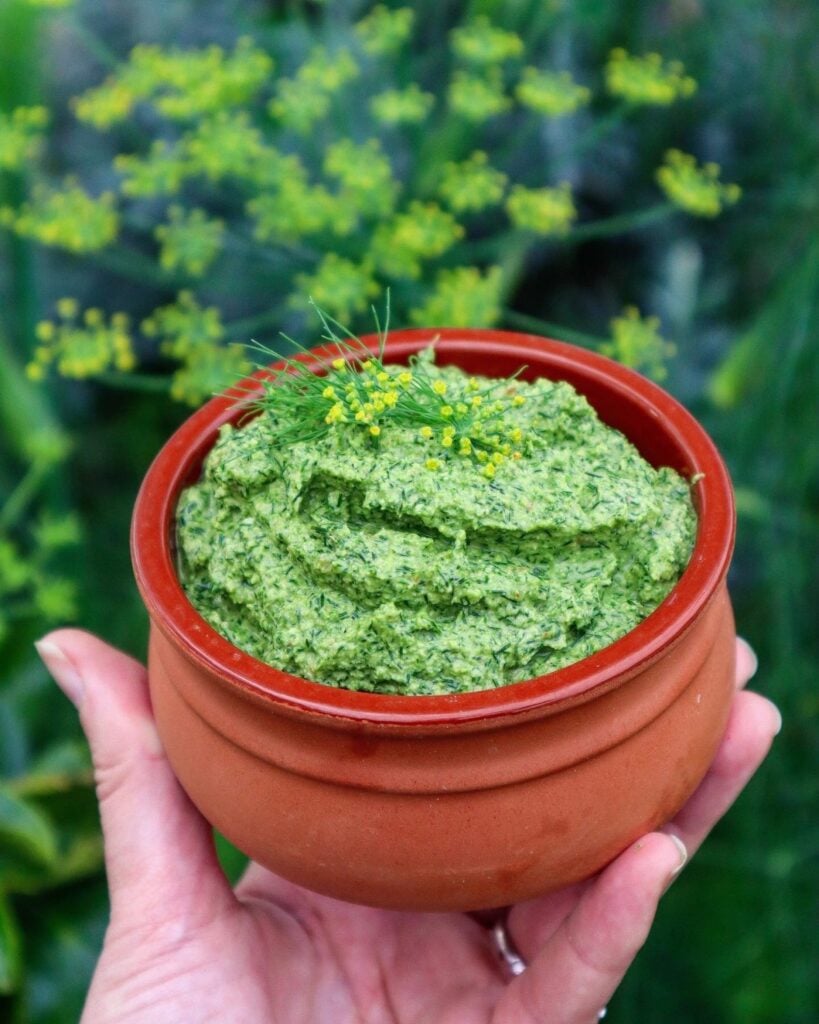
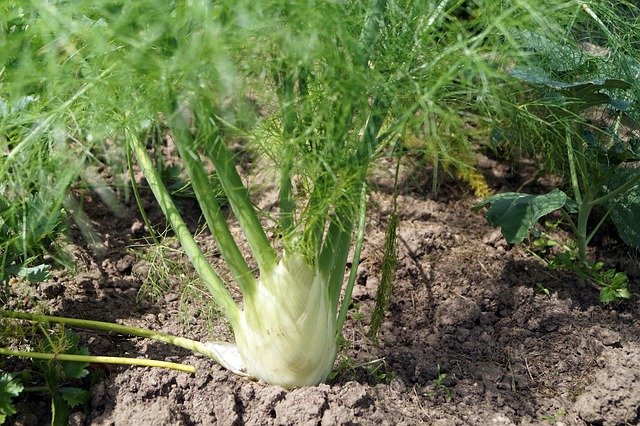
Fennel is a top edible plant to grow at home as the whole plant is edible. During the warmer months, Fennel plants mainly produce leaves/fronds and flowers which are great flavour enhancements for meals or pickling. The fronds can be used to make a delicious pesto. Once the weather cools down in Autumn the bulbs will start to bulk up. Fennel is so crunchy and fresh and pairs really well with citrus. Roasted fennel is also super delicious. There are two main varieties green Florence and bronze. The green Fennel does tend to go a little wilder than the bronze.
10. Chives
Allium schoenoprasum
Chives have a delicious onion flavour and produce purple flowers that are also edible. Chives are another edible plant to mix in your garden beds and help deter pests naturally.
Comment below if you are going to grow any of these Edible Plants to Sow in March 🌱👇